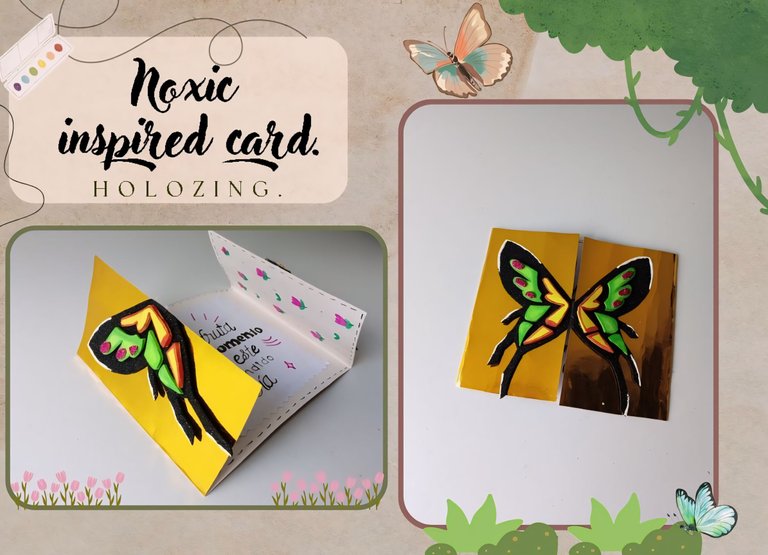
[Esp/Eng] ✨Noxic inspired card.✨
🔸Sin más que añadir, a continuación los dejo con el paso a paso:
Good afternoon, holozing friends! I hope you are feeling pretty well, I'm happy to stop by here again to share a card idea inspired by Noxic. Since this new creature came out, I was already thinking about what creative ideas could go well with this theme. Whenever I think of butterflies, beautiful flowers come to mind and although I wanted to make a fairly simple card and have only the butterfly be the protagonist for the cover, apart from the beautiful message, I wanted to add more colorful touches with some flowers in the background.
🔸Without more to add, then I leave you with the step by step:
♥️ESPERO QUE TE GUSTE,
¡Empecemos!
♥️I HOPE YOU LIKE IT,
Let's start!

✂️ MATERIALES | ✂️ MATERIALS
- Cartulina metalizada dorada.
- Foami escarchado negro.
- Foami escarchado fucsia.
- Foami verde.
- Foami amarillo.
- Marcadores.
- Pinturas.
- Hoja blanca.
- Pegamento.
- Tijeras.
- Regla.
- Lápiz.
- Gold metallic cardstock.
- Black frosted foam.
- Fuchsia frosted foam.
- Green foam.
- Yellow foam.
- Markers.
- Paintings.
- White sheet.
- Glue.
- Scissors.
- Ruler.
- Pencil.
✨ PROCEDIMIENTO | ✨ PROCESS
- ✨ PASO 1:
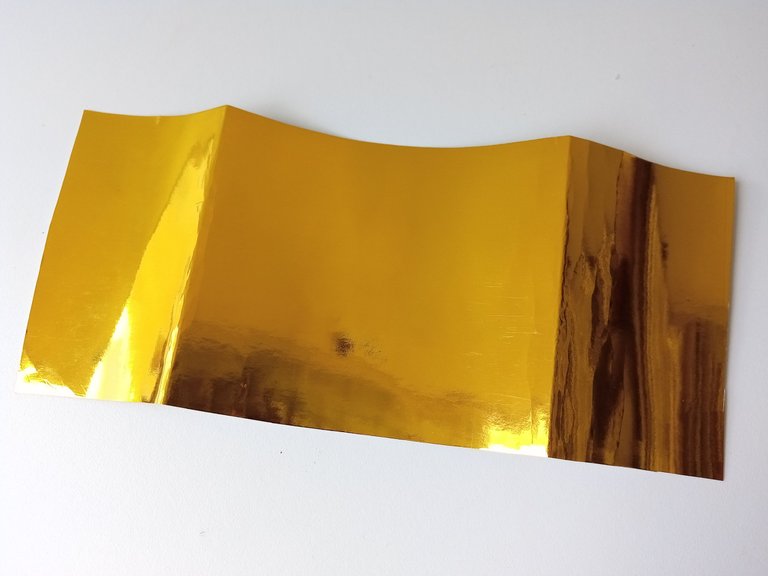
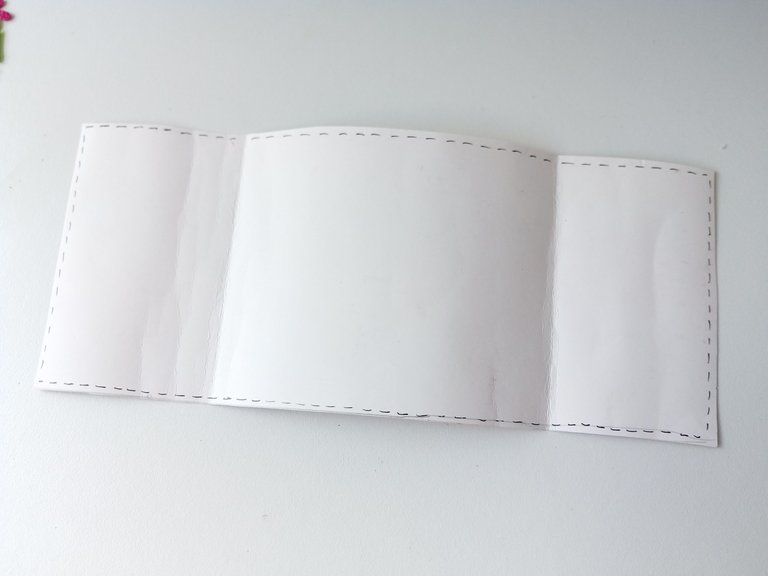
Lo primero que hice fue trazar y recortar las medidas que quería para mi tarjeta, en cartulina metalizada dorada, las cuales fueron de 23 cm de ancho y 9.5 cm de largo, pero ustedes pueden utilizar las medidas que deseen. Posteriormente, doblé el borde izquierdo y derecho al centro, para que la tarjeta pueda abrir desde en medio como una ventana.
- ✨ STEP 1:
The first thing I did was trace and cut out the measurements I wanted for my card, in gold metallic cardstock, which were 23 cm wide and 9.5 cm long, but you can use the measurements you want. Later, I folded the left and right edges to the center, so that the card can open from the middle like a window.

- ✨ PASO 2:
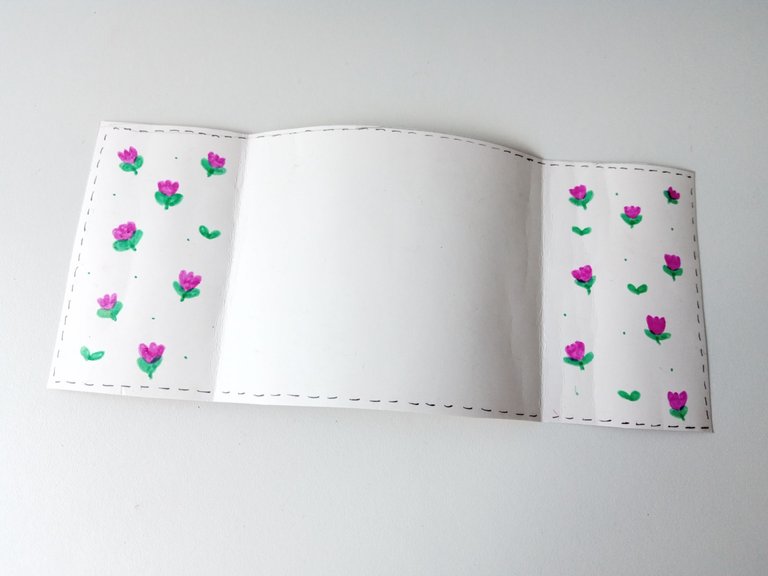
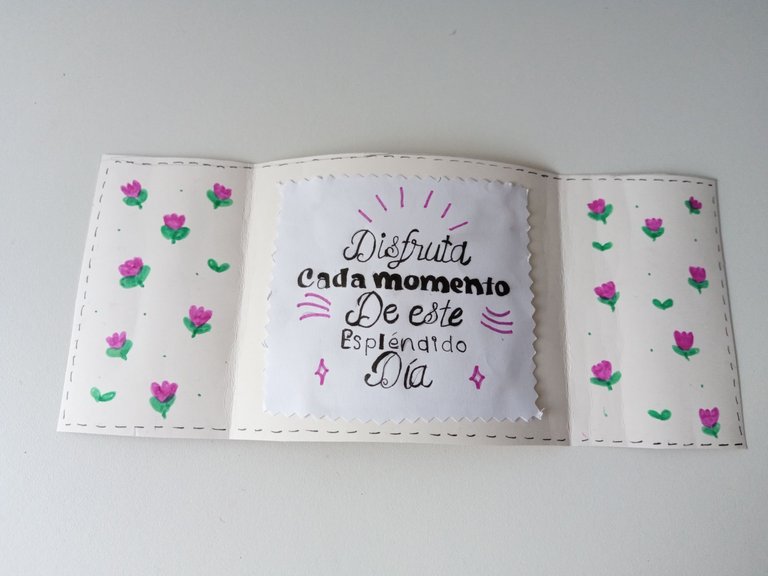
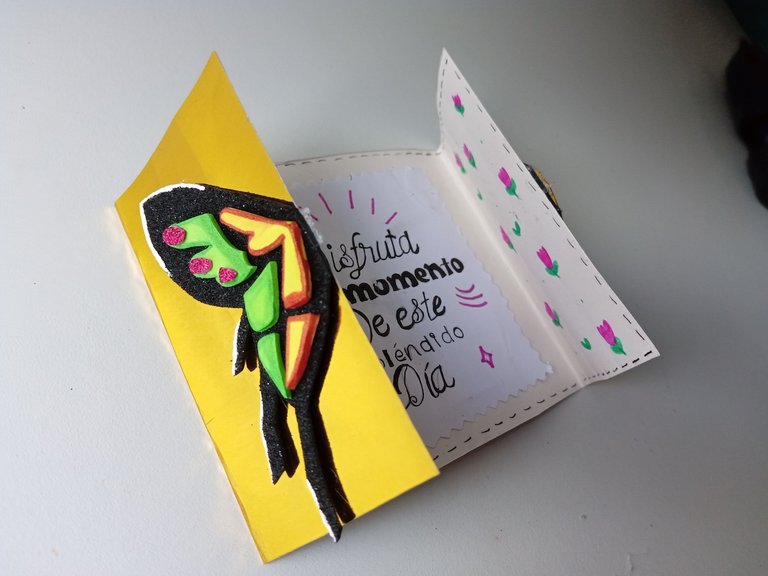
Luego, en el borde interno, tracé algunas líneas con separación y, justo en las paredes que se doblan, comencé a dibujar algunos tulipanes, hojas y puntos, con marcadores.
- ✨ STEP 2:
Then, on the inside edge, I drew some spacing lines, and right on the folding walls, I started drawing some tulips, leaves, and dots, with markers.
- ✨ PASO 3:
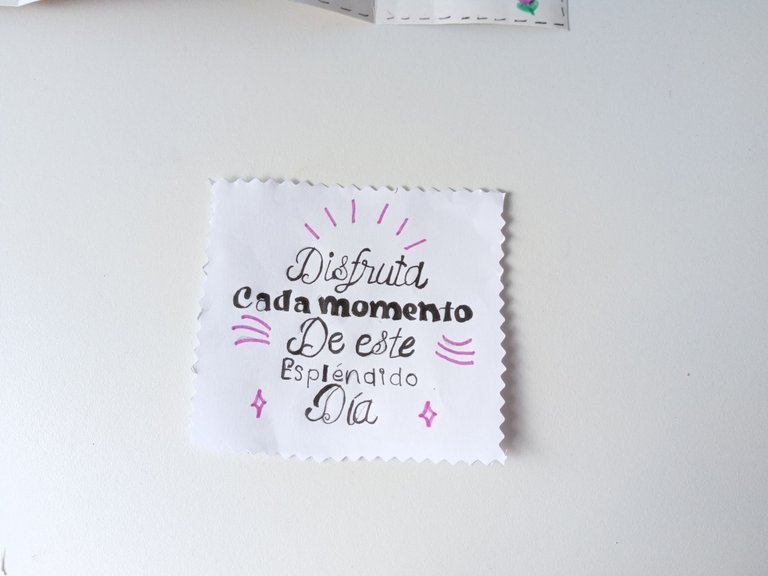
Después, tracé y recorté una hoja con las medidas de 8.5 cm x 9.5 cm, en donde escribí el mensaje que quería para esta tarjeta, remarqué con marcador negro y di detalles con marcador rosa. Al estar lista, le di diseño a los bordes y pegué en la pared de en medio de la tarjeta.
- ✨ STEP 3:
Then, I traced and cut out a sheet measuring 8.5 cm x 9.5 cm, where I wrote the message I wanted for this card, highlighted with black marker and gave details with pink marker. When it was ready, I gave a design to the edges and glued it to the wall in the middle of the card.
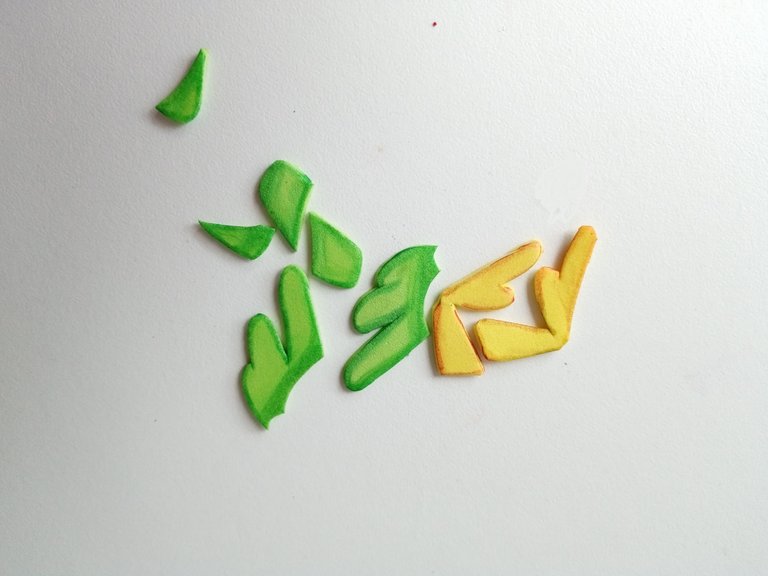
- ✨ PASO 4:
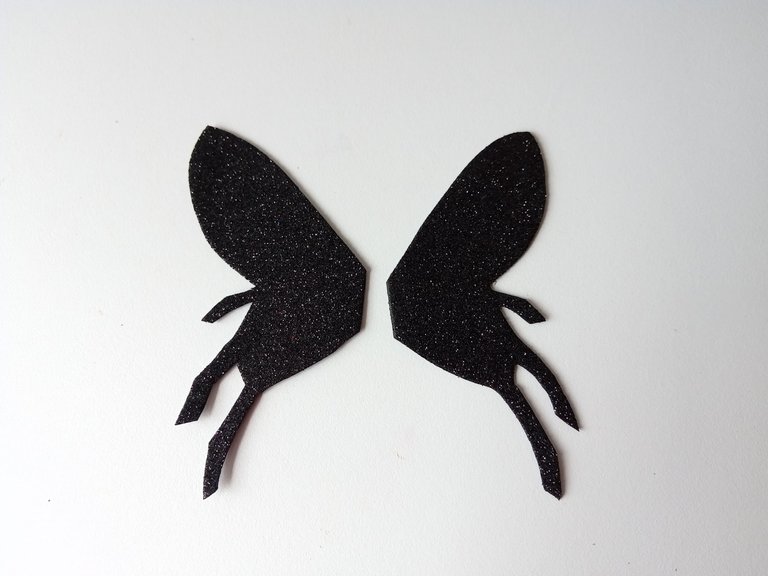
Ahora vamos con la portada, así que comencé dibujando las alas de Noxic, individual una de la otra y luego transferí cada detalle a los colores correspondientes de foami como explico a continuación: la base de las alas en foami escarchado negro, parte de los detalles internos en foami verde, la otra parte en foami amarillo y círculos en foami escarchado dorado.
- ✨ STEP 4:
Now let's go with the cover, so I started by drawing the Noxic wings, individual from each other and then I transferred each detail to the corresponding colors of foami as I explain below: the base of the wings in black frosted foami, part the internal details in green foami, the other part in yellow foami and circles in gold frosted foami.
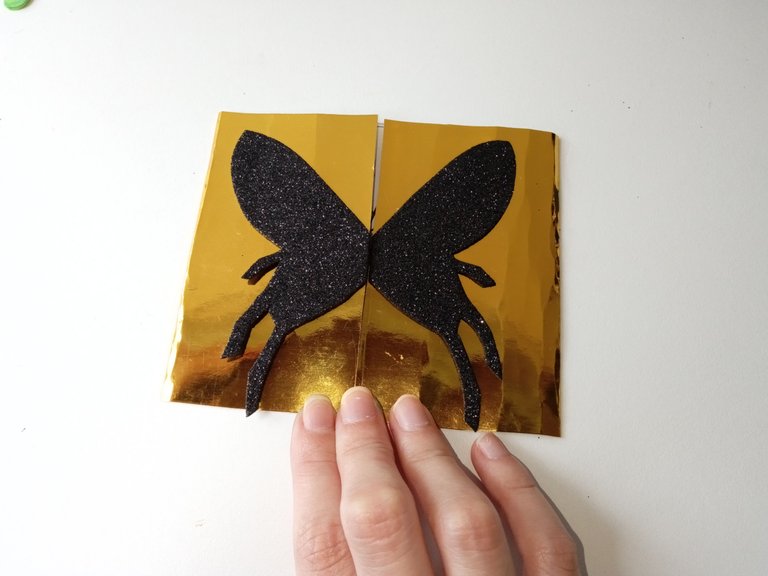
- ✨ PASO 5:
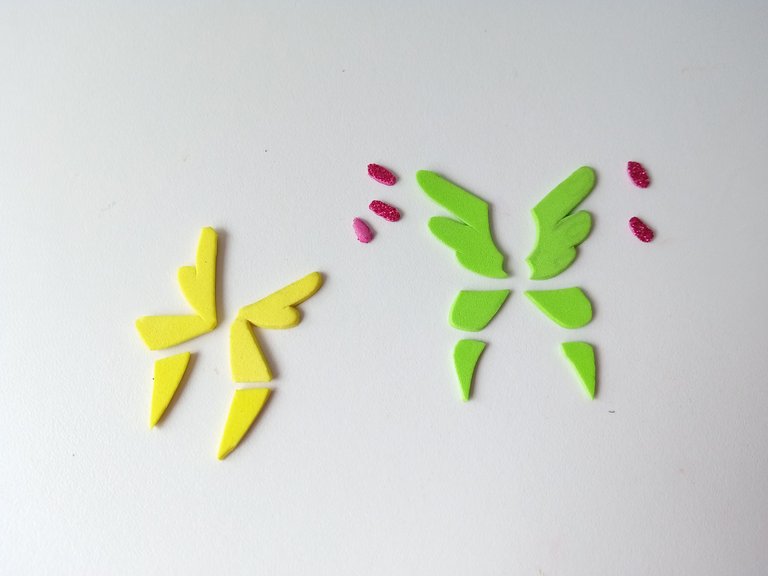
Luego de esto, proseguí a dar color a los bordes de los detalles en foami liso, como el foami verde y el foami amarillo, utilizando un color más oscuro para ambos tonos. Después, pegué la base en foami escarchado negro, justo en los bordes donde se abre la tarjeta.
- ✨ STEP 5:
After this, I continued to color the edges of the details in smooth foam, such as the green foam and the yellow foam, using a darker color for both tones. Next, I glued the base in black frosted foam, right on the edges where the card opens.
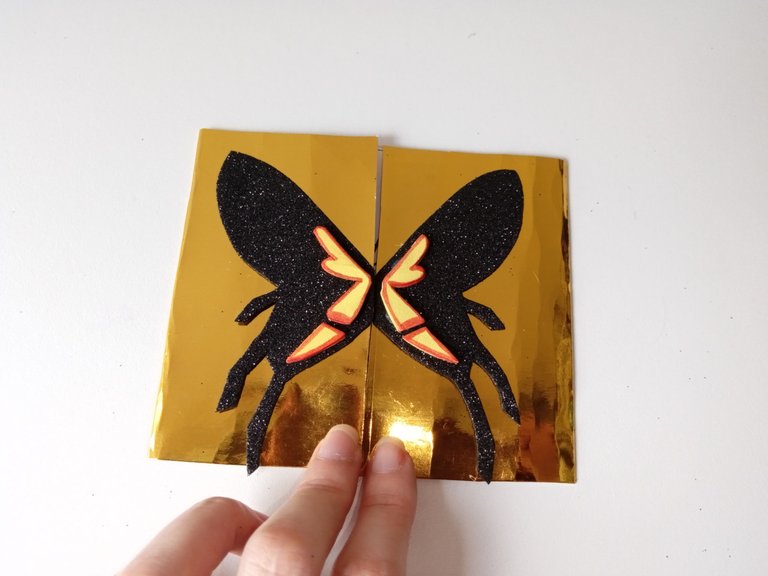
- ✨ PASO 6:
Pegué de forma ordenada y con mucho cuidado cada uno de los detalles internos de la mariposa, comenzando con los detalles en color amarillo, luego los de color verde y finalmente los óvalos en foami escarchado fucsia. Por último, di toques de luz a los bordes de la base con pintura blanca.
- ✨ STEP 6:
I carefully and orderly glued each of the internal details of the butterfly, starting with the yellow details, then the green ones and finally the ovals in fuchsia frosted foam. Lastly, I highlighted the edges of the base with white paint.
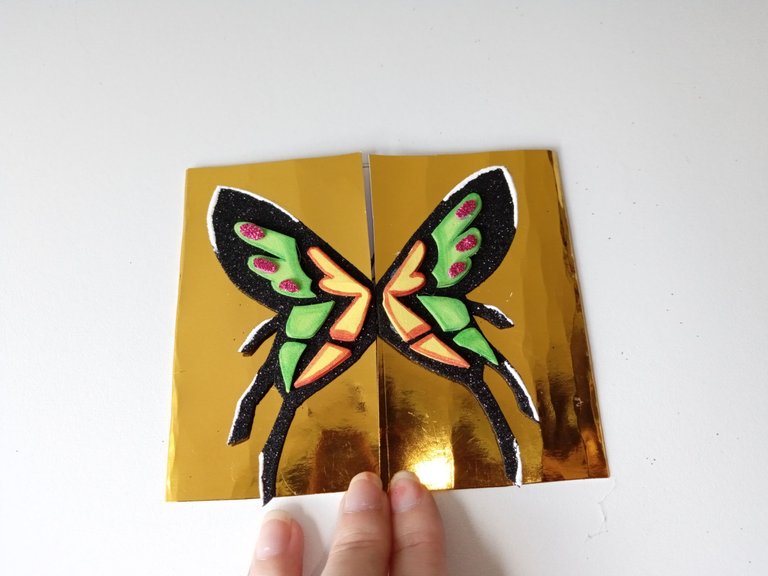
✨¡And ready!✨ This is how you can make a nice Noxic-inspired card. I wanted to make a cover that was quite focused on the creature and that the inner part had a little more delicate details, as if it were like a garden. I hope you liked it and are encouraged to make it.
❤️Until the next post.
❤️ Hasta la próxima publicación.
❤️ Until the next post.


Todas las fotografías son de mi propiedad.
Separador y Fotos editadas en Canva
All photographs are my property.
Photos edited in Canva
Demasiado linda y delicada 😍 La amé! Esta idea de tarjeta está preciosa ami, sobretodo por el dorado que le da un toque elegante y hermoso ❤️
Gracias Mary hermosa! Siempre dejando comentarios lindos que agradezco mucho. 💕 Sí, creo que ayuda a resaltar un poco más la mariposa. 💕
Preciosa y delicada tarjeta amiga hermosa, he estado por retomar creaciones en holozing pero me da miedito🥹🥹
Amo cada una de tus bellezas OKKk!
Y ese mensaje que le escribiste hoy me viene a la perfección, gracias por compartir 🥹🩷🩷🩷
Gracias amiga, por dejarme comentarios tan bellos y siempre encantada con mis creaciones, aún cuando a mí no me convence del todo.
Te mando un Abrazote preciosa ☺️❤️💕
Qué linda ami, se ve muy delicada. Los detalles pequeños en foamy los trabajas muy bien, quedó linda
Gracias mi corazón! Me alegra mucho que te haya gustado y siempre dejando un comentario bonito mi Rosita 💕
This crafring with papers and the idea of noxic on it is amazing. Really a great work
Thank you so much! I am glad that the result is to your liking. ✨
Greetings.
Qué hermosa tarjeta! Toda delicada 😍
Gracias amiga bella 💕
Congratulations, your post has been curated by @dsc-r2cornell. You can use the tag #R2cornell. Also, find us on Discord
Felicitaciones, su publicación ha sido votada por @ dsc-r2cornell. Puedes usar el tag #R2cornell. También, nos puedes encontrar en Discord
Muchísimas gracias amigos ! Siempre apoyando y lo agradezco mucho 💕
Congratulations @valenpba! You have completed the following achievement on the Hive blockchain And have been rewarded with New badge(s)
Your next target is to reach 9000 comments.
You can view your badges on your board and compare yourself to others in the Ranking
If you no longer want to receive notifications, reply to this comment with the word
STOP