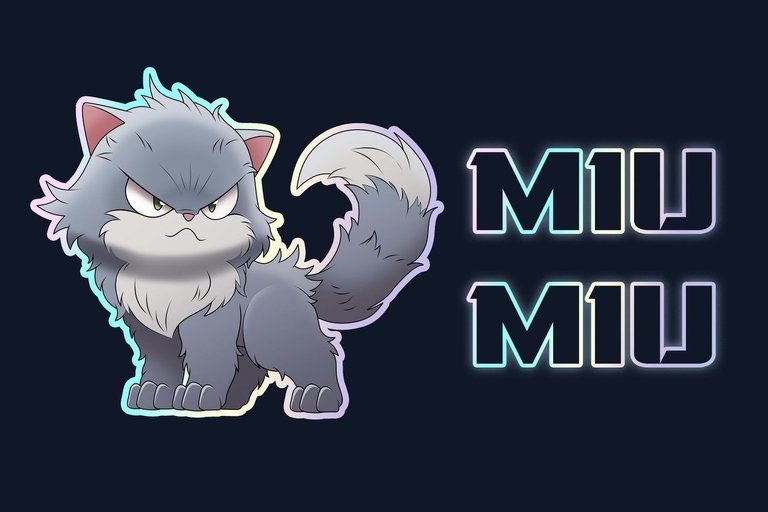
Holozing Fanart / MIU MIU / Human Version
Arte Digital | Digital Art
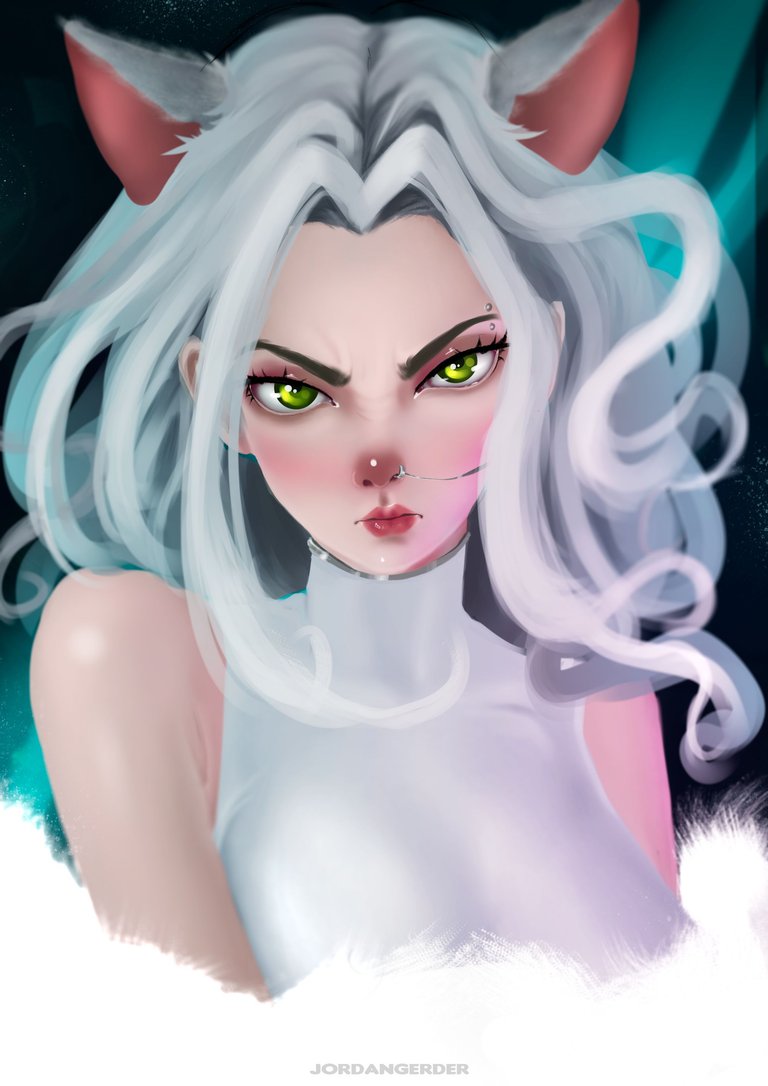
Hello people, how are you today? special greetings to the @holozing team @acidyo. I present a new fanart this time inspired by the beautiful Miu Miu cat, its angry expression was what caught my attention and inspired me to recreate it in a character with some of its qualities or characteristics.
We see a little of the creation process, it is always good to see what is behind each art, join me⏩⏩⏩...
Materiales | Materials
- Desktop computer
- Tableta Huion H950P
- Programa Adobe Photoshop 2019
- Ordenador de mesa
- Huion H950P tablet
- Adobe Photoshop 2019 program
Proceso | Process
Paso 1
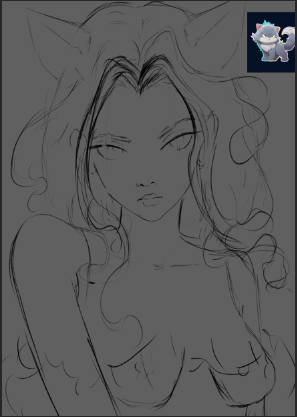
- Iniciamos con un bosquejo de lo que sería el personaje, creando una silueta y dejando que fluyan lineas sobre él, asi es como resulta mas facil su creación:
Step 1
- We start with a sketch of what the character would be, creating a silhouette and letting lines flow over it, this is how its creation is easier:
Paso 2
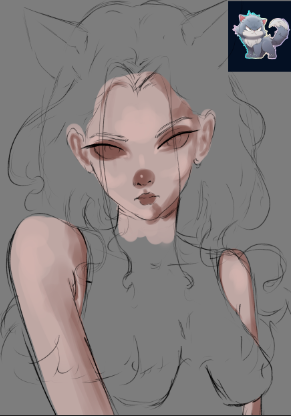
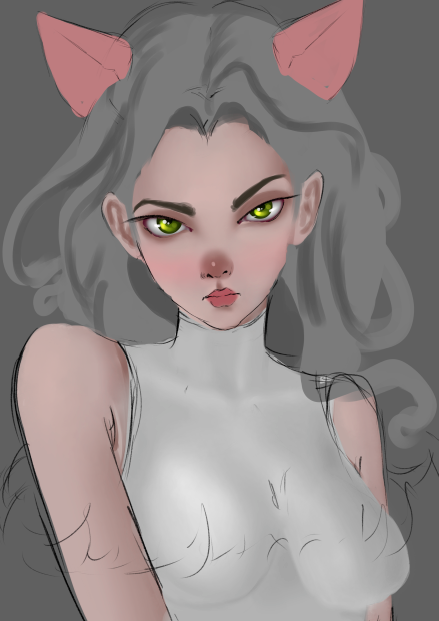
- Una ves que conseguimos un bosquejo mas claro, o donde se aprecie el personaje al cual agregaremos volumen y forma, agrego parches de tres colores no muy sataturados, una base, un color para identificar sus sombras y otro tono para identificar la luz o la parte alta del cuerpo:
Step 2
- Once we get a clearer sketch, or where the character to which we will add volume and shape can be seen, I add patches of three not very saturated colors, a base, a color to identify its shadows and another tone to identify the light or the part. body height:
Paso 3
- Mezclamos los colores que agregamos anteriormente, para esto uso un pincel suave de bordes difusos, con este el proceso es mucho mas facil, seguidamente voy dando forma a su cuerpo que seria la parte del personaje de inspiracion:
Step 3
We mix the colors that we added previously, for this I use a soft brush with diffuse edges, with this the process is much easier, then I will shape his body which would be the part of the inspiration character:
Paso 4
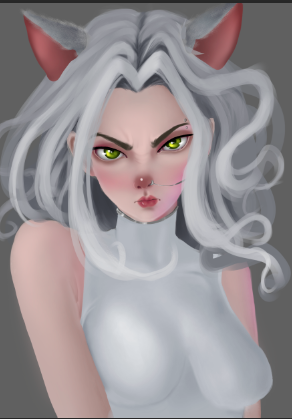
- En el paso anterior me adelanté a detallar su ojos, tambien agregué una abse para su ropa y cabello, asi que es momento de agregar hebras para darle volumen y movimiento, quise agregar una joyeria de metal par que no se viera tan simple...
Step 4
- In the previous step I went ahead to detail her eyes, I also added a base for her clothes and hair, so it's time to add strands to give it volume and movement, I wanted to add a metal jewelry so it wouldn't look so simple...

Paso final
- Para finalizar todo el proceso de creación agregué detalles finales como brillos, mas luces y ajustes totales de color.
Final step
- To finalize the entire creation process, I added final details such as highlights, more highlights and total color adjustments.
We got an incredible result, I really enjoyed the creation process. I hope you liked it, I have elaborated it with love for all the viewers who visit this publication, see you in the next one 😍
𝑮𝒓𝒂𝒄𝒊𝒂𝒔 𝒑𝒐𝒓 𝒗𝒊𝒔𝒊𝒕𝒂𝒓 𝒎𝒊 𝒃𝒍𝒐𝒈, 𝒂𝒑𝒓𝒆𝒄𝒊𝒐 𝒎𝒖𝒄𝒉𝒐 𝒕𝒖 𝒂𝒑𝒐𝒚𝒐 / 𝑻𝒉𝒂𝒏𝒌 𝒚𝒐𝒖 𝒇𝒐𝒓 𝒗𝒊𝒔𝒊𝒕𝒊𝒏𝒈 𝒎𝒚 𝒃𝒍𝒐𝒈, 𝑰 𝒓𝒆𝒂𝒍𝒍𝒚 𝒂𝒑𝒑𝒓𝒆𝒄𝒊𝒂𝒕𝒆 𝒚𝒐𝒖𝒓 𝒔𝒖𝒑𝒑𝒐𝒓𝒕.
TWITTER ⚪ NFT SHOWROOM ⚪ INSTAGRAM ⚪ DISCORD



Congratulations @jordangerder! You have completed the following achievement on the Hive blockchain And have been rewarded with New badge(s)
Your next payout target is 19000 HP.
The unit is Hive Power equivalent because post and comment rewards can be split into HP and HBD
You can view your badges on your board and compare yourself to others in the Ranking
If you no longer want to receive notifications, reply to this comment with the word
STOP