Tutorial to make a cap to take care of your hair (ENG/ESP)
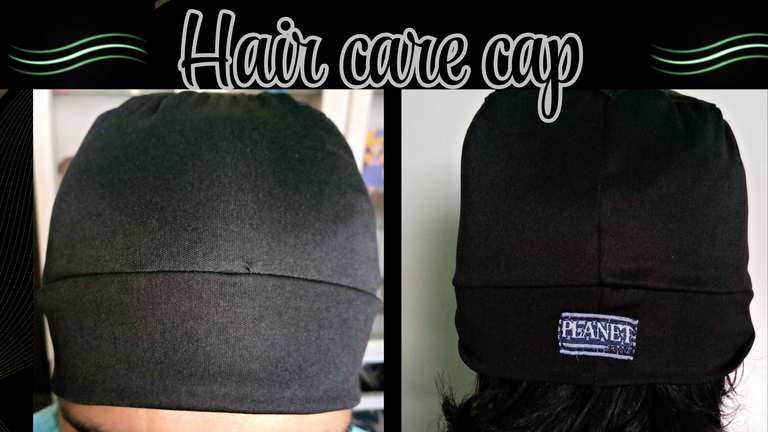
Happy and blessed evening, for all my dear friends of this beautiful community of artisans, I hope you have spent a pleasant and blessed day.
Today I share with you a tutorial to make a hat that will help us to take care of our hair, especially in these days that the breeze increases and often leave sequels, drying out the hair and opening the tips, effect known as hairpins.
This cap is very simple to make and the result when using it is wonderful, you can feel a softer, shinier and cleaner hair, it also keeps the scent of your hair at the moment. This is important because when we go out we don't have to worry about having dry and frizzy hair, my friends who have used it can tell us their experiences for my family, it is a great additional alternative to take care of your hair.
I hope you like the tutorial.
The pictures you will see below were taken with my phone model TECNO SPARK GO 2024.
Feliz y bendecida noche, para todos mis queridos amigos de esta linda comunidad de artesanos, espero haya pasado un agradable y bendecido día.
Hoy les comparto un tutorial para confeccionar un gorro que nos ayudara a cuidar nuestro cabello, sobre todo en estos días que la brisa aumenta y suele dejar secuelas, resecando el cabello y abriendo las puntas, efecto conocido como horquetillas.
Este gorro es muy sencillo de hacer y el resultado al usarlo es una maravilla, pueden sentir un cabello más suave y brillante y limpio, además mantiene el aroma al momento de tu cabello. Esto es importante porque al momento de salir no tenemos que preocuparnos de llevar el cabello reseco y con friz, mis amigas que lo han usado pueden contarnos sus experiencias para mi familia, es una gran alternativa adicional para cuidar el cabello.
Espero que les guste el tutorial.
Las fotografías que verán a continuación, fueron tomadas con mi teléfono modelo TECNO SPARK GO 2024.

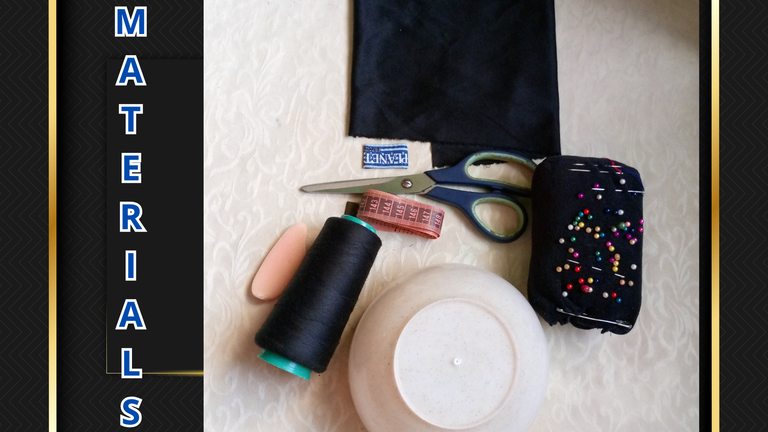
The materials are simple.
Smooth flexible fabric
Thread
Scissors
Pins
Dry soap
A 15 cm round cup
Sewing machine
Los materiales son sencillos.
Tela lisa flexible
Hilo
Tijera
Alfileres
Jabón seco
Una taza redonda de 15 cm
Máquina de coser

 |  |  |
|---|
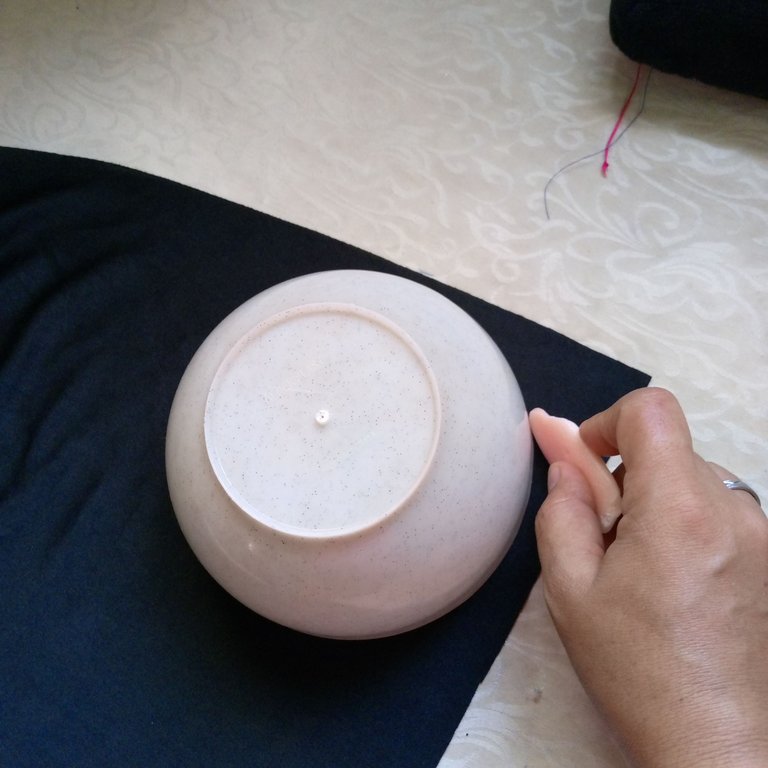
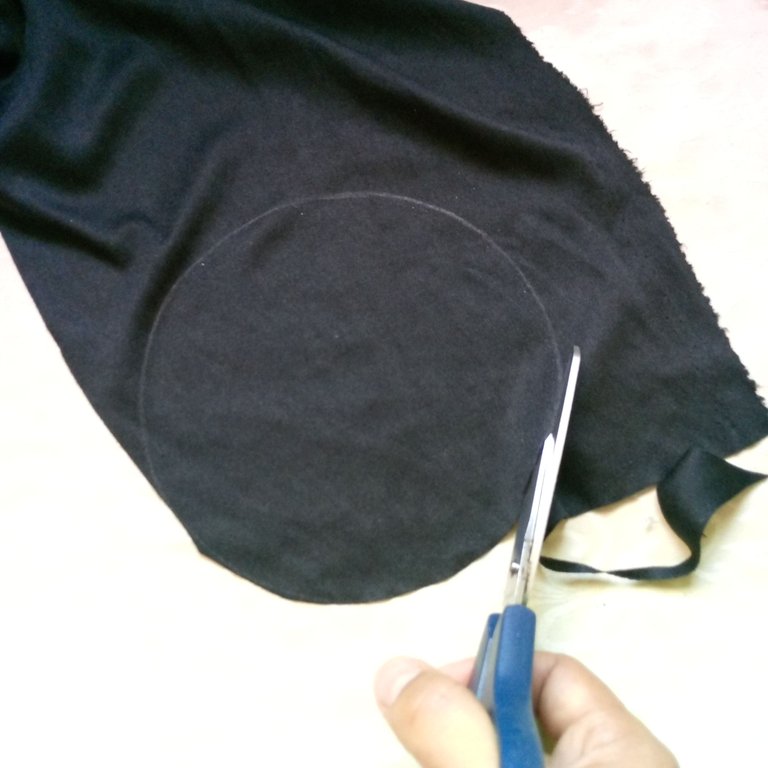
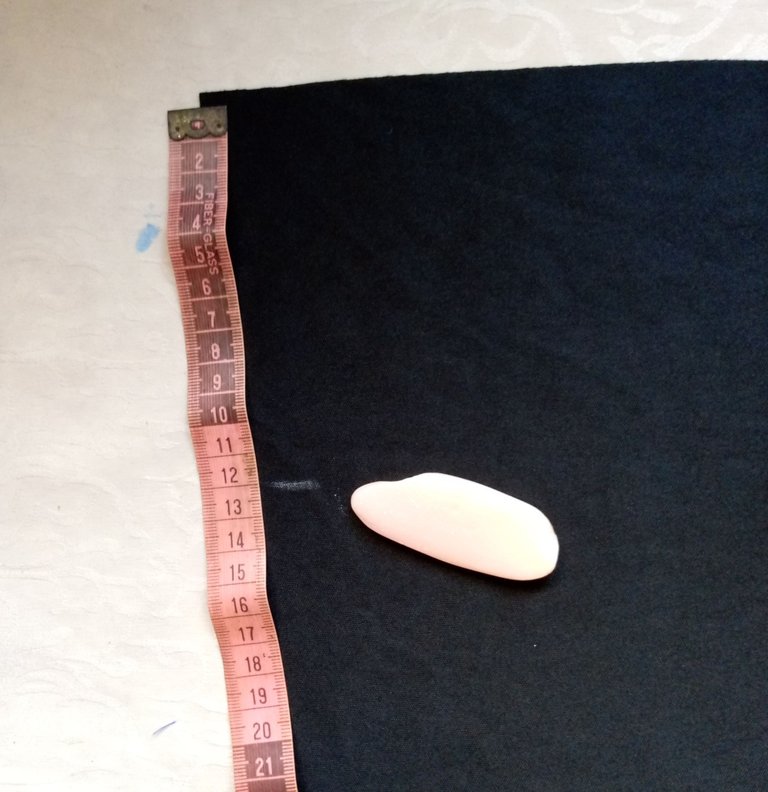
The first thing we are going to do is to place the stretched fabric on the table, on the fabric we are going to place the cup and with the dry soap we are going to mark the circumference of 15 cm of the cup, then we are going to cut, and reserve to one side, to continue making the rest of the pieces that we are going to use that are only 3 pieces.
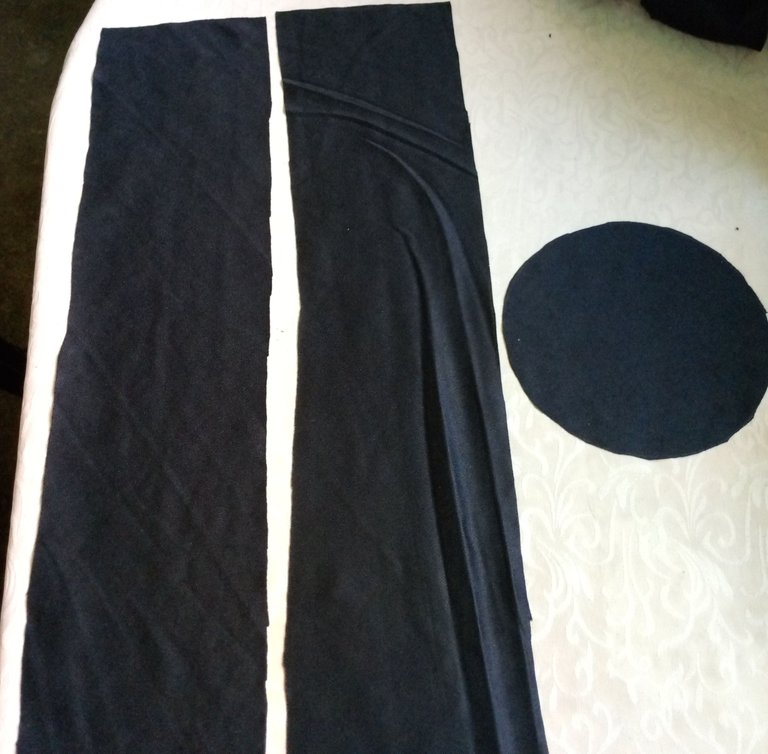
We continue with the rest of the fabric, to make the 2 pieces that we are missing, we will mark with the tape measure the length and width of these pieces,
1- piece for the contour of the head, measures, length 39 cm minus the centimeter to sew, height or width 12 cm, minus the centimeter to sew. You can add 2 cm or more to these measurements depending on the amount of hair, I like it to be tight to avoid it to come out, besides it has a better effect to leave the hair silky.
It is always important to cut the fabric on the side that stretches the most, this is a rule for this type of fabrics because it adapts better.
Lo primero que vamos a hacer es colocar la tela estirada sobre la mesa, sobre la tela vamos a colocar la taza y con el jabón seco vamos a marcar la circunferencia de 15 cm de la taza, luego vamos a cortar, y reservamos a un lado, para continuar haciendo el resto de las piezas que vamos a utilizar que son solo 3 piezas.
Continuamos con el restante de la tela, para hacer las 2 piezas que nos faltan, vamos a marcar con la cinta métrica el largo y el ancho de estas piezas,
1- pieza para el contorno de la cabeza, medidas, largo 39 cm menos el centímetro para coser, alto o ancho 12 cm, menos el centímetro para coser. Pueden aumentar 2 cm o más a estas medidas dependiendo la cantidad de cabello, a mí me gusta que sea ajustado para evitar que se vaya a salir, además que tiene mayor efecto para dejar el cabello sedoso.
Siempre es importante cortar la tela por el lado que más estire, esa es una regla de este tipo de telas porque se adapta mejor.

 |  |  |
|---|
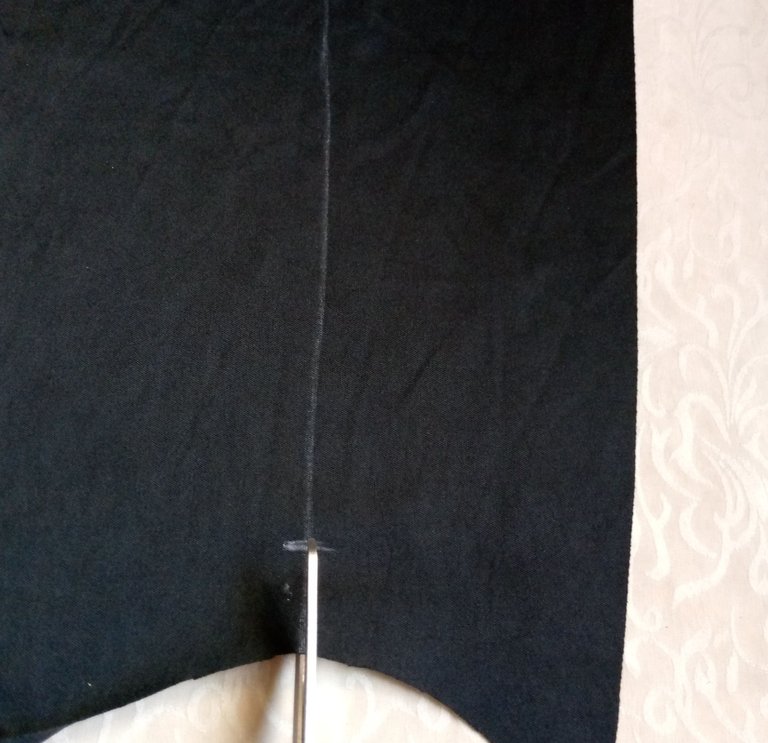
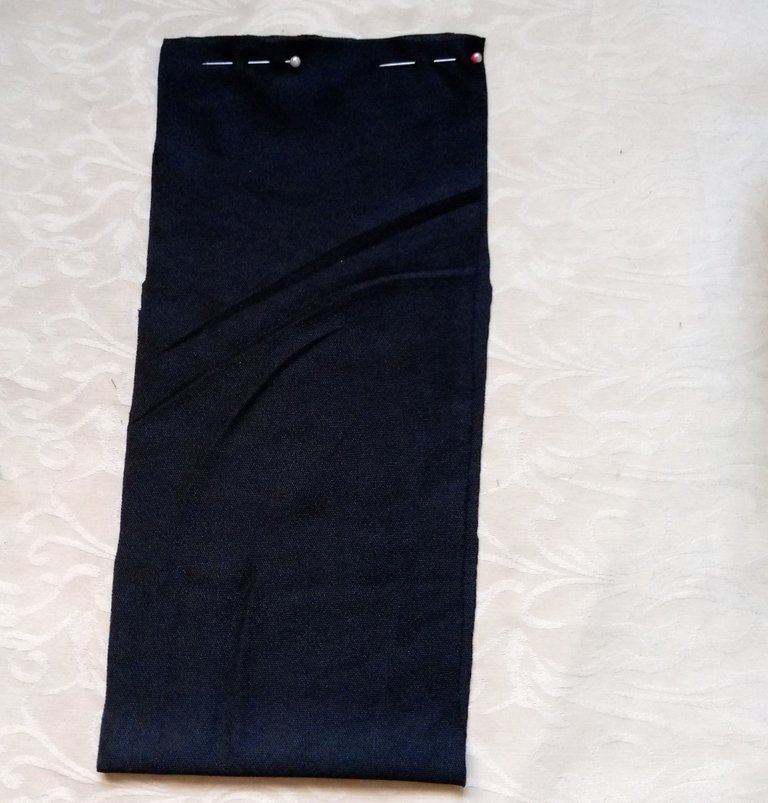
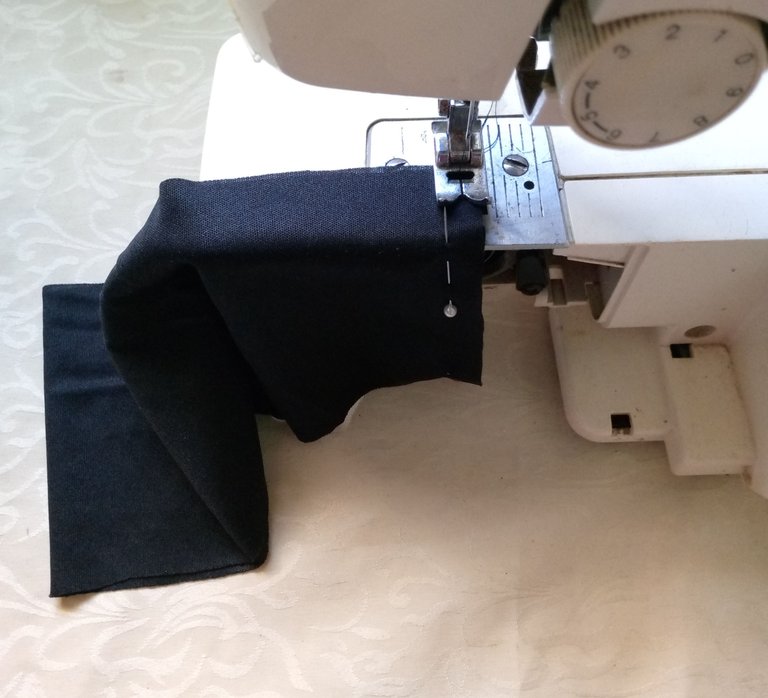
Once the 3 pieces are cut we will fold one of the 2 long pieces in half vertically and we will sew on the machine or as you can, this hat can be easily sewn by hand.
Cortadas las 3 piezas vamos a doblar una de las 2 piezas largas por la mitad verticalmente y vamos a coser en la máquina o como ustedes puedan, este gorro se puede hacer fácil cosido a mano.

 |  |  |
|---|
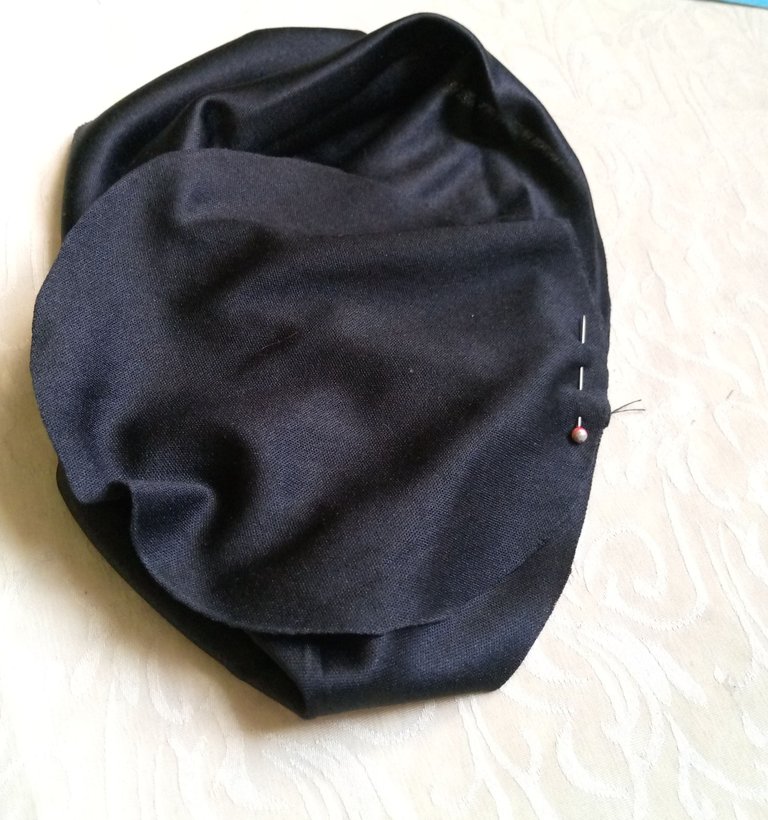
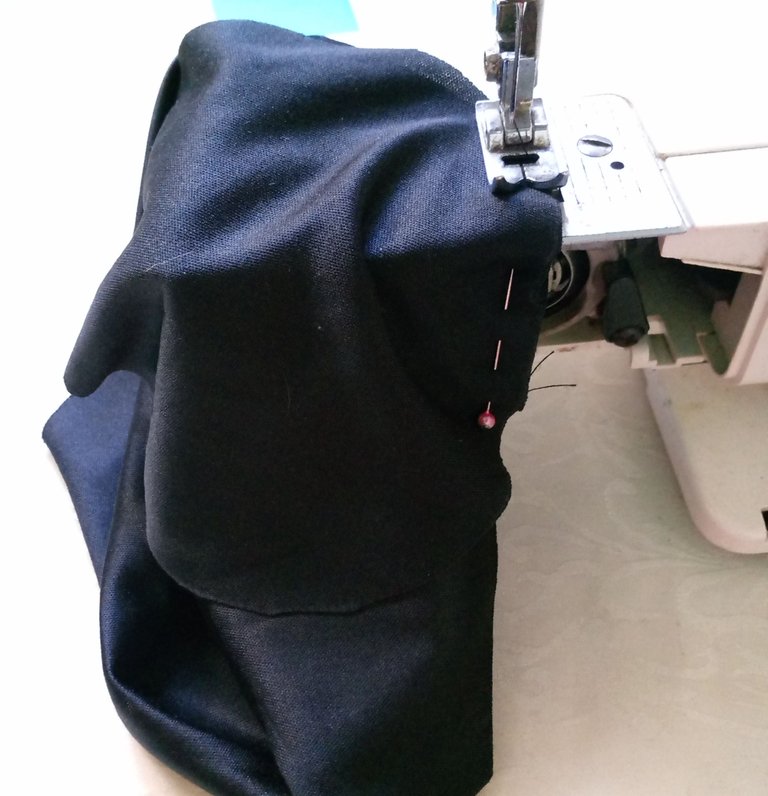
If we prefer, after sewing the aforementioned part, we will sew the circumference, which is a little more uncomfortable to sew because we have to be aware of stretching a little bit so that it does not get wrinkled.
To sew it we are going to place some pins in 4 points, first in the line of the seam and on the back side 1 pin, then on the sides and finally on the front, so we will be guided to be able to stretch it carefully and keep track of the seam.
Le pasamos costura recta y zigzag para rematar, si preferimos, después de coser esta parte antes mencionada, vamos a coser la circunferencia que es un poco más incómoda coser porque hay que estar pendiente de ir estirando un poquito para que no quede arrugado.
Para coserlo vamos a colocarle unos alfileres en 4 puntos, primero en la línea de la costura y por el lado del revés 1 alfiler, luego por los laterales y por último en el frente, así nos guiaremos para poder ir estirando con cuidado e ir llevando el control de la costura.

 |  |
|---|
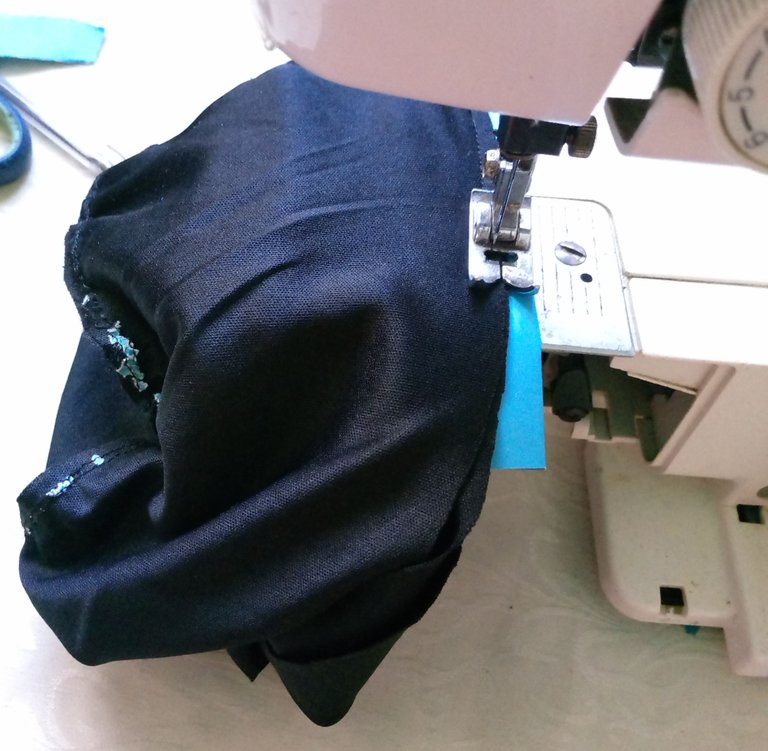
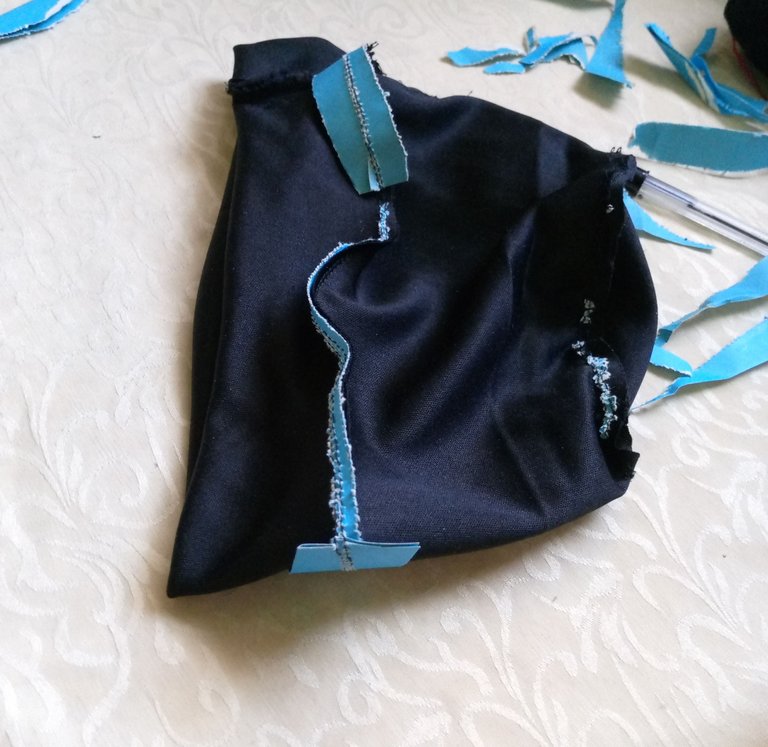
Like everything sometimes we have some complications that makes us think about how to solve, in this step the machine stopped sewing, the fabric began to roll, so I remembered that if we put folded paper we can sew without problems, so that was what I implemented, and I could sew everything without problems.
At this point I just removed the paper and then flipped it over.
Como todo a veces se nos presentan algunas complicaciones que nos hace pensar en como solucionar, en este paso la máquina dejo de coser, la tela empezó a rodar, así que recordé que si le colocamos papel doblado podemos coser sin problemas, así que eso fue lo que implemente, y pude coser todo sin problemas.
En este punto solo retire el papel para luego voltearlo.

 |  |
|---|
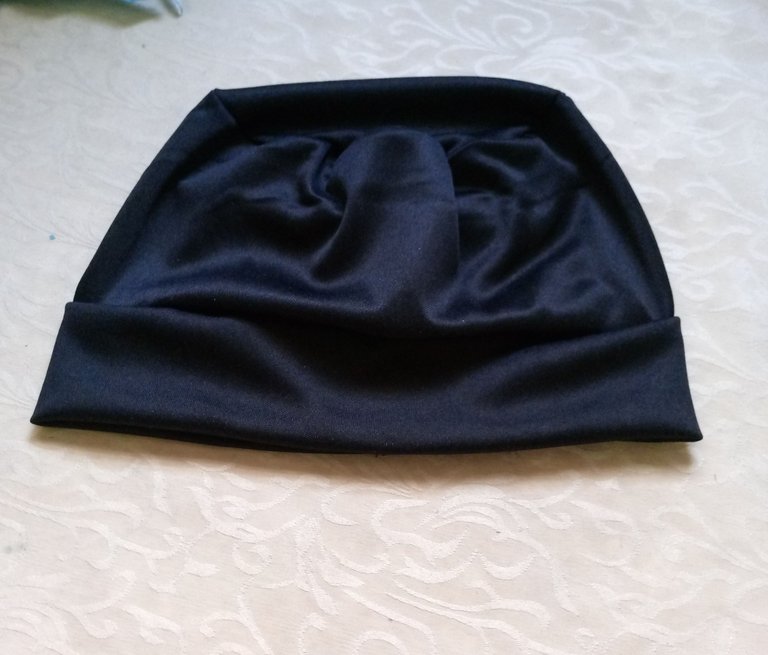
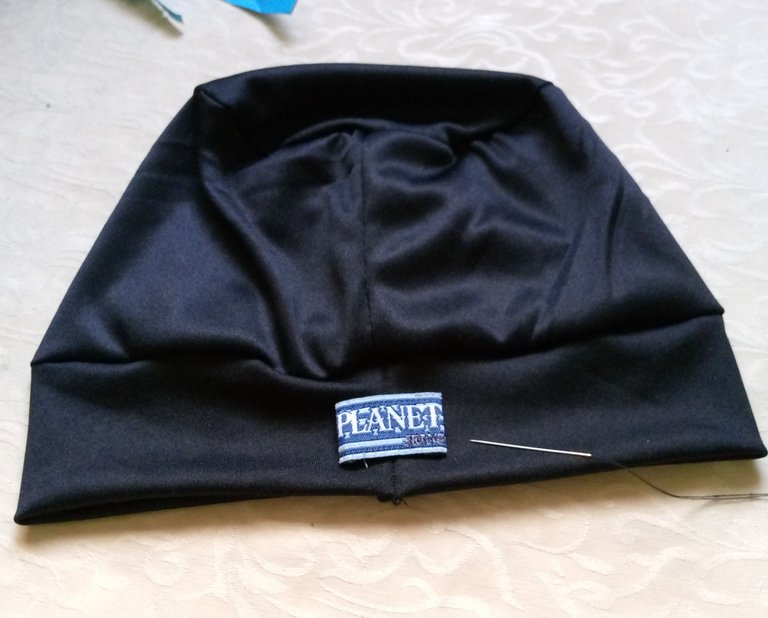
Successful result when I flipped it, I love it, I hope you also love the idea, here we only need some label or other detail that you want to place, in this case I decorated it with a label that I sewed with a needle and black thread, on the back where the seam of the hat is.
Resultado exitoso al voltearlo, me encanto, espero que también les encante la idea, aquí solo nos resta alguna etiqueta u otro detalle que deseen colocarle, en este caso lo decore con una etiqueta que cosí con una aguja e hilo negro, en la parte posterior donde está la costura del gorro.

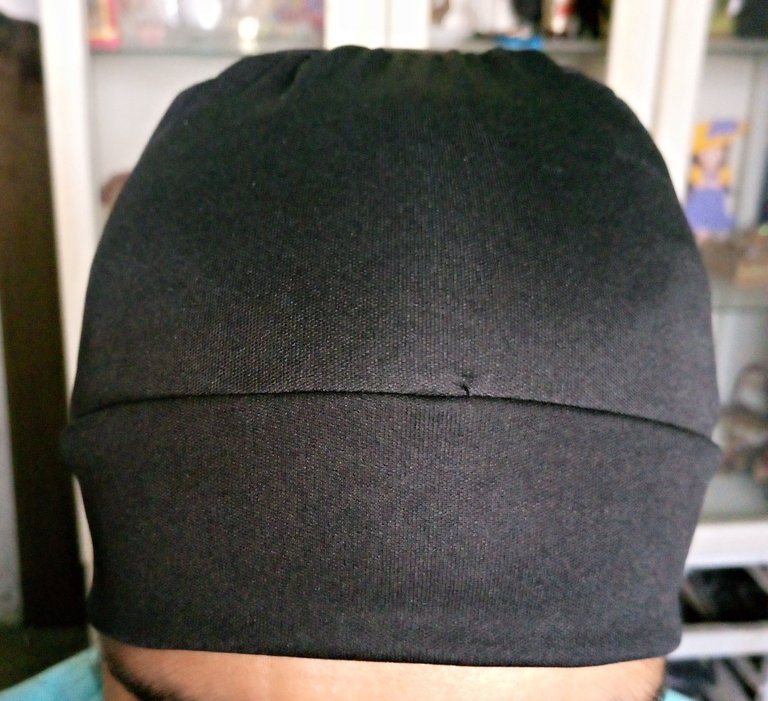
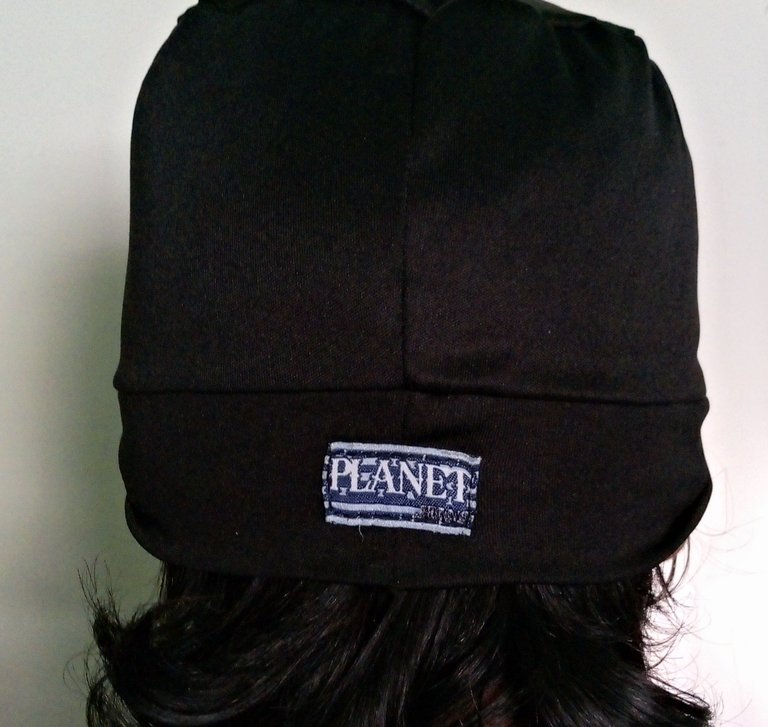
You can see how this simple but important cap is made, for hair care, against free radicals in the environment.
I hope you liked it and take advantage of this project that can be enterprising.
A hug for everyone, I look forward to your comments and appreciation to my content.😘🤗💞✨🌎
Pueden ver como queda la confección de este sencillo, pero importante gorro, para el cuidado del cabello, contra los radicales libres del ambiente.
Espero que les haya gustado y le saquen provecho a este proyecto que puede ser emprendedor.
Un abrazo para todos, espero sus comentarios y valoración a mi contenido.😘🤗💞✨🌎

social networks / redes sociales
Traductor Deepl
Translated Deepl
Ediciones Canva
Editions Canva


Posted Using InLeo Alpha

Ya sé quien me va hacer mis gorros blancos que tanto necesito
Jajajaja a bueno te tengo una sorpresa por ahí amiga.
Que lindo gorro y oara protegerse el planchado vendría genial. Gracias por compartir 😊
Gracias bella, es como anillo al dedo para colocárselo después del planchado, olvide hacer esa acotación.😊🤗
te quedó genial,,
Gracias bella.💞
Está buenísimo este proyecto Hive Diy, me gusta la idea de tener este gorro para cuidar el cabello, sobre todo en los viajes largos que tanto sufre el cabello.
Muy cierto e importante acotación, para el uso del gorro.❤️👍
Amiga,estos gorros son muy útiles cuando nos secamos el cabello, te quedó muy bien.
Saludos!
Así es amiga, era uno de los puntos que iba a destacar, el efecto después del planchado, pero se me paso entre tantas cosas.
Saludos y abrazos mi amor, gracias por pasar, yo por aquí pasando tarde pero segura jajajaj. Feliz noche bendiciones.
Me encantó tu gorro y tu facil paso a paso, excelente
Gracias amiga, sí, es muy fácil de hacer y muy cómodo.😀
This is indeed beautiful. I love it. Hope to make one for my self
😃Wow that would be a great surprise, hope to see it soon.