Fun with DIY #1 : How to make a ambient wooden lamp
Welcome to the first episode of Fun With DIY, my new DIY serie. Hope you will enjoy !

I like working with wood and I love working with light. In my attic, I found a piece of wood. I still had a LED strip left over from another project so I decided to make a small wooden lamp !
Tools & Materials
You don't need a lot of tools. I used :
- My little miter saw
- Soldering iron
- Screwdriver
- And that's all :)
For Materials, we need :
- A piece of pine wood (I use 140x1500x18mm piece)
- Wood Glue
- 5V USB led strip - white
- 2 screws
- 18 AWG Wire
Step 1 : Cut the wood pieces and LED Strips
For tthis lamp, with wood, I cut :
- 2 pieces of 140x400mm (left and right parts)
- 1 piece of 120x400mm (central part with LEDs)
- 1 piece of 140 (lamp foot)
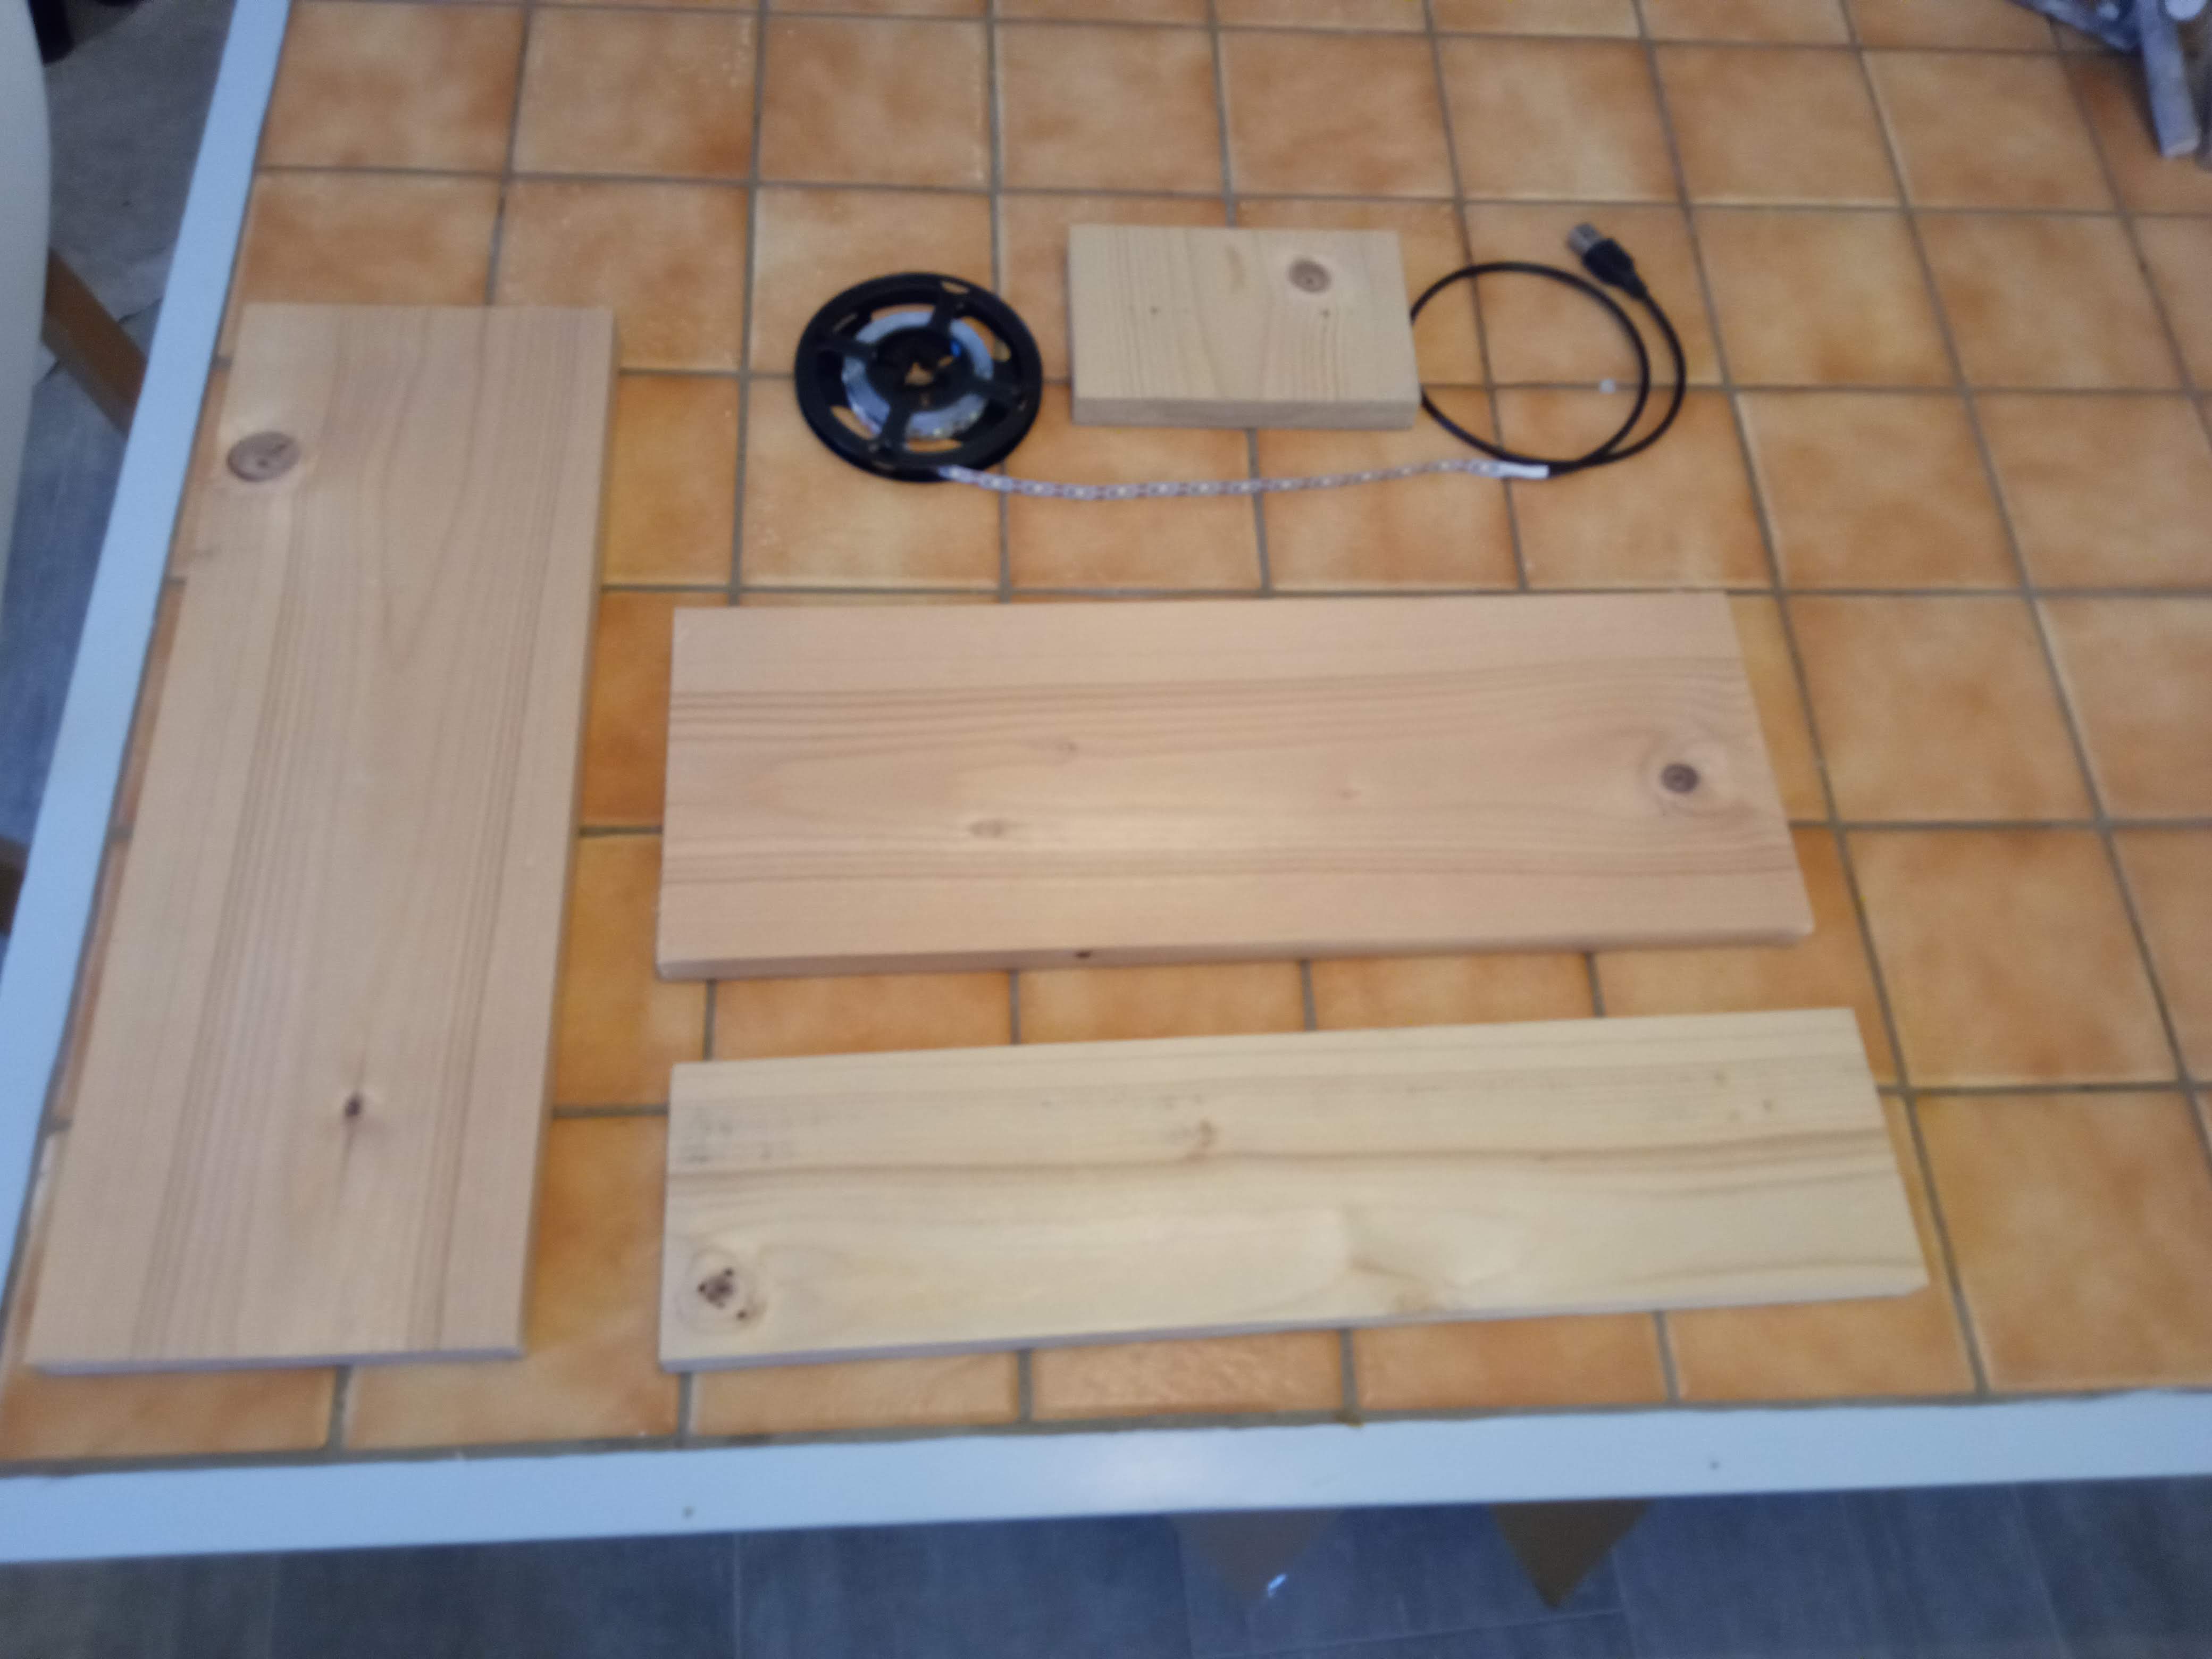
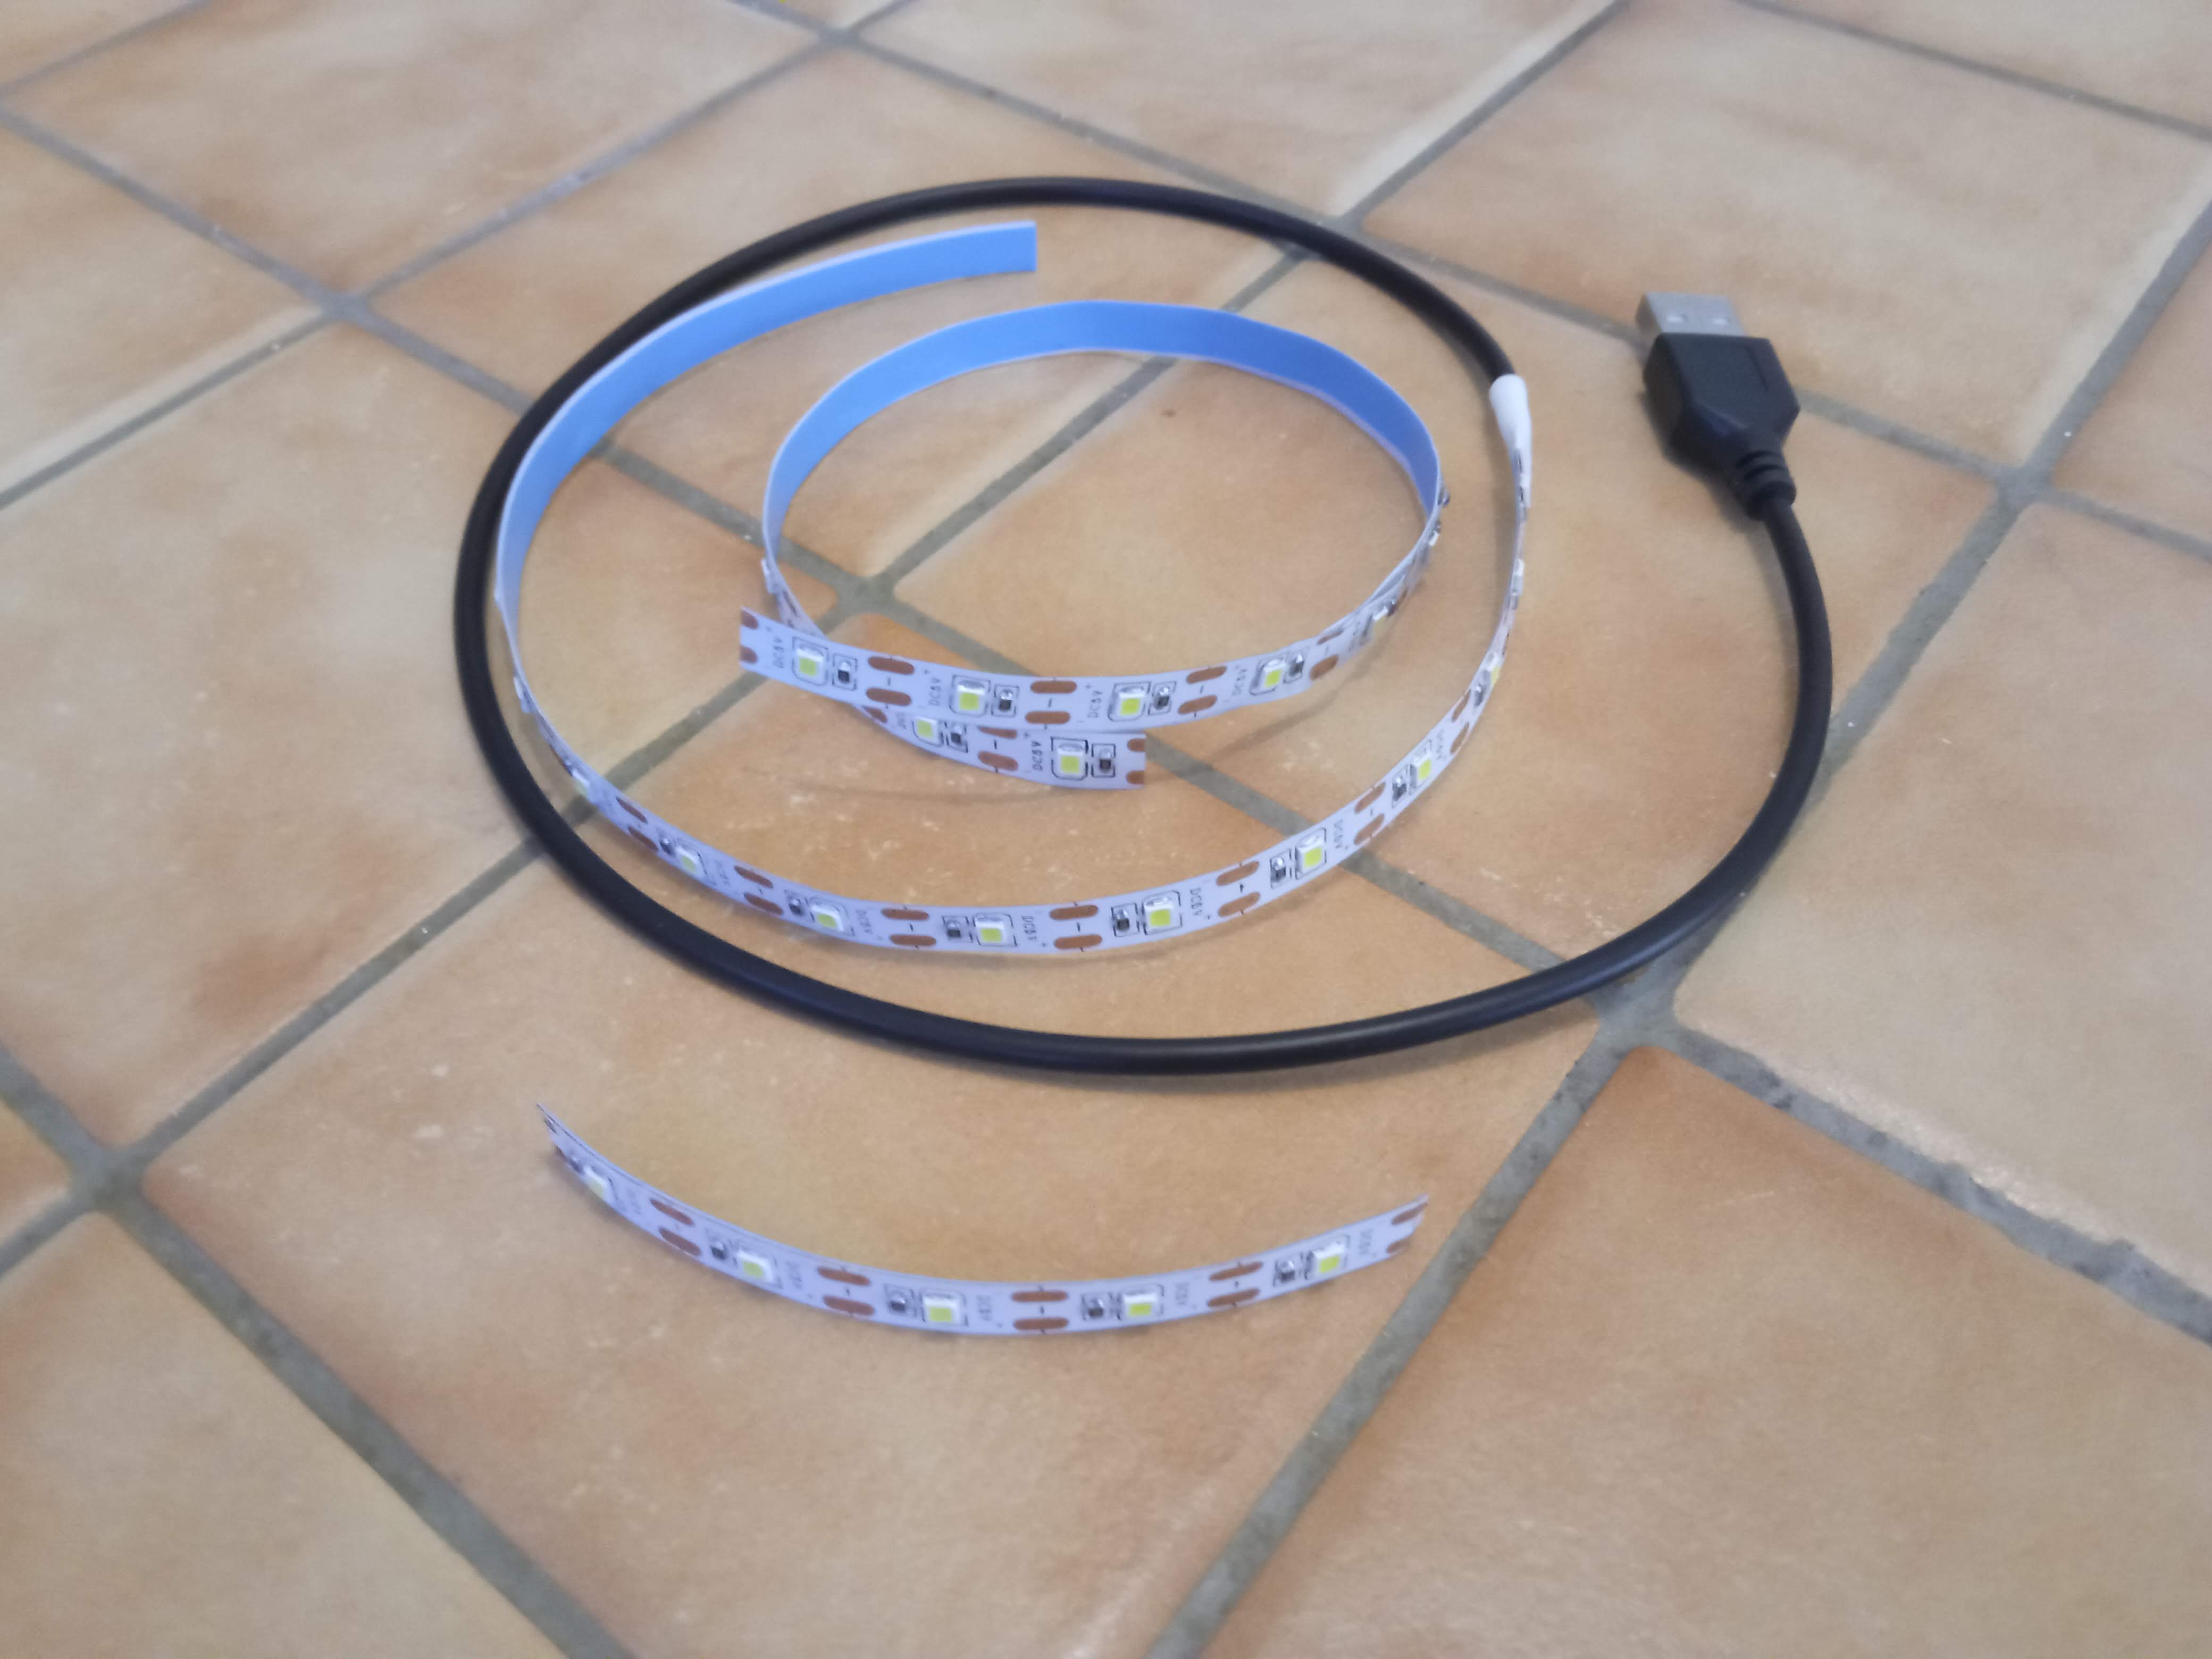
For LED strips, I cut on piece of 10cm and 2 of 30 cm
Step 2 : Solder the LED strips
CAUTION : Don't make wrong connections with led strip, refer to the installation manual. Connect the +5V on the other +5V Do the same with GND (also named - ).
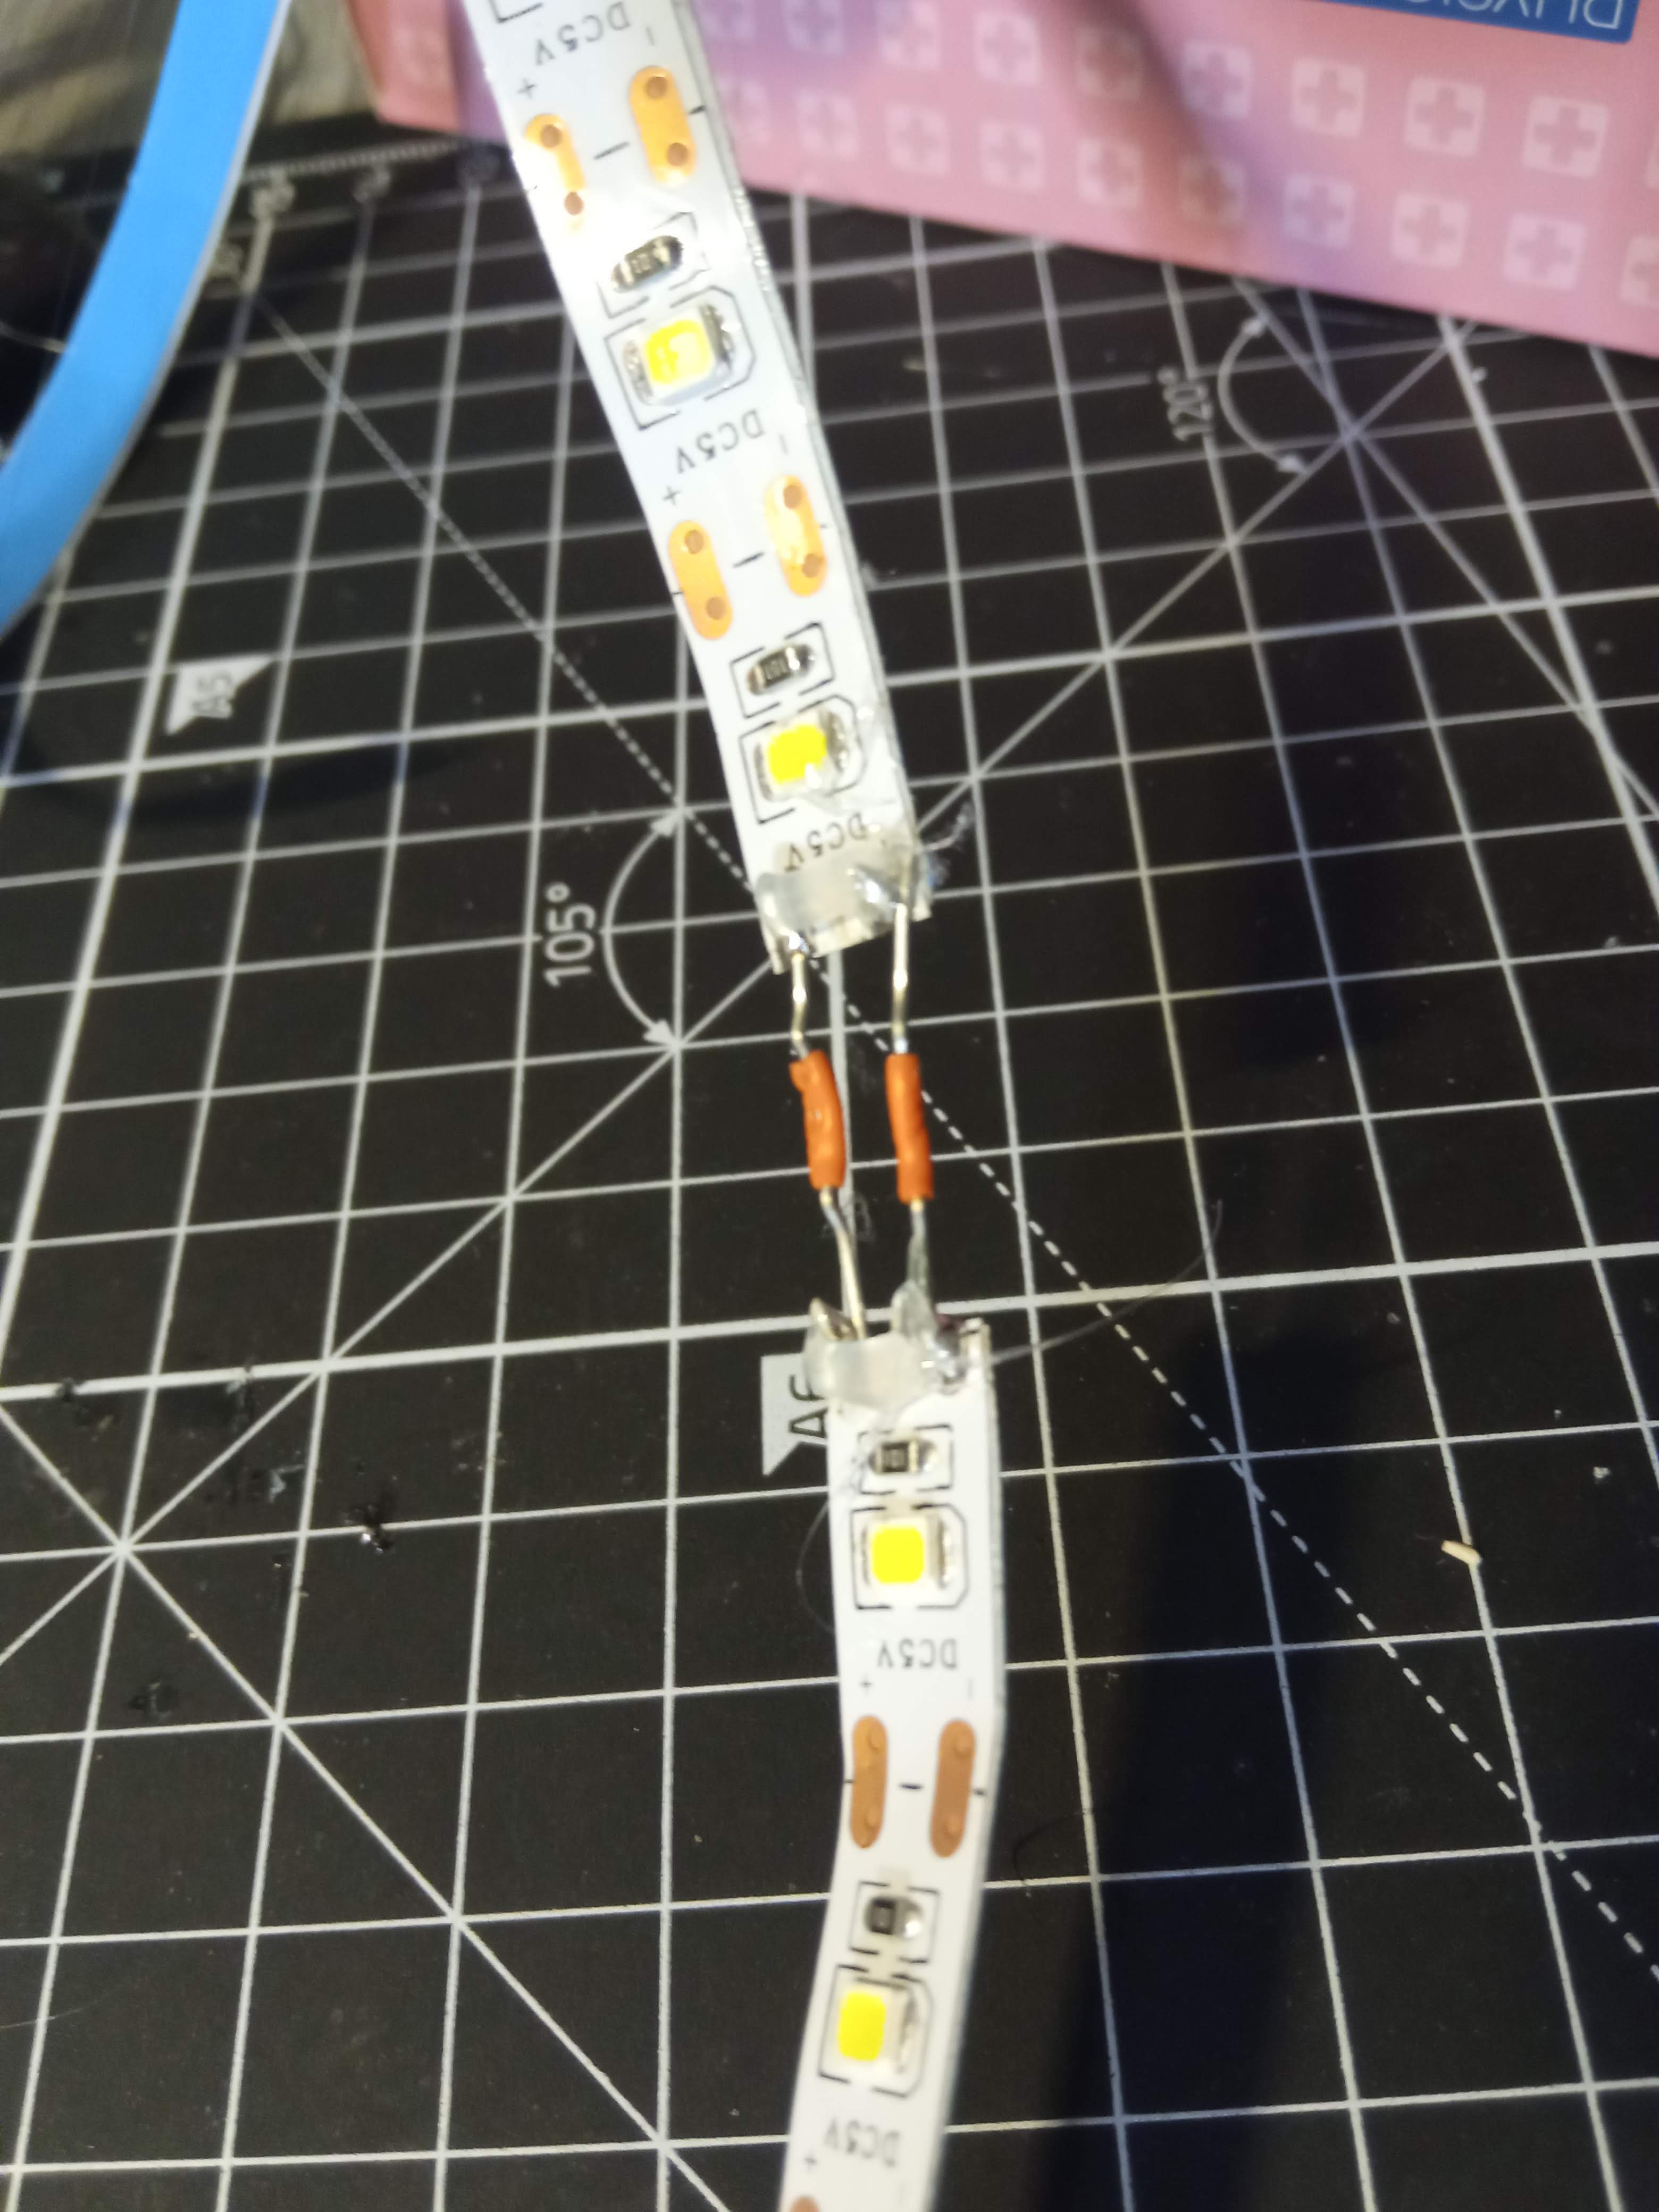
I take 2 cm wires to do the connection It's better for fold them.
BONUS : if you want something more resistant, after soldering, add hot glue.
Step 3 : Glue led strip
My led strip already have glue pad but if you don't have them, you can just glue it directly onthe wood.
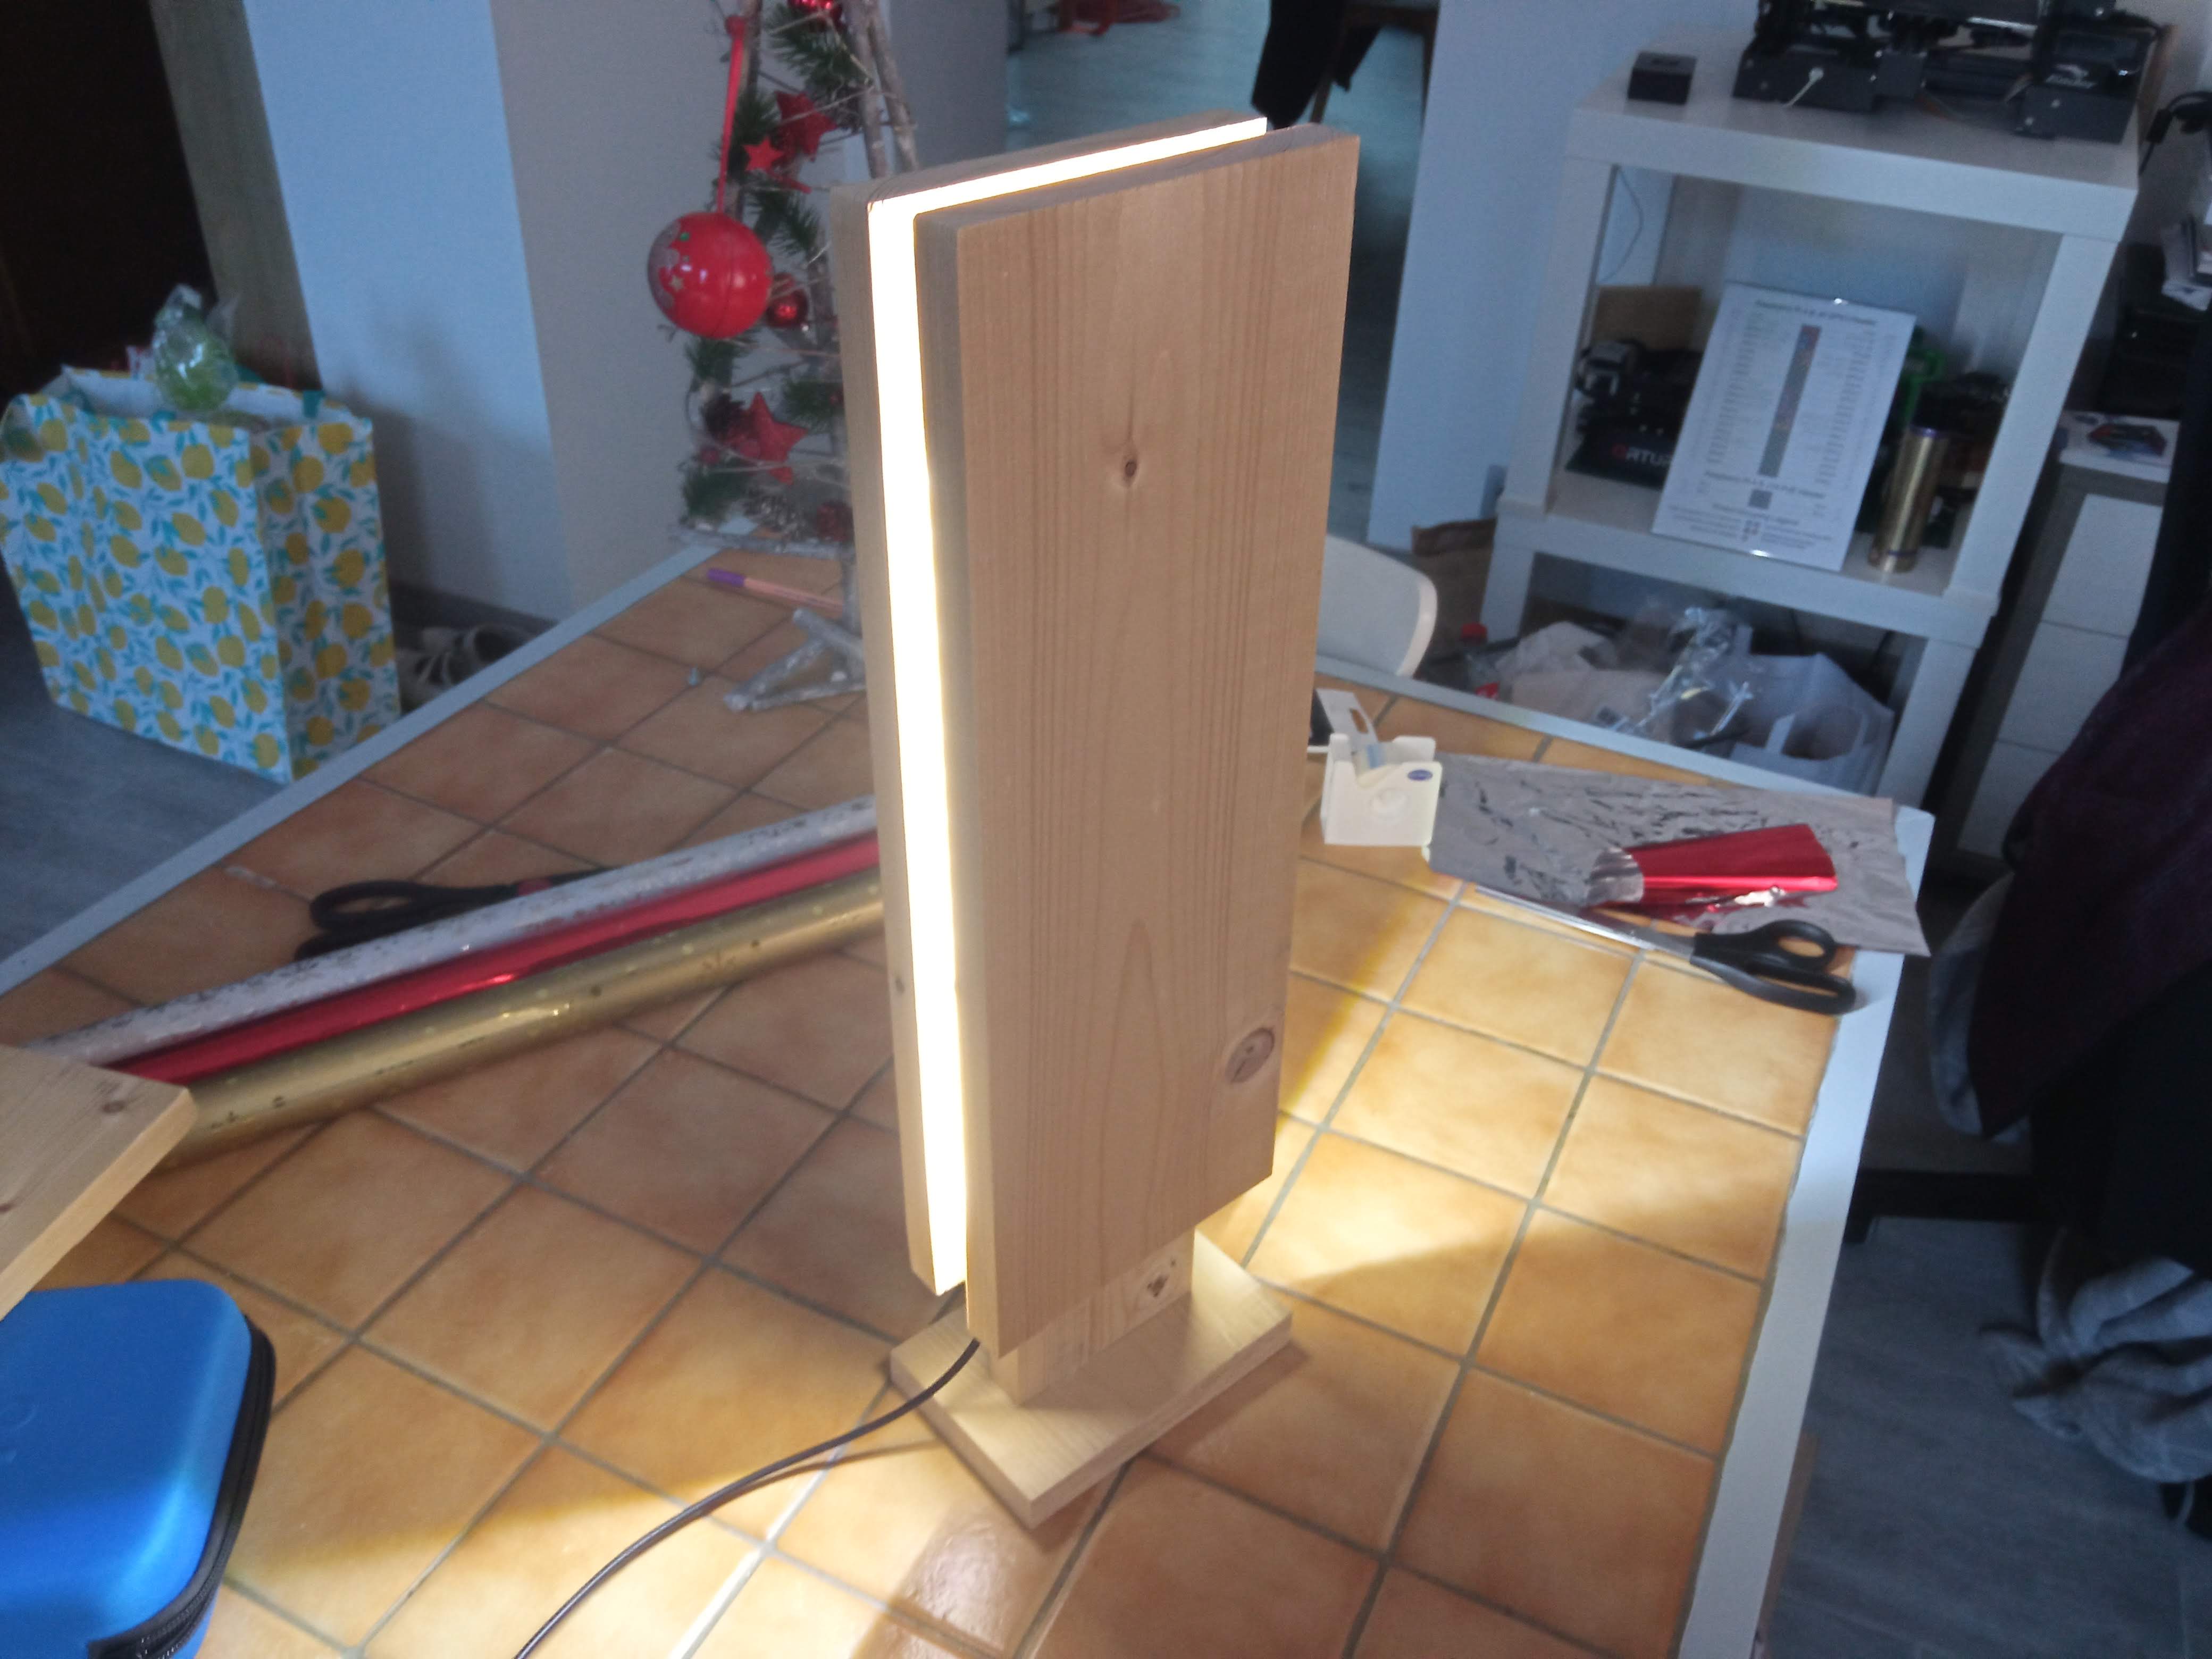
I choose to glue them on the sides of the wood to create an indirect lightning for ambient lightning.
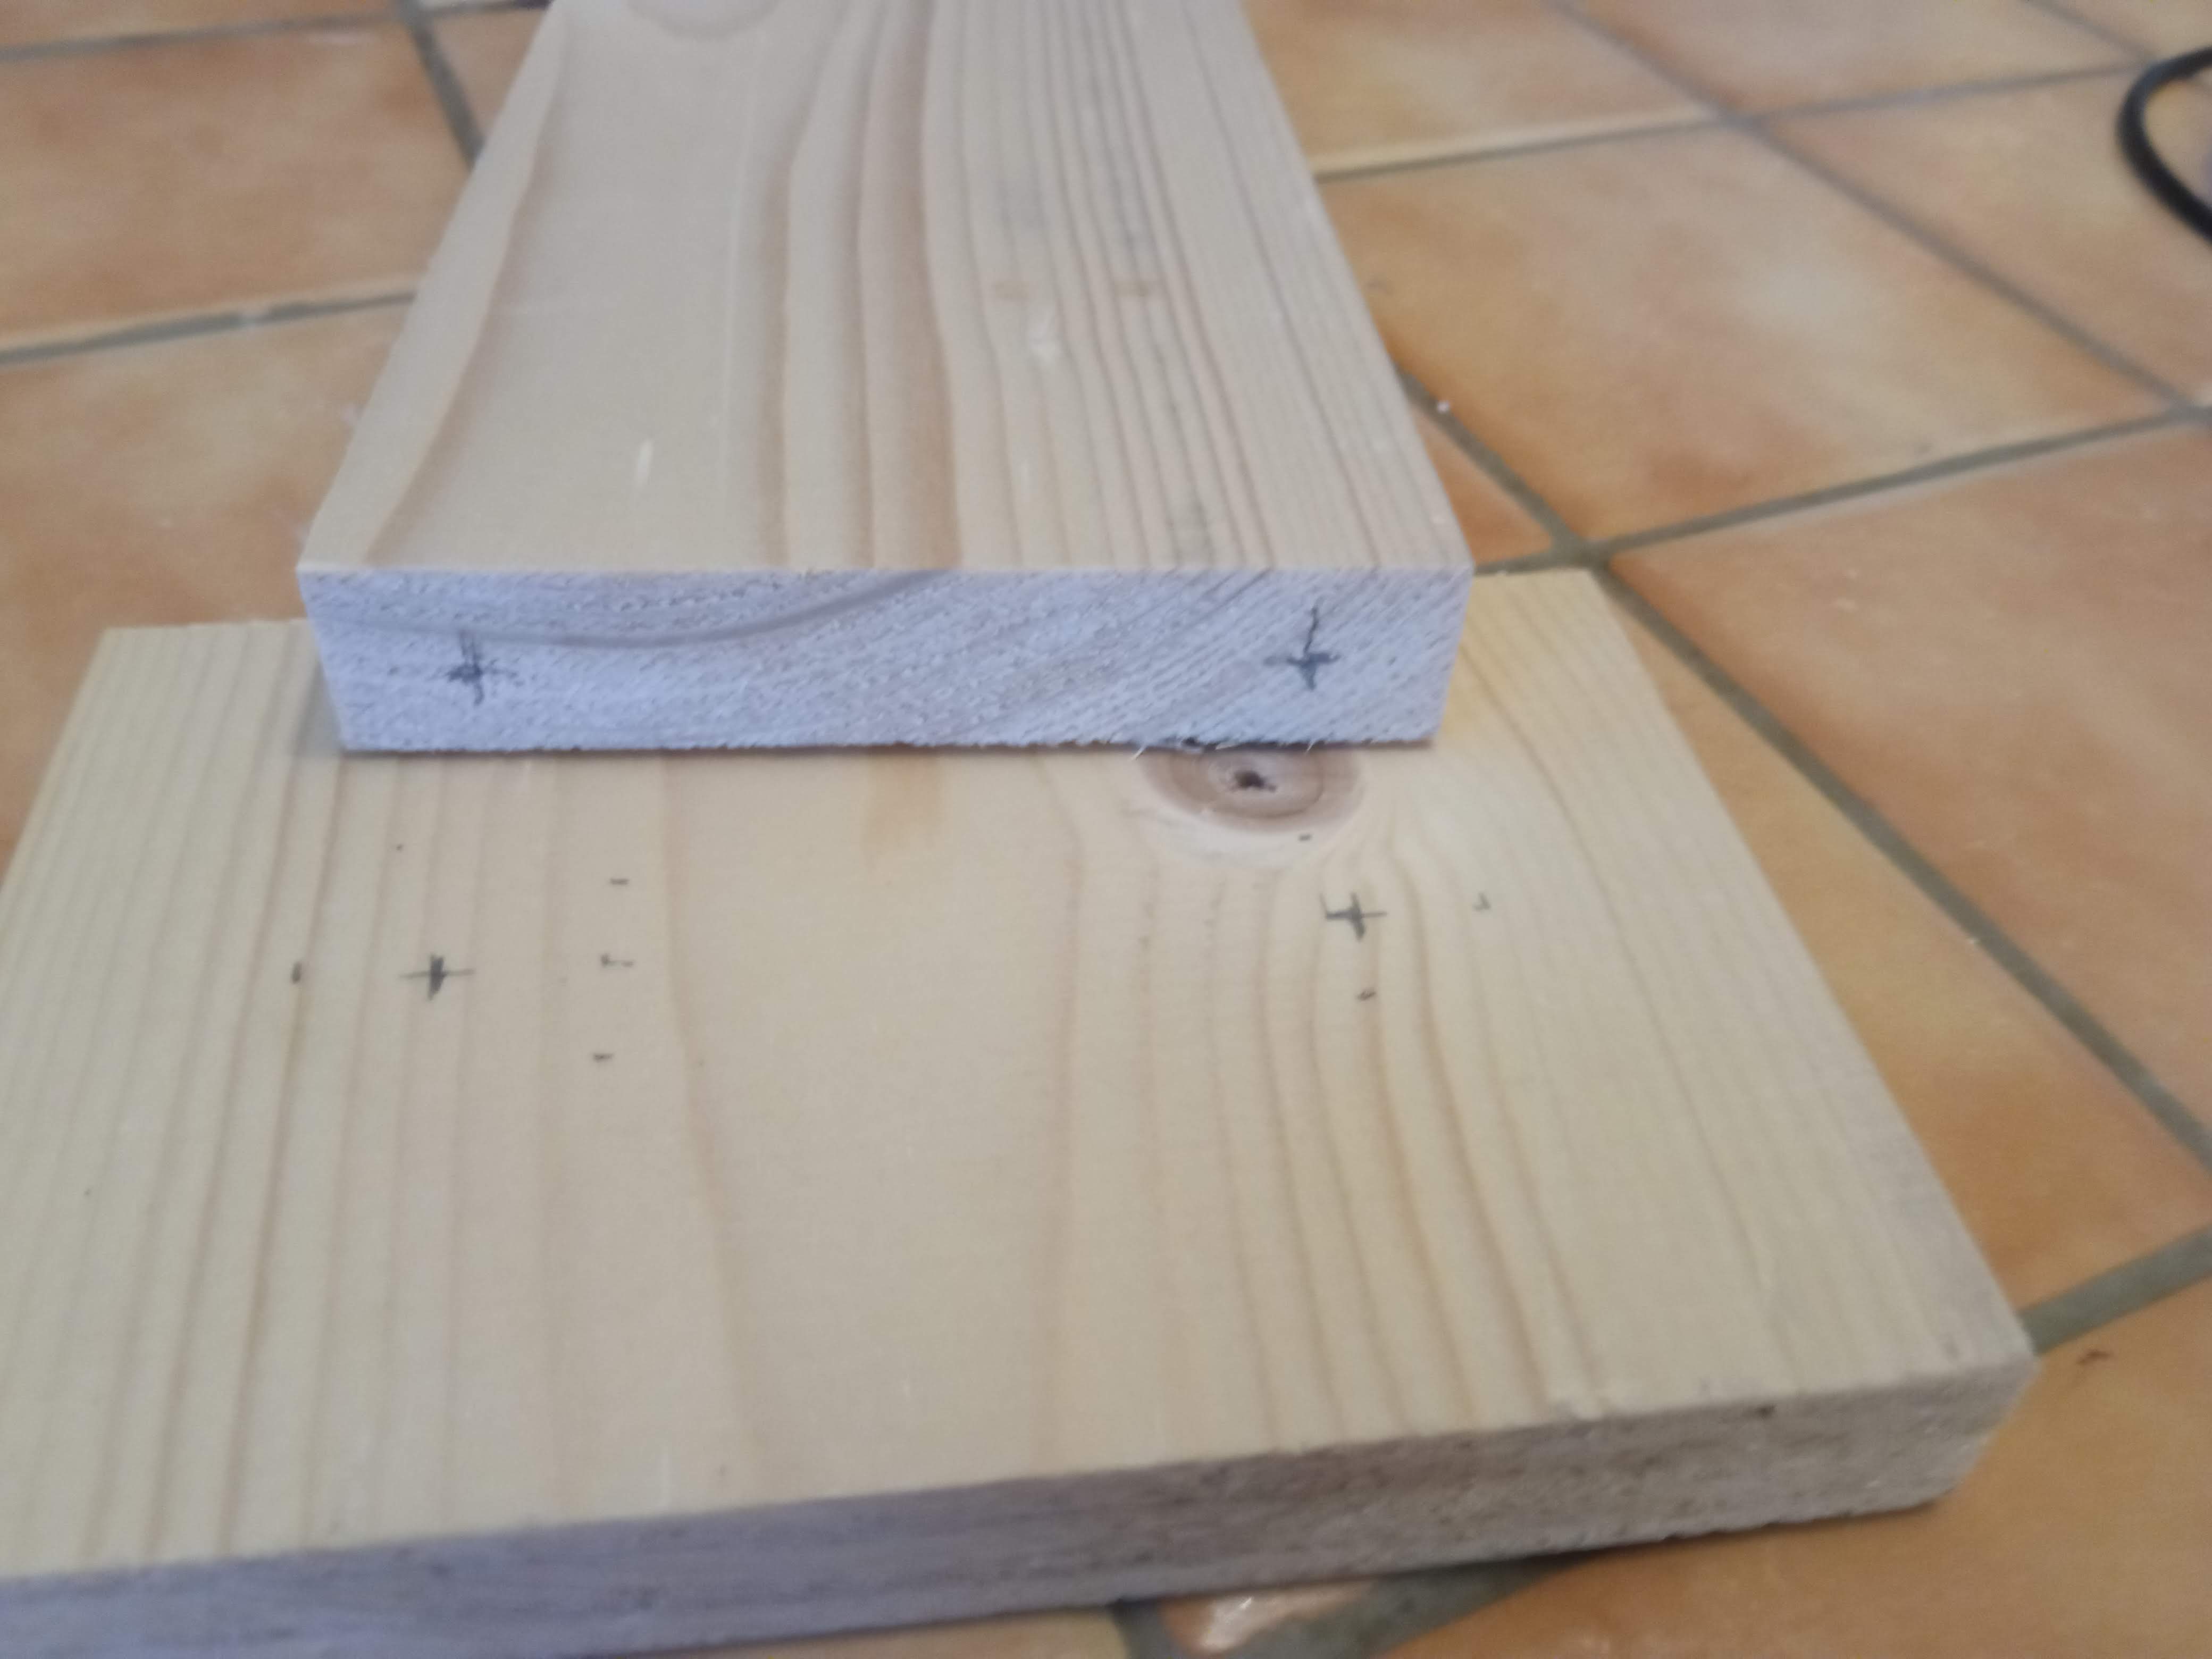
Step 4 : Screw the central part on the foot
I've made two marks on the wood and i use 2 self-drilling screws to avoid wood twisting and to be more robust.
Step 5 : Glue the left & right parts
The last step of assembly is to glue 2 last pieces of wood on the central part. For this one i decide to shift 4 cm on the top to have something more "modern"
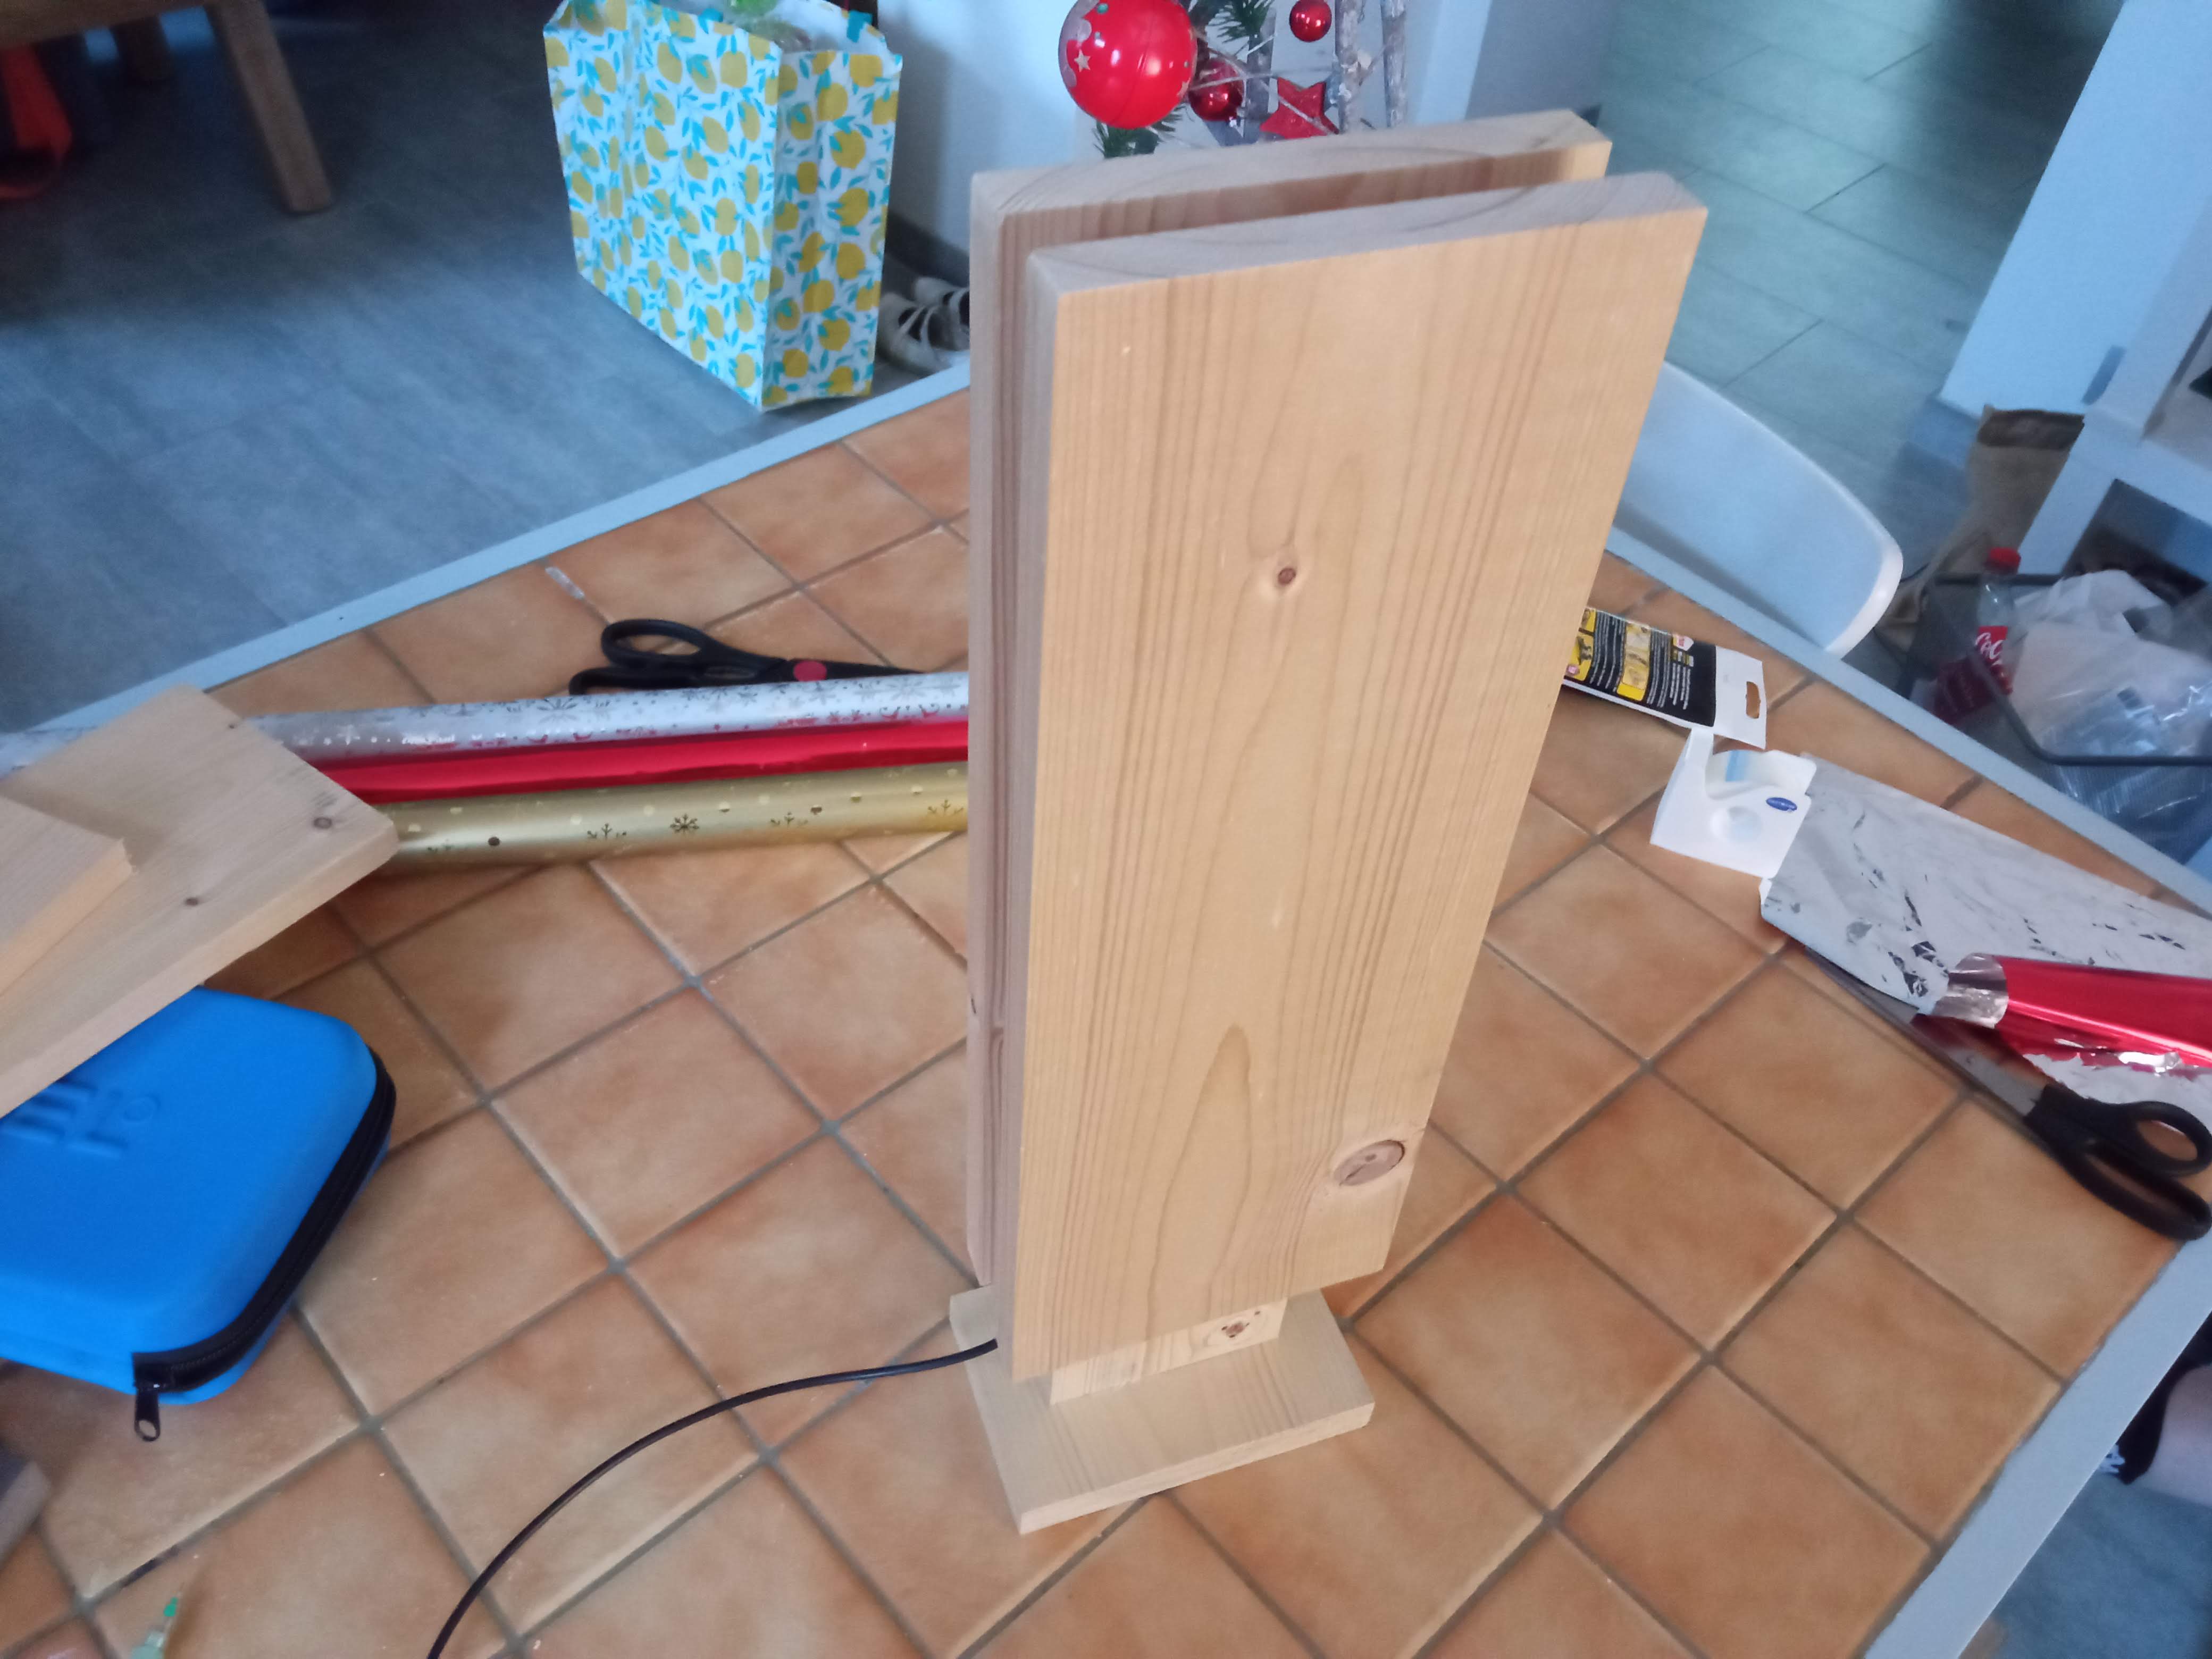
Step 6 : Add USB plug (optionnal)
My led strip already have USB plug on the strip but if you don't have it, Cut an old USB cable, strip the red and black wires.
After that, solder the red wire on +5V and the black one on GND - .
Mission successfully completed
You've made it ! You have a new ambient lamp ! You can plug it into your computer or use it with AC adapter :) Look at the final result :
Bonus : Add switch & felt furniture pads
For a more easier on/off switch, i found a USB power switch, I really advise you to add it !
Also, I add 4 felt furniture pads under the foot to avoid scratches from screw heads.
Final notes
Hope you, ladies & gentlemens, enjoyed this tutorial. Don't forget to upvote and don't hesitate to share the result if you made one. Also, if you have questions or feedbacks, as usual, the comments section is OPEN :)
Your content has been voted as a part of Encouragement program. Keep up the good work!
Use Ecency daily to boost your growth on platform!
Support Ecency
Vote for new Proposal
Delegate HP and earn more
Noice! Well done @bambukah!
Nice non-direct light. I suppose depending on the interior decor, a person can choose to decorate as they see fit!
!PIZZA
PIZZA Holders sent $PIZZA tips in this post's comments:
@zakludick(2/5) tipped @bambukah (x1)
Please vote for pizza.witness!
Not too bad. Congrats!
As a side note, I may also start a project with wood later this year, when the weather will be a bit warmer: a garden house :)
Okay sorry for checking on this late but whoah-your lamp looks good 😮 I can imagine it would look more aesthetic if the wood was black
It's a great idea ! I'll try that when I'll made a new one :) If you have some other ideas, just tell me (you can also DM me in Discord if you want)
Hmmm I'm not sure what other ideas I can give that's relevant to your interest though 😅