The easiest booties in the world (Two-needled)
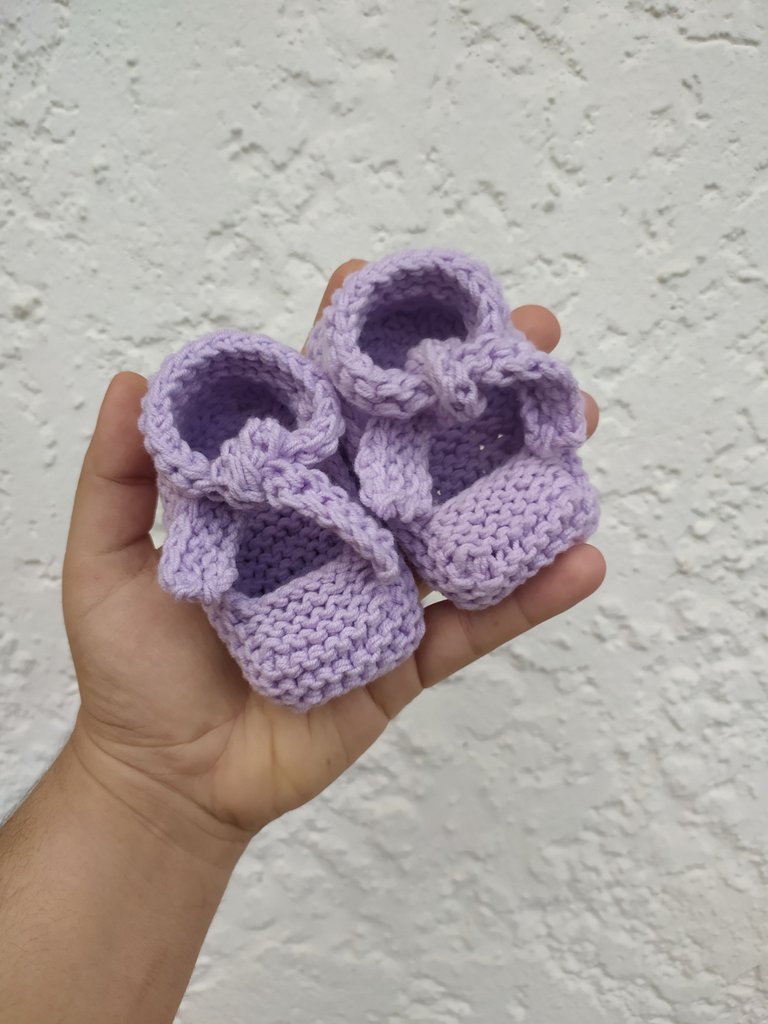
Feliz lunes mi gente de NeedleWorkMonday, hace una semana me uní a esta comunidad y tengo días deseando que sea lunes para mostrarles otro de mis proyectos recientes que hice. Les adelanto que después de hacer estos escarpines no querrán hacer otro modelo, porque son tan fáciles de hacer que en menos de una hora puedes tejer un par
Happy Monday my NeedleWorkMonday people, a week ago I joined this community and I've been wishing for days that it's Monday to show you another of my recent projects I made. I'm telling you that after making these booties you won't want to make another model, because they are so easy to make that in less than an hour you can knit a pair.
La primera vez que vi estos escarpines, que debo decirles que en España se llaman patucos, quede enamorada y moría por hacerlos, pero pensaba que eran difíciles de hacer, me tomarían mucho tiempo y gastaría mucho hilo, pero la verdad es que todas estas ideas que pasaban en mi mente quedaron de lado cuando vi el patrón de estos escarpines en diferentes páginas web y videos, así que me animé a hacerlos.
The first time I saw these booties, which I must tell you that in Spain they are called booties, I was in love and I was dying to make them, but I thought they were difficult to make, they would take me a long time and I would spend a lot of thread, but the truth is that all these ideas that were going through my mind were left aside when I saw the pattern of these booties in different websites and videos, so I was encouraged to make them.
En Venezuela, a diferencia de otros países, la mayoría de los hilos de tejer que venden son hilos delgados, pues las condiciones climáticas del país no suelen ser muy frías y por lo tanto los tejidos deben ser frescos, por esta razón muchas veces cuando me aventuré en el tejido tanto crochet como a dos agujas, el proyecto siempre quedaba considerablemente más pequeño, y esto es algo que debes tomar en cuenta siempre que vayas a empezar un proyecto, no solo el número de la aguja y la tensión que aplicas al tejer, sino también el grosor del hilo.
No te preocupes si te pasa como a mí que solo consigues hilo delgado pues aquí te enseño como jugar con esto.
In Venezuela, unlike other countries, most of the knitting yarns they sell are thin yarns, because the climatic conditions of the country are usually not very cold and therefore the fabrics must be cool, for this reason many times when I ventured into knitting both crochet and two needles the project was always considerably smaller, and this is something you should always take into account when you go to start a project, not only the number of the needle and the tension you apply to knit, but also the thickness of the yarn.
Don't worry if it happens to you like me that you only get thin yarn because here I show you how to play with this.
MATERIALES
50 gramos de hilo del color que prefieras, yo use color lila
Agujas de 5mm
Tijeras.
MATERIALS
50 grams of yarn of the color of your choice, I used lilac color.
Needles of 5mm
Scissors.
TRUCO PARA HACER MÁS GRUESO EL HILO: en lugar de usar una sola hebra de hilo debes usar dos, al principio para que sea más fácil debes hacer un pequeño nudo entre las dos hebras que luego esconderemos en el tejido. Si tienes dos ovillos es más fácil porque usaras ambos en simultaneo. Si solo tienes uno, vas a tomar la hebra de inicio de ese ovillo y vas a sacar la hebra del final que usualmente está en el centro del ovillo.
TIP TO THICKEN THE YARN: instead of using only one strand of yarn you should use two, at the beginning to make it easier you should make a small knot between the two strands that you will hide in the fabric. If you have two balls it is easier because you will use both simultaneously. If you only have one, you will take the beginning strand of that ball and pull out the end strand which is usually in the center of the ball.
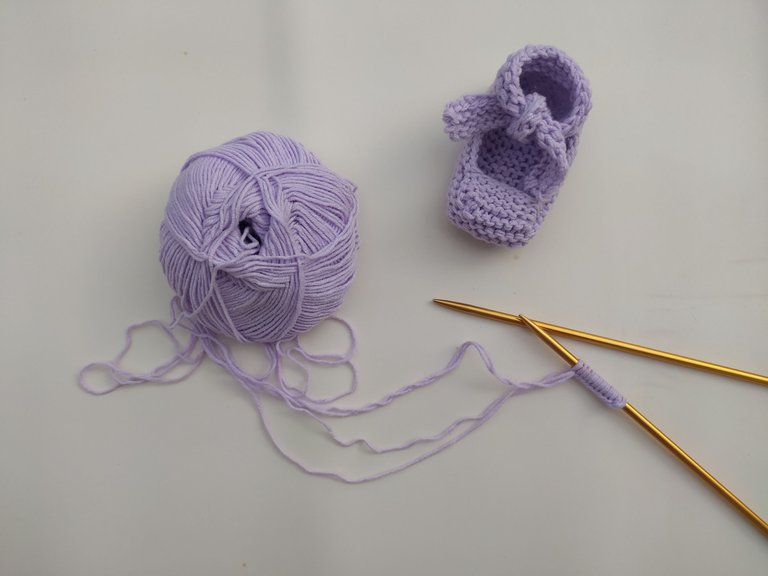
Ahora sí, manos a la obra.
Primero montamos 8 puntos en la aguja, usando el método de tu preferencia. Una vez tengas todos los puntos solo vas a tejer 23 de ellos.
Now, let's get to work.
First we mount 8 stitches on the needle, using the method of your choice. Once you have all the stitches you will only knit 23 of them.
TIP: Si tienes dudas cuenta los puntos, nunca está de más volver a contar, siempre es mejor darse cuenta al inicio y no cuando estamos a punto de terminar.
TIP: If you have doubts count the stitches, it never hurts to count them again, it is always better to count them at the beginning and not when we are about to finish.
Una vez hayas tejido los 23 puntos, le das vuelta a la labor y solo vamos a tejer 8 puntos, estos puntos son los puntos centrales del escarpín, es decir dónde van los deditos del bebé.
Once you have knitted all 23 stitches, turn the work over and we will only knit 8 stitches, these stitches are the central stitches of the booties, that is to say, where the baby's fingers go.
Estaremos tejiendo estos 8 puntos centrales durante 4 hileras, es decir 8 vueltas, siempre dejando el primer punto sin tejer.
We will be knitting these 8 central stitches for 4 rows, that is to say 8 rows, always leaving the first stitch unknit.
Una vez terminadas las hileras, debemos tener a cada lado formadas unas bolitas, por donde deberemos pasar la aguja. En este paso puedes ayudarte de una aguja de crochet y harás lo siguiente:
Antes de darle la vuelta a la labor, vas a pasar la aguja por esas bolitas que se formaron por pasar el primer punto sin tejer, una vez tengas esas 4 hebras en la aguja darás vuelta a la labor y tejes esos nuevos 4 puntos y el resto de los 8 hasta llegar al final.
Once the rows are finished, we must have some balls on each side, through which we must pass the needle. In this step you can help yourself with a crochet needle and you will do the following:
Before turning the work, you are going to pass the needle through those balls that were formed by passing the first stitch without knitting, once you have those 4 strands on the needle you will turn the work and knit those new 4 stitches and the rest of the 8 until you reach the end.
Al llegar al final, deberás meter las bolitas en la aguja izquierda, de forma que puedas tejer en esta misma vuelta los nuevos aumentos.
En esta parte vas a retomar los puntos que tenías sin tejer, y vas a tejerlos hasta el final de la labor. Vas a tejer todos los puntos, incluyendo los centrales, por 3 hileras o 6 vueltas.
Al terminar estas 3 hileras, vas a comenzar a formar el talón, para ello vas a tejer 27 puntos, darás la vuelta a la labor y vamos a trabajar nuevamente los 8 puntos centrales, tejiendo 7 puntos, y dos puntos juntos, das la vuelta a la labor y tejes nuevamente 7 puntos y dos puntos juntos. Esto lo vas a repetir hasta que solo queden 14 puntos en la aguja, terminas la vuelta y cierras todos los puntos.
When you reach the end, you must put the balls on the left needle, so that you can knit the new increases in this same row.
In this part you will pick up the stitches that you had without knitting, and you will knit them until the end of the work. You will knit all the stitches, including the central ones, for 3 rows or 6 rows.
At the end of these 3 rows, you are going to begin to form the heel, for this you are going to knit 27 stitches, turn the work and we are going to work again the 8 central stitches, knitting 7 stitches, and two stitches together, turn the work and knit again 7 stitches and two stitches together. Repeat this until there are only 14 stitches left on the needle, finish the round and close all the stitches.
Por último, se forma la tira del escarpín que va atada al tobillo, aquí dependerá de tu gusto, en este caso yo monte 20 puntos en la aguja, levante 10 puntos en la labor y monte 20 puntos más en el agua, para luego darle la vuelta a la labor y tejer dos vueltas. Terminadas estas vueltas se cierran los puntos.
Finally, form the ankle strap that will be attached to the ankle, here it will depend on your taste, in this case I cast on 20 stitches on the needle, pick up 10 stitches in the work and cast on 20 more stitches in the water, then turn the work and knit two rounds. Once these rounds are finished, close the stitches.
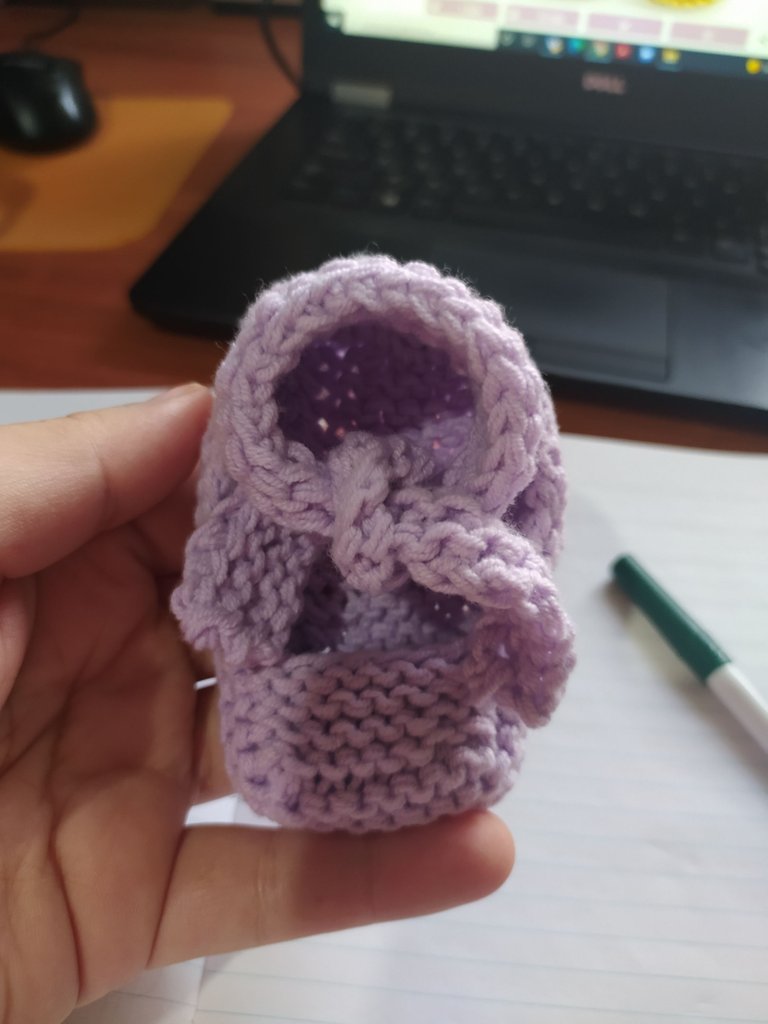
Como ves este trabajo no requiere costuras, y se hace en poco tiempo, en mi caso los teji durante una clase virtual jajaja.
As you can see this work does not require sewing, and it is done in a short time, in my case I knitted them during a virtual class hahaha.
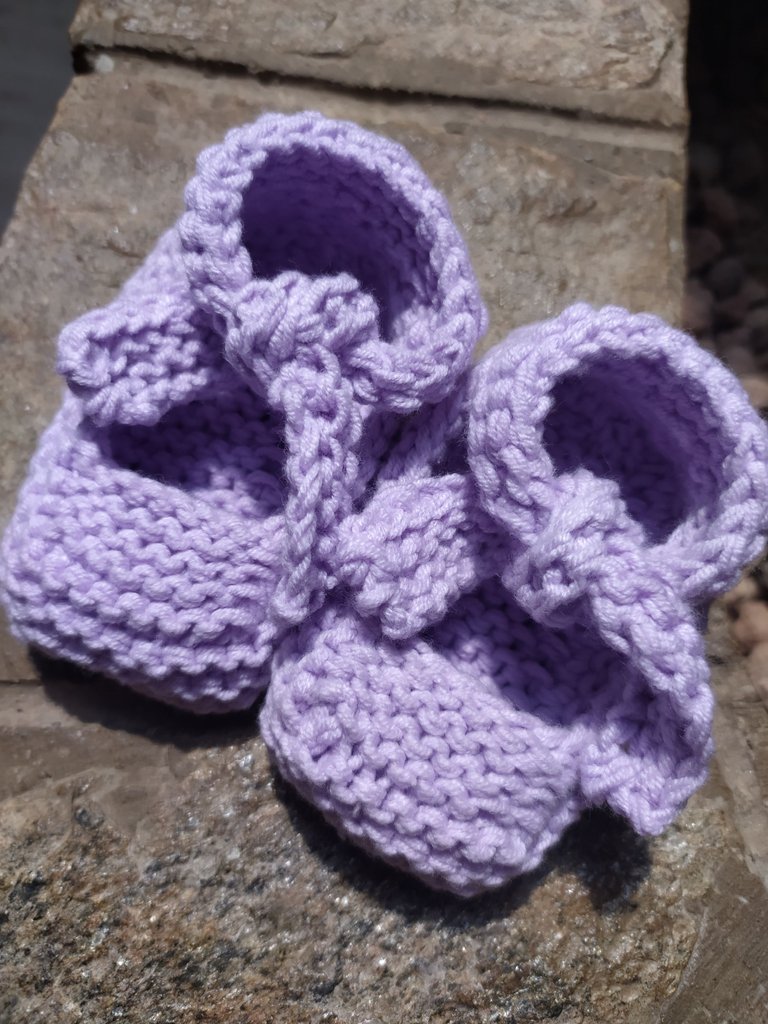
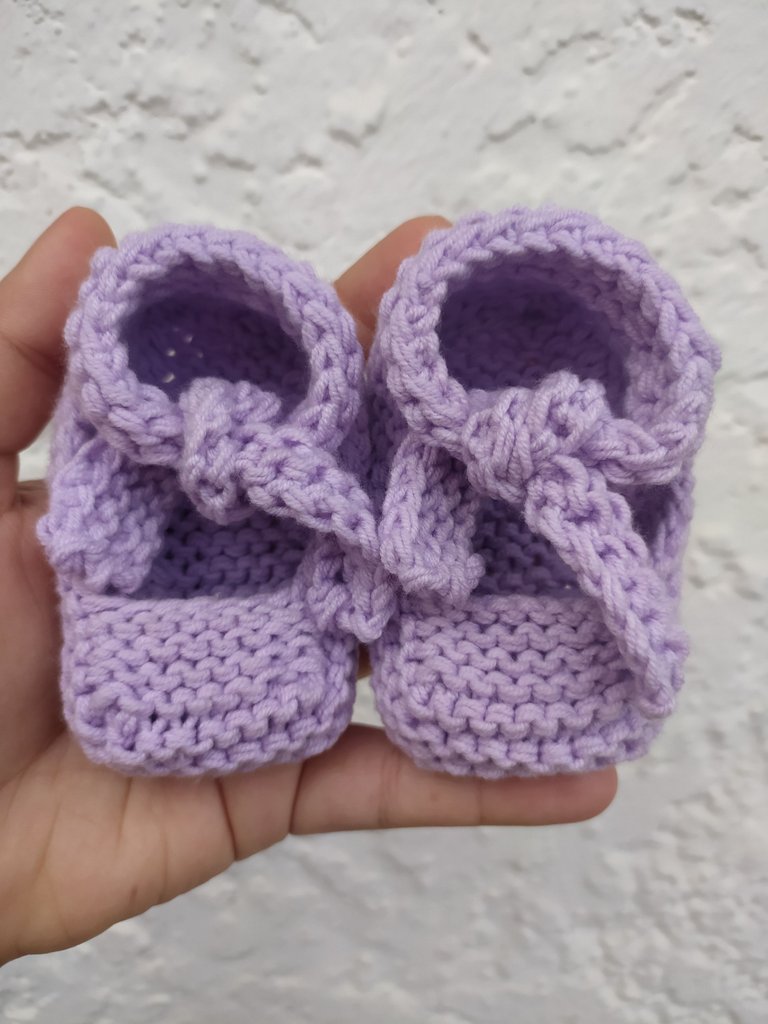
Este patrón lo saque de la página web de Creativa Atelier (www.creativaatelier.com) haciendo cambios en el grosor del hilo y tamaño de la aguja.
Fotos tomadas con mi celular Redmi note 8.
I got this pattern from the Creativa Atelier website (www.creativaatelier.com) making changes in thread thickness and needle size.
Photos taken with my Redmi note 8 cell phone.
My last !PIZZA today for your effort.
Thanks 🥰
PIZZA Holders sent $PIZZA tips in this post's comments:
@themyscira(5/5) tipped @soysofia (x1)
You can now send $PIZZA tips in Discord via tip.cc!
https://twitter.com/Euribelsofia/status/1493296838153281548
The rewards earned on this comment will go directly to the person sharing the post on Twitter as long as they are registered with @poshtoken. Sign up at https://hiveposh.com.
Congratulations @soysofia! You have completed the following achievement on the Hive blockchain and have been rewarded with new badge(s):
Your next payout target is 50 HP.
The unit is Hive Power equivalent because post and comment rewards can be split into HP and HBD
You can view your badges on your board and compare yourself to others in the Ranking
If you no longer want to receive notifications, reply to this comment with the word
STOPTo support your work, I also upvoted your post!
Check out the last post from @hivebuzz:
Support the HiveBuzz project. Vote for our proposal!
!hivebits for you
Hivebits blends Hive's blockchain and Bitcoin's ethos. Your effort = your reward. Mine HBIT simply with ! hivebits (no space), one-per-day. Success! You just mined .9 HBIT and the user you replied to received .1 HBIT on your behalf. You can receive 100% of the HBIT by replying to one of your own posts or comments. Or, support Hivebits by using the official HBIT mine | your wallet | market | tools | connect | <><
Adorable! I love baby clothes so much and these booties are so sweet.
Thanks for coment 🤩
Beautiful thanks for sharing @soysofia
Thanks @smilestitches 🤩
You’re welcome 😉
They are the cutest! Baby knits are the best!
Thanks 🥰 i love baby clothes 🤩
Gracias por el apoyo
Qué lindura, hay que tener tanta delicadeza para lograr tejidos hermosos en minuatura. Te felicito por tu habilidad 😃
Gracias @chaodietas la verdad me encanta toda la moda de bebés 🥰
Hello @soysofia! Welcome to the NeedleWorkMonday Community!
Those booties are so adorable. I love the square shaped toe and the beautiful tie. You did a nice job on making these :)
Every week needleworkers from around the globe get together to share our work, patterns, tips, ideas and shortcuts as we support one another. Our goal is to inspire the Hive blockchain to give crafting a try.
On Monday’s we use the #needleworkmonday tag and on all other days we use the #needlework tag without the word Monday attached. We share and post our work directly from the Community page.
We encourage our members to share about their needlework life with us. We love hearing stories and what types of things inspired your projects. We challenge you to put some feeling and emotion into your publications and help us get to know the needler behind the fabric.
Feel free to share photos of your work but it’s optional if you choose to share the steps with us (we do require you share the step process in at least one of your posts for validation purposes). If you just want to needle and share about that time we’d love to hear about it. 😊
For more information about what we do and for our posting guidelines please visit our FAQs.
Thank you ~
Thank you very much for the support and suggestions, I will take them into account because I love to know that there is a community where we can show our projects and inspire other people.
I hope in my next posts to show a little more of me and continue sharing with the community new projects.
You’re welcome ~ 😉