[ESP-ING] 🌺 Lindo top casual con estampada de flores y frunce en las mangas. || 🌺Cute casual top with flower print and gathered sleeves.
¡Hola comunidad de Hive!
Hello Hive community!
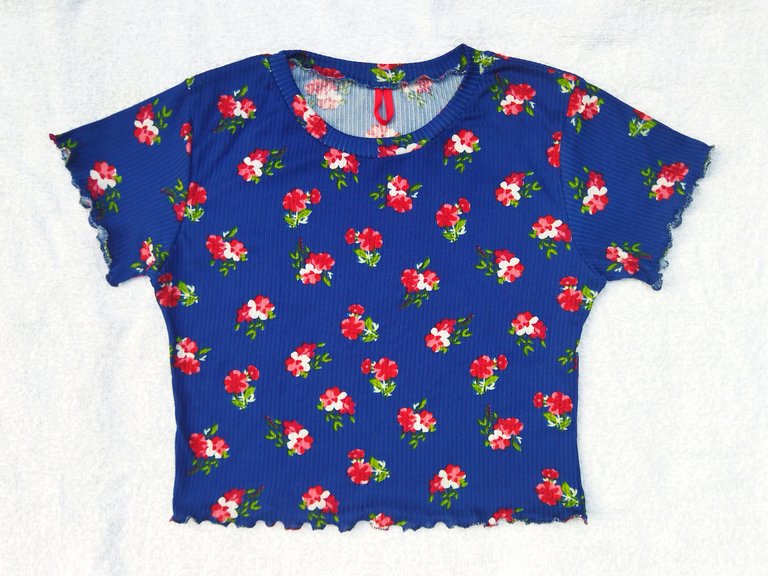
Hola queridos Needleworkers, feliz viernes, casi fin de semana, espero se encuentren de maravilla 🤗♥️ hoy le compartiré muy nuevo proyecto de costura, se trata de un lindo top con estampado de flores y frunce en las mangas y ruedo, la tela que utilicé fué micro rib, este tipo de telas se han convertido en unas de mis favoritas.
Hello dear Needleworkers, happy Friday, almost weekend, I hope you are feeling wonderful 🤗♥️ today I will share with you a very new sewing project, this is a cute top with flower print and gathering on the sleeves and hem, the fabric I used was micro rib, this kind of fabrics have become one of my favorites.
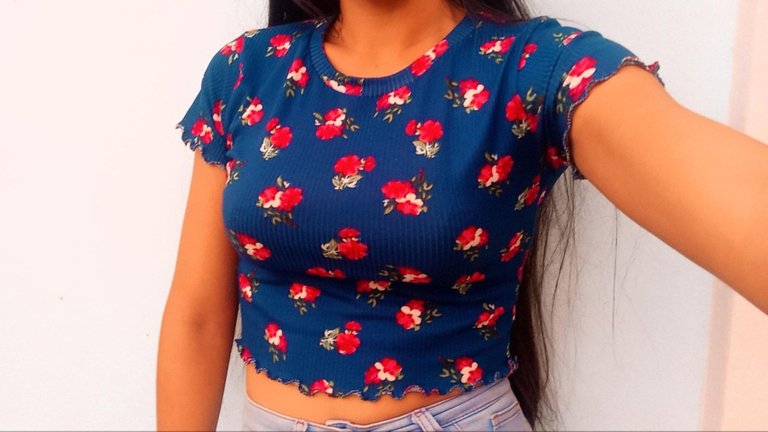
Este es un top muy sencillo de hacer y pueden elaborarlo de alguna blusa que les quede bien al cuerpo, yo espero de corazón que les guste y les sirva este contenido, que esperas? Ve corriendo por tu hilo y aguja y comencemos a trabajar 💪💪💪
This is a very simple top to make and you can elaborate it from any blouse that fits you well to the body, I sincerely hope you like it and you can use this content, what are you waiting for? Go running for your thread and needle and let's start working 💪💪💪
🧵🧷🧵🧷🧵🧷🧵🧷🧵🧷🧵🧷🧵🧷🧵🧷🧵
Necesitaremos || We will need
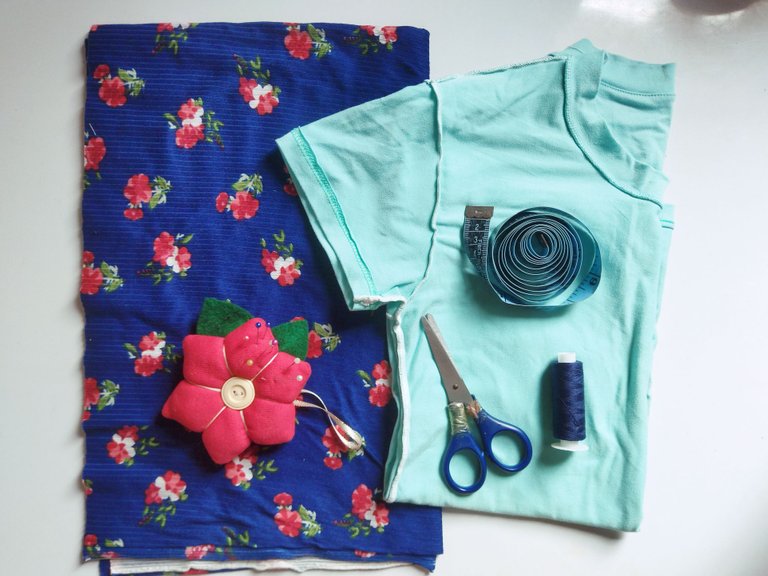
- Medio metro de tela micro rib
- Hilo azul marino
- Alfileres
- Tijera
- Cinta métrica
- Una blusa patrón
- Aguja y máquina de coser
- Half a meter of micro rib fabric
- Navy blue thread
- Pins
- Scissors
- Tape measure
- A pattern blouse
- Needle and sewing machine
🧵🧷🧵🧷🧵🧷🧵🧷🧵🧷🧵🧷🧵🧷🧵🧷🧵
Paso 1 || Step 1
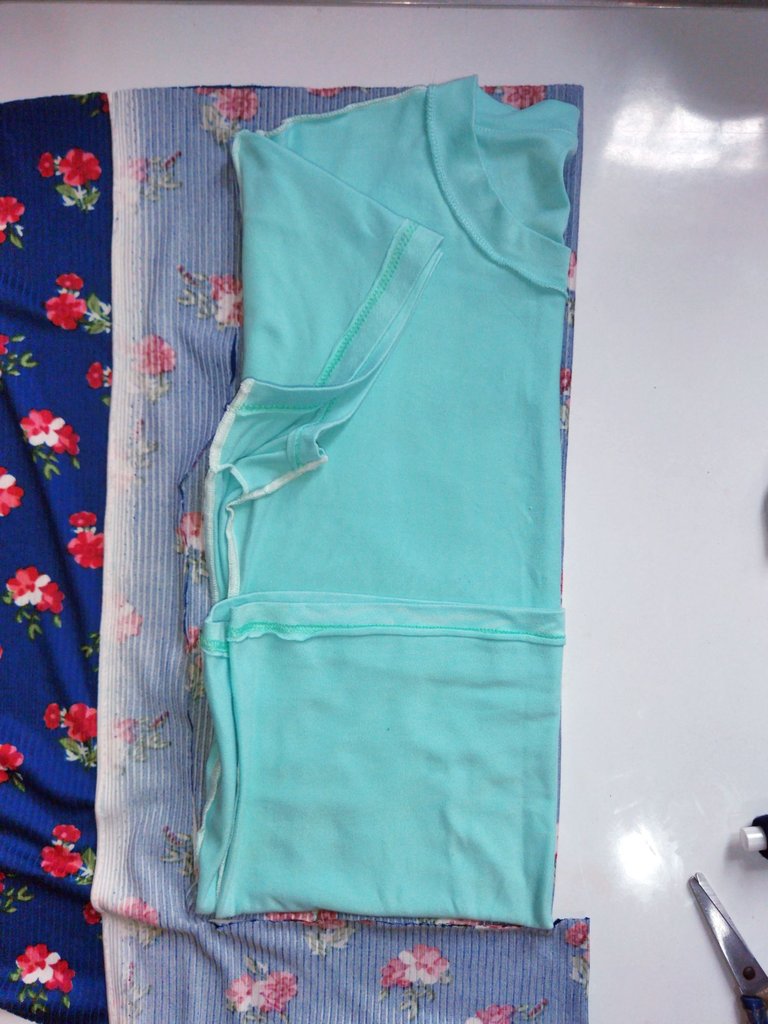
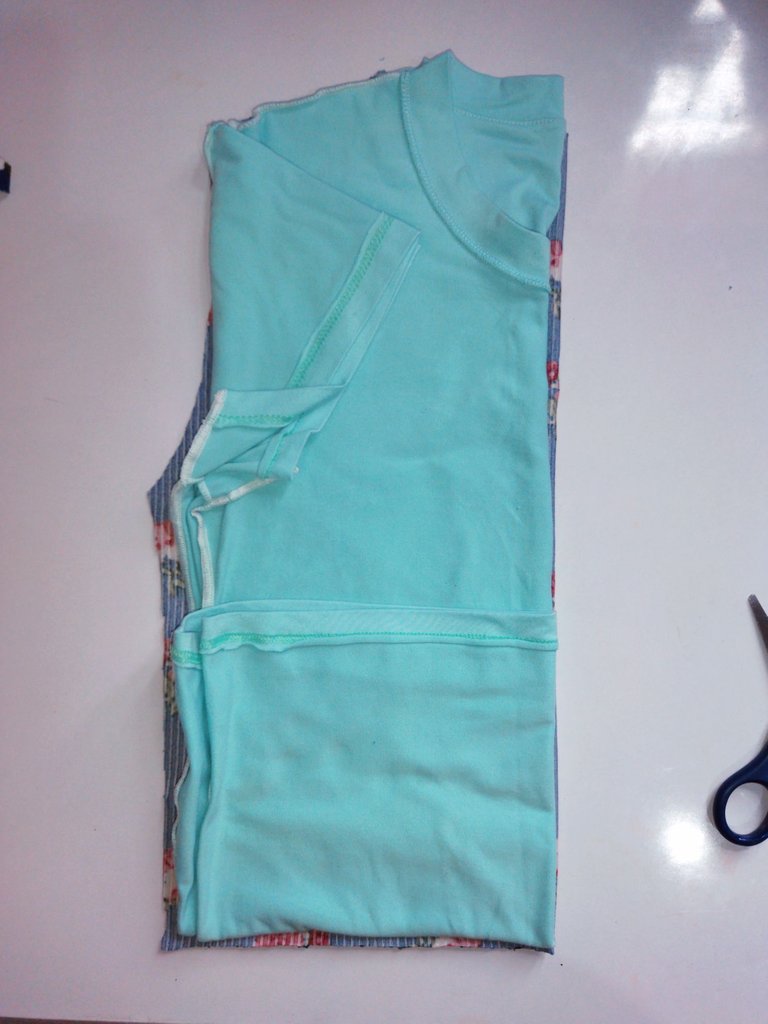
- Comenzamos colocando la camisa modelo sobre la tela, vamos a cortar de la tela colocando el lado que más estira en dirección horizontal, cortamos dejando 1cm de margen de costura, para este top necesitamos sacar dos piezas (1 pieza delantera y 1 pieza trasera), Debemos tener en cuenta que el contorno del cuello de la pieza delantera es más bajo que el de la pieza trasera , al igual en la sisa delantera debemos cortar 1 cm hacia adentro.
- We start by placing the model shirt on the fabric, we will cut the fabric placing the side that stretches more horizontally, we cut leaving 1cm seam allowance, for this top we need to take out two pieces (1 front piece and 1 back piece), we must take into account that the contour of the neck of the front piece is lower than the back piece, as well as in the front armhole we must cut 1 cm inward.
Paso 2 || Step 2
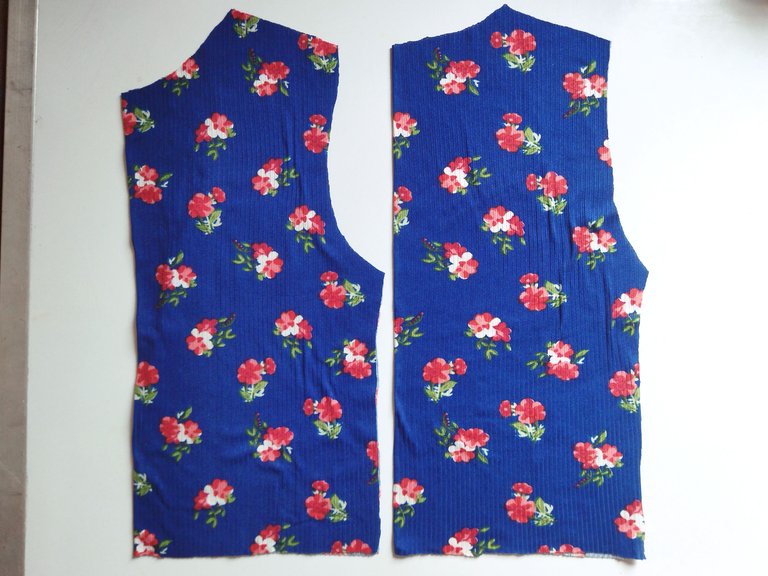
- Después de tener la dos piezas cortadas (Delantera y trasera) querían como te muestro en la primera imagen 👆
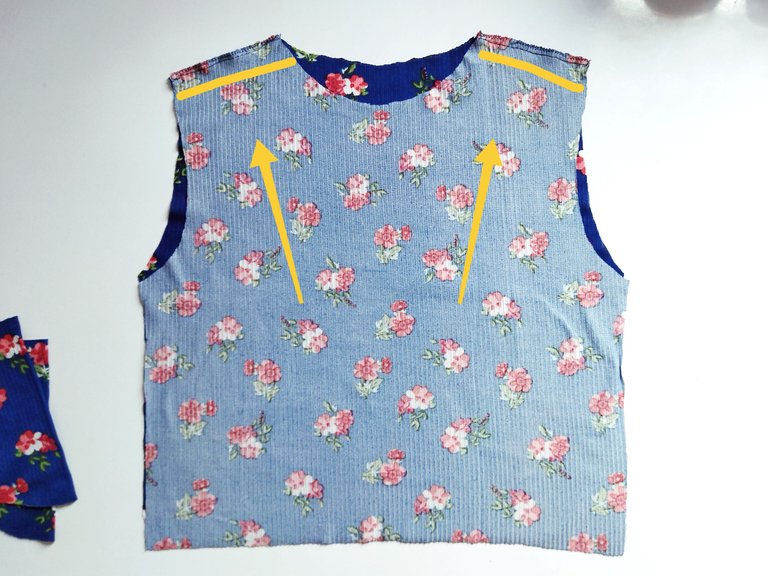
- Ahora abrimos las dos piezas y enfrentamos los derechos. Y sujetamos con alfileres las hombros del top, como te muestro en la imagen. Pasamos costura recta y luego zigzag para rematar la costura en los hombros.
- After having the two pieces cut (front and back) they wanted as I show you in the first image 👆.
- Now we open the two pieces and face the rights. And pin the shoulders of the top, as I show you in the picture. We pass straight seam and then zigzag to finish the seam on the shoulders.
Paso 3 || Step 3
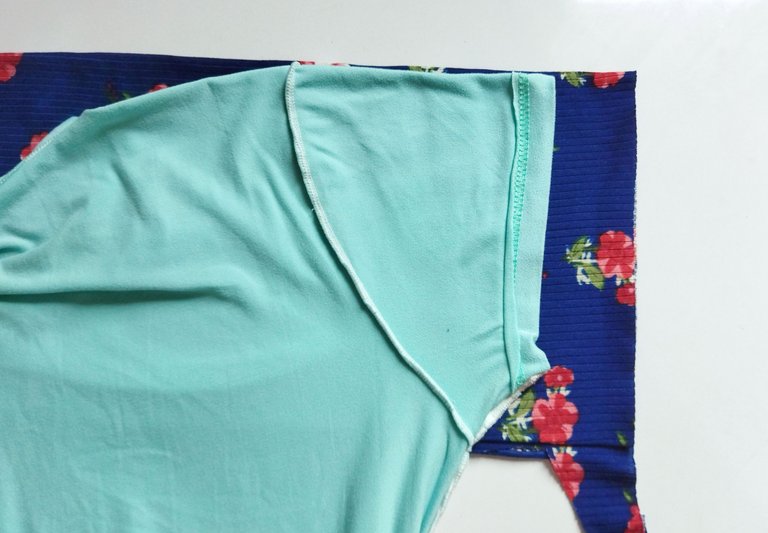
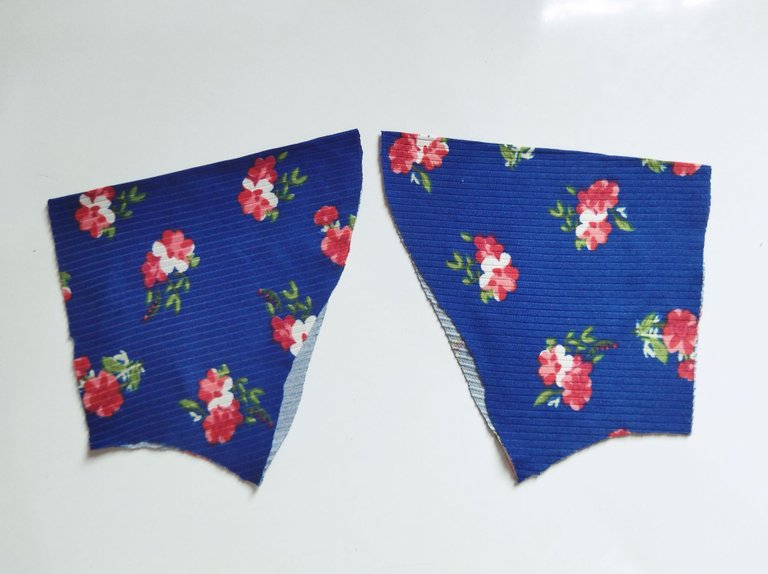
- Volvemos a colocar la camisa patrón sobre la tela pero en éste caso para cortar las mangas del top, corté las mangas dejándole 1cm de margen de costura, a la parte delantera de la manga le vamos a cortar un curva de 1 cm hacia adentro de la sisa.
- We return to place the pattern shirt on the fabric but in this case to cut the sleeves of the top, I cut the sleeves leaving 1 cm seam allowance, the front of the sleeve we will cut a curve of 1 cm inward from the armhole.
Paso 4 || Step 4
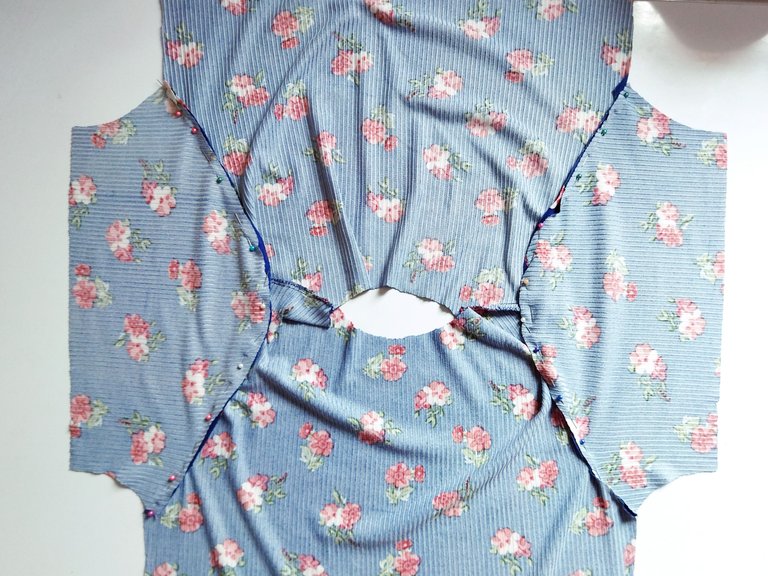
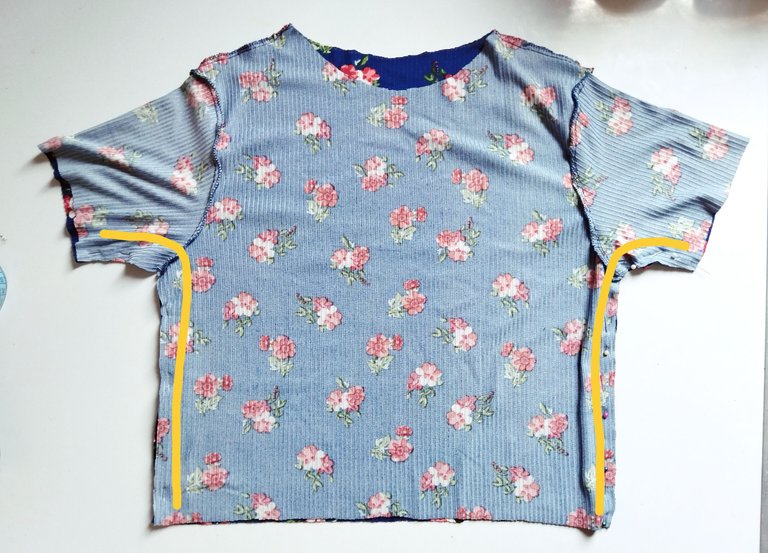
- Ahora vamos a sujetar las manga a la sisa del top, y pasamos costura recta y zigzag para un mejor acabado en los bordes (👀 OJO!!! Muy pendiente de la dirección de la tela, el derecho y el revés). Para terminar este paso colocamos las piezas del top enfrentando los derechos y cosemos desde la manga a los costados cerrando todo.
- Now we are going to attach the sleeves to the armhole of the top, and pass straight and zigzag stitching for a better finish on the edges (👀 EYE!!! Very aware of the direction of the fabric, the right and the wrong side). To finish this step we place the pieces of the top facing the right sides and sew from the sleeve to the sides closing everything.
Paso 5 || Step 5
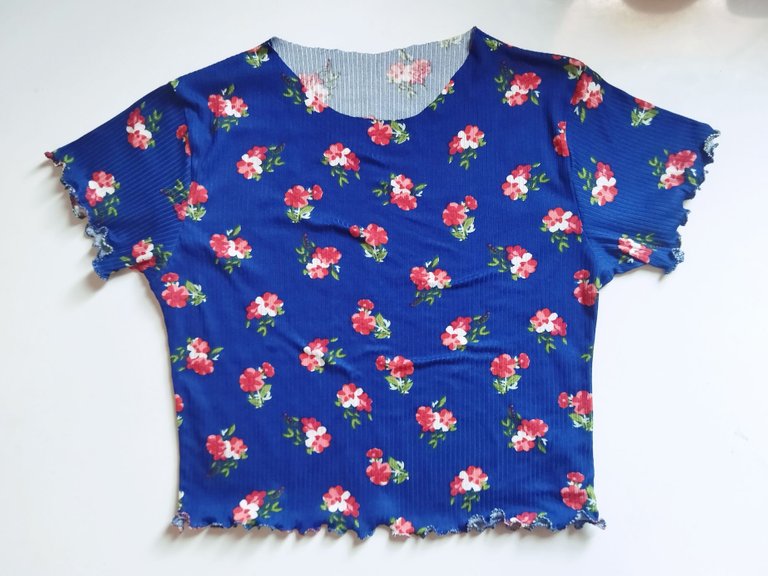
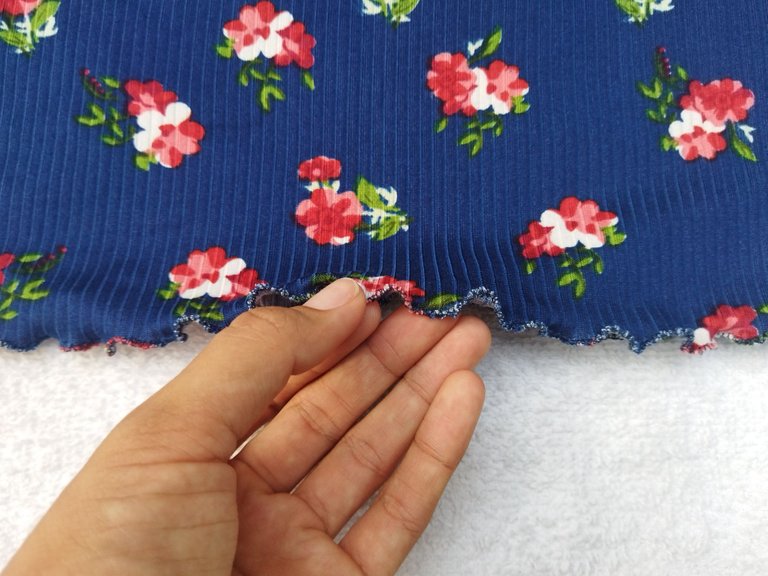
- Para coser los frunce en las orillas de las mangas y el ruedo del top coloqué la puntada en zigzag y el ancho de puntada en 1 esto hará un efecto de falso overlock, entonces cosemos estirando las orillas para que quede como un faralao, de esta manera queda muy hermosa.
- To sew the gathers on the edges of the sleeves and the hem of the top I placed the stitch in zigzag and the stitch width in 1, this will make a false overlock effect, then we sew stretching the edges so that it looks like a faralao, this way it is very beautiful.
Paso 6 || Step 6
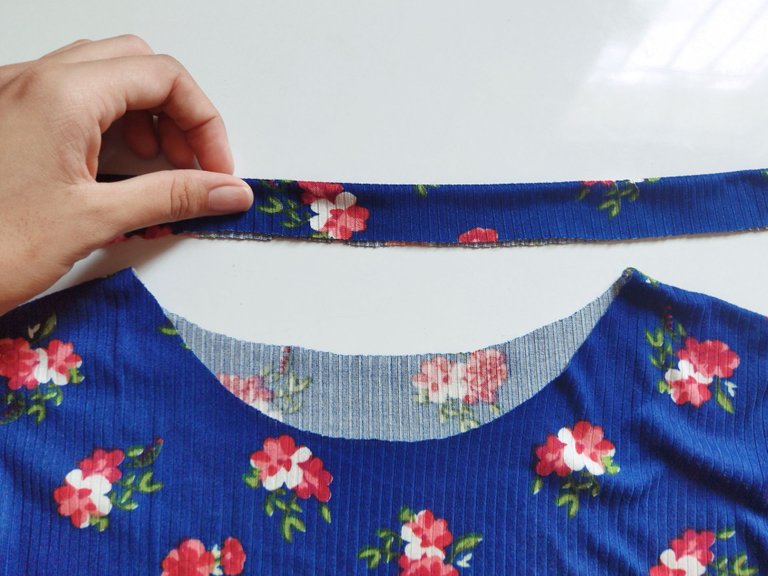
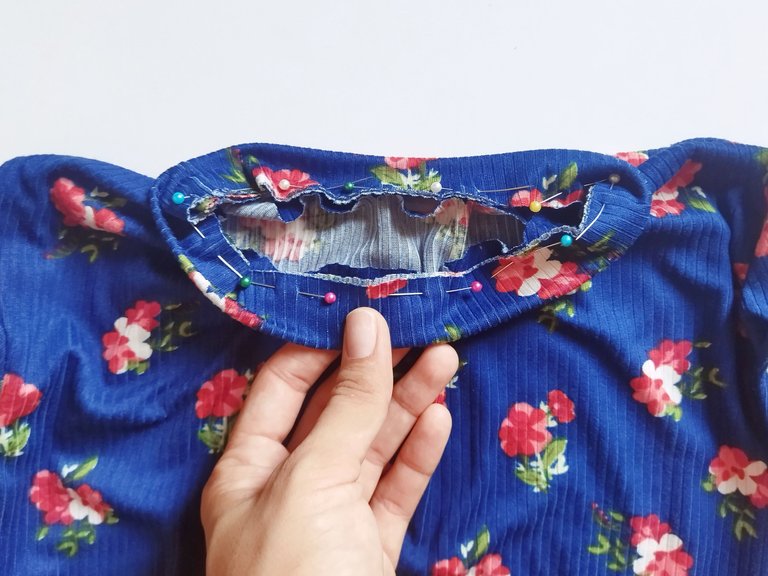
- Cómo último paso dejamos el cuello, así que corté un tira de 5cm de ancho la cual doblé a la mitad y la sujeté con alfileres al contorno del cuello enfrentando derechos (derecho blusa y derecho tira) y luego cosí a máquina con costura recta y luego zigzag.
- As a last step we left the collar, so I cut a 5cm wide strip which I folded in half and pinned it to the contour of the collar facing right sides together (right side blouse and right side strip) and then machine stitched with straight and then zigzag stitching.
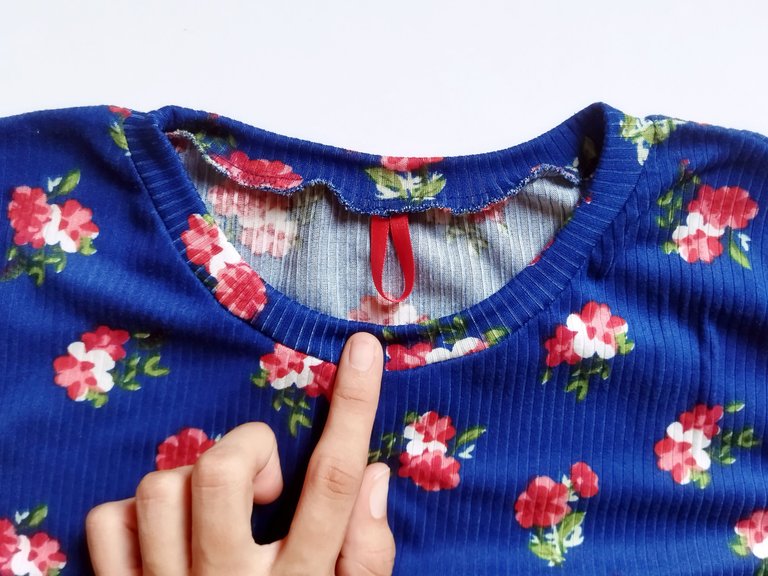
- Así quedaría el cuello del top, coloqué una cinta roja para identificar el trasera del top, si tenemos alguna etiqueta también se la podemos colocar.
- I placed a red ribbon to identify the back of the top, if we have a label we can also place it.
Resultado final.
Final result.
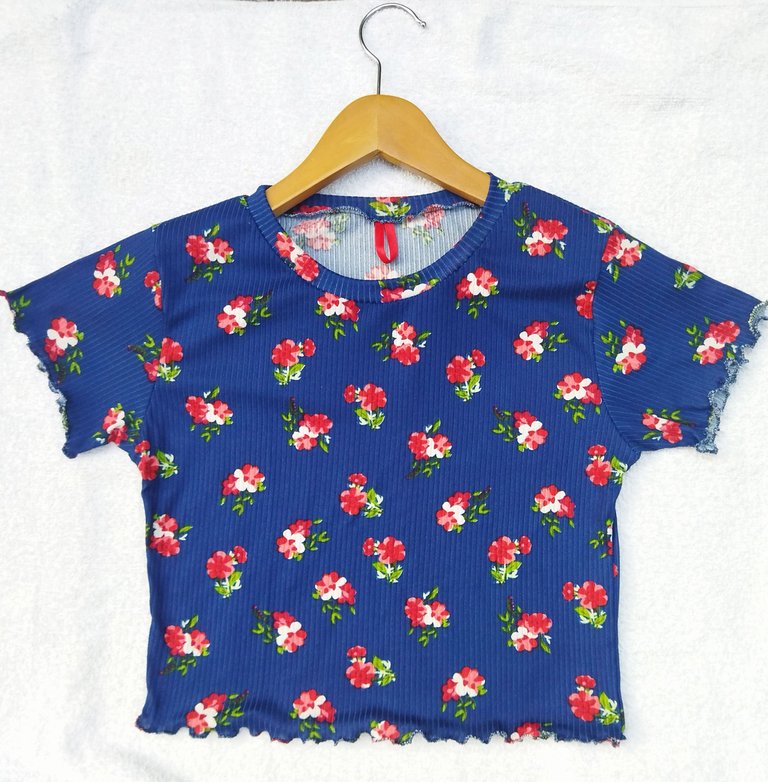
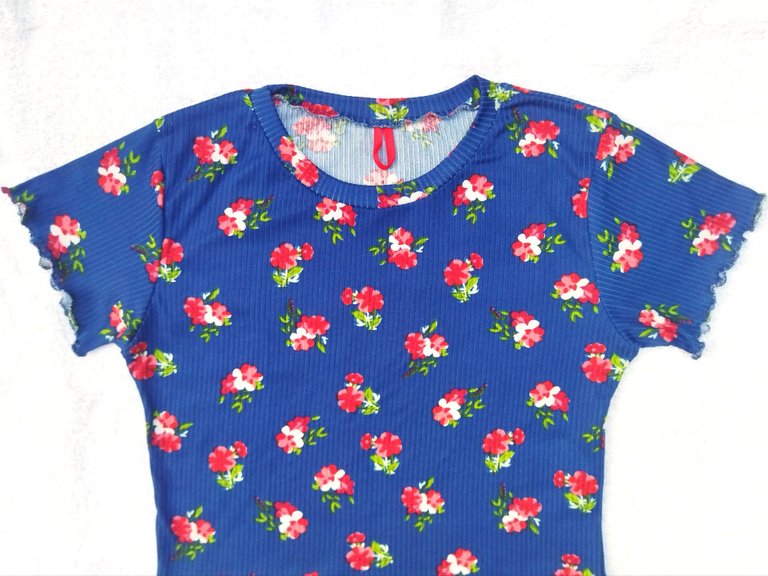
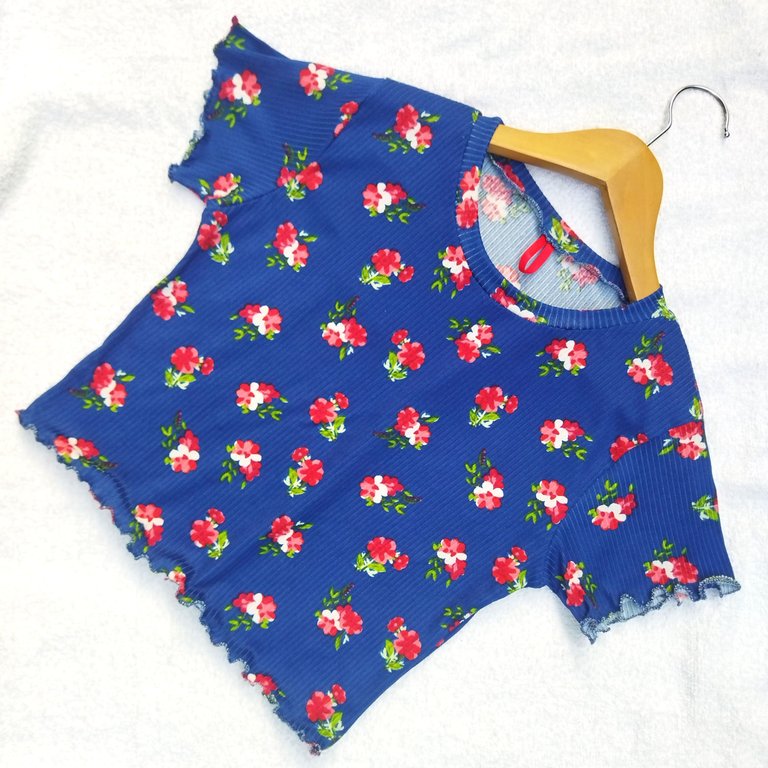
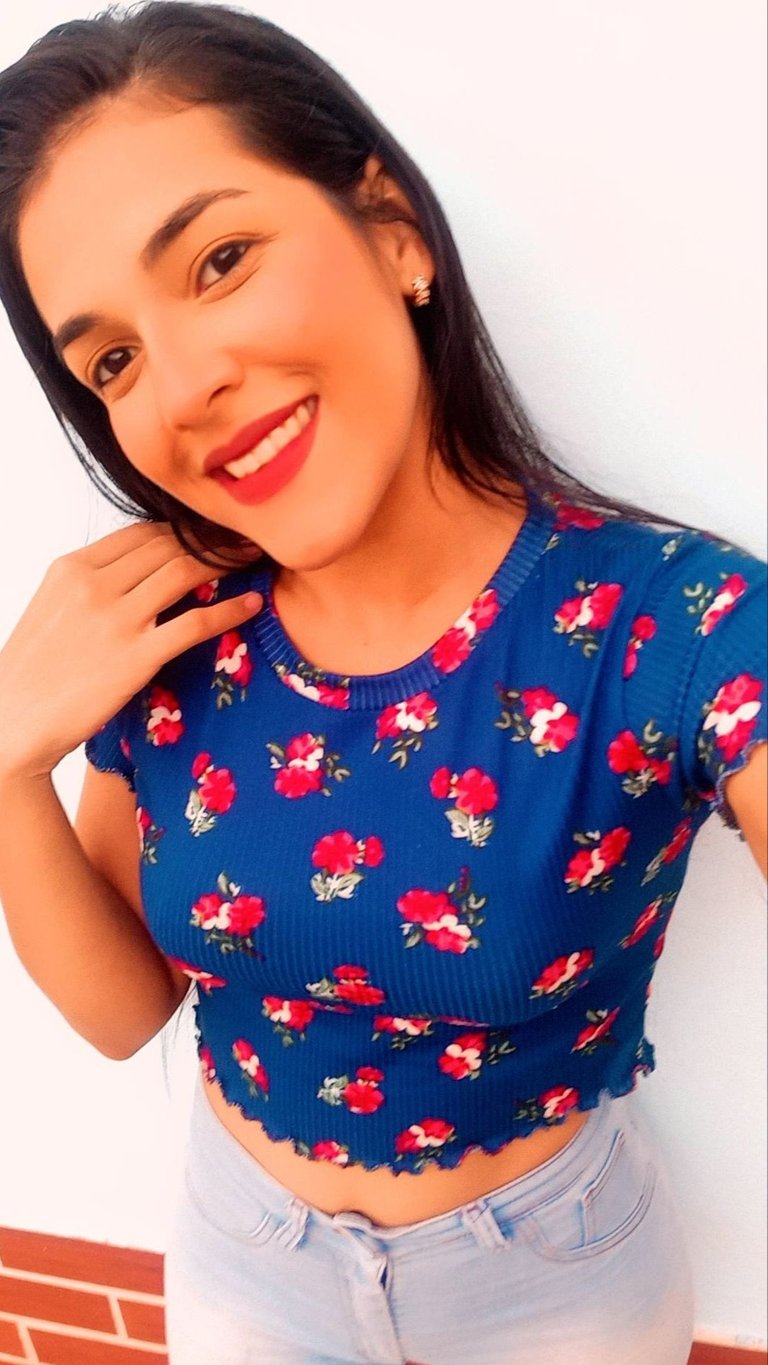
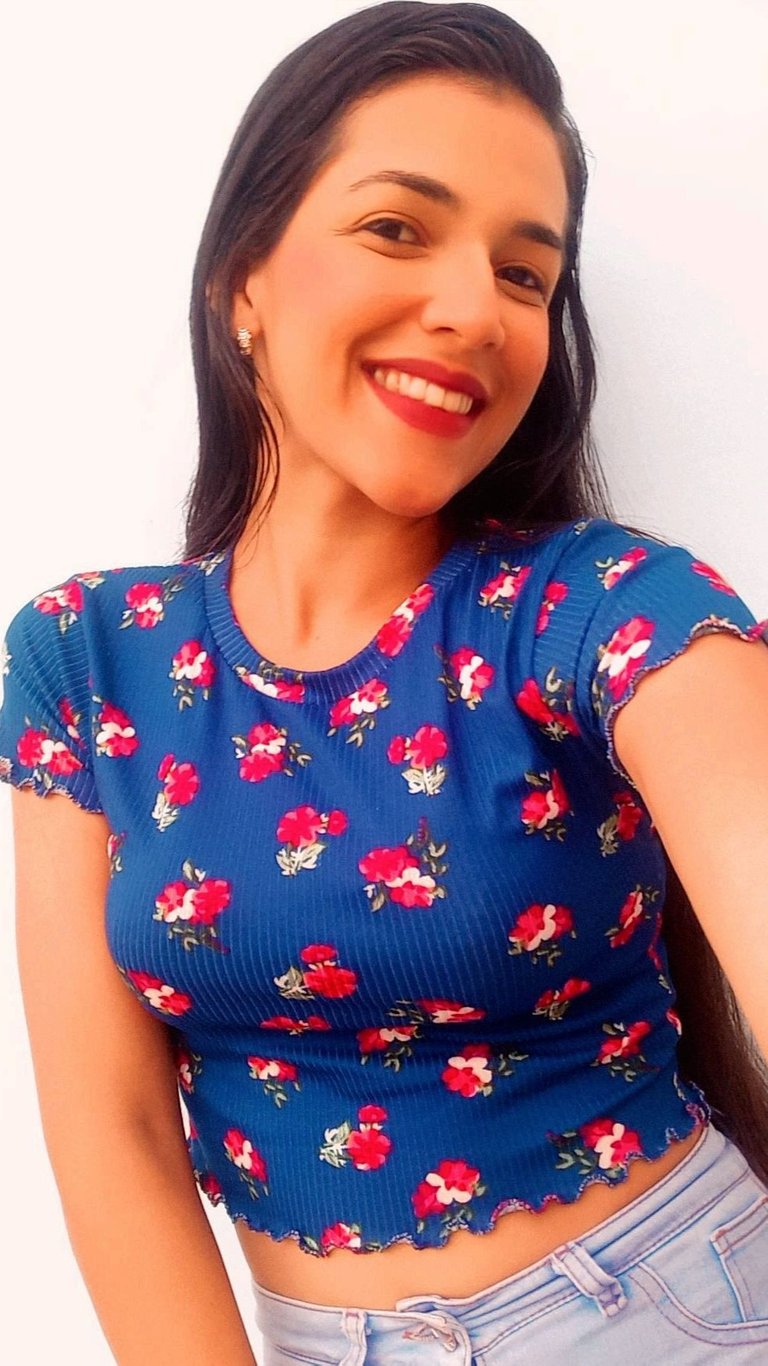
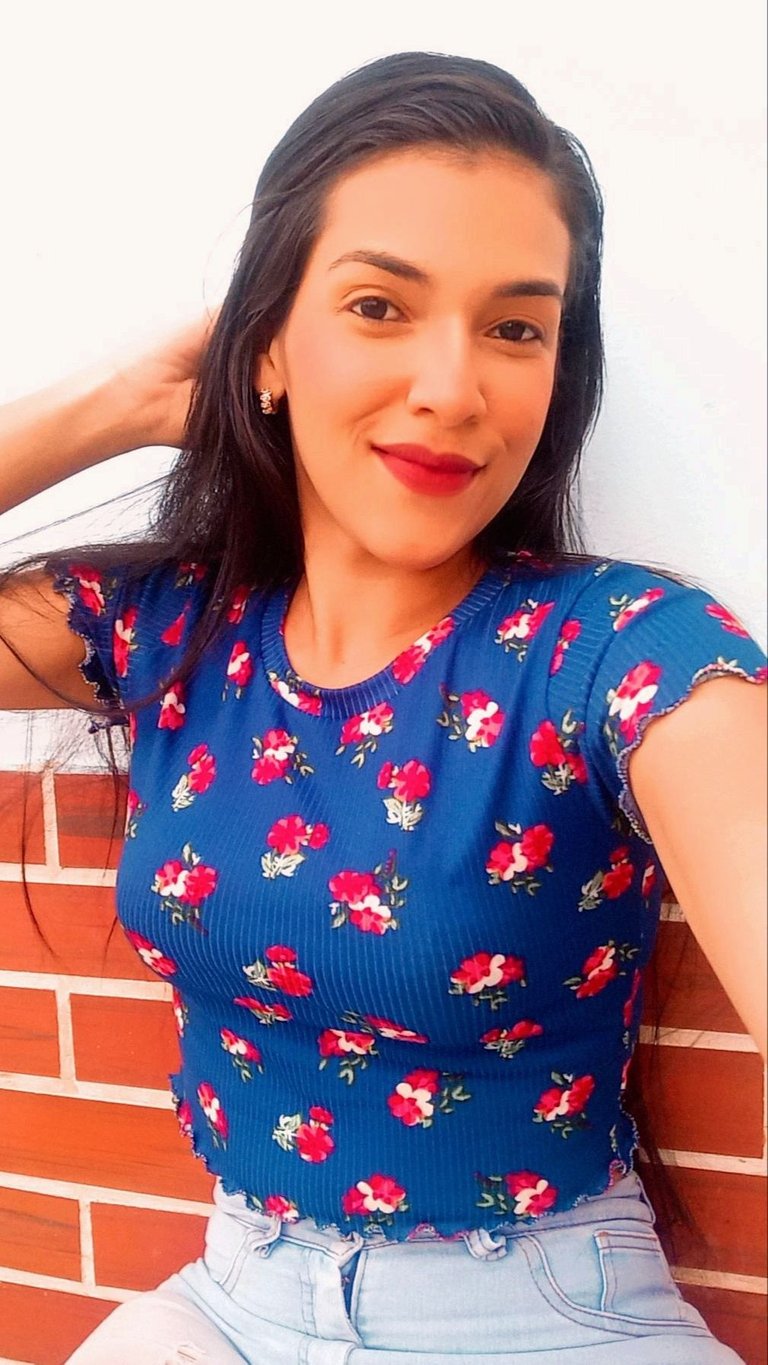
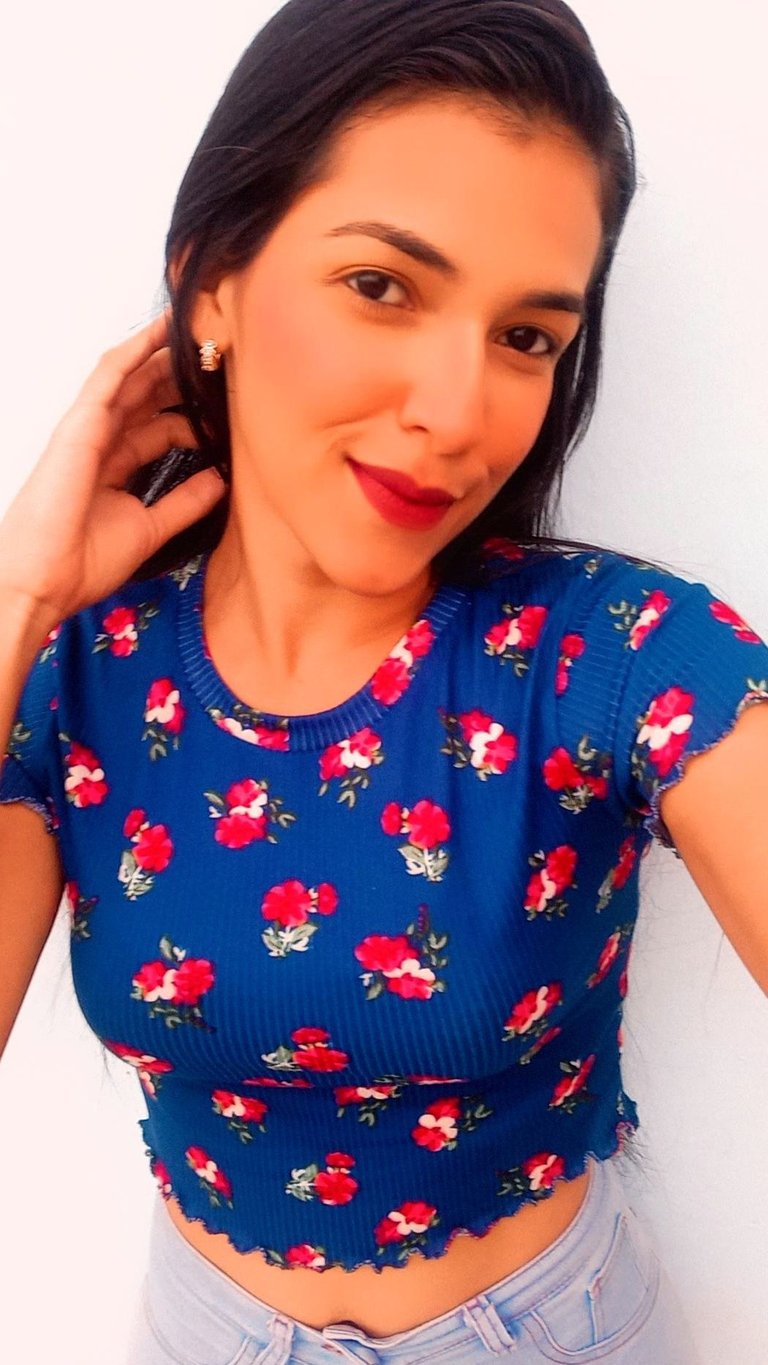
Amigos creativos de hive, este fué el resultado final de este top, les cuento que me quedo a la perfección, me encantó el resultado, espero que les hay gustado y si llegaste hasta aquí mil gracias por leer mi post ❤️🥰 un fuerte abrazo.
Creative friends of hive, this was the final result of this top, I tell you that I got it perfectly, I loved the result, I hope you liked it and if you got here a thousand thanks for reading my post ❤️🥰 a big hug.
All images are my property / Todas las imágenes son de mi propiedad
Camera: Xiaomi Redmi 9T.
Translation: Deepl.com
This is such a cute top and it looks good on you! I love the floral print and how it pops with the blue background. Nice work ~
!discovery 35
This post was shared and voted inside the discord by the curators team of discovery-it
Join our community! hive-193212
Discovery-it is also a Witness, vote for us here
Delegate to us for passive income. Check our 80% fee-back Program
Your content has been voted as a part of Encouragement program. Keep up the good work!
Use Ecency daily to boost your growth on platform!
Support Ecency
Vote for new Proposal
Delegate HP and earn more
Felicidades amiga, quedó muy lindo éste top y la tela a parte de ser cómoda, tiene un estampado muy bonito. Saludos 🤗
Thank you for sharing this amazing post on HIVE!
Your content got selected by our fellow curator @stevenson7 & you just received a little thank you via an upvote from our non-profit curation initiative!
You will be featured in one of our recurring curation compilations and on our pinterest boards! Both are aiming to offer you a stage to widen your audience within and outside of the DIY scene of hive.
Join the official DIYHub community on HIVE and show us more of your amazing work and feel free to connect with us and other DIYers via our discord server: https://discord.gg/mY5uCfQ !
If you want to support our goal to motivate other DIY/art/music/homesteading/... creators just delegate to us and earn 100% of your curation rewards!
Stay creative & hive on!
Oh mine 🤗, I really love every bit of this top, it looks so gorgeous and the fabric is wonderful.
Bellísima, ví la foto y supe era obra tuya 🦋☺️