[ESP-ING] 🐥Gorro para bebé con motivo de un lindo pollito.🐥 || 🐥Baby bonnet with cute chick motif.🐥
¡Hola comunidad de Hive!
Hello Hive community!
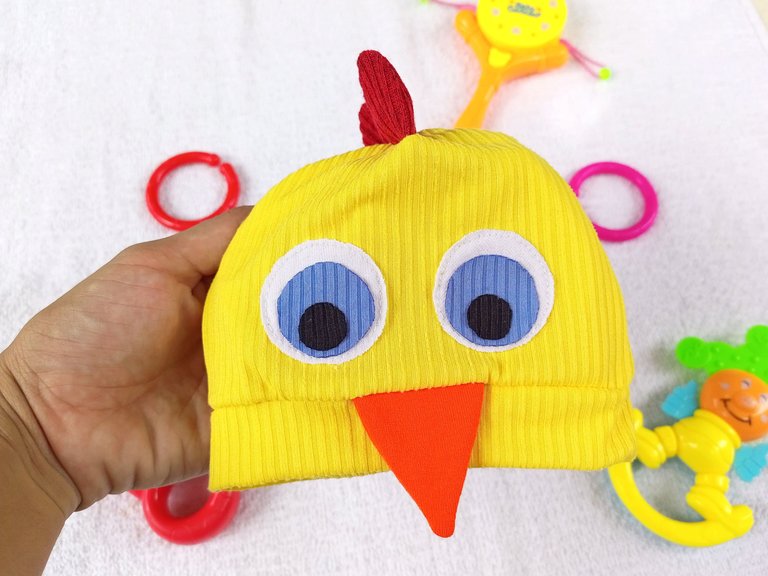
Hola queridos Needleworkers, feliz inicio de fin de semana, espero se encuentren de maravilla 🤗♥️ hace días les compartí un lindo mono para bebé que realicé para el pequeño Aaron, este mono es parte de un lindo conjunto de pollito que me encargaron para él con motivo de celebrar su cumple mes número 2, el conjunto quedó hermoso, y el lo lució muy tierno, hoy les quiero mostrar con elaboré el bello gorrito de pollito que sin dudas el el toque especial del conjunto.
Hello dear Needleworkers, happy start of the weekend, I hope you are feeling wonderful 🤗♥️ days ago I shared with you a cute baby jumpsuit that I made for little Aaron, this jumpsuit is part of a cute set of chick that I was commissioned for him to celebrate his birthday month number 2, the set was beautiful, and he looked very cute, today I want to show you how I made the beautiful chick hat that undoubtedly the special touch of the set.
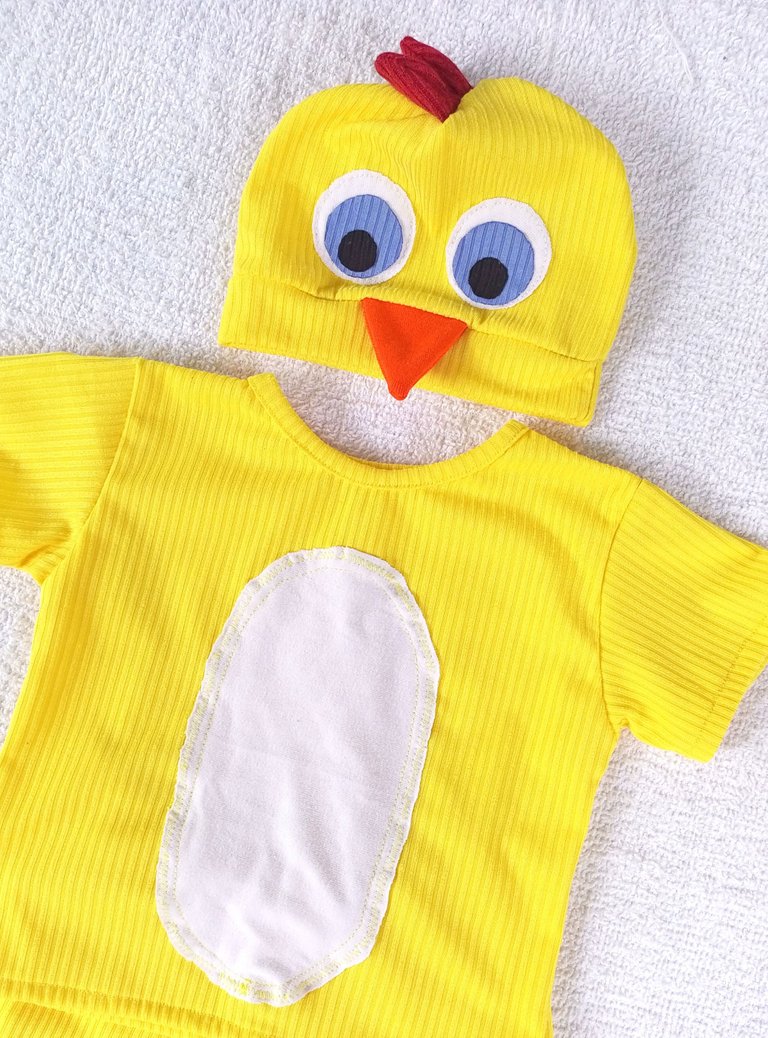
Cómo les conté anteriormente estuve trabajando con la tela micro rib en este caso amarillo, y también ocupé algunos retazos en blanco, azul y negro para elaborar los ojos del pollito, así mismo un retazo de rojo para la cresta, así que luego de juntar los retazos, y busqué el hilo, alfileres y agujas, me puse a trabajar...
As I told you before I was working with the micro rib fabric in this case yellow, and I also used some white, blue and black scraps to make the eyes of the chick, as well as a piece of red for the crest, so after gathering the scraps, and looking for the thread, pins and needles, I got to work ....
🧵🧷🧵🧷🧵🧷🧵🧷🧵🧷🧵🧷🧵🧷🧵🧷🧵
Necesitaremos || We will need
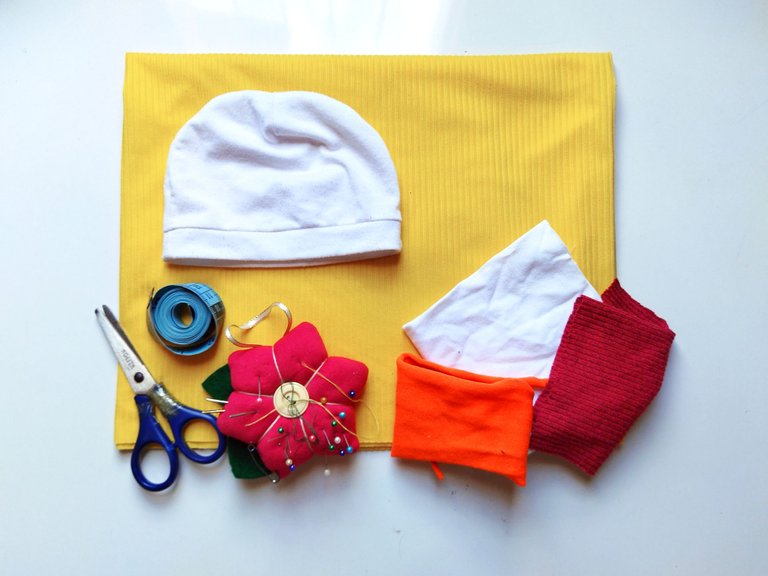
- Medio metro de tela micro rib amarillo
- Retazos de tela roja, blanca, naranja, azul y negro
- Hilo amarillo
- Alfileres
- Tijera
- Elástica
- Cinta métrica
- Gorro ejemplo
- Aguja y máquina de coser
- Half a meter of yellow micro rib fabric
- Red, white, orange, orange, blue and black fabric scraps
- Yellow thread
- Pins
- Scissors
- Elastic band
- Tape measure
- Sample hat
- Needle and sewing machine
🧵🧷🧵🧷🧵🧷🧵🧷🧵🧷🧵🧷🧵🧷🧵🧷🧵
Paso 1 || Step 1
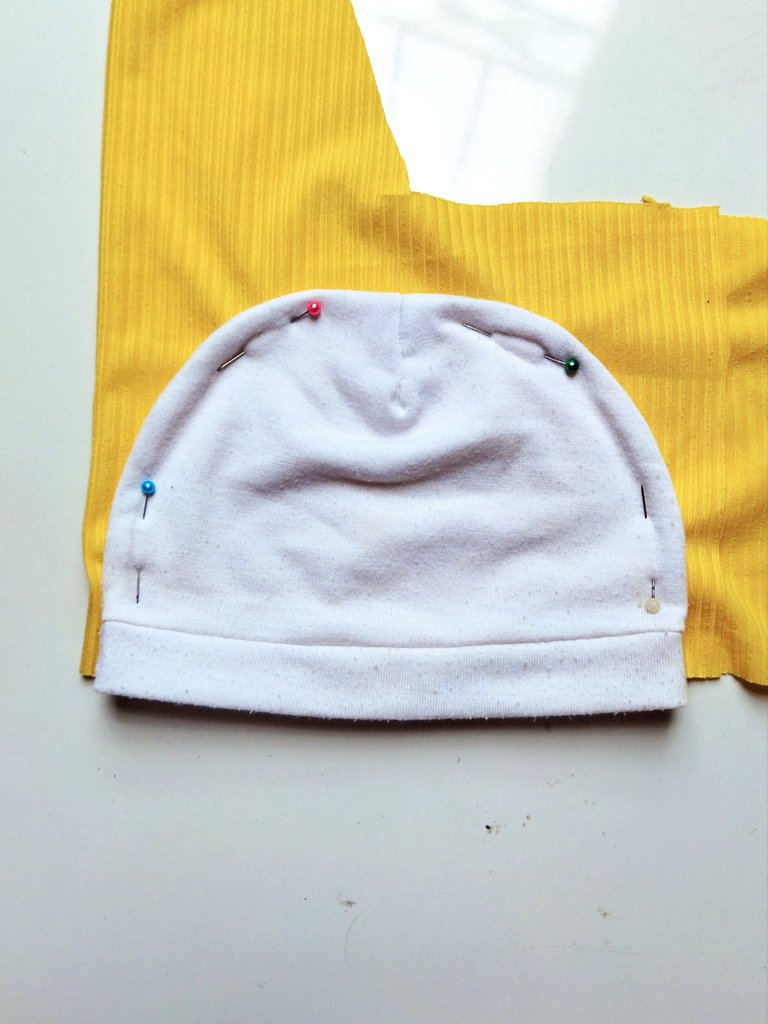
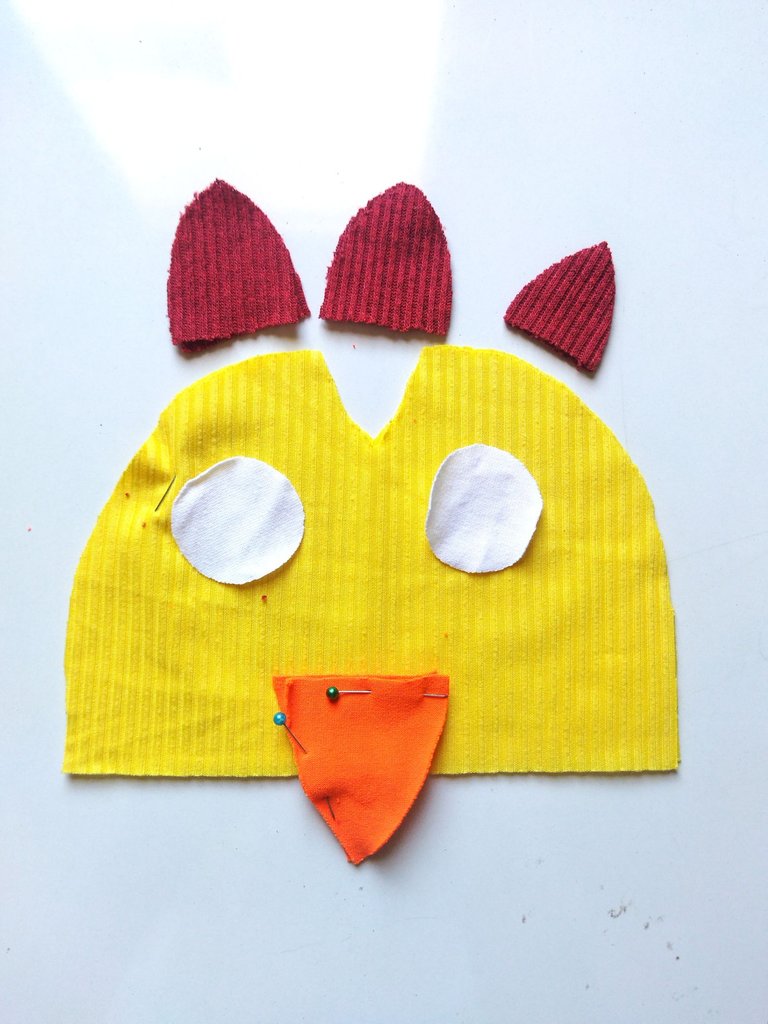
Extendemos la tela en un superficie plana, luego colocamos el gorro modelo sobre la tela, vamos a cortar de la tela colocando el lado que más estira en dirección horizontal para que el gorro tenga más elongación, cortamos las piezas dejando 1cm de margen de costura, para este gorro necesitamos sacar dos piezas iguales. Luego de tener las dos piezas del gorro vamos a doblar a la mitad y en la arte súper vamos a cortar una pinza de 2 cm de ancho.
Vamos a cortar también 6 rectángulos en color rojo para la cresta, el pico va en color naranja también con forma de rectángulo y los ojos del pollito.
- We spread the fabric on a flat surface, then we place the model hat on the fabric, we are going to cut the fabric placing the side that stretches more horizontally so that the hat has more elongation, we cut the pieces leaving 1cm seam allowance, for this hat we need to get two equal pieces. After having the two pieces of the hat we are going to fold in half and in the super art we are going to cut a clip of 2 cm wide.
- We will also cut 6 rectangles in red for the crest, the beak will be in orange also in the shape of a rectangle and the eyes of the chick.
Paso 2 || Step 2
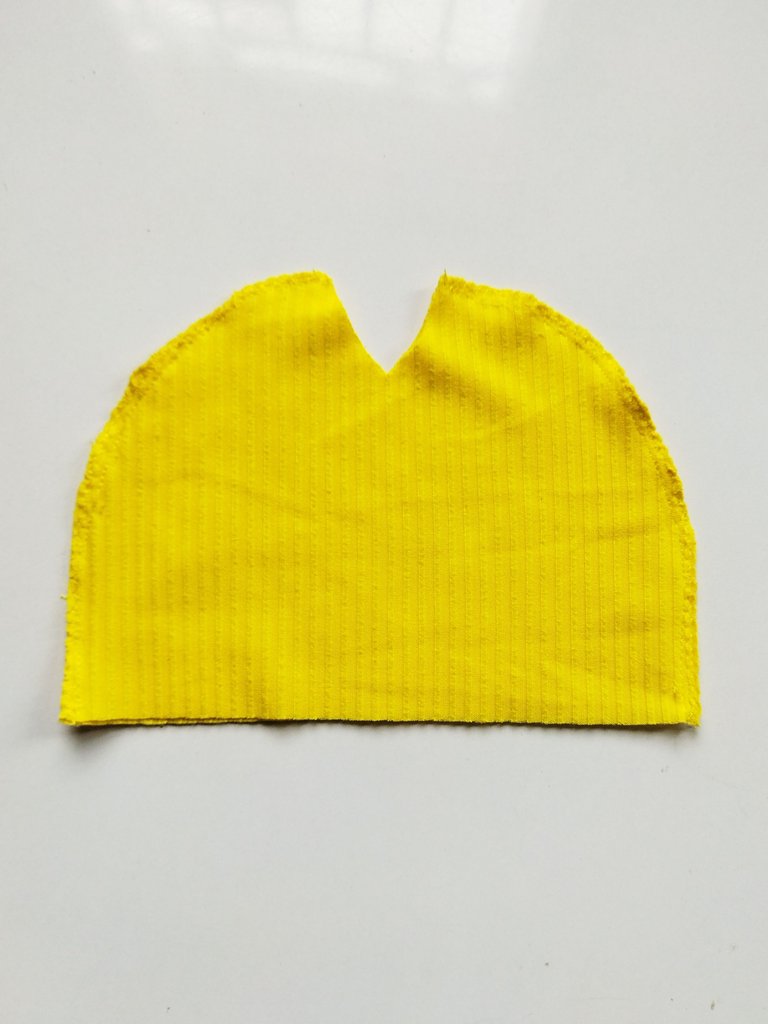
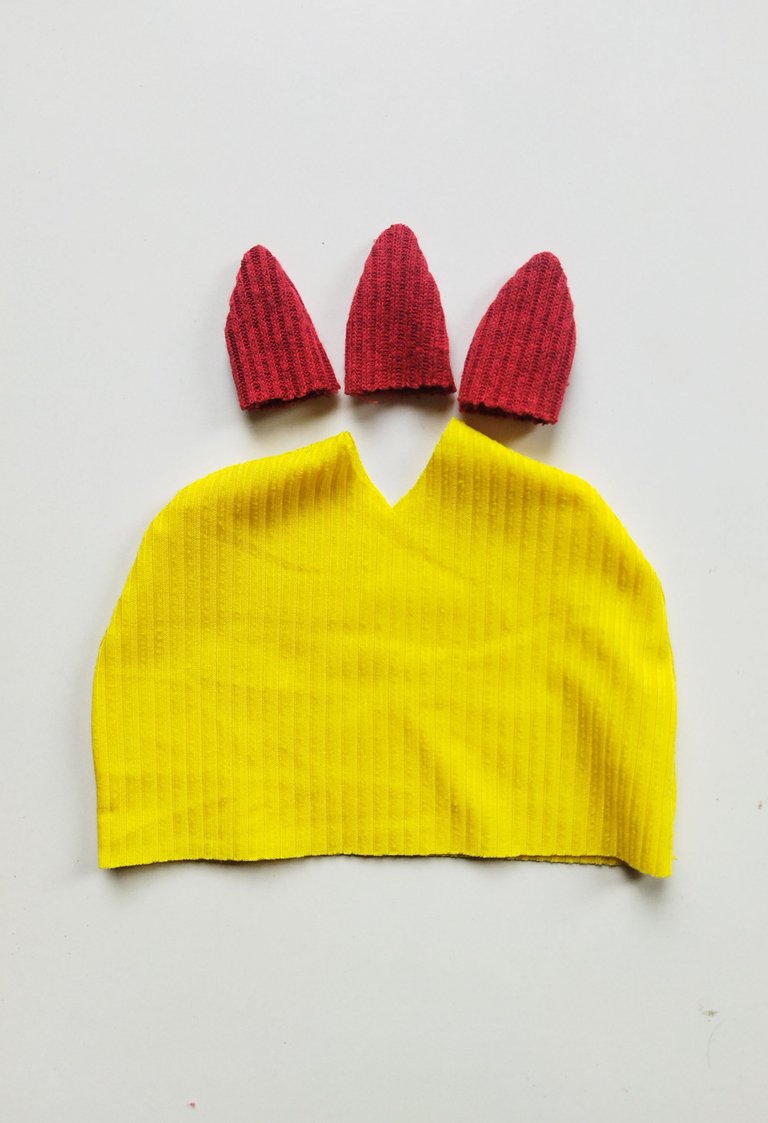
Comenzamos a coser y nos toca unir las dos circunferencias del gorro, cosemos con recta y luego con costura en zigzag, vamos a dejar las pinza sin coser.
Juntamos los retazos de tela y vamos a coser la cresta, cosí cada pico por separado.
- We start sewing and it's time to join the two circumferences of the hat, we sew with straight and then with zigzag stitching, we are going to leave the darts without sewing.
- We join the pieces of fabric and we will sew the crest, sew each peak separately.
Paso 3 || Step 3
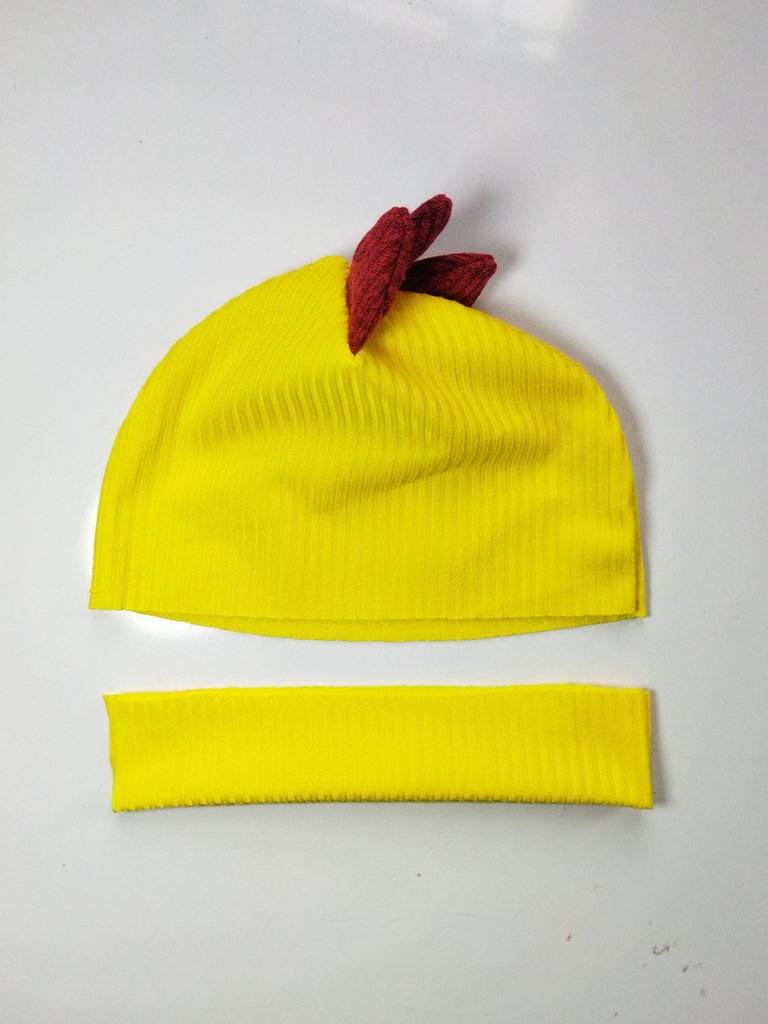
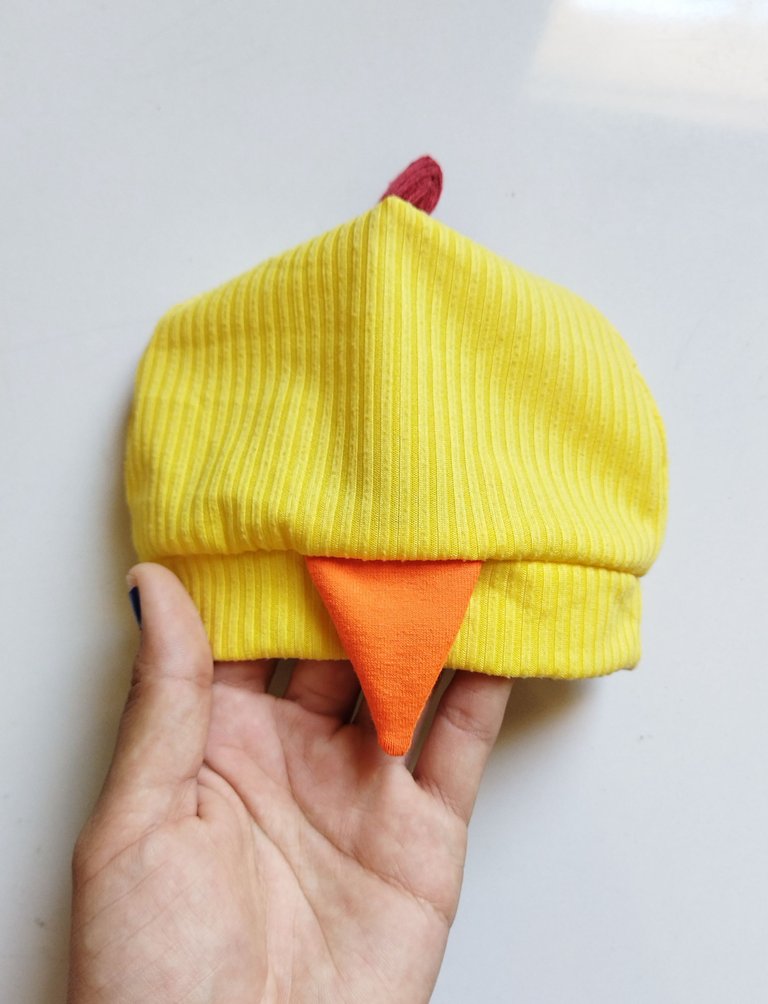
- Cosí la cresta en la abertura de la pinza que dejamos, ahora vamos a coser el ruedo del gorro, corté una tira de 8 cm de ancho y la doblé a la mitad para luego coserla en el contorno del gorro, aprovechando esta costura coloqué el pico en esta zona del gorro.
- I sewed the crest in the opening of the clip that we left, now we are going to sew the rim of the hat, I cut a strip of 8 cm wide and folded it in half and then sew it in the contour of the hat, taking advantage of this seam I placed the peak in this area of the hat.
Paso 4 || Step 4
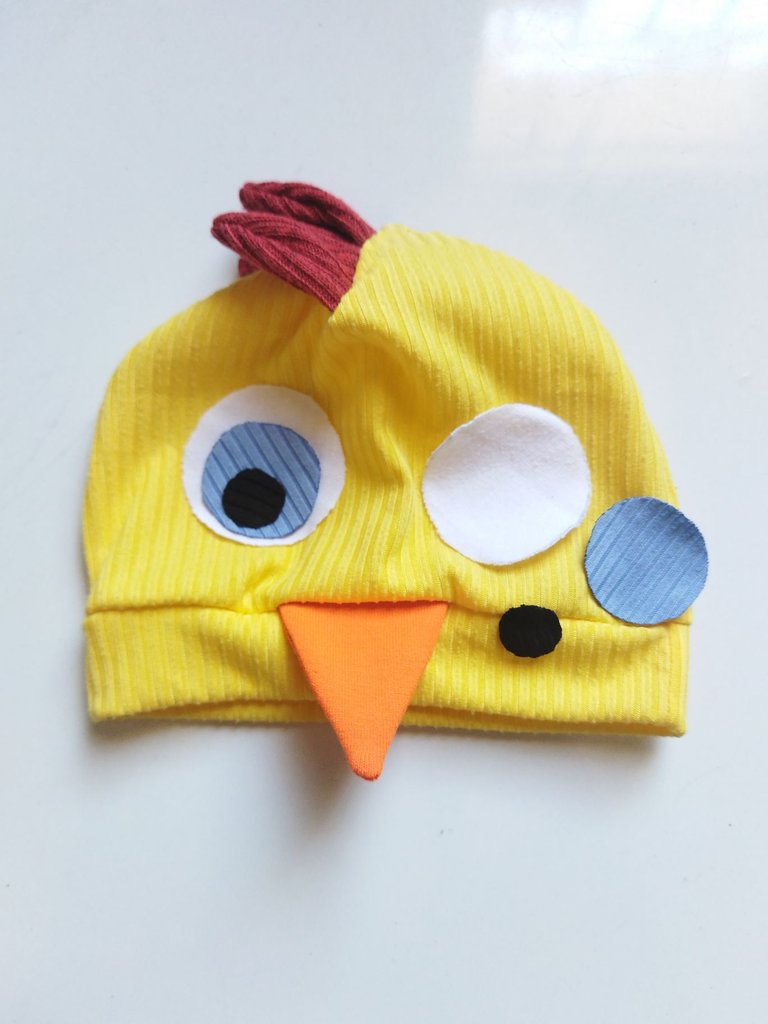
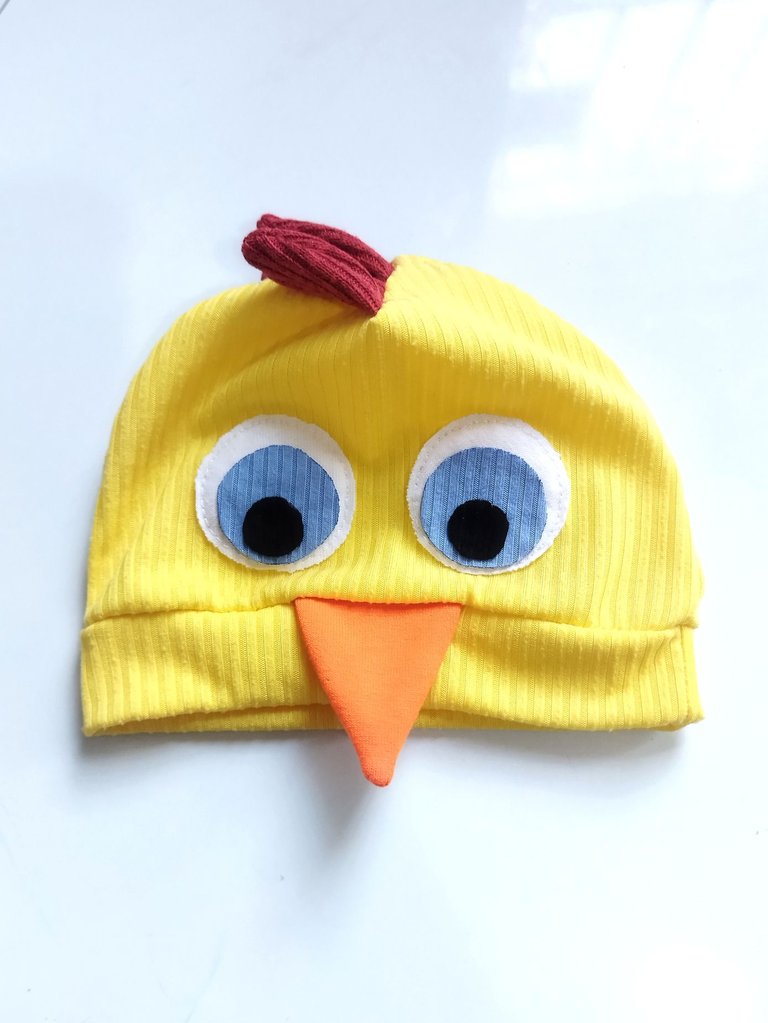
- Es hora de darle vista a este pollito, corte círculos de varios tamaños, el más grande en blanco, luego azul y negro, está parte la cosí a mano para que me quedara más prolija.
- It's time to see this chick, I cut circles of various sizes, the largest in white, then blue and black, this part I sewed by hand to make it neater.
Resultado final.
Final result.
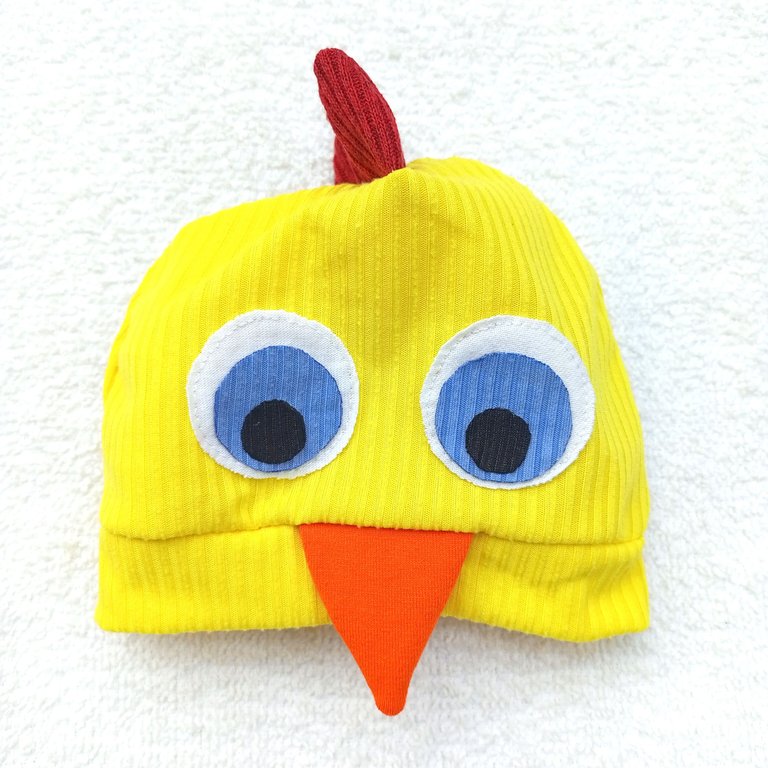
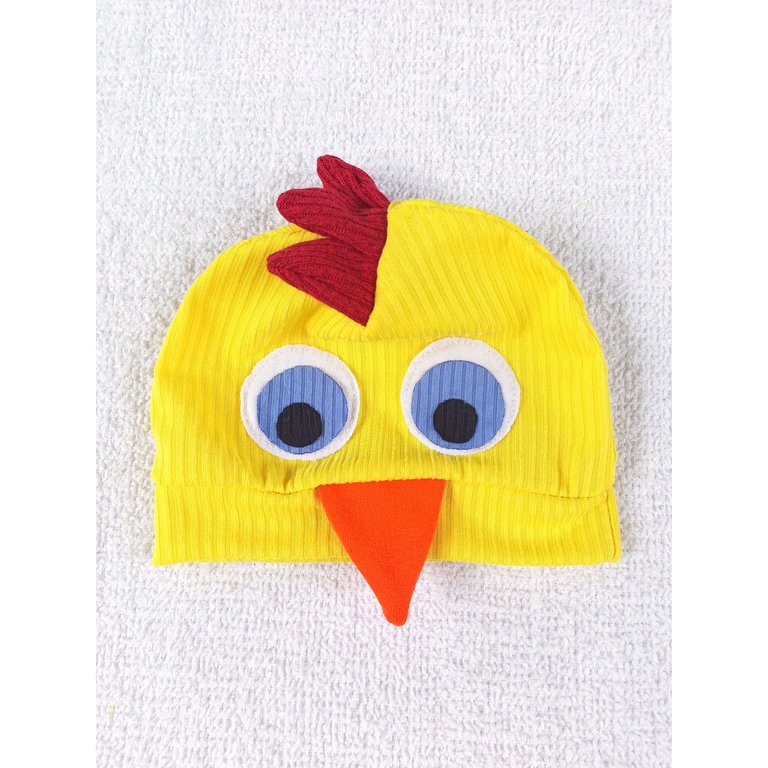
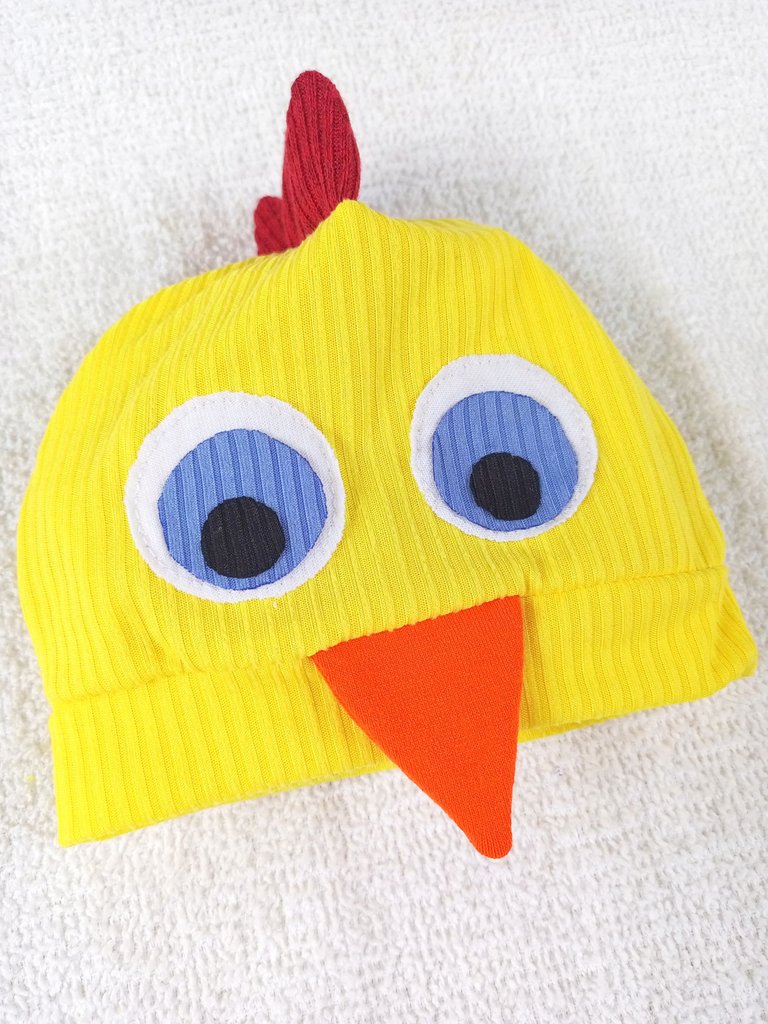
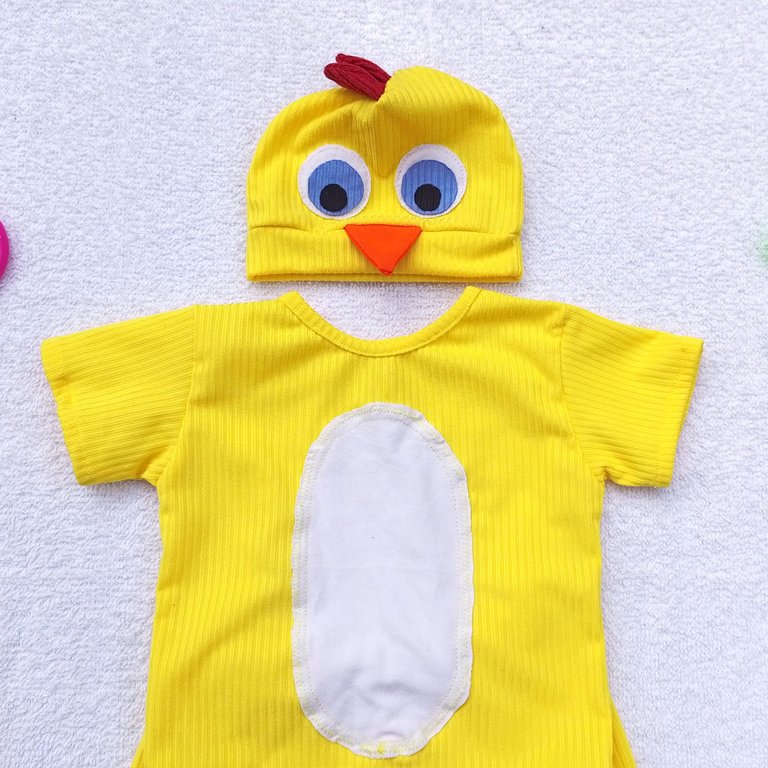
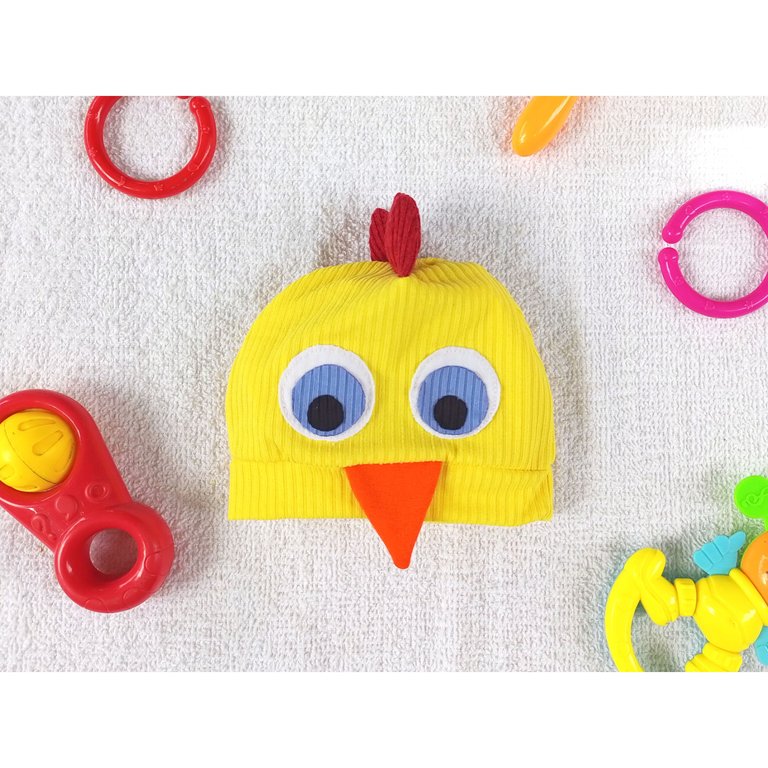
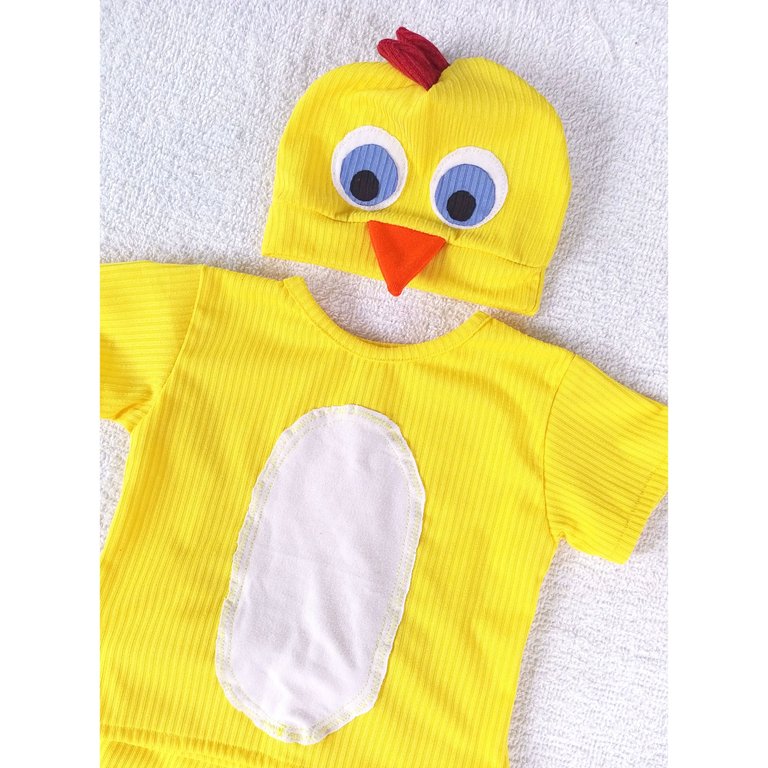
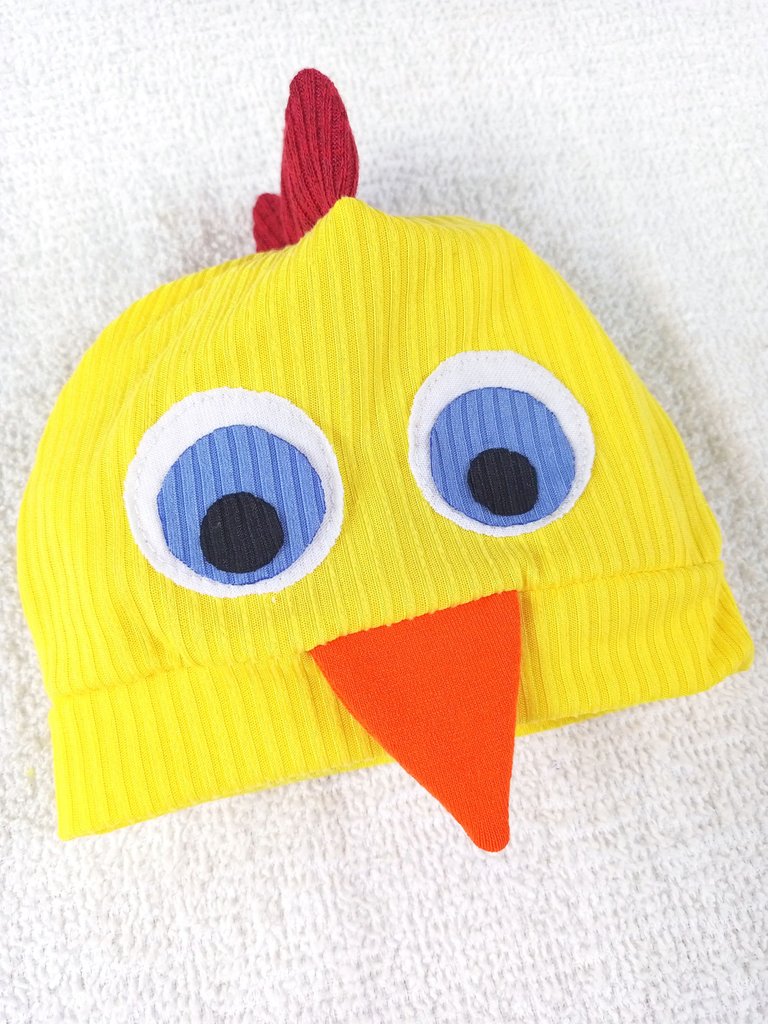
Así quedó el resultado final de este tierno gorro de pollito, amé como quedó, espero pronto mostrarles el conjunto completo y algunas fotitos de Aarón, Espero de corazón que les hay gustado y si has llegado hasta aquí mil gracias por leer mi post ❤️🥰 un fuerte abrazo. Nos leemos luego.
So was the final result of this cute chick hat, I loved how it turned out, I hope soon to show you the complete set and some pictures of Aaron, I hope you liked it and if you have come this far thank you very much for reading my post ❤️🥰 a big hug. See you later.
All images are my property / Todas las imágenes son de mi propiedad
Camera: Xiaomi Redmi 9T.
Translation: Deepl.com
Que bello!!! Me ha encantado muchísimo 😍 se ve demasiado tierno 🥺🐣
https://twitter.com/Kawsarhasan/status/1545597722388217856
The rewards earned on this comment will go directly to the people( @kawsar8035 ) sharing the post on Twitter as long as they are registered with @poshtoken. Sign up at https://hiveposh.com.
That's really cute.
!discovery 30
This post was shared and voted inside the discord by the curators team of discovery-it
Join our community! hive-193212
Discovery-it is also a Witness, vote for us here
Delegate to us for passive income. Check our 80% fee-back Program
Your content has been voted as a part of Encouragement program. Keep up the good work!
Use Ecency daily to boost your growth on platform!
Support Ecency
Vote for new Proposal
Delegate HP and earn more
Thank you for sharing this amazing post on HIVE!
Your content got selected by our fellow curator @stevenson7 & you just received a little thank you via an upvote from our non-profit curation initiative!
You will be featured in one of our recurring curation compilations and on our pinterest boards! Both are aiming to offer you a stage to widen your audience within and outside of the DIY scene of hive.
Join the official DIYHub community on HIVE and show us more of your amazing work and feel free to connect with us and other DIYers via our discord server: https://discord.gg/mY5uCfQ !
If you want to support our goal to motivate other DIY/art/music/homesteading/... creators just delegate to us and earn 100% of your curation rewards!
Stay creative & hive on!
Wow super beautiful @yulilemus02 thanks for sharing
Demasiado cute 😍🐤
Me encantó muchísimo que tierno!🥰💕