Making a bermuda shorts for Mimo's wardrobe. 🩳✂️
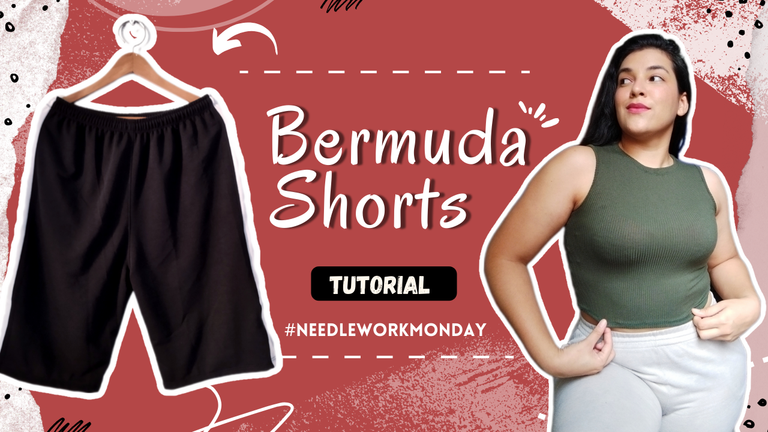
Saludos queridos amantes de la costura y las agujas, espero se encuentren de maravilla y estén teniendo una excelente comienzo de semana. 🤗 Hoy en el lunes de agujas le quiero compartir un proyecto que hice este fin de semana, es un bermudas no sé cómo le conozcan ustedes pero es un pantalón un poco más abajo de la rodilla o llega hasta ahí, la idea de hacer este bermudas es que estoy renovando el vestuario de la obra de mimos que tiene mi pareja, el vestuario anterior era con pantalón largo pero hay justo una escena donde se necesita un pantalón más corto y se me ocurrió este diseño con tela de otro color en los laterales, son dos bermudas el otro es igual solo cambia el color de la tira que es rojo para saber de quién es cada uno, siempre les estoy compartiendo un poco de las presentaciones que hacemos y pronto estaremos presentando nos en un teatro acá en Caracas, así que queremos llevar lo mejor de lo mejor, sin mas habladuría acompañame a ver el proceso.
**Greetings dear lovers of sewing and needles, I hope you are feeling wonderful and are having a great start of the week. ** 🤗 Today on Needle Monday I want to share with you a project I made this weekend, it is a bermuda shorts I don't know how you know it but it is a pant a little below the knee or it goes down to there, the idea of making this bermuda shorts is that I am renewing the costumes of the mime play that my partner has, the previous costume was with long pants but there is just a scene where you need a shorter pants and I came up with this design with fabric of another color on the sides, they are two bermuda shorts the other one is the same only changes the color of the strip that is red to know whose is each one, I'm always sharing with you a little of the presentations we do and soon we will be presenting us in a theater here in Caracas, so we want to bring the best of the best, without more talk, come with me to see the process.
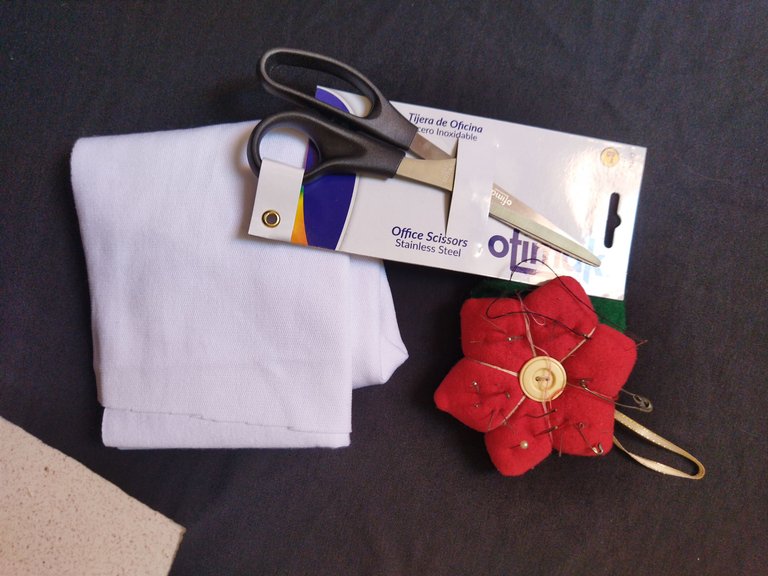
Para realizar este mono escolar utilice:
- Tela de algodón
- Hilo a tono
- Tijera
- Elástica con cordón
- Cinta métrica
- Alfileres
To make this school jumpsuit use:
- Cotton fabric
- Matching thread
- Scissors
- Elastic with cord
- Measuring tape
- Pins
Paso a paso || Step to step
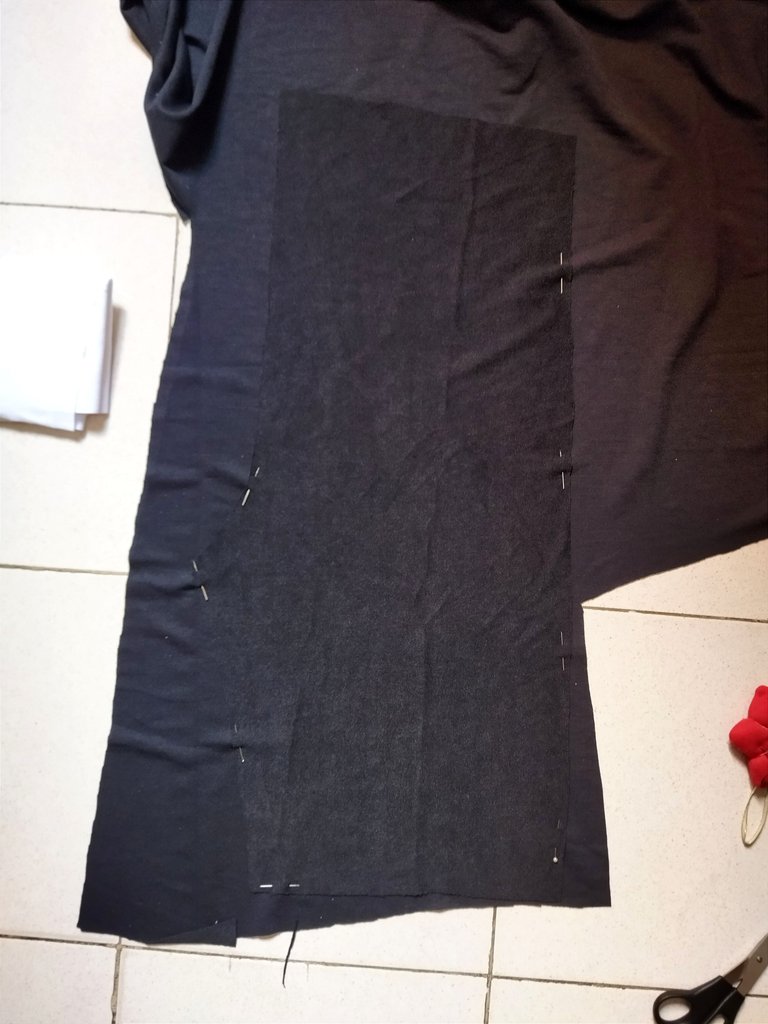
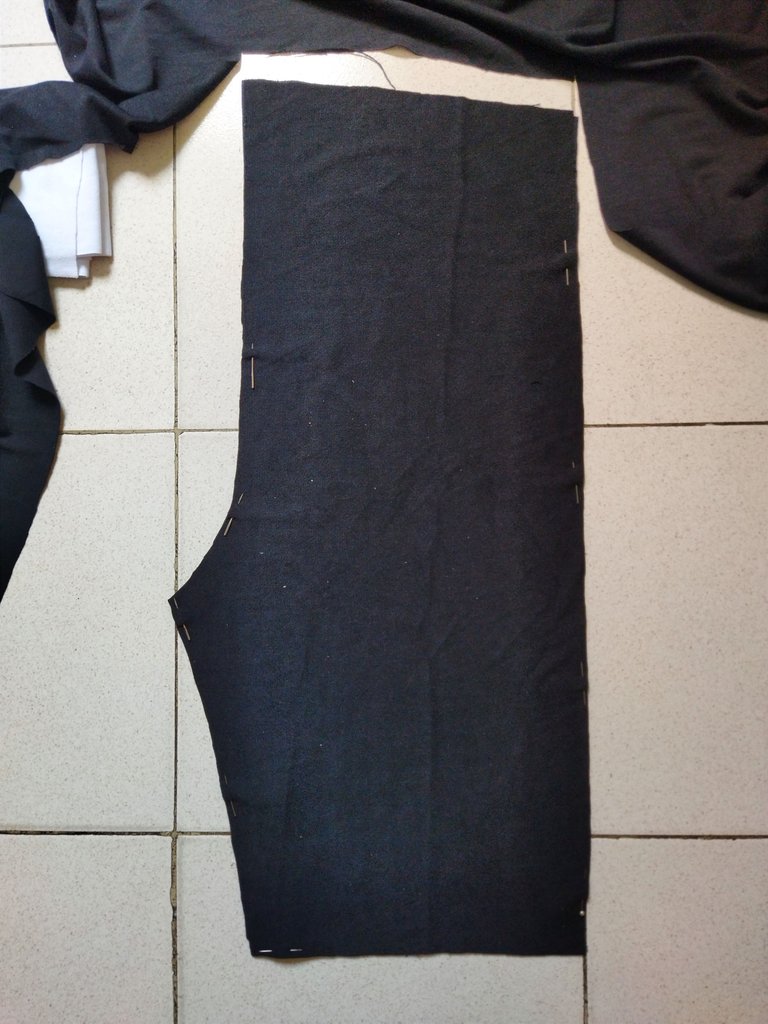
Comenzamos cortando las piezas, como siempre les digo podemos hacer el pantalón de la forma sencilla que es sacando una sola pieza con tiro trasero y delantero o podemos sacarlo en dos partes que fué como lo hice en esta caso, corté dos piezas de tiro delantero y dos de tiro trasero, también una tira de 7 cm de ancho que es la que va en los laterales.
We start cutting the pieces, as I always say we can make the pants in the simple way that is taking out a single piece with front and back shot or we can take it out in two parts which was as I did in this case, I cut two pieces of front shot and two of back shot, also a strip of 7 cm wide which is the one that goes on the sides.
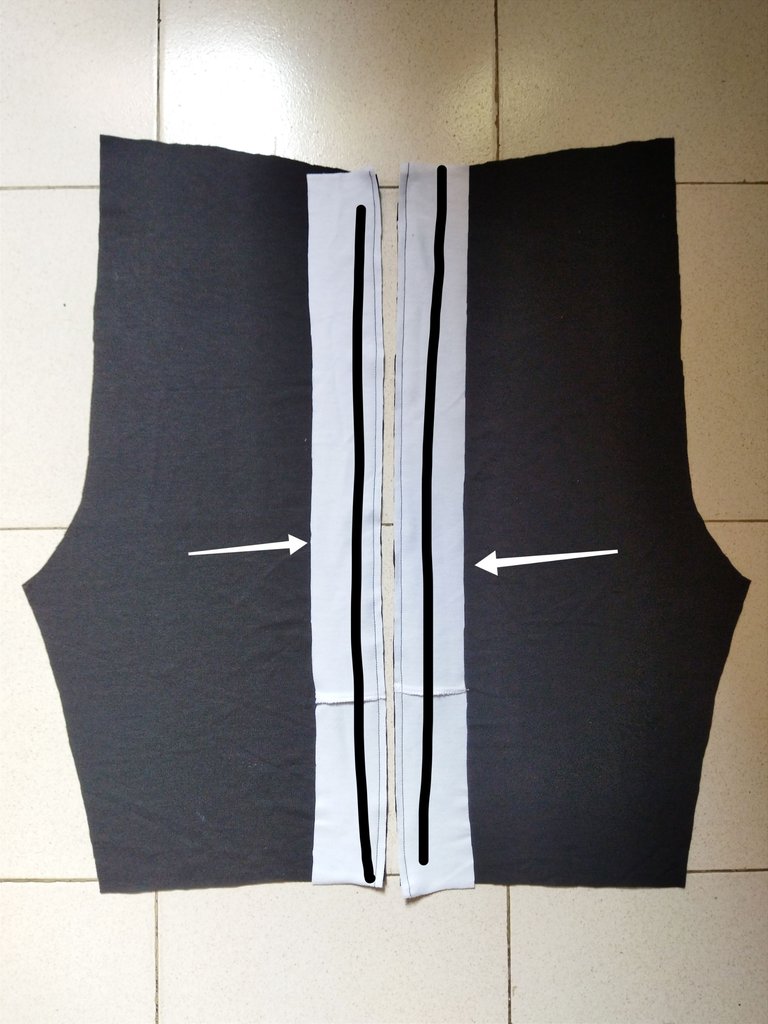
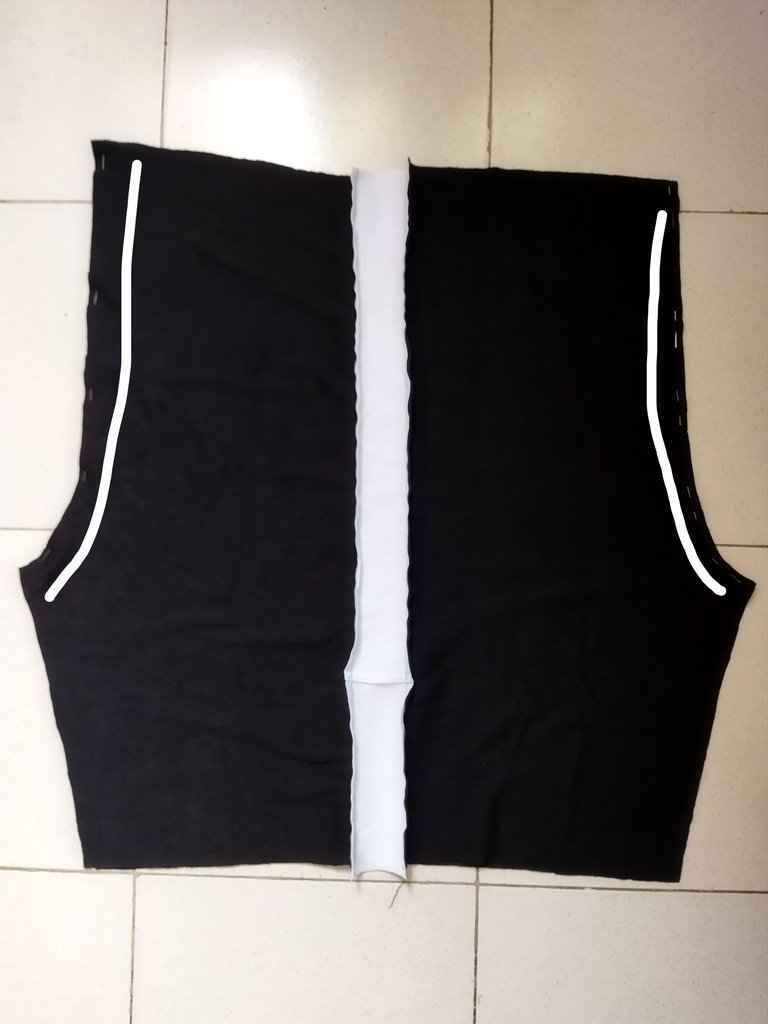
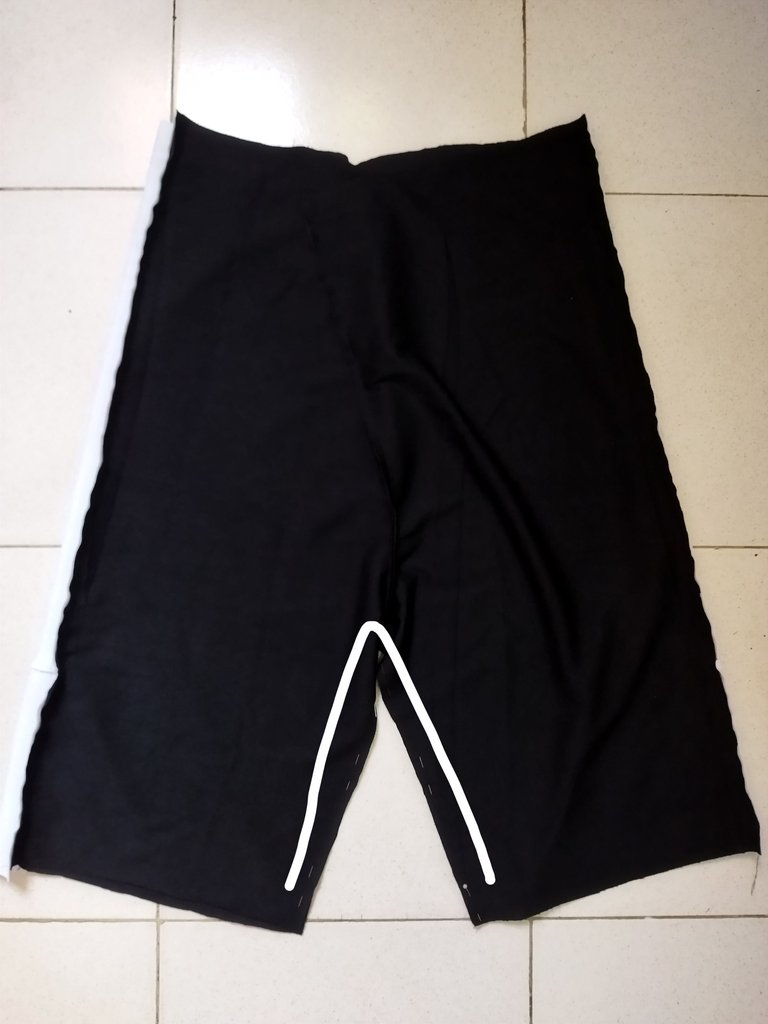
Después de tener todas las piezas cortadas comencé a coser, primero uní la tira blanca con las piezas del bermudas, una delantera y uno trasero para obtener una sola pieza, ahora enfrentamos las dos piezas que acabamos de unir y cosemos por los tiros, todo con costura recta y luego zigzag, por último cosemos la entrepierna y los ruedos de las piernas con costura recta doble.
After having all the pieces cut I started to sew, first I joined the white strip with the bermuda pieces, one front and one back to get one piece, now we face the two pieces we just joined and sew along the straps, all with straight stitching and then zigzag, finally we sew the crotch and the leg hems with double straight stitching.
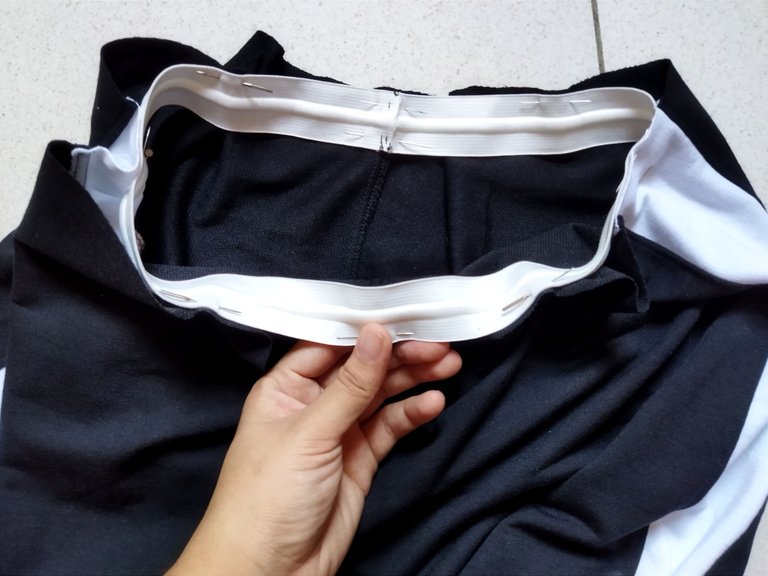
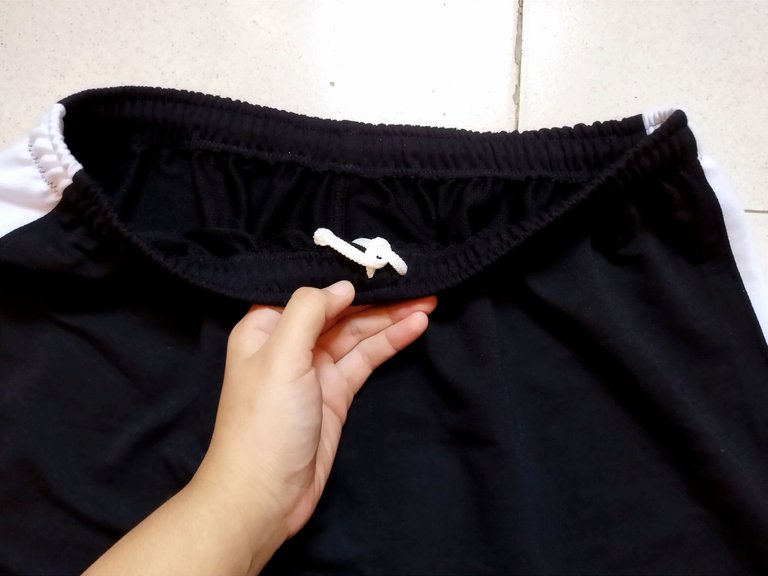
Para la pretina vamos a coser la elástica en la parte inferior del pantalón y luego doblar y pasamos costura en zigzag, a mi me gusta pasar dos costuras una arriba y abajo de la elástica, en esta ocasión dejé las tiras de la elástica en la parte interior del pantalón por cuestiones de estética, pues se veía un poco feo la tira por fuera con el resto del vestuario pero ustedes la pueden sacar por fuera sin problemas. Amigos así quedaría el resultado final de este bermudas, es muy fácil de hacer y aunque esté es para un vestuario creo que haré un o para mí día a día 😊 gracias por leerme, ¡Hasta luego!
For the waistband we will sew the elastic at the bottom of the pants and then fold and pass zigzag stitching, I like to spend two seams one above and below the elastic, this time I left the elastic strips on the inside of the pants for aesthetic reasons, it looked a little ugly the strip on the outside with the rest of the wardrobe but you can take it out without problems. Friends, this is the final result of this bermuda shorts, it is very easy to make and although this is for a wardrobe I think I will make one or for my day to day 😊 thanks for reading me, see you later!
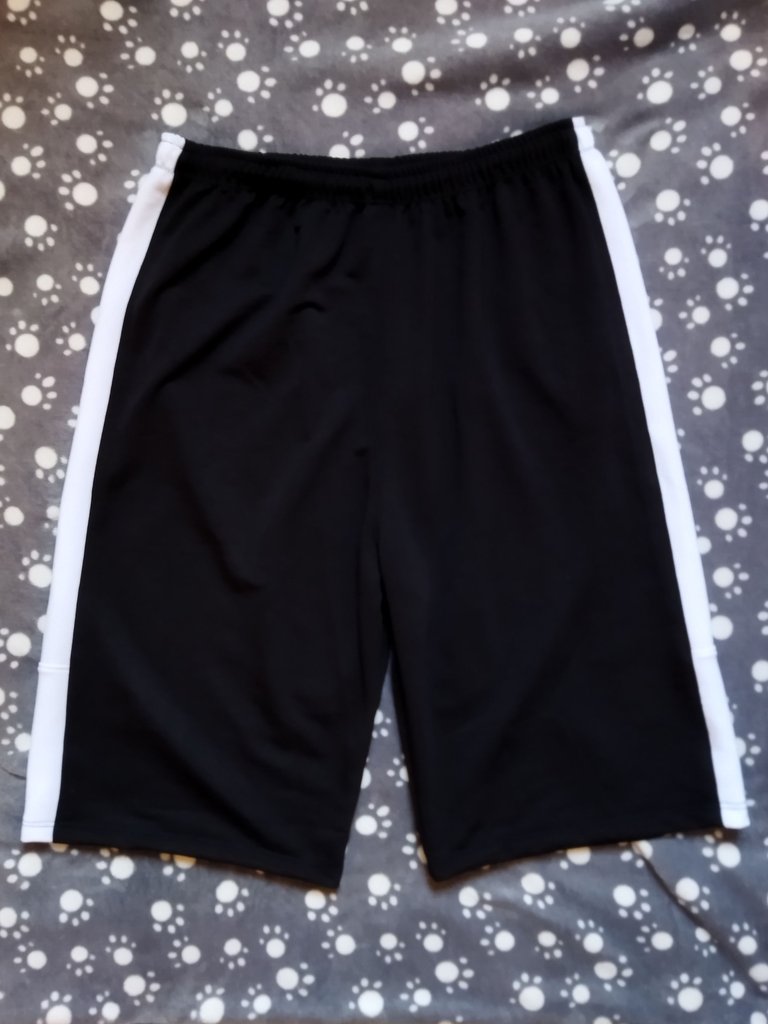
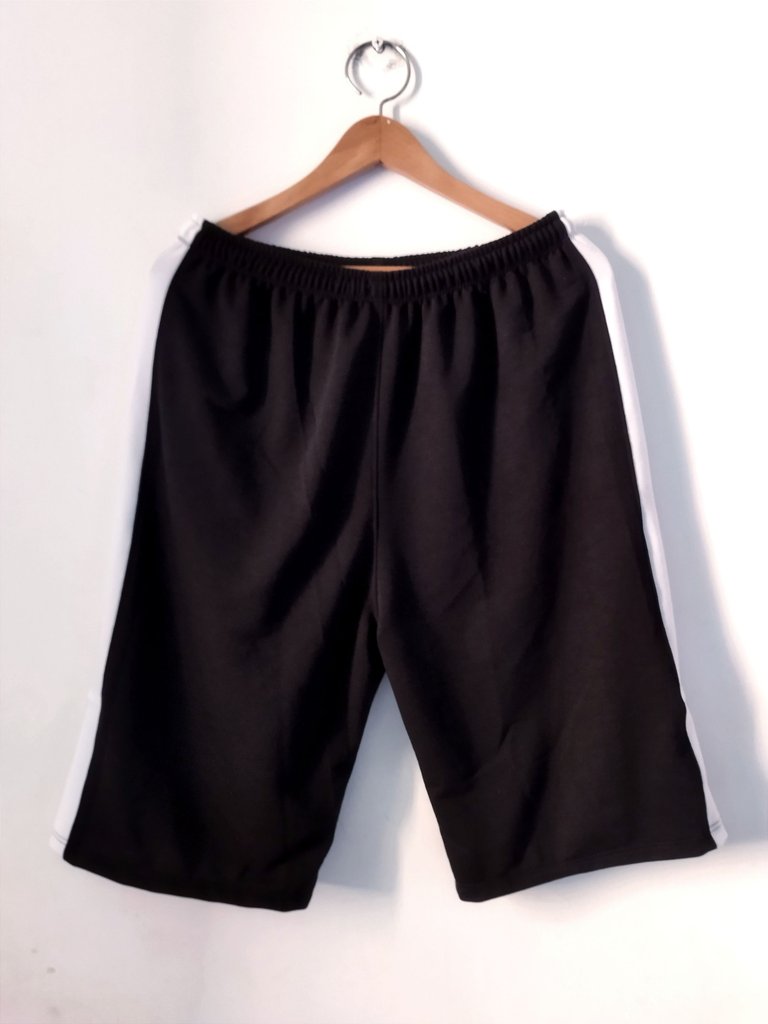
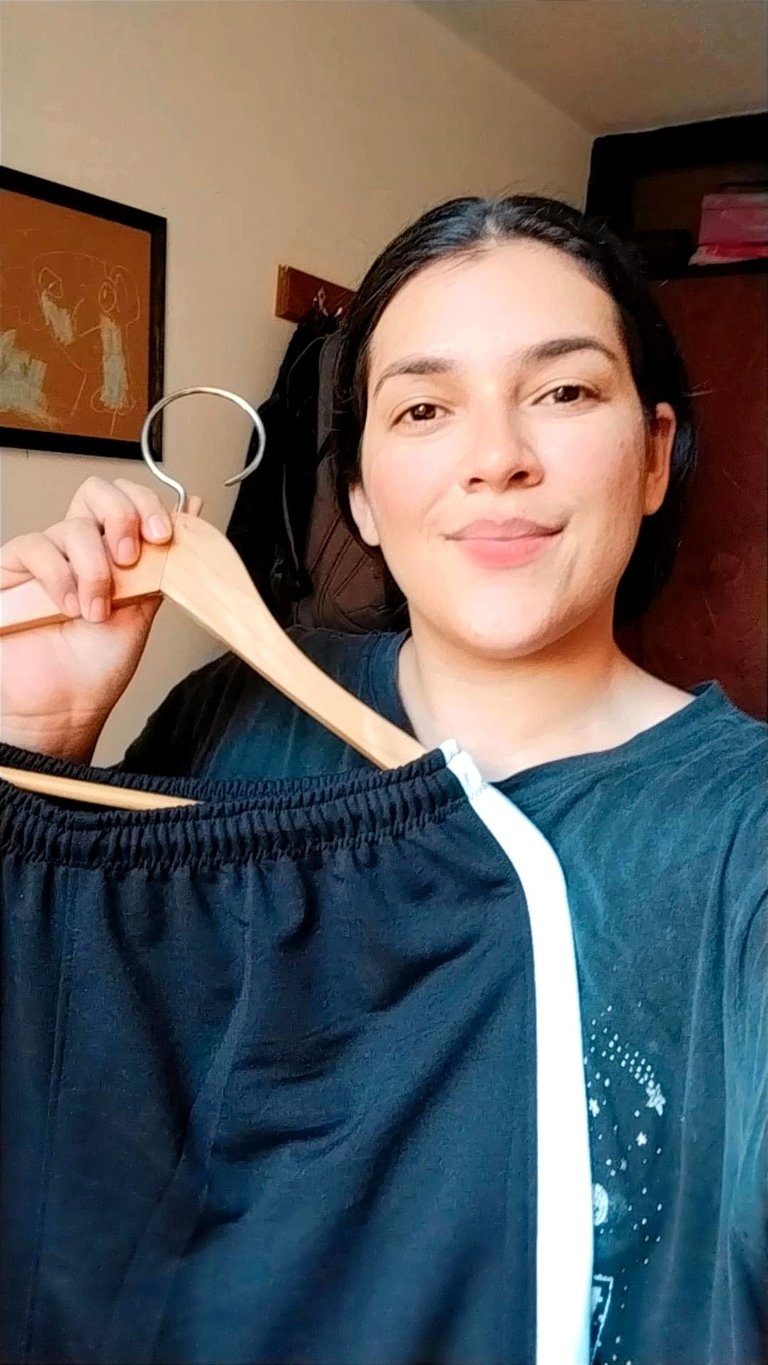
¡Gracias por leerme, hasta luego!
Thank you for reading me, see you later !


Camera: Xiaomi Redmi 9T. | Separadores: Aquí | Edition: CANVA | Translation: Deepl.com
I think this is the simplest tutorial of a shorts I’ve ever seen. This is really cool and I’m surely remaking this soon. Great job.
You did great