Learn how to make a cargo pocket with me. 🙌 | #NeedleWorkMonday
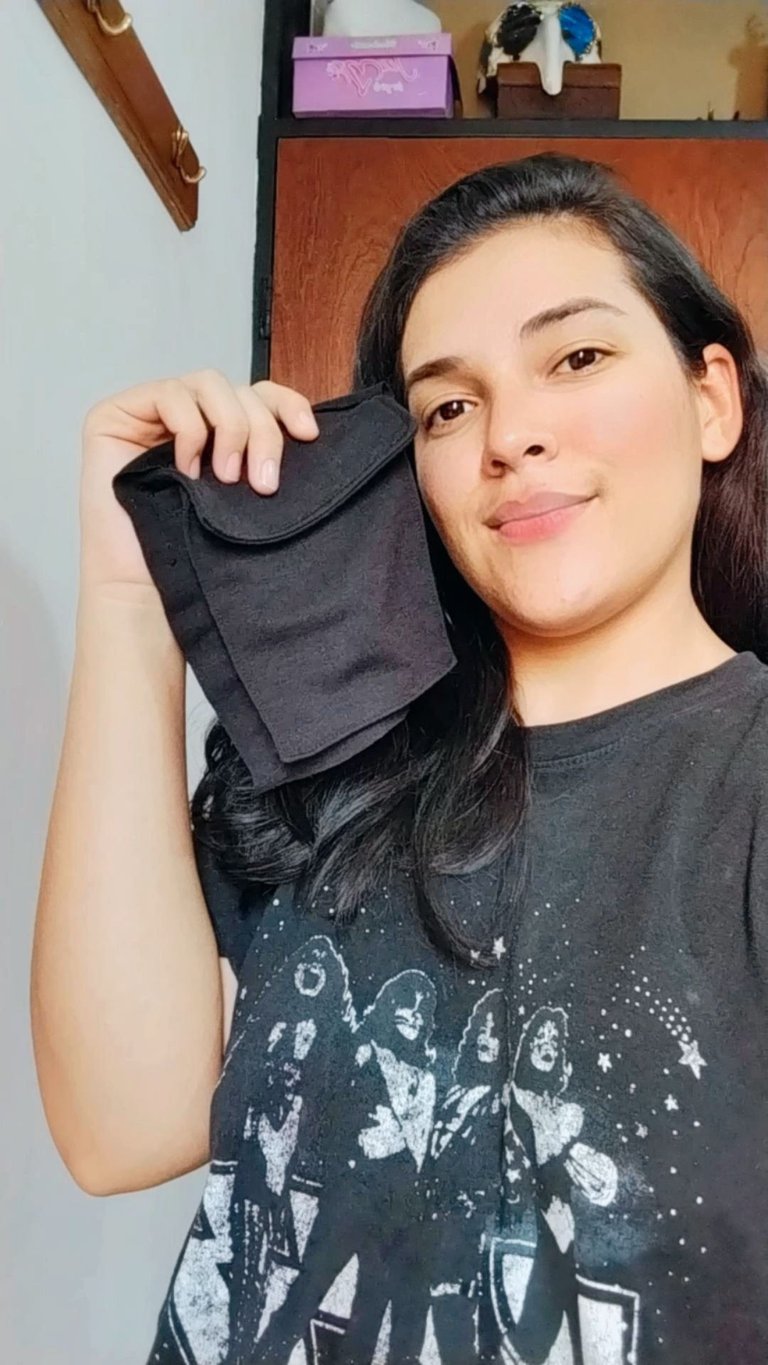
Hola queridos costureros y costureras, ¿qué tal están? Espero que excelente, feliz lunes de agujas tenía bastante tiempo sin pasar por acá pero feliz de volver siempre a mostrarles mis trabajos y avances pues siempre estamos aprendiendo algo nuevo, hace un tiene se me metió entre ceja y ceja que quería hacer un pantalón estilo cargo ¿Saben de cuáles les hablo? Son un estilo de pantalones que están muy de moda y lo que más lo caracteriza son los bolsillos que tiene a los lados, hay algunos que tienen muchísimo bolsillos, y bueno antes de atreverme a hacer este pantalón tengo que aprender una cuentas cositas, empecé con práctica los bolsillos y creo que para ser mi primera vez me quedó bien, este solo fué de práctica y me dí cuenta que está tela no es la ideal para esto pero vamos a ver cómo quedó, ¡compañame!
Hello dear sewers and seamstresses, how are you? I hope you are excellent, happy needle Monday I had a long time without stopping by here but happy to always come back to show you my work and progress because we are always learning something new, a few months ago I wanted to make a cargo style pants Do you know which ones I'm talking about? They are a style of pants that are very fashionable and what most characterizes them are the pockets on the sides, there are some that have a lot of pockets, and well before I dare to make these pants I have to learn a few little things, I started with practice pockets and I think for my first time I got it right, this was just practice and I realized that this fabric is not ideal for this but let's see how it turned out, company me!
🧵🧷🧵🧷🧵🧷🧵🧷🧵🧷🧵🧷🧵🧷🧵🧷🧵
Paso a paso || Step to step
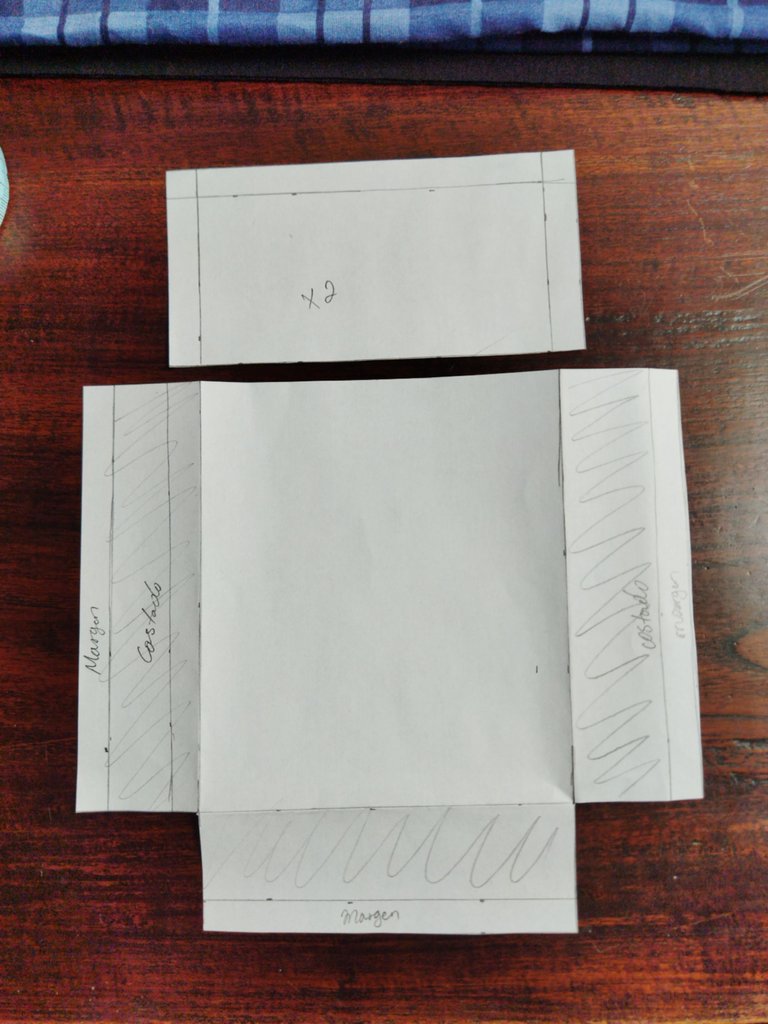
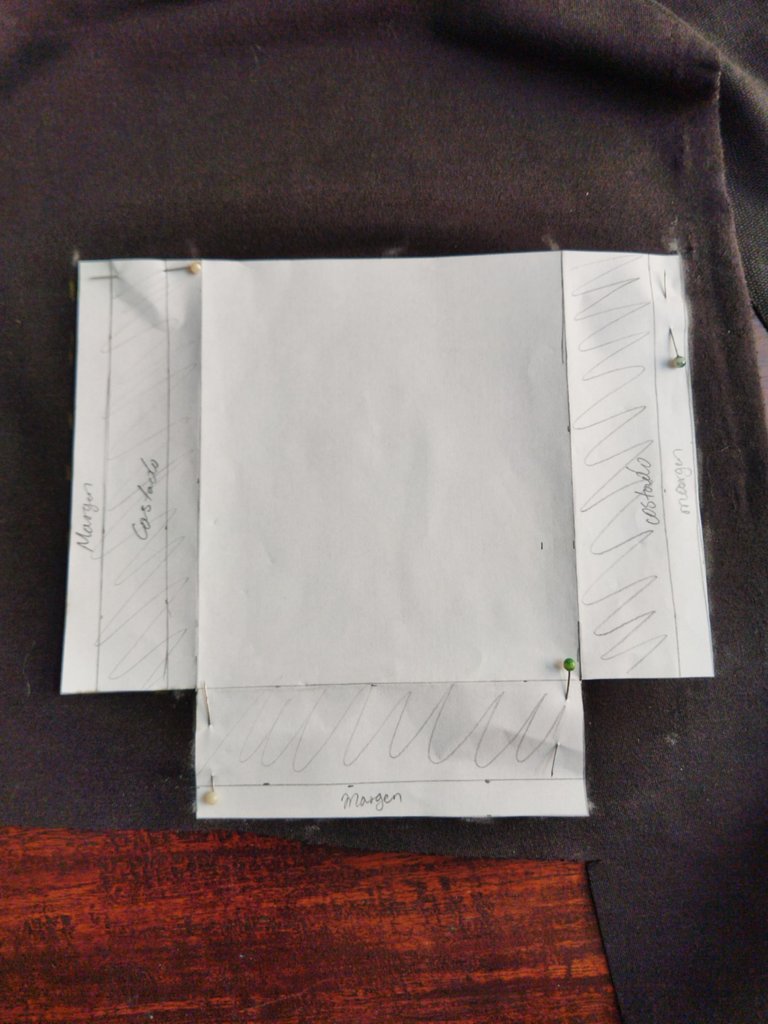
Necesitamos una patrón para el bolsillo, yo lo busqué en internet y lo saqué en papel pero les recomiendo que lo hagan con sus medidas o sea del tamaño que ustedes deseen, el patrón es muy fácil de hacer, ya luego lo coloqué en la tela y corté una pieza de la base del bolsillo y dos de la tapa.
We need a pattern for the pocket, I looked it up on the internet and got it on paper but I recommend that you do it with your measurements or the size you want, the pattern is very easy to make, and then I placed it on the fabric and cut a piece of the base of the pocket and two of the lid.
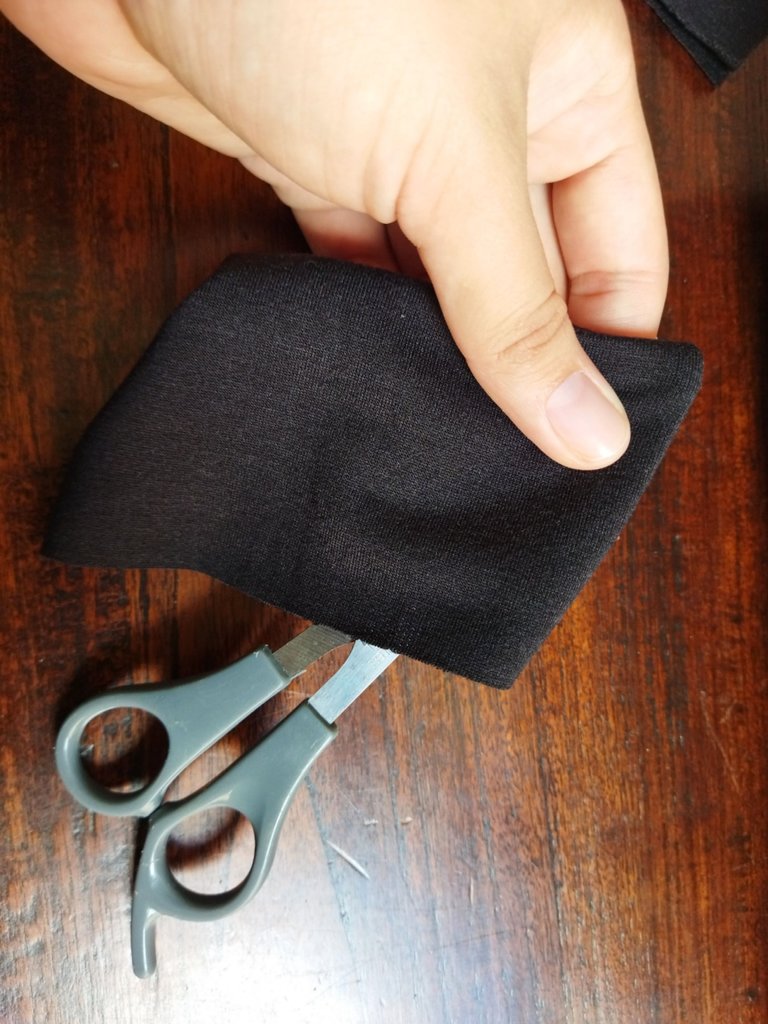
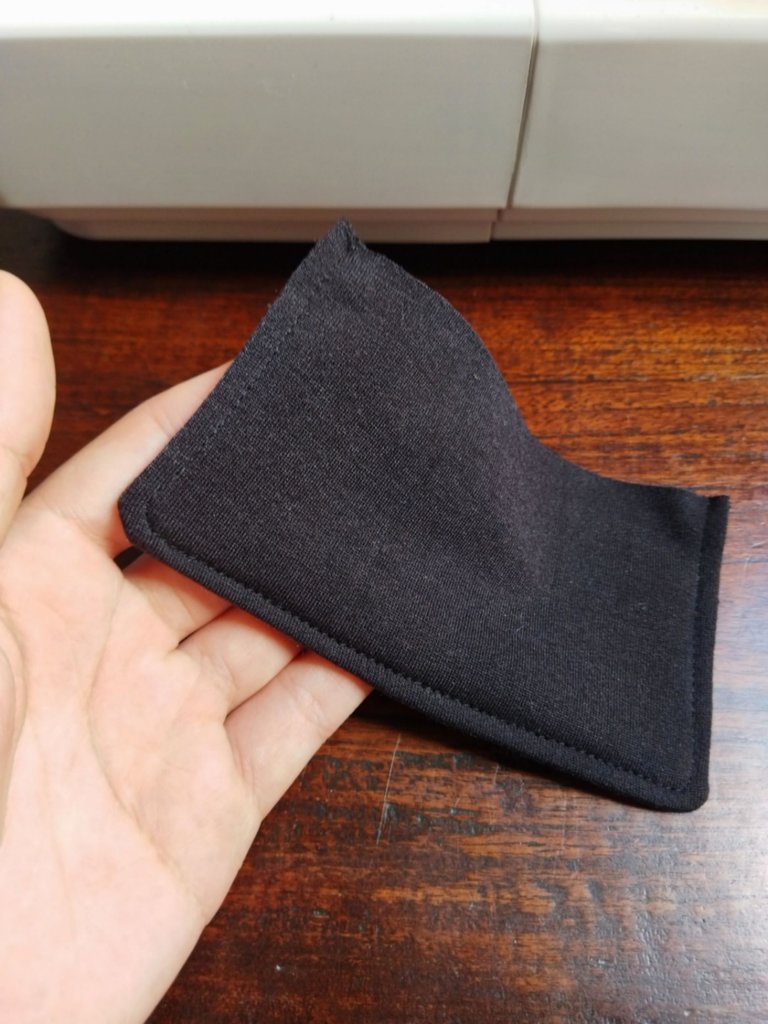
Comencé a coser las dos piezas de la tapa del bolsillo, dejaré la parte de arriba sin coser para voltear la pieza y luego pasar una costura decorativa por el borde.
I started sewing the two pieces of the pocket cover, I will leave the top unsewn to flip the piece over and then run a decorative seam along the edge.
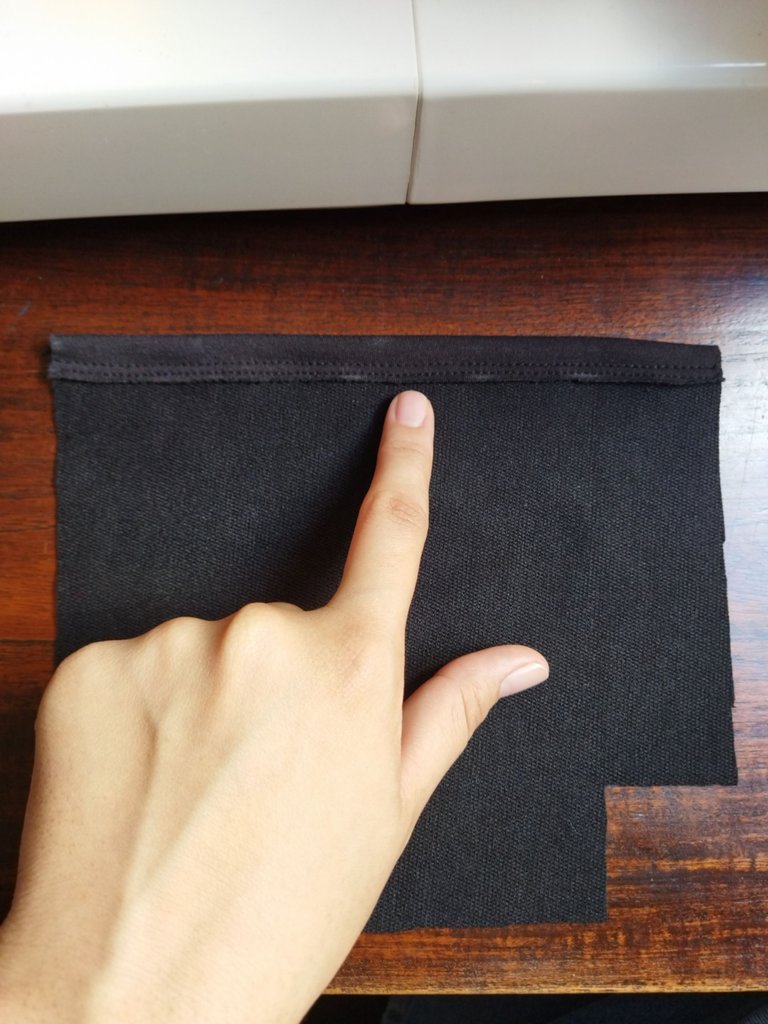
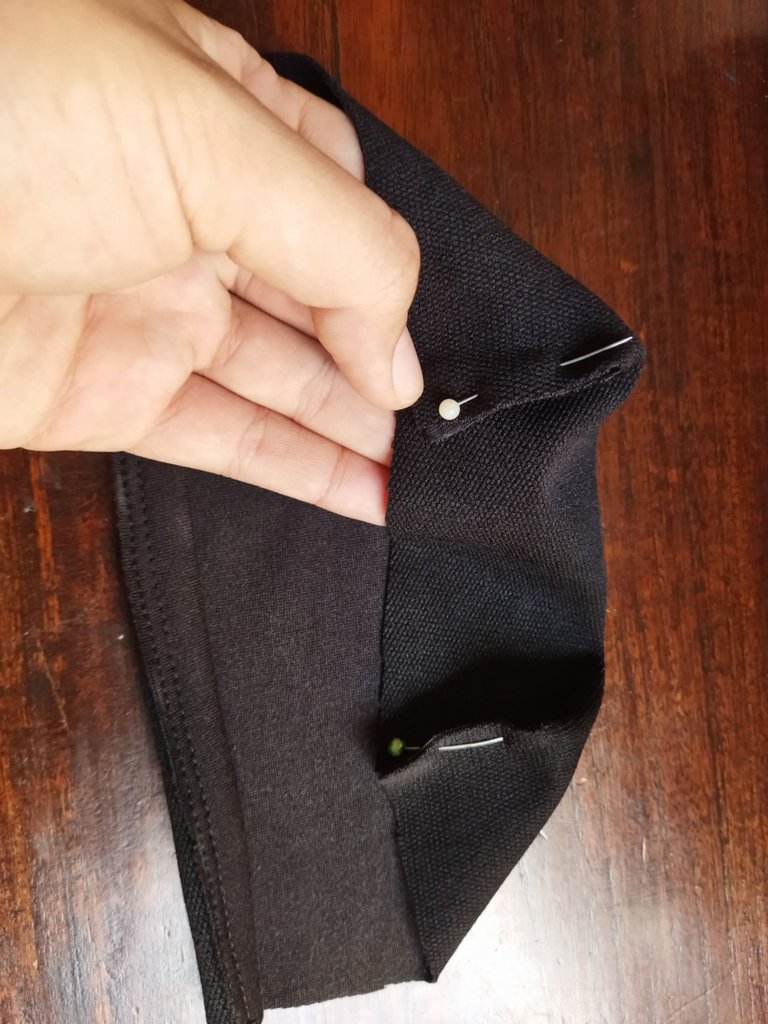
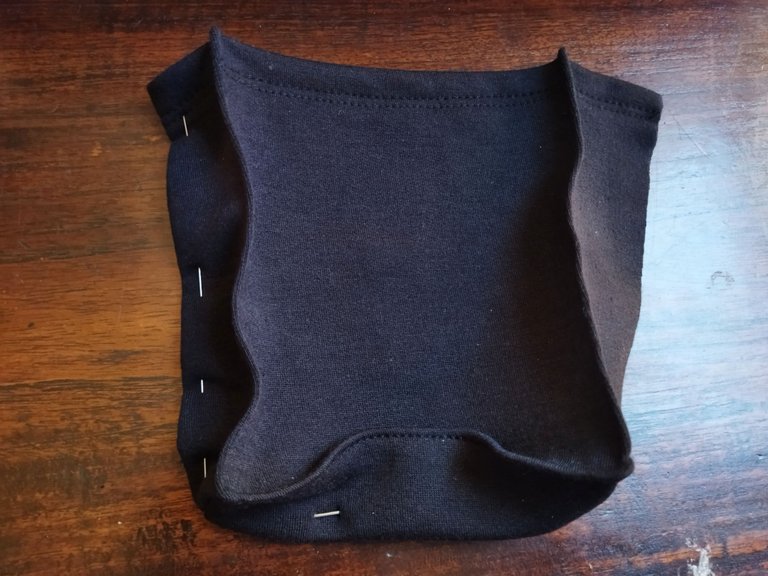
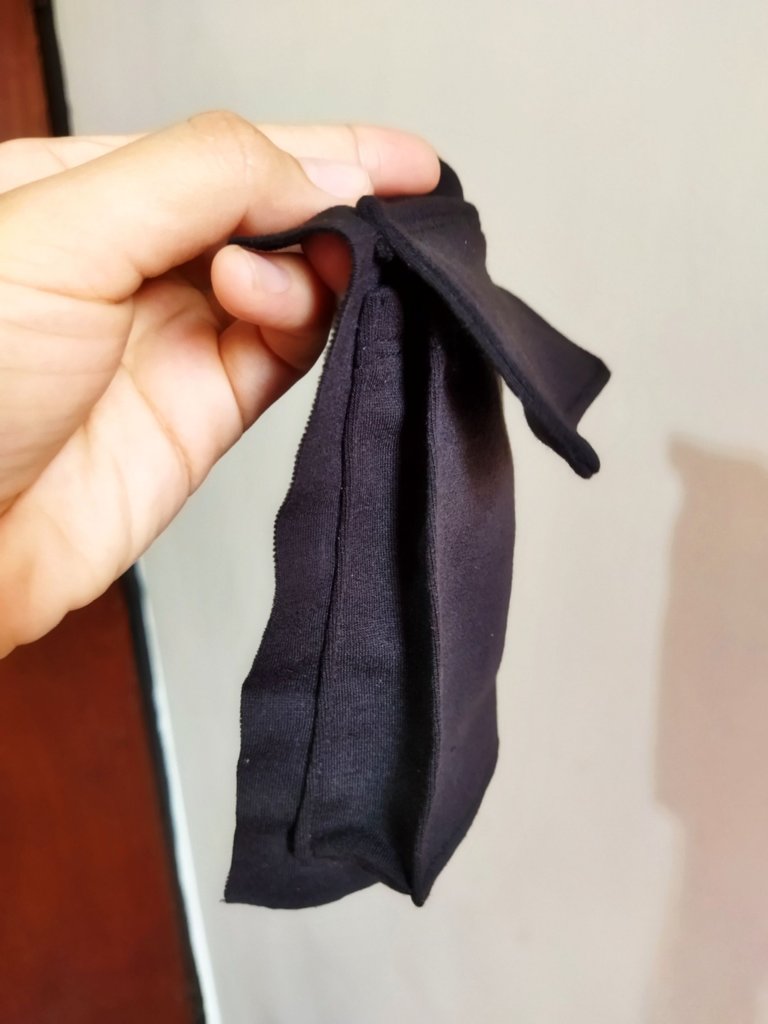
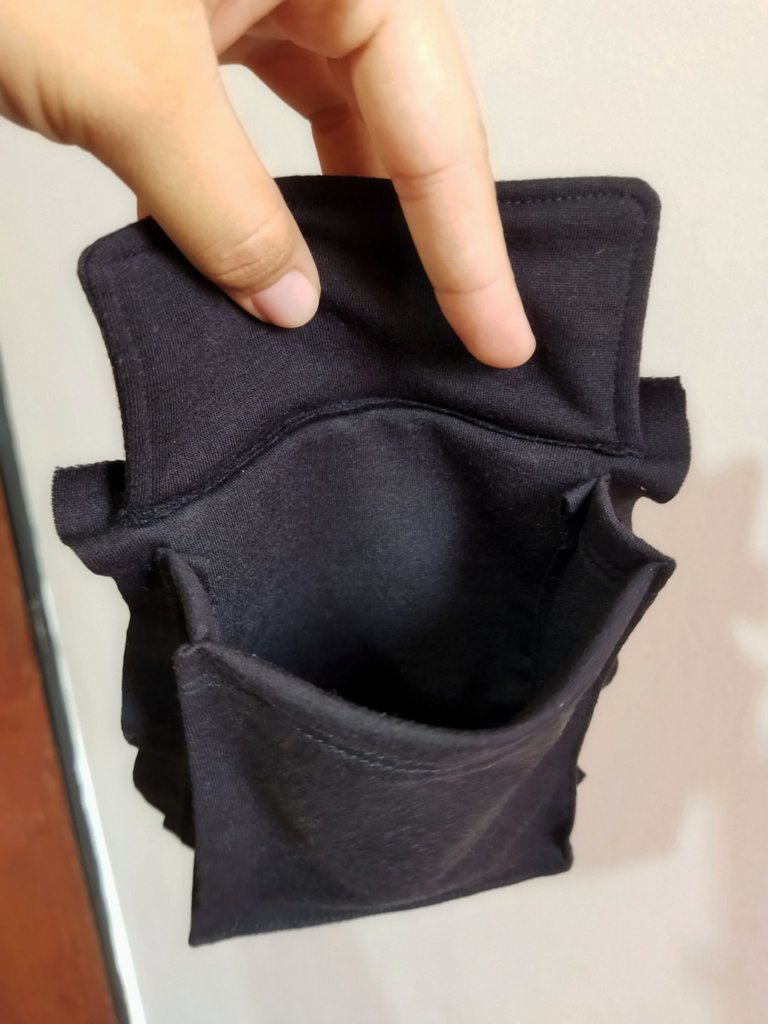
Para la pieza del bolsillo hice un dobladillo y pase costura doble para que se vea con un mejor acabado y luego una paso muy importante es unir los dos cortes cuadrados de la parte inferior, esto le dará la profundidad al bolsillo.
For the pocket piece I hemmed and double stitched to make it look more finished and then a very important step is to join the two square cuts at the bottom, this will give the pocket depth.
 |  |  |
|---|
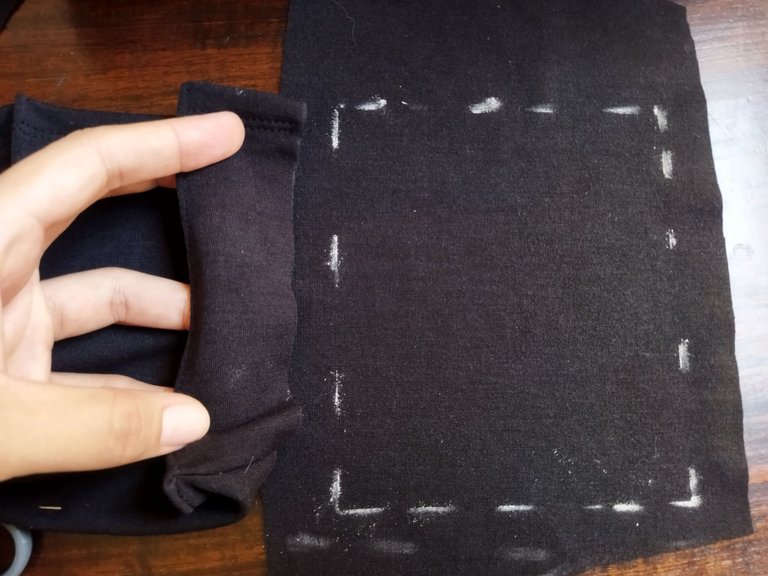
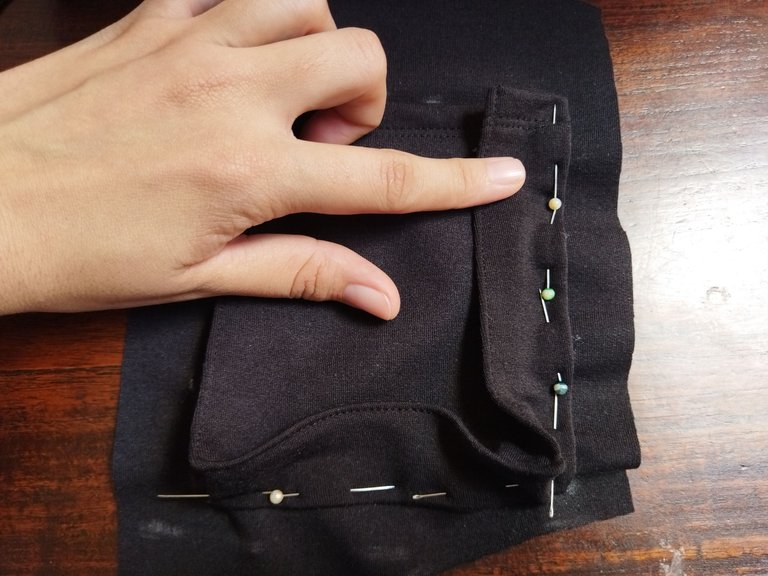
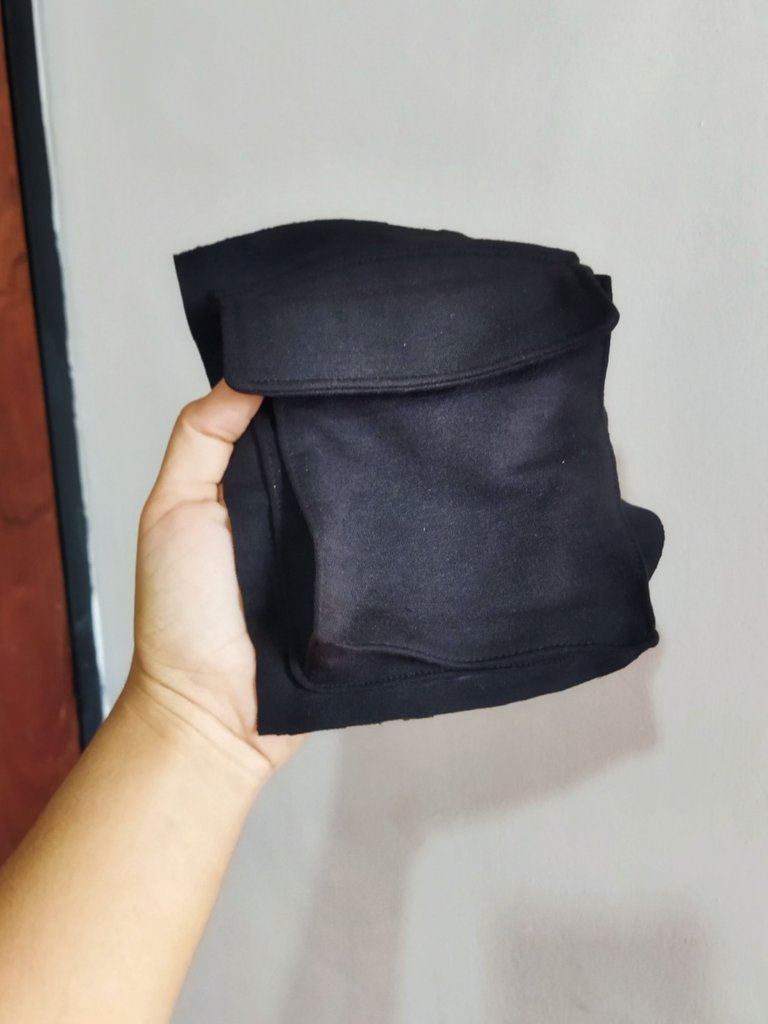
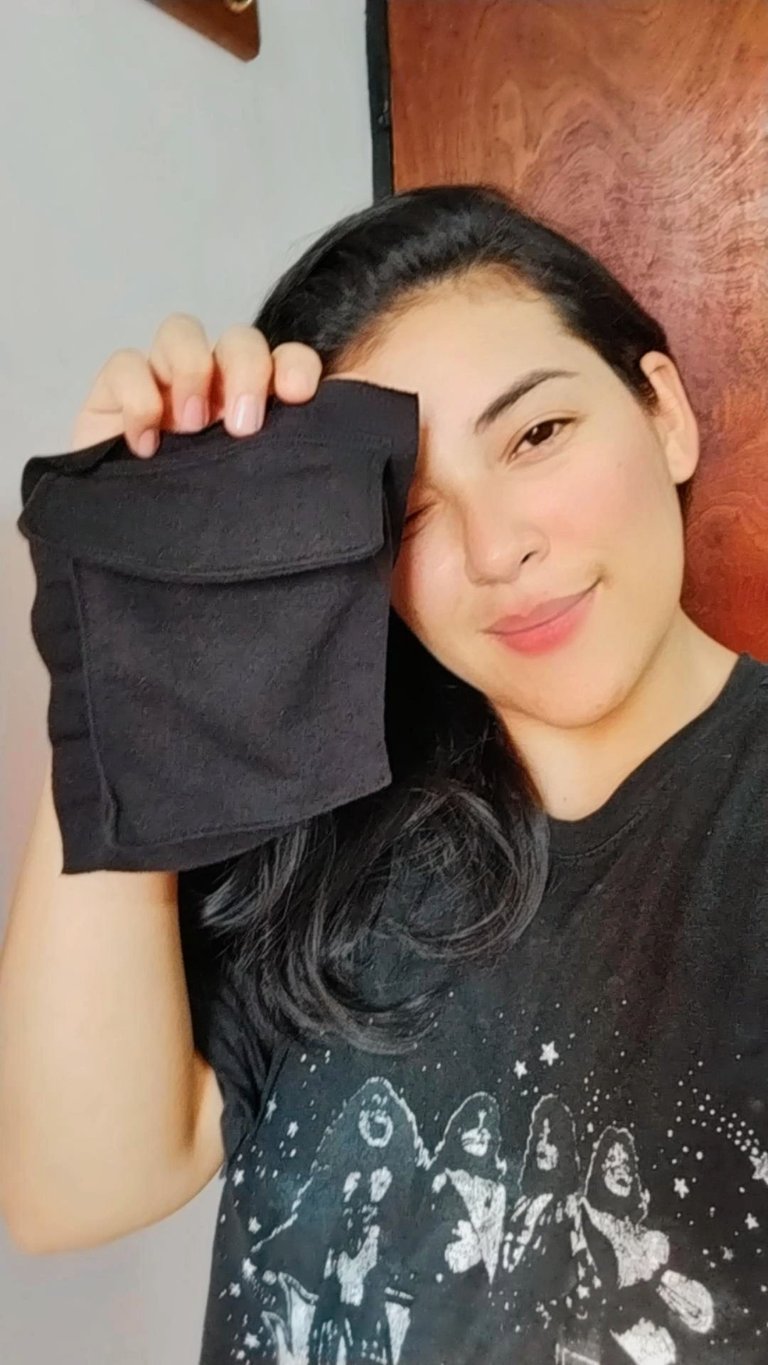
El próximo paso es coser todo el borde externo del bolsillo, les recomiendo que tengan paciencia para que les quede bien, como está era un prueba de bolsillo usé un retazo de tela para pegarlo, así que aquí vamos a marcar con un lápiz o tiza el ancho un largo de el patrón de papel esto es para que el bolsillo nos quede prolijo, me ayude con alfileres para que no se moviera. Cómo último paso comeremos la tapa del bolsillo a un centímetro de la parte superior del bolsillo y luego hacer una costura decorativa en la parte superior, no tengo fotos de este paso pero lo pueden ver en el resultado final. Gracias por estar y por visitar mi blog ❤️ nos vemos pronto.
The next step is to sew all the outer edge of the pocket, I recommend you to have patience to get it right, as this was a pocket test I used a piece of fabric to glue it, so here we will mark with a pencil or chalk the width and length of the paper pattern, this is so that the pocket is neat, I helped me with pins so it would not move. As a last step we will eat the pocket cover one centimeter from the top of the pocket and then make a decorative seam at the top, I do not have photos of this step but you can see it in the final result. Thank you for being and for visiting my blog ❤️ see you soon.
¡Gracias por leerme, hasta luego!
Thank you for reading me, see you later !


Camera: Xiaomi Redmi 9T. | Separadores: Aquí | Edition: CANVA | Translation: Deepl.com
Oh okay
So that’s how they make The pockets and now fix it on the pants and call them cargo pants
You even drew and sketch on paper just so we could understand you
You’re so sweet, thank you for sharing
Actually this was a test, but these pockets can be made on the pants directly following the same technique, I was just practicing 🤭 thanks for your comment, sweetie. Regards!
You’re welcome
El bolsillo te quedó bastante bien y estoy segura de que los pantalones cargo, también te quedaran excelentes.
Soy bastante fan de este estilo cargo, en mi época universitaria los usaba muy a menudo y aún me gustan mucho.
Gracias por compartir tu proyecto. Saludos!
Gracias, ahí vamos aprendiendo, el próximo reto será comenzar con la pieza completa, estos pantalones son muy cómodos. Gracias y saludos!
Amiga, te quedo genial.
Me parece genial eso de ponerse a practicar esas cosas primero antes de llevarlas al proyecto a realizar
Gracias, ☺️ bueno en esta oportunidad tocó ya que nunca había hecho este tipo de bolsillos, pero siempre es bueno practicar con cualquier retazo de tela. Saludos!
This tutorial is very detailed, thanks for taking the time to share this with us. Well done 👏🏾