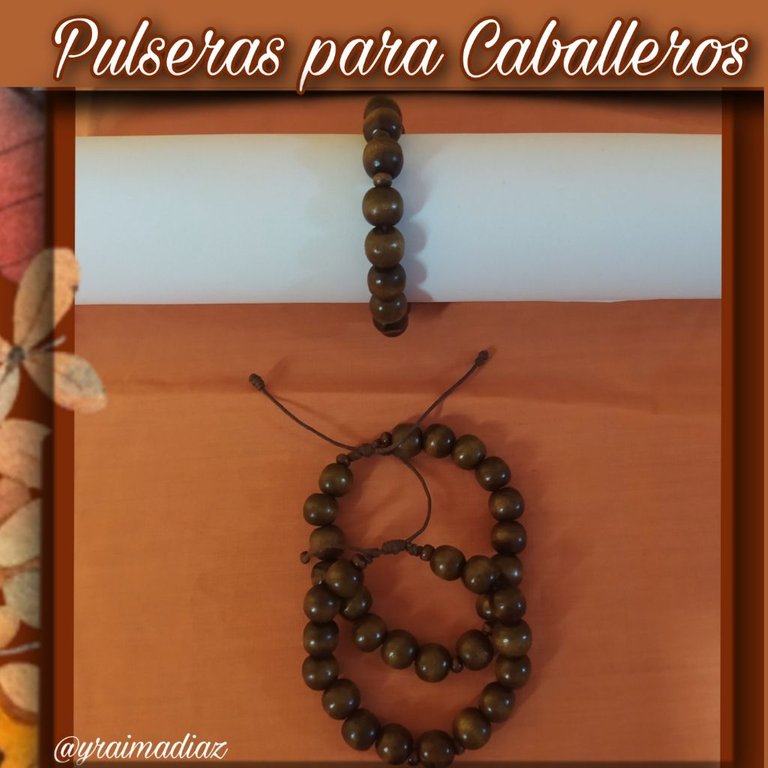
✨🕺Beautiful bracelets for men [ESP][ENG]
Hello my beautiful people of Hive who read us from all over the world, especially all the creative people who make life in this beautiful community @jewelry I hope you have a beautiful Tuesday.
Today I come to bring you a tutorial on how to make a beautiful Bracelets for Gentlemen an excellent accessory which is in trend and that you should include in your outfits at the time that you use it will make you look beautiful and fashionable.
These beautiful bracelets are made with Chinese thread and wooden beads.
These bracelets are very easy to make and with few materials.
Here is the list of the materials I used to make them.
Hola mi gente hermosa de Hive que nos leemos de cualquier parte del mundo, especialmente todos las personas creativas que hacen vida en esta bella comunidad @jewelry espero tengan un hermoso día martes.
Hoy vengo a traerles un tutorial de como hacer una bellas Pulseras para Caballeros un excelente accesorio el cual está en tendencia y que deberian incluir en sus outfits en el momento que lo usen los va hacer que luzca bellos y a la moda.
Estás hermosas pulseras las realice con hilo chino y cuentas de madera.
Estas pulseras son muy fácil de hacer y con pocos materiales.
Está es la lista de los materiales que utilice para realizarlas.
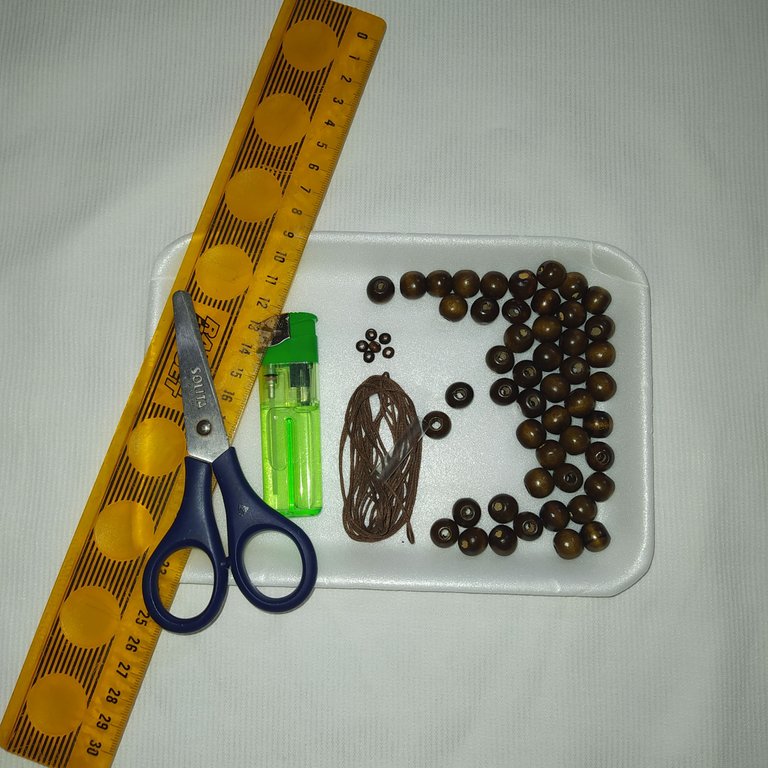
Materials.
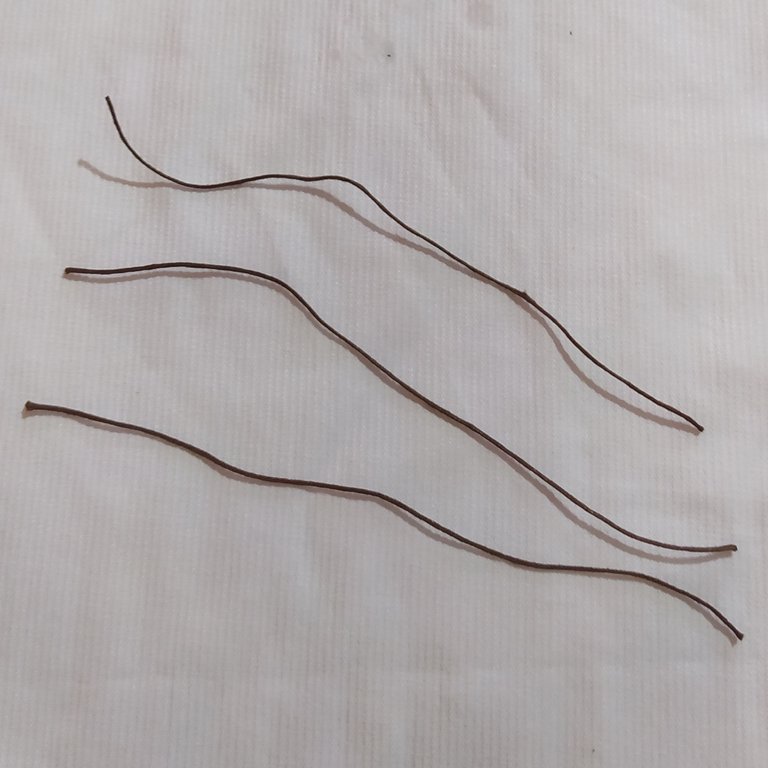
- 2.40 Meters of brown Chinese thread.
- 47 Medium brown wooden beads.
- 12 small brown wooden beads.
- Ruler.
- Scissors.
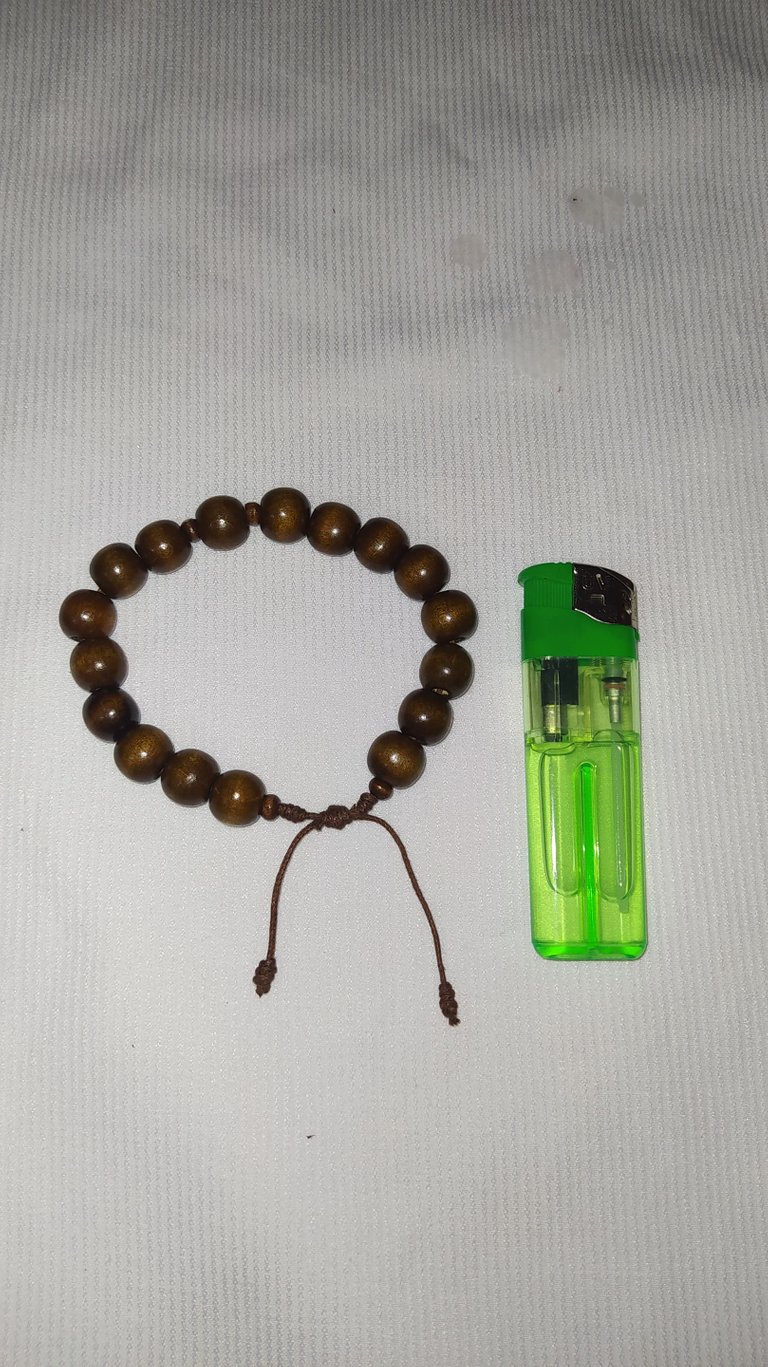
- Lighter.
- 3 cm long straw.
Distribution of the materials for each pulcera.
- Each pulcera has a Chinese thread that measures 60 cm.
- 20 cm of Chinese thread to make the knot.
- 2 pulceras have 15 medium sized wooden beads.
- 1 pulcera has 17 medium-sized wooden beads.
- 4 small wooden beads
Let's move on
to its elaboration.
Materiales.
- 2.40 Metros de hilo chino marrón.
- 47 Cuentas marrones de madera mediana.
- 12 Cuentas marrones de madera pequeñaa.
- Regla.
- Tijera.
- Encendedor.
- Pitillo de 3 cm de largo.
Distribucion de los materiales para cada pulcera.
- Cada pulcera lleva un hilo chino que mide 60 cm.
- 20 cm de hilo chino para hacer el nudo.
- 2 pulceras llevan 15 cuentas de madera mediana.
- 1 pulcera lleva 17 cuentas de madera mediana
- 4 cuentas de madera pequeñas
Pasemos a su elaboración.
 |  |  |
|---|
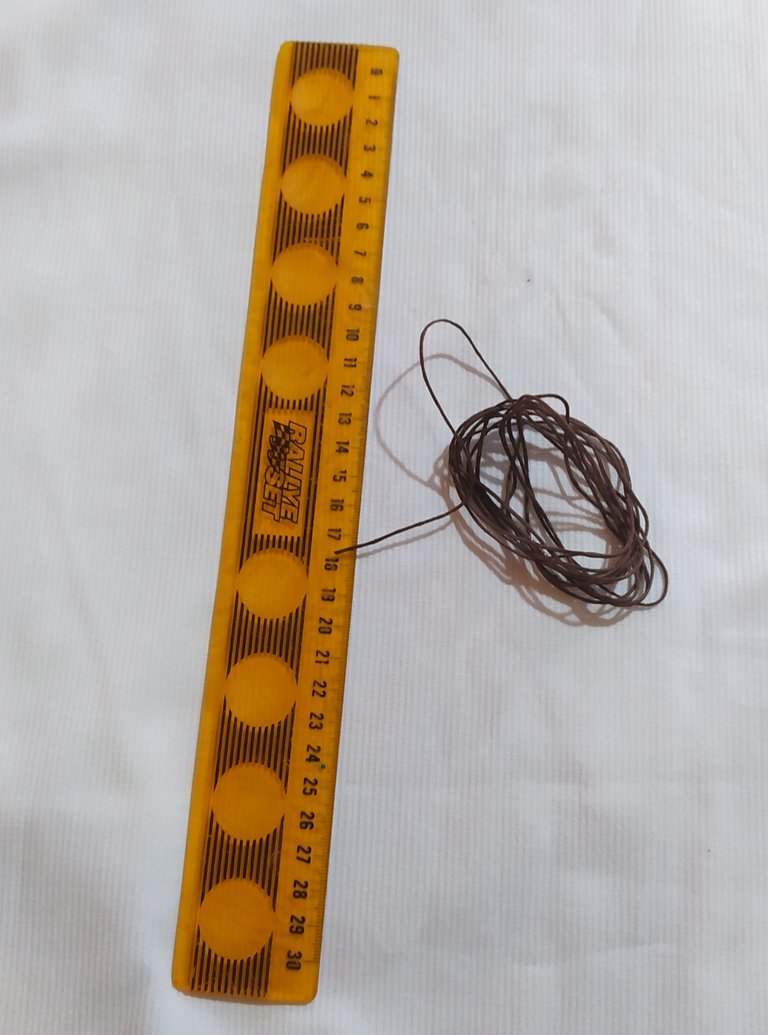
- We measure the yarn and make sure to cut three yarns of 60 cm each.
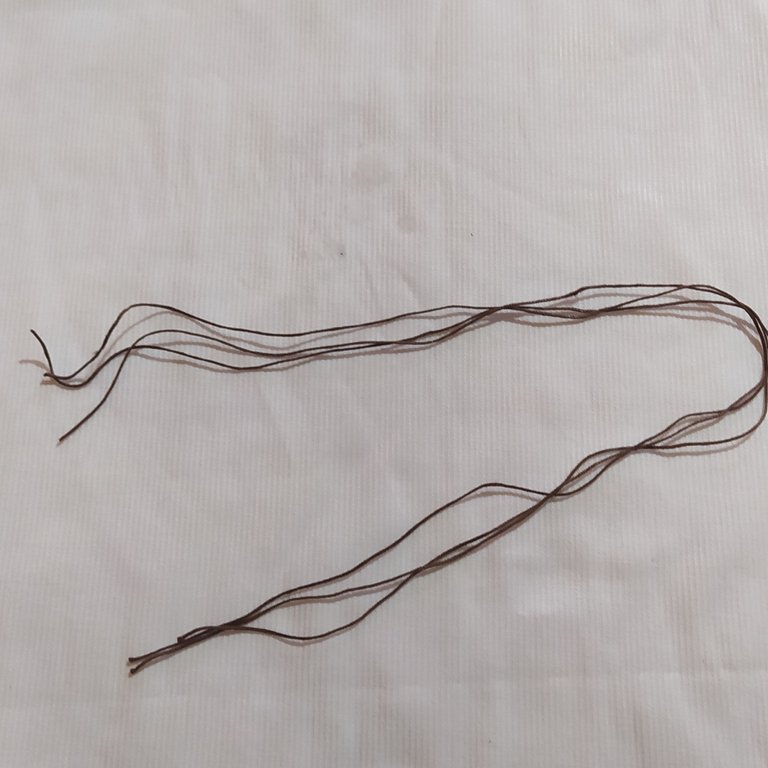
- Then we measure three threads of 20 cm each.
- Medimos el hilo y nos aseguramos de cortar tres hilos de 60 cm cada uno.
- Luego medimos tres hilos de 20 cm cada uno.
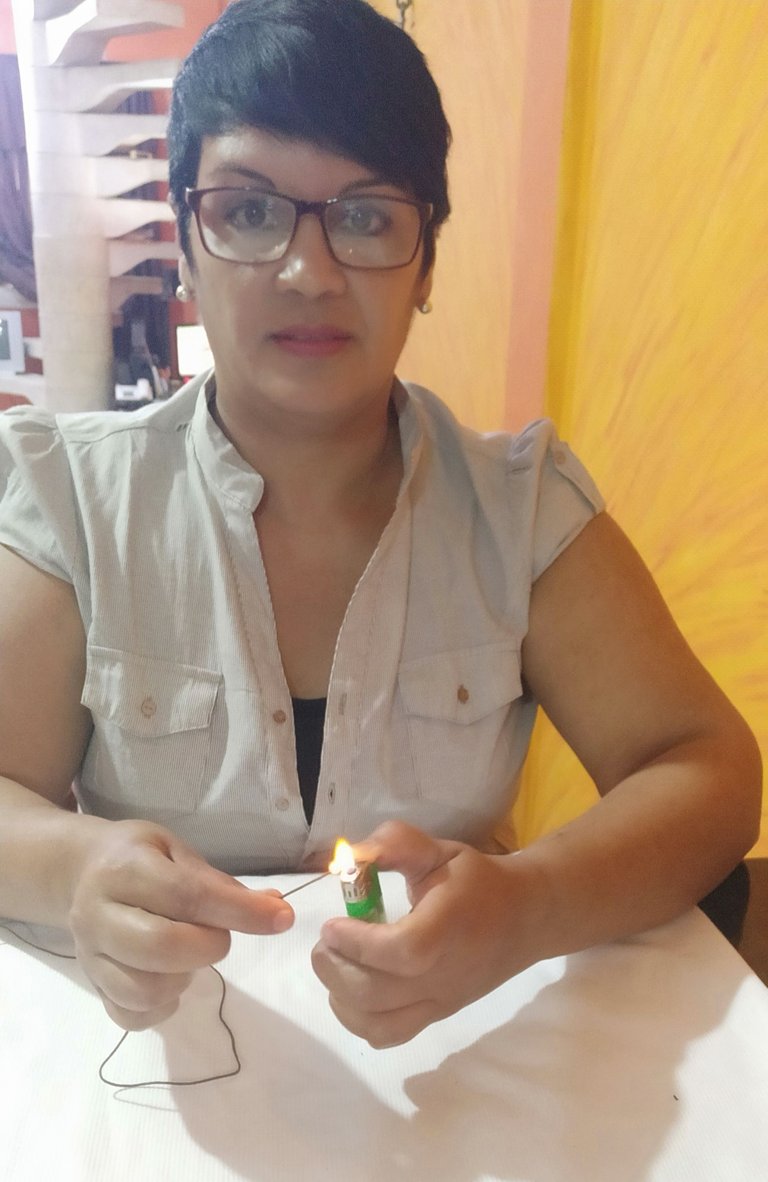
- We take a 60 cm thread to make the pulcera.
- We burn the tip with the lighter and quickly and carefully turn it off with our hand but we pull the tip to make it thinner, to make it easier to introduce the beads.
- Tomamos un hilo de 60 cm para hacer la pulcera.
- le quemamos la punta con el encendedor y de forma rápida y con mucho cuidado la apagamos con nuestra mano pero le halamos la punta para hacerle más fina , para que sea más fácil al introducir las cuentas.
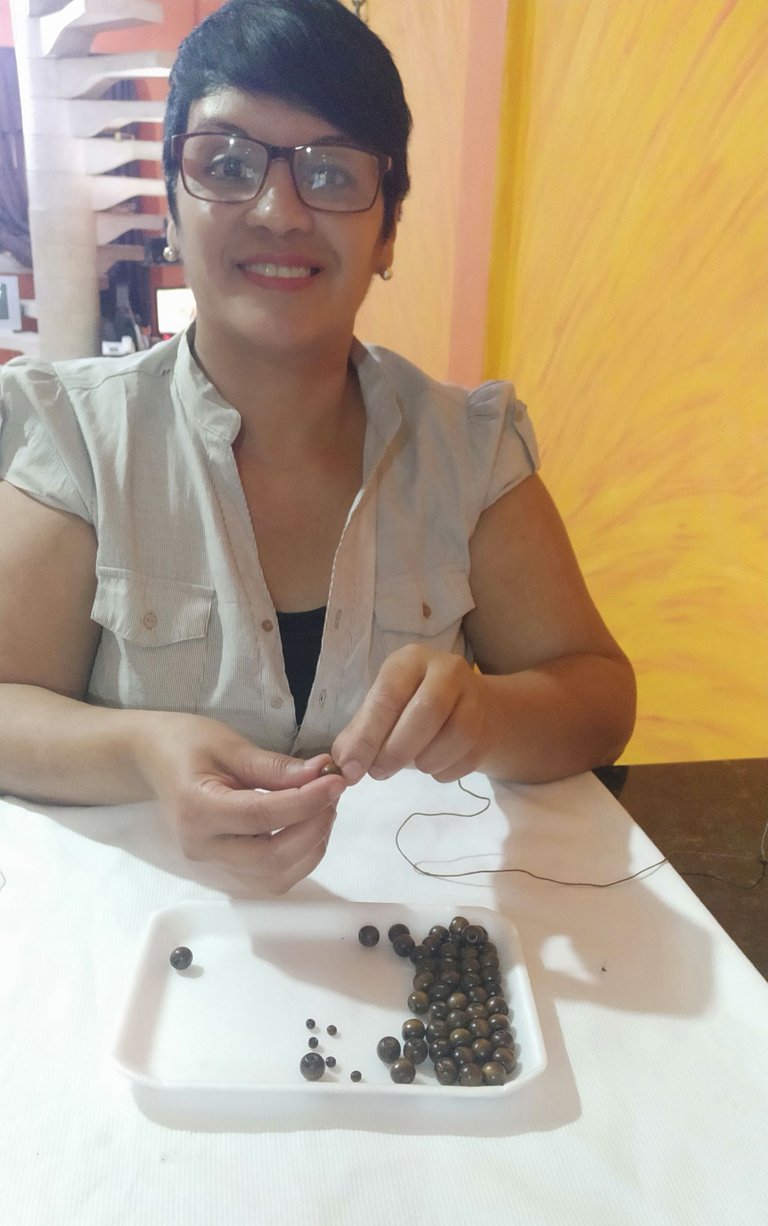
- We take the thread and begin to introduce the medium-sized wooden beads.
- Tomamos el hilo y empezamos a introducir las cuenta de madera medianas.
- We introduce 8 medium wooden beads.
- Introducimos 8 cuentas de madera mediana.
 |  |
|---|
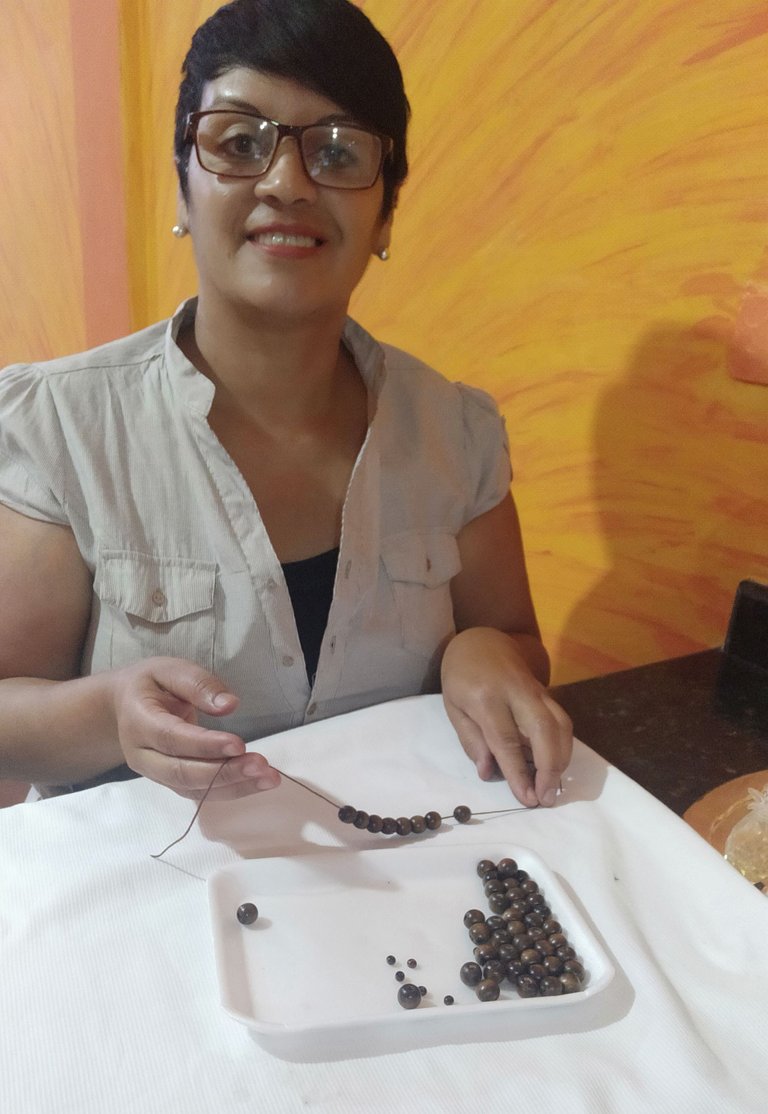
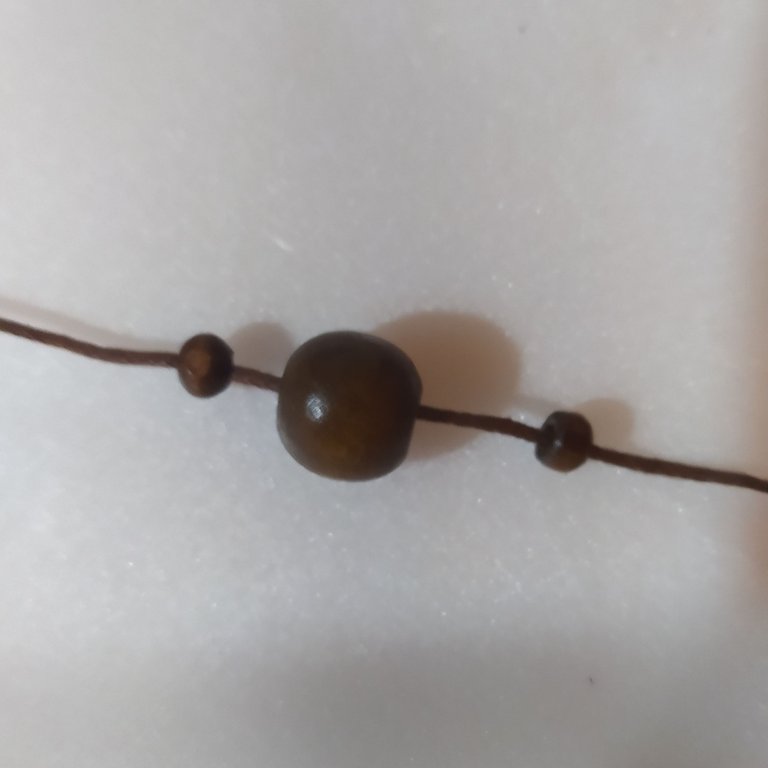
- Now we put in a small account.
- Then a medium bead and then another small bead.
- Ahora metemos una cuenta pequeña.
- Luego una cuenta mediana y después otra cuenta pequeña.
 |  |
|---|
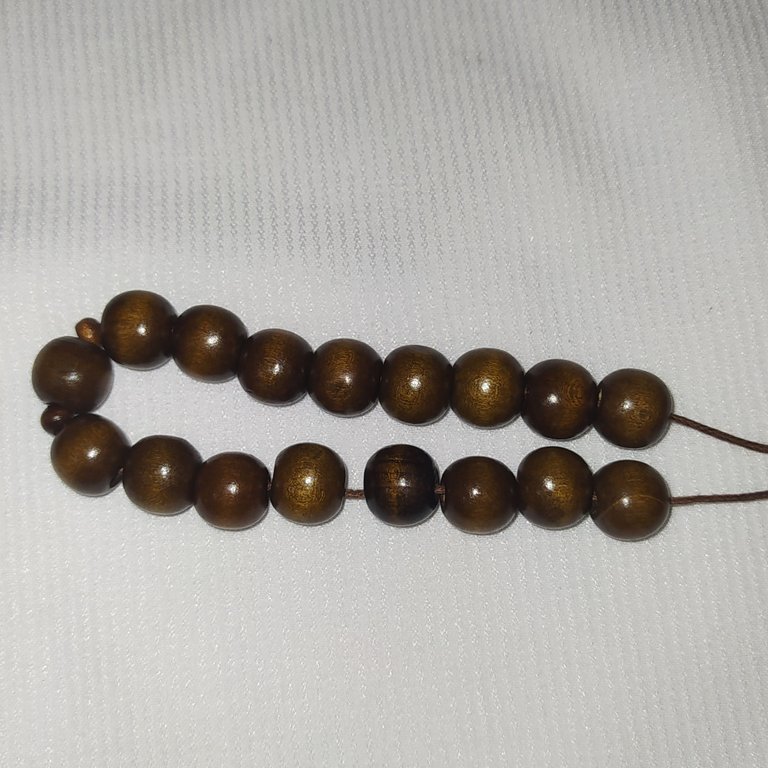
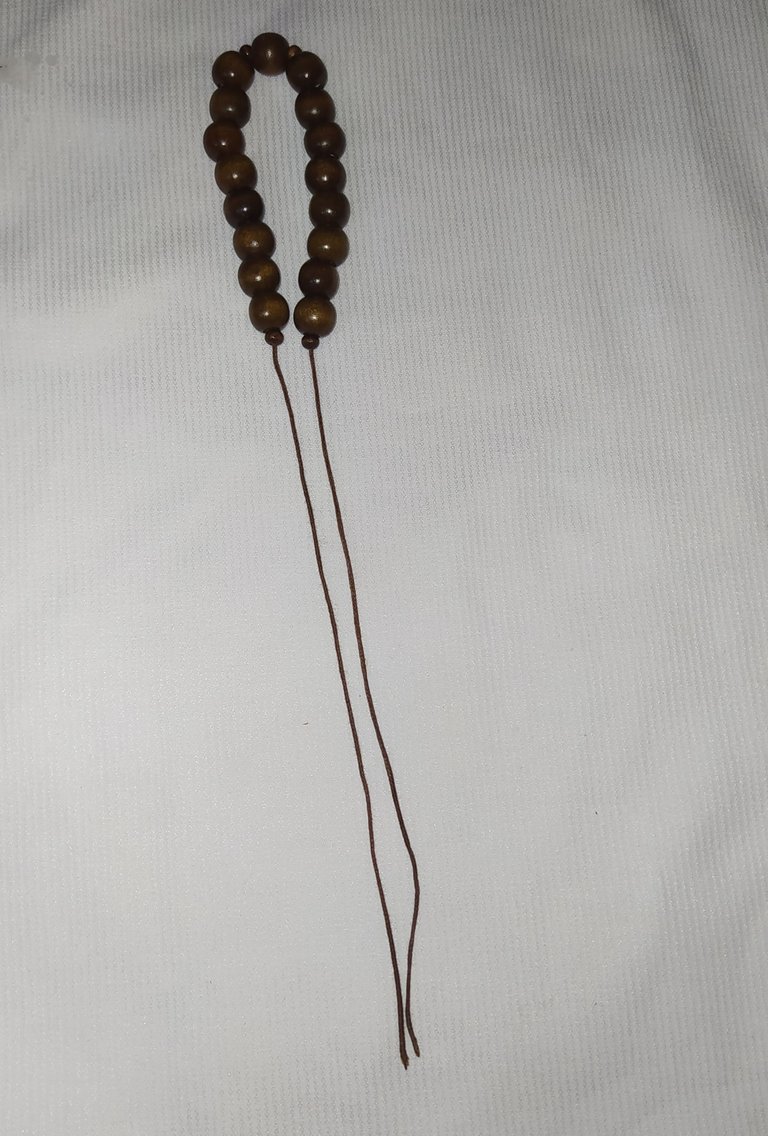
- Now we are going to introduce the other 8 remaining beads.
- On each side of the medium beads I insert a small wooden bead.
- Then I center the pulcera.
- The children must be both the same length.
- Ahora vamos a introducir las otras 8 cuentas restantes.
- A cada lado de las cuentas medianas introduzco una cuenta de madera pequeña.
- Luego entro la pulcera .
- Los hijos deben estar ambos del mismo largo.
 |  |
|---|
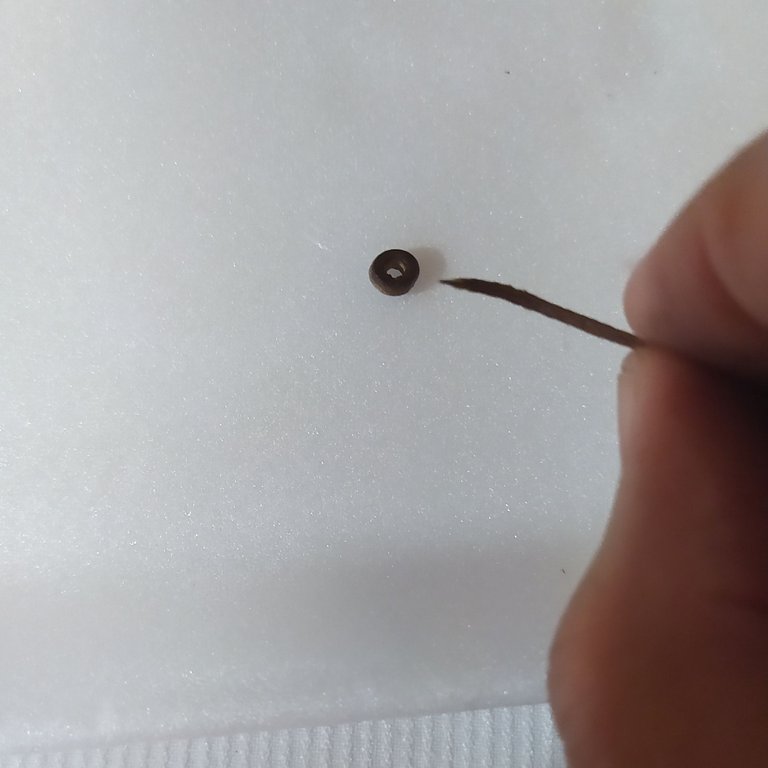
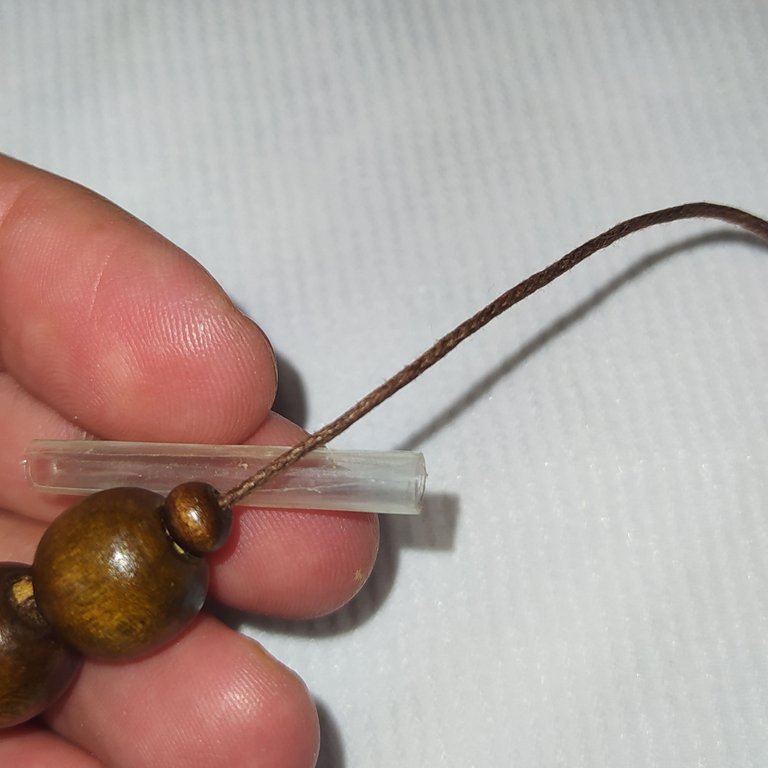
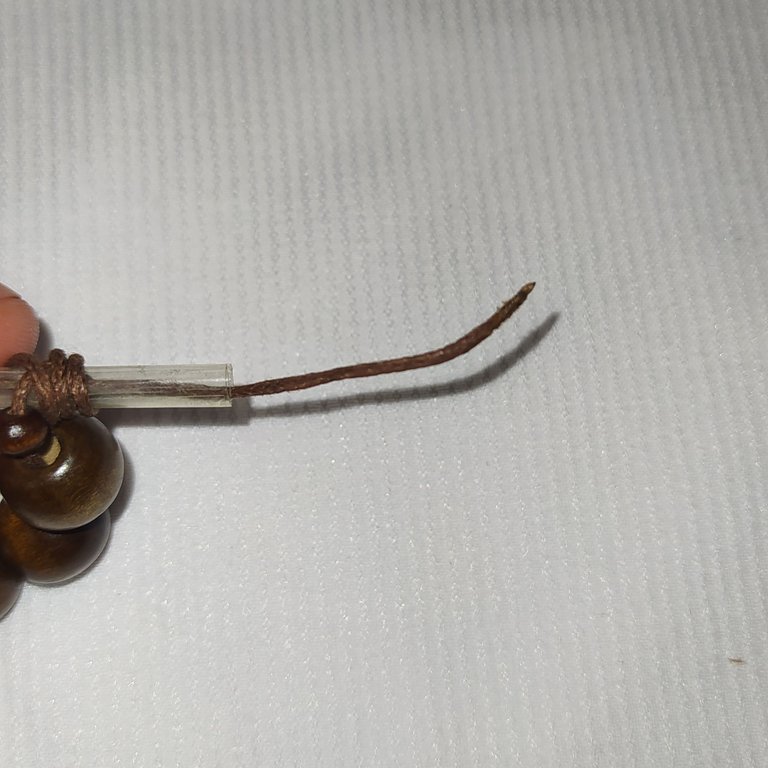
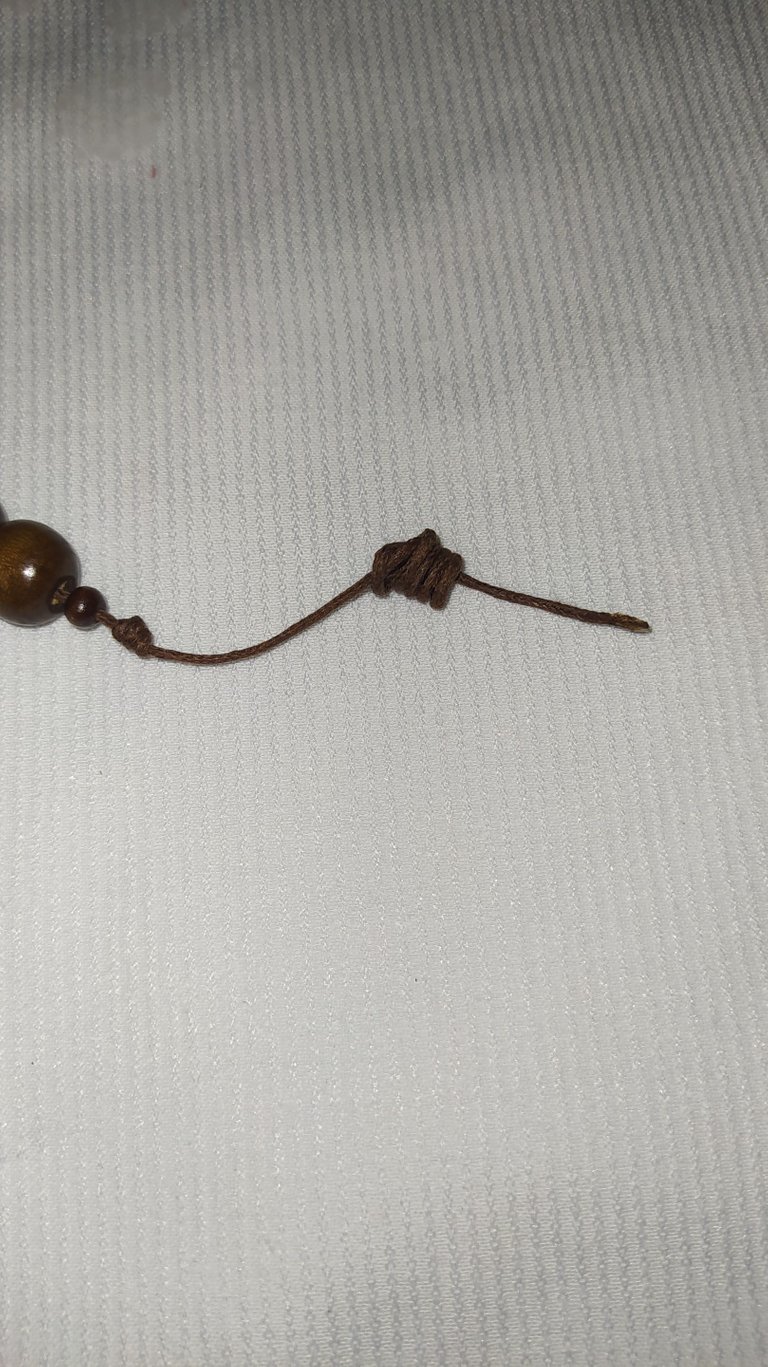
- We will tie a knot on each side to secure the pulcera, to do this I take the straw and place it on the back of the last wooden bead.
- I give it a twist and we make an x as shown in the photo.
- Le haremos un nudo a cada lado para asegurar la pulcera, para ello tomo el pitillo y lo coloco en la parte de atrás de la última cuenta de madera.
- Le doy una vuelta y hacemos como una x como indico en la foto
 |  |
|---|
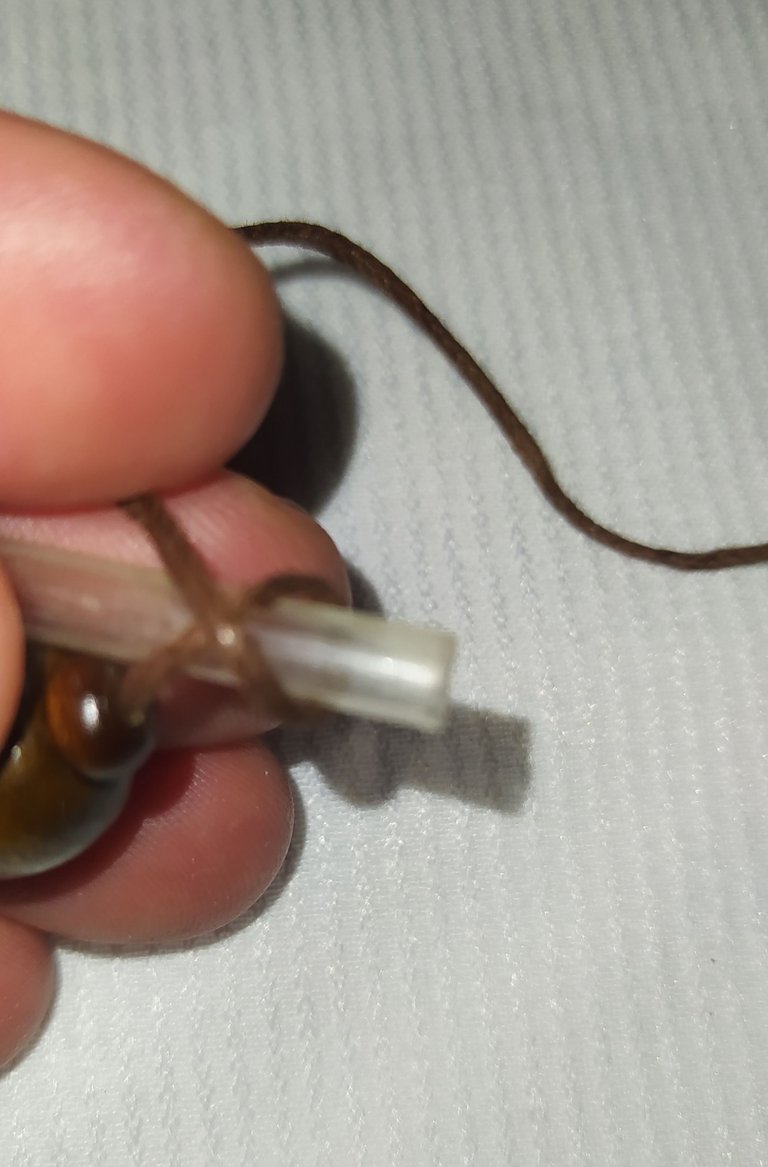
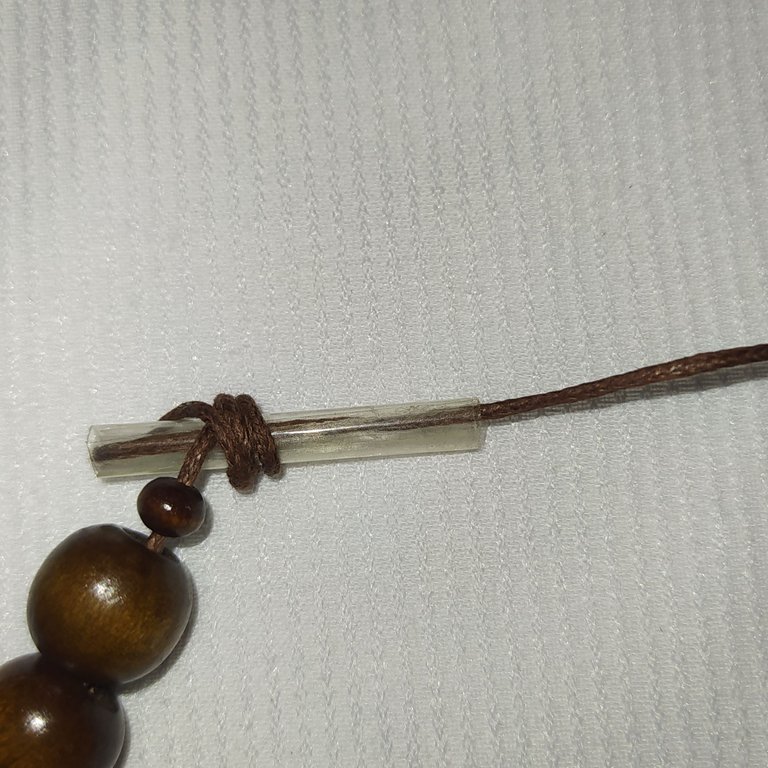
- We make two turns with the yarn.
- We introduce the thread in the left side straw.
- damos dos vueltas con el hilo.
- Introducimos el hilo en el pitillo de lado izquierdo.
 |  |
|---|
 |  |
|---|
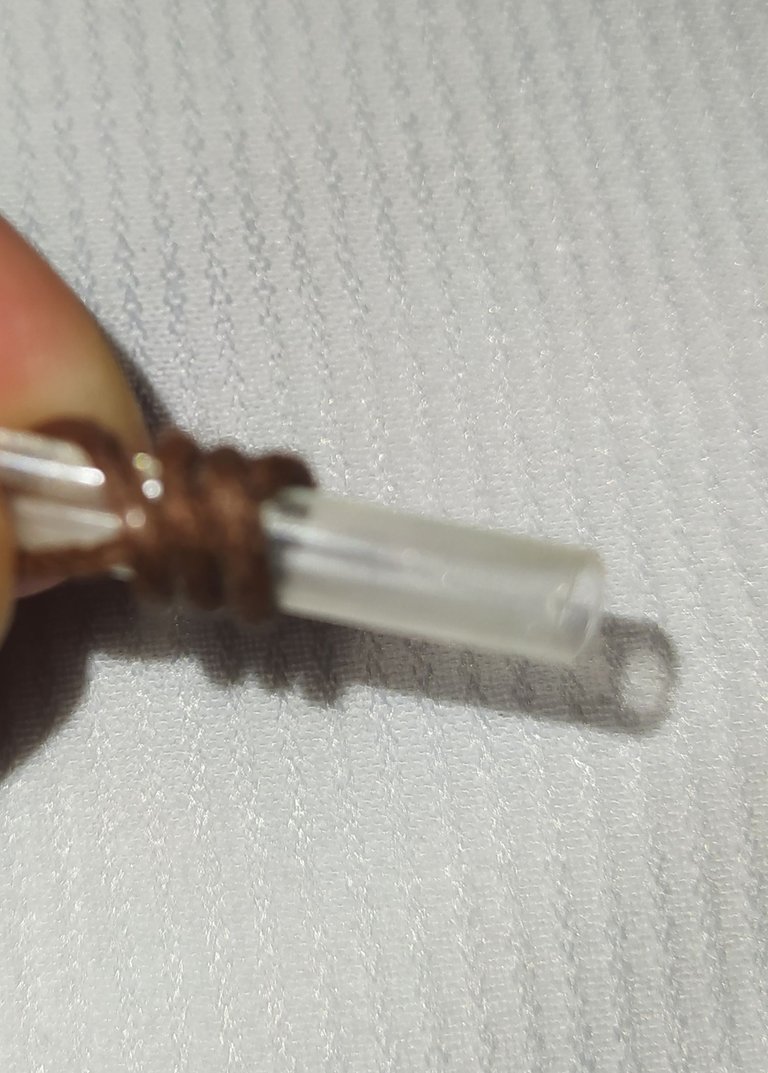
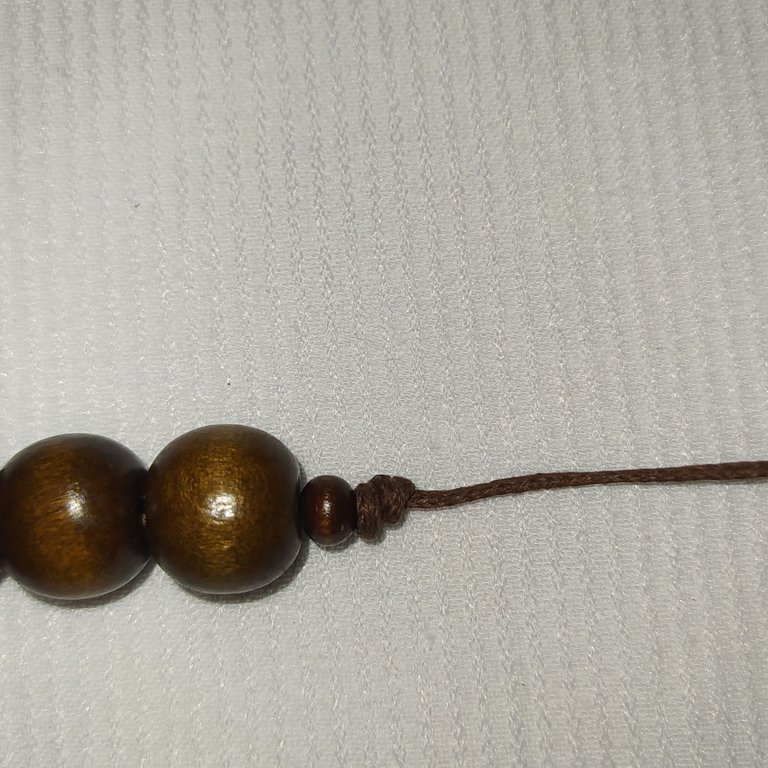
- We pull out the tip on the right side of the straw and pull the thread carefully and remove the straw little by little.
Then we make sure that the nest is just below the small bead and we tighten it little by little so that it does not fall apart.
Sacamos la punta por el lado derecho del pitillo y vamos halando el hilo con cuidado y retirando el pitillo poco a poco.
Luego nos aseguramos de que el nido nos quede justo debajo de la cuenta pequeña y apretamos poco a poco para que no se desarme.
- Repeat on both sides of the bracelet.
- Repetimos en ambos lados de la pulsera.
 |  |
|---|
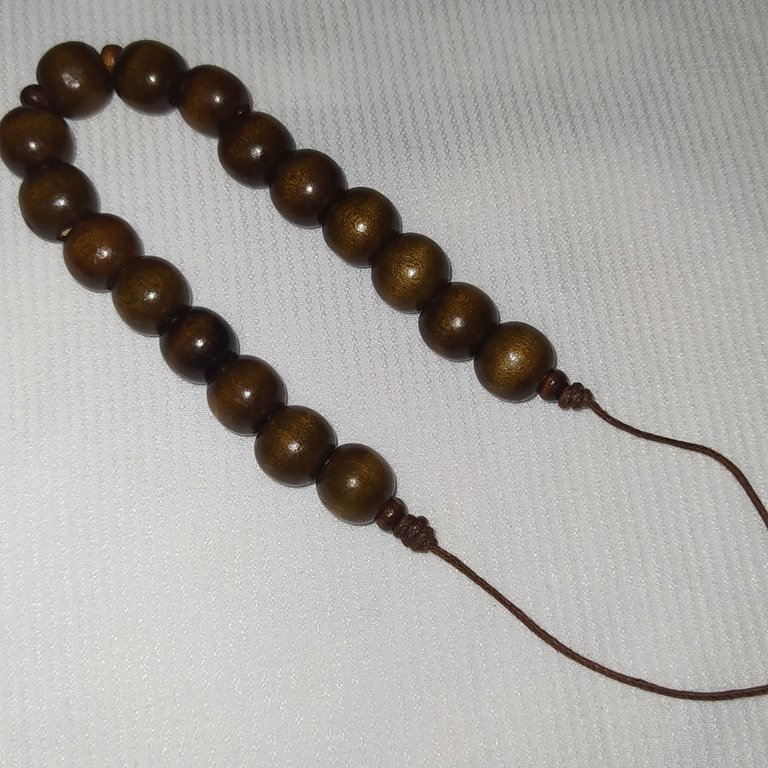
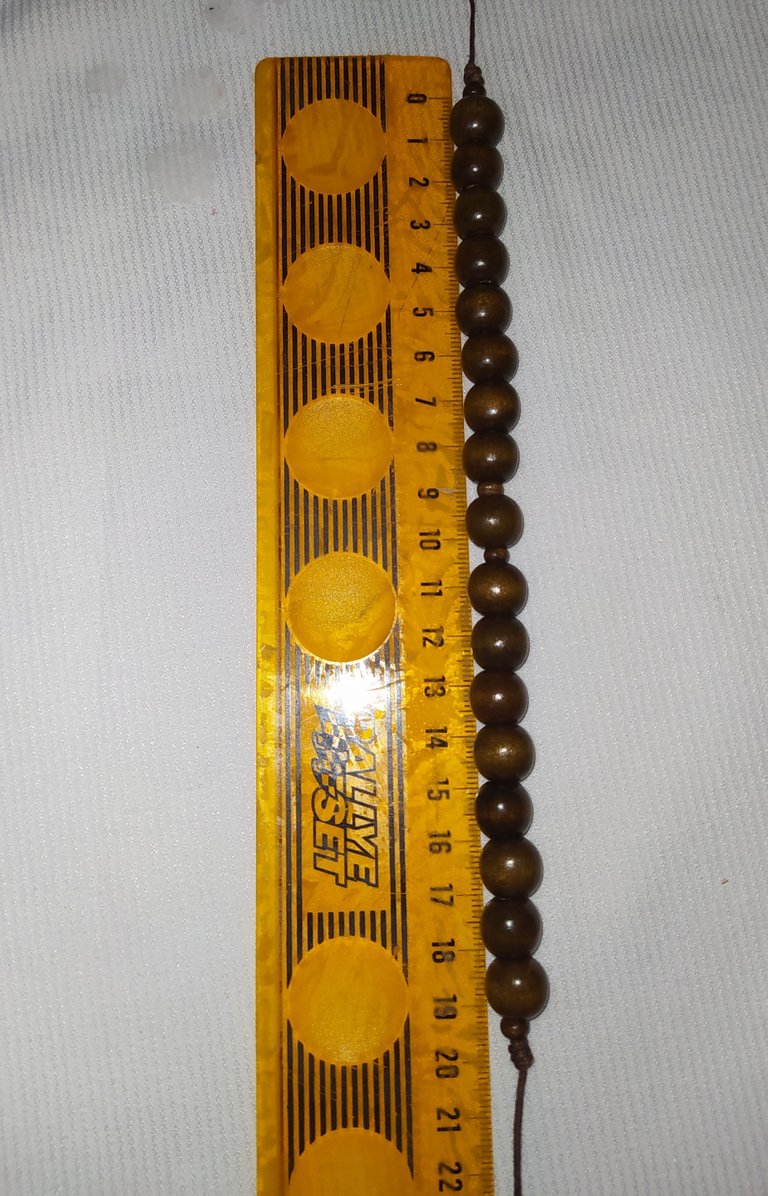
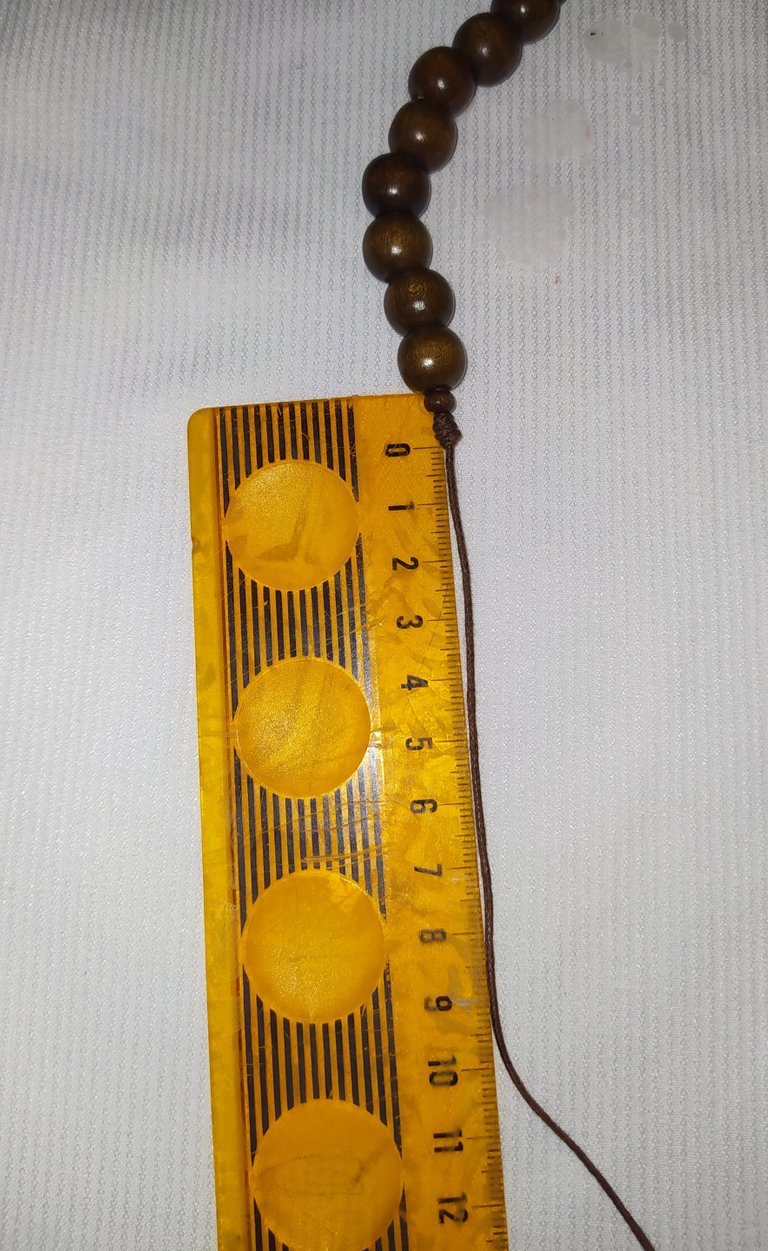
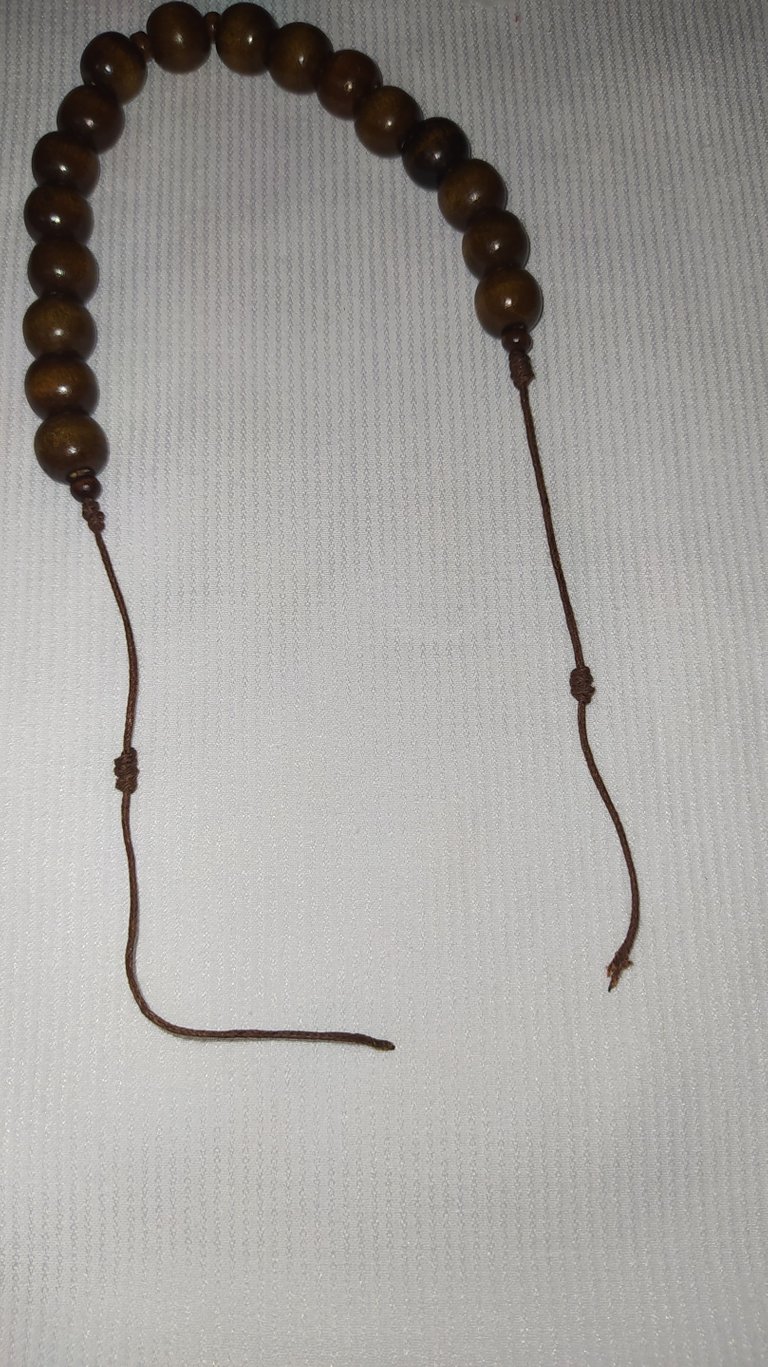
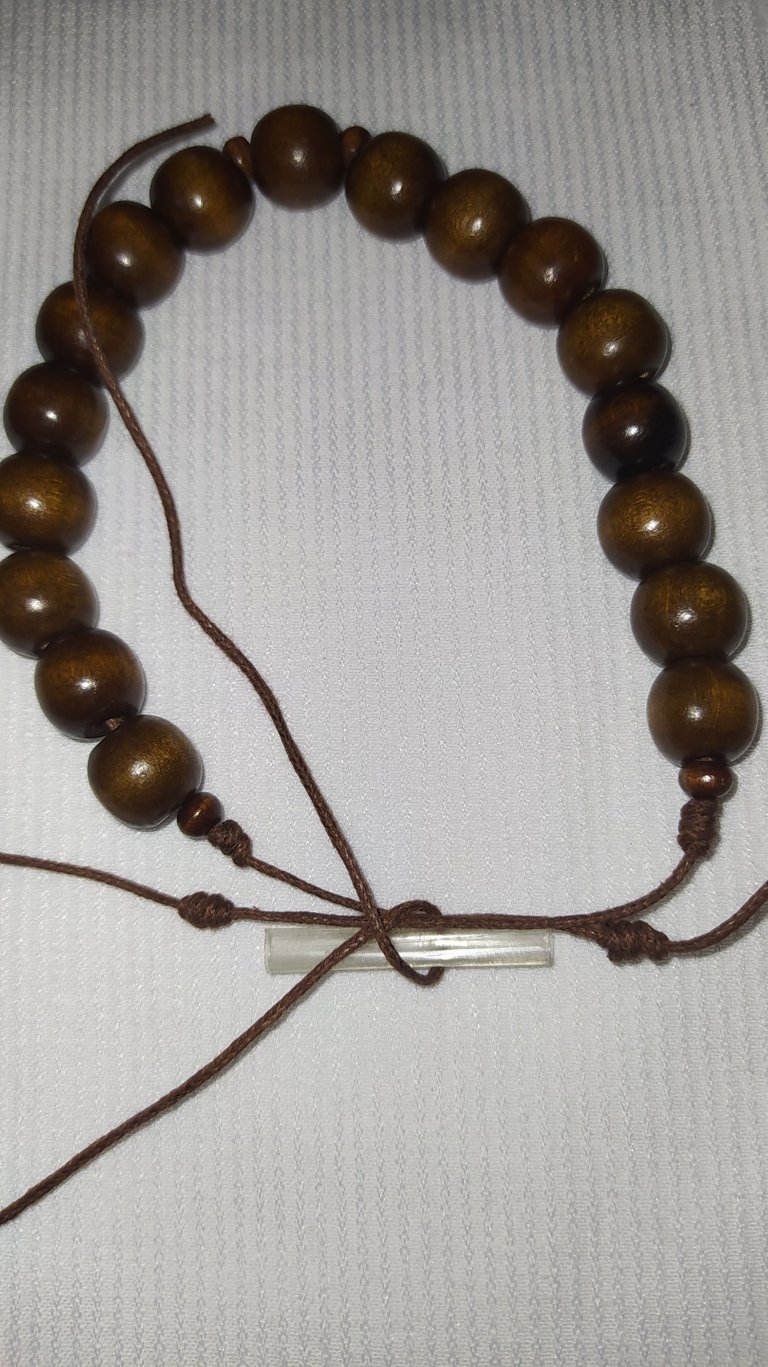
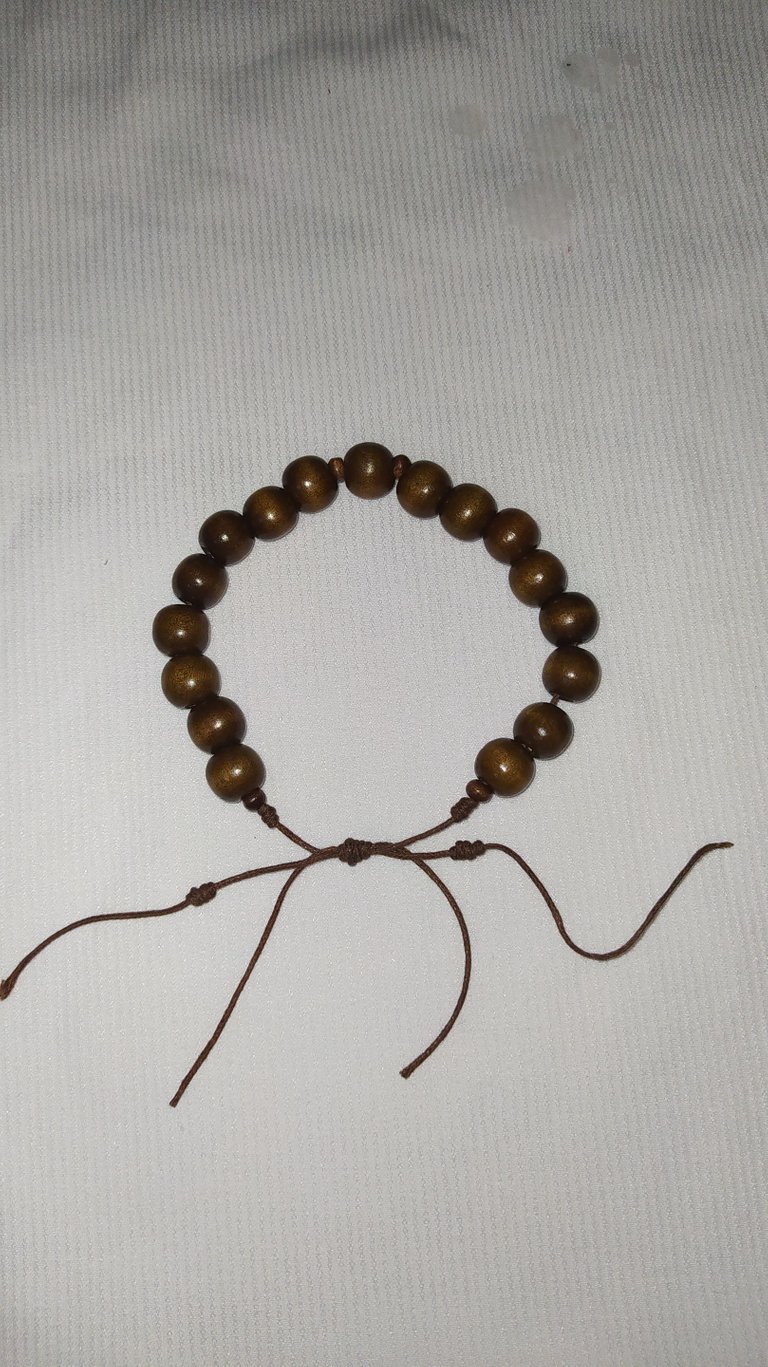
- Now we measure the bracelet is 19cm which is the measurement of the wrist of the gentleman who ka will wear, it would be like a size M.
- At the ends of the threads after the knot we must measure 6 cm.
- Ahora medimos la pulsera está mide 19cm que es la medida de la muñeca del caballero que ka va a usar, sería como una talla M.
- En los extremos de los hilos después del nudo debemos medir 6 cm
 |  |
|---|
 |  |
|---|
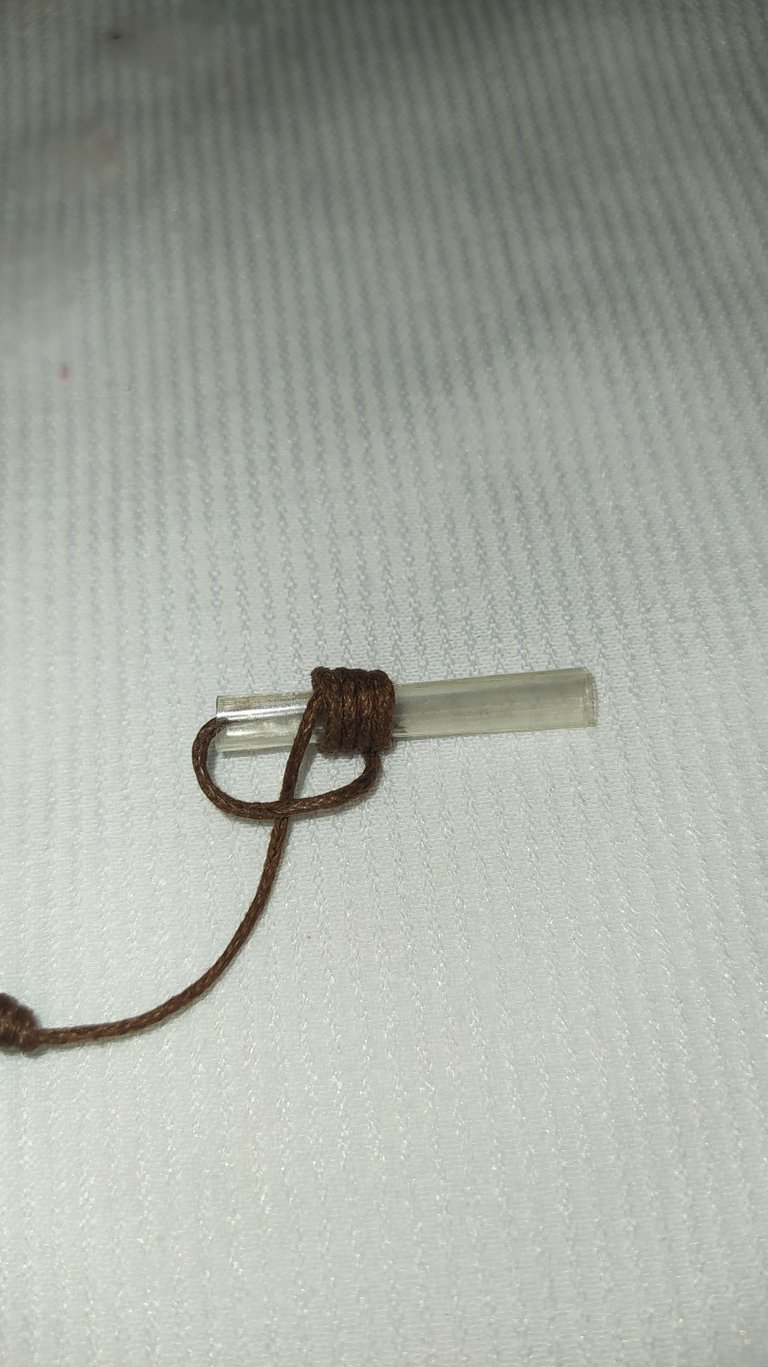
- We tie another knot on both sides using the same process and making sure they are the same distance apart.
Let's close the pulcera with a slip knot.
- Realizamos otro nudo en ambos lados utilizando el mismo proceso y asegurándonos que queden a la misma distancia.
Pasemos a cerrar la pulcera con un nudo corredizo.
 |  |
|---|---|
 |  |
| - | - |
 |  |
| - | - |
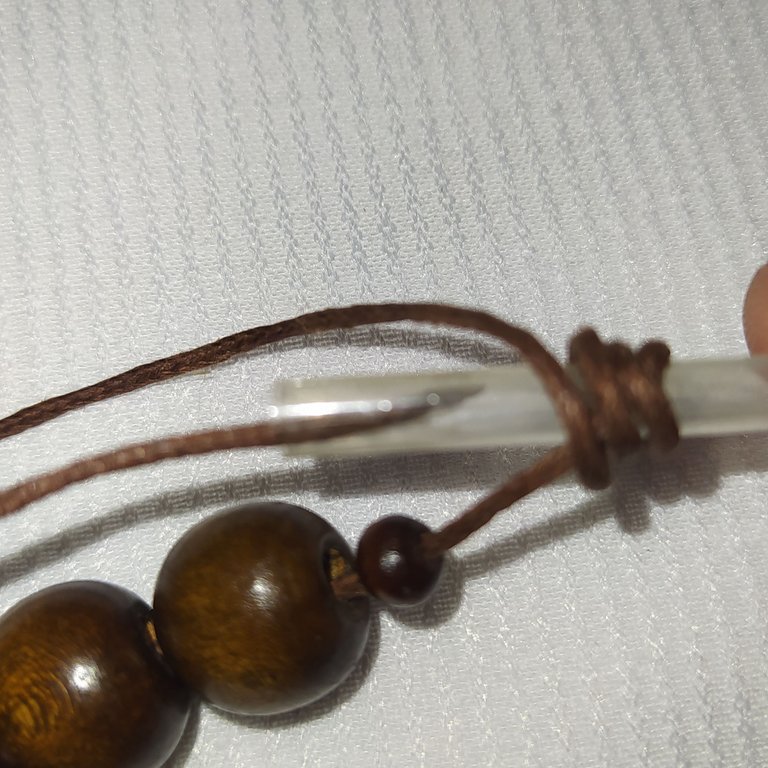
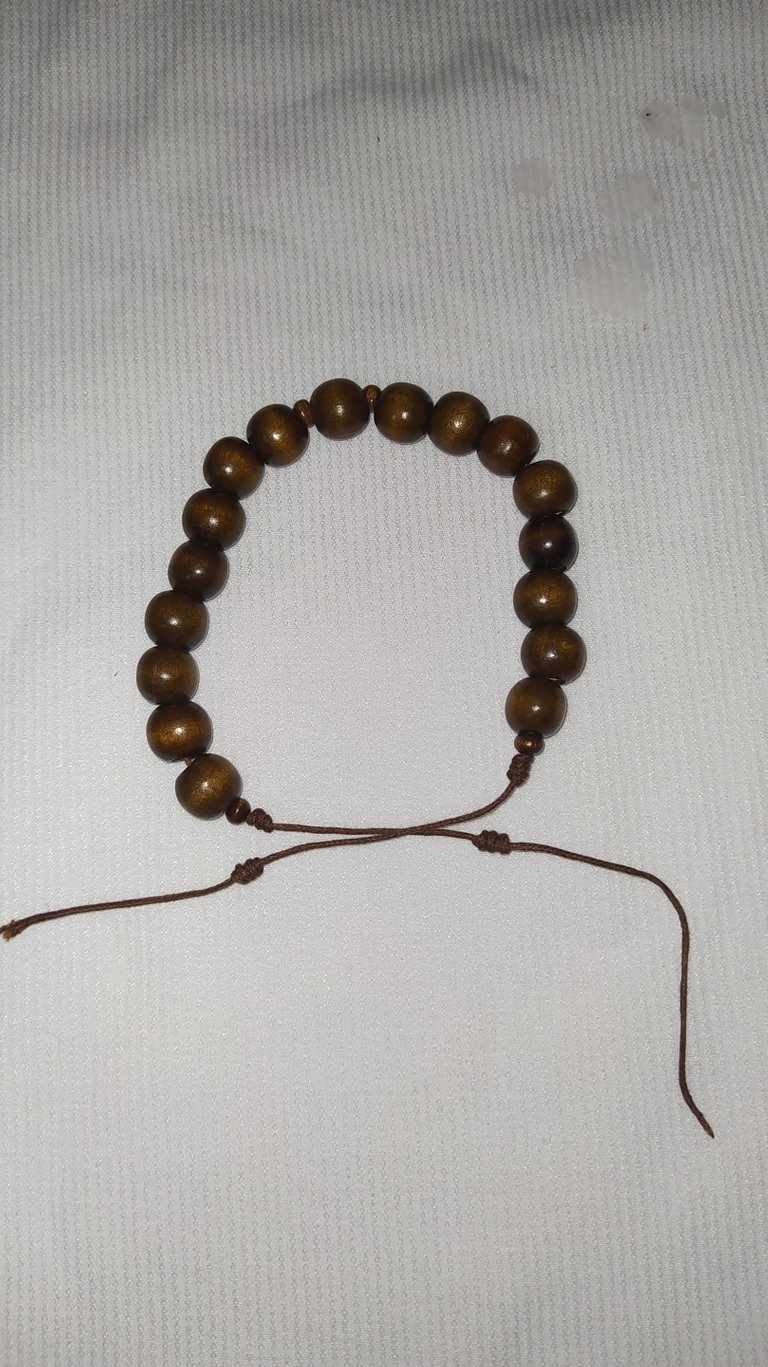
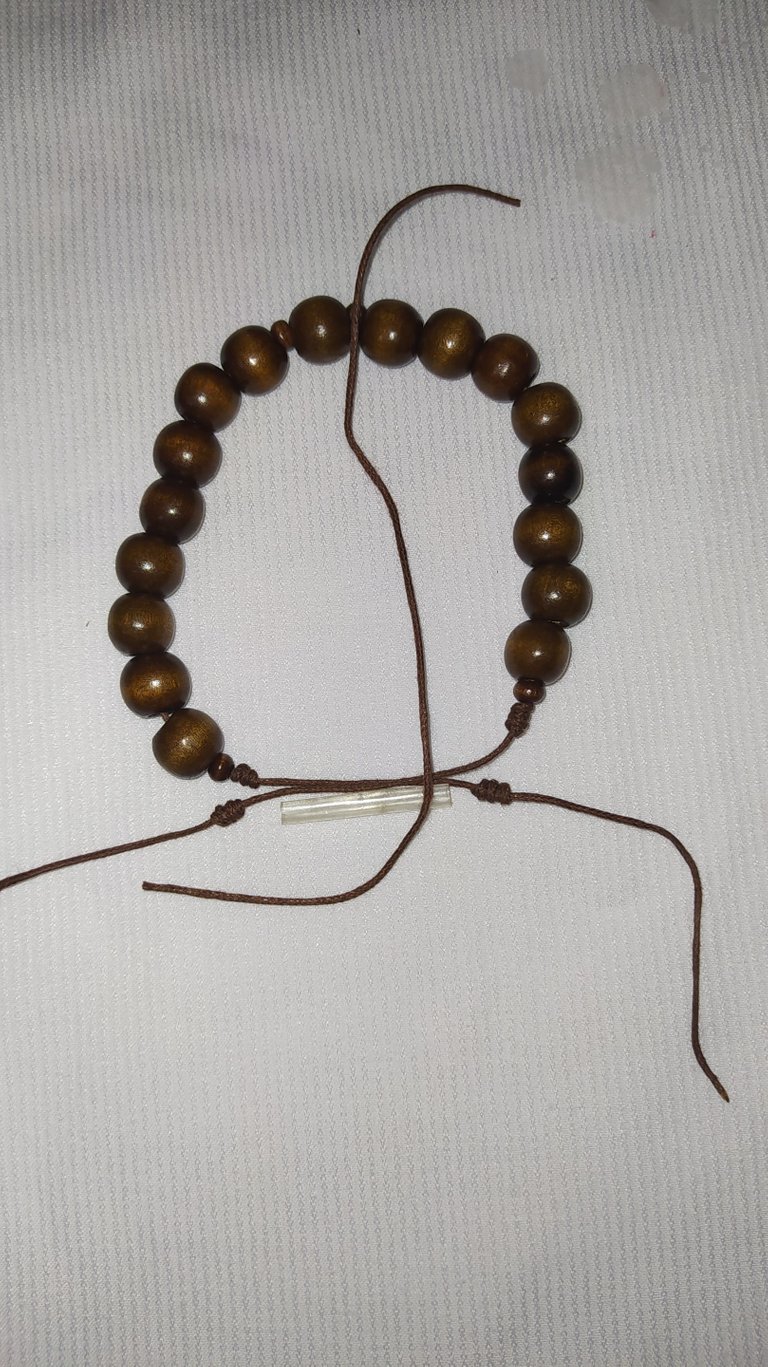
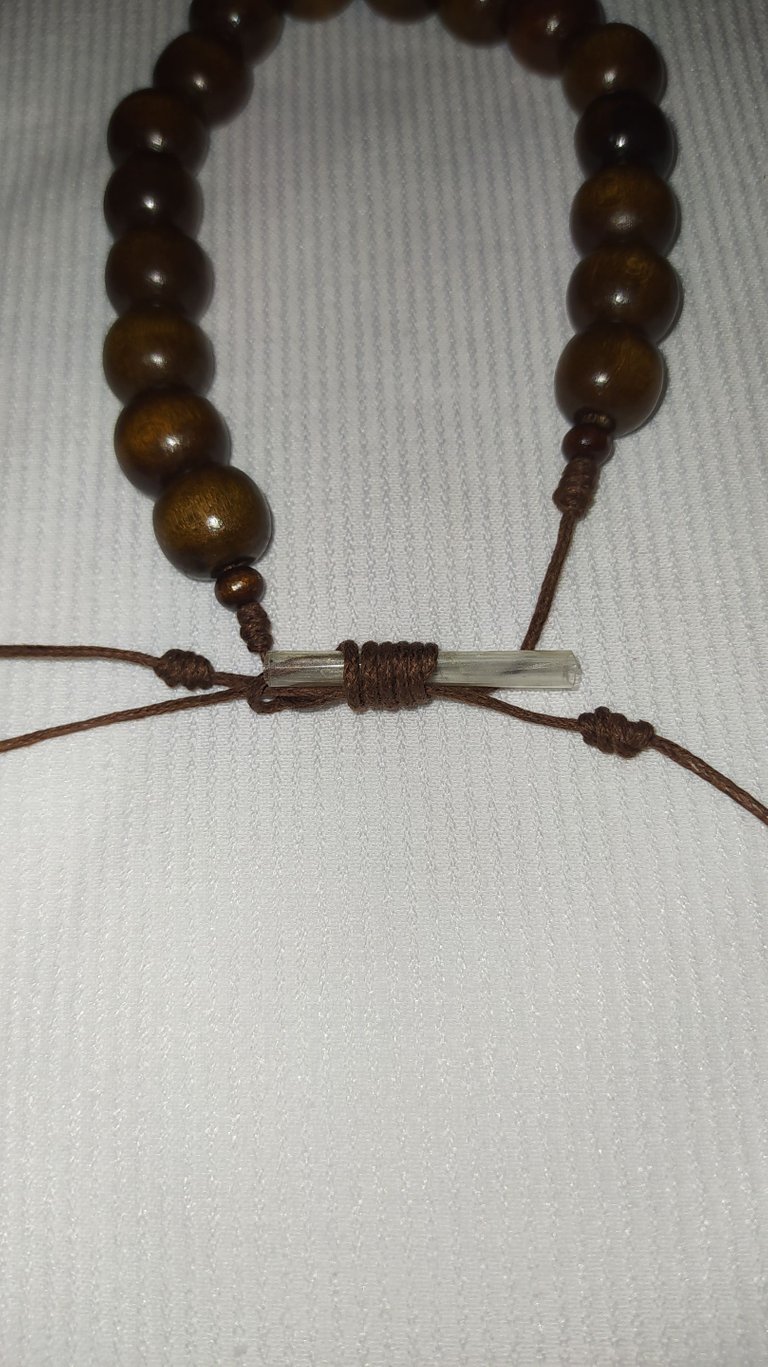
- We take the bracelet and cross the threads.
- Then we place the straw in the center of the bracelet.
- We are going to use the 20 cm thread, we leave 5 cm on the left side of the bracelet.
- Wrap the straw diagonally with the thread, then cross it over making an X and secure it, and then make 5 turns.
- We introduce the tip of the thread through the left side of the straw.
- We pull it out through the right side and tighten the knot a little.
- Tomamos la pulsera y cruzamos los hilos.
- Luego colocamos el pitillo en el centro.
- Vamos a utilizar el hilo de 20 cm dejamos 5 cm del lado izquierdo de la pulcera.
- Envolvemos el pitillo con el hilo en forma diagonal luego lo cruzamos por encima haciendo una X y aseguramos pasamos a darle 5 vueltas.
- Introducimos la punta del hilo por el lado izquierdo del pitillo.
- Sacamos por el lado derecho y apretamos un poco el nudo.
 |  |
|---|
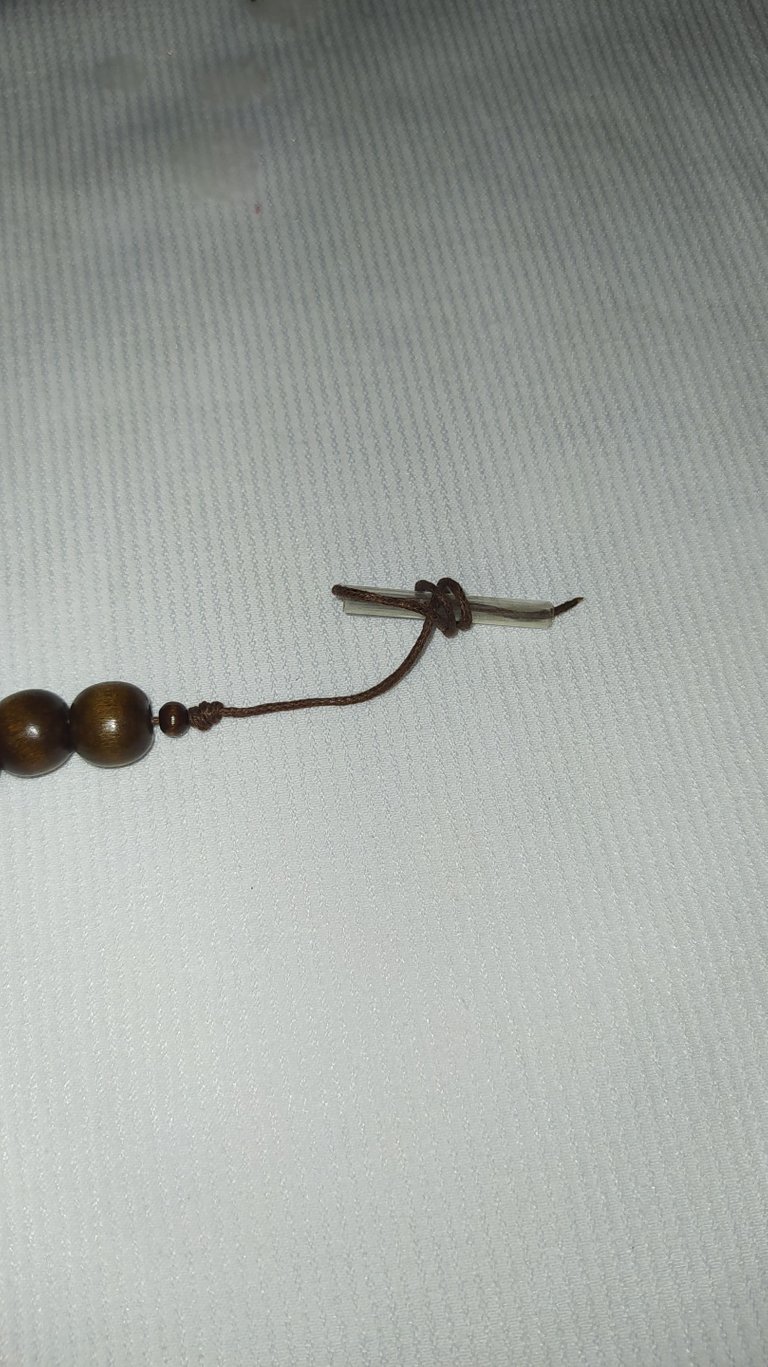
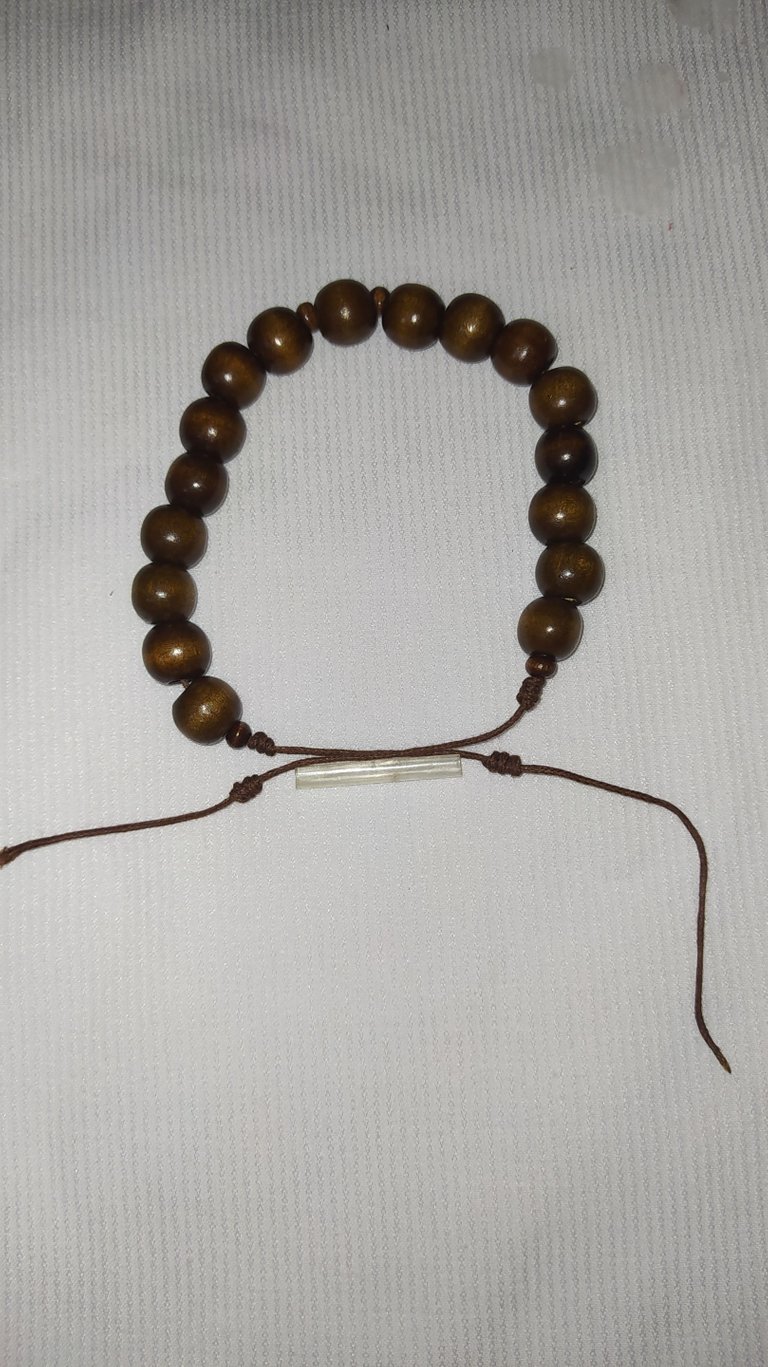
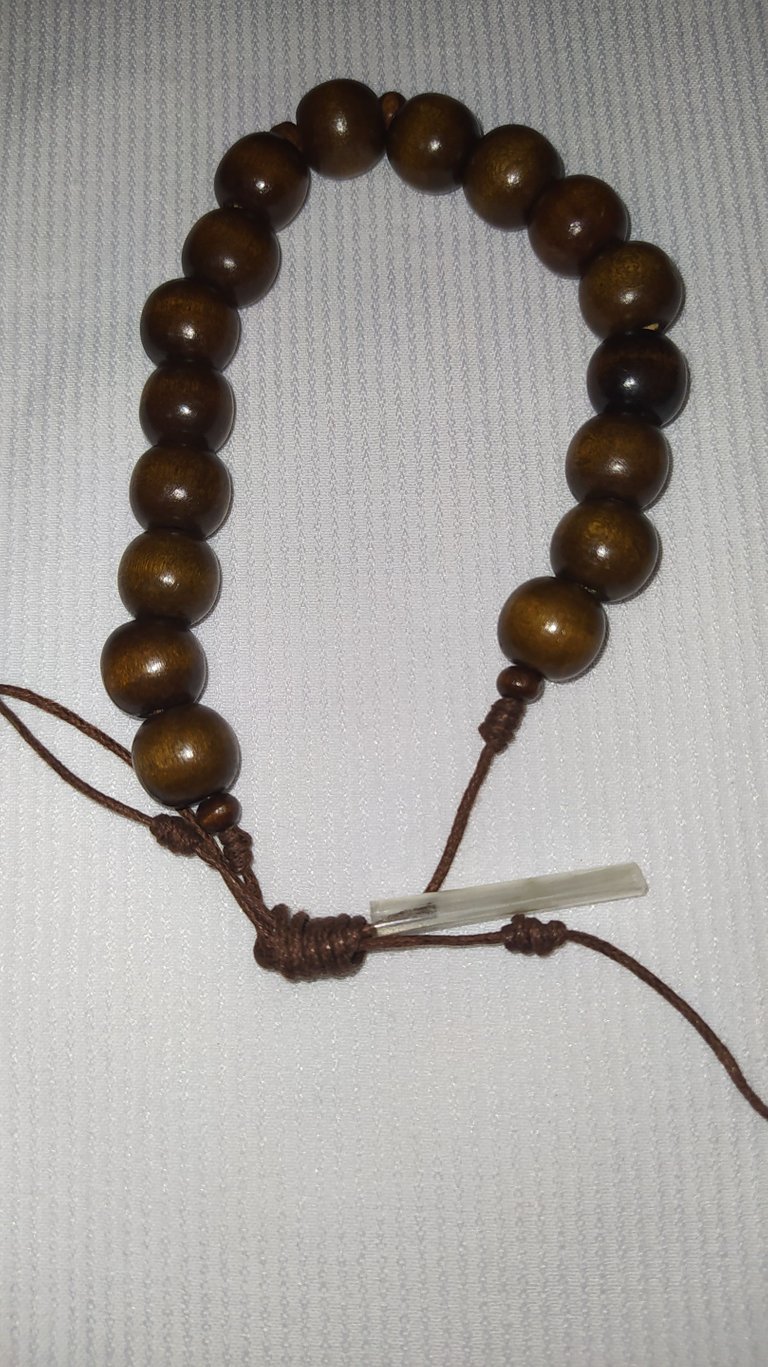
- We cut off the excess thread and burn the ends with the tinder to seal.
- Repeat the same procedure with the other two pulceras, the difference is that these have 15 medium wooden beads each.
- Recortamos los excedentes del hilo y quemamos las puntas con el yesquero para sellar.
- Repito el mismo procedimientos con las otras dos pulceras, la diferencia es que estás llevan 15 cuentas de madera mediana cada una.
Thank you for joining me, I hope you like it, don't forget to leave me your comment telling me what you thought, if you would do it to make a gift to your lover, and you beautiful gentlemen of hive tell me what you thought.
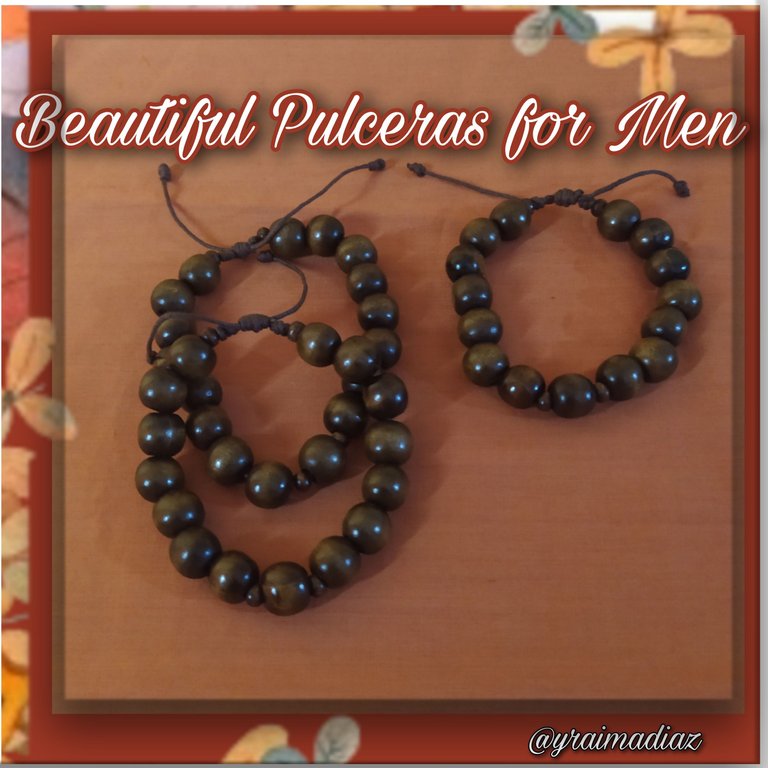
Miren lo bellas que quedaron,
es un accesorio muy hermoso el cual va agregar estilo y resaltar el look al chico que la lleve puesta.
Gracias por acompañarme espero les guste,no te olvides de dejarme tu comentario diciéndome que te pareció, si la harías para hacerle un obsequio a tu galán, y ustedes bellos caballeros de hive díganme qué les pareció.
- Photos of my authorship taken with Xiaomi redmi note 8 phone.
- Editor used PicsArt.
- Translator DeepL.
- Fotos de mi autoría tomadas con teléfono Xiaomi redmi note 8.
- Editor utilizado PicsArt.
- Traductor DeepL.
Has sido curado por @visualblock / You've been curated by @visualblock
Bienvenidas delegaciones / Delegations welcome
Encuentra nuestra comunidad aquí / Find our community here
Trail de Curación / Curation Trail
Quedaron muy bonitas y para un estilo casual. El paso a paso bien detallado y con las medidas para el buen ajuste de la pulsera.
Hola @hylene74 gracias por pasar y dejarme tu opinion lo valoro mucho