Diy Christmas tree with foam / Diy Árbol de Navidad con Foami
Small Christmas decorations are still in fashion to give a special touch to different spaces. I have seen this a lot in offices where they place objects like Christmas trees on their desks, also in the administrative offices of schools, even on restaurant tables and of course we can also pamper our homes in this way.
I love to go beyond the traditional shape of some objects and vary them with different textures, materials and colors. Today I am making a Christmas Tree with Frosted Foam, and giving it a special touch with the colors purple and white, this is for my daughter's desk @viviana.fitness
Siguen en tendencias los adornos de navidad de tamaño pequeño para darle un toque especial a diferentes espacios, esto lo he visto mucho en las oficinas donde colocan objetos como arbolitos de navidad en sus escritorios, también en las oficinas administrativas de los colegios, incluso en las mesitas de restaurantes y por supuesto que nuestro hogar también podemos consentirlos de esta forma.
Me encanta salir de la forma tradicional de algunos objetos y varias con diferentes texturas, materiales y colores. Hoy realizo un Árbol de Navidad con Foami Escarchado, y dándole un toque especial con los colores morado y blanco, esto es para el escritorio de mi hija @viviana.fitness

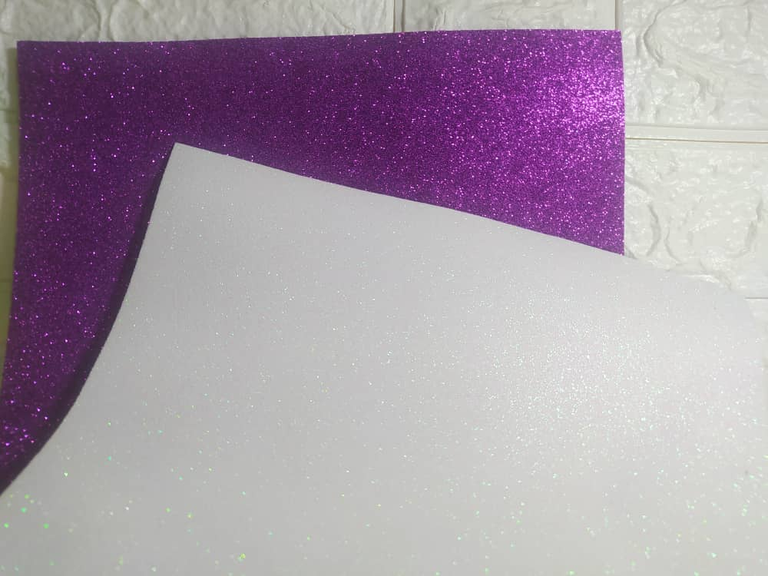
- Purple and white foam.
- Manila or cardboard folder.
- Hot glue.
- Ruler, pen and scissors.
- Tall stick.
- Hole punch.
- Piece of gold cardboard.
- Foami color morado y color blanco.
- Carpeta de manila o cartulina.
- Silicón caliente.
- Regla, bolígrafo y tijera.
- Palito de altura.
- Perforador.
- Trozo de cartulina dorada.
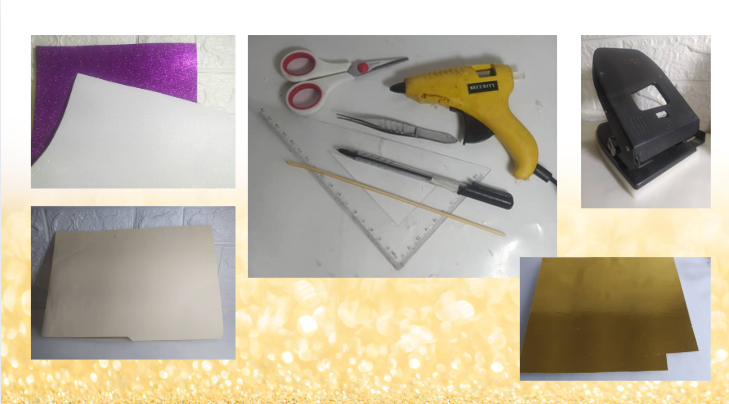
As you can see in the list of materials, they are mainly the frosted foams in the colors of your choice, and a manila folder or cardboard to make the structure of the tree. The rest are work tools that we have at home. Also a piece of gold cardboard to make the star, but if you have an object that is already made with a star, a bell, a flower, a bow, etc; you can replace this step.
Como pueden ver en la lista de materiales, principalmente son los foamis escarchados de los colores de tu elección, y una carpeta manila o cartulina para realizar la estructura del árbol. Lo demás son herramientas de trabajo que tenemos en casa. También un trozo de cartulina dorada para realizar la estrella, pero que si tienes algún objeto que ya esté hecho con una estrella, una campanita, una flor, un lazo, etc; puedes sustituir este paso.

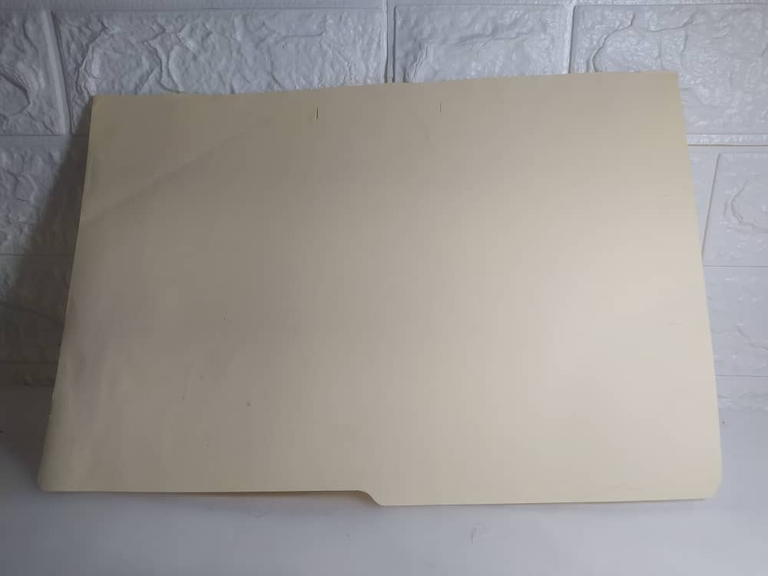
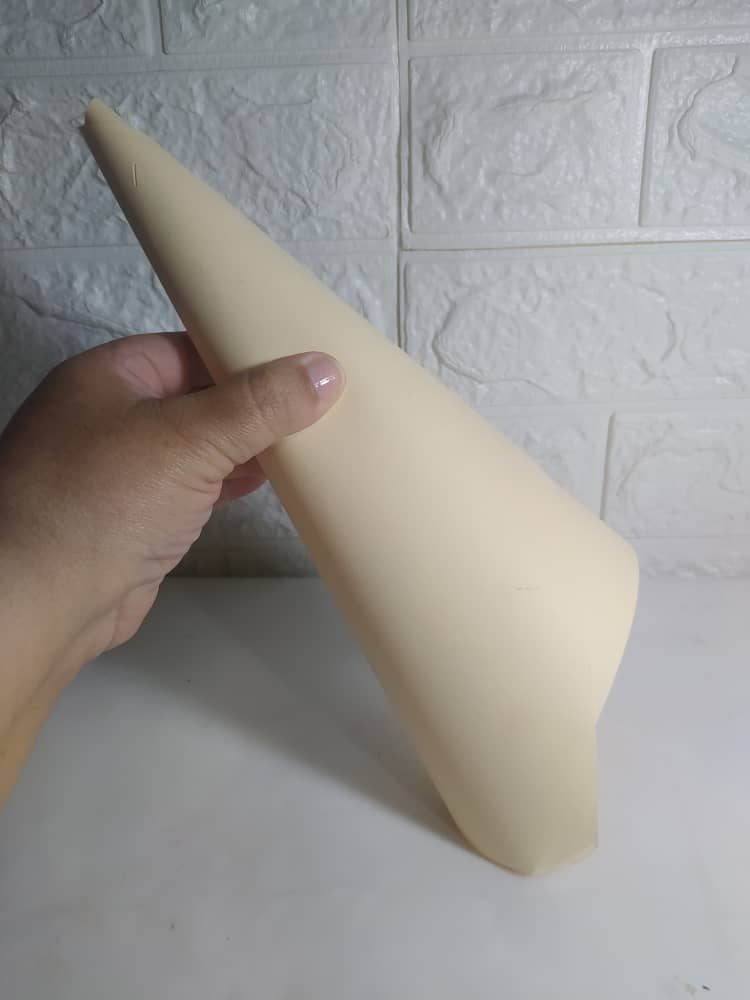
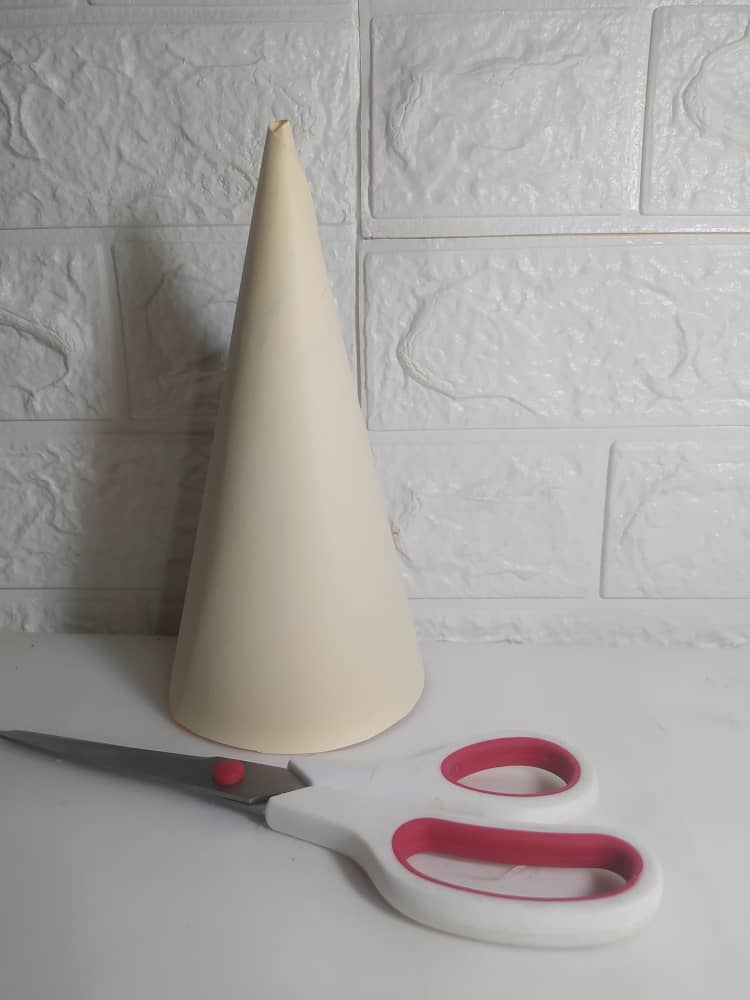
Using just one side of the manila or cardboard folder, I fold it by turning it to form a cone. You can glue it with hot glue dots or also use staples. Then, with the scissors, I make the bottom of the cone even, not only to make it neat and stable, but you can also take advantage and define the size of the cone so that it can be the base of the tree.
Con una sola cara de la carpeta de manila o cartulina, doblo girándola para formar un cono, puedes pegar con puntos de silicón caliente o también colocar grapas. Luego, con la tijera voy dejando pareja la parte inferior del cono, no solo para dejar prolijo y estable, también puedes aprovechar y definir el tamaño del cono para que sea la base del arbolito.
 |  |  |
|---|
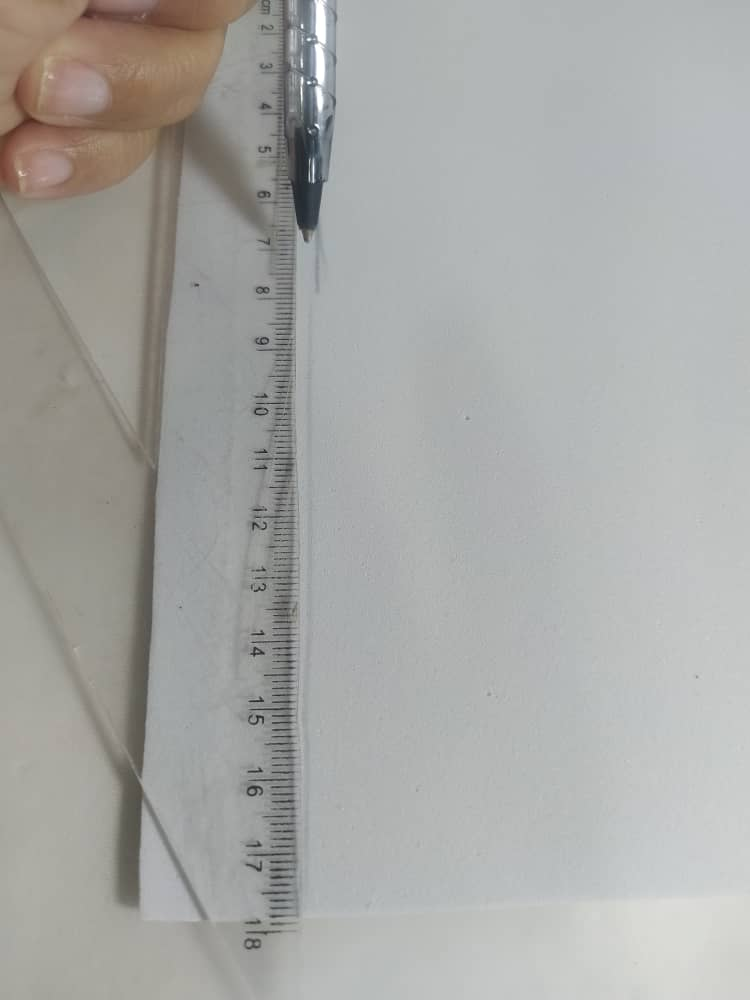
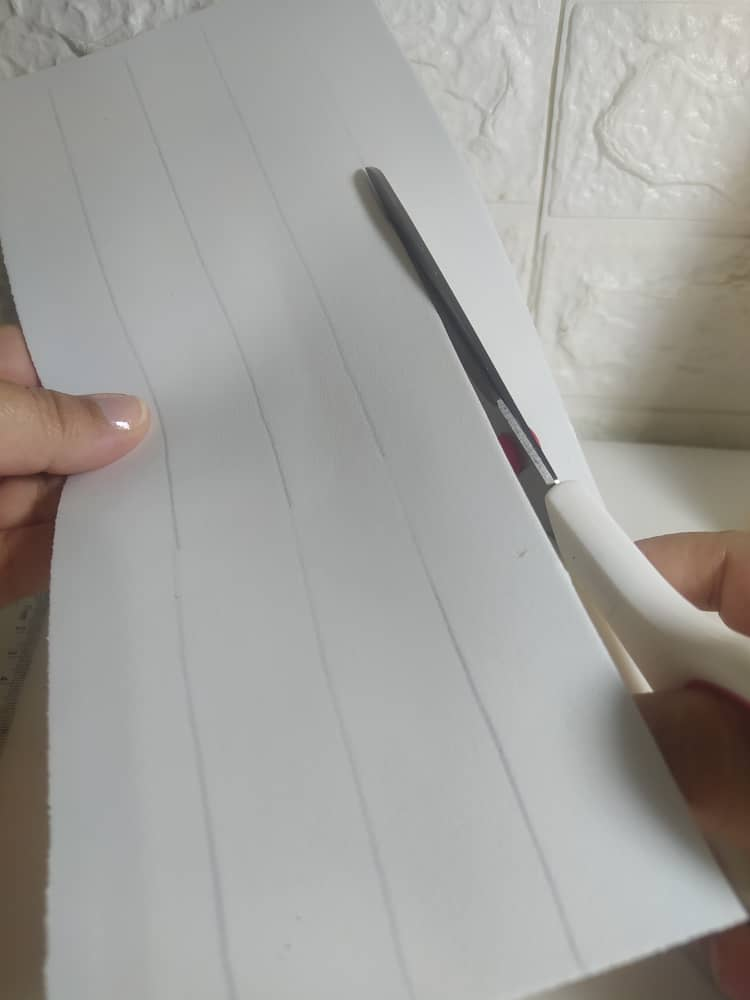
With each fold of the foam, I bought these letter-sized ones, I make lines of approximately 2.5 cm, I took as a reference the thickness of the ruler that measures that, I marked with a pen and cut with scissors.
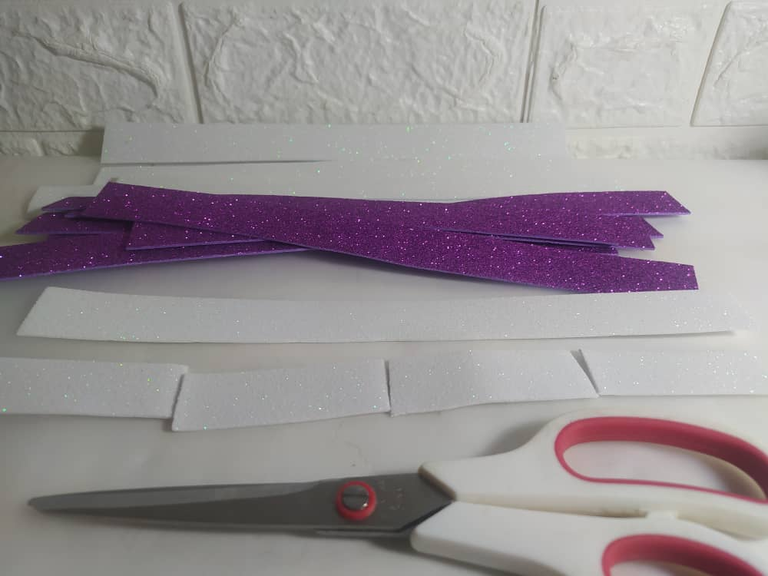
I left two white strips of the length, but I folded all the others twice to have 4 pieces cut from each strip, of both colors of foam.
Con cada pliegue del foami, compré estos de tamaño carta, realizo líneas de 2,5cms aproximadamente, yo tomé como referencia el grueso de la regla que esa medida, marqué con bolígrafo y recorté con la tijera.
Dejé dos tiras de color blanco del largo, pero todas las demás las doblé dos veces para tener 4 piezas cortadas de cada tira, de ambos colores del foami.
 |  |  |  |
|---|
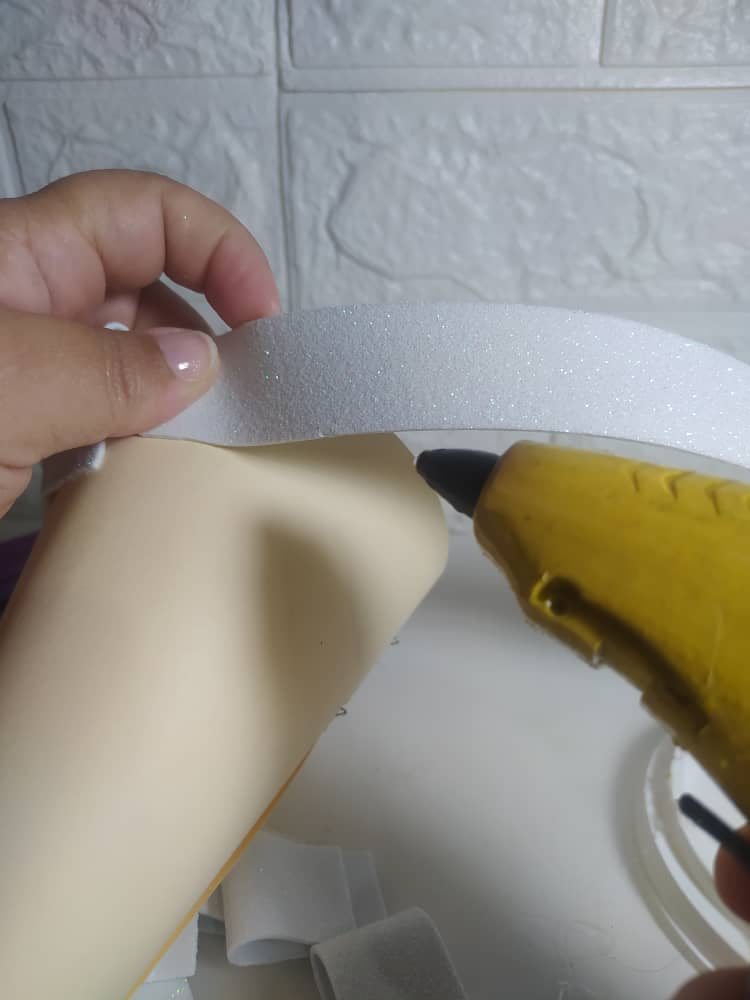
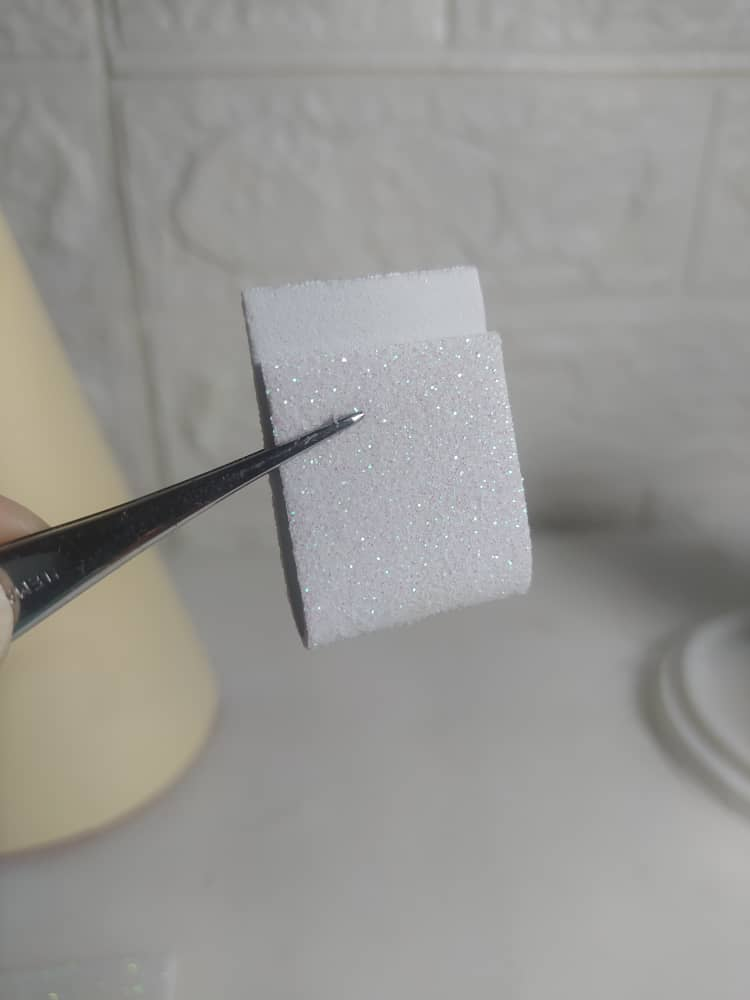
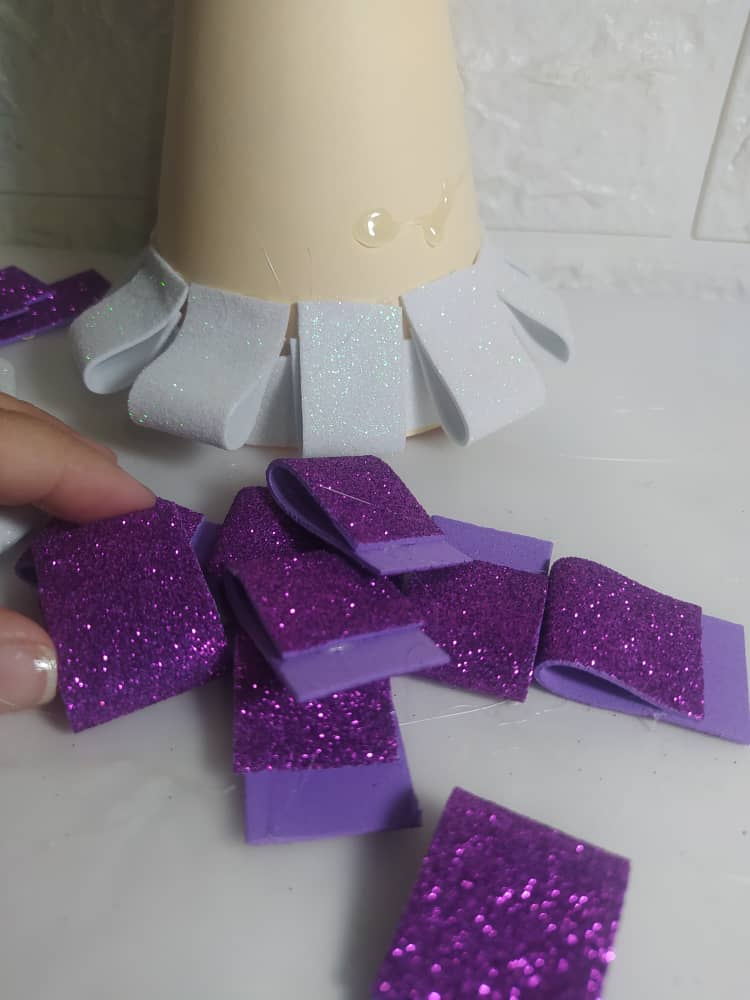
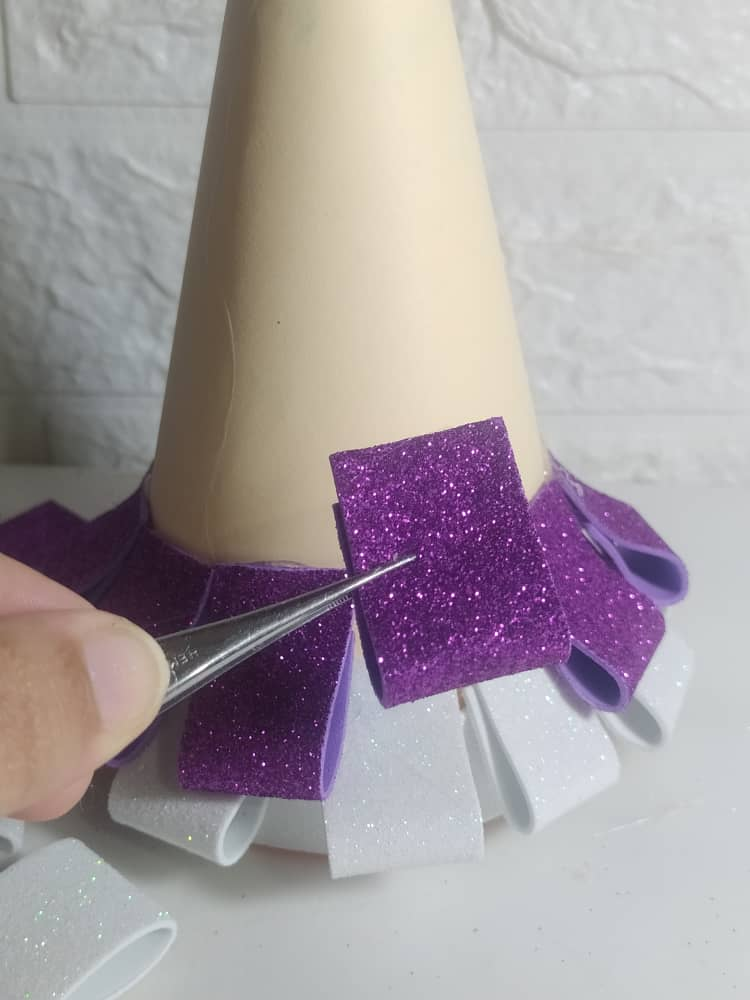
At the base of the tree I glued one of the long strips, I used that strip and part of the other.
Then, I began to fold the cuts of the strips that I had left small, almost in half but leaving a small free edge, so that they remain as seen in the following images, and placing a color around until completing the turn and then the next turn with the other color and alternating like this until the top. following:
En la base del árbol pegué una de las tiras largas, ocupé esa tira y parte de la otra.
Luego, si comencé a doblar los cortes de las tiras que había dejado pequeñas, casi por la mitad pero dejando un pequeño borde libre, de manera que quedan como se ve en las siguientes imágenes, y colocando un color rodeando hasta completar la vuelta y luego la siguiente vuelta con el otro color y alternando así hasta arriba. siguientes:
 |  |  |  |
|---|
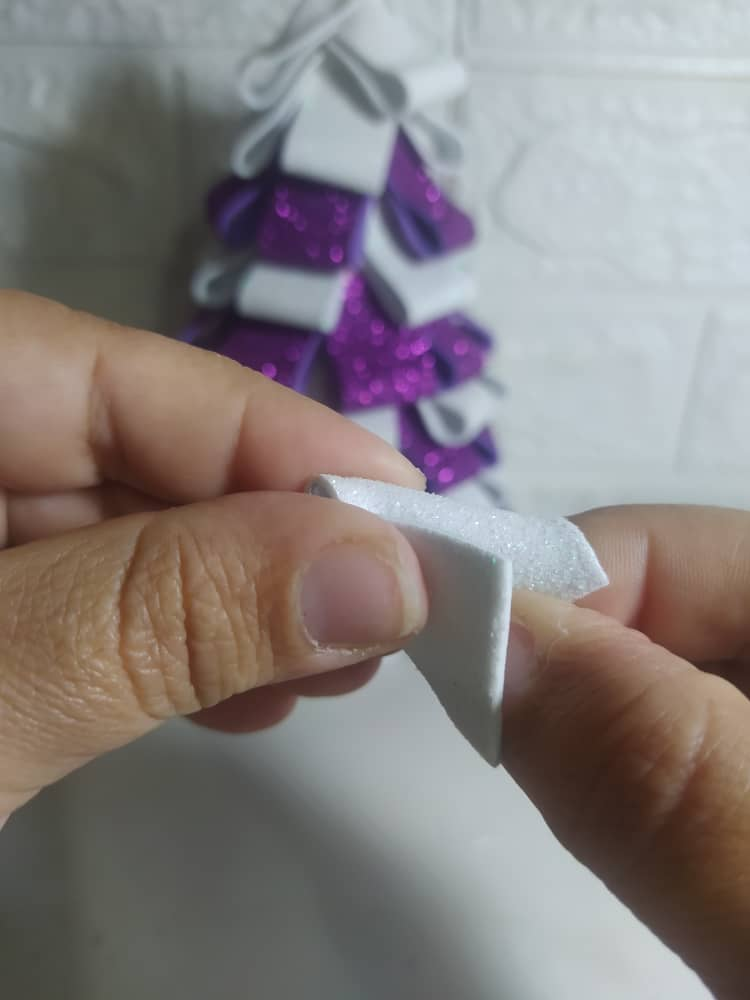
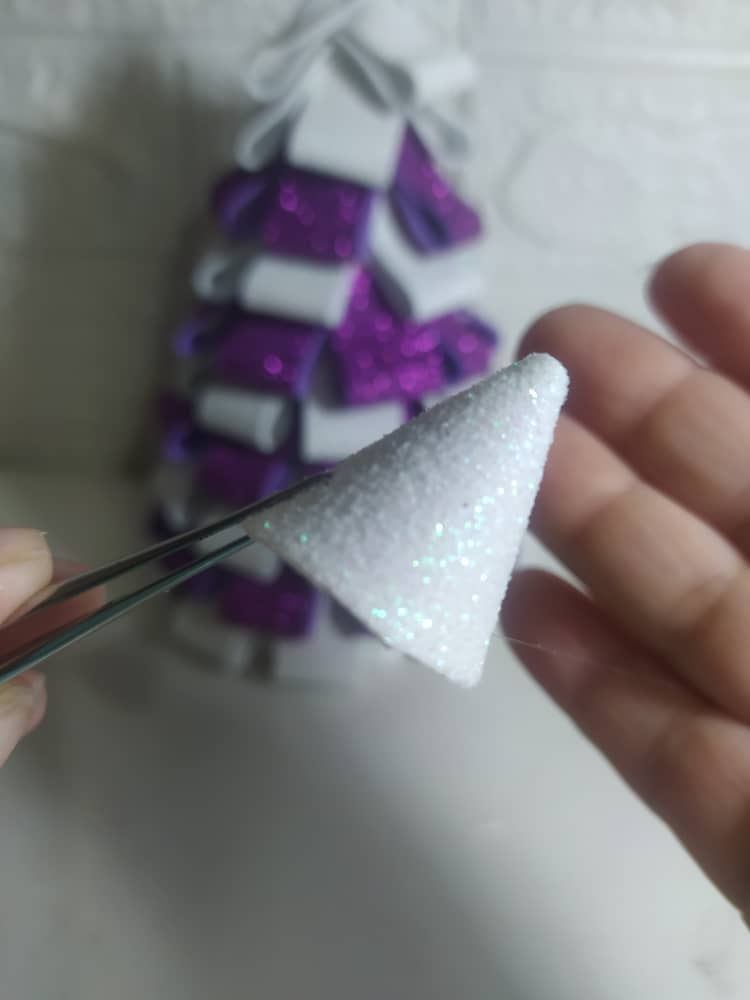
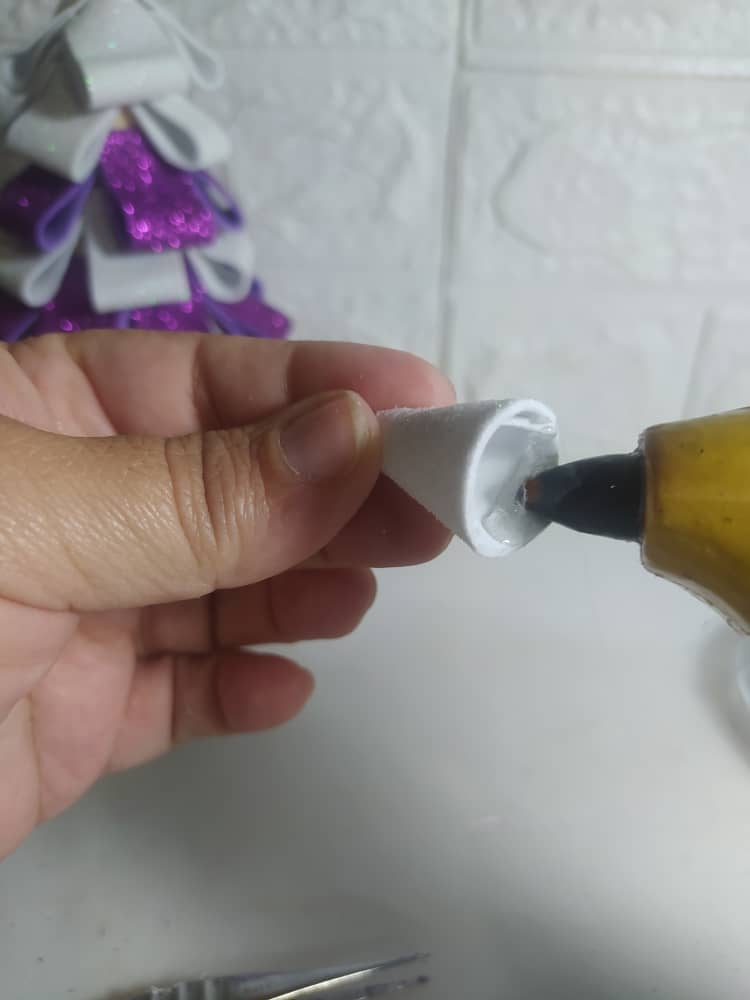
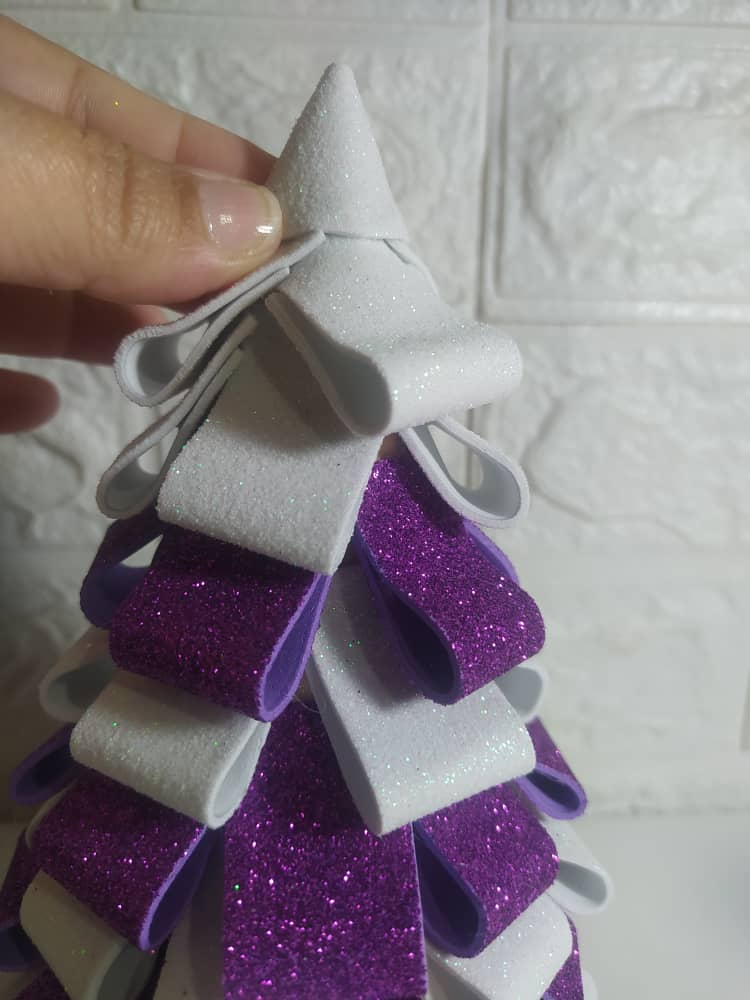
For the tip I used a piece of foam similar to the ones I made earlier for the body of the tree, this time I made it into a cone and glued it with hot silicone. Later, I changed my mind and changed this cone on top to purple, to continue alternating the colors.
Para la punta utilicé un trozo igual de foami igual a los que realicé anteriormente para el cuerpo del árbol, esta vez lo hice un conito y pegué con silicón caliente. Posteriormente, cambié de opinión y este conito de arriba lo cambié por el color morado, para seguir alternando los colores.
 |  |  |  |
|---|
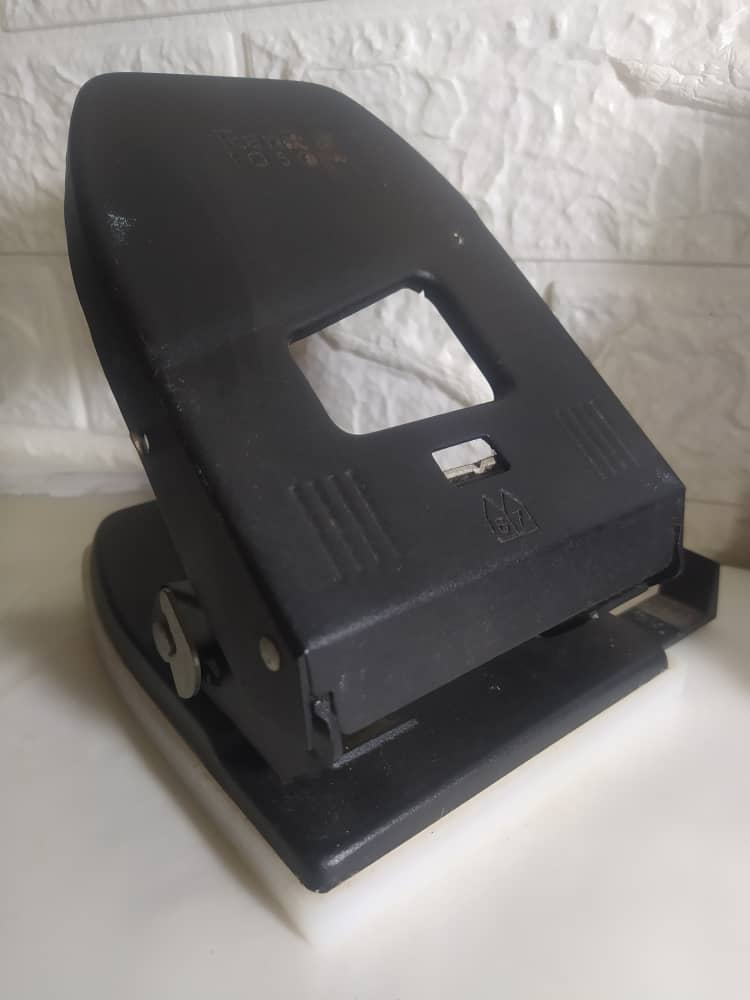
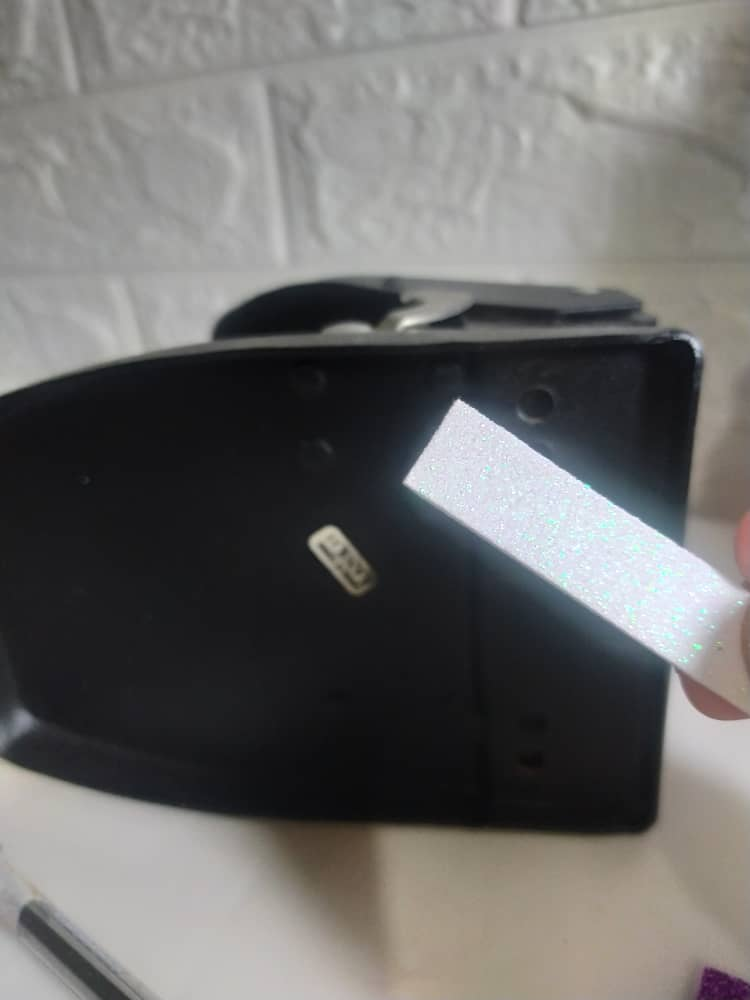
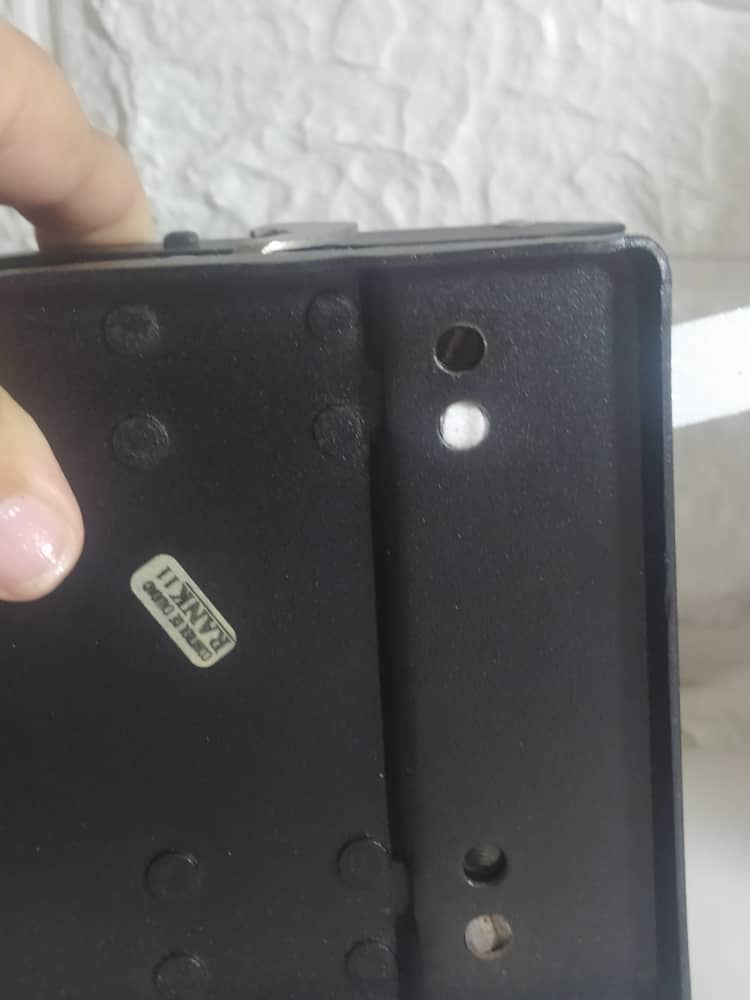
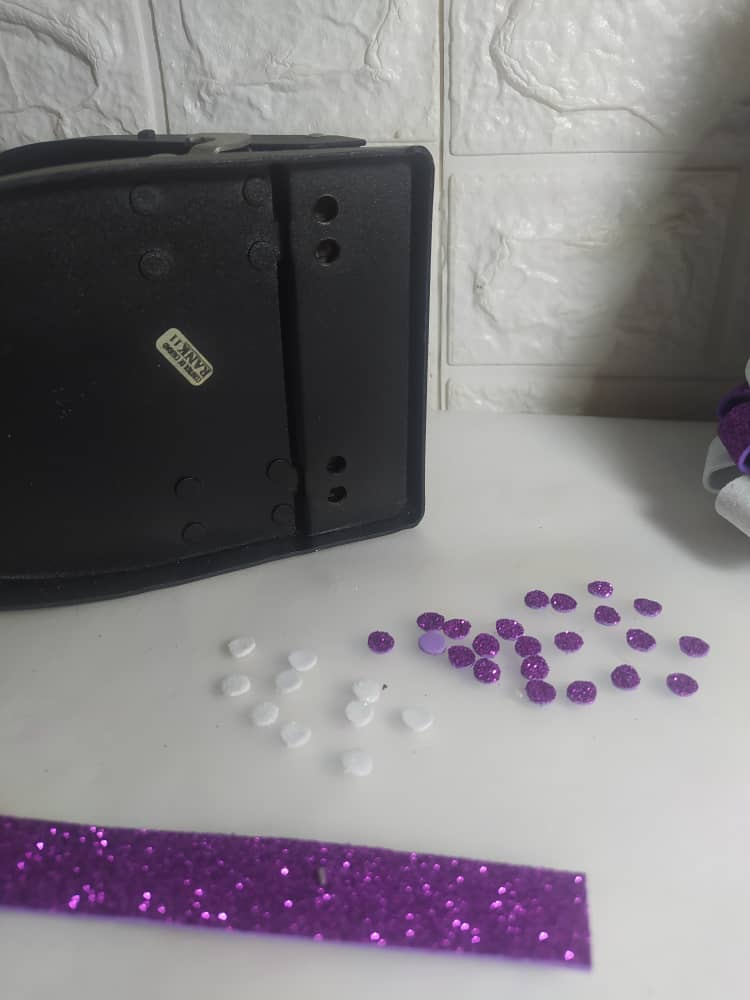
Now to give more interest to the decoration, I cut small circles in the same purple and white colors with a leaf punch, then glued them with hot silicone and alternating colors to the body of the tree.
Ahora para darle más interés a la decoración, corté en los mismos colores morado y blanco, círculos pequeños con un perforador de hojas, para luego pegarlos con silicón caliente y alternando en colores, al cuerpo del árbol.
 |  |  |  |
|---|
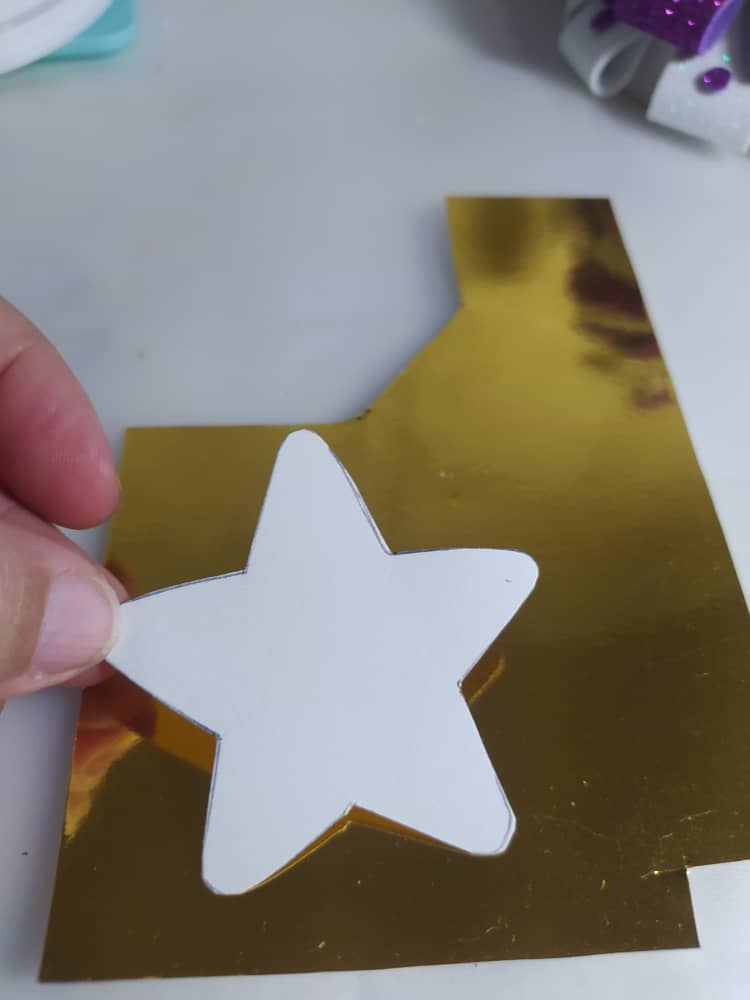
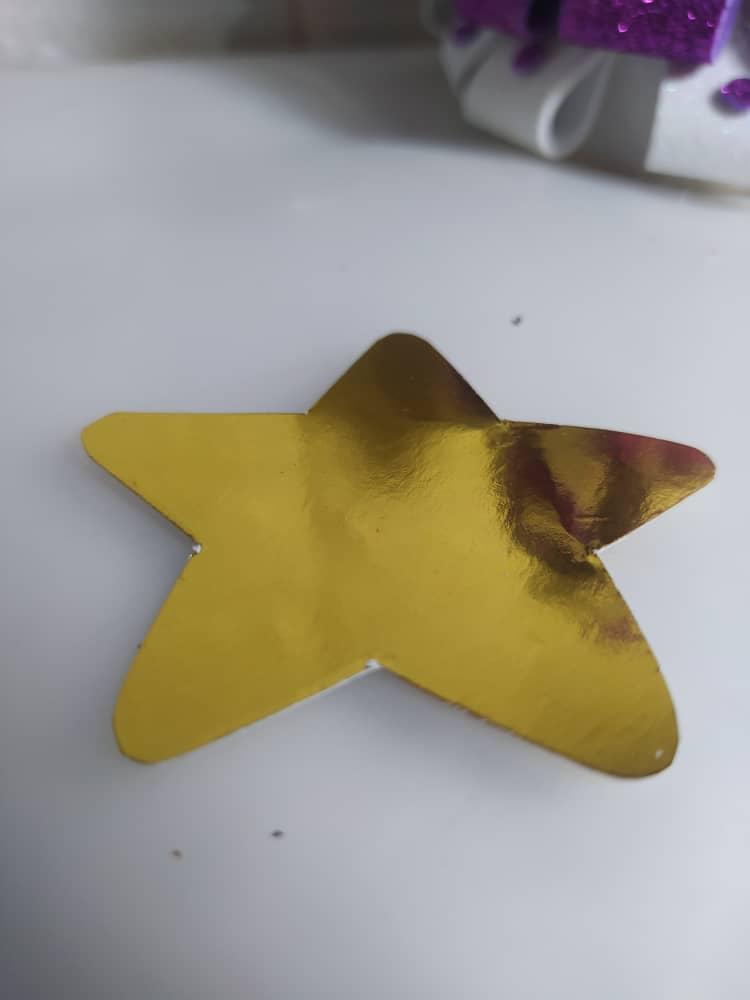
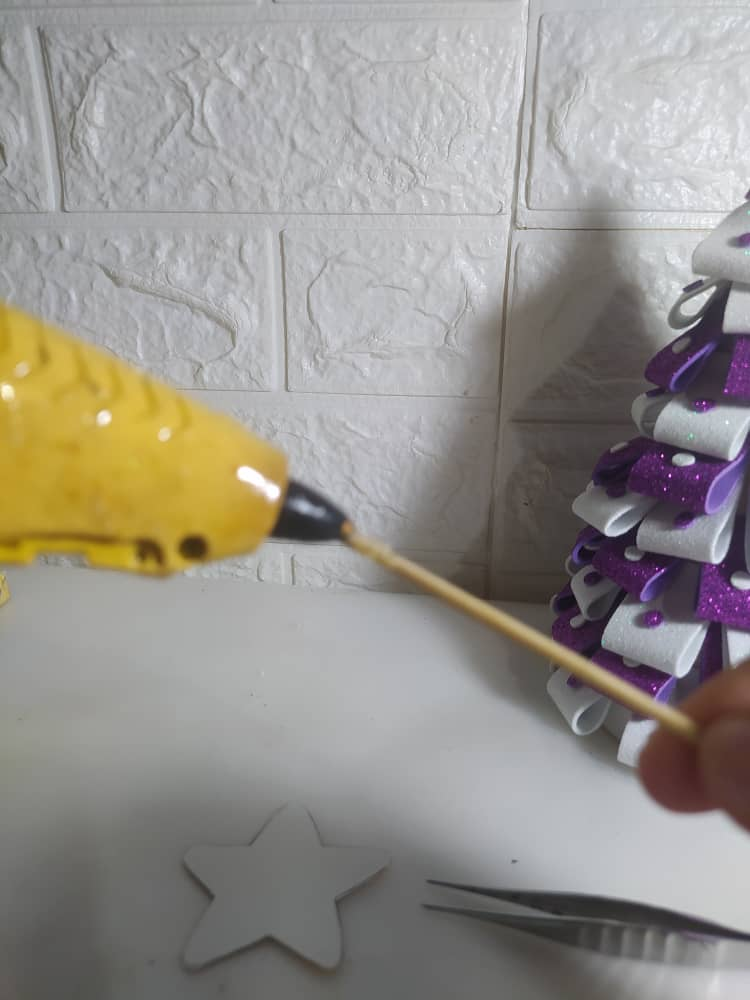
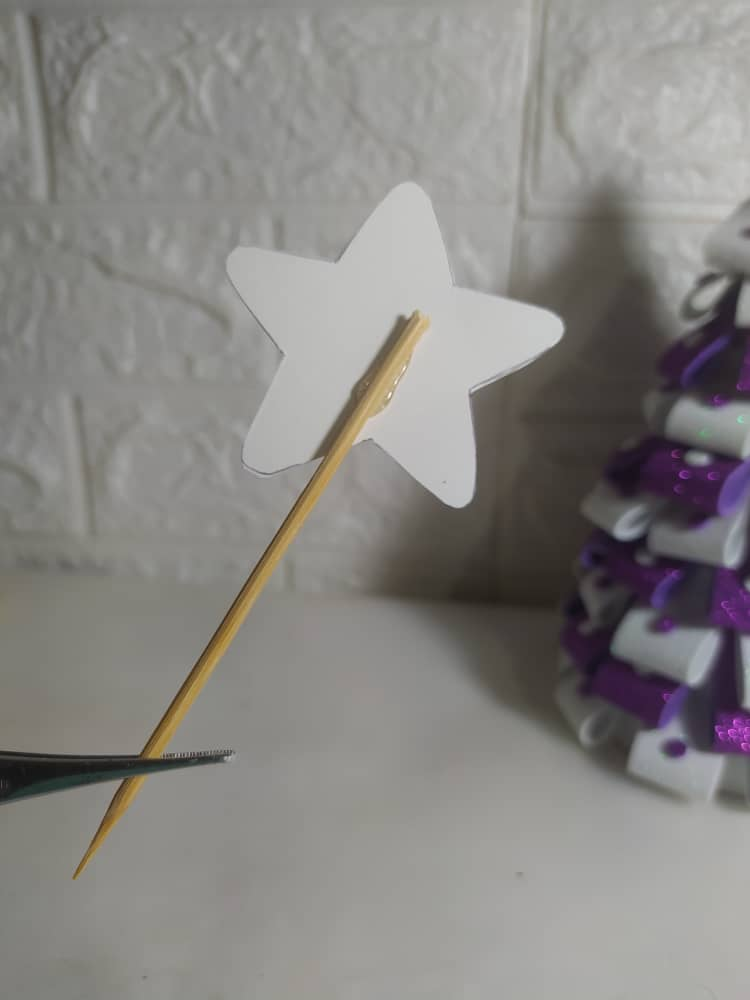
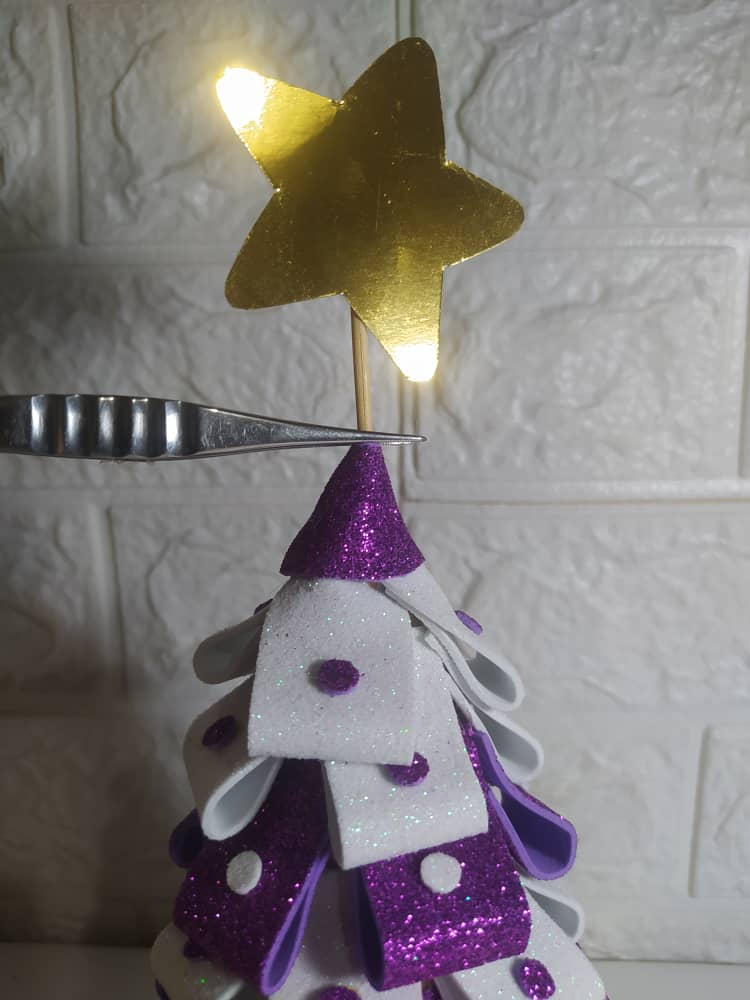
To finish, I drew a star on a blank sheet of paper and then cut it out of gold cardstock. To be able to attach it to the tree, I glued it to a piece of tall stick with hot glue and then I was able to easily place it.
Below I show you how I placed the star on the tree, inserting the tall stick.
These are jewelry clips that I use. I also have a sewing clip, but I'm using them a lot when I work with hot glue so I don't burn myself.
Para finalizar dibujé una estrella en una hoja en blanco y luego la corté en la cartulina dorada. Para poder fijarla arriba del árbol, lo que hice fue pegarla en un trozo de palito de altura con silicón caliente y luego si la pude ubicar fácilmente.
A continuación les muestro cómo coloqué la estrella arriba del árbol, introduciendo el palito de altura.
Esta pinza que utilizo es de bisutería, también tengo así mismo para costura, pero la estoy utilizando mucho cuando trabajo con silicón caliente para no quemarme.
 |  |  |  |
|---|
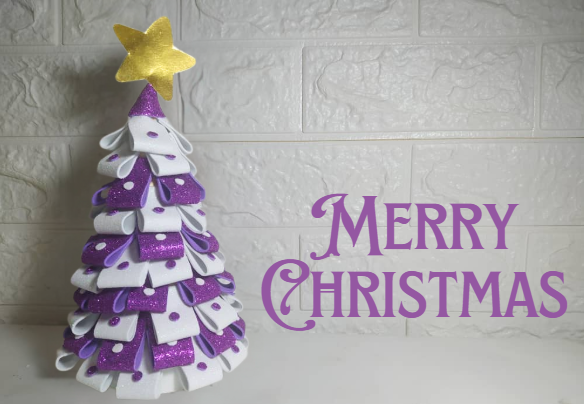
Ready, this Christmas tree for my daughter's desk is ready. I really enjoyed making this craft with this frosted foam material. Fortunately, my daughter also liked it a lot and has already taken it to her desk.
I invite you to make these small objects for your home or to give as gifts. They are excellent and you will surely look great with this loving detail.
Listo, este Árbol de Navidad para el escritorio de mi hija está listo, me gustó mucho realizar esta manualidad con este material de foami escarchado. Felizmente a mi hija también le gustó mucho y ya se lo llevó a su escritorio.
Te invito a realizar estos pequeños objetos para tu hogar o para regalar, son excelentes y seguro quedarás muy bien con este detalle de amor.


I took the photos with my phone Redmi Note 8
Apps I used:
Canva Pro for Cover, Collage and Banners
I used Deepl Translator
My social networks:
Discord: YennysYaneth#0189
Twitter: @yennysferm
Instagram: @yennysyaneth
Las fotos las tomé con mi teléfono Redmi Note 8
Apps que utilicé:
Canva Pro para la Portada, Collage y Banners
Utilicé el Traductor Deepl
Mi redes sociales:
Discord: YennysYaneth#0189
Twitter: @yennysferm
Instagram: @yennysyaneth
Te quedó espectacular ese arbolito, lindo diseño para decorar nuestros espacios.
Es un adorno encantador!
!discovery 45
Gracias mami, me encantó mi Arbolito de Navidad 🎄🎄 Lo tengo en mi escritorio y amé sus colores.
This post was shared and voted inside the discord by the curators team of discovery-it
Join our Community and follow our Curation Trail
Discovery-it is also a Witness, vote for us here
Delegate to us for passive income. Check our 80% fee-back Program
Super bello y práctico para las oficinas, gracias por compartir el proceso
🎄 Los mini arbolitos de navidad son un adorno muy cuchi para las oficinas.
This is a beautiful Christmas
Trees