My experience using a magic needle / Mi experiencia usando una aguja mágica (punch needle) [ESP/ENG]
ENGLISH
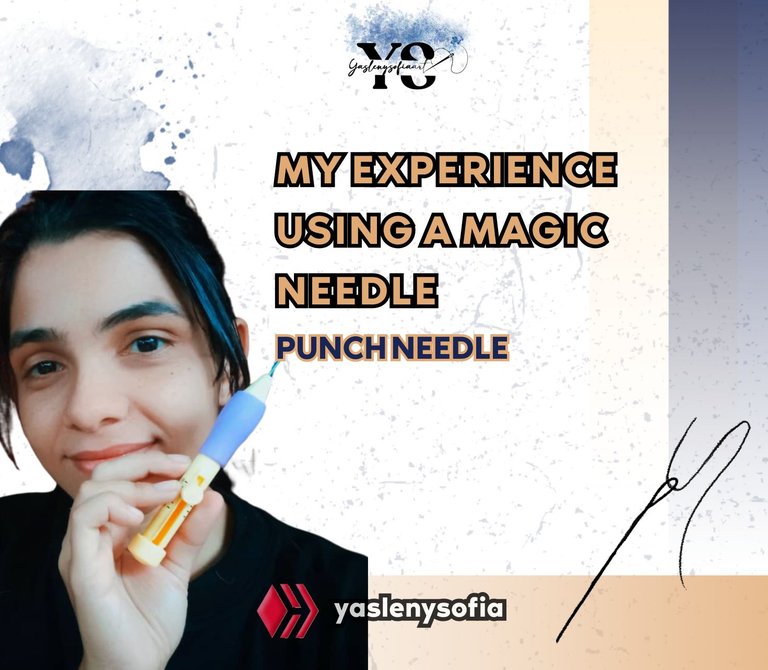
Greetings @needleworkmonday community, today I want to share with you my new acquisition which is a magic needle or punch needle, as you know it and I want to tell you the experience learning to use it; also the purchase of a small hoop that I didn't have.
The punch needle (magic needle, XL magic needle, Russian embroidery or Chinese embroidery, pica pica needle, plush needle) is a tool for making the carpet style embroidery technique, as it derives basically from the same way to make them. It is super easy and quick to make these styles of embroidery with that needle, because basically hit the frame with the needle, leaving a few small loops on the other side of the insert.
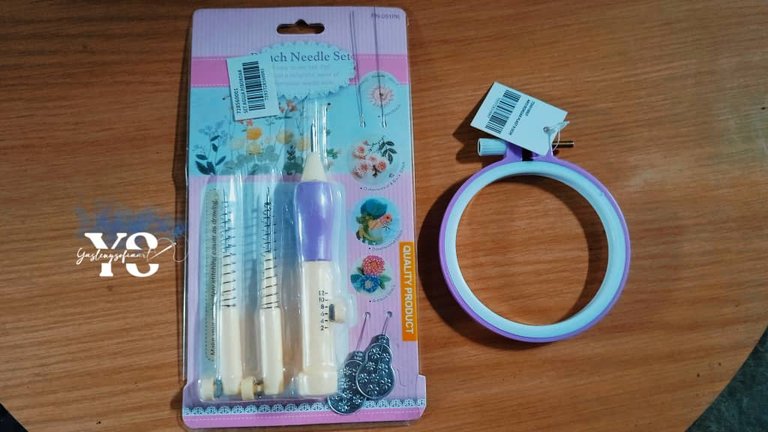
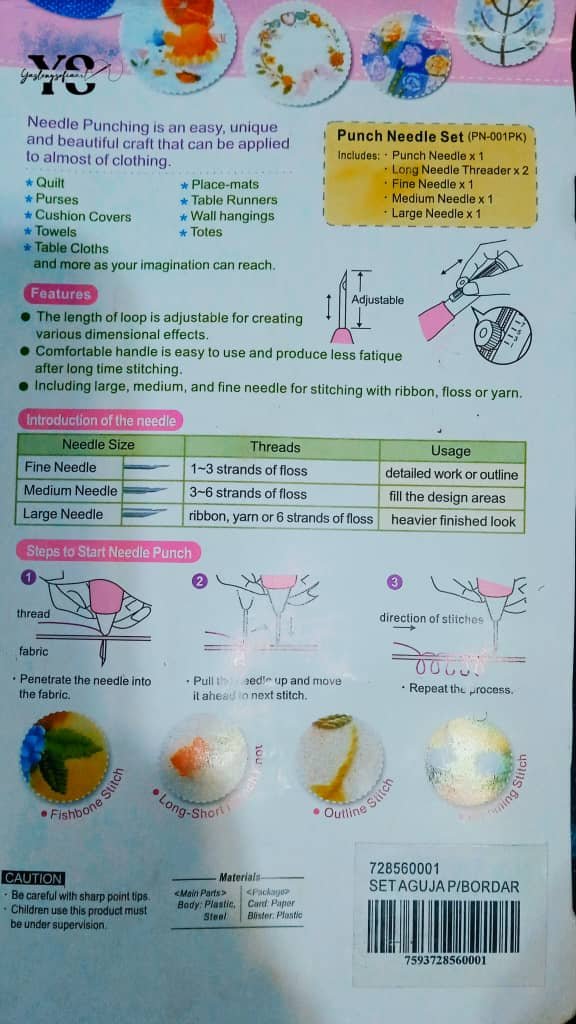
The needle had a cost of 7$ and brings for three changes of thickness of needle, plus two threader, which is the one that allows to insert the thread to the needle, because there are threads like the worsted that are difficult to introduce it to the needle. There are several and diverse models of this needle, I leave the ones that can be found and as they are the works that can be made.
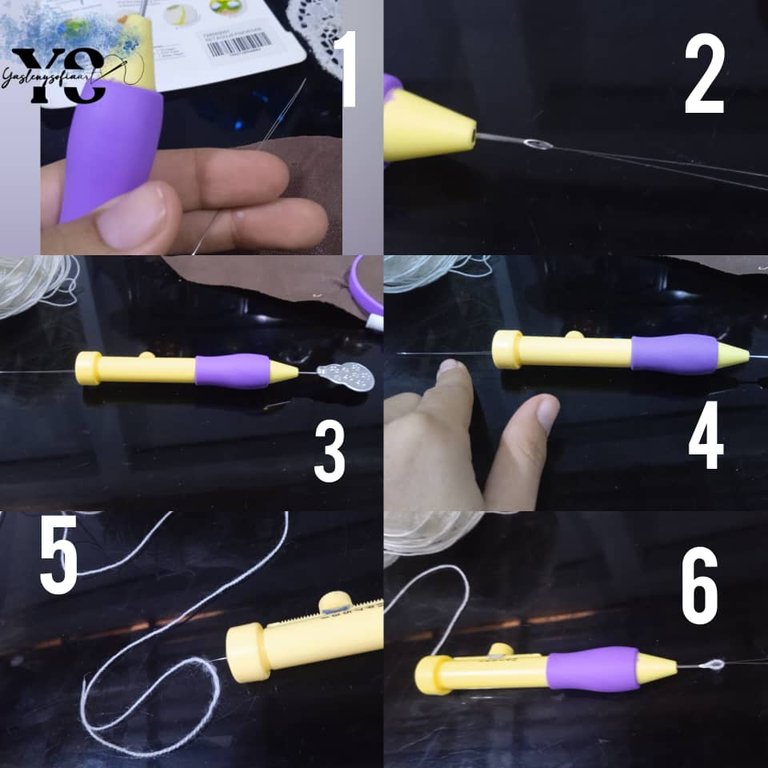
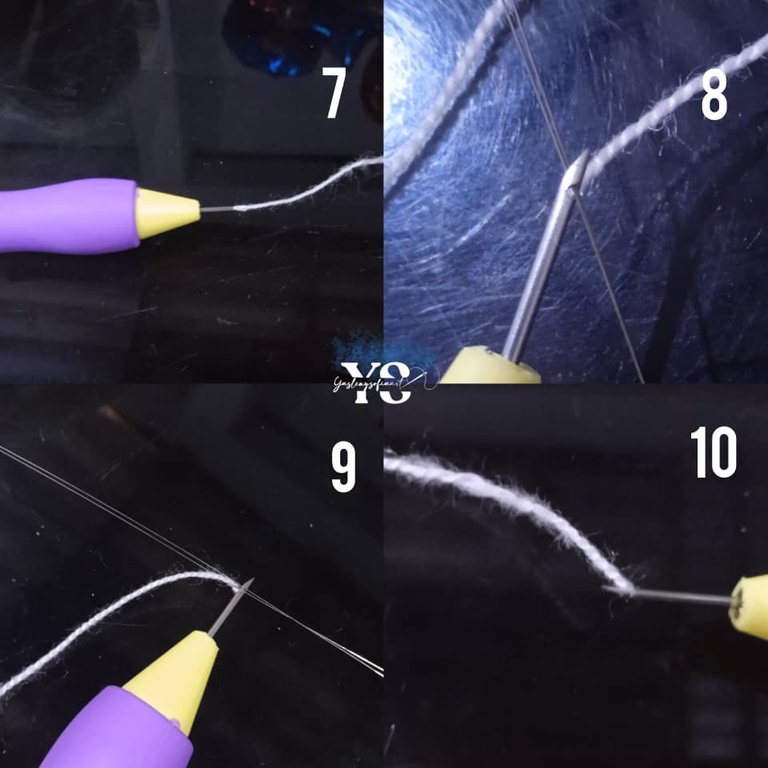
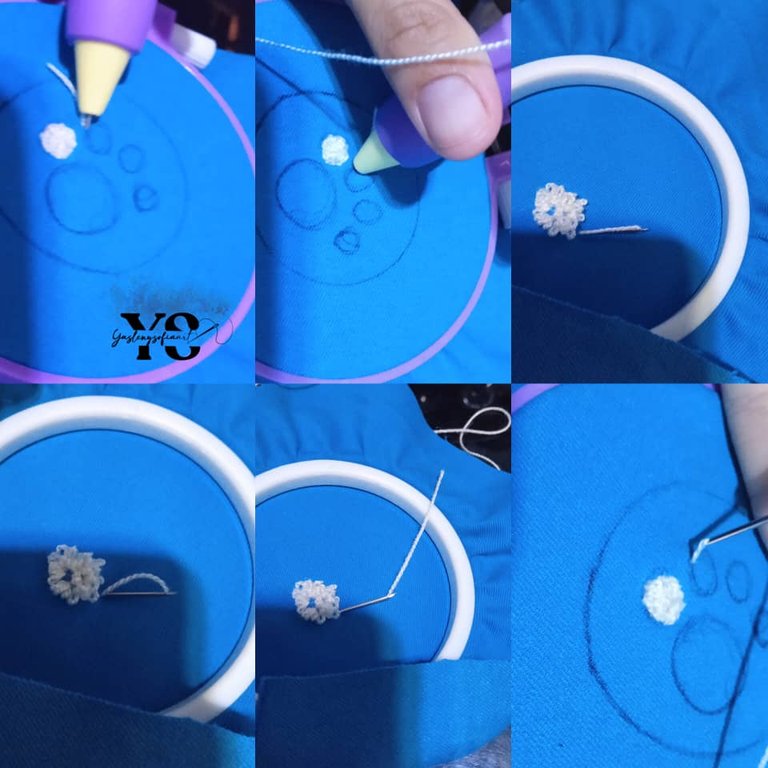
Now, at first I didn't know how to insert the thread, but a search on youtube and problem solved. It is to introduce the threader to the needle until the end, that comes out through the hole that she has at the top of the handle, then you put the needle to the threader and pull, until it comes out of the needle, make sure that the thread passes smoothly through the tube of the handle, ie, when moving the thread this should slide smoothly.
After that, you remove the threader from the thread and now this tool you pass it to the eye of the needle and there you put back the thread that came out before, pulling it and this now would pass to the front of where the eye of the needle is, I leave images of this process.
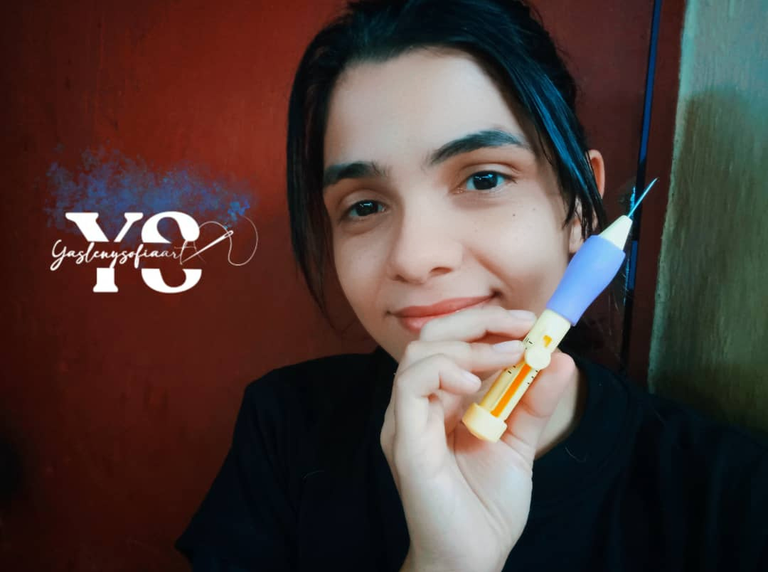
This style of magic needle brings so that the needle has different heights, that is, if we take it to number 2, the loops will be very tiny, while if it is at number 12, they will be more prominent and larger.
The magic needle must penetrate completely into the fabric, until the end of the length of the needle, where it starts what would be the handle, help yourself with your finger to extract the thread in the reverse part, where it is introduced, and only at that moment you pull it upwards. Once you pull out the needle to advance, you must do it dragging the point forward with the needle groove to the front, in order to drag the needle through the fabric and move to the next stitch.
In itself, it consists of dragging or pinching with the thread on the fabric as if you were writing and that, on one side will be a flat embroidery and on the other with curls, it all depends on which one you want in front, resembling the texture of a tapestry.
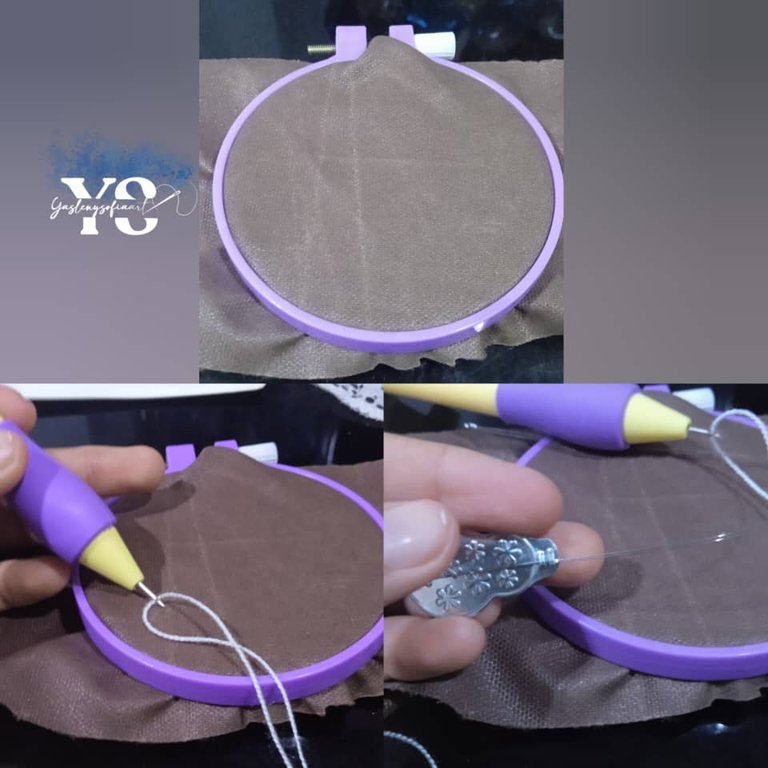
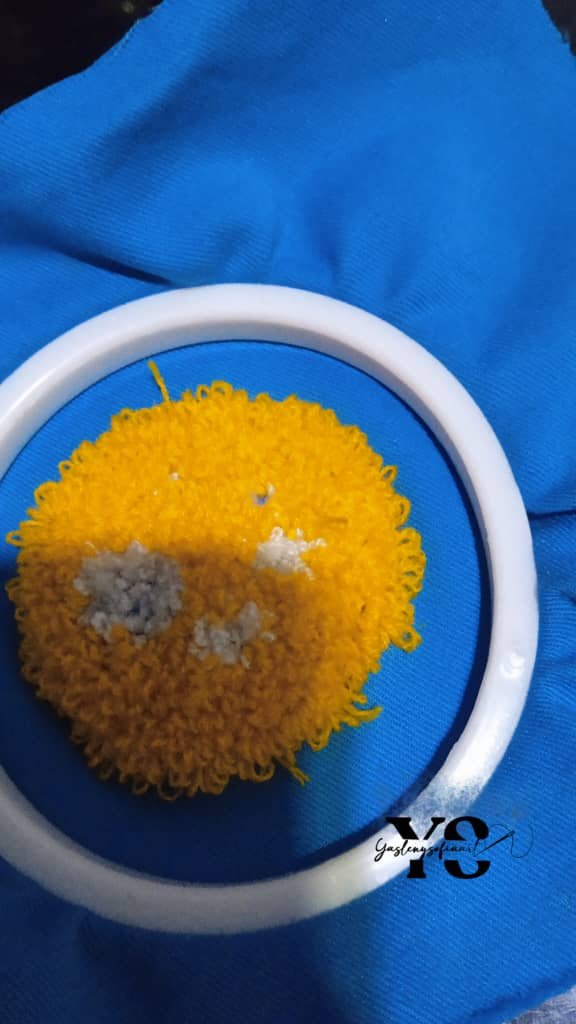
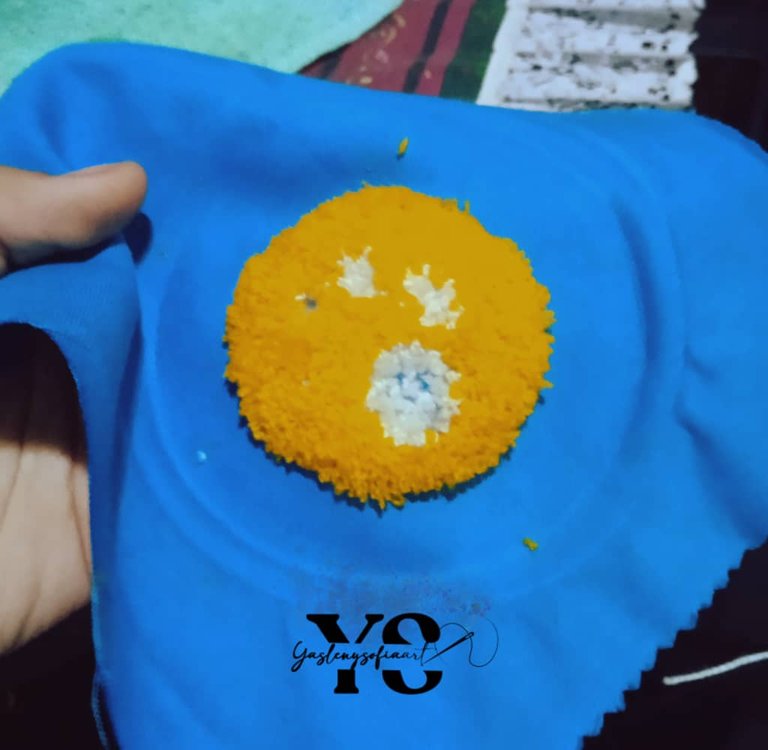
The first two attempts were unsuccessful because I didn't understand what I just explained, besides the type of fabric I used didn't help, the first one, which is the brown one, is like plastic and it broke easily, it was very damaged, the thread spelled horrible, it was a disaster.
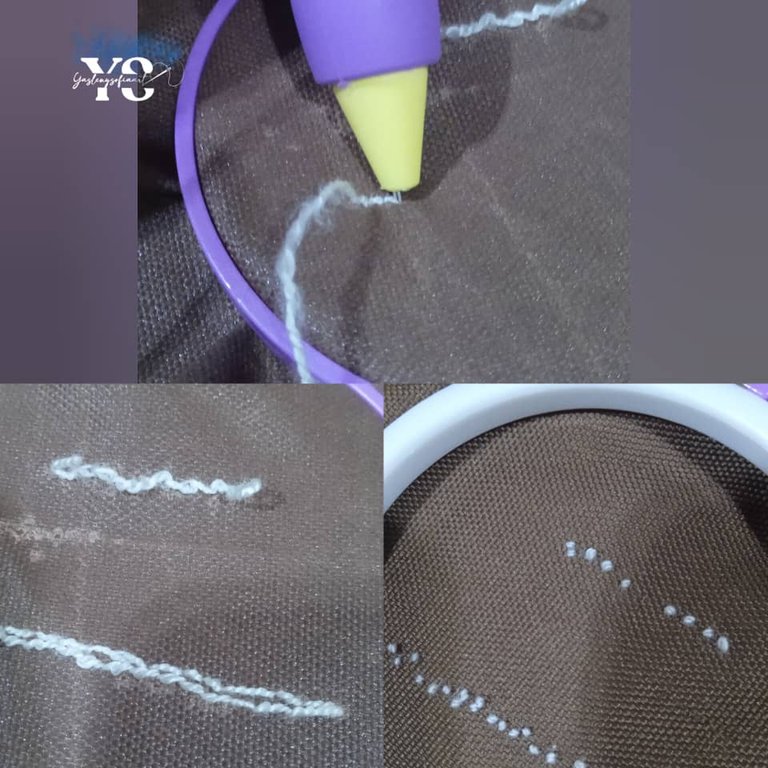
I tried with another fabric, cotton, but what happened, as I made the stitches very separated and uneven, everything was loose and left the curls bigger than normal, I stretched them myself and it was not like that, she has to leave it by itself, plus it loosened the hoops and it was difficult for the needle to enter well.
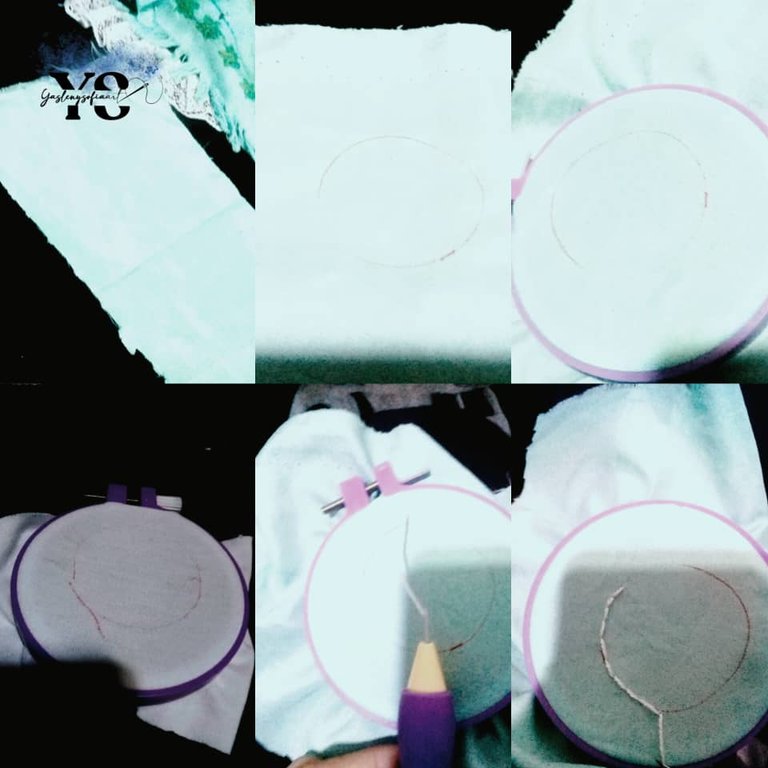
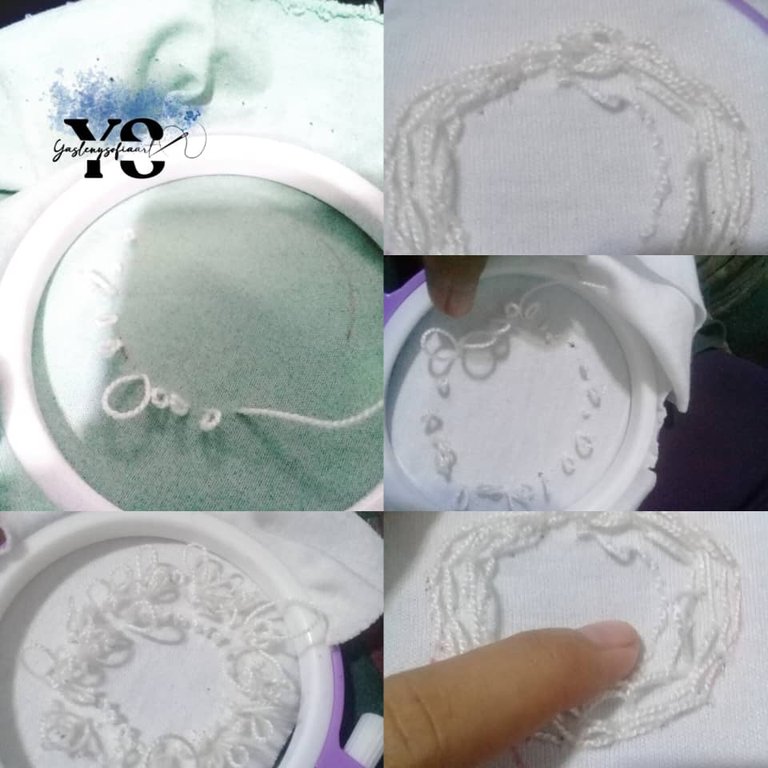
So, as a recommendation, the fabric must be well pressed; in reference to the threads, I used ball of yarn, although you can use others, such as wick, wool and so on.
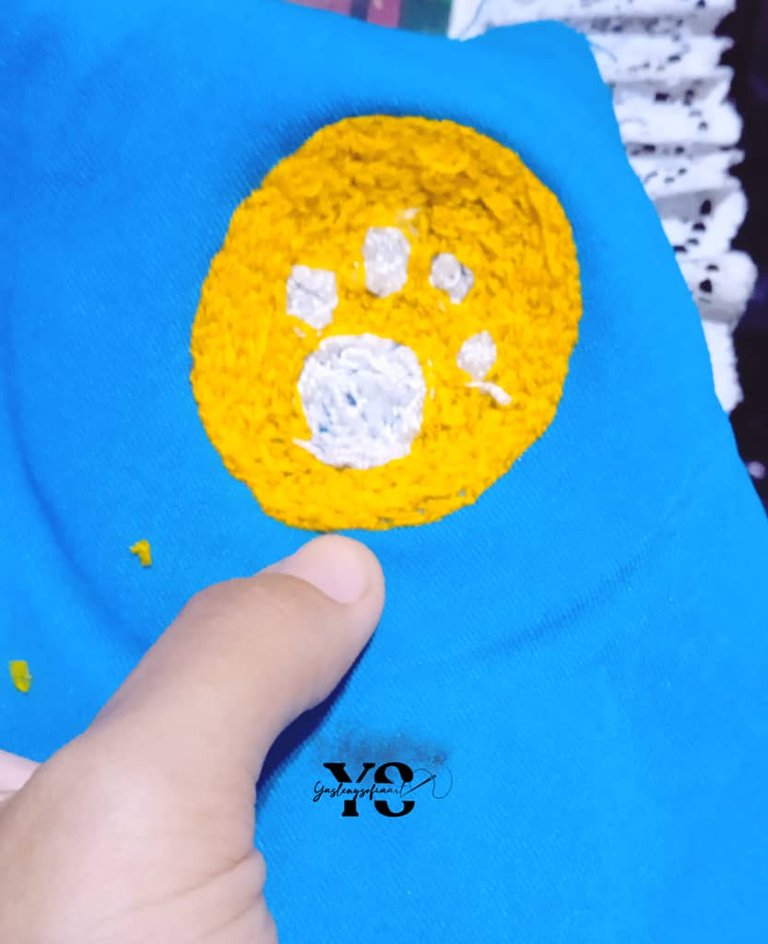
I was really going to give up on this needle, however, when I saw an internet work that they did with it, of a furry dog paw, I also wanted to do something like this, in a fabric used to make chemise, I pressed it super well and drew a dog paw, here if I did it little by little with the white yarn ball and with shorter stitches and joined, there if I gave me the loops by itself, so I think this fabric serves for this technique, although I also know that there is a special fabric for the same, but everything is to be experienced.
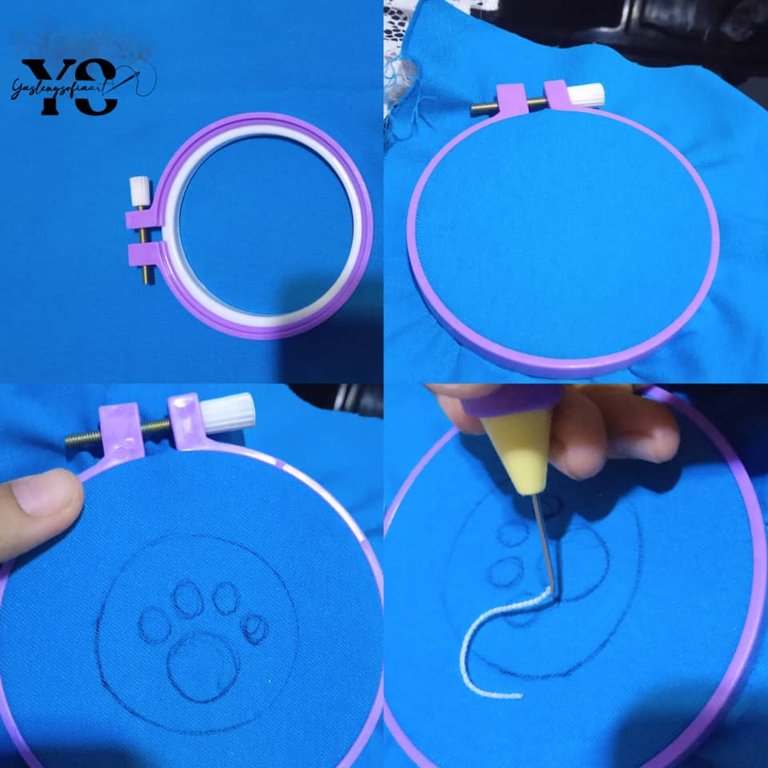
I wanted to try level 10 and the technique consists of inserting the needle straight until the handle sticks to the fabric, previously pressed with a hoop.
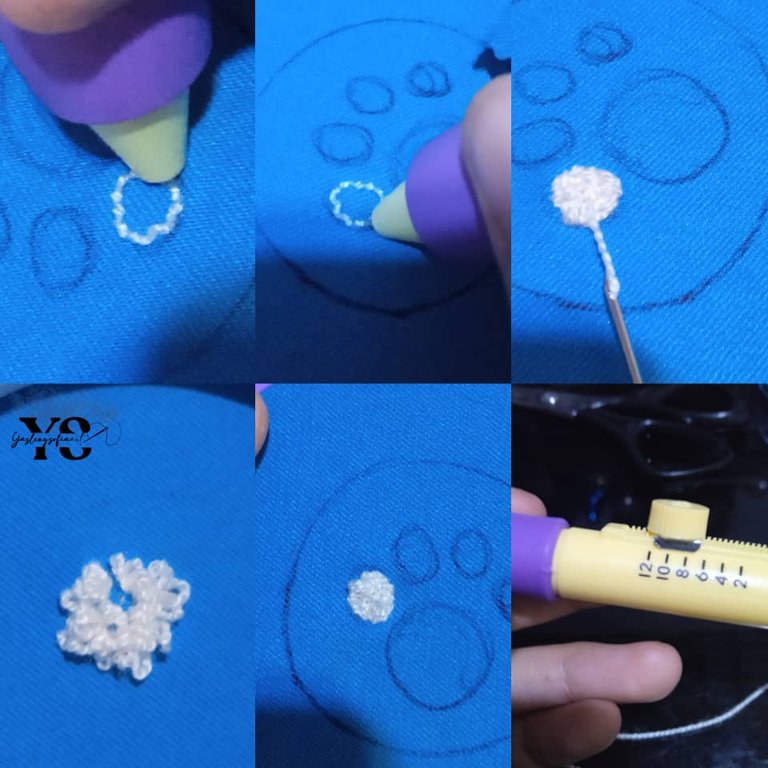
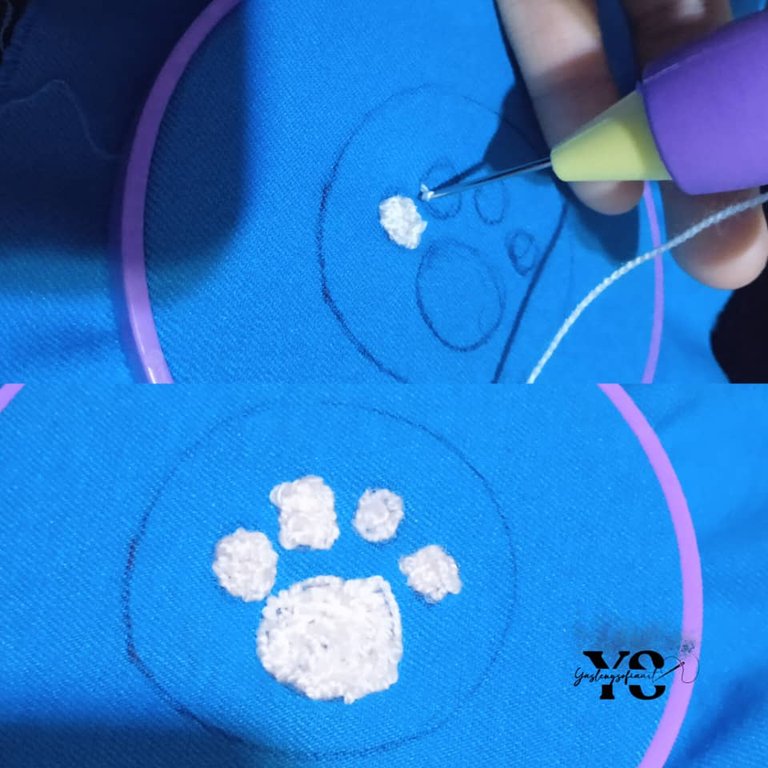
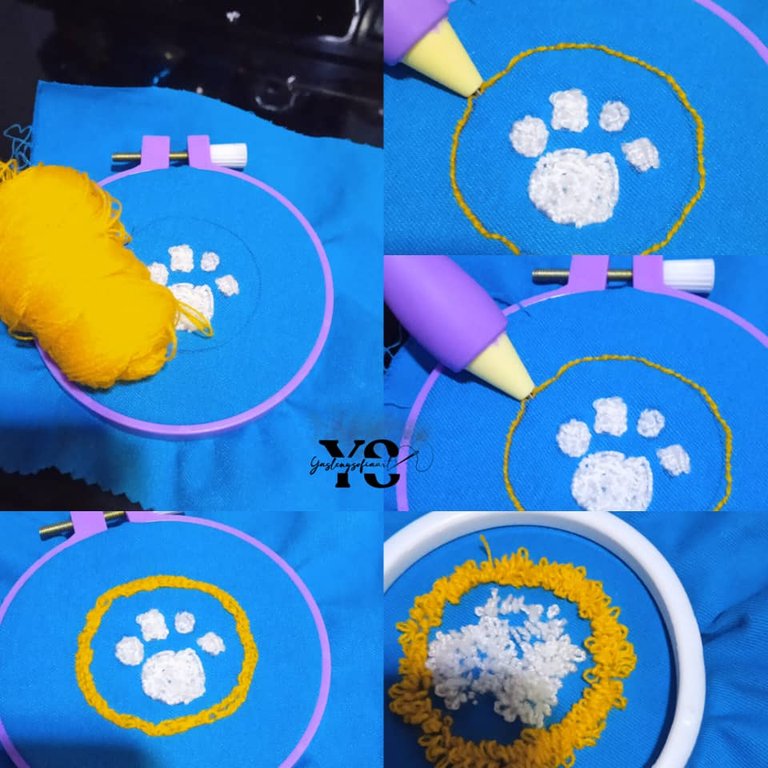
After filling in what would be the white pads, I proceeded with what is the big circle, with orange yarn ball; to be honest, I made the mistake of not having done this part first and following that, the pads, because the orange ate the white and besides that, the white had not been very good at the beginning.
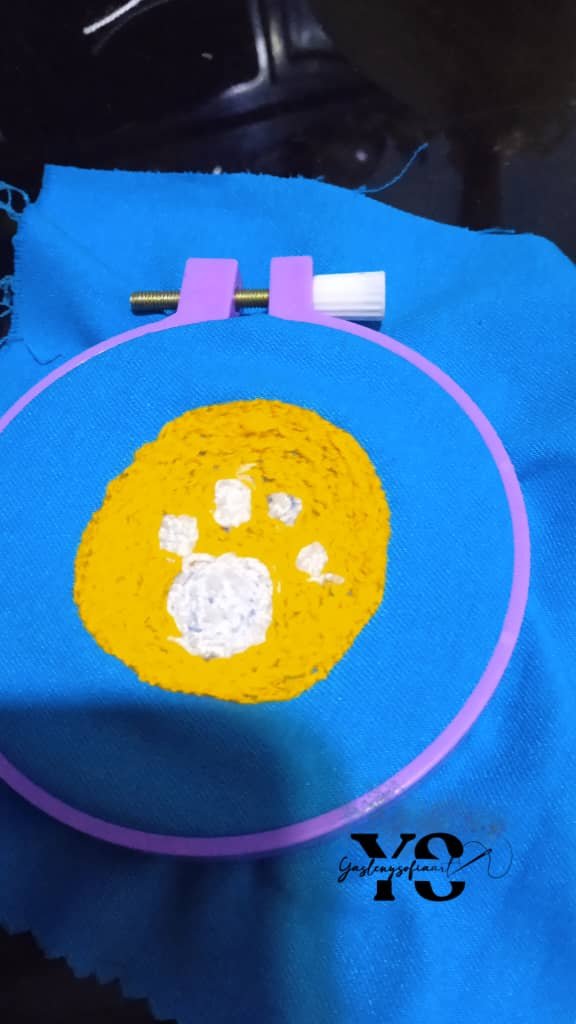
This was the result, I still have a lot to learn and it was a long process to see how it works, I hope to bring you better results.

Thank you for reading my post. I hope you liked it. I will be attentive to answer your comments. You can visit my blog, follow my content and social networks.
FACEBOOK / INSTAGRAM / TWITTER

ESPAÑOL
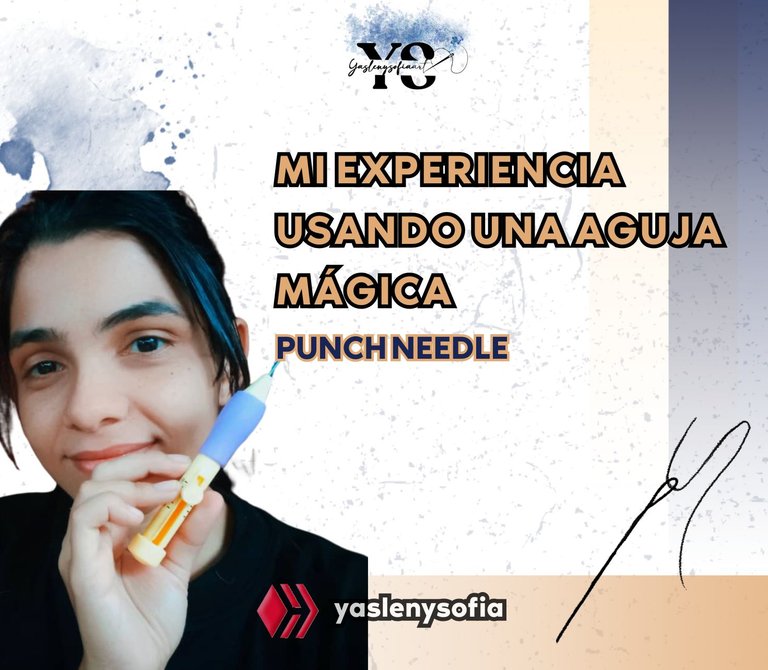
Saludos comunidad de @needleworkmonday, hoy les quiero compartir mi nueva adquisición la cual es una aguja mágica o punch needle, como la conozcan y les quiero contar la experiencia aprendiendo a usarla; asimismo la compra de un aro pequeño que no tenía.
La punch needle (aguja mágica, aguja mágica XL, bordado ruso o bordado chino, aguja pica pica, de felpa) es una herramienta para hacer la técnica de bordado estilo alfombra, ya que deriva básicamente de la misma forma para realizarlas. Es super fácil y rápido de elaborar estos estilos de bordado con esa aguja, pues básicamente golpear el bastidor con la aguja, dejando unos pequeños bucles al otro lado de la inserción.


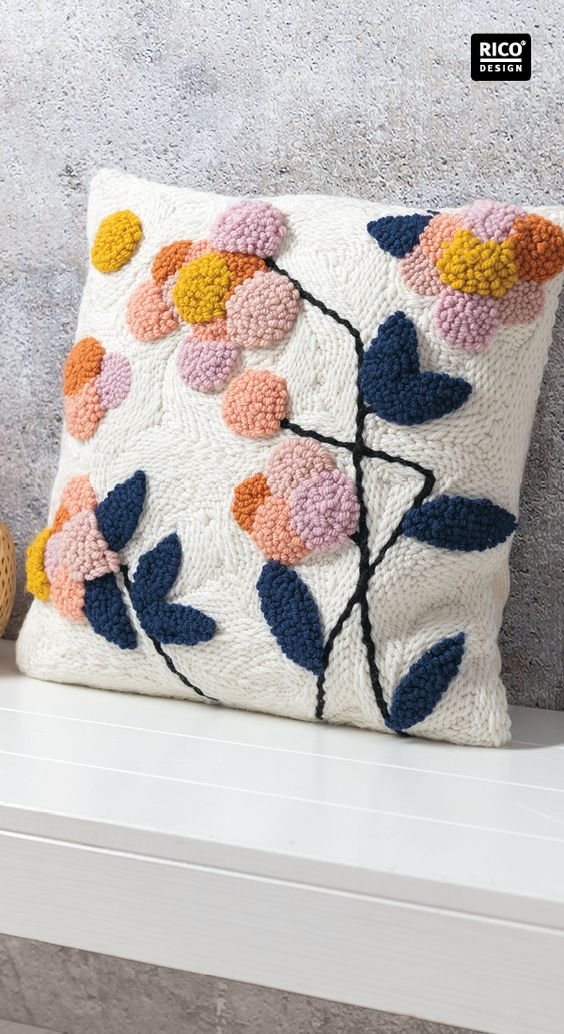
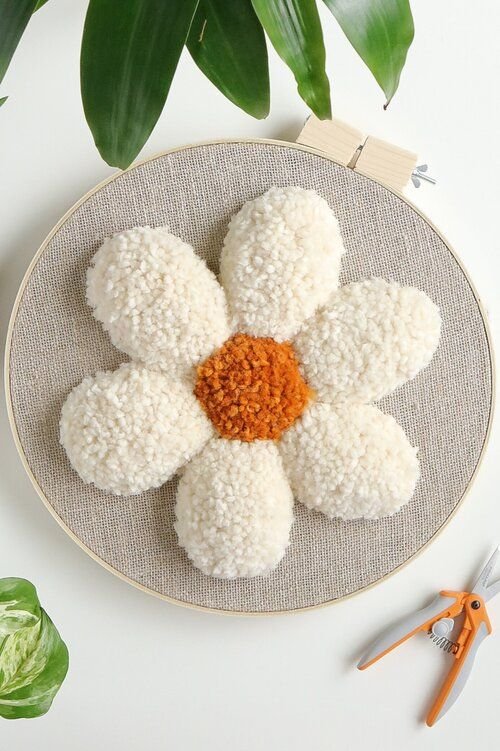
La aguja tuvo un costo de 7$ y trae para tres cambios de grosor de aguja, más dos Enhebrador, que es el que permite insertar el hilo a la aguja, pues existen hilos como el estambre que son difíciles de introducirlo a la misma. Existen varios y diversos modelos de esta aguja, les dejo los que se pueden encontrar y como son los trabajos que se pueden realizar.
Ahora bien, al principio no sabía cómo era que se introducía el hilo, pero una búsqueda en youtube y problema resuelto. Es introducir el enhebrador a la aguja hasta el final, que salga por el orificio que ella tiene en la parte superior del mango, luego metes la aguja al enhebrador y jalas, hasta que salga de la aguja, asegúrate que el hilo pase sin problema por el tubo del mango, es decir, que al mover el hilo este debe deslizarse suavemente.
Siguiente a eso, quitas el enhebrador del hilo y ahora esta herramienta lo pasas al ojo de la aguja y ahí le vuelves a poner el hilo que salió antes, jalándolo y este ahora pasaría al frente de donde está el ojo de la aguja, igual les dejo imágenes de dicho proceso.


Este estilo de aguja mágica trae para que la misma tenga diferentes alturas, es decir, si la llevamos al número 2, los bucles serán muy pequeñitos, mientras si está en el 12, serán más prominentes y grandes.
La aguja mágica debe penetrar completamente en la tela, hasta el final del largo de la aguja, donde inicia lo que sería el mango, ayúdate con el dedo para extraer el hilo en la parte reversa, donde esta introducida, y solo en ese momento lo sacas hacia arriba. Una vez que saques la aguja para avanzar, debes hacerlo arrastrando la punta hacia adelante con la ranura de la aguja hacia al frente, para así volver arrastrar la aguja por la tela y pasar al siguiente punto.
En sí, consiste arrastrar o pinchar con el hilo en la tela como si estuviese escribiendo y que, de un lado va a quedar un bordado plano y en el otro con rizos, todo depende de cual quieres al frente, asemejándose a la textura de un tapiz.
Los primeros dos intentos fueron fallidos porque no entendía lo que les acabo de explicar, además de que no ayudaron el tipo de tela que use, la primera, que es la marrón es como de plástico y se rompía fácilmente, se maltrataba mucho, el hilo se me espelucaba horrible, fue un desastre.


Probé con otra tela, de algodón, pero que va, como hacia los puntos muy separados y des uniformes, todo se me flojo y dejaba los rulos más grandes de lo normal, los estiraba yo misma y no era así, ella tiene que dejarlo por sí solo, aunado que se me aflojaba de los aros y costaba que la aguja se introdujera bien.


Por lo que, por recomendación, la tela tiene que estar bien prensada; en referencia a los hilos, yo usé ovillo, aunque se puede usar otros, como el pabilo, la lana y así sucesivamente.
Ya de verdad, iba a desistir de esta aguja, sin embargo, al ver un trabajo de internet que hacían con ella, de una patica de perro peluda, yo también deseaba hacer algo, así, en una tela estilo que usan para hacer chemise, la prense super bien y dibuje una patita de perro, aquí si lo hice poco a poco con el hilo ovillo blanco y con puntadas más cortas y unidas, ahí si me daba los bucles por sí solo, así que creo que está tela sirve para esta técnica, aunque también sé que existe una tela especial para la misma, pero todo consiste en ir experimentado.

Quise probar con el nivel 10 y la técnica consiste insertar la aguja rectamente hasta que el mango pegué a la tela, previamente prensada con un aro.


Luego de rellenar lo que serían las almohadillas en blanco, procedí con lo que es el circulo grande, con hilo ovillo naranja; siendo sincera, cometí el error de no haber hecho primero esta parte y siguiente a eso, las almohadillas, porque el naranja se comió el blanco y además de que este no me había quedado muy bien al inicio.

Este fue el resultado, aun me falta mucho por aprender y fue un largo proceso de ver su funcionamiento, espero traerle mejores resultados.


Gracias por leer mi post. Espero que les haya gustado. Estaré atenta a responder sus comentarios. Pueden visitar mi blog, seguir mis contenidos y redes sociales

FACEBOOK / INSTAGRAM / TWITTER

0
0
0.000
Hola!!! A mí también me encantaría tener esa aguja 😍😍 el otro día fui a una tienda y la vi. Muchas gracias por contar tu experiencia, creo que el tercer intento te salió muy bien para ser una prueba, y estoy segura de que te va a servir para hacer trabajos muy bonitos con ella!! Te felicito por tu adquisición 💓💓
De verdad, da un efecto muy bonita y se puede hacer diversos proyectos con la misma, te la recomiendo. Al principio puede costar agarrarle la onda pero, ya después es más fácil usarla. Muchas gracias 😊
¡Enhorabuena!
✅ Has hecho un buen trabajo, por lo cual tu publicación ha sido valorada y ha recibido el apoyo de parte de CHESS BROTHERS ♔ 💪
♟ Te invitamos a usar nuestra etiqueta #chessbrothers y a que aprendas más sobre nosotros.
♟♟ También puedes contactarnos en nuestro servidor de Discord y promocionar allí tus publicaciones.
♟♟♟ Considera unirte a nuestro trail de curación para que trabajemos en equipo y recibas recompensas automáticamente.
♞♟ Echa un vistazo a nuestra cuenta @chessbrotherspro para que te informes sobre el proceso de curación llevado a diario por nuestro equipo.
🏅 Si quieres obtener ganancias con tu delegacion de HP y apoyar a nuestro proyecto, te invitamos a unirte al plan Master Investor. Aquí puedes aprender cómo hacerlo.
Cordialmente
El equipo de CHESS BROTHERS
Muchas gracias 😍