Bandana with embroidered name / Bandana con nombre bordado [ENG/ESP]
ENGLISH
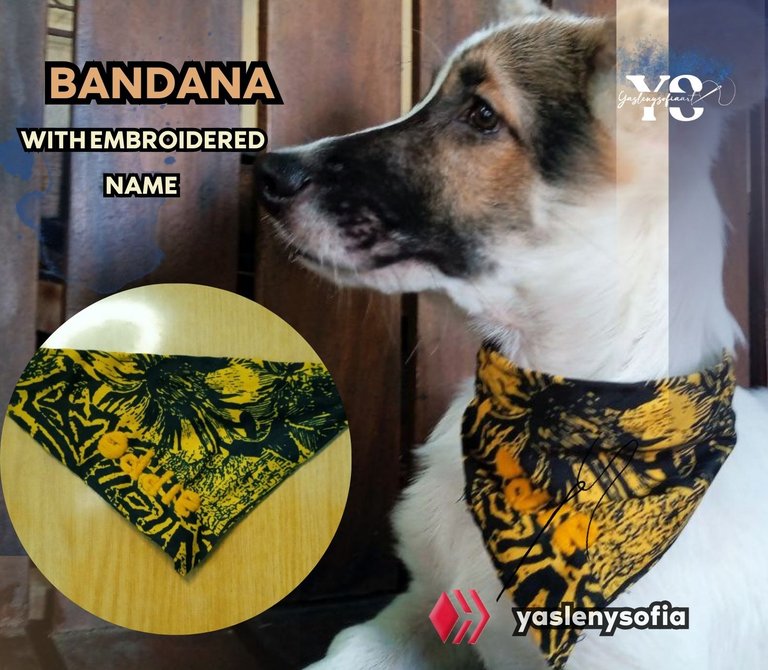
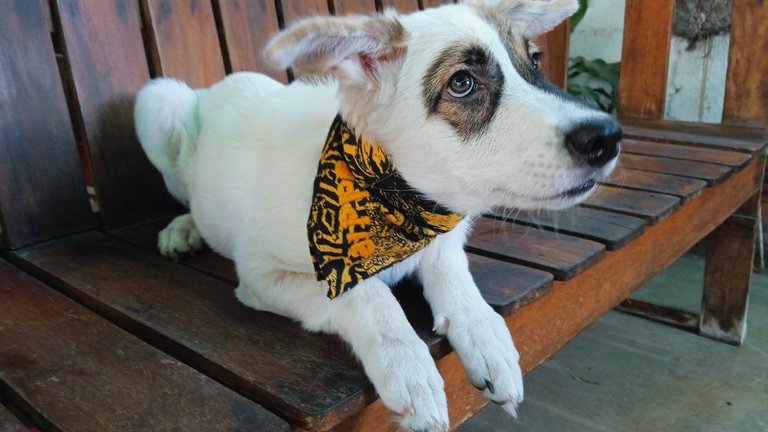
Greetings @needleworkmonday community, today I want to show you how I made a bandana for my little dog, with his name embroidered. I really liked the result, although, as always, there are drawbacks with the sewing machine, I still practice with it to get the rhythm and improve in it.

-Sewing threads (color according to the fabric to be used)
-Scissors
-Embroidery thread, a color that either contrasts or does not stand out so much on the fabric.
-Embroidery hoops.
-Magic clasp
-Ropes
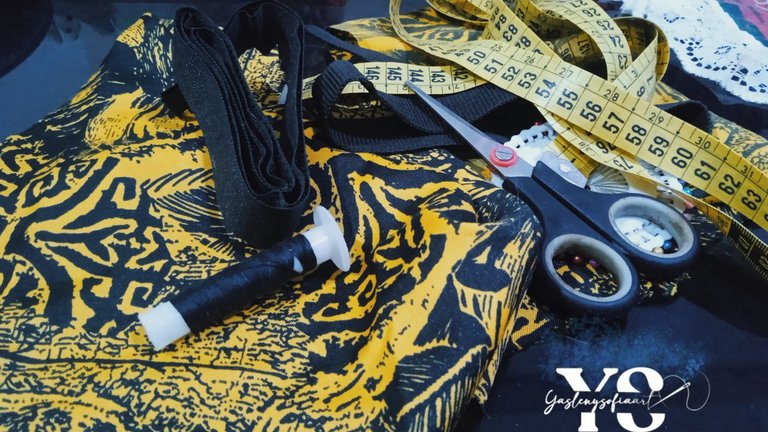

The first thing is to take the measurements of the neck of our pet, in the case of mine it is 27 cm, as the part of the fabric was going to sew it on top of a rope to adjust it with magic clasp, I would not mind if the fabric did not give that length, but if you want it alone, without the rope, that is, tie the fabric and tie a knot, because there if you need more than the neck measurement, almost double, in my case, it would be between 35 to 40 cm, approximately.
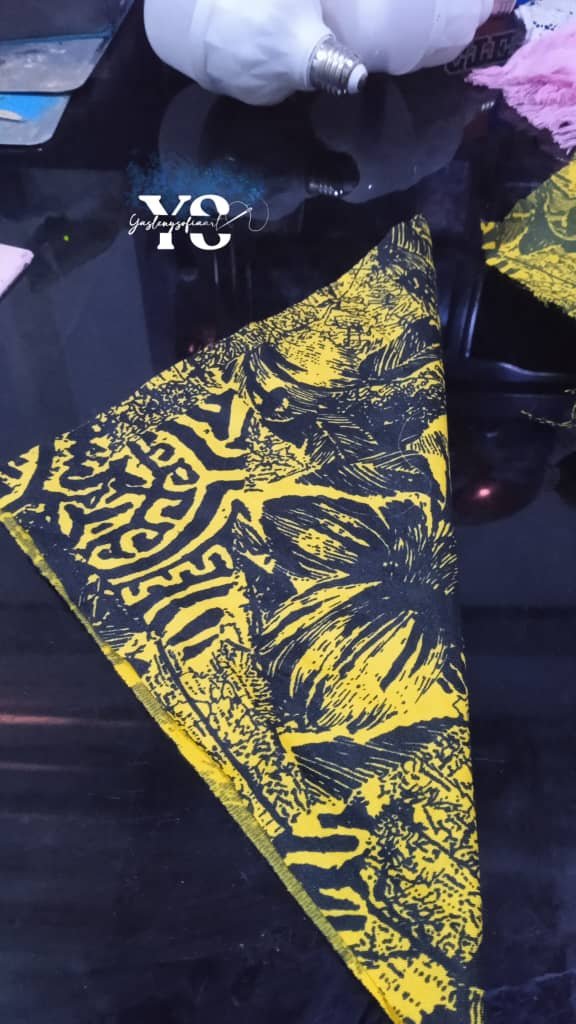
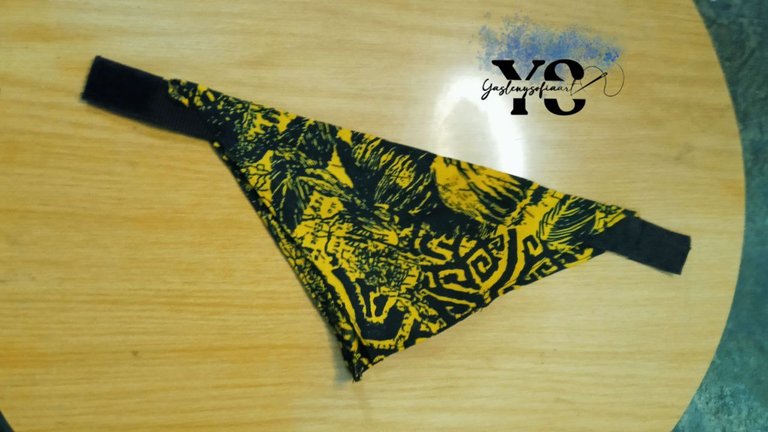
Next, I cut a square of 27 cm on all sides (this is what I had enough fabric) and this will give you a triangle, as shown in the image; the piece of cord I will use will measure 32 cm.
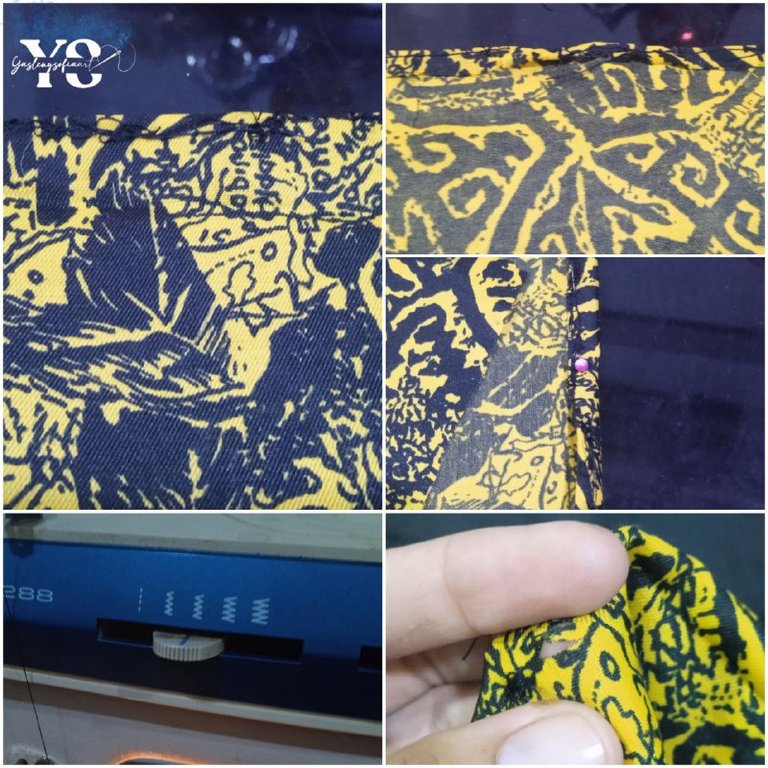
Now, I sewed them with the sewing machine, here I feel I didn't do it right, I started with a straight seam but the machine or, rather, the bobbin, it seems that you have to adjust it, because the bottom thread got a little tangled, although something was done, it's not the best seam, even so, it worked.
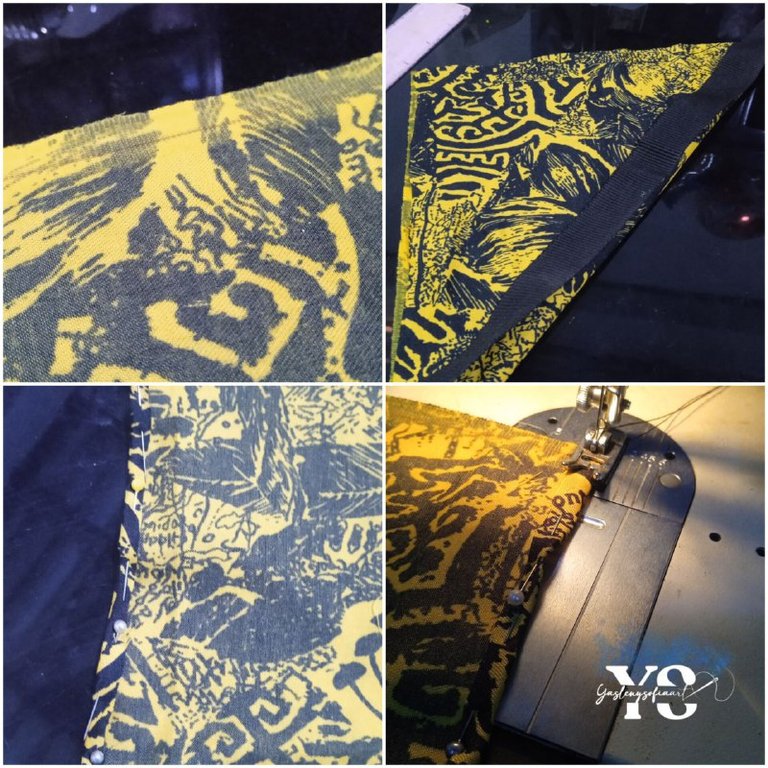
After that, I folded the fabric a little more and sewed a zig-zag seam, at this point I wondered if it was not better to start with a zig-zag point to prevent the fabric from fraying and finished with a straight seam, I do not know if it is so, I get advice on this point 😅. Unfortunately, when I had managed to finish one side, I accidentally pierced the fabric with the scissors and made a hole in it, so I had to cut the fabric again and as I had almost no fabric left, the square was 25cm on all sides.
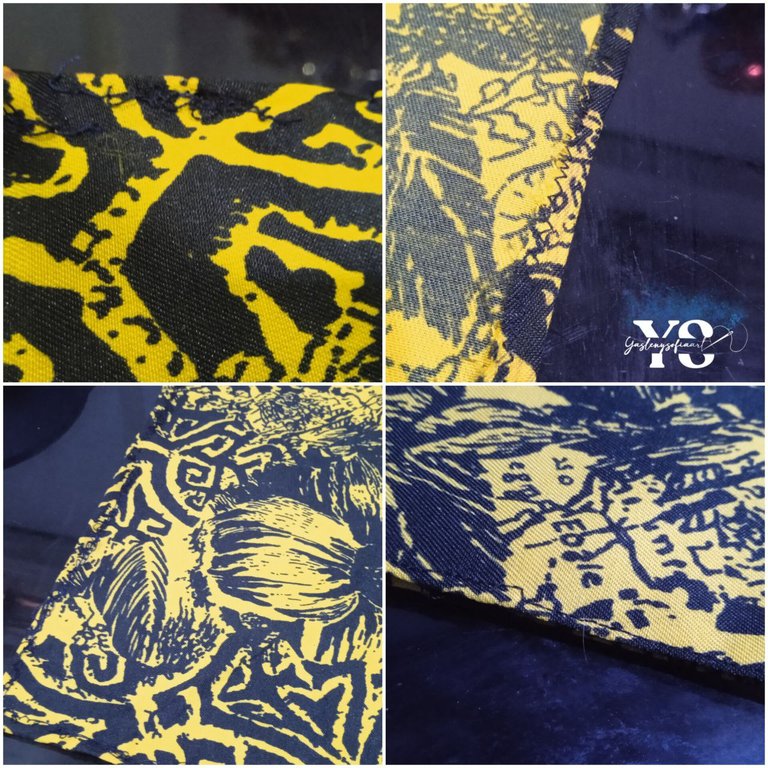
Taking advantage of the fact that I had to sew again, I did what I mentioned above, I started with zig-zag stitch and then the straight stitch, it was much better, although I have to send the machine for maintenance..
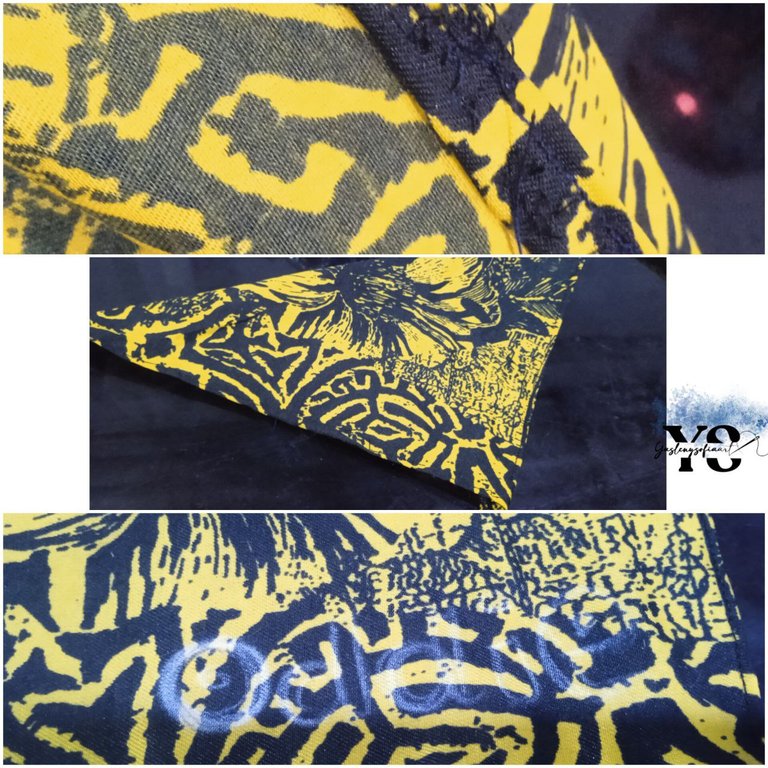
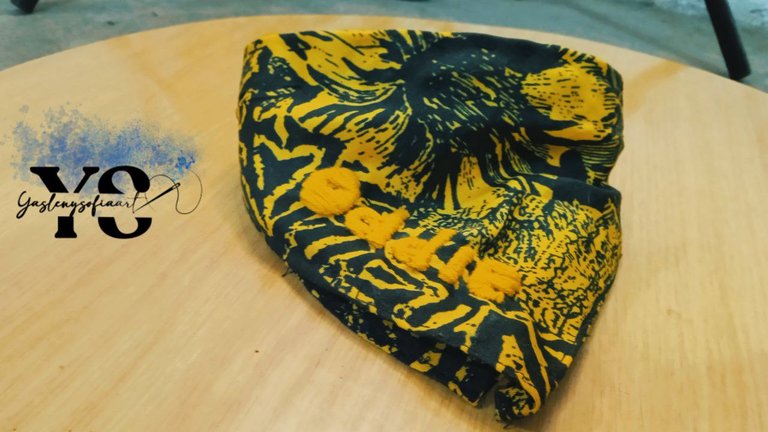
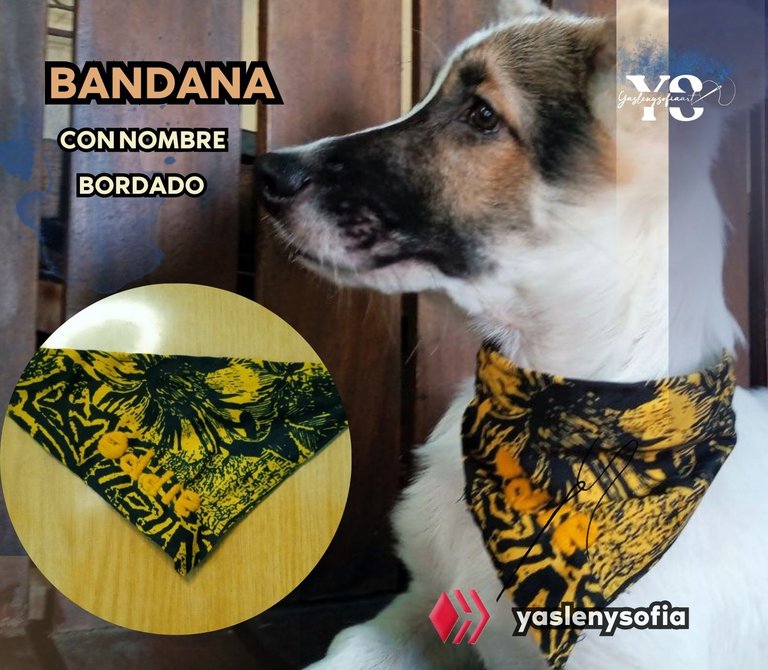
Anyway, having the edges clean, or something like that, I proceeded to embroider the name of my dog, I had doubts with what color thread to do it, I was between white and yellow and I decided for the latter, I know it is lost in the fabric, but I do not know, I had a mental block, I think the white if it had highlighted better.
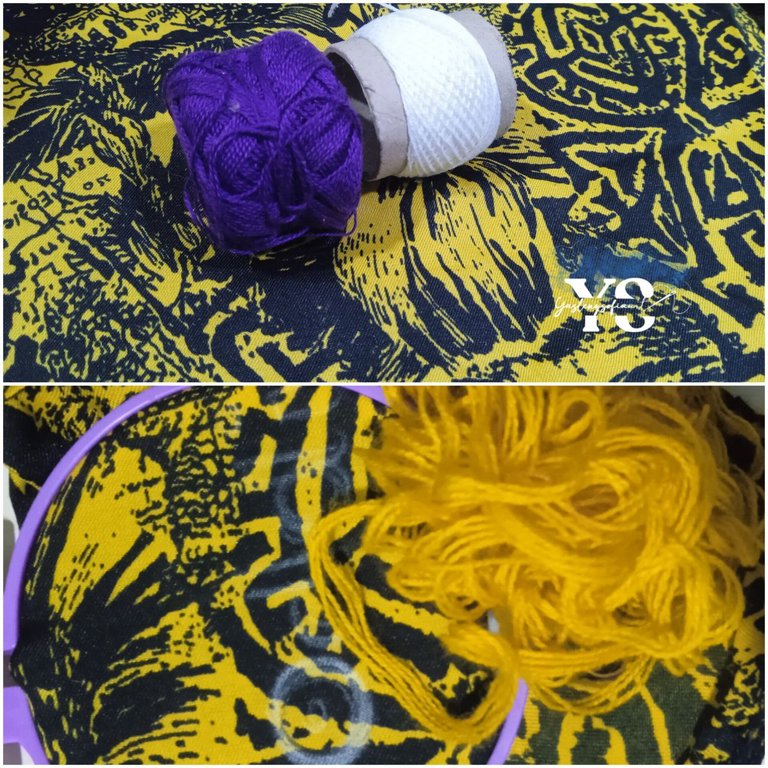
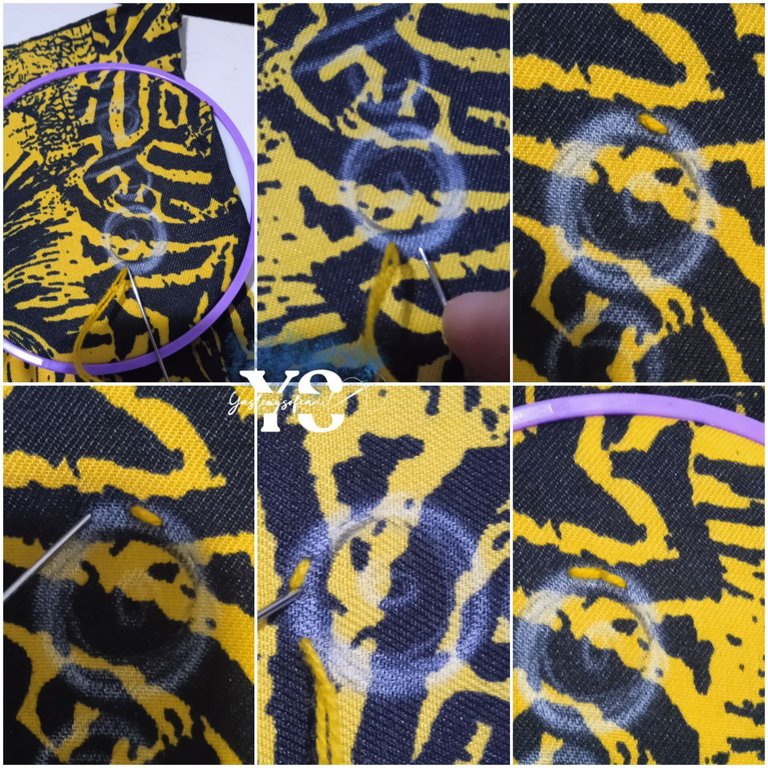
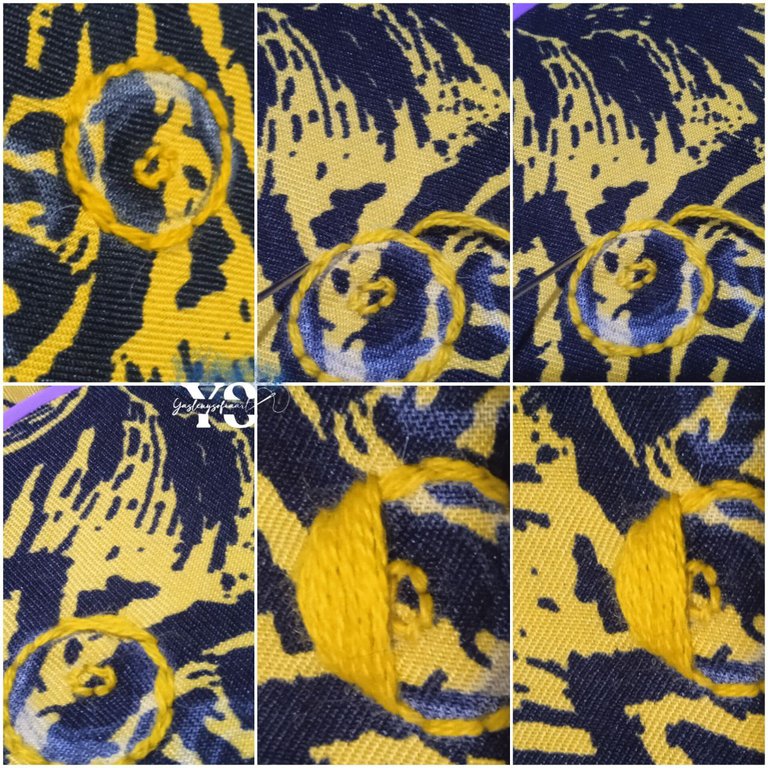
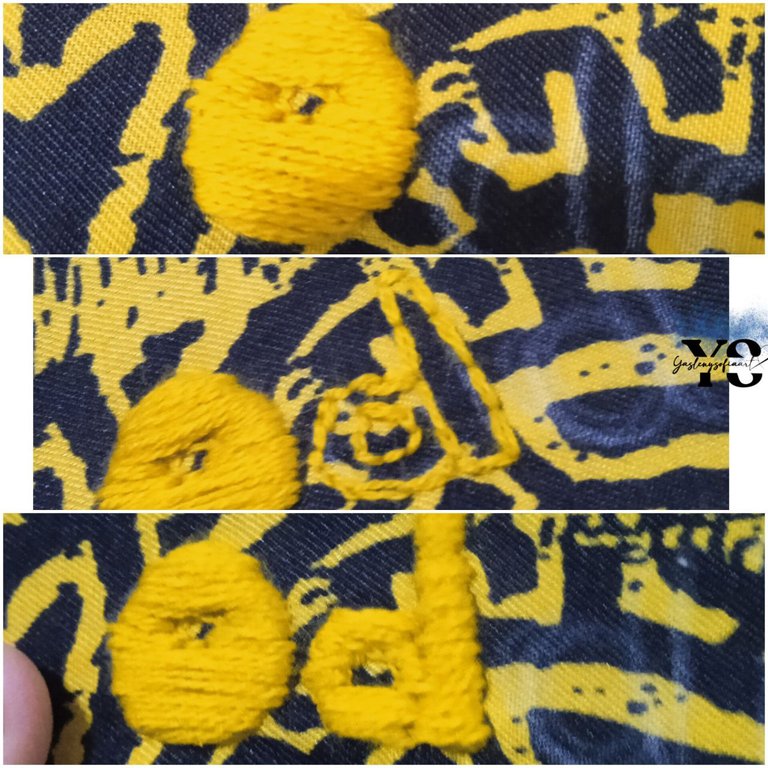
To make the embroidery, I adjusted the fabric with an embroidery hoop and started with the step back technique, just to outline the outline of the letters and then, I proceeded to fill them, which is basically to draw from one end to the other of the letter, until completing it; and all this I applied to each of the letters that make up the name.
Having the name embroidered, I proceeded to sew the netting by hand, because my machine doesn't like this material, I don't know, it doesn't hold it well🙃. Here you can leave it like that, and just tie that bandana to your neck, but, thinking to make it last longer I wanted to put a magic closure, however, if you are going to lose it fast, because I fit it just right.
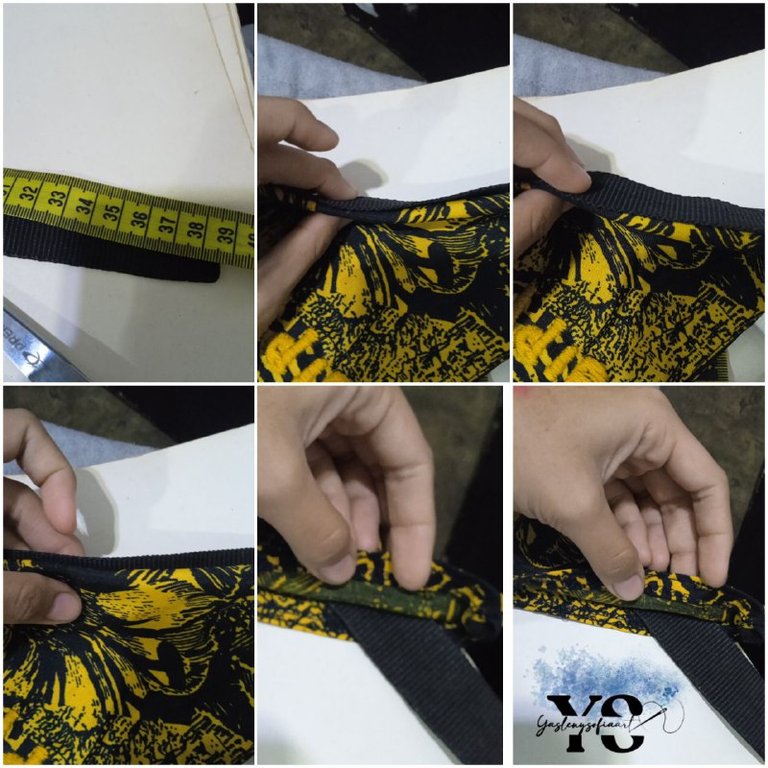
Continuing, you can sew the netting behind the bandana or, as I did, I opened it and the netting remains inside the fabric, so that it does not rub against the animal's skin.
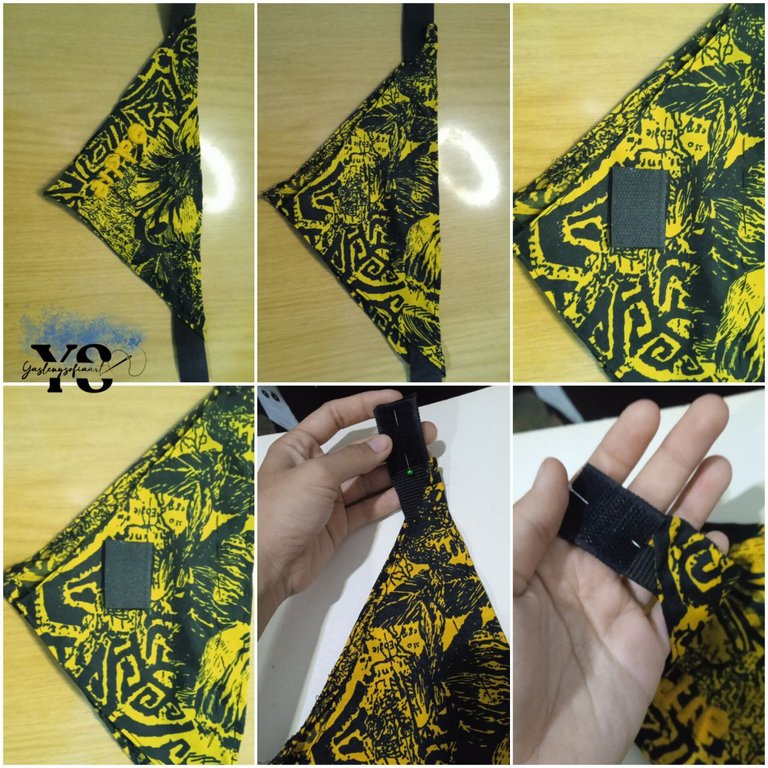
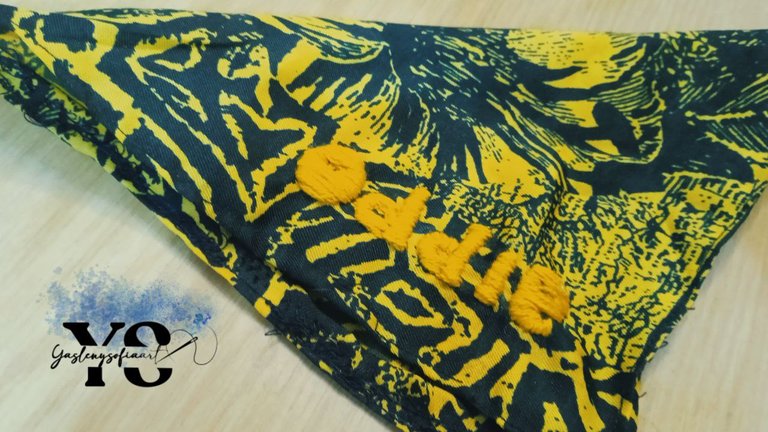
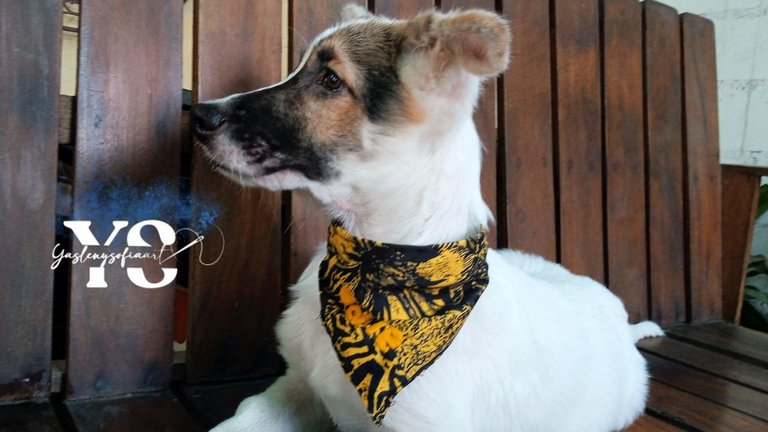
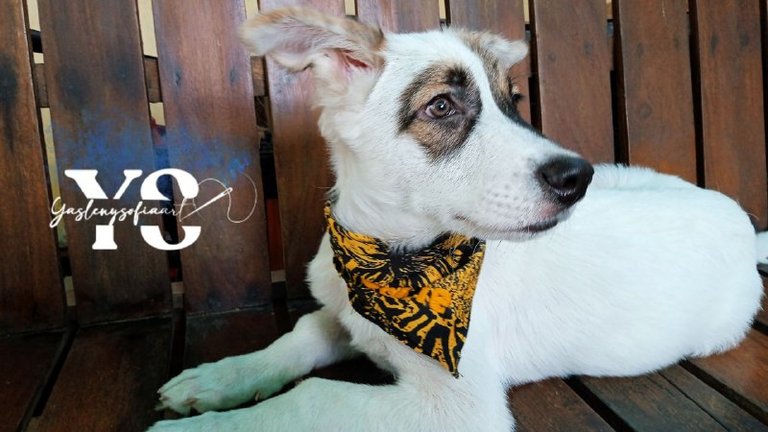
Finally, I sewed a piece of magic zipper, and ready, this is the result; my sister liked it so much that she wants to make one, but, not only for him, also for the grown-ups, we will see how it looks.
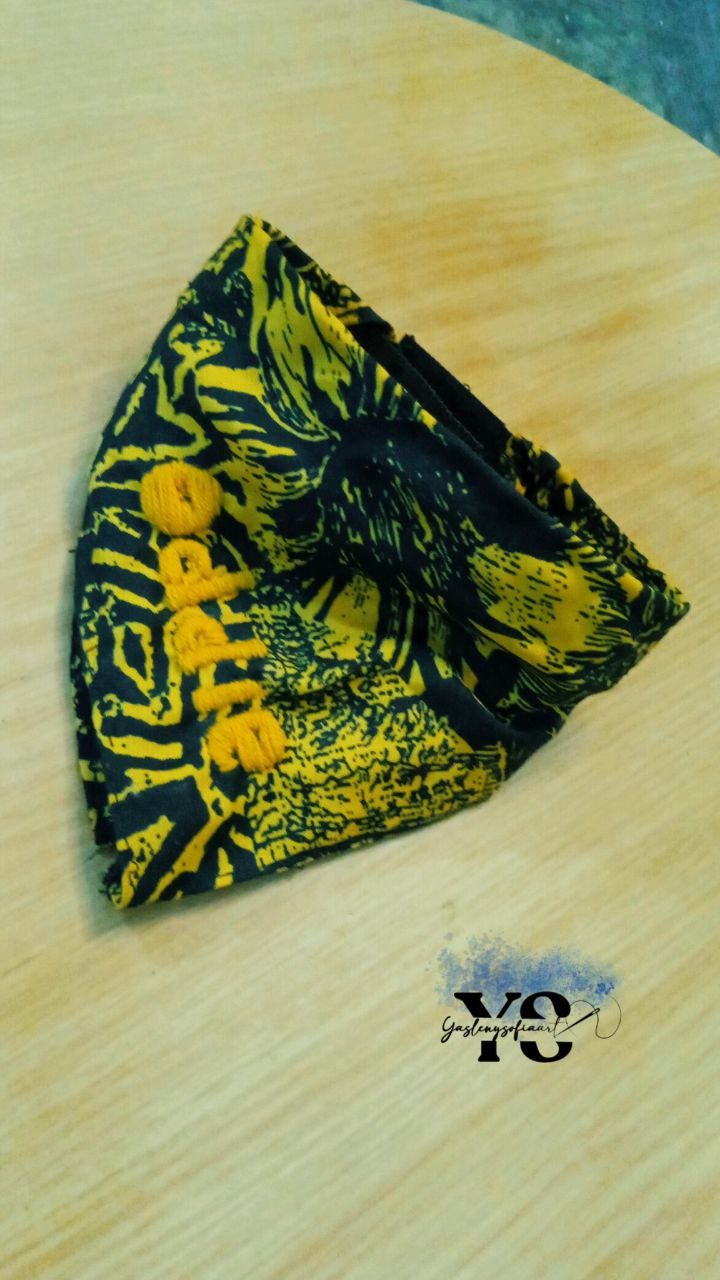
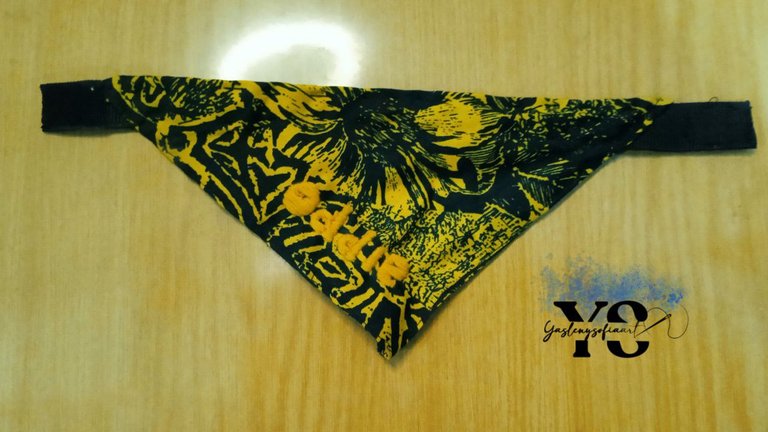
As seen on...

Thank you for reading my post. I hope you liked it. I will be attentive to answer your comments. You can visit my blog, follow my content and social networks.
FACEBOOK / INSTAGRAM / TWITTER

ESPAÑOL
Saludos comunidad de @needleworkmonday, hoy les quiero mostrar como elaboré una bandana para mi perrito, con su nombre bordado. Me gustó mucho el resultado, aunque, como siempre, hay inconvenientes con la máquina de coser, igualmente practico con ella para agarrarle el ritmo y mejorar en la misma.

-Hilos de coser (color de acuerdo a la tela a usar)
-Tijera
-Hilo de bordar, un color ya sea que contraste o no realce tanto en la tela.
-Aros de bordar.
-Cierre mágico
-Reata


Lo primero es tomar las medidas del cuello de nuestra mascota, en el caso del mío es de 27 cm, como la parte de la tela se la iba a coser encima de una reata para ajustarlo con cierre mágico, no me importaría si la tela no diera ese largo, pero, si lo quieres solo, sin la reata, es decir, amarrar la tela y hacer un nudo, pues ahí si necesitas más de la medida del cuello, casi el doble, en mi caso, serian entre 35 a 40 cm, aproximadamente.
Seguidamente, corté un cuadrado de 27 cm todos sus lados (es lo que me alcanzó la tela) y esto al cruzar punta con punta les dará un triángulo, como se muestra en la imagen; el pedazo de reata que usaré tendrá una medida de 32 cm.

Ahora bien, cosí los bordé con la máquina de coser, aquí siento que no lo hice bien, comencé con una costura recta pero la máquina o, mejor dicho, la bobina como que hay que ajustarla, porque el hilo de abajo se me enredaba un poco, aunque algo se hizo, no es la mejor costura, aun así, funcionaba.

Posterior a ello, doble un poco más la tela y le pase una costura en zig-zag, en este punto me pregunté si, no era mejor iniciar con punta zig-zag para evitar que la tela se deshilachara y remato con costura recta, no sé si es así, recibo consejos en este punto 😅. Lamentablemente, cuando había logrado terminar un lado, sin querer traspasé con la tijera la tela y le hice un agujero por lo que, tuve que corta tela nuevamente y como ya no me quedaba casi, el cuadrado quedó de 25cm en todos sus lados.

Aprovechando que tuve que hacer nuevamente la costura, hice lo que mencioné arriba, inicié con puntada zig-zag y luego la recta, me quedó mucho mejor, aunque si debo mandar a mantenimiento la máquina.


En fin, ya tener los bordes limpios, o algo así, procedí a bordar el nombre de mi perrito, tenia dudas con que color de hilo hacerlo, estaba entre el blanco y el amarillo y me decidí por este último, sé que se pierde en la tela, pero no sé, tuve un bloqueo mental, creo que el blanco si le hubiese resaltado mejor.

Para hacer el bordado, ajusté la tela con un aro de bordar y empecé con la técnica paso atrás, solo para delinear el contorno de las letras y luego, procedí a rellenarlas, que es básicamente sacar de un extremo hacia otro de la letra, hasta completarla; y todo esto lo apliqué a cada una de las letras que componen el nombre.


Al tener el nombre bordado, procedí coser a mano la reata, porque mi máquina no le gusta este material, no sé, no lo agarra bien🙃. Aquí pueden dejarlo así, y solo amarrar esa bandana a su cuello, pero, pensando para que le dure más le quería poner una reata con cierre mágico, sin embargo, si lo va perder rápido, porque me quedo justamente a su medida.

Continuando, pueden coser la reata por detrás de la bandana o, como lo hice yo, la abrí y la reata queda dentro de la tela, para que no rocé con la piel del animal.

Ya para finalizar, cosí un pedazo de cierre mágico, y listo, este es el resultado; a mi hermana le gustó tanto que quiere hacerle una, pero, no solo a él, también a los grandes, veremos cómo le queda.


Como se ve puesto...


Gracias por leer mi post. Espero que les haya gustado. Estaré atenta a responder sus comentarios. Pueden visitar mi blog, seguir mis contenidos y redes sociales

FACEBOOK / INSTAGRAM / TWITTER

0
0
0.000
Hermoso, y ese cachorro con ese accesorio se ve precioso
Si, le luce 😍
Muchas gracias 😊
I like the embroidery actually even though it’s a little difficult to see since it’s almost the same color as the fabric. It’s still pretty and I love the result
Yes, I had doubts on the color of the letters but, there it stayed. Thank you very much 🤗
Si, tenia dudas en el color de las letras pero, ahí quedó. Muchas gracias 🤗
Aaayyy ñomio pero cosita más hermosa 😍 Oddie se ve de lo más coqueto y hermoso. Me encanta que hayas podido crear con tu máquina algo especial para él. Te quedó de lo más lindo. Yo quiero hacer algo para mí gata, pero a ella no le gusta que le ponga nada 🤭
Es que los gatos cuestan un montón lograr que se acostumbra o se ponga cualquier accesorio. Se vería muy mona. Saludos 😊