A detail in Hive nail and acrylic whale and freehand//Un detalle en uñas hive y ballena acrílico y mano alzada [ESP-ENG]
Como ya e echo anteriormente subo contenido de mi hobby qué es hacer uñas acrílicas ya a pasado varios días que llevo sin publicar sobre ello y quise volver hacer una entrada con un detalle lindo, la verdad hacer el logo hive, se me hizo bastante fácil, pero hacer la ballena con acrílico estilo 3D si fue un poco más complicado pero me siento satisfecha del resultado
As already echo before I upload content from my hobby what it is to make acrylic nails, past several days that I have not published and I wanted to return to make an entrance with a cute detail, the truth do the Logo Hive, I was made pretty easy, but doing the B
| Materiales | Materials |
|---|---|
| Acrílico, azul, blanco | Acrylic, blue, white |
| Semipermanentes, azul, roja, negra y blanca | Semi-permanent, blue, red, black and white |
| Monomero | Monomer |
| Pinceles | Brushes |
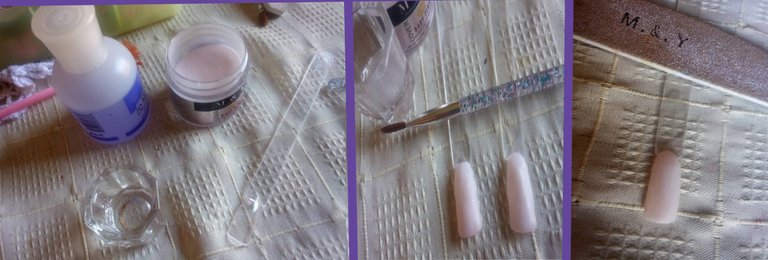
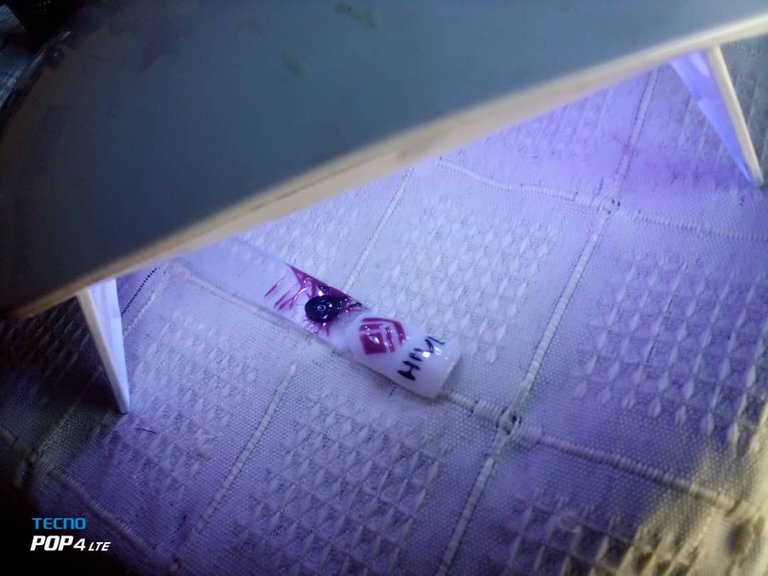
- Lo primero es agarrar la uña de práctica,el pincel, el monomero y acrílico para hacer la base de la uña, seguido de eso hay que limar para nivelar todos los lados de la uña, aplicados gel finis y llevamos a lámpara para curar
The first thing is to grab the practice nail, the brush, the monomer and acrylic to make the base of the nail, followed by that you have to file to level all the sides of the nail, apply gel finis and take a lamp to cure
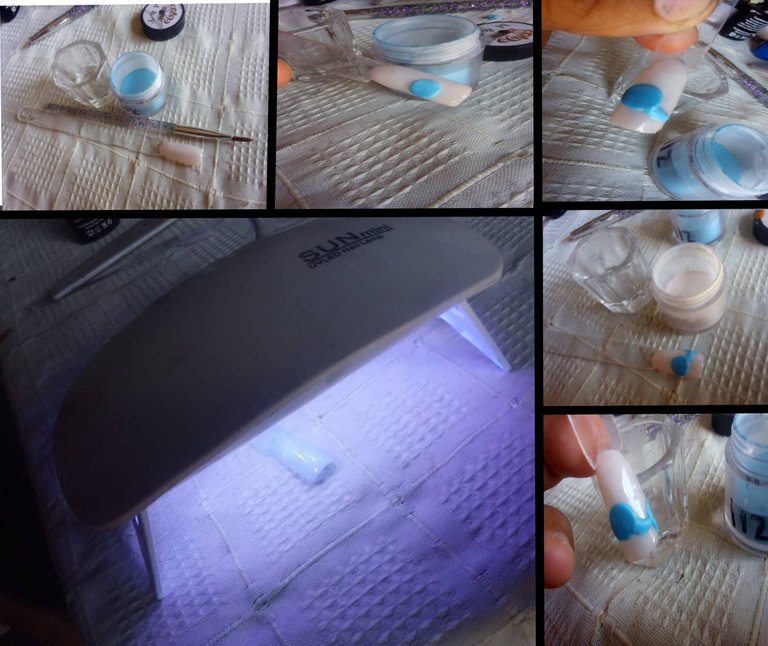
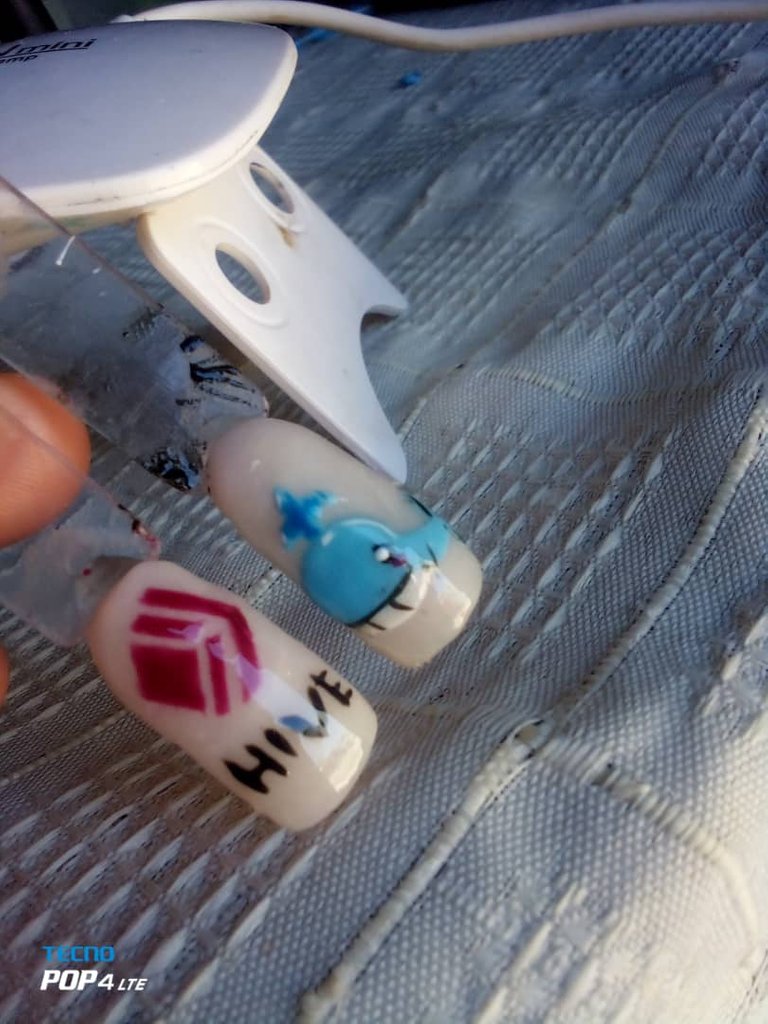
- Con el acrílico azul fui formando pequeñas perlas y colocando la sobre la uña preparada en la siguiente imagen pueden observar como fui dándole forma a la ballena
With the blue acrylic I was forming small pearls and placing it on the prepared nail in the following image you can see how I was shaping the whale
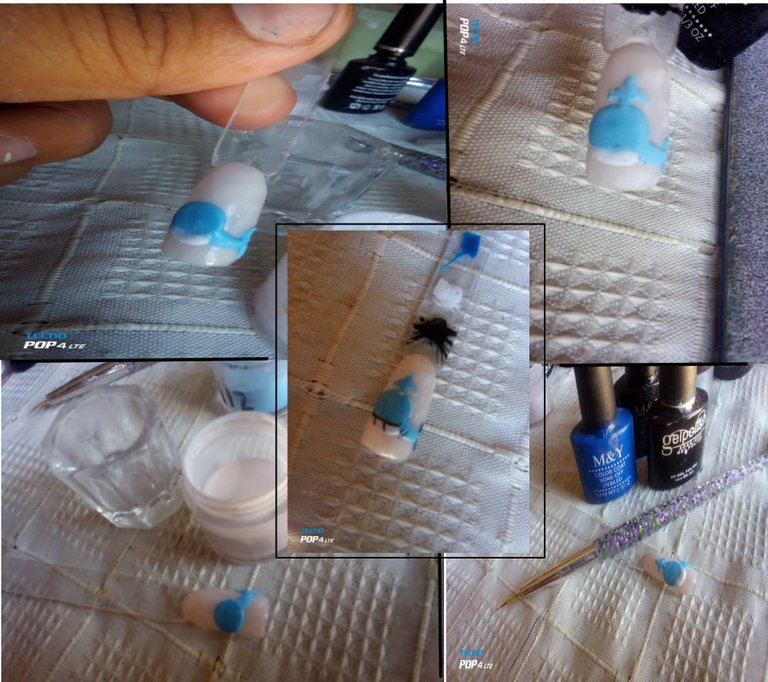
- seguido de esto con las pinturas Semipermanente y con un pincel de cerda finas, empecé con la mano alzada para darle unos detalles extras
followed by this with the Semi-permanent paints and with a fine bristle brush, I started with freehand to give it some extra details

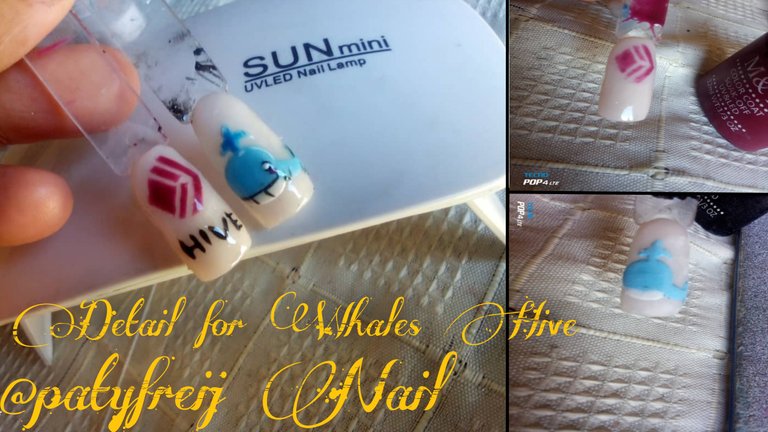
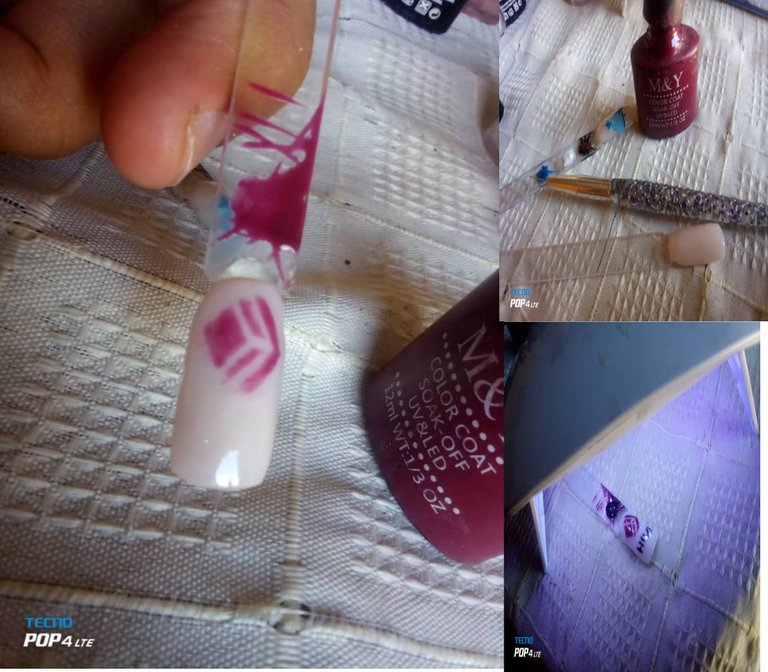
- Con la segunda uña qué sé vio en las primeras fotos es donde realice el logo de hive, primero se aplica una capa para hacer la forma y luego una segunda capa de semipermanente para más color, luego las líneas del nombre hive y para terminar se le coloca finis y se lleva a curar en lámpara
With the second nail what I saw in the first photos is where I made the hive logo, first a layer is applied to make the shape and then a second layer of semi-permanent for more color, then the lines of the hive name and to finish it Place finis and take to cure in lamp
Y este fui mi resultado final, espero pronto plasmarlo en mis manos
And this was my final result, I hope to get it in my hands soon
So cute 🥰