[ESP-ENG] Una hermosa boina | A beautiful beret
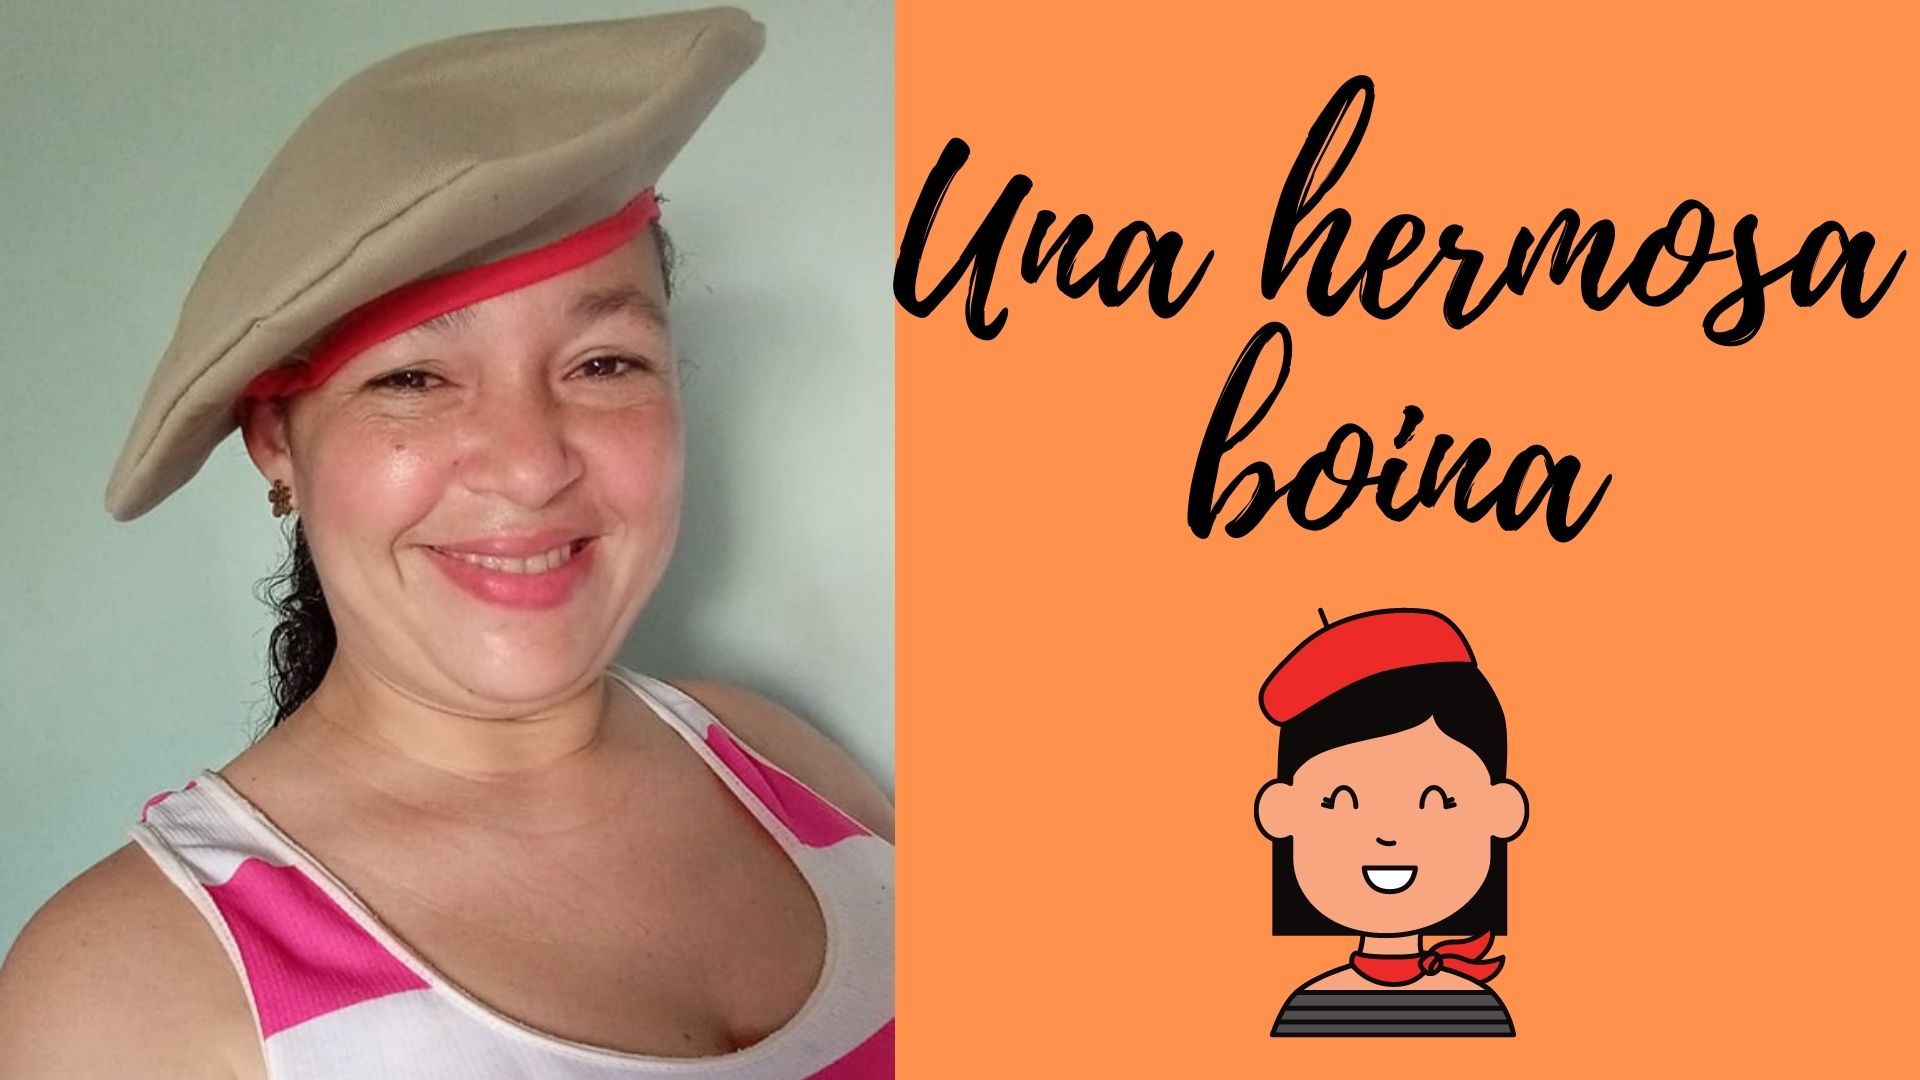
A big hug for this great family, I hope you are very well I want to share a beautiful beret that I made with scraps of fabric, berets used to be used or are usually used to protect the head from the cold but today we usually use it to go for a walk and to give a different touch to our style. Let's see the step by step.

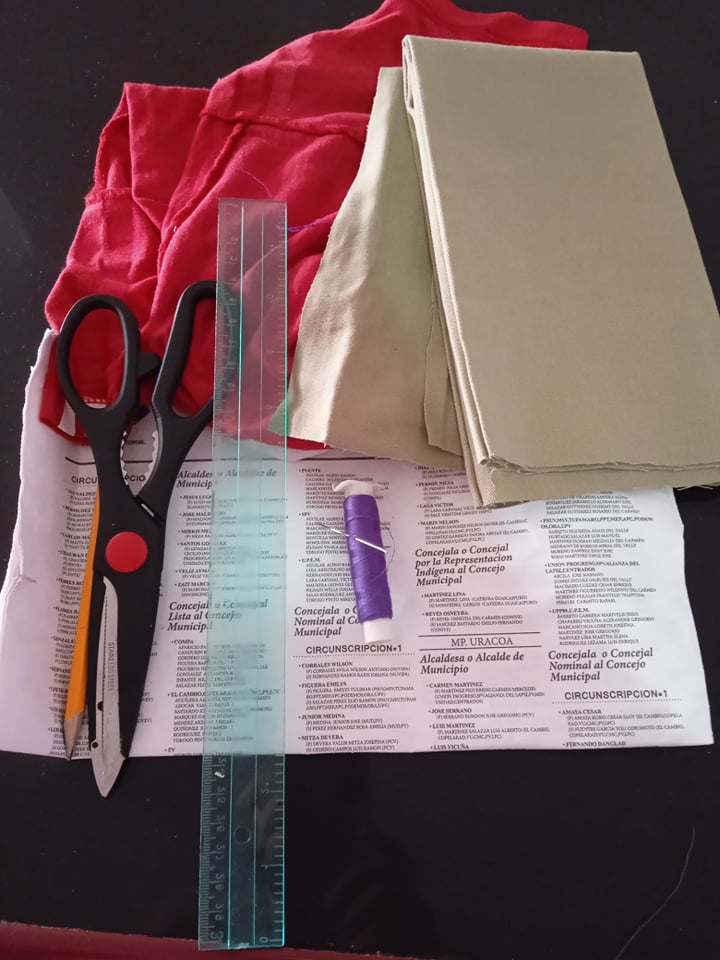
- Los materiales a utilizar son:
- Retazos de tela.
- Hoja de reciclaje.
- Lápiz.
- Hilo y aguja de coser.
- Tijeras.
- Regla.
- The materials to be used are:
- Fabric scraps.
- Recycling sheet.
- Pencil.
- Thread and sewing needle.
- Scissors.
- Ruler.

.jpg)
- Paso 1: Primeramente hacemos el patrón de la boina, doblamos la hoja de reciclaje y marcamos el centro de la hoja, luego medimos 9 cm a la izquierda y 9 cm a la derecho, 15 cm hacia arriba empezando desde el punto del medio.
- Step 1: First we make the pattern of the beret, fold the recycling sheet and mark the center of the sheet, then we measure 9 cm to the left and 9 cm to the right, 15 cm upwards starting from the middle point.

.jpg)
- Paso 2: Luego que tenemos los puntos marcados, los unimos haciendo un semicirculo, luego alrededor de este semicirculo marcamos 6 cm de cada lado hasta formar otro semicirculo aún más grande que el primero, recortamos, el patrón deberá quedar como muestra la tercera imágen.
- Step 2: After we have the points marked, we join them making a semicircle, then around this semicircle we mark 6 cm on each side to form another semicircle even larger than the first one, cut, the pattern should be as shown in the third image.

.jpg)
- Paso 3: Al abrir el patrón nos quedará como la primera imágen, luego lo colocamos sobre la tela y marcamos dejando 1 cm de espacio.
- Step 3: When we open the pattern it will look like the first image, then we place it on the fabric and mark leaving 1 cm of space.

.jpg)
- Paso 4: Debemos sacar dos partes, una sin el centro del medio y la otra parte debe ser completa, una vez que las tenemos cortadas, las colocamos derecho con derecho y la cosemos por toda la orilla.
- Step 4: We must take out two parts, one without the center of the middle and the other part must be complete, once we have them cut, we place them right sides together and sew all around the edge.

.jpg)
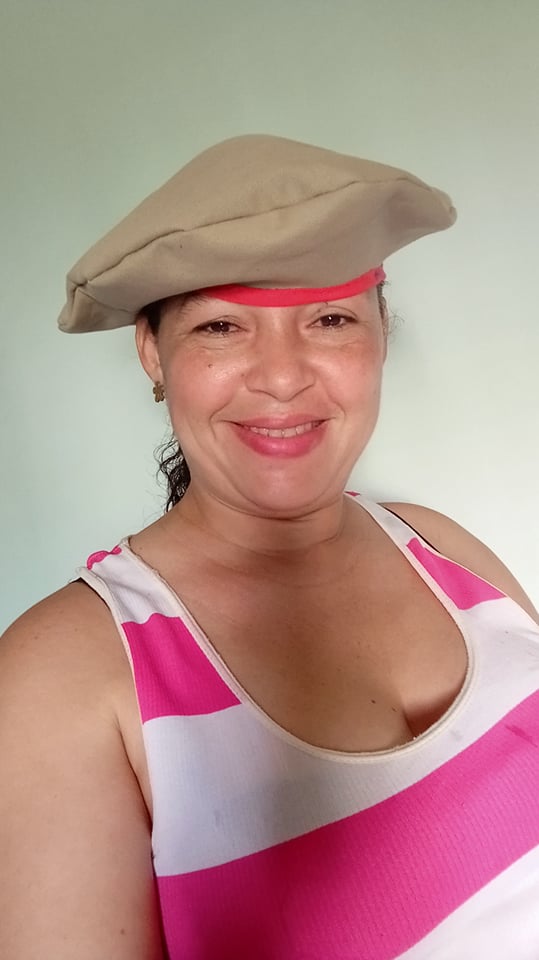
- Paso 5: Una vez que ya tenemos toda la orilla cosida, procedemos a recortar del otro retazo de tela una tira de 2 cm de ancho y la cosemos en la orilla de la boina pero en la parte por donde meteremos la cabeza, y así tendremos lista nuestra boina.
- Step 5: Once we have all the border sewn, we proceed to cut from the other piece of fabric a strip of 2 cm wide and sew it on the border of the beret but in the part where we will put the head, and so we will have our beret ready.








0
0
0.000
¡Felicitaciones!
1. Invierte en el PROYECTO ENTROPÍA y recibe ganancias semanalmente. Entra aquí para más información.
3. Suscríbete a nuestra COMUNIDAD, apoya al trail de @Entropia y así podrás ganar recompensas de curación de forma automática. Entra aquí para más información sobre nuestro trail.
4. Creación de cuentas nuevas de Hive aquí.
5. Visita nuestro canal de Youtube.
Atentamente
El equipo de curación del PROYECTO ENTROPÍA
Muchas gracias por el apoyo, saludos.
Wow @yannet80 this is truly beautiful thanks for sharing
My dear friend, thank you very much, I really appreciate your comments, God bless you.