[ESP-ENG] Linda cartuchera de jeans | Cute denim pencil case
Greetings to everyone, today I want to share a nice pencil case made with a piece of jeans fabric, pencil cases are ideal for storing our pencils, colors, markers, pencil sharpeners, etc, and thus avoid having them scattered anywhere, here is the step by step.
.jpg)
- Los materiales a utilizar son.
- Retazos de tela.
- Tijera.
- Hilo de coser.
- Aguja de coser.
- Cierre.
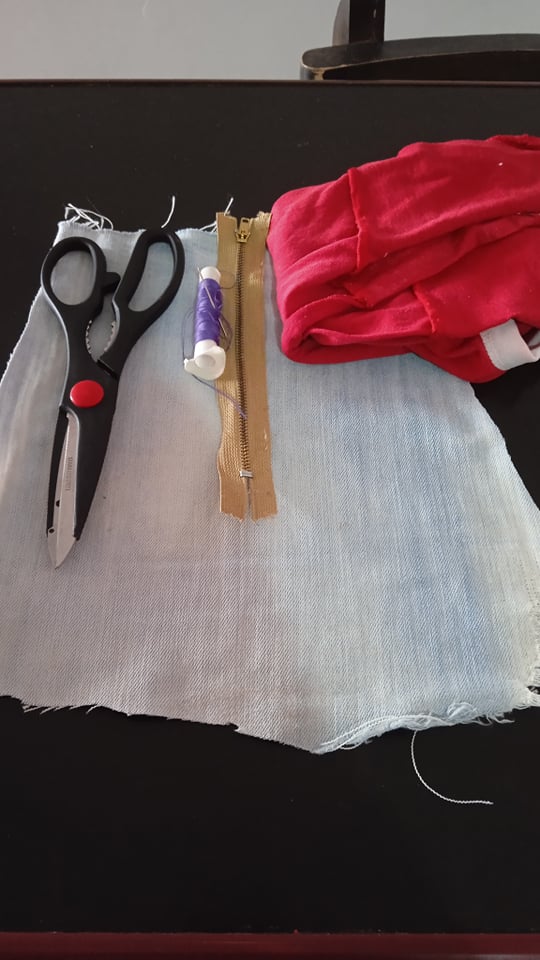
- The materials to be used are.
- Fabric scraps.
- Scissors.
- Sewing thread.
- Sewing needle.
- Closure.
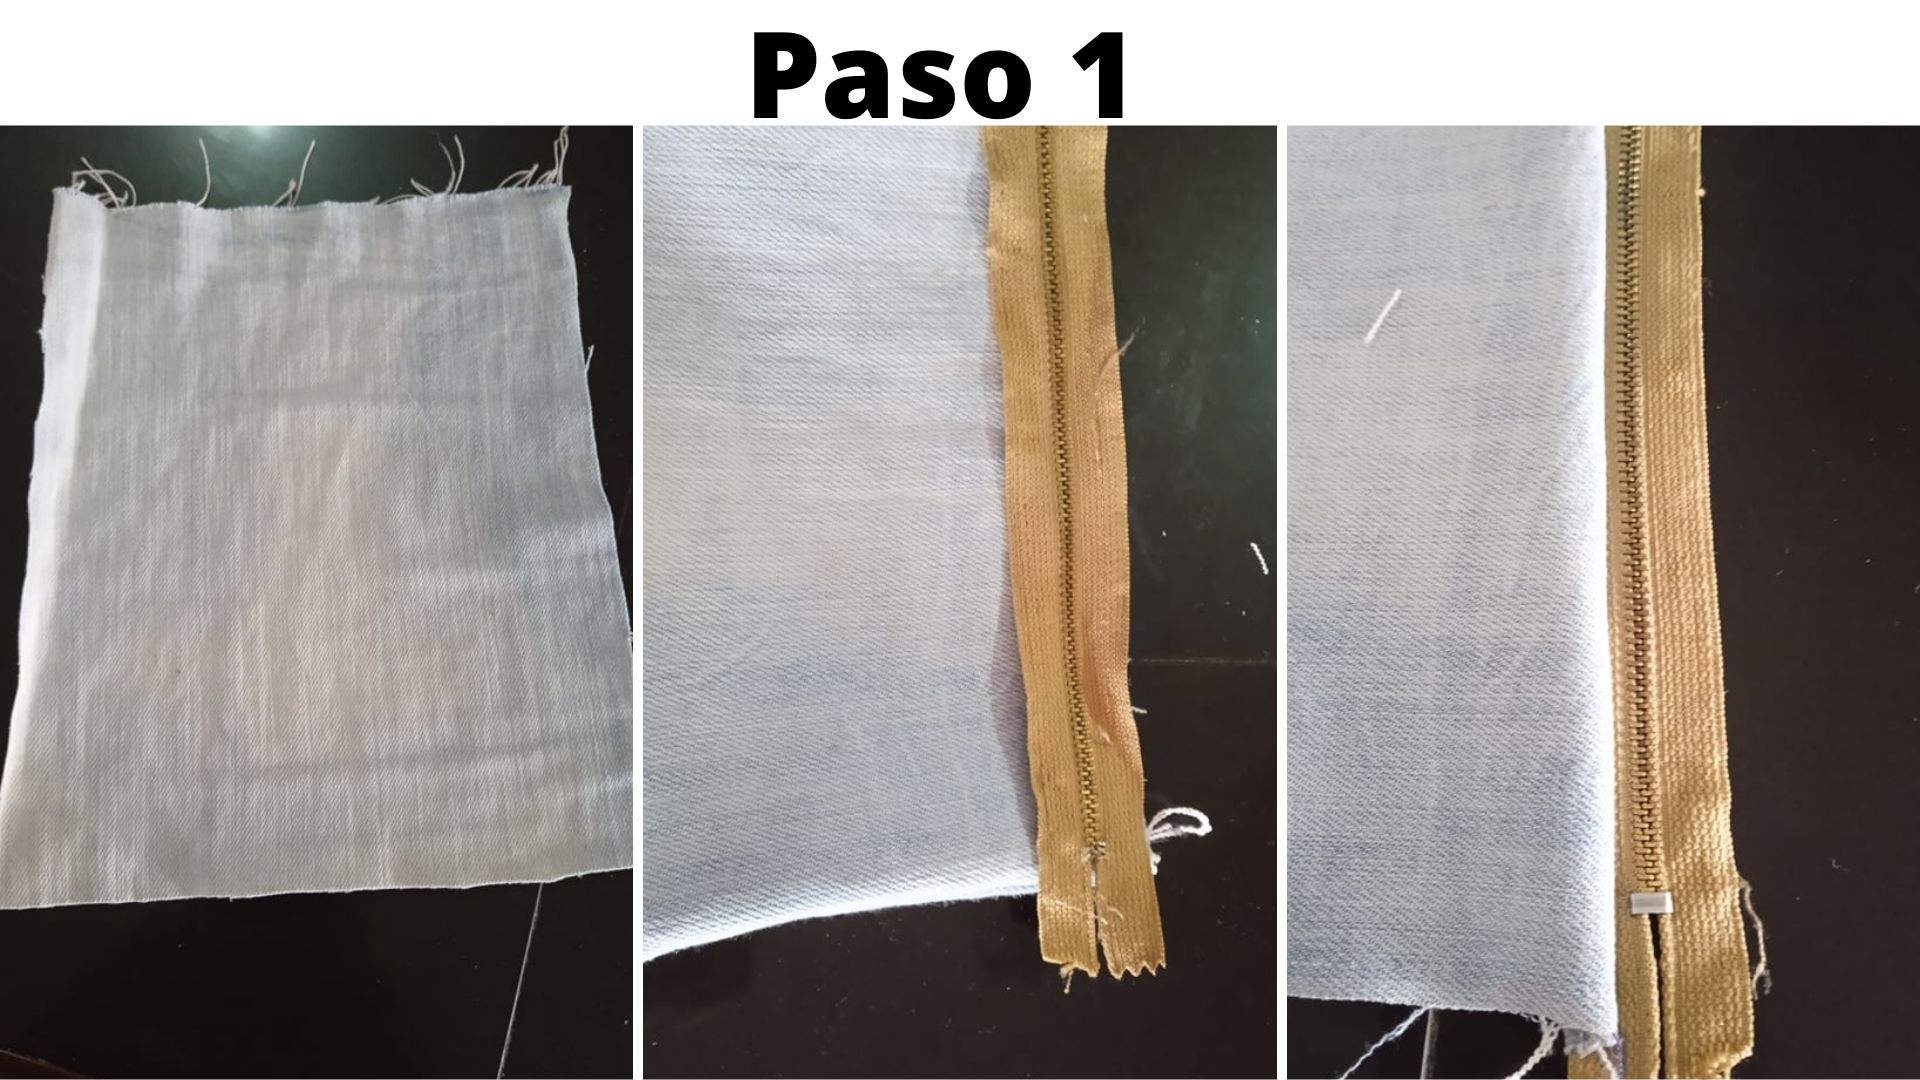
- Paso 1: Primeramente cortamos el retazo de tela de jean, a la misma anchura que el cierre, y por supuesto el largo de su preferencia, colocamos el cierre al revés sobre la parte superior del retazo de tela y cosemos por toda la orilla, deberá quedar como muestra ta tercera imágen.
- Step 1: First cut a piece of jean fabric to the same width as the zipper, and of course the length of your preference, place the zipper upside down on the top of the fabric and sew along the edge, it should look like the third image shows.
.jpg)
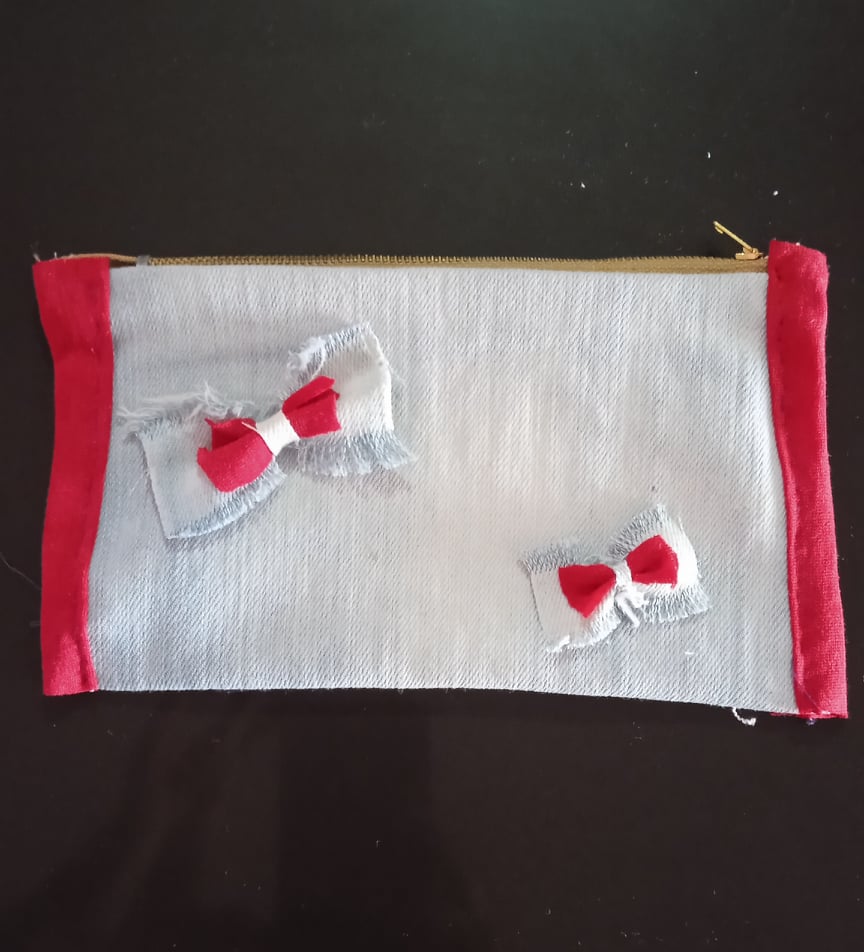
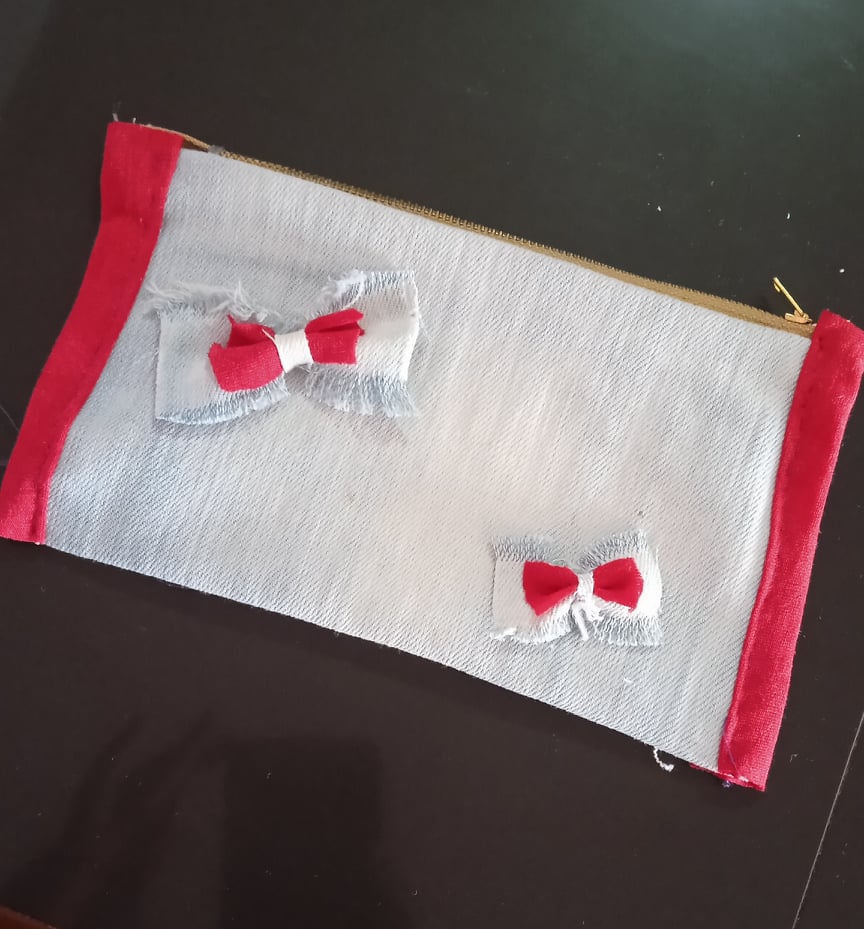
- Paso 2: Luego de haber cosido el cierre en una parte de la tela, lo colocamos sobre la otra parte del lado al revés igual que la primera vez y cosemos, una vez cosido todo, volteamos del lado derecho, agarramos una tira del retazo de tela de otro color, colocamos en las orillas tanto derecha como izquierda y cosemos.
- Step 2: After sewing the zipper on one part of the fabric, we place it on the other part of the wrong side as the first time and sew, once all sewn, we turn it right side out, take a strip of the fabric of another color, place it on the right and left edges and sew.
.jpg)
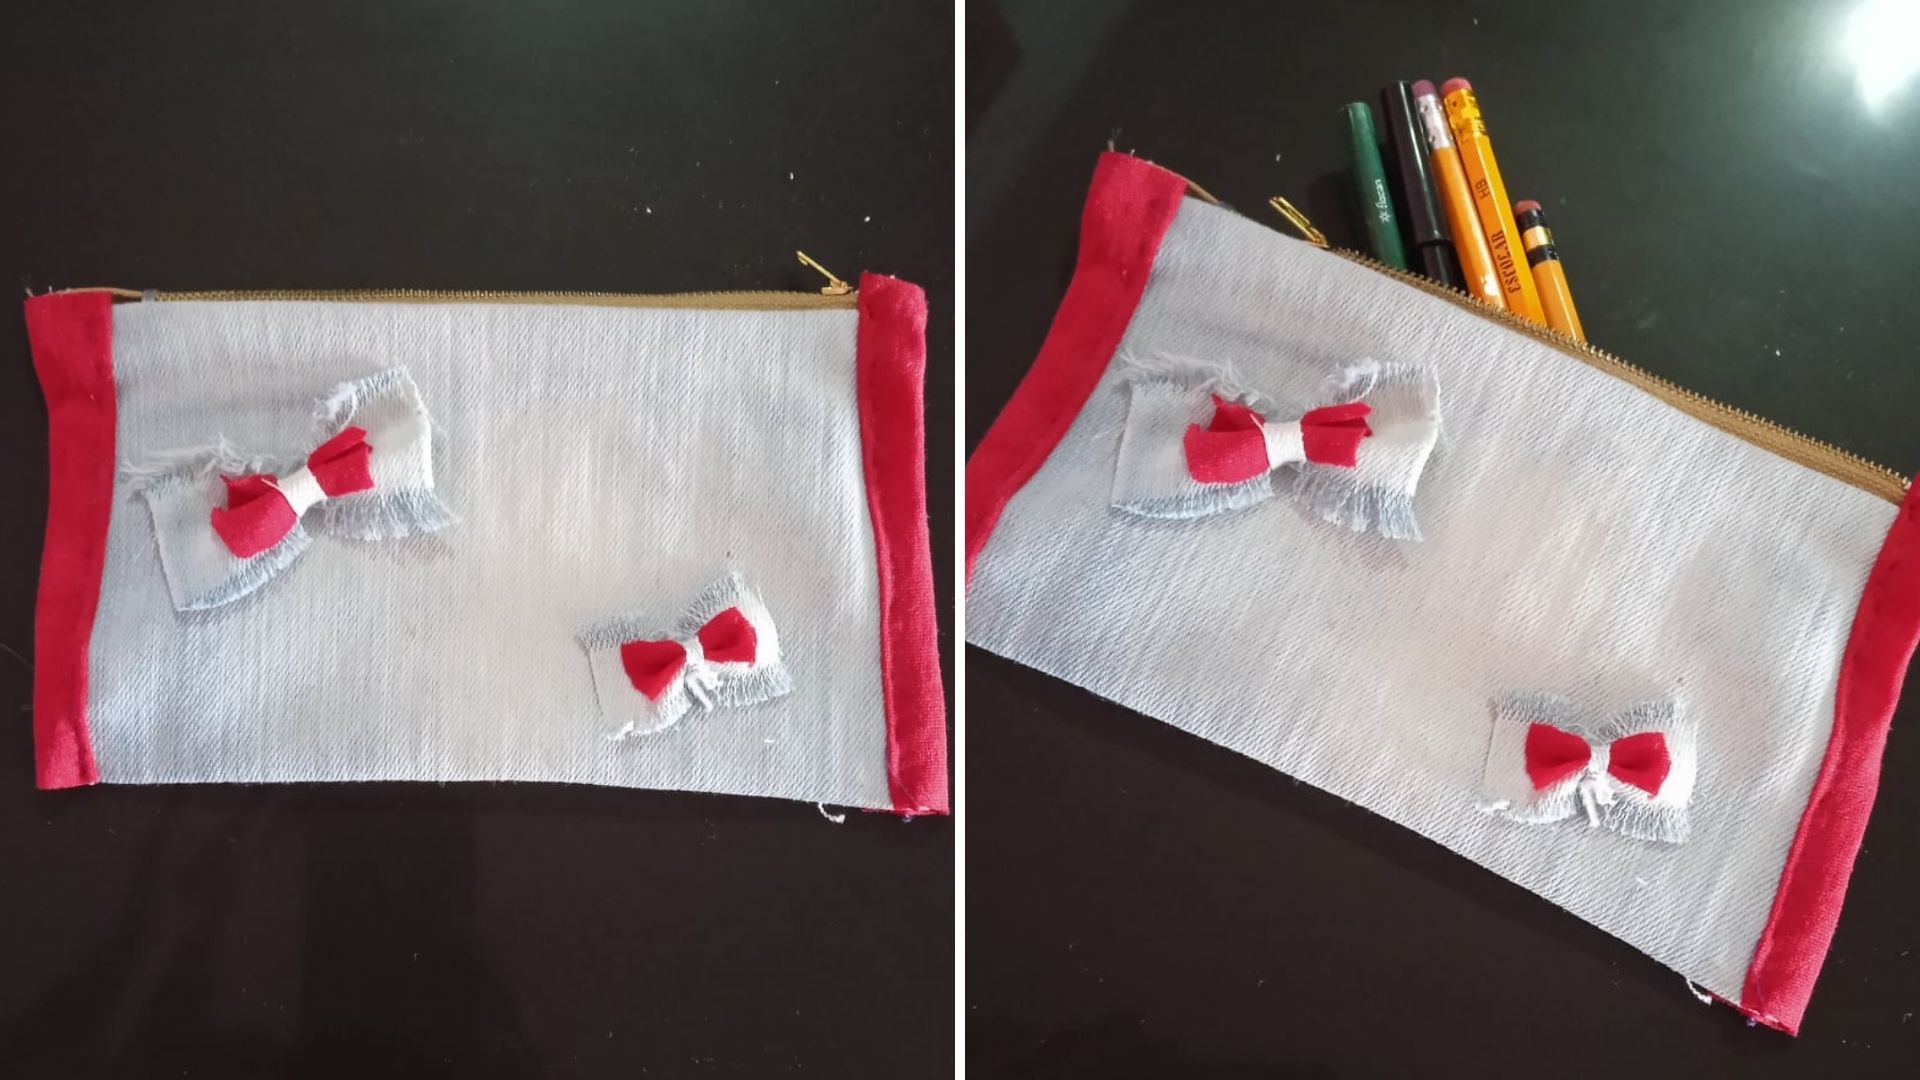
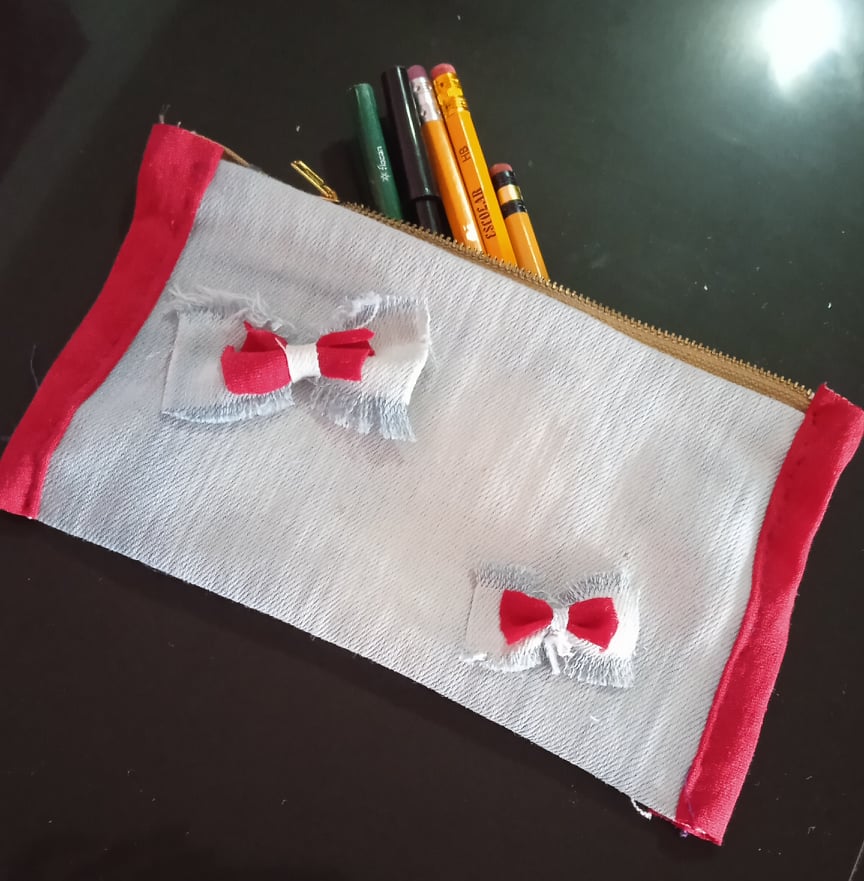
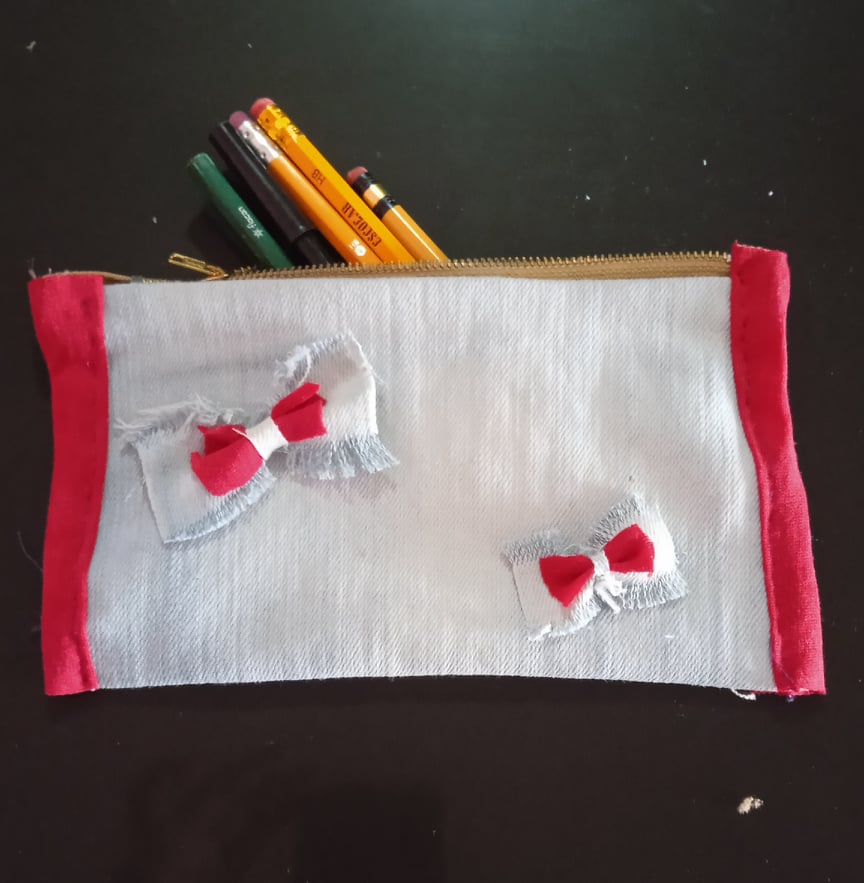
- Paso 3: Una vez cosida la tira en los extremos de la cartuchera, hacemos un lazo del mismo color y pegamos, usted lo puede decorar como prefiera, todo es cuestión de gusto.
- Step 3: Once the strip is sewn at the ends of the pencil case, we make a bow of the same color and glue it, you can decorate it as you prefer, everything is a matter of taste.

0
0
0.000
Wow at first I thought it was a wedding card or something 😂 but it's really nice
Ha, ha, ha, ha thank you very much for commenting, best regards.