[ESP-ENG] Hermoso y sencillo delantar | Beautiful and simple delantar

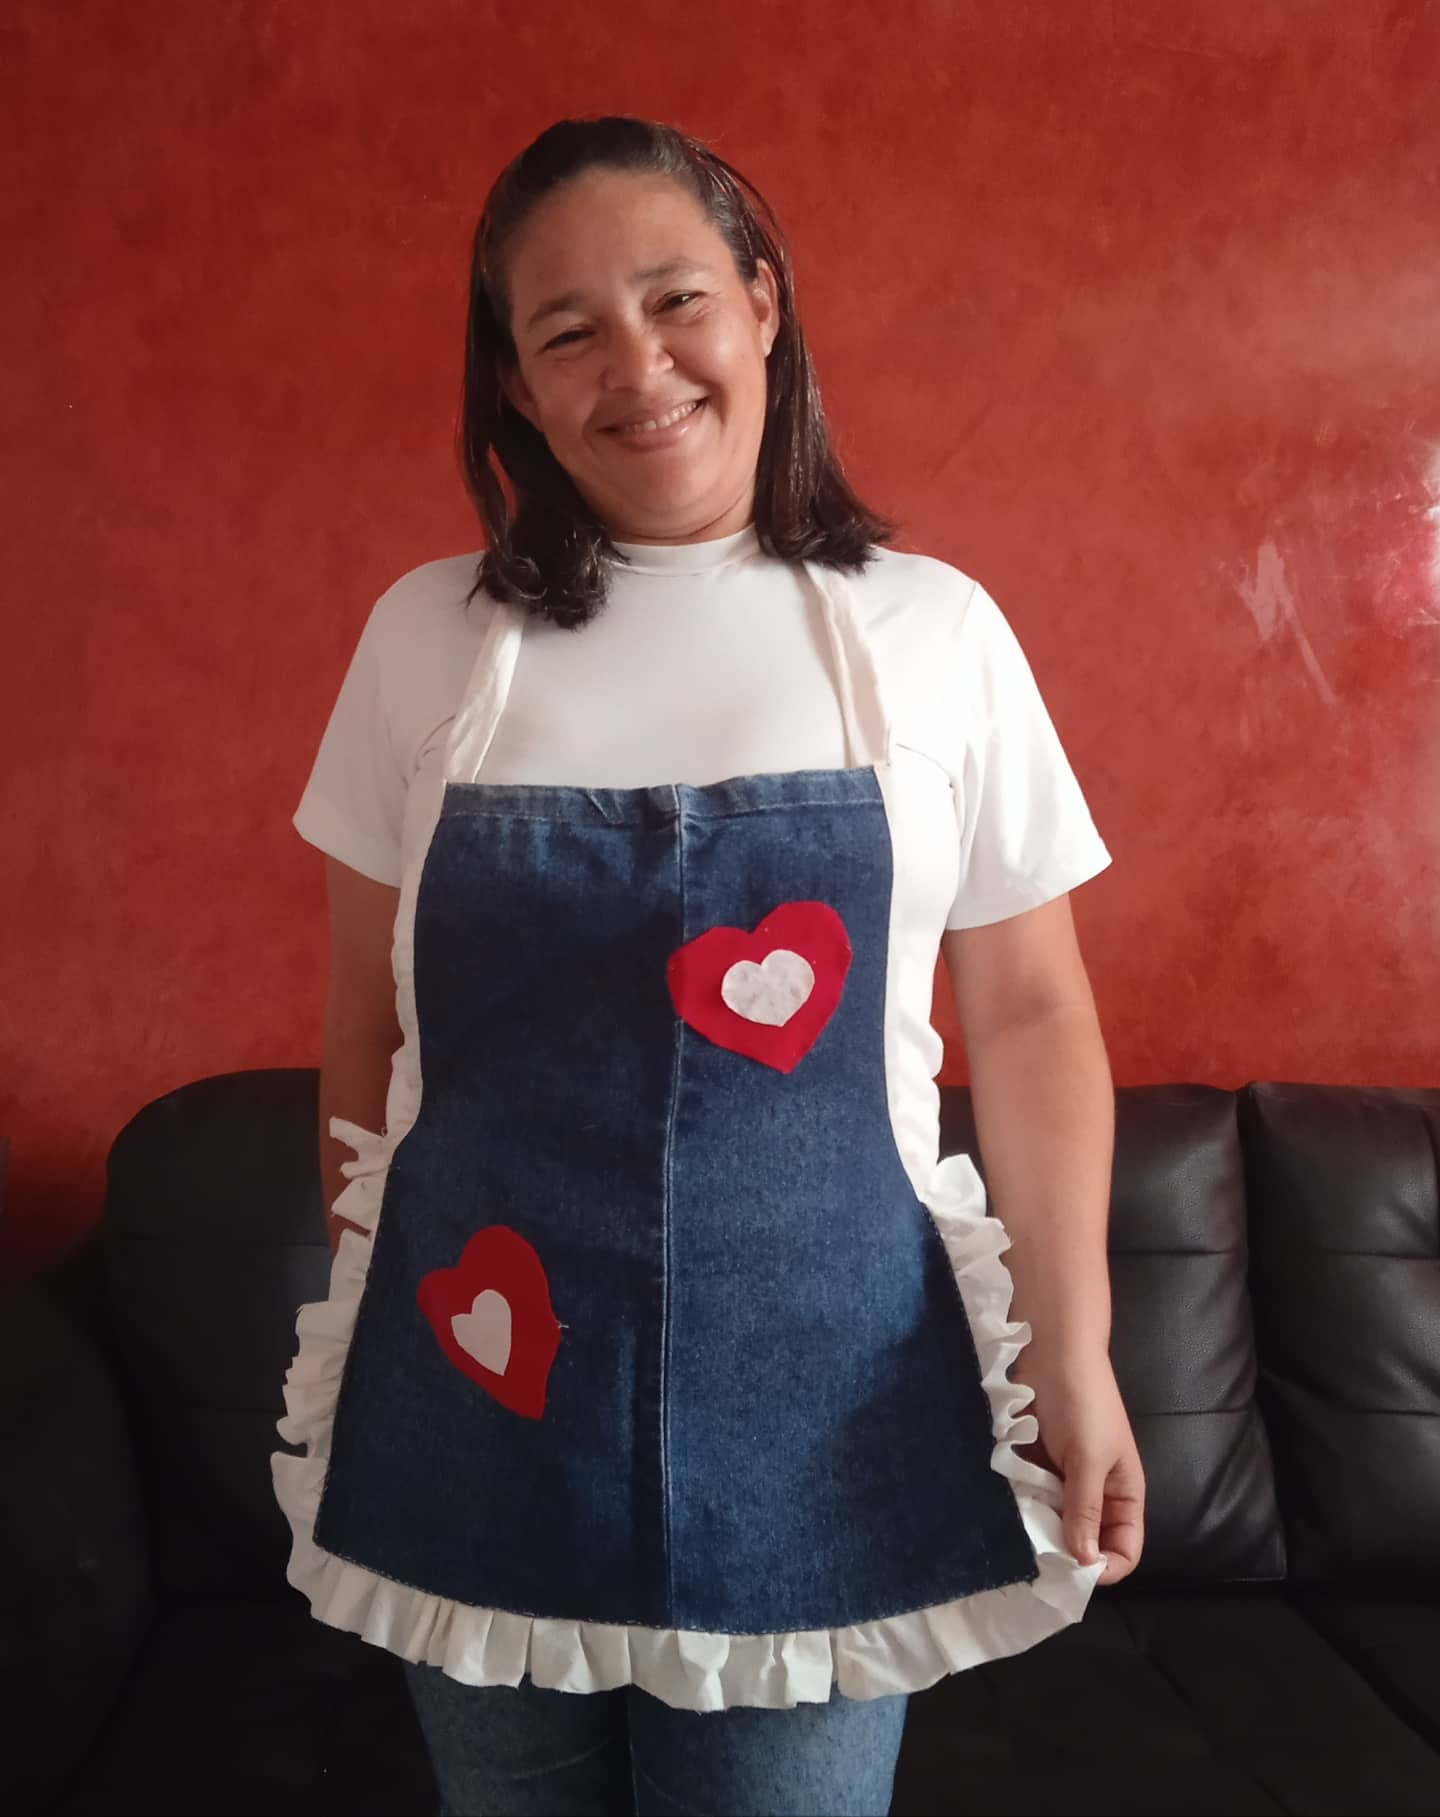
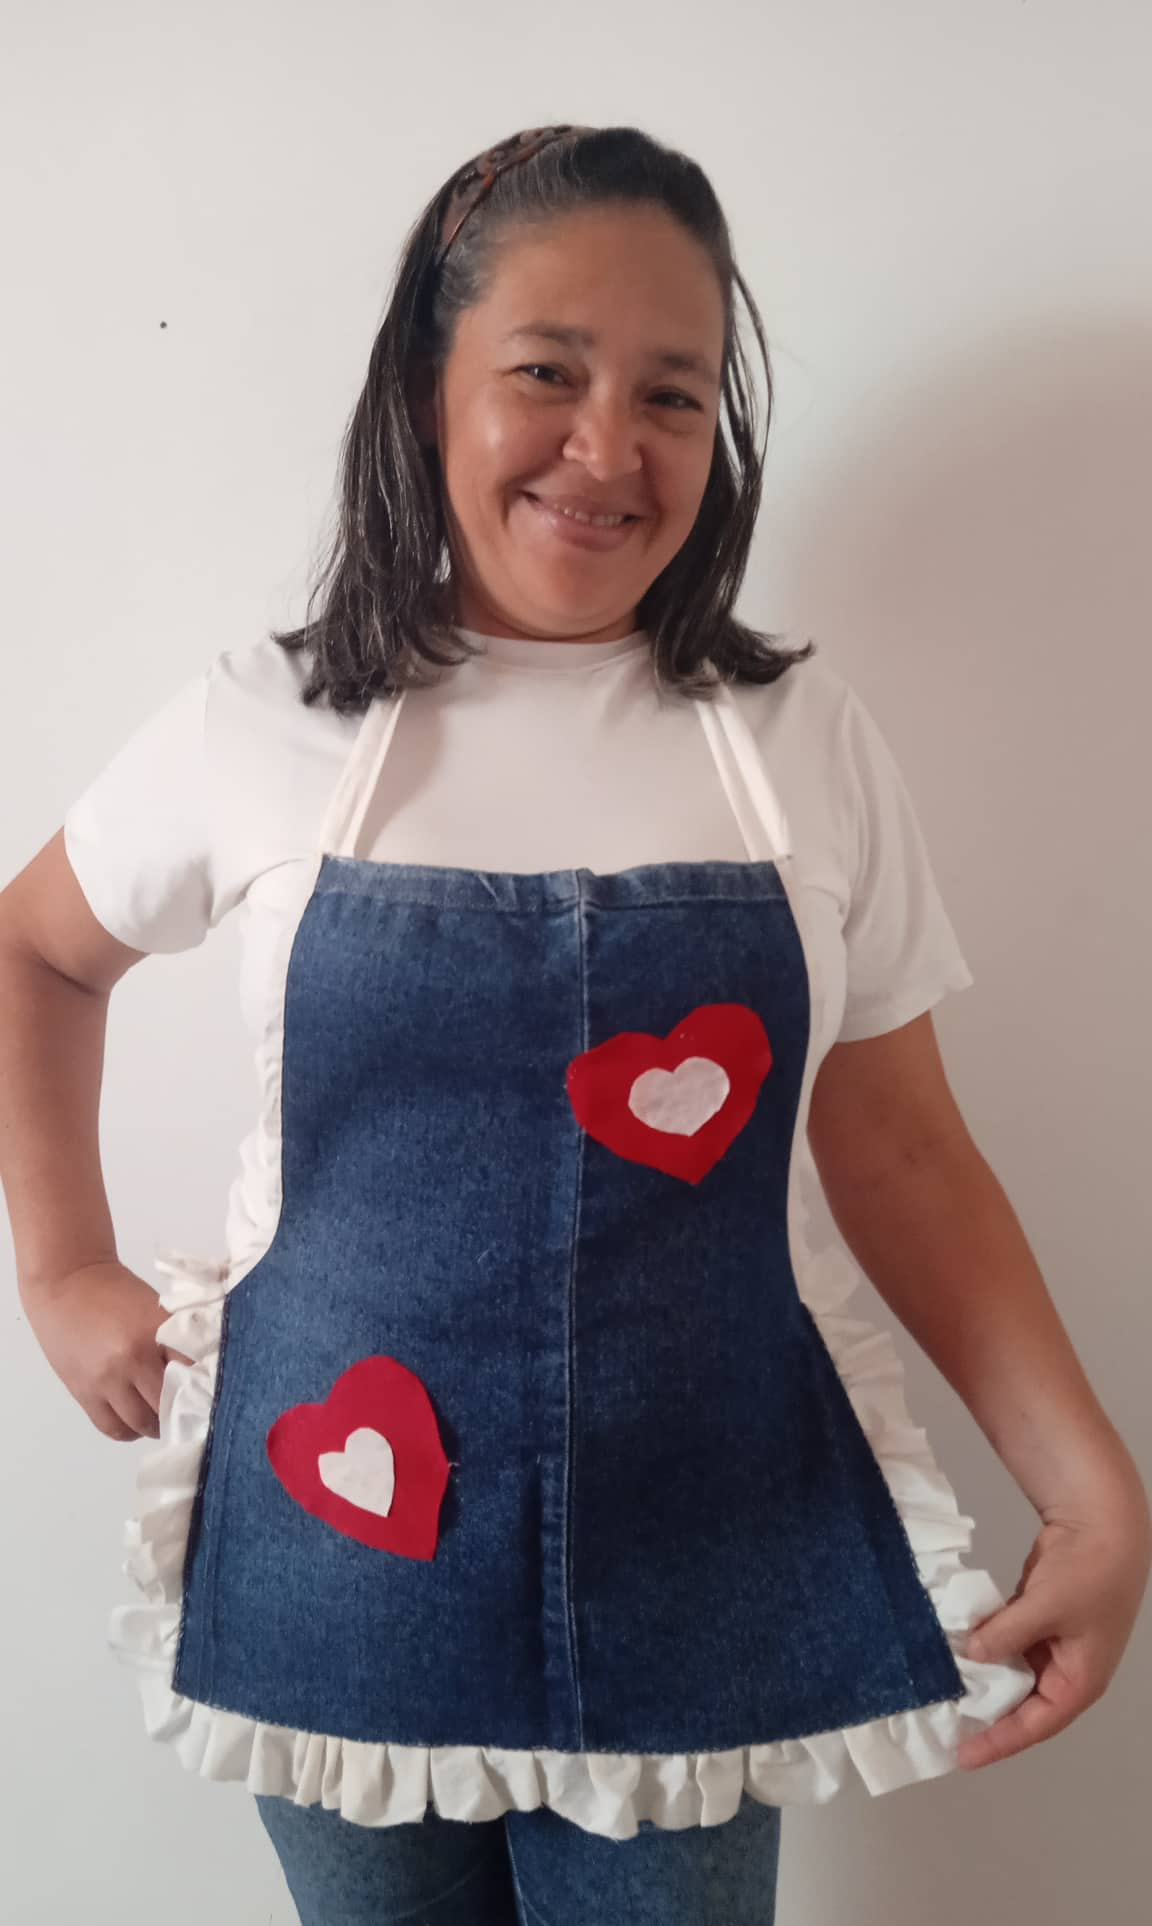
Happy beginning of the week, I hope you are well, once again sharing with all of you, this time I made a simple apron with a pant sleeve and with scraps of fabric, it is good to know what we can do to recycle, I had to cut a pant that was too long and I did not waste the opportunity to take advantage of the sleeve of the same, let's see the step by step.
.jpg)
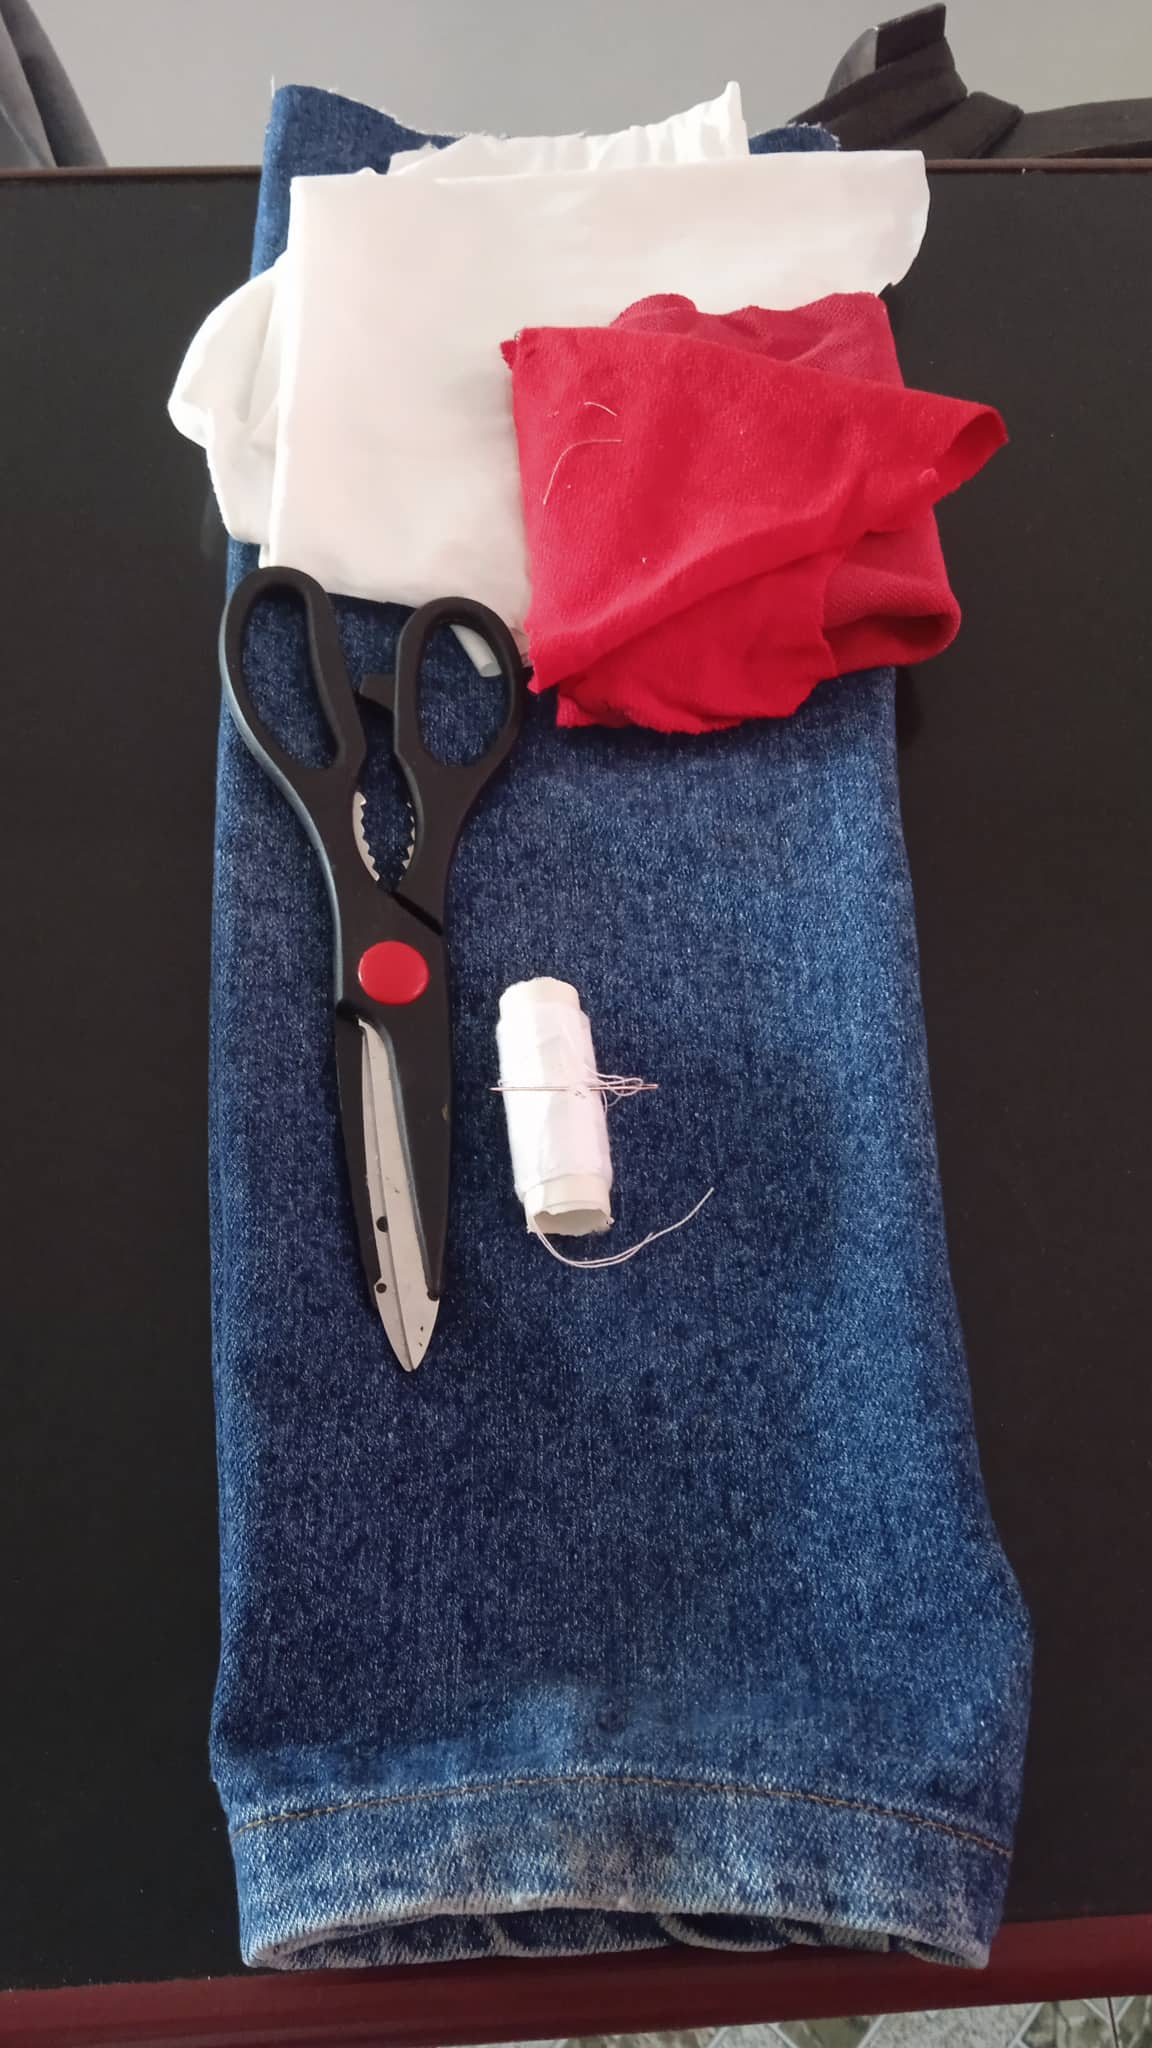
- Los materiales a utilizar son:
- 1 Manga de pantalón.
- Tijera.
- Retazos de teal blanco y rojo.
- Hilo y aguja de coser.
- The materials to be used are:
- 1 trouser sleeve.
- Scissors.
- Pieces of white and red teal.
- Thread and sewing needle.
.jpg)
.jpg)
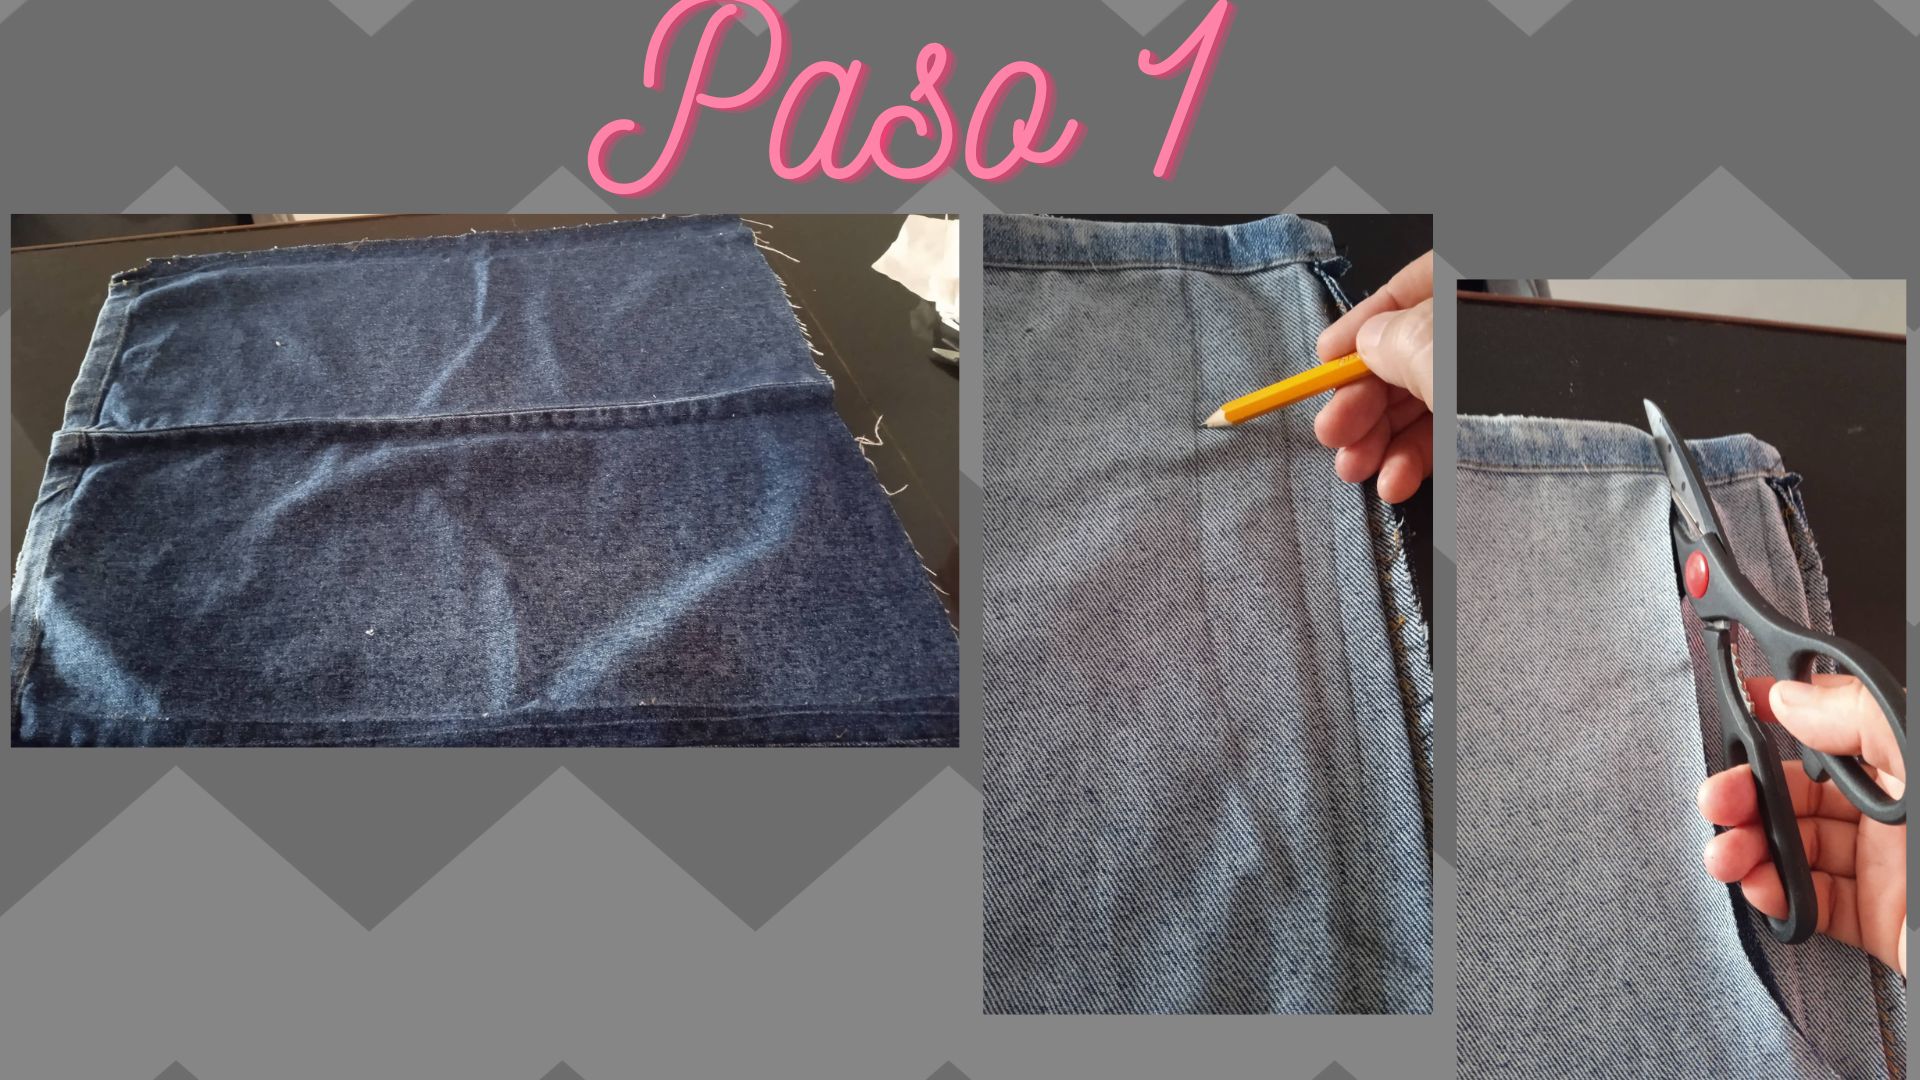
- Paso 1: Primero descosemos la manga quitando la costura de uno de los lados, luego doblamos del lado al revés y marcamos la forma del delantar, luego procedemos a recortar.
- Step 1: First unpick the sleeve by removing the seam on one side, then fold it inside out and mark the shape of the ruffle, then proceed to trimming.
.jpg)
.jpg)
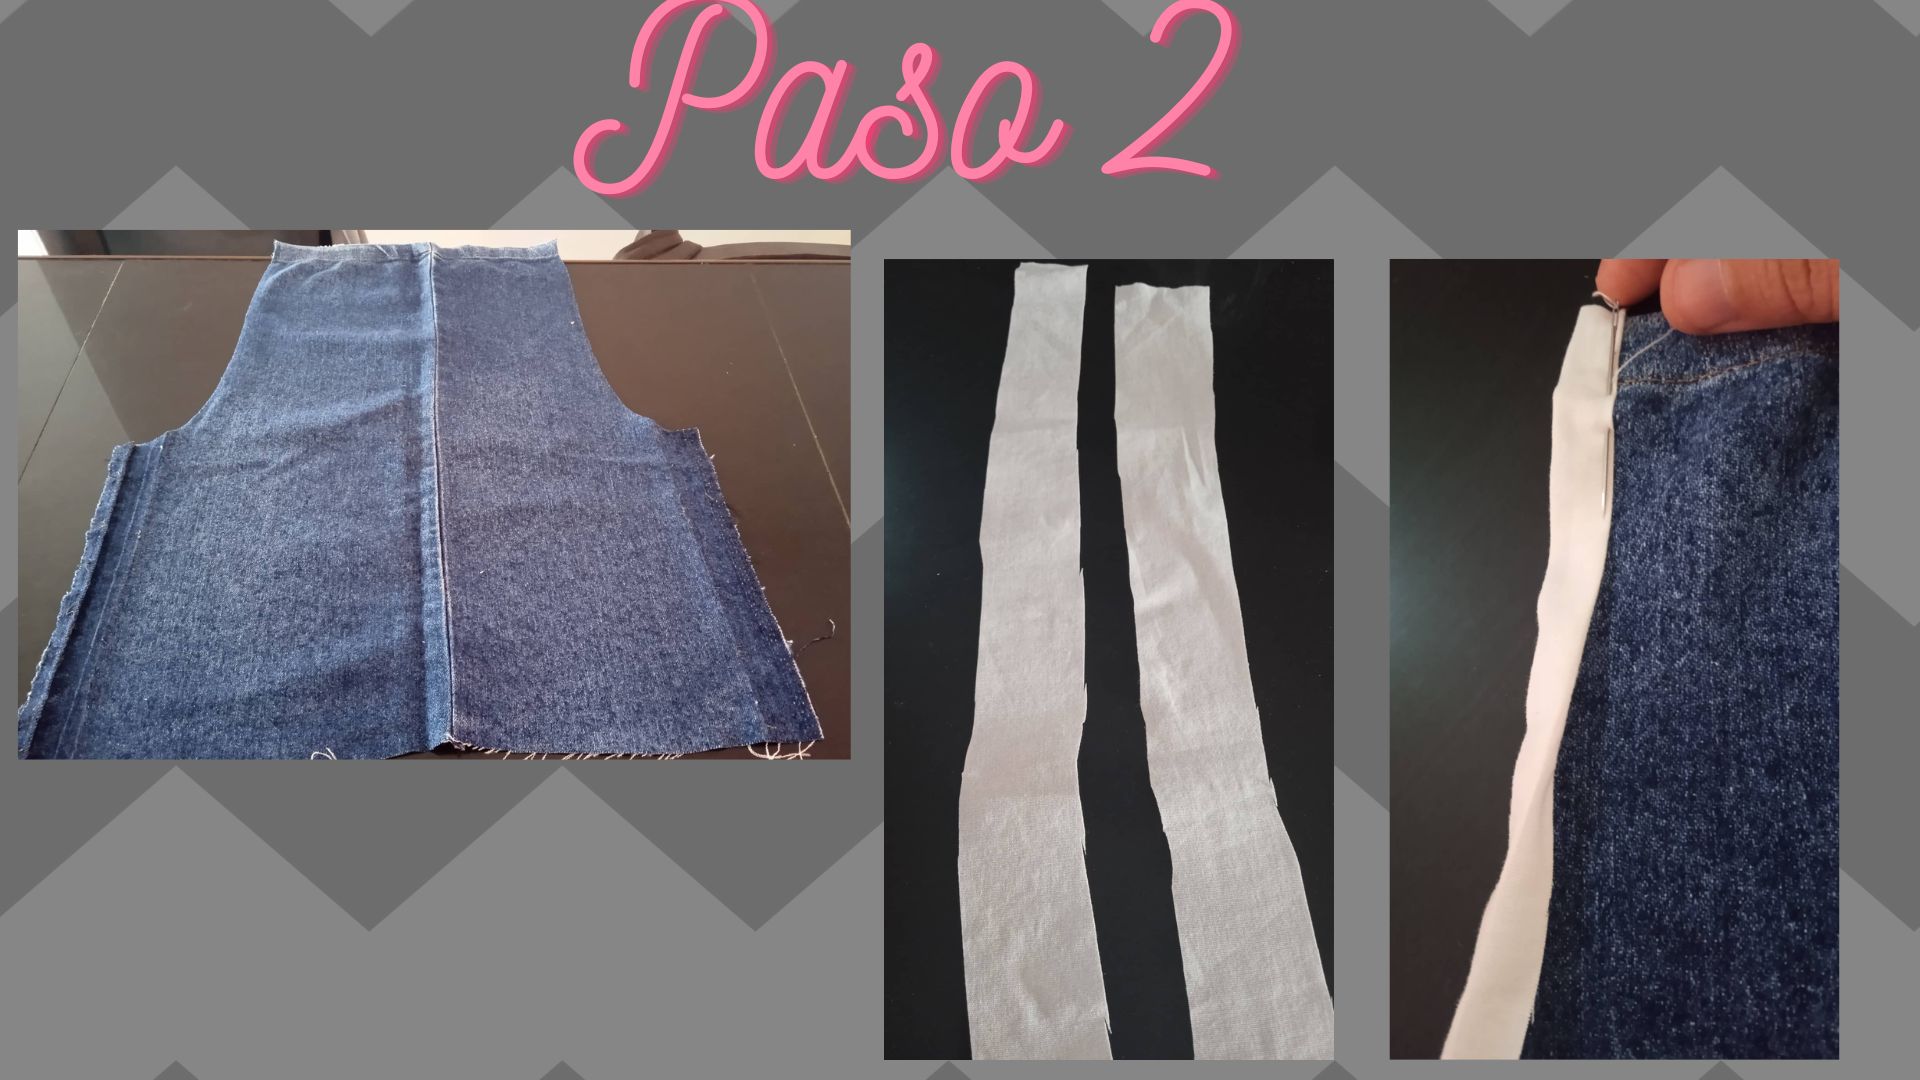
- Paso 2: Una vez obtenido la forma del delantar, recortamos 2 tiras blancas, las colocamos de uno de los extremos doblando un centímetro hacía adentro y cosemos, esto lo debemos hace en ambos extremos del delantar.
- Step 2: Once the shape of the ruffle is obtained, we cut 2 white strips, we place them on one of the ends folding one centimeter inwards and sew, this should be done on both ends of the ruffle.
.jpg)
.jpg)
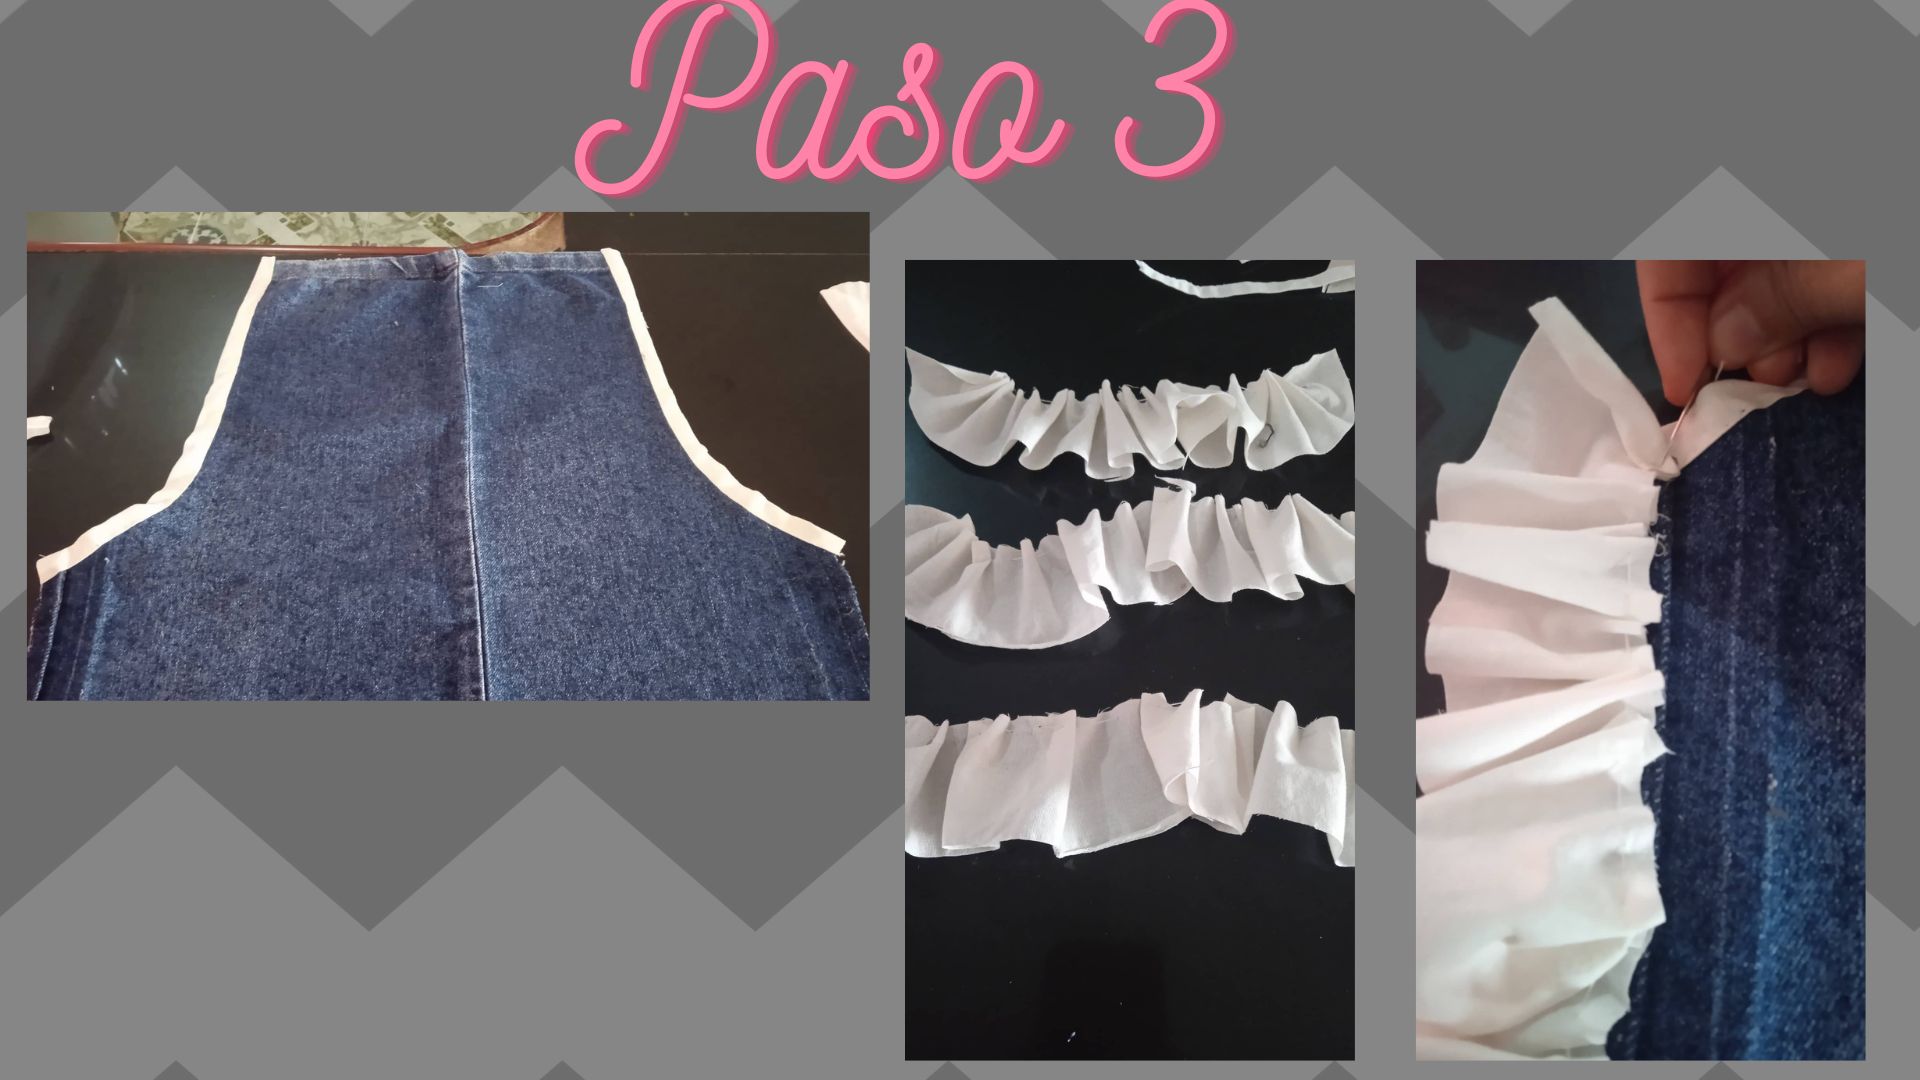
- Paso 3: Al coser las orillas de los extremos deberá quedar como muestra la primera imágen, luego recortamos varias tiras y las arruchamos, luego las cosemos en la parte de abajo del delantar por toda la orilla, quedando la orilla de las tiras debajo de la tela de jeans.
- Step 3: When sewing the edges of the ends should be as shown in the first image, then cut several strips and gather them together, then sew them at the bottom of the trimming along the edge, leaving the edge of the strips under the jeans fabric.
.jpg)
.jpg)
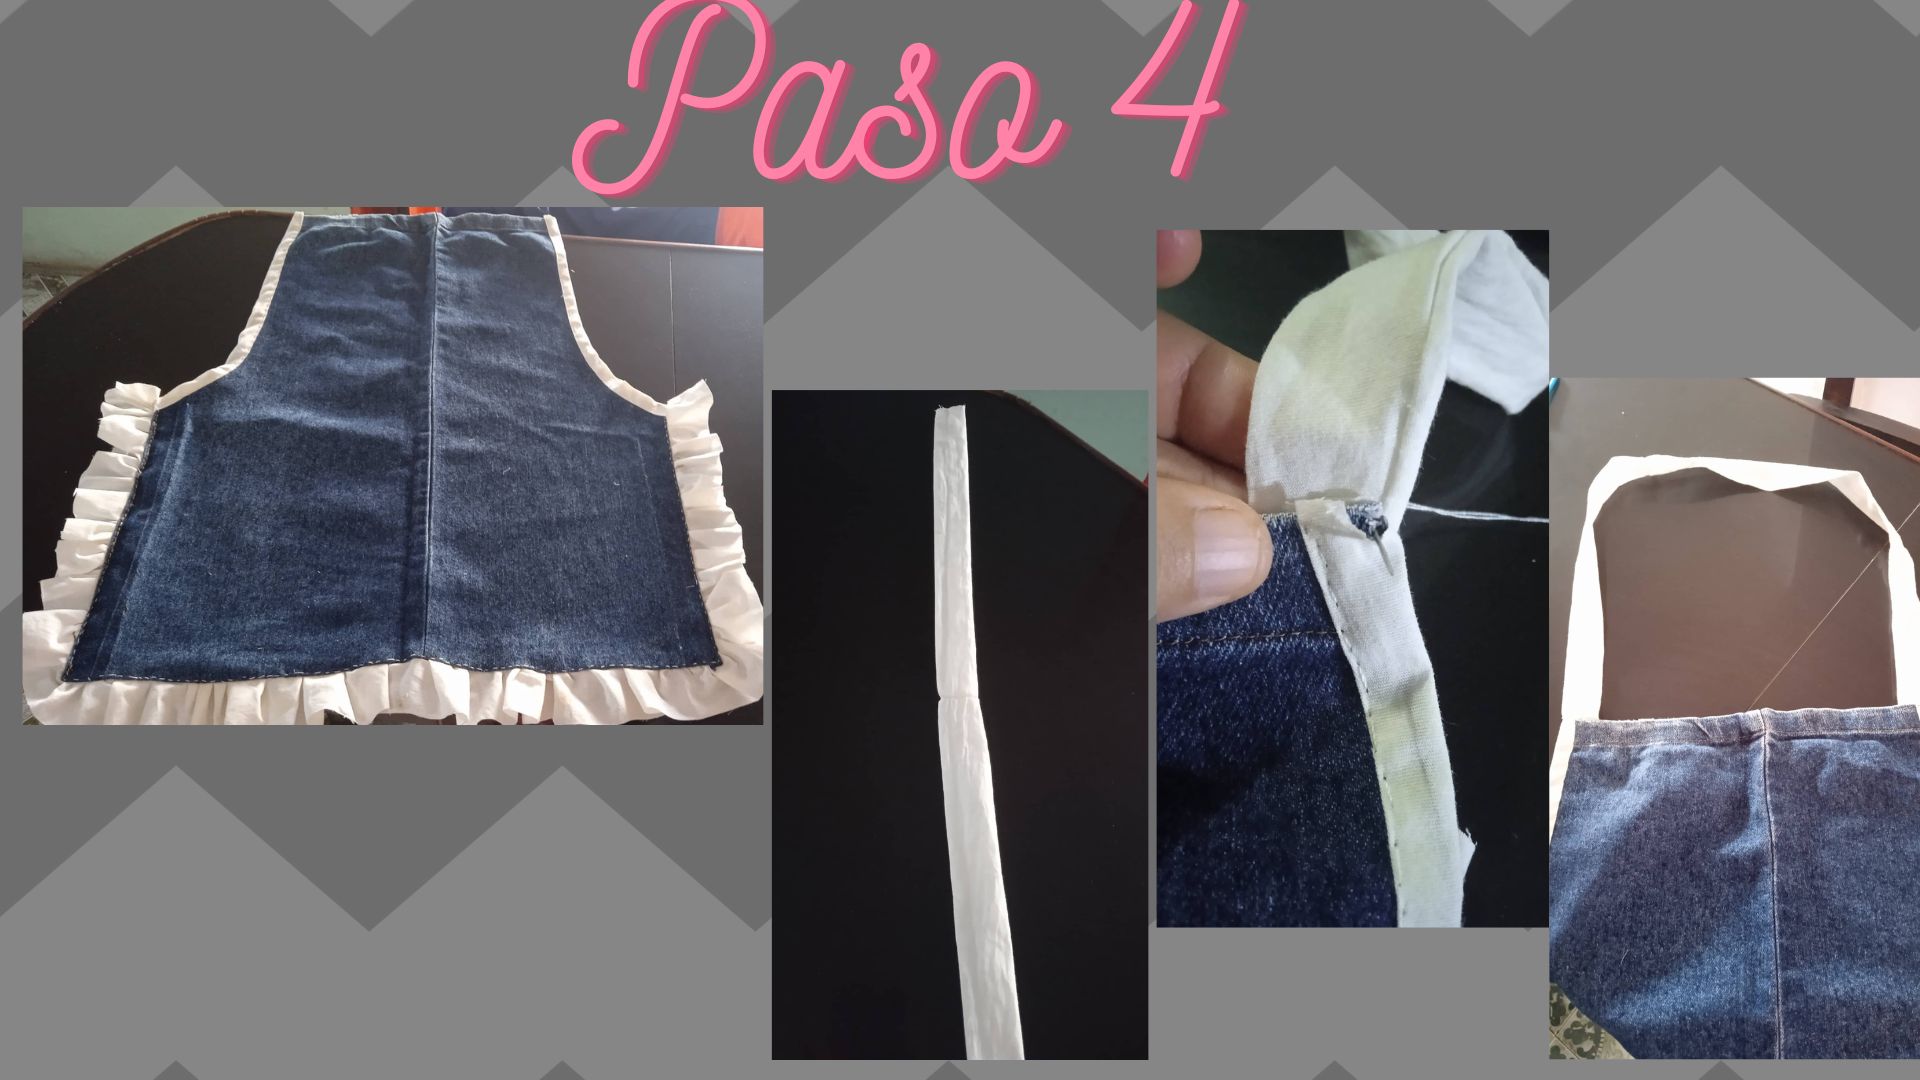
- Paso 4: Una vez cosida toda la orilla de la parte de abajo, recortamos una tira y la cosemos en la parte superior del delantar tal cual como muestra la última imágen.
- Step 4: Once the entire bottom edge is sewn, cut out a strip and sew it to the top of the ruffle as shown in the last picture.
.jpg)
.jpg)
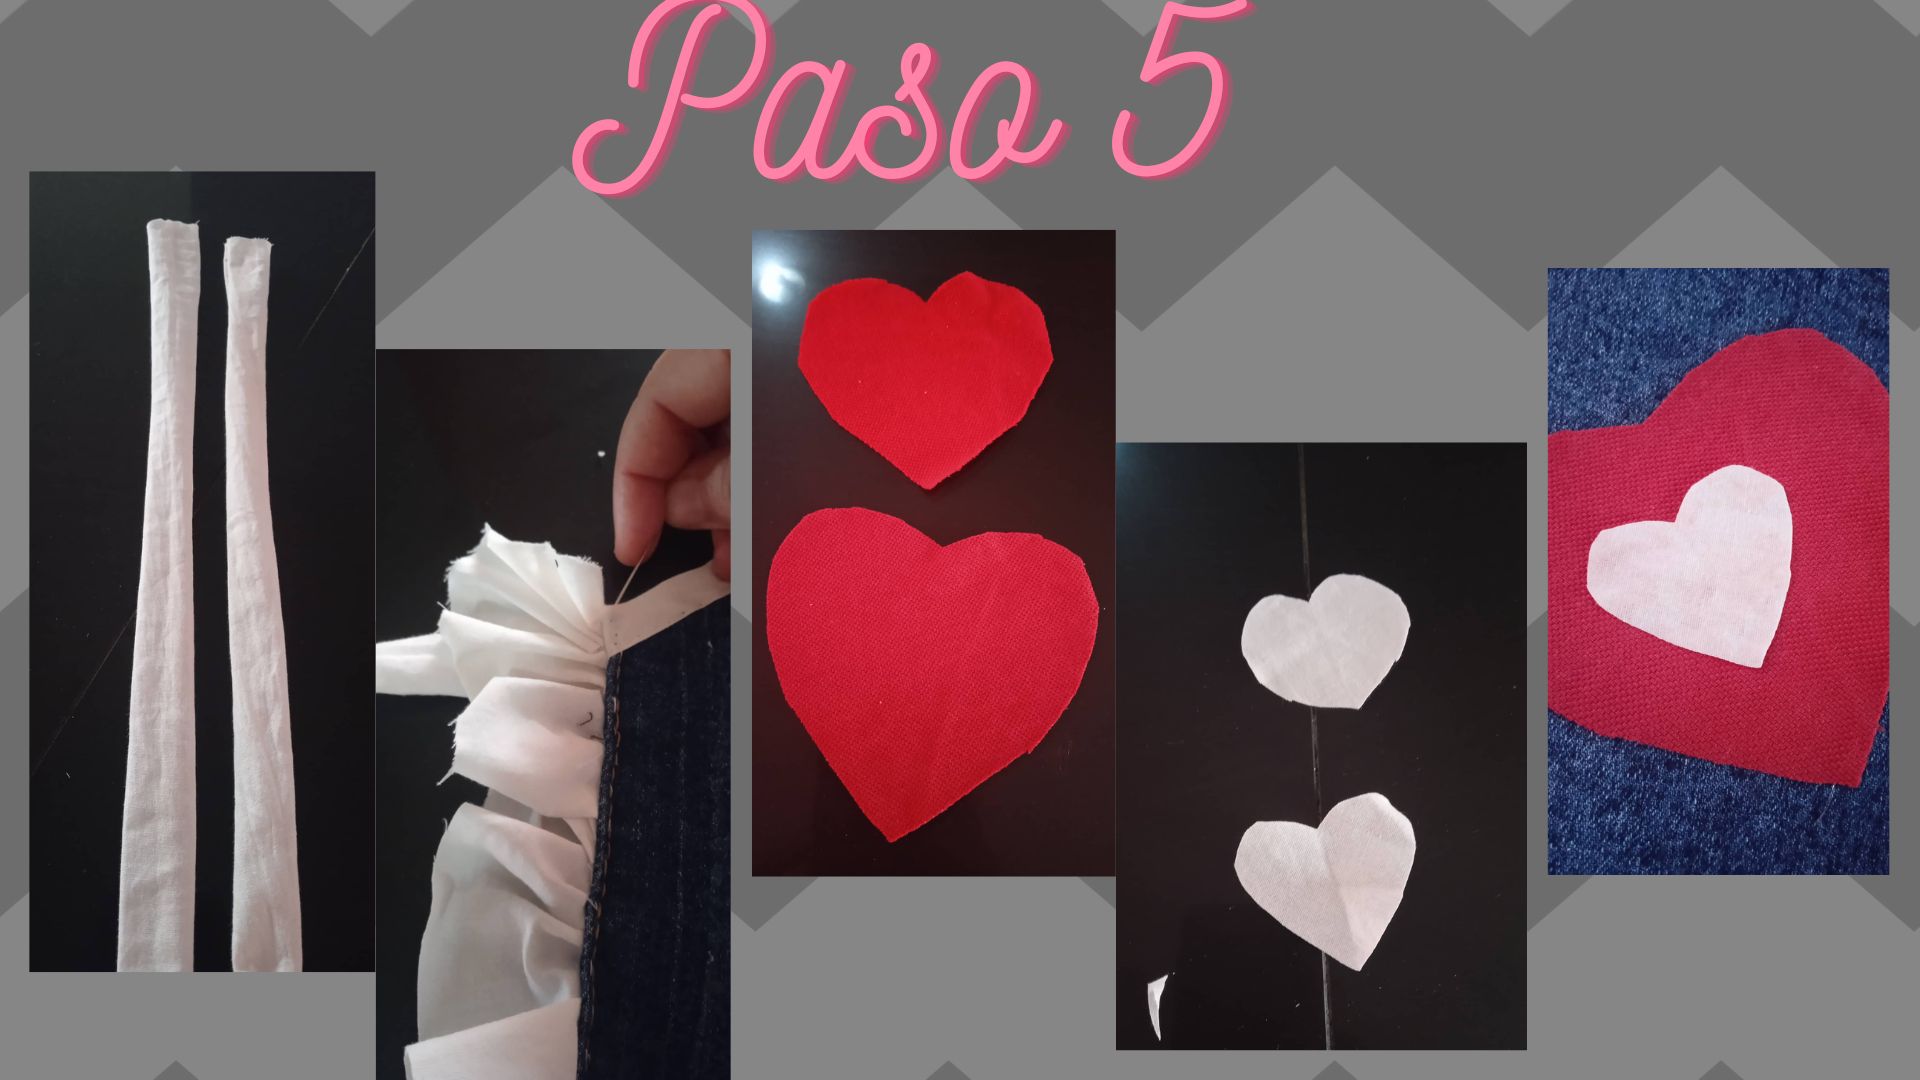
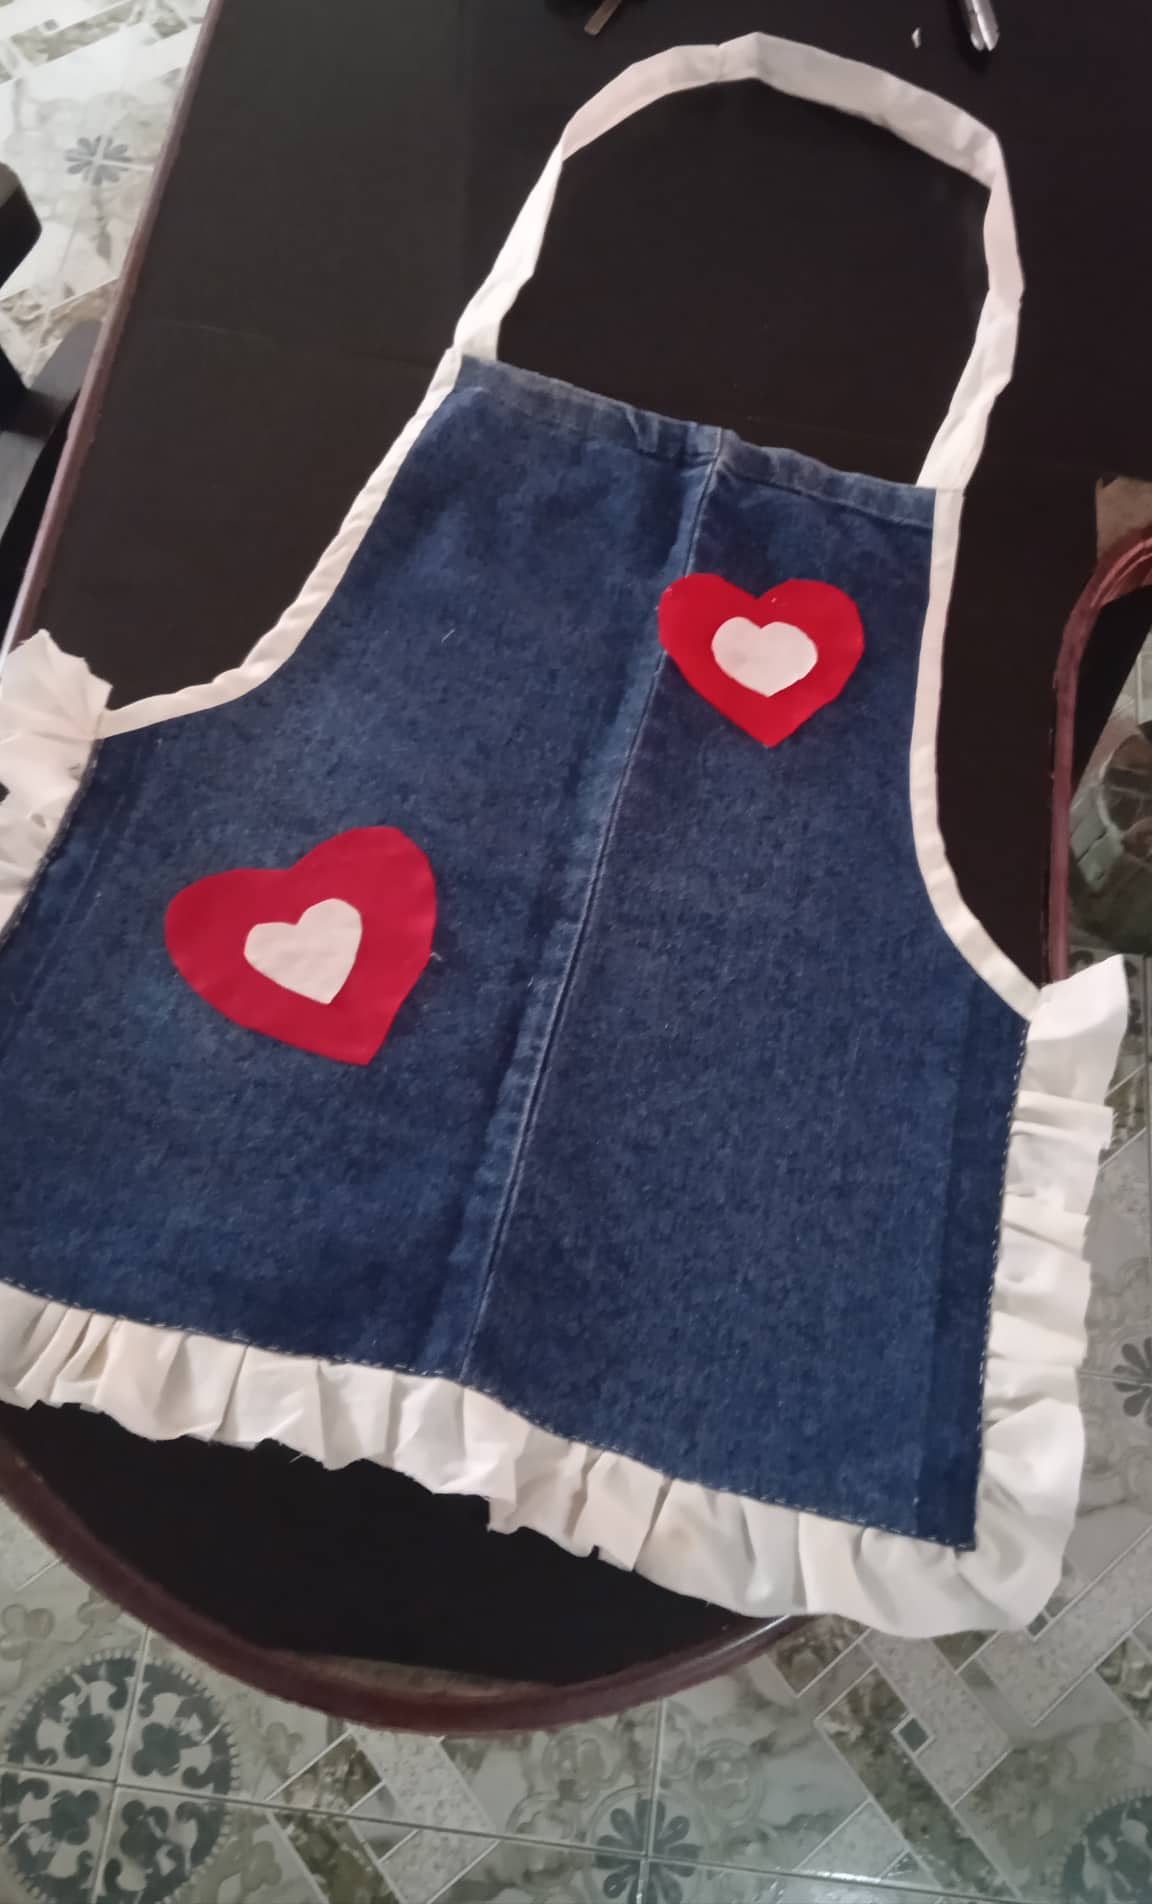
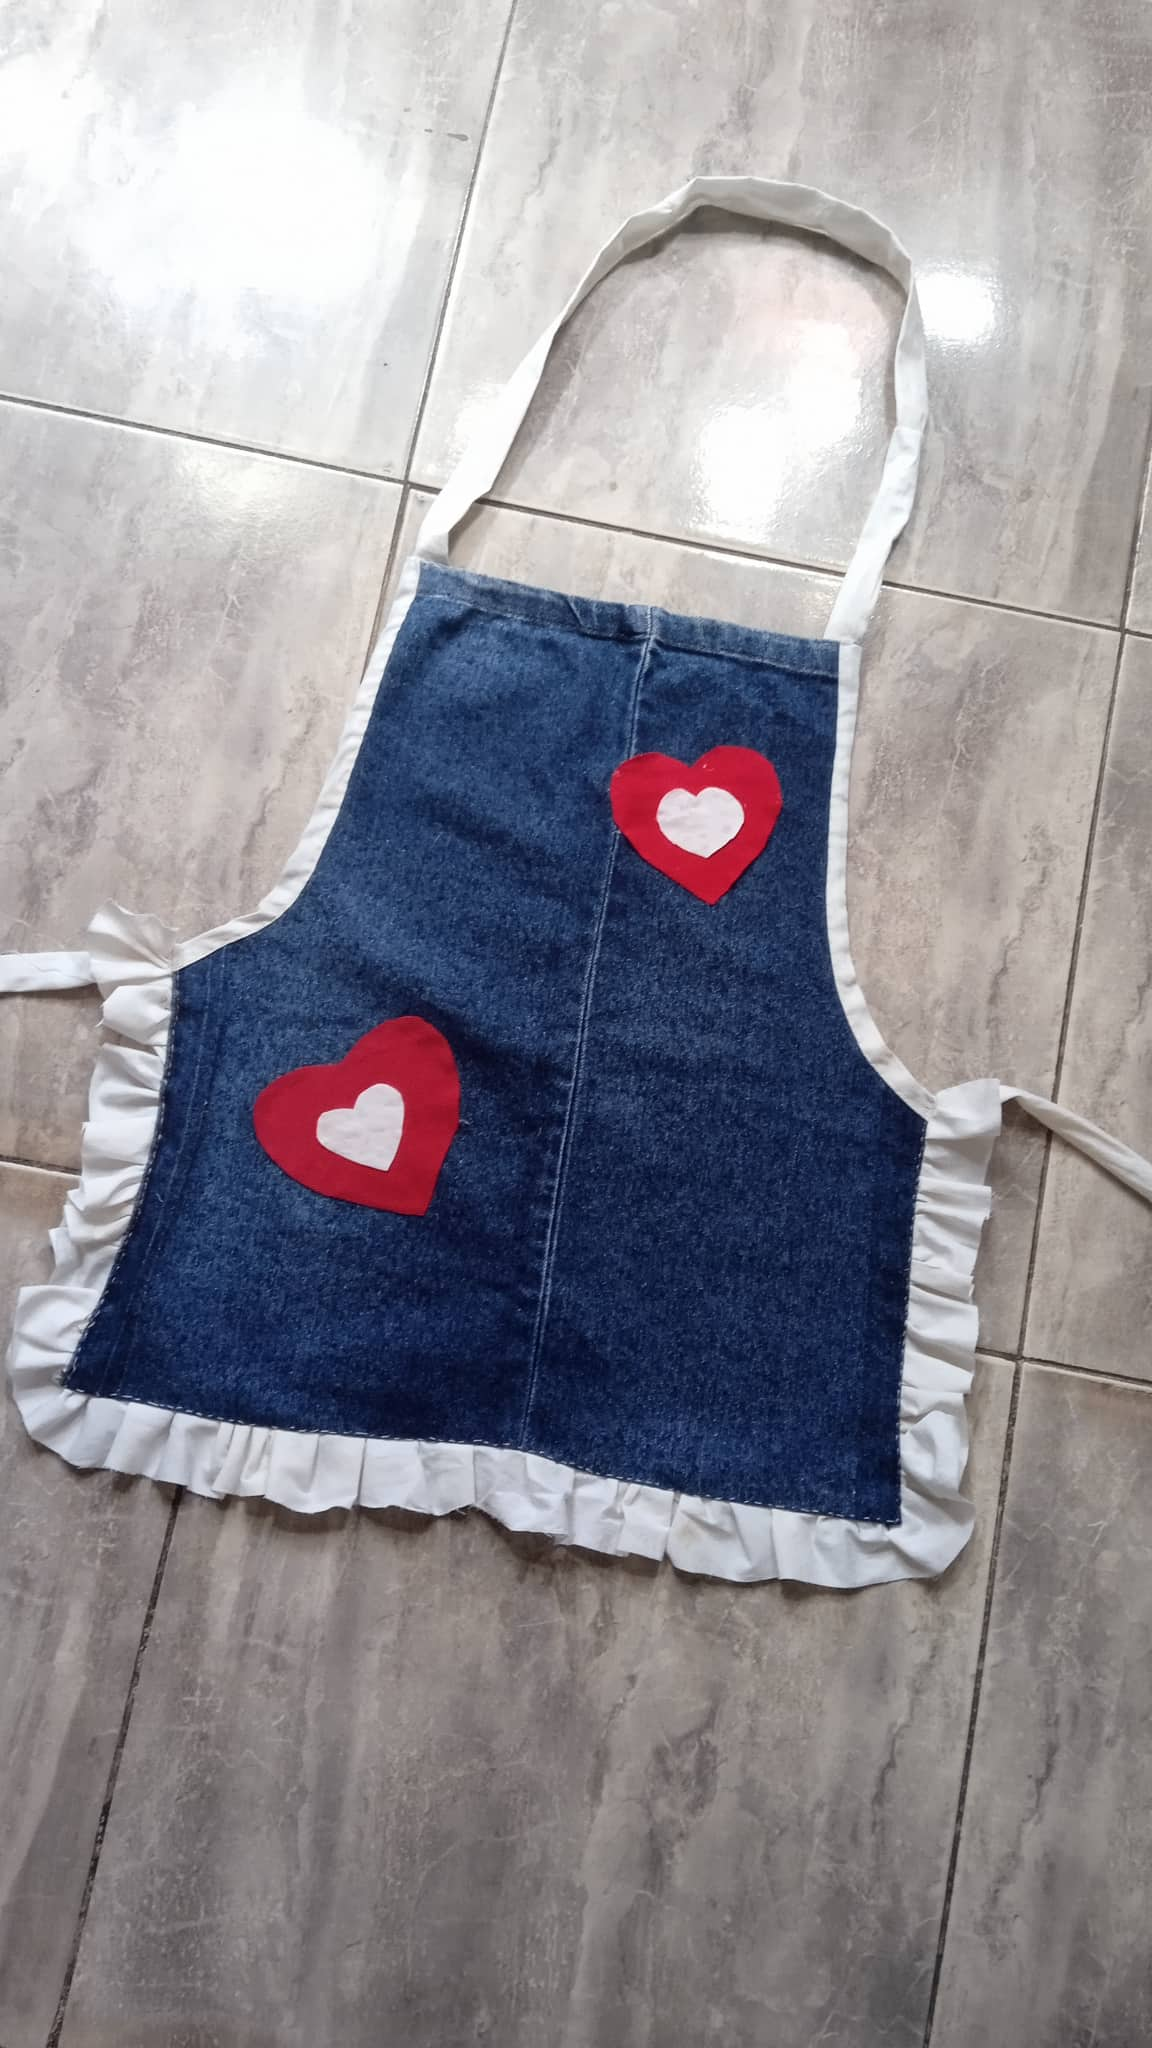
- Paso 5. Luego recortamos dos tiritas de color blanco cosemos por la orilla y luego volteamos, las cosemos en los extremos laterales del delantar, recortamos 2 corazones rojos y 2 corazones blancos estos últimos más pequeños, y luego pegamos con silicón en la parte de abajo y luego en la parte de arriba del delantar.
- Step 5. Then cut out two white strips, sew along the edge and then flip them over, sew them on the lateral ends of the trimming, cut out 2 red hearts and 2 white hearts, the latter smaller, and then glue them with silicone on the bottom and then on the top of the trimming.
.jpg)
.jpg)
.jpg)

0
0
0.000
Te quedó precioso... gracias por compartir tu trabajo
🎆🎇🎉🎊🌧️💐✨🌾🌱🌹🌙🌿🍃🥀⚡🌺☘️🍀🌈🌷⭐🪴🌵🌸🌟💮🌴🌳💫☀️💮☔🌲🌳🌍🌌🌠☄️🏵️🐝🌻🌼🍄🐞🦋💙☕💜🍍🎆🎇🎉🎊
Hola, muchas gracias, saludos.
Saludos amiga @yannet80 te felicito, buen trabajo, te quedo muy lindo tu delantal.
Muchas gracias @coromoto20
Muy hermoso delantal y lo mejor es que es muy sencillo de elaborar.
Gracias por compartir el paso a paso con nosotros.
Gracias @kattycrochet por tomarte el tiempo de visitar mi blog, saludos.
Lovely thank for sharing @yannet80
Thank you my friend
Te quedó bellisimo, me encanta, a ver cuando me animo a hacer uno para mi, saludos
Gracias por comentar @leslieq, que bueno que te gustó.
Congratulations @yannet80! You have completed the following achievement on the Hive blockchain and have been rewarded with new badge(s):
Your next target is to reach 700 comments.
You can view your badges on your board and compare yourself to others in the Ranking
If you no longer want to receive notifications, reply to this comment with the word
STOPCheck out the last post from @hivebuzz:
Support the HiveBuzz project. Vote for our proposal!
Thank you friends