[ESP-ENG] Hermoso alfiletero de muñeca | Beautiful doll pincushion
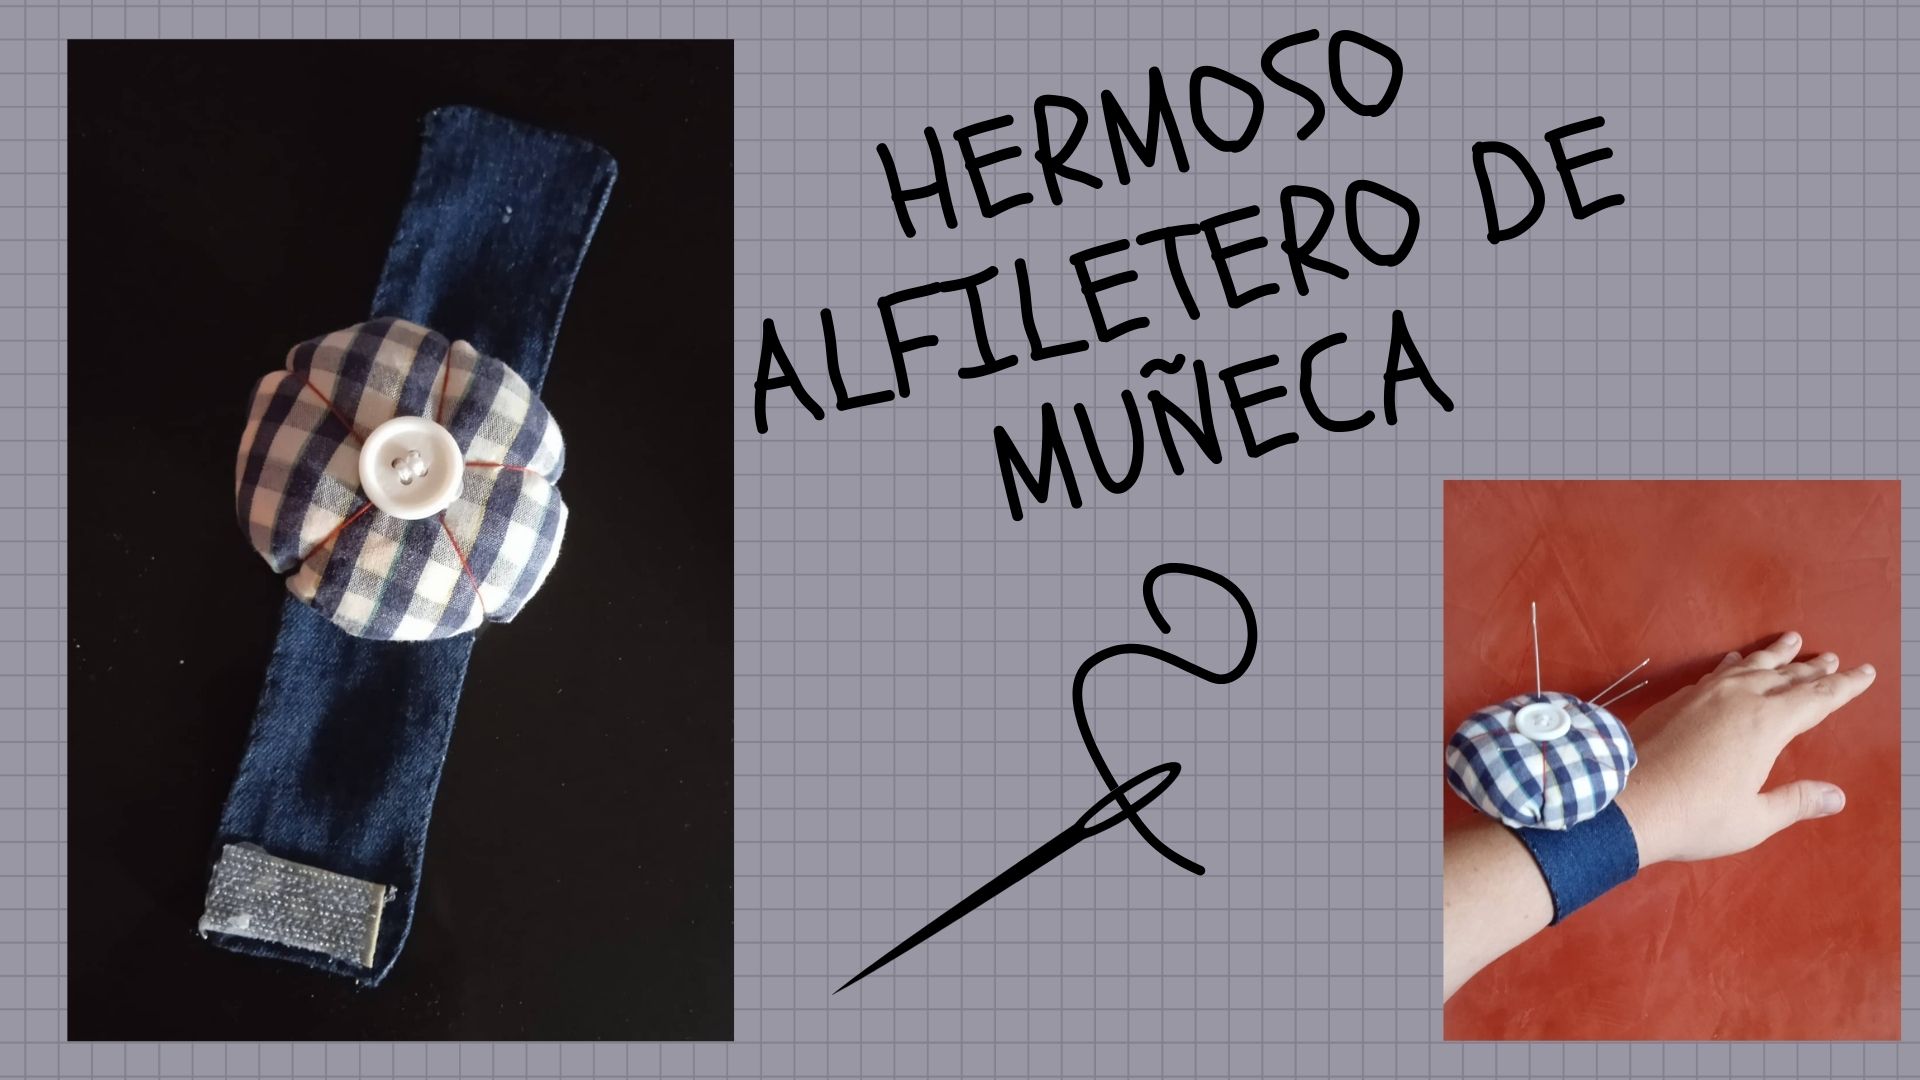
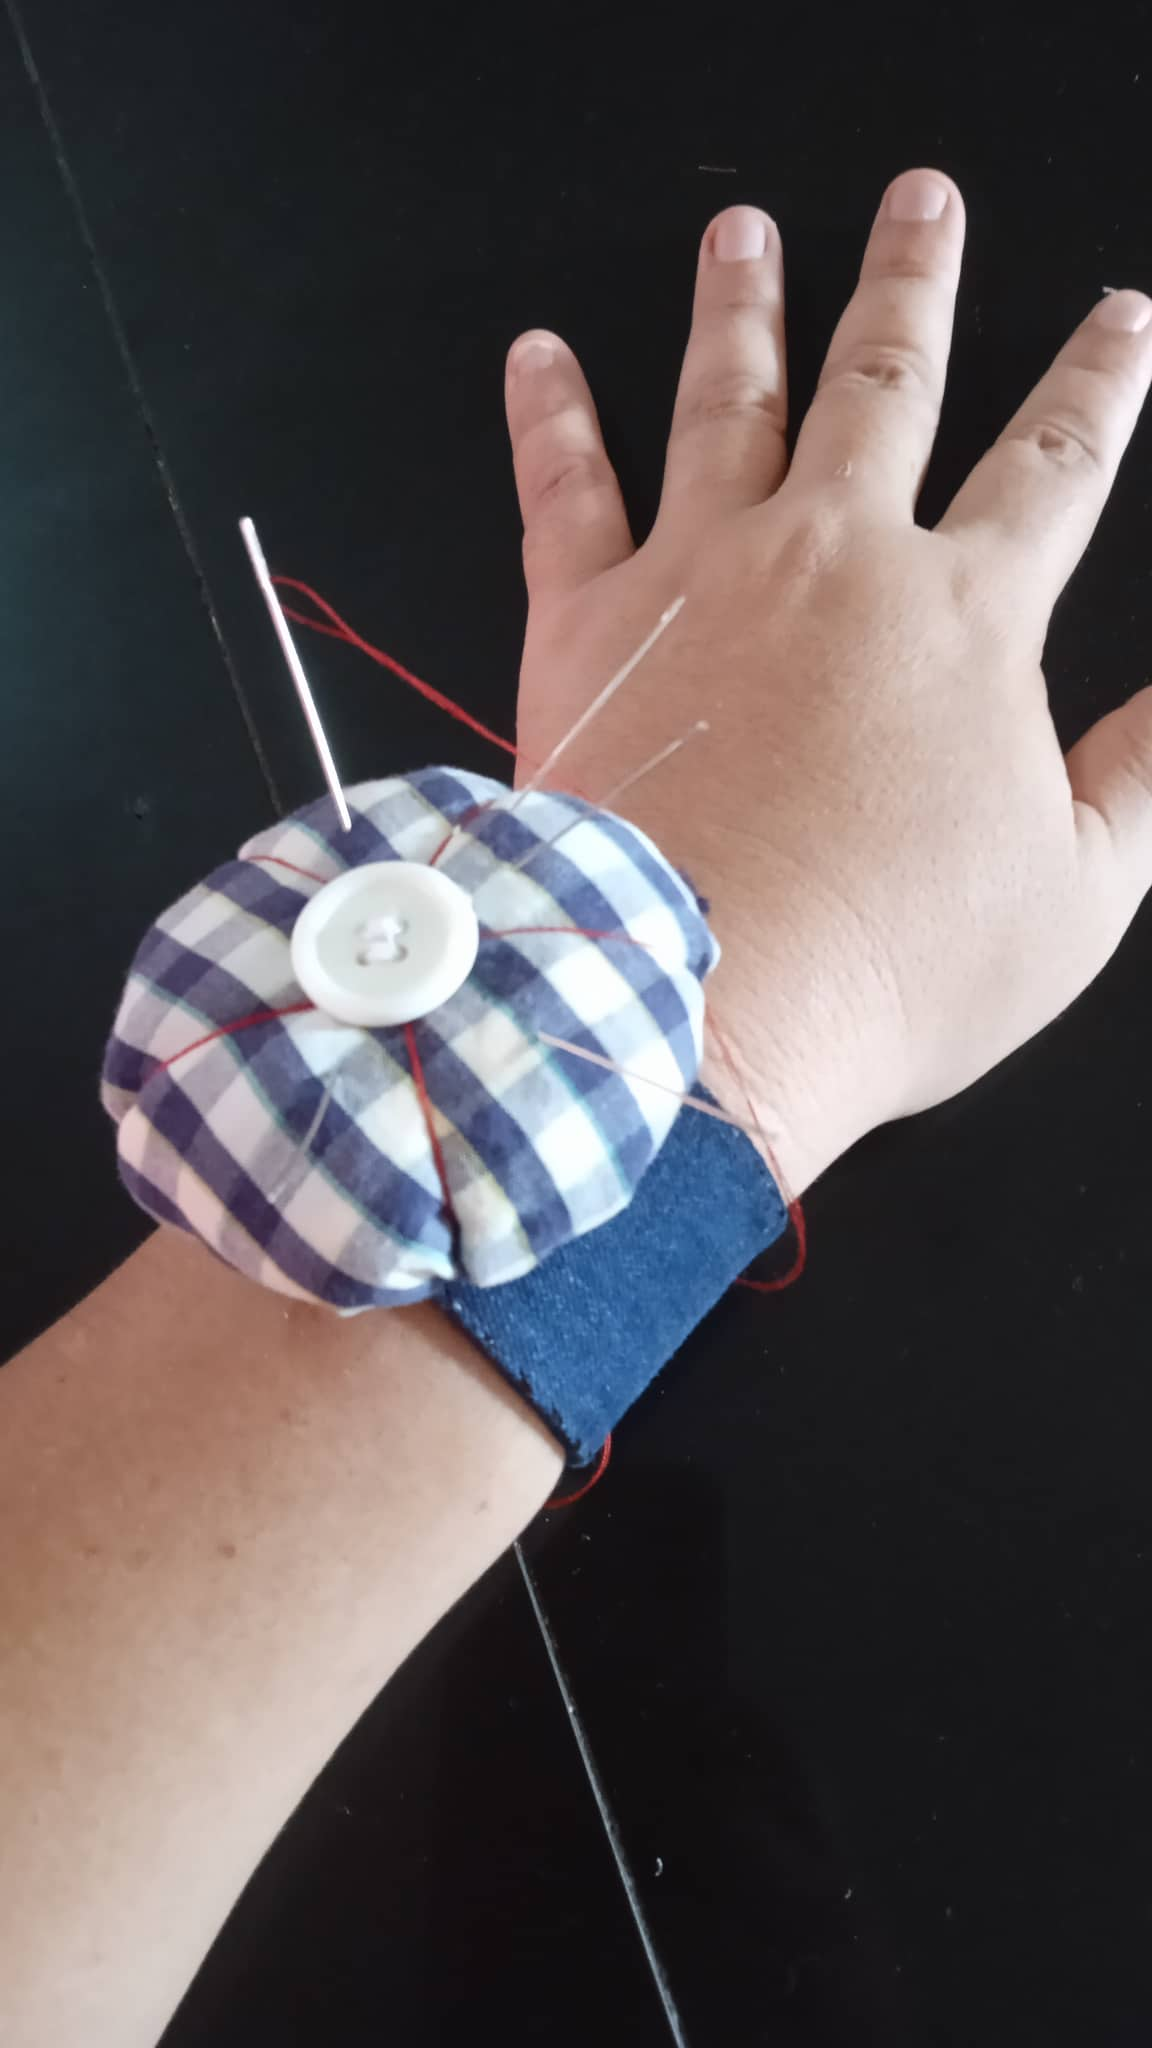
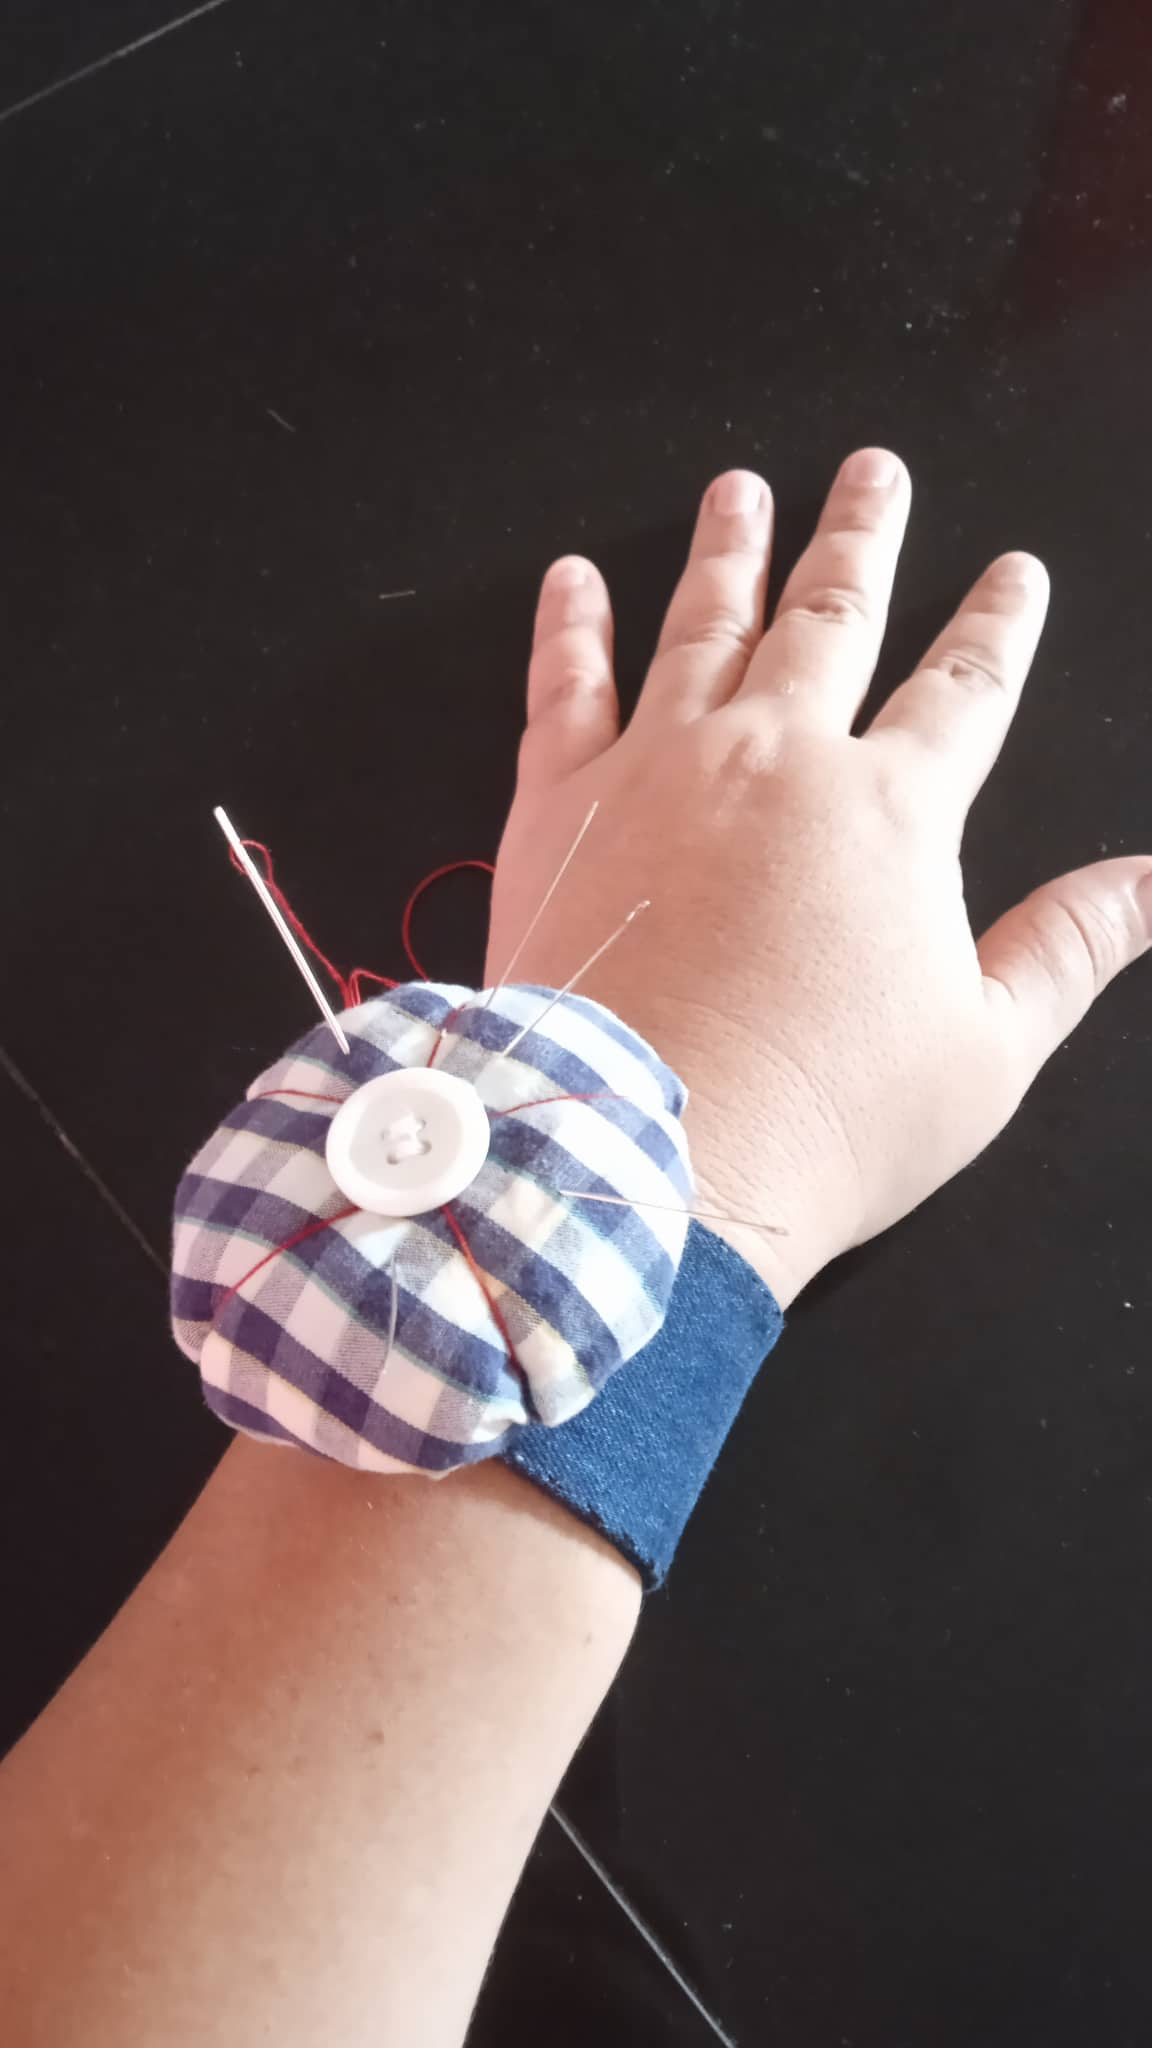
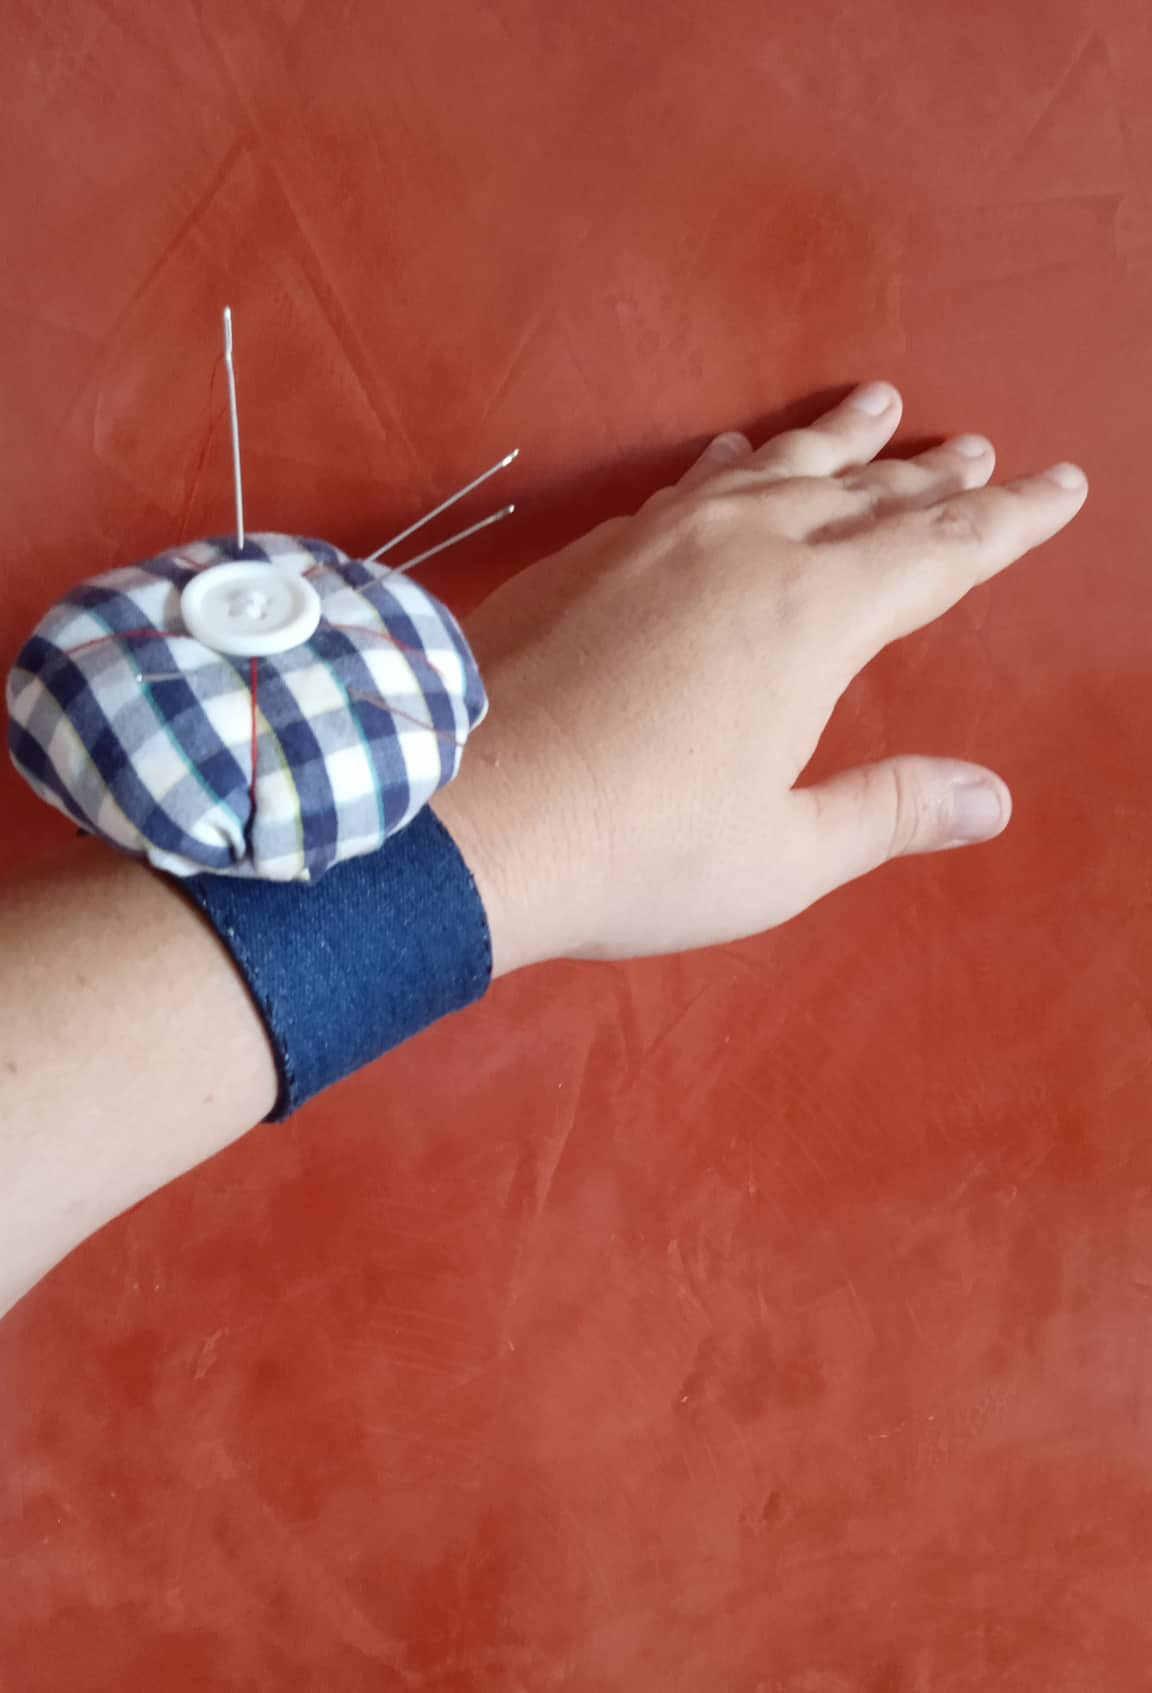
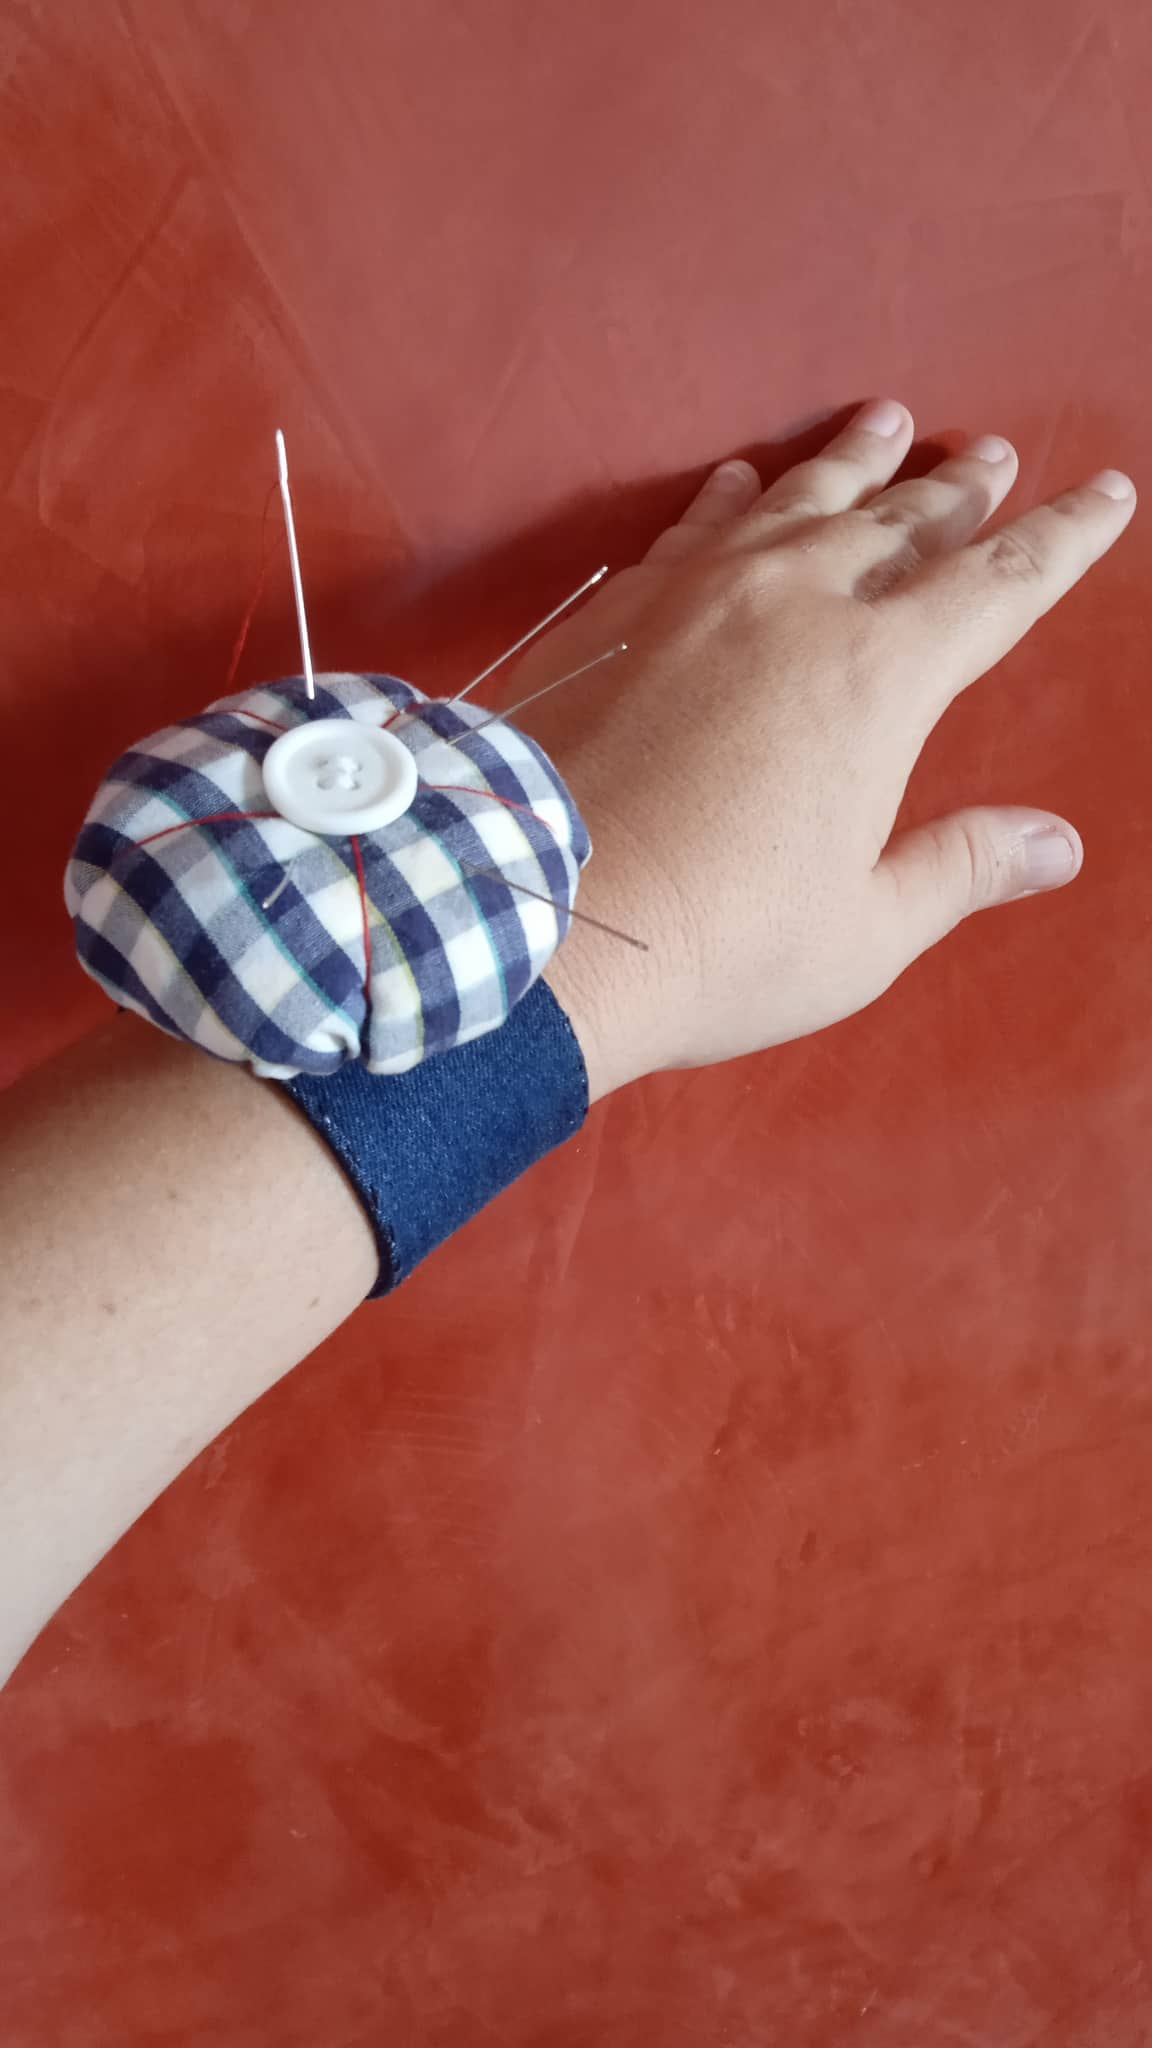
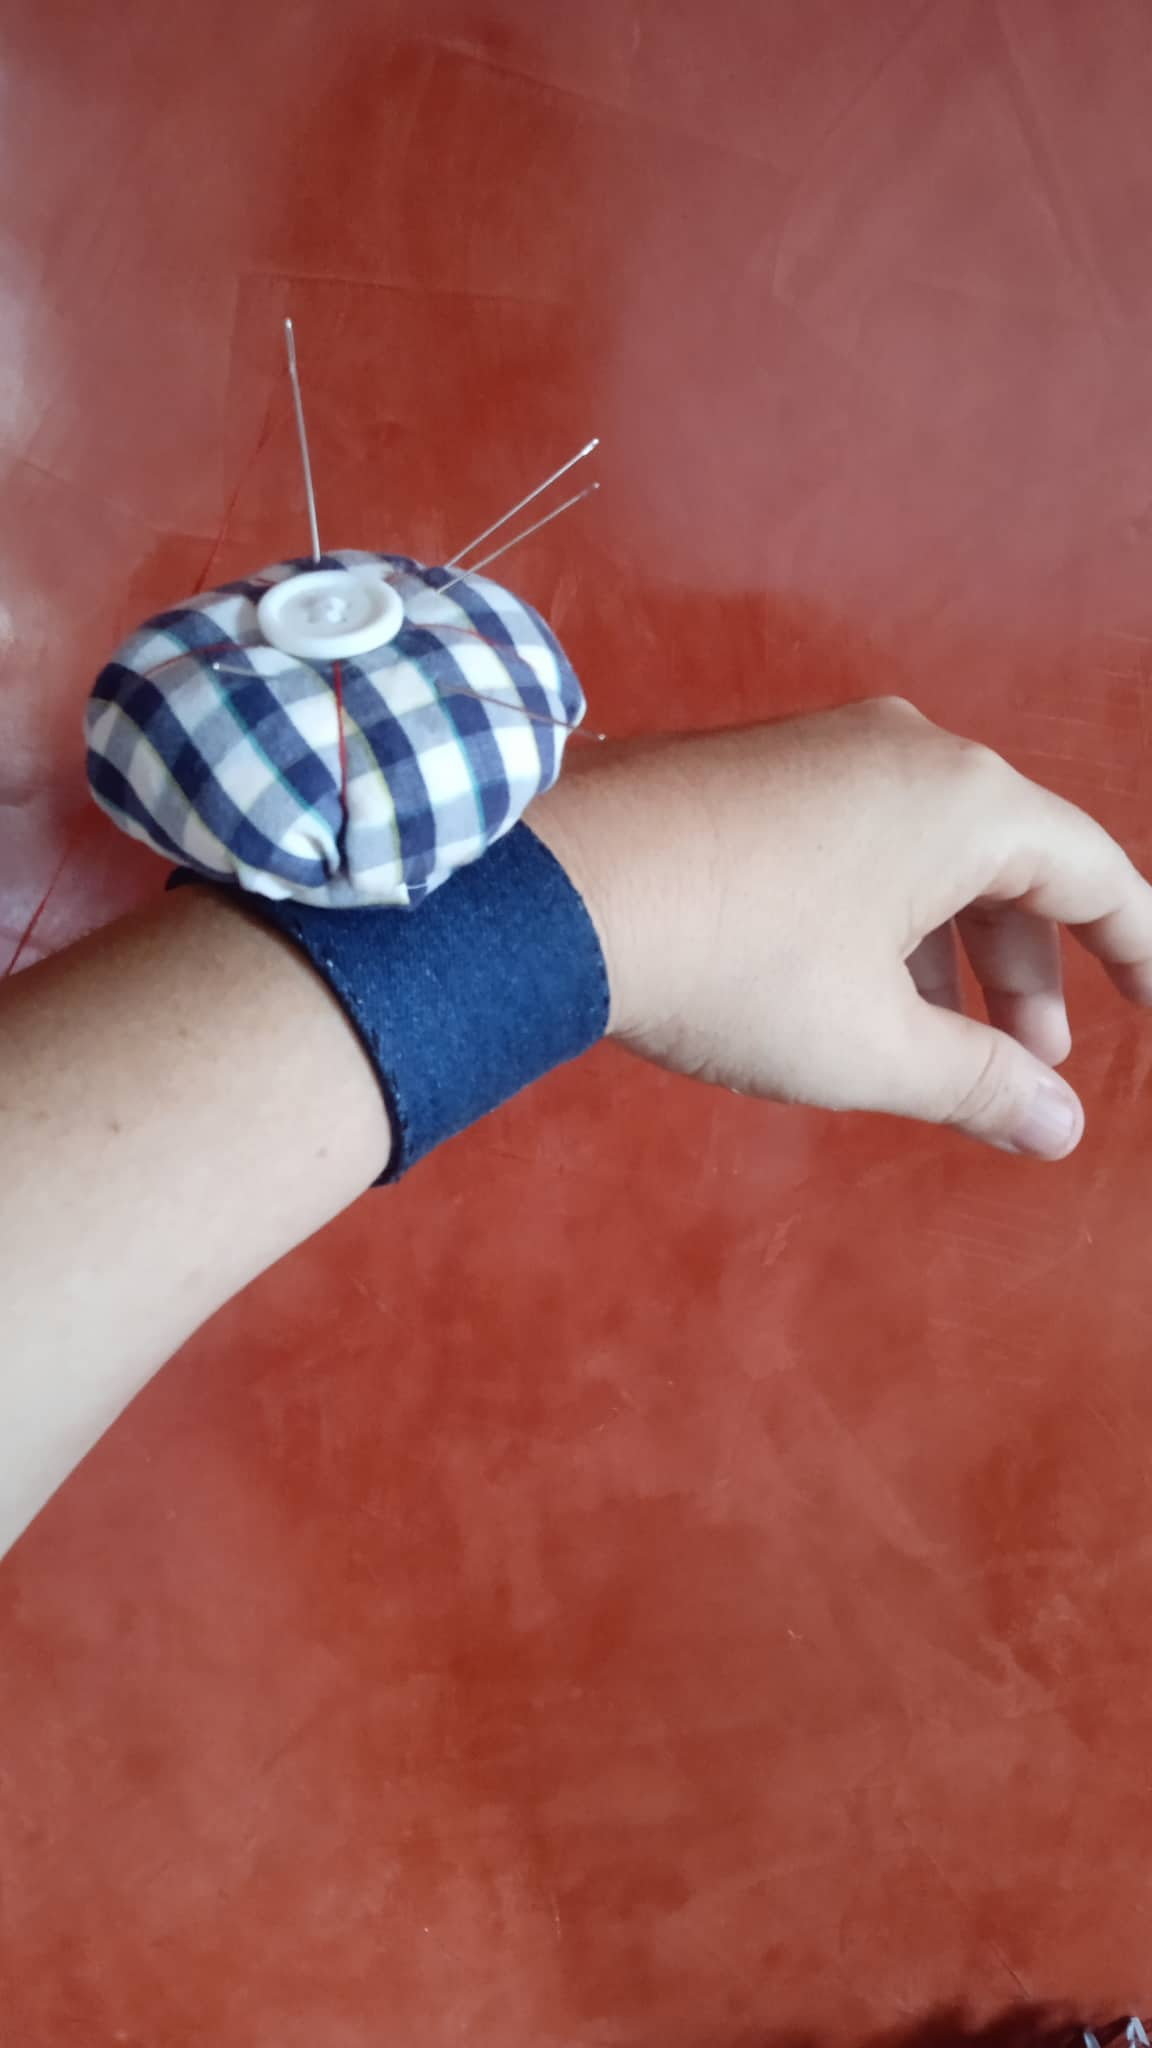
I am pleased to greet you all, today I want to share a beautiful pincushion doll, ideal for placing our needles and pins, sometimes it happens that we do not know where we put the needles and we lose them, with this pincushion you will always have your needles and pins at hand. Let's see the step by step
.jpg)
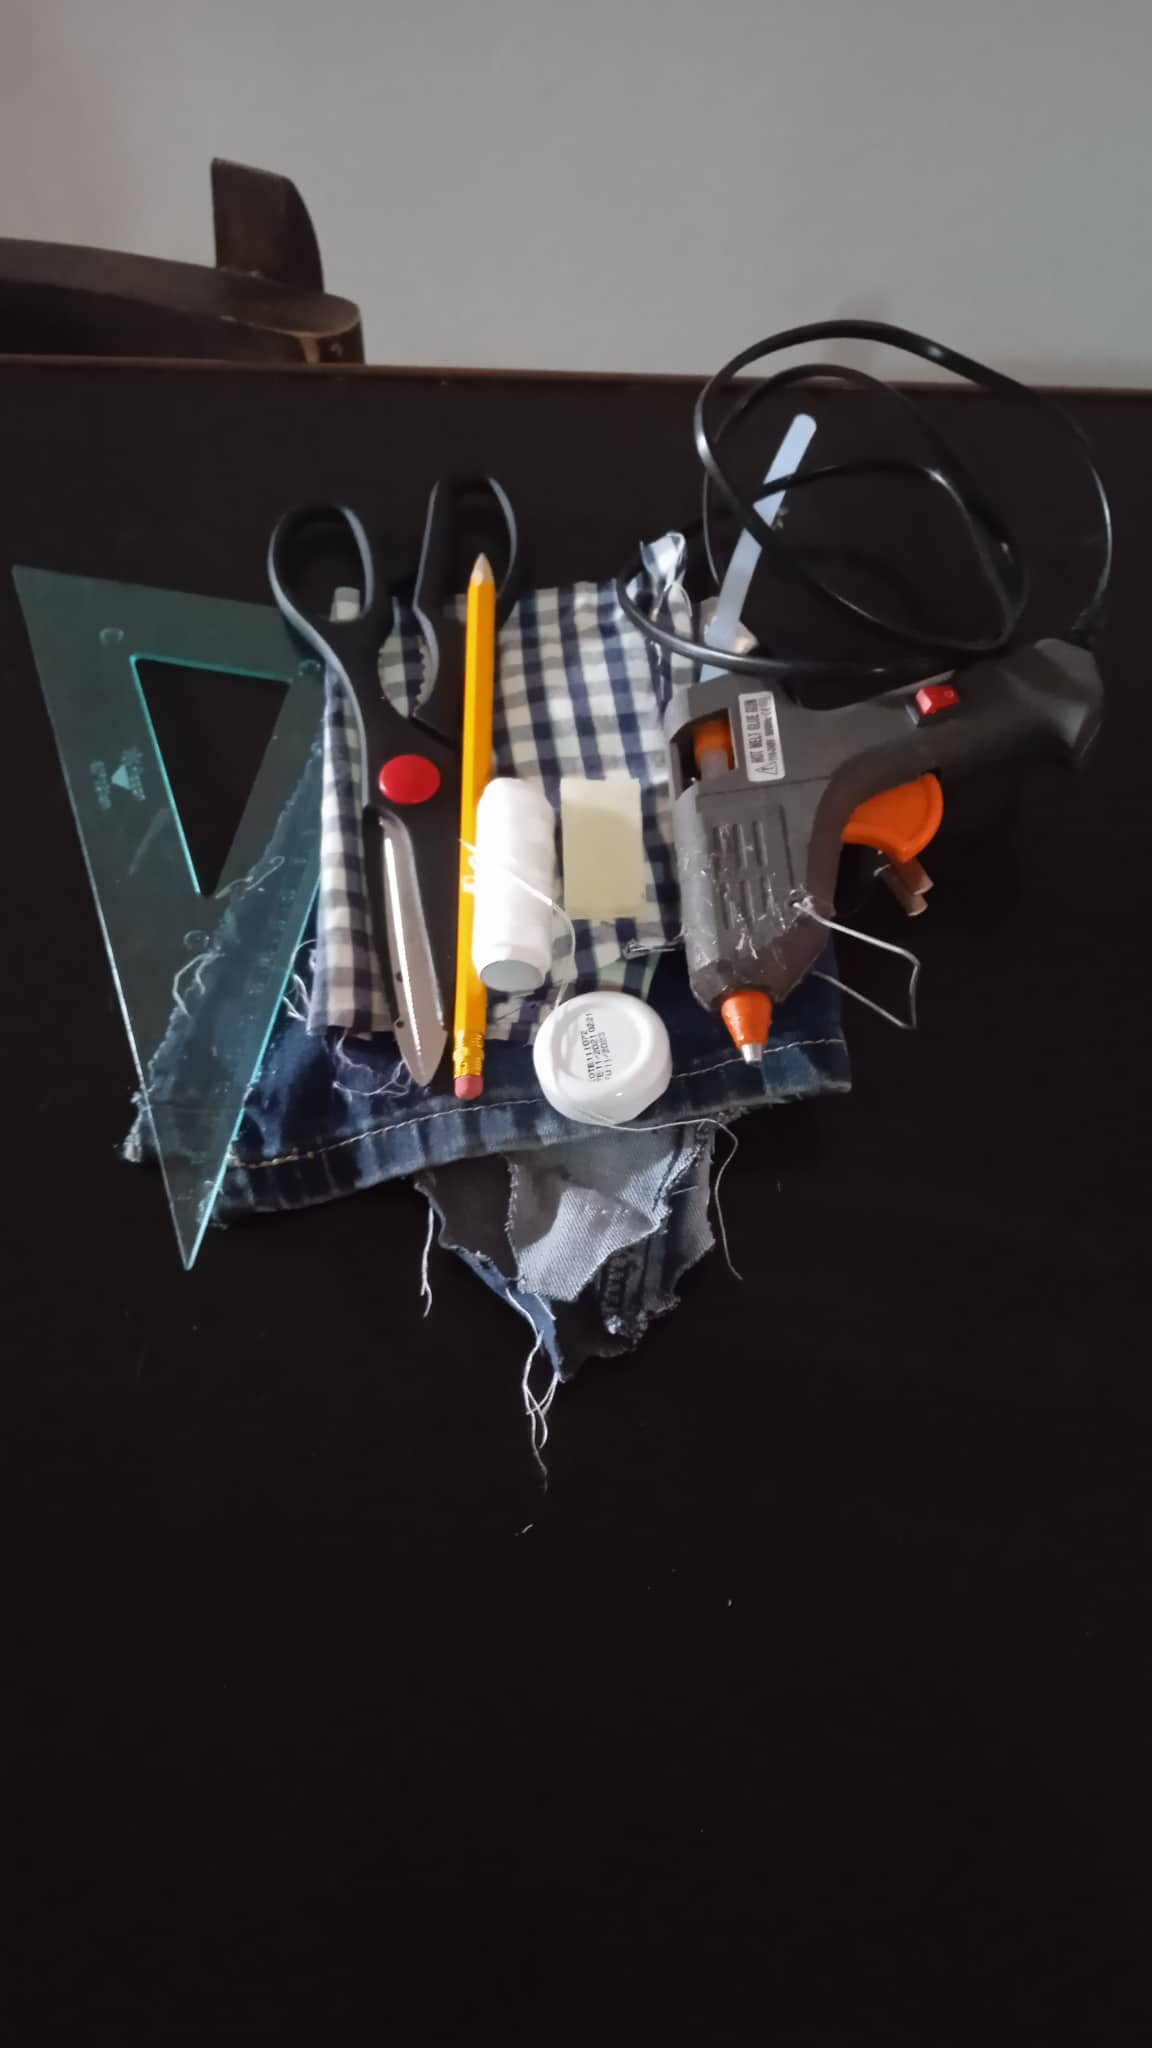
- Los materiales a utilizar son:
- Retazo de tela de jean y de otra tela de su preferencia.
- Tijera.
- Hilo y aguja de cose.
- Silicón en barra.
- Cierre mágico.
- Regla.
- Lápiz.
- Tapa de pequeña de cualquier frasco.
- The materials to be used are:
- Piece of jean fabric and another fabric of your choice.
- Scissors.
- Thread and sewing needle.
- Silicone stick.
- Magic zipper.
- Ruler.
- Pencil.
- Small lid of any jar.
.jpg)
.jpg)
- Paso 1: Marcamos en la tela de jean unas medidas de 20cm de largo por 5 cm de ancho, una vez marcadas procedemos a recortar sacando 2 partes iguales.
- Step 1: We mark on the jean fabric measures 20cm long by 5 cm wide, once marked we proceed to cut out 2 equal parts.
.jpg)
.jpg)
- Paso 2: Obtenidas las 2 partes iguales, las colocamos derecho con derecho, la cosemos por toda la orilla dejando un pequeño espacio sin coser de 6cm apróximadamente, esto para voltear del lado derecho.
- Step 2: Once the 2 equal parts are obtained, we place them right sides together, sew along the edge leaving a small space of approximately 6cm without sewing, this to turn it right side out.
.jpg)
.jpg)
- Paso 3: Luego volteamos del lado derecho, y cosemos nuevamente por toda la orilla, posteriormente pegamos el cierre mágico, uno en la punta de la parte de arriba y el otro en la punta de la parte de abajo por el lado de abajo.
- Step 3: Then we turn it right side out, and sew again all around the edge, then we glue the magic zipper, one at the tip of the top side and the other at the tip of the bottom side from the bottom side.
.jpg)
.jpg)
- Paso 4: Luego marcamos un círculo de apróximadamente 14cm de diámetro recortamos y luego hacemos una costura por toda la orilla, la arruchamos un poco y rellenamos con retacitos de tela hasta que nos quede como especie de una pelotica.
- Step 4: Then we mark a circle of approximately 14cm in diameter, cut it out and then we make a seam along the entire edge, we gather it a little and fill it with small pieces of fabric until it looks like a kind of ball.
.jpg)
.jpg)
- Paso 5: Luego con un hilo de color diferente cosemos desde el centro a los lados, para darle forma de flor, luego pegamos un botón en todo el centro, seguidamente forramos la tapa del frasco con la misma tela.
- Step 5: Then with a different color thread we sew from the center to the sides, to give it the shape of a flower, then we glue a button around the center, then we cover the lid of the jar with the same fabric.
.jpg)
.jpg)
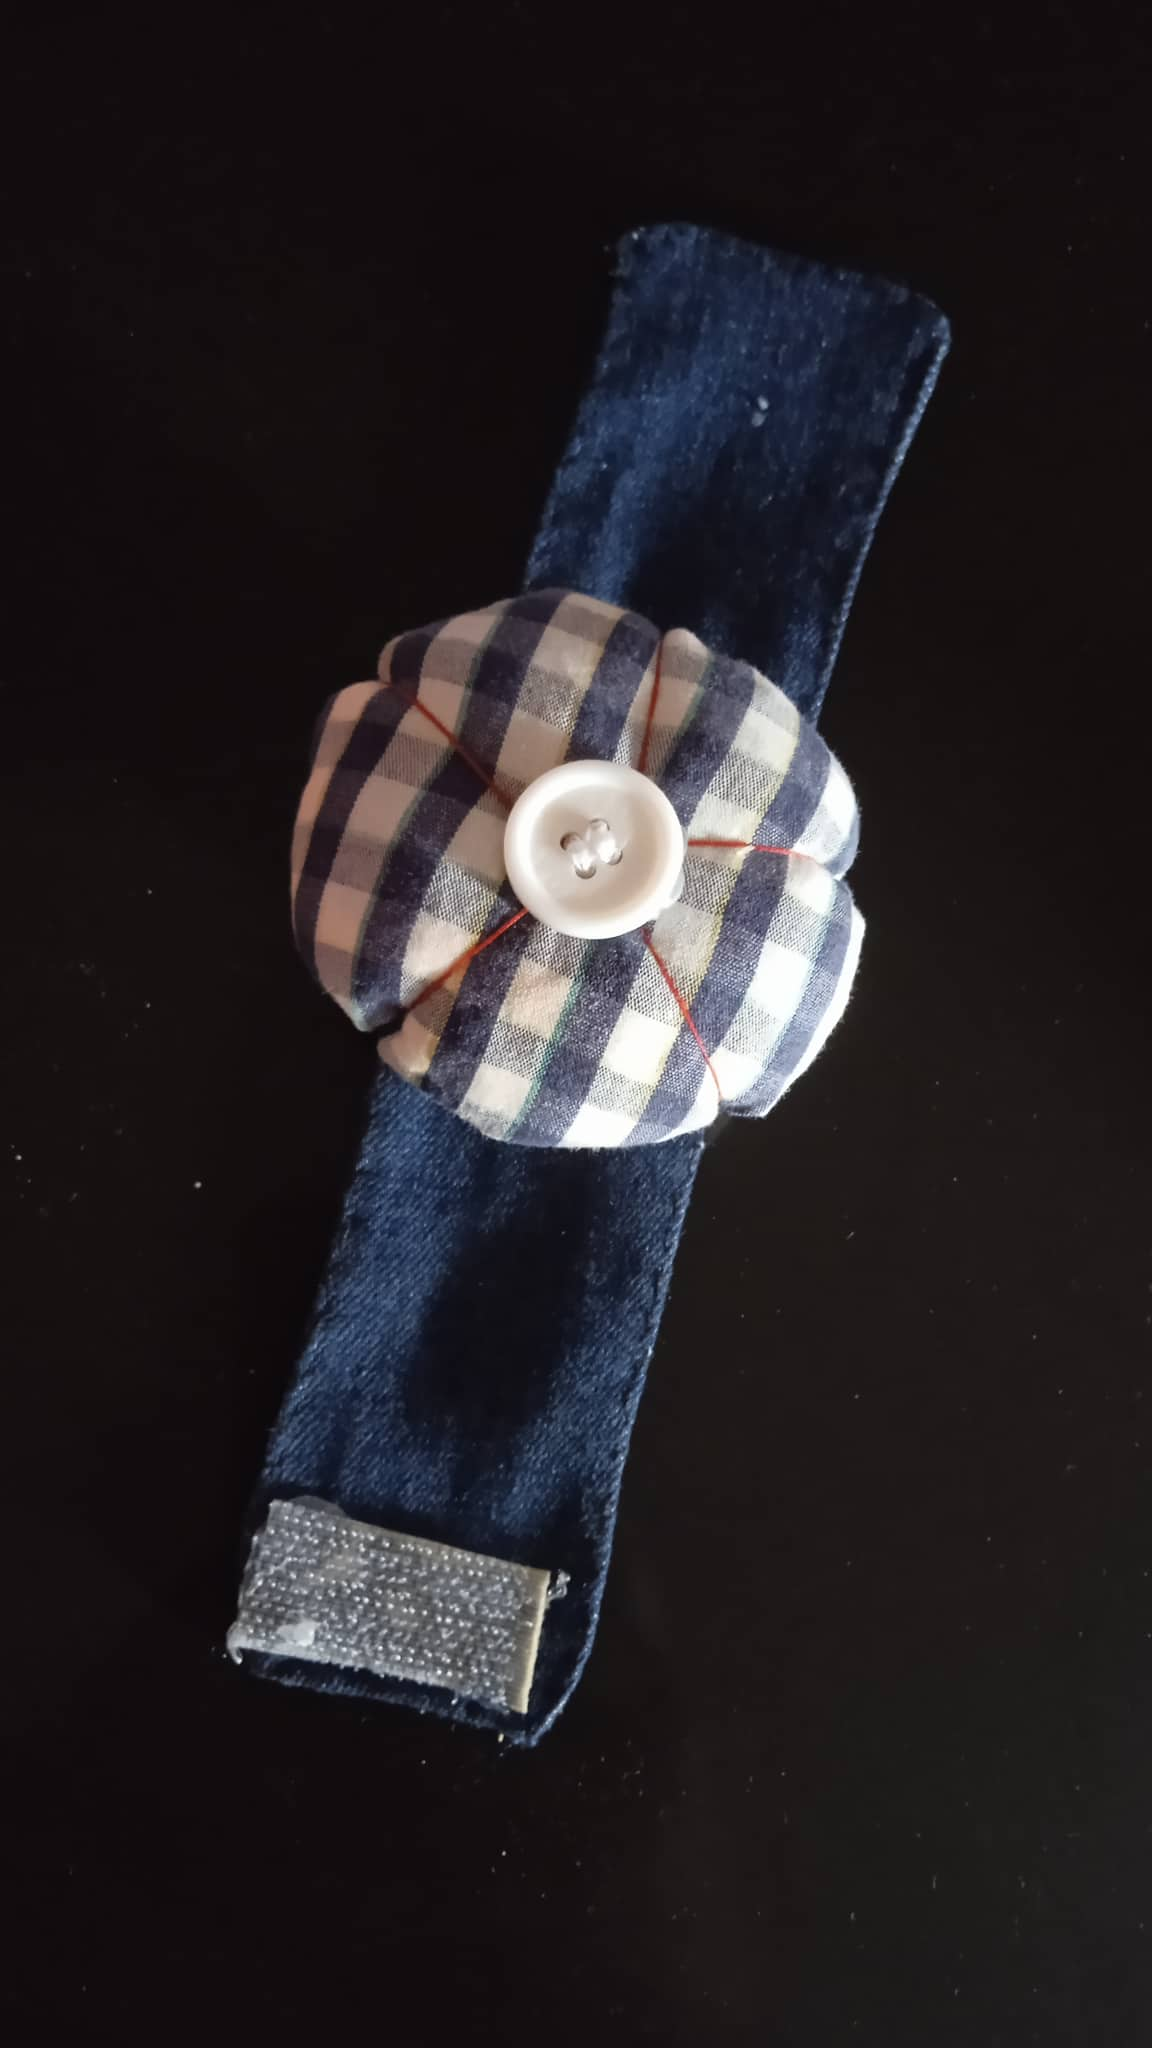
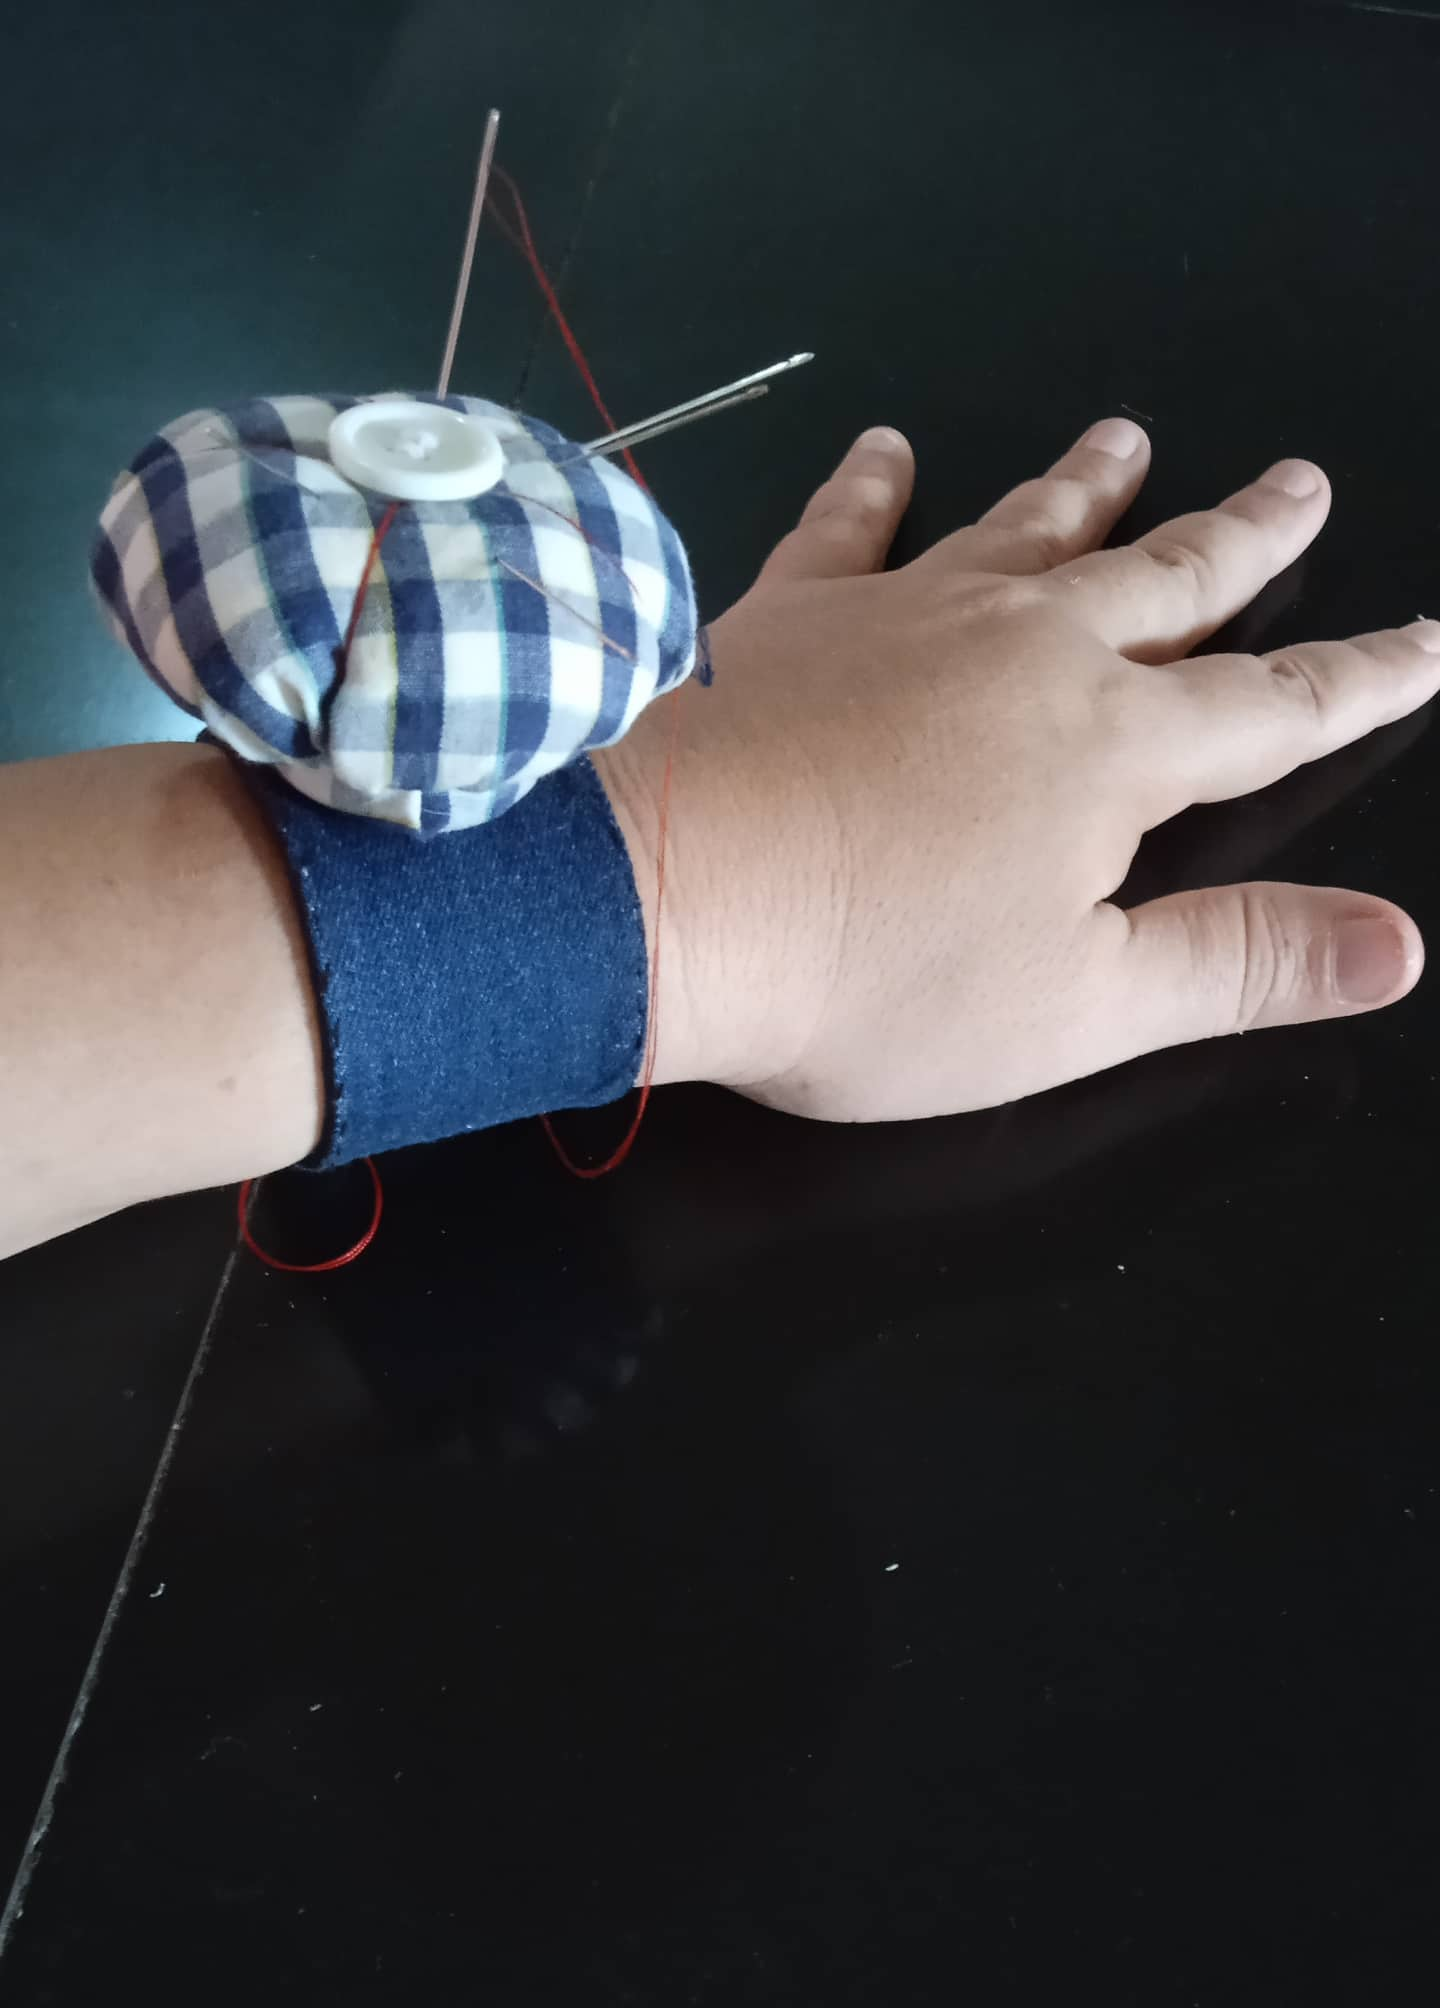
- Paso 6: Luego de forrar la tapa, la pegamos al alfiletero y por último lo pegamos a la muñequera.
- Step 6: After lining the cover, we glue it to the pincushion and finally we glue it to the wristband.
.jpg)
.jpg)
.jpg)

0
0
0.000
¡Enhorabuena!
✅ Has hecho un buen trabajo, por lo cual tu publicación ha sido valorada y ha recibido el apoyo de parte de CHESS BROTHERS ♔ 💪
♟ Te invitamos a usar nuestra etiqueta #chessbrothers y a que aprendas más sobre nosotros.
♟♟ También puedes contactarnos en nuestro servidor de Discord y promocionar allí tus publicaciones.
♟♟♟ Considera unirte a nuestro trail de curación para que trabajemos en equipo y recibas recompensas automáticamente.
♞♟ Echa un vistazo a nuestra cuenta @chessbrotherspro para que te informes sobre el proceso de curación llevado a diario por nuestro equipo.
Cordialmente
El equipo de CHESS BROTHERS
Muchas gracias
Wow this looks so attractive, you've done pretty well, thanks for taking us through the step by step process.
Thanks to you for commenting, best regards.
You're welcome.
Wow, how did you come up with such a wonderful idea? I love this. Thanks for sharing
Thanks to you for taking the time to read my post, best regards.
Your welcome
Congratulations @yannet80! You have completed the following achievement on the Hive blockchain and have been rewarded with new badge(s):
Your next target is to reach 600 comments.
You can view your badges on your board and compare yourself to others in the Ranking
If you no longer want to receive notifications, reply to this comment with the word
STOPTo support your work, I also upvoted your post!
Check out the last post from @hivebuzz:
Support the HiveBuzz project. Vote for our proposal!
Thank you friends.
De nada @yannet80. 😊🌹
Por cierto, ¿podemos pedirle que apoye nuestra propuesta para que nuestro equipo pueda continuar con su trabajo?
Puedes hacerlo en peakd, ecency, Hive.blog o con HiveSigner.
https://peakd.com/me/proposals/199
¡Muchas gracias !
Hola @yannet80, te quedó muy lindo el alfiletero, es una pieza bastante útil.
Un abrazo. 🤗
Hola amiga @adonisr, la verdad para mí es bastante útil, nunca me acuerdo donde pongo las agujas, y con este alfiletero siempre las tendré a mano, un abrazo.
This is really so beautiful @yannet80 thanks for sharing dear
Thank you my friend, I'm glad you liked it, hugs.
Cute and practical....I love it!!!
Thank you very much.