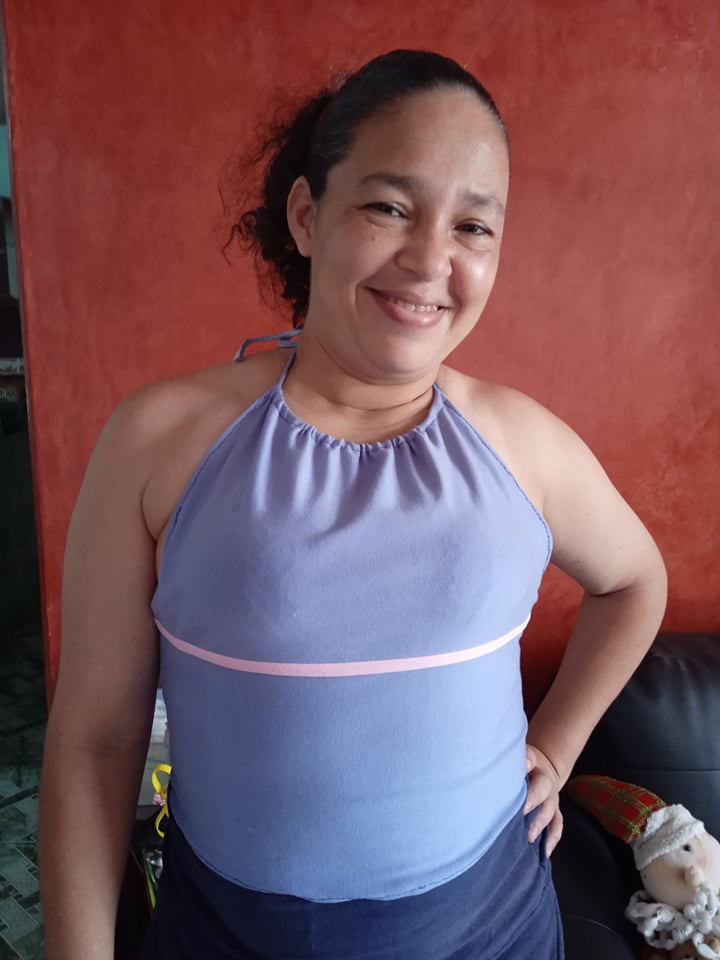
[ESP-ENG] Hermosa transformación, de manga de mono a una linda camisa | Beautiful transformation, from monkey sleeve to a nice shirt
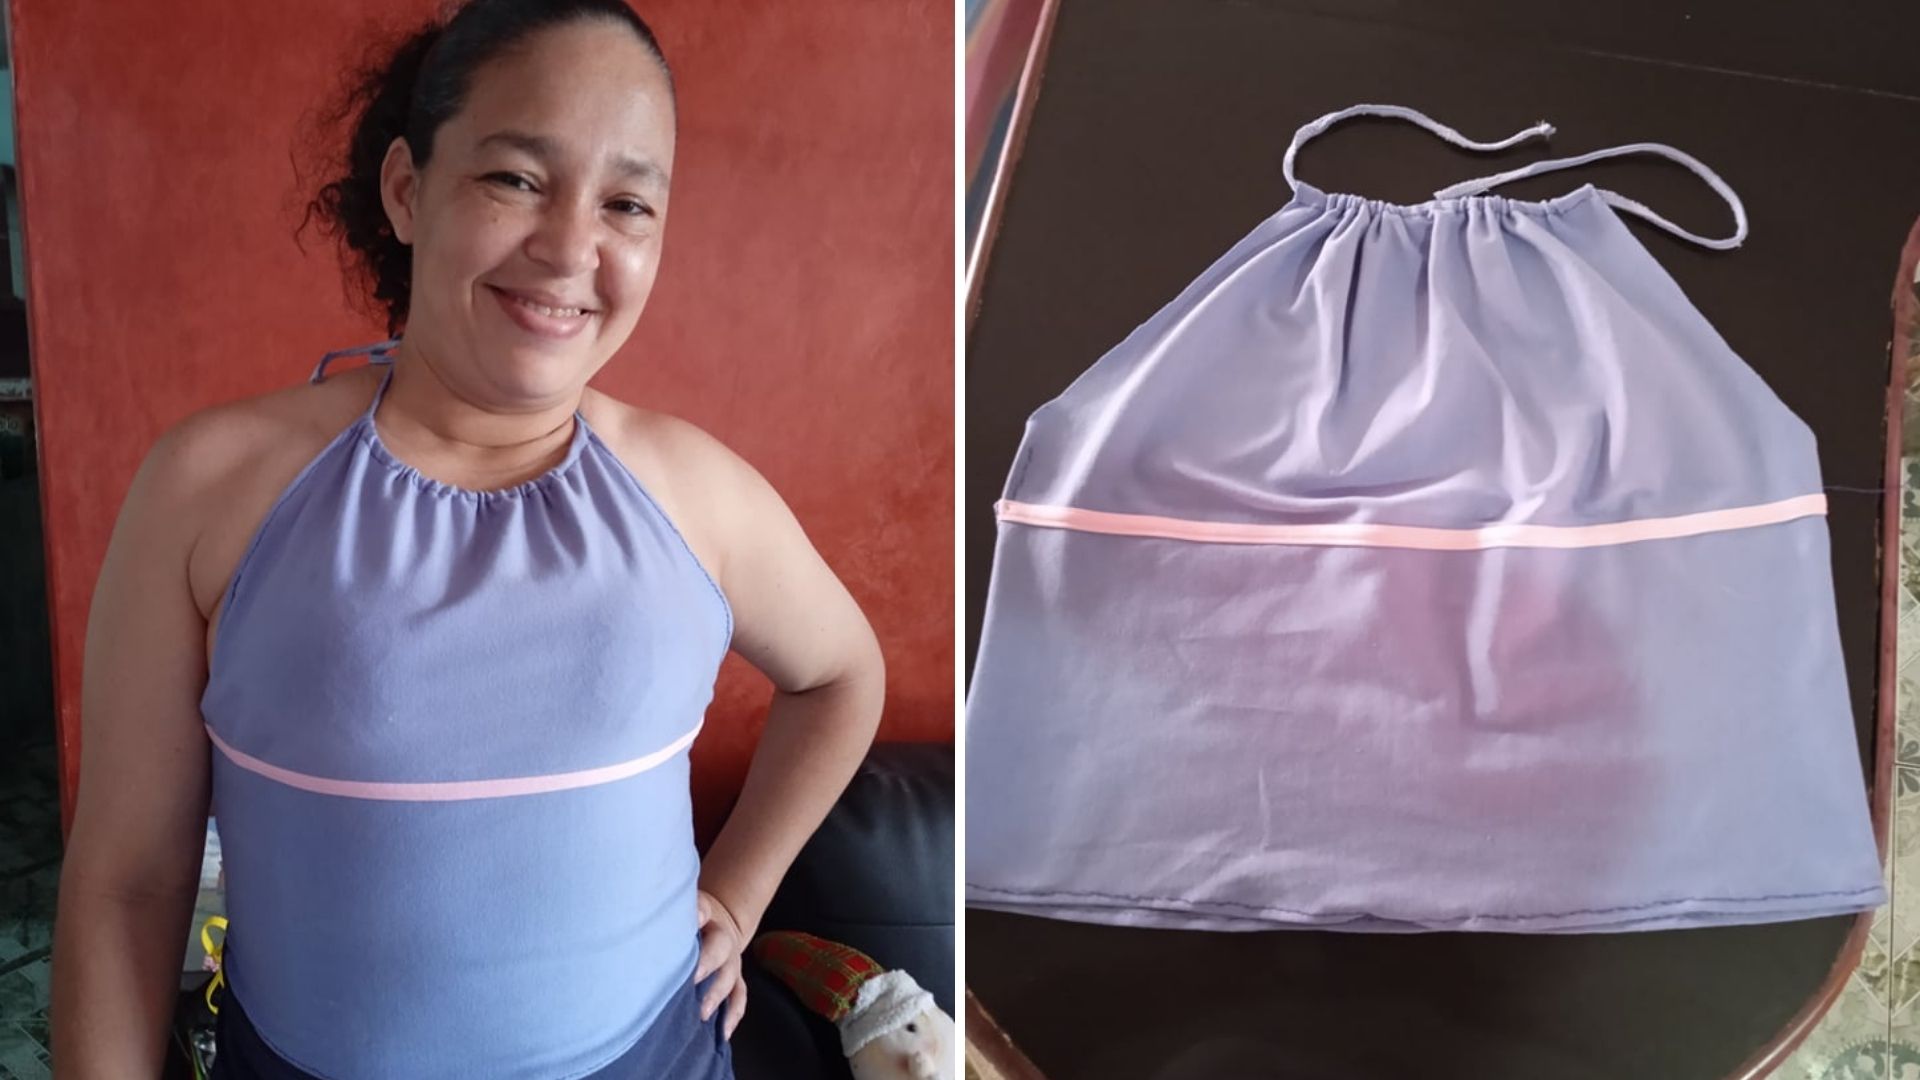
A pleasure to be with you again, I made a nice shirt with the sleeve of a monkey that I had saved, it is really amazing what we can do with scraps of fabric that we no longer use and I have learned a lot to recycle and give other opportunities to the clothes that we no longer use, some I had to give them away but those that I have left I take all the advantage I can, I hope you like this beautiful transformation of a monkey sleeve to a nice shirt, now let's see the steps to follow.

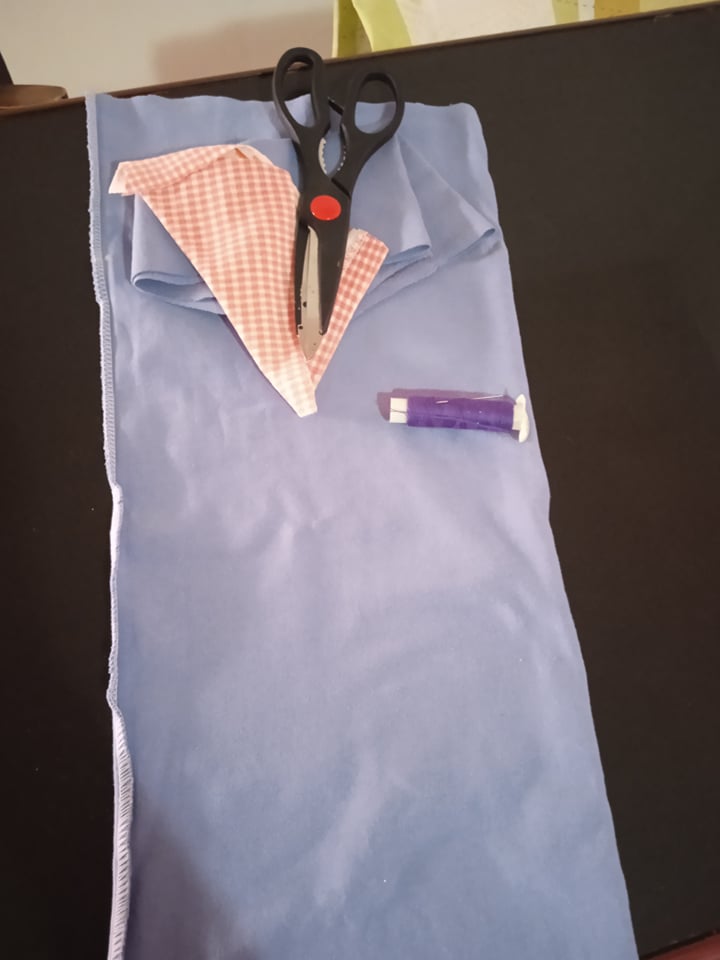
- Los materiales a utilizar son:
- Una manga de mono tipo licra.
- Hilo de coser.
- Aguja de coser.
- Tijera.
- Lápiz.
- Retazo de tela.
- The materials to be used are:
- A lycra type jumpsuit sleeve.
- Sewing thread.
- Sewing needle.
- Scissors.
- Pencil.
- Piece of cloth.

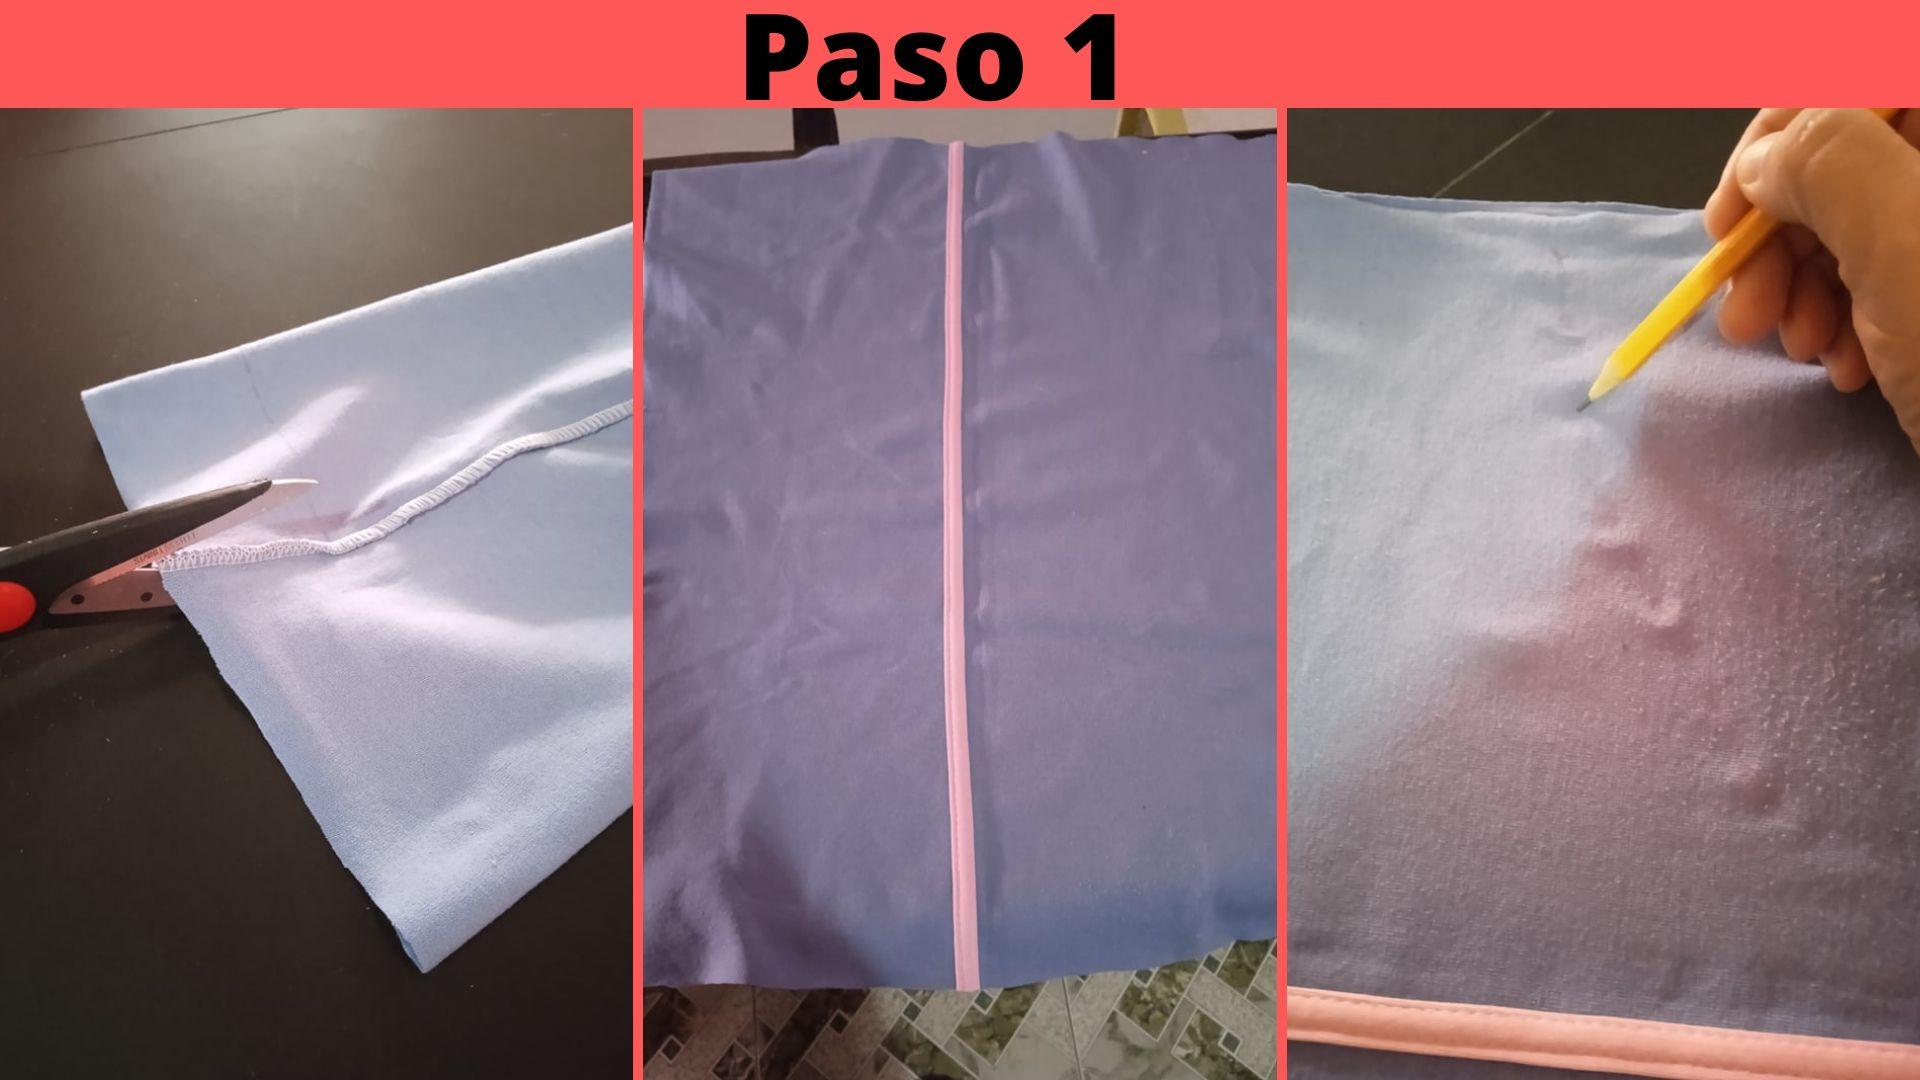
- Paso 1: Lo primero que debemos hacer es quitar la costura de la tela para abrir la manga del mono para que nos abierta completamente, luego la doblamos a la mitad y con el lápiz procedemos a marcar un semicirculo desde la parte superior hasta un extremo de la tela.
- Step 1: The first thing we must do is to remove the seam of the fabric to open the sleeve of the jumpsuit so that it is completely open, then we fold it in half and with the pencil we proceed to mark a semicircle from the top to one end of the fabric.

.jpg)
- Paso 2: Luego recortamos para dar forma a la camisa, como se muestra en la segunda imágen, este retazo de tela deberá tener unas medidas en la parte de abajo de 45cm de largo.
- Step 2: Then we cut to shape the shirt, as shown in the second image, this piece of fabric should measure 45cm long at the bottom.

.jpg)
- Paso 3: Luego con otro retazo de la misma tela y de la misma medida 45cm de de largo la colocamos encima de la otra parte que ya habíamos recortado y que será la parte delantera, la ponemos derecho con derecho y procedemos a coser ambas partes de cada lado.
- Step 3: Then with another piece of the same fabric and the same size 45cm long we place it on top of the other part that we had already cut and that will be the front part, we put it right sides together and proceed to sew both parts on each side.

.jpg)
- Paso 4: Una vez cosidas las partes de los lados, de la parte trasera de la tela doblamos hacia dentro 1 cm y cosemos por toda la orilla.
- Step 4: Once the side parts are sewn, fold the back of the fabric inward 1 cm and sew around the edge.

.jpg)
- Paso 5: Luego cosemos el ruedo de la parte de abajo doblando 1 cm hacía dentro, luego doblamos las orillas de la parte superior y seguimos cosiendo, en la parte de arriba lo que será el cuello también doblamos 1 cm hacía dentro y también cosemos.
- Step 5: Then we sew the hem of the bottom part folding 1 cm inwards, then we fold the edges of the upper part and continue sewing, on the top part which will be the neck we also fold 1 cm inwards and also sew.

.jpg)
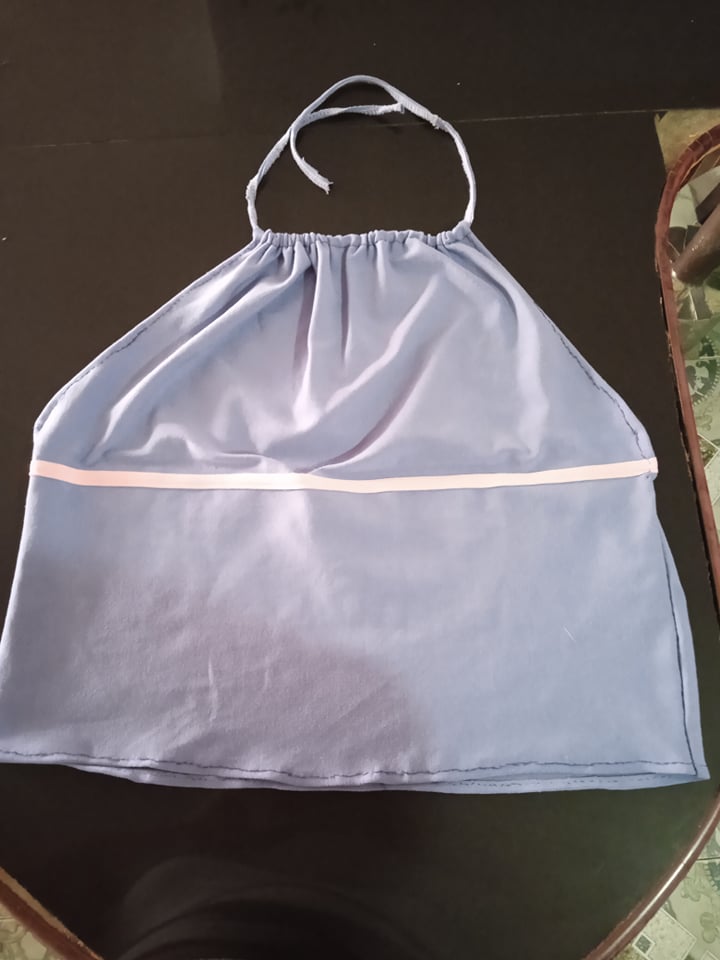
- Paso 6: Una vez cosida la parte del cuello procedemos a introducir en medio la costura que cortamos al principio de la manga del mono, lo cual servirá para sujetar nuestra camisa.
- Step 6: Once the collar is sewn, we proceed to insert in the middle the seam we cut at the beginning of the sleeve of the overall, which will serve to hold our shirt.



0
0
0.000
Beautiful thanks for sharing ma
Many thanks to you.
Your welcome @yannet80
Una manera ingeniosa de aprovechar esas telas que aún sirven. Tomaré datos para cuando tenga la oportunidad de reciclar. Saludos Lara ti.
Hola amiga, gracias por comentar.
Hi yannet80,
Join the Curie Discord community to learn more.
Hello, thank you for your support.