[ESP-ENG] Funda para teléfono con bolsillo | Phone case with pocket
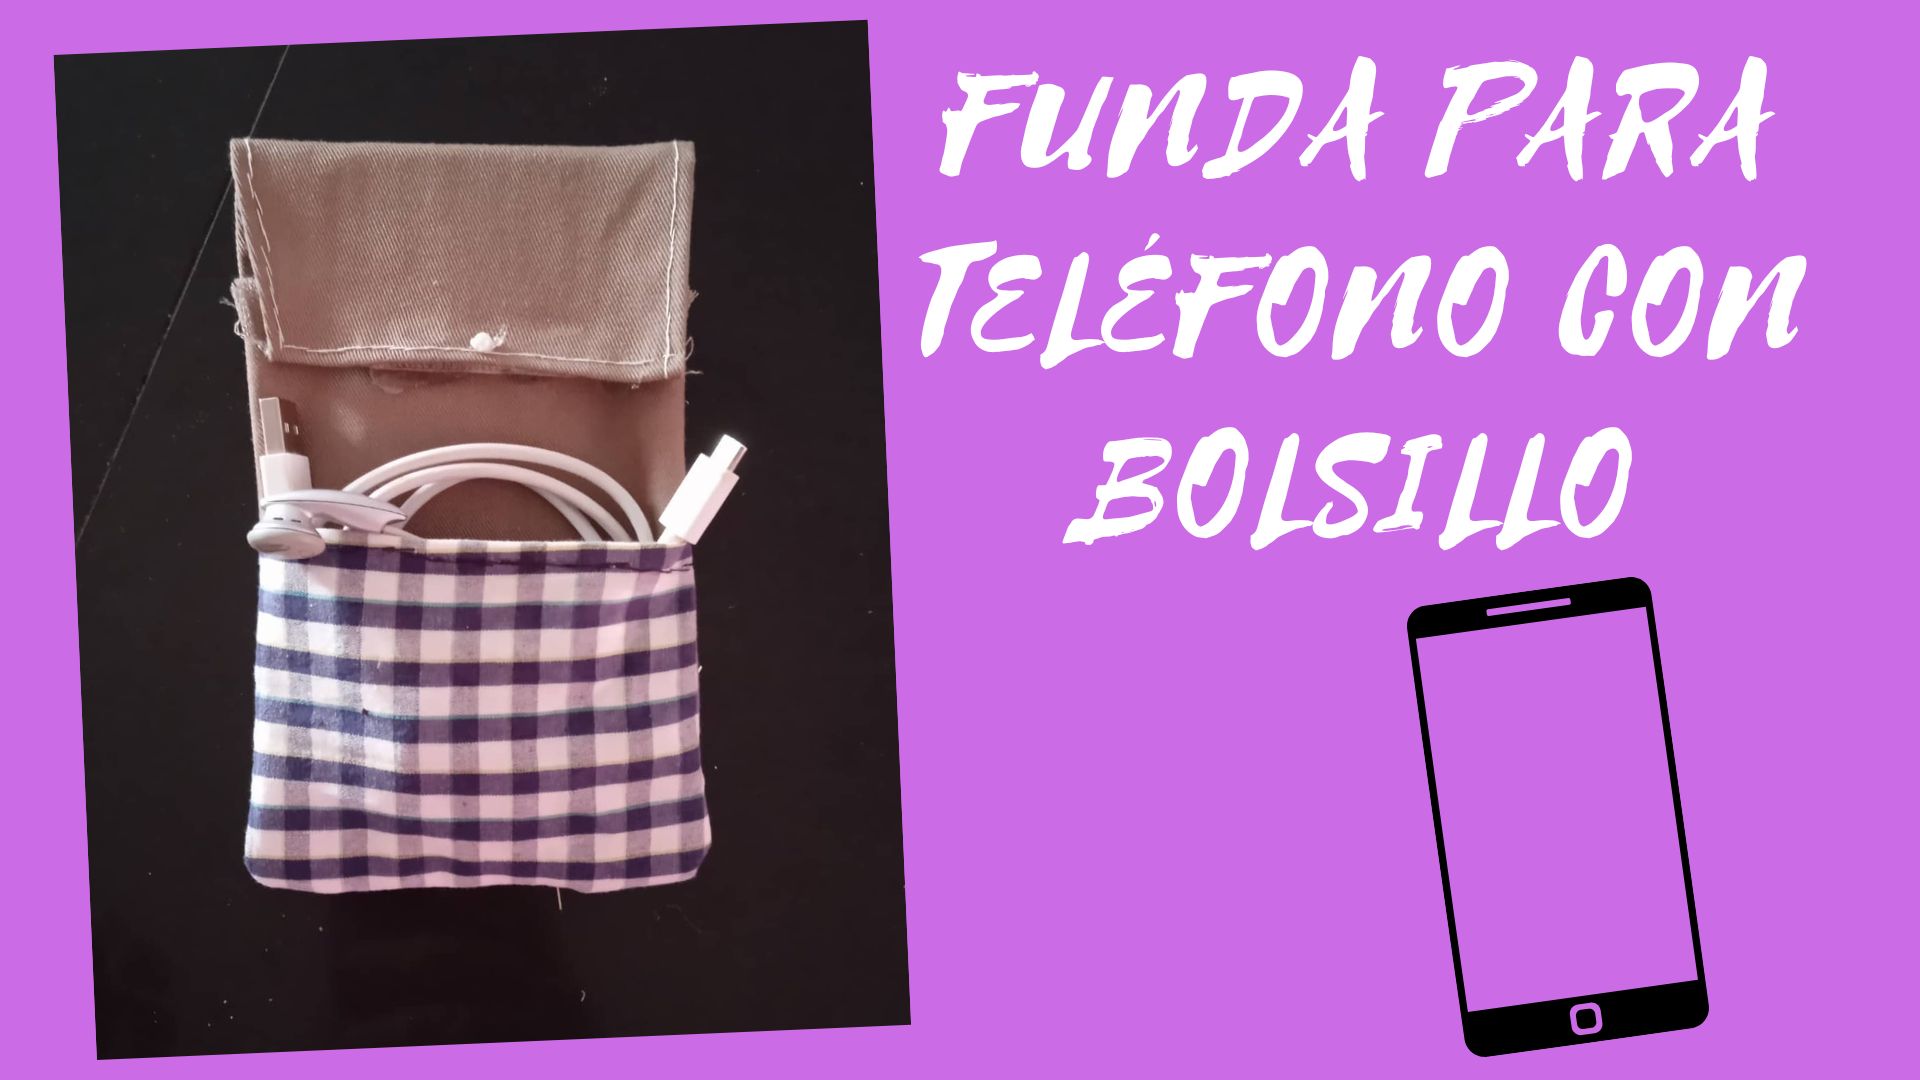
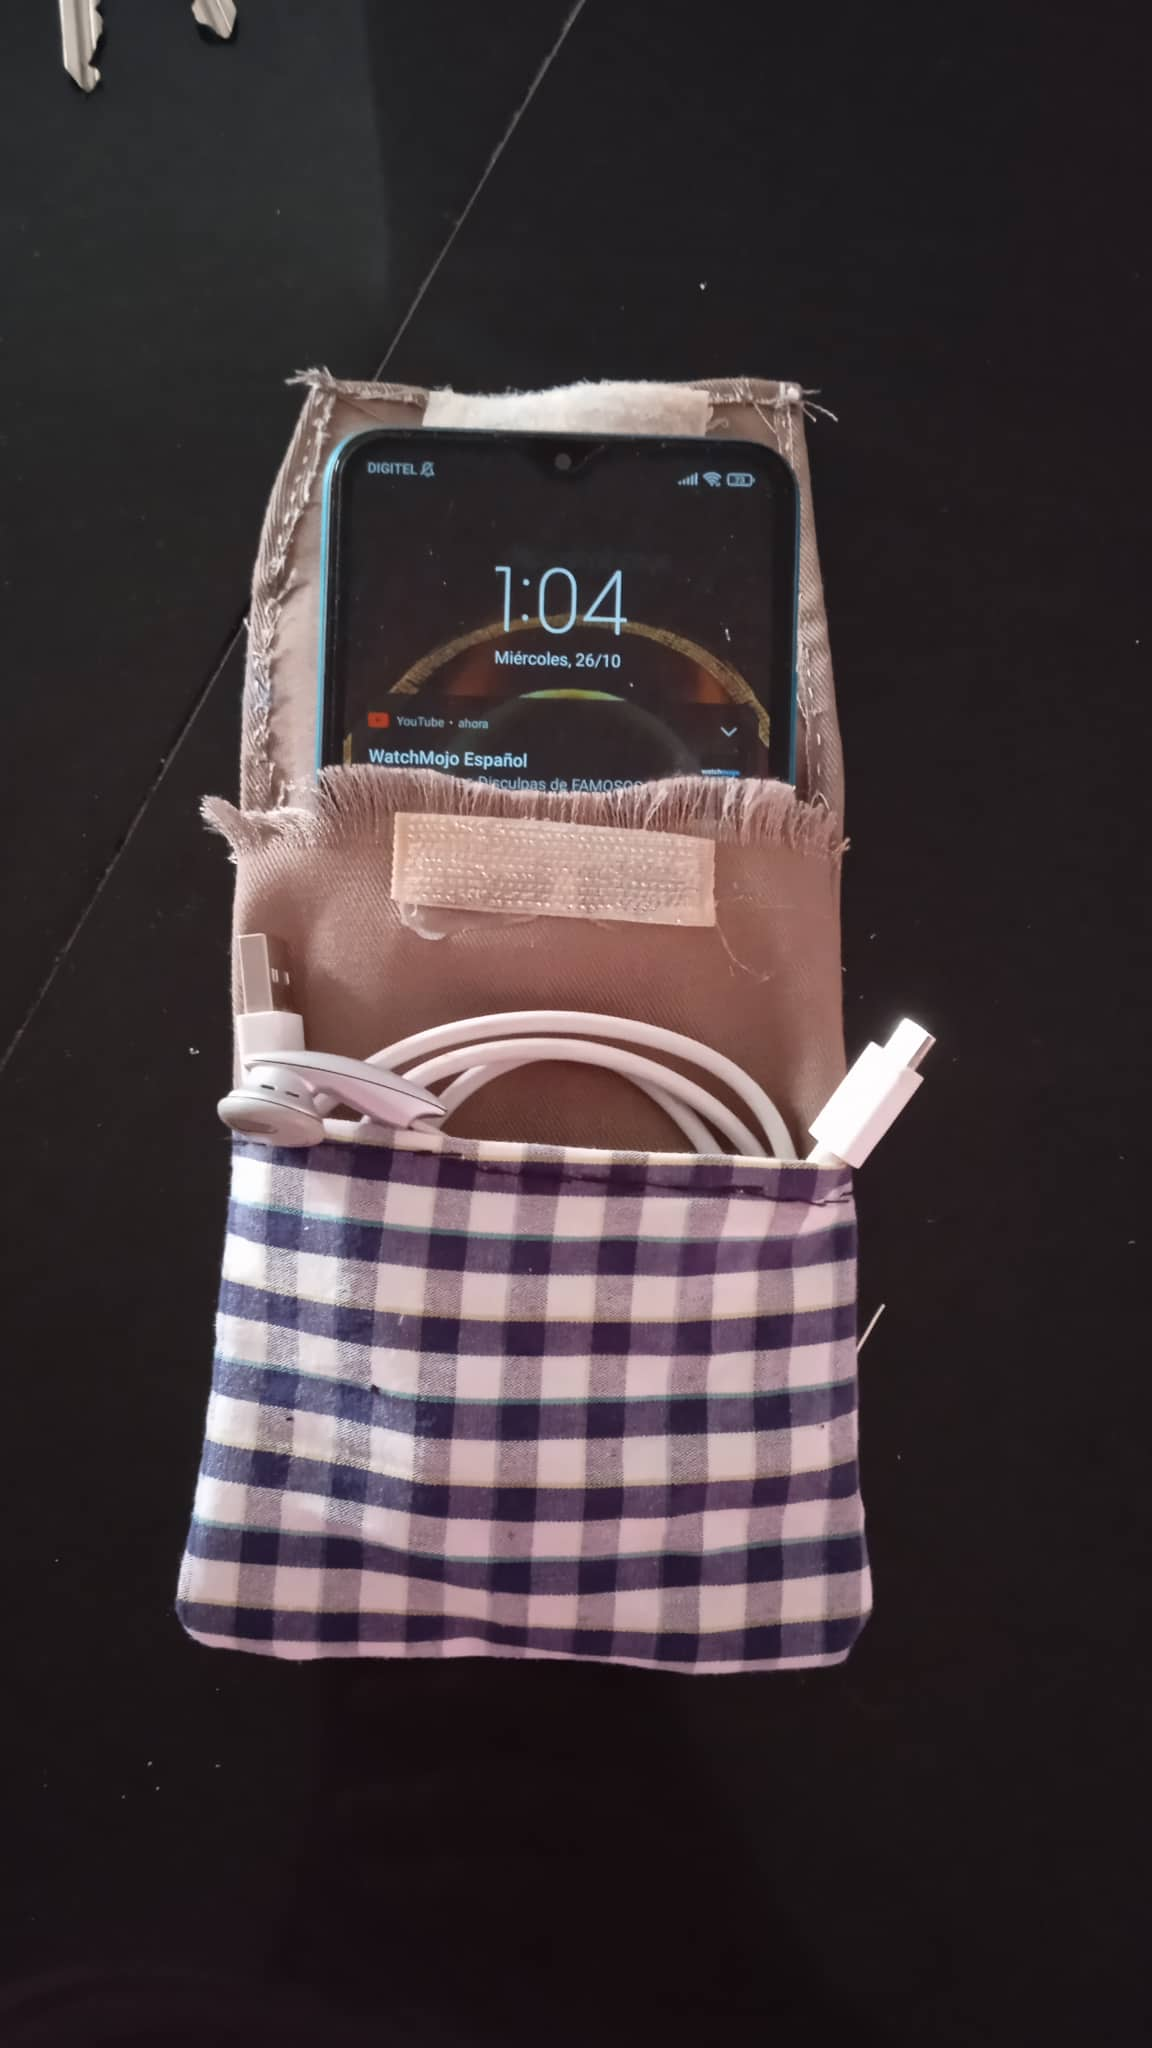
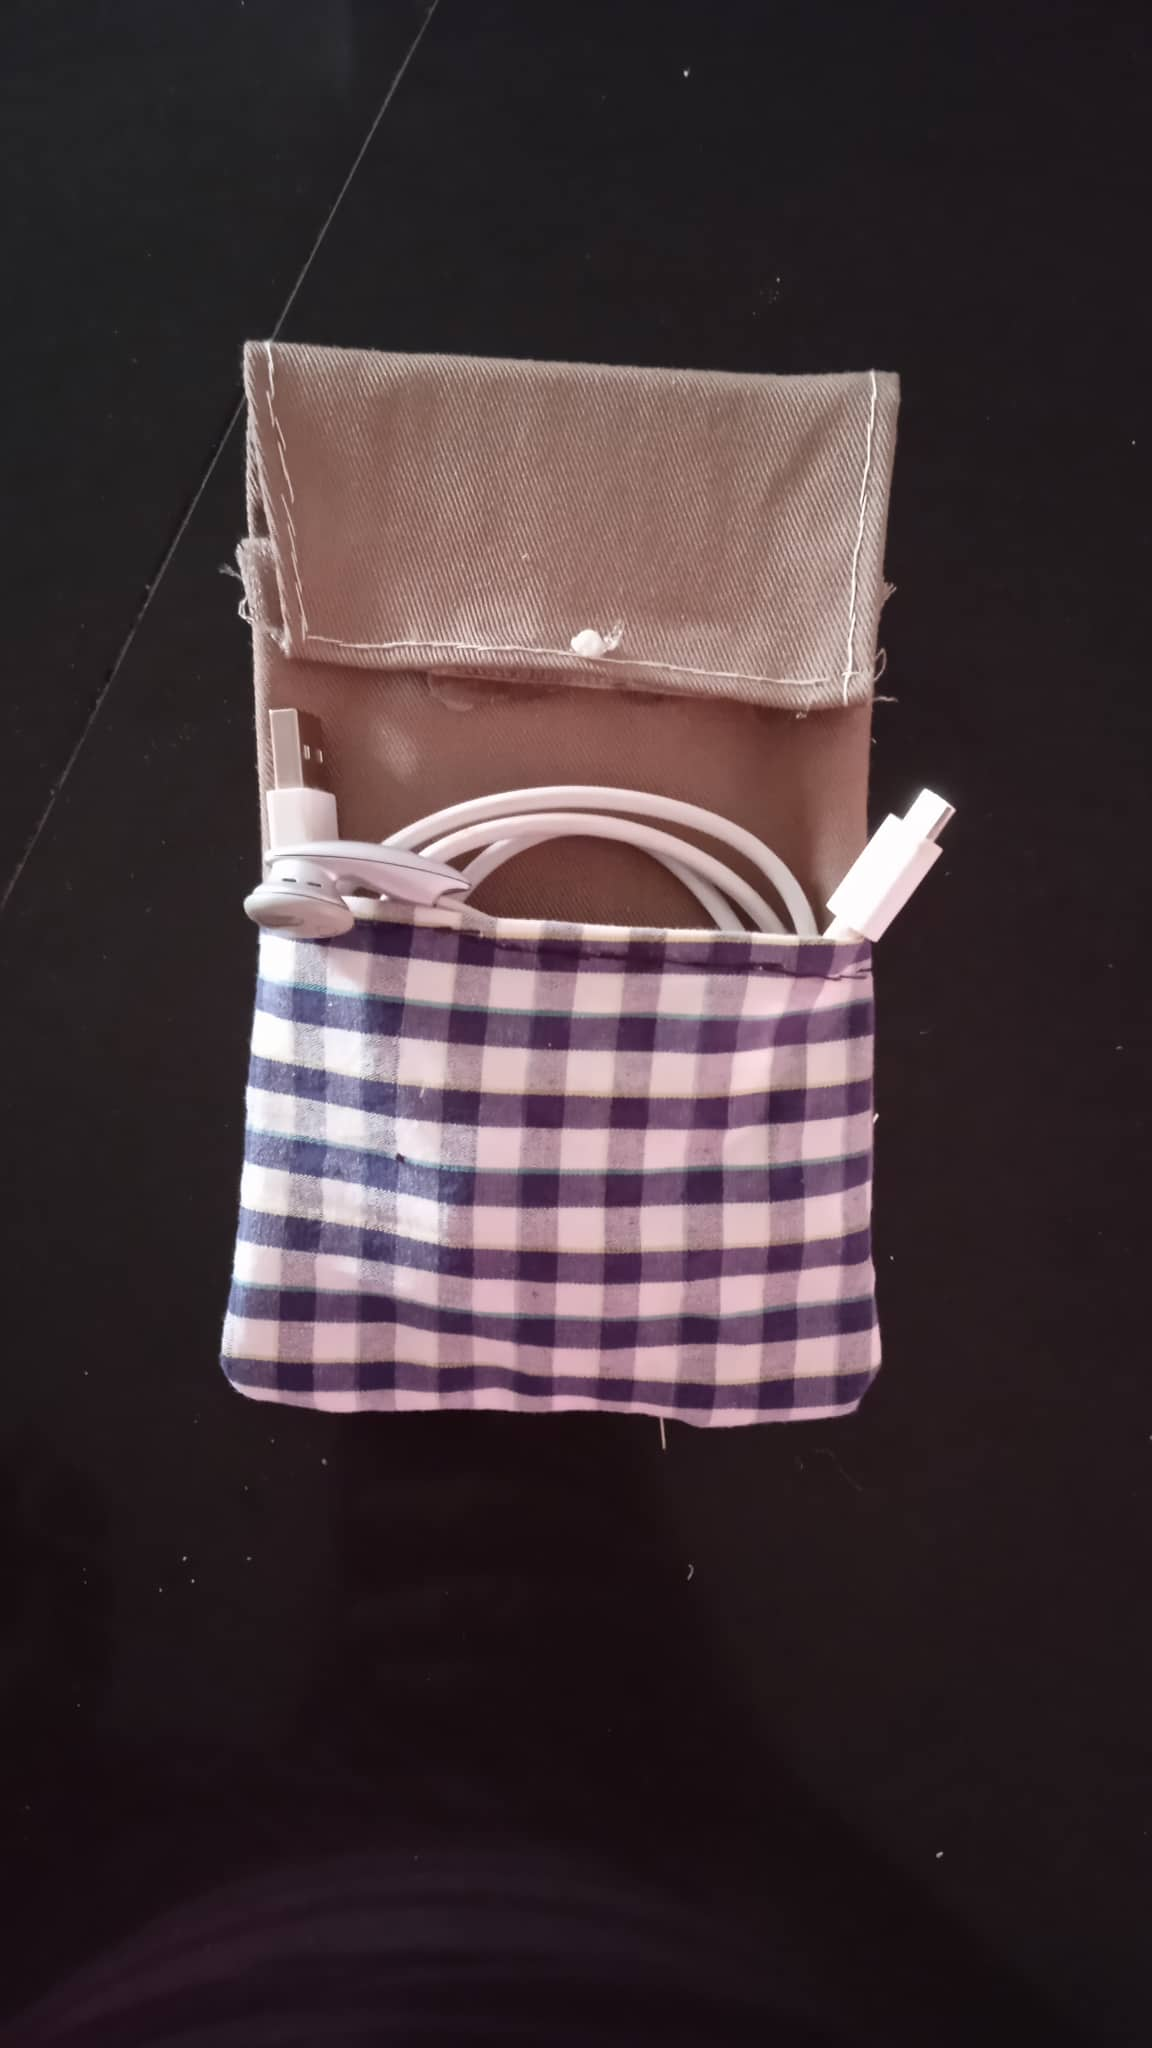
I hope you are all well, today I want to share a phone case with pocket, ideal for storing our headphones and USB cable, it is very simple to make and also in this way we can carry the phone and cable together in one case, let's see the step by step.
.jpg)
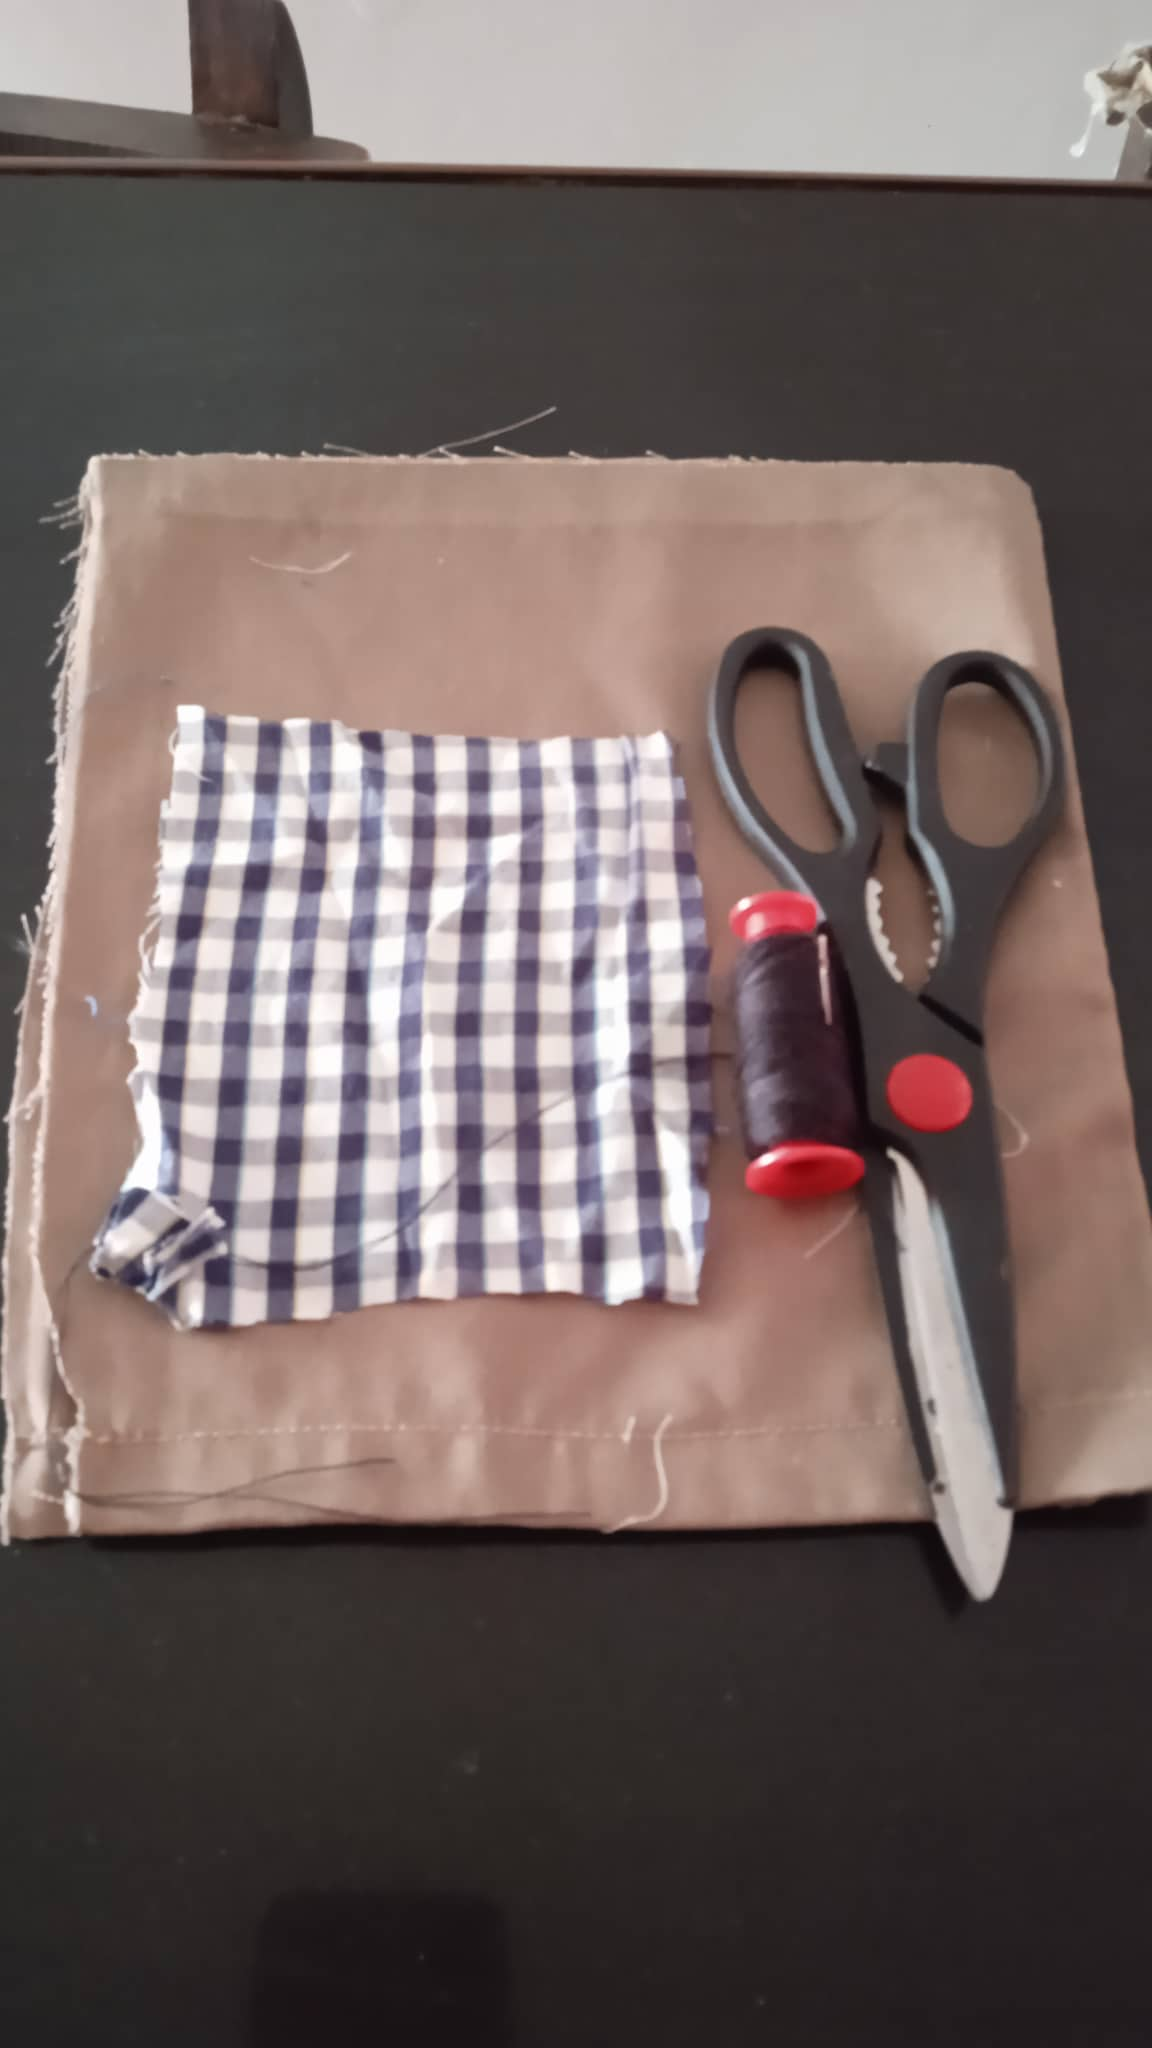
- Los materiales a utilizar son:
- Retazos de tela.
- Tijera.
- Aguja e hilo de coser.
- The materials to be used are:
- Fabric scraps.
- Scissors.
- Needle and sewing thread.
.jpg)
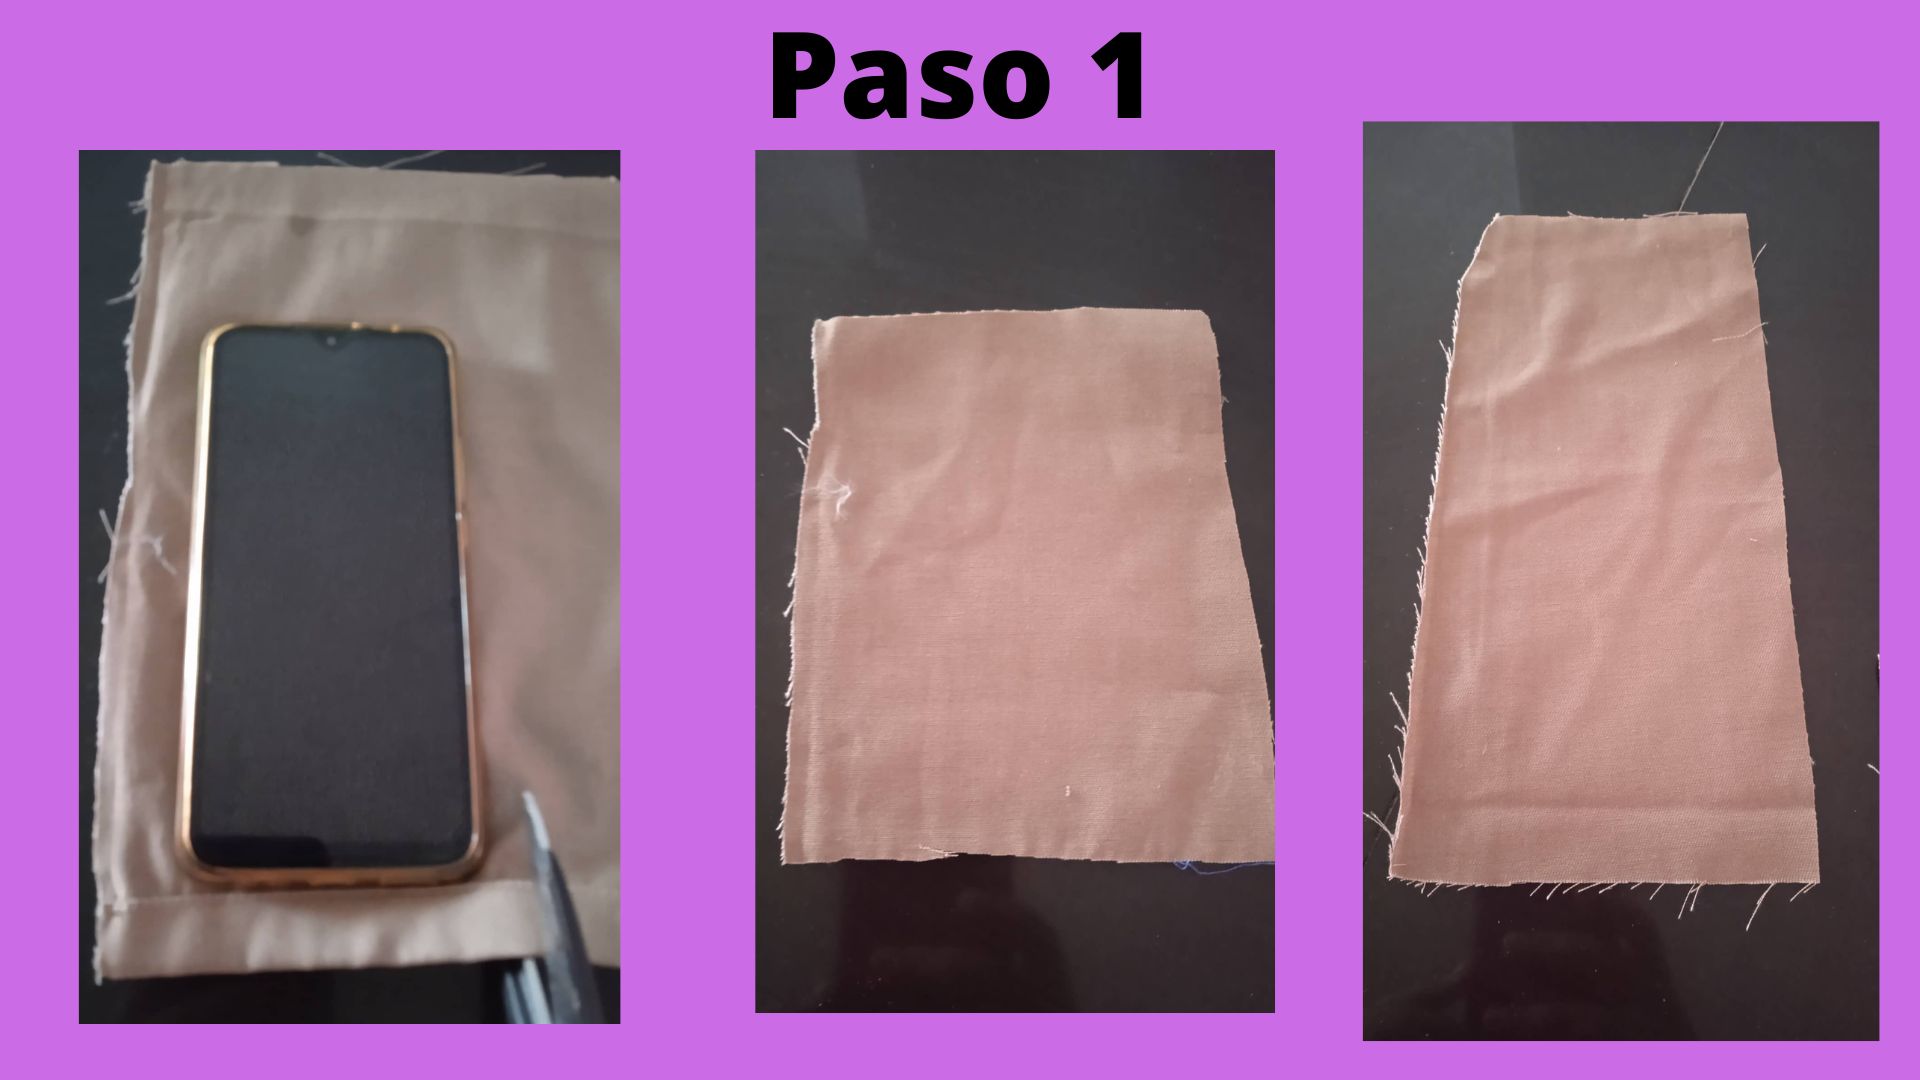
- Paso 1. Primero colocamos el teléfono sobre uno de los retazos de tela para sacar las medidas, sacamos dos partes, la delantera más pequeña que la parte trasera.
- First we place the phone on one of the pieces of fabric to take the measurements, we take two parts, the front part smaller than the back part.
.jpg)
.jpg)
- Paso 2: Agarramos un retazo de tela, el cual será el bolsillo, lo cosemos por toda la orilla, una vez cosido lo colocamos sobre la tela delantera de la funda y cosemos por toda la orilla de los lados y de la parte de abajo.
- Step 2: We take a piece of fabric, which will be the pocket, we sew all around the edge, once sewn we place it on the front fabric of the cover and sew all around the edge of the sides and the bottom.
.jpg)
.jpg)
- Paso 3: Una vez cosida toda la orilla, colocamos ambas partes derecho con derecho y cosemos por toda la orilla, luego volteamos.
- Step 3: Once the entire edge is sewn, place both parts right sides together and sew along the entire edge, then turn over.
.jpg)
.jpg)
- Paso 4: Una vez volteada la funda cosemos toda la orilla de un extremo al otro extremo y en la parte delantera deshilachamos un poco.
- Step 4: Once the cover is turned over, we sew the entire edge from one end to the other end and fray a little at the front.
.jpg)
.jpg)
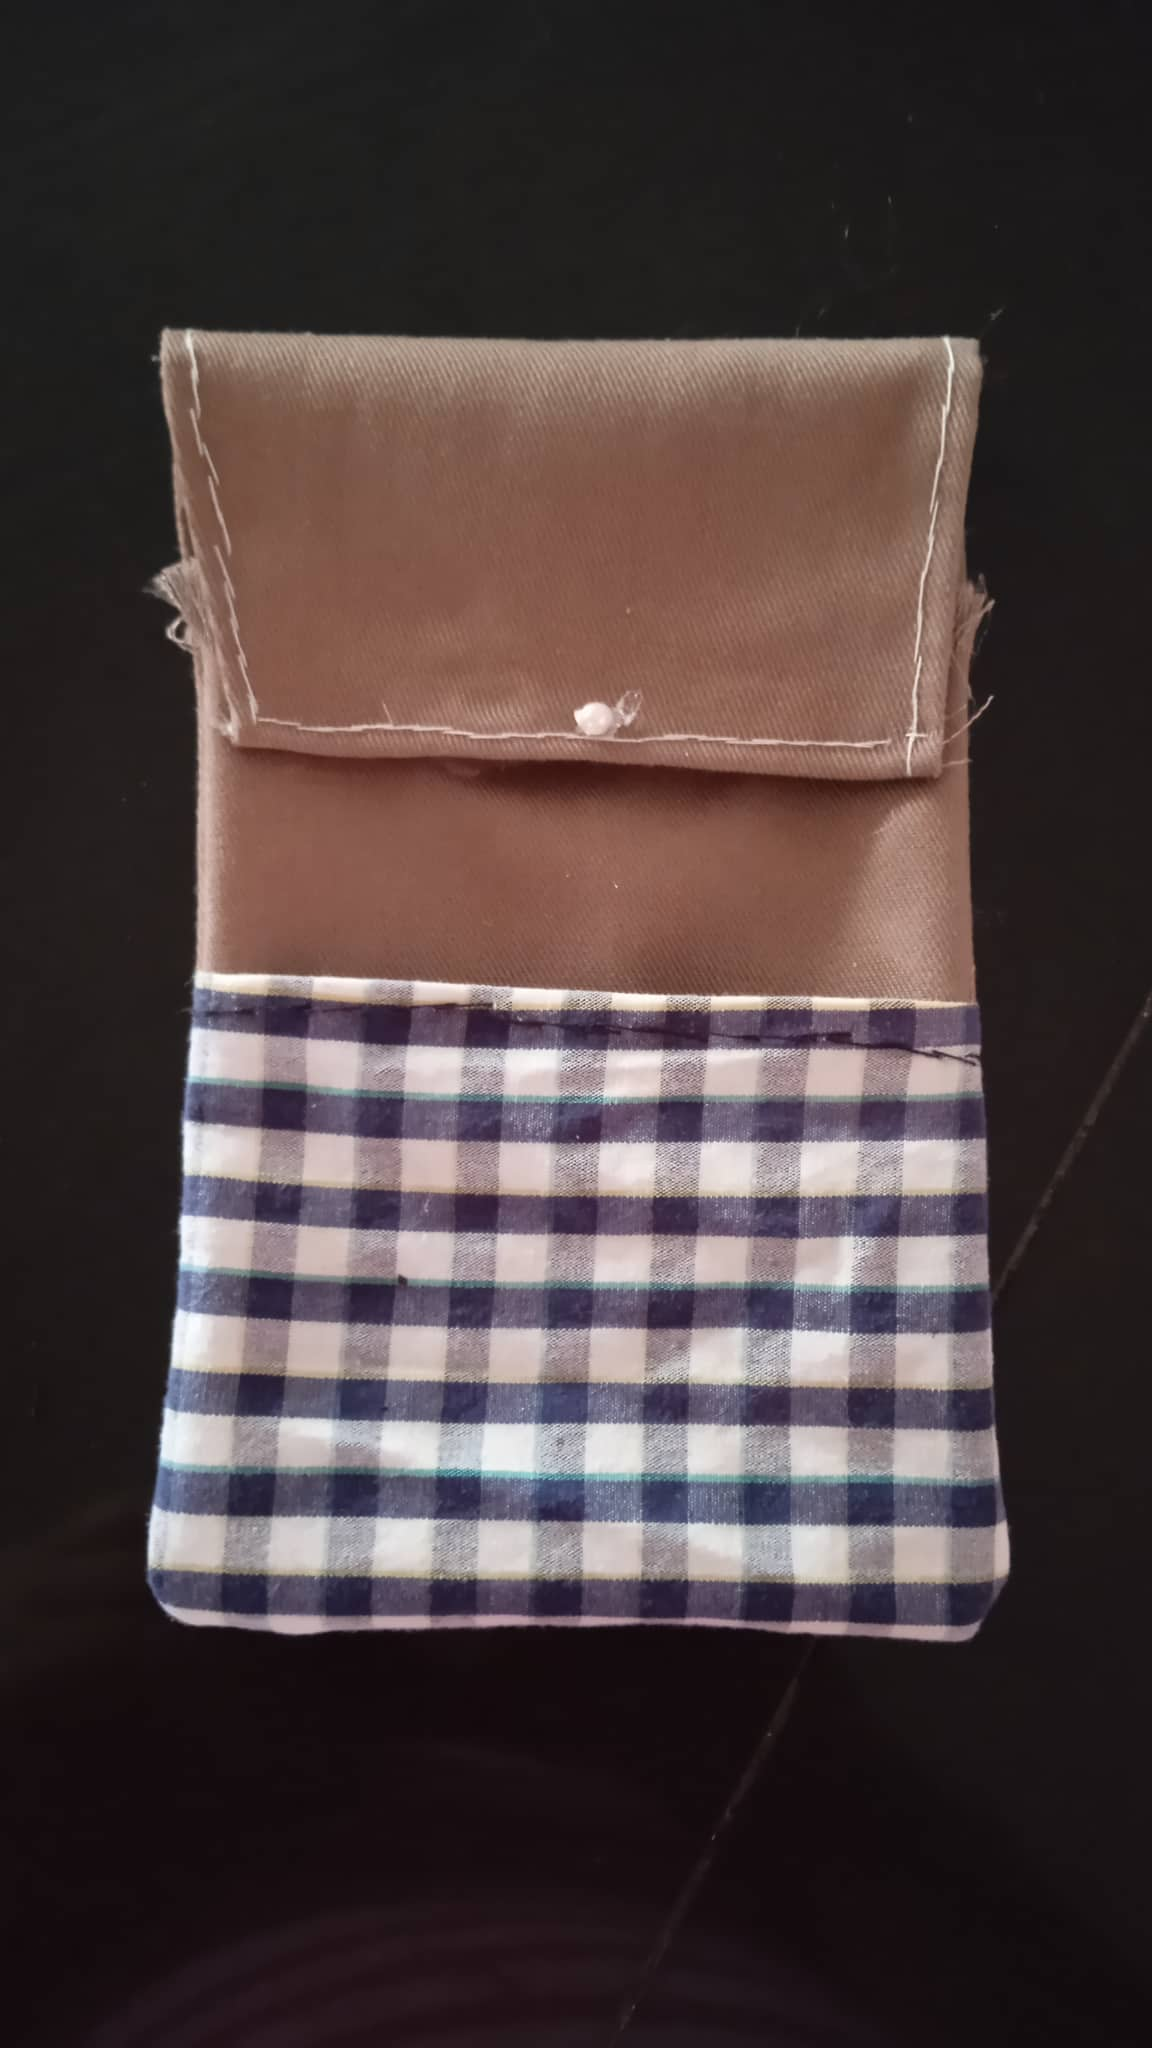
- Paso 5: Luego se procede a pegar el cierre mágico en ambas partes y se coloca un pequeño adorno en la parte delantera.
- Step 5: Then proceed to glue the magic clasp on both parts and place a small ornament on the front.
.jpg)
.jpg)
.jpg)

0
0
0.000
Thank you for sharing this post on HIVE!
Your content got selected by our fellow curator elizacheng & you received a little thank you upvote from our non-profit curation initiative. Your post will be featured in one of our recurring curation compilations which is aiming to offer you a stage to widen your audience within the DIY scene of Hive.
Next time make sure to post / cross-post your creation within the DIYHub community on HIVE and you will receive a higher upvote!
Stay creative & hive on!
This is beautiful @yannet80
Un proyecto práctico y muy útil. Felicidades. Gracias por compartir tu trabajo.
Gracias por comentar.