[ESP-ENG] Confeccionando un gorro para mí | Making a hat for me
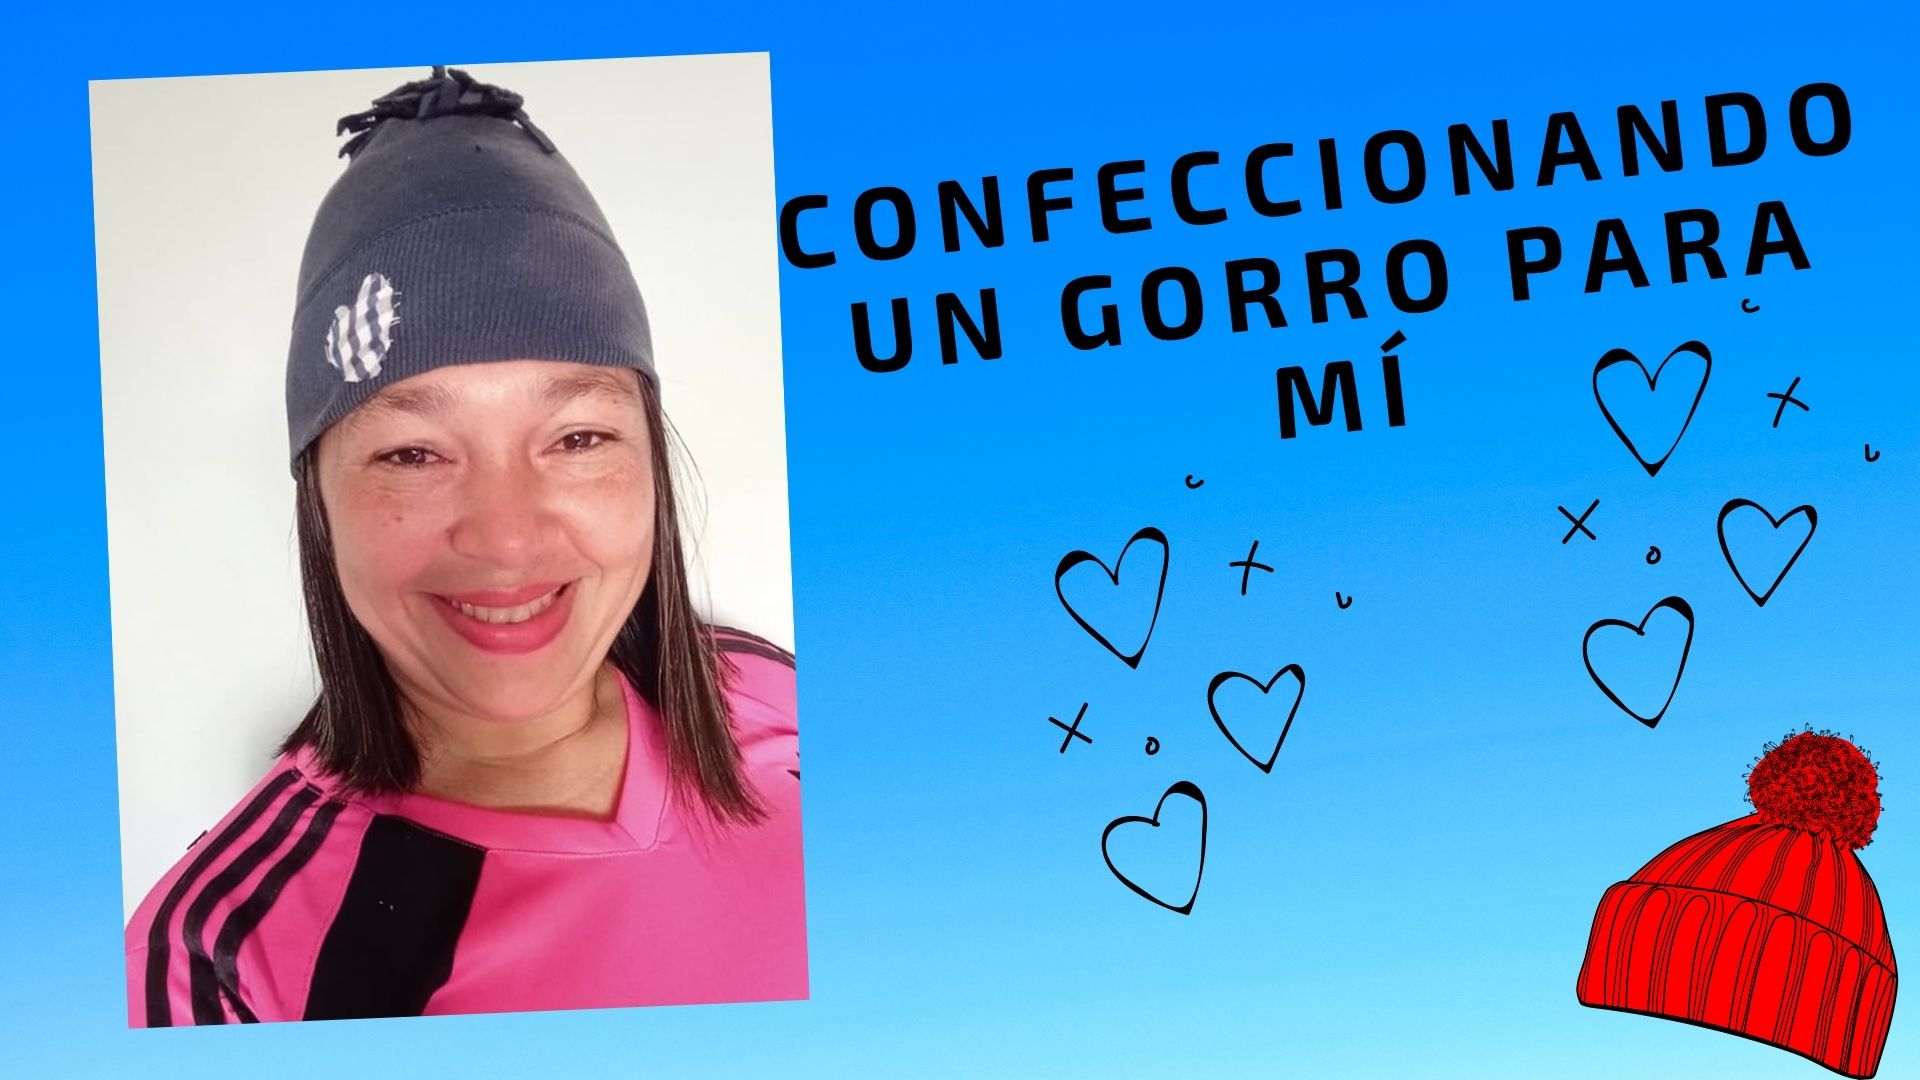
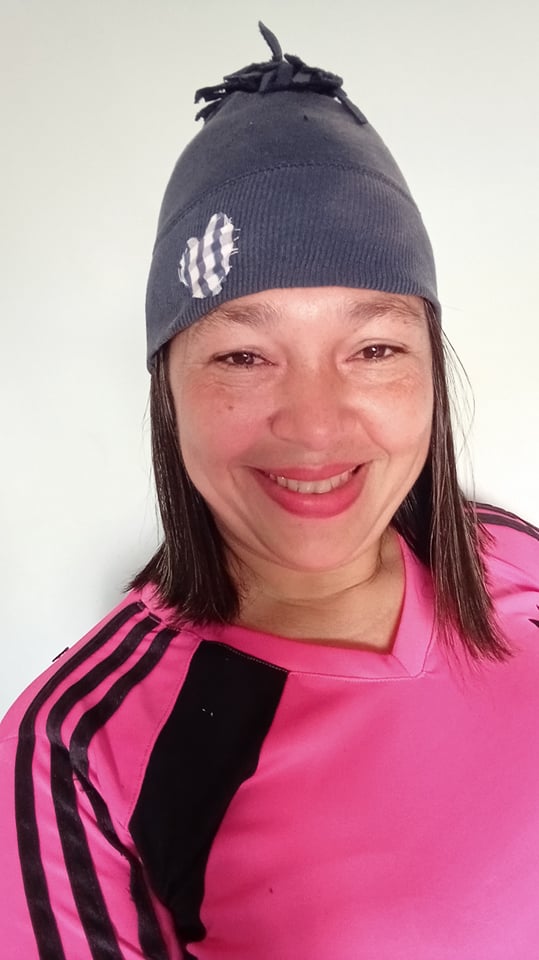
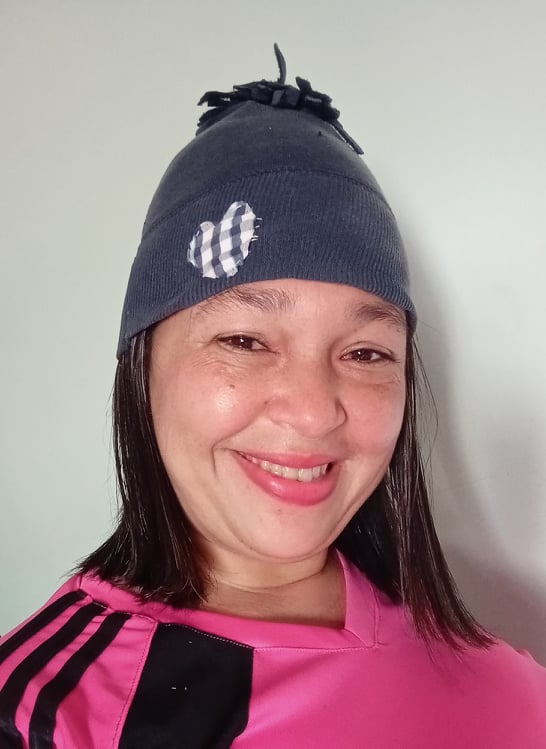
Happy day to everyone, this time I want to share with you a nice hat that I made for myself, some years ago I had saved a sweater of my second son, and today I decided to take it out to take advantage of it and what better way than making this hat that can be used to go out anywhere near home, let's see the steps to follow.
.jpg)
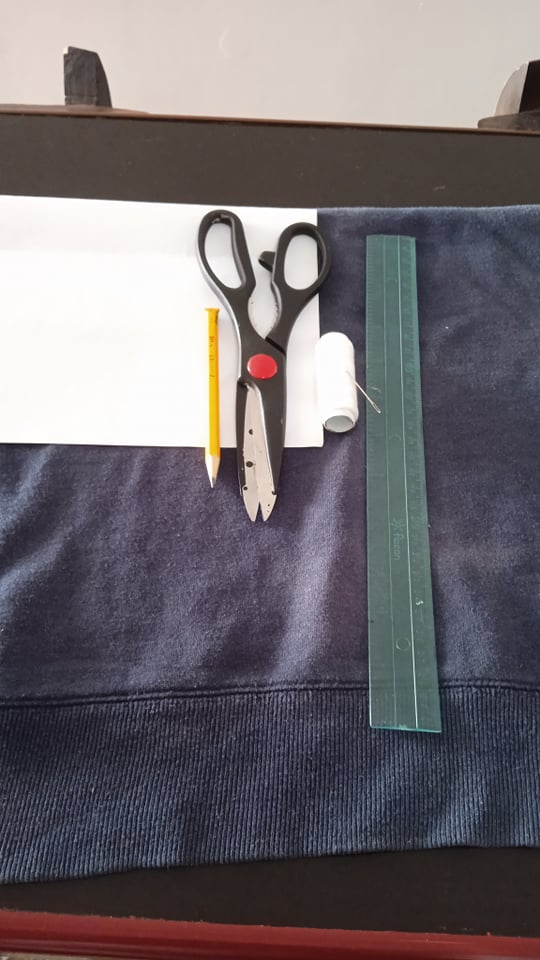
- Los materiales a utilizar son:
- Tela que ya no uses.
- Hilo y aguja de coser.
- Tijera.
- Lápiz.
- Regla.
- Hoja de reciclaje.
- The materials to be used are:
- Fabric you no longer use.
- Thread and sewing needle.
- Scissors.
- Pencil.
- Ruler.
- Recycling sheet.
.jpg)
.jpg)
- Paso 1: Primero marcamos las medidas en la hoja de reciclaje, las cuales son 25cm de ancho, 20cm de largo, luego recortamos hasta obtener el patrón.
- Step 1: First we mark the measurements on the recycling sheet, which are 25cm wide, 20cm long, then we cut out until we get the pattern.
.jpg)
.jpg)
- Paso 2: Una vez obtenido el patrón, lo colocamos sobre la tela, marcamos, y recortamos, sacando 2 partes iguales, luego las colocamos derecho con derecho y procedemos a coserlas por toda la orilla.
- Step 2: Once the pattern is obtained, we place it on the fabric, mark it, and cut it out, making 2 equal parts, then we place them right sides together and proceed to sew them along the edge.
.jpg)
.jpg)
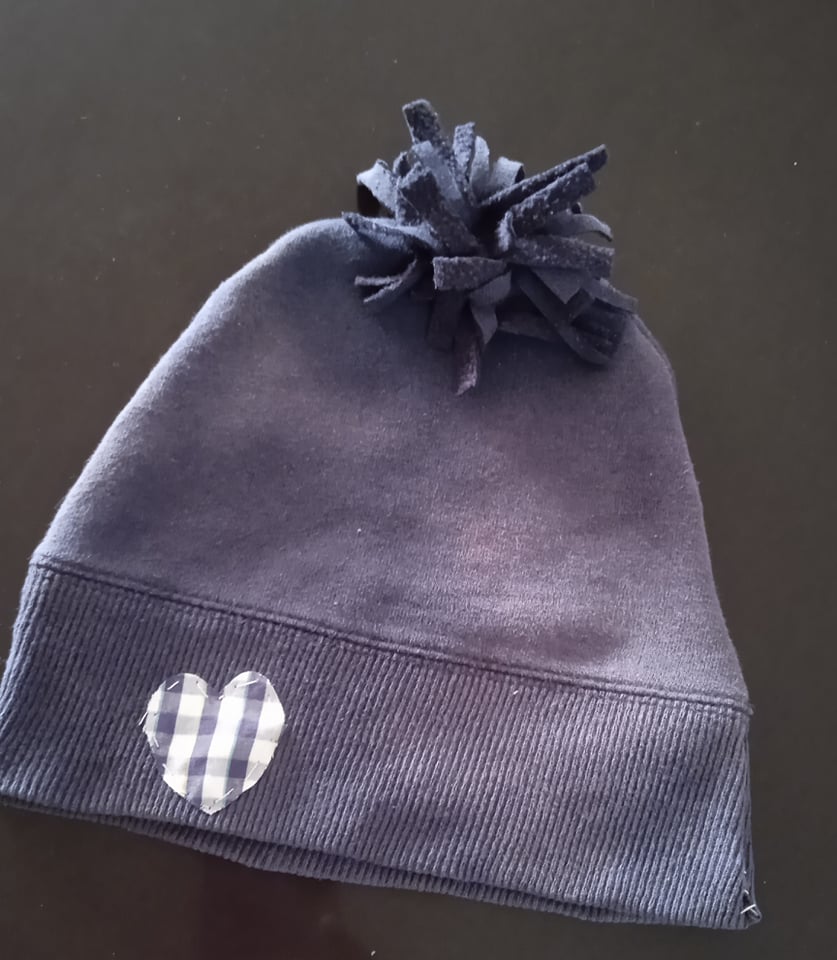
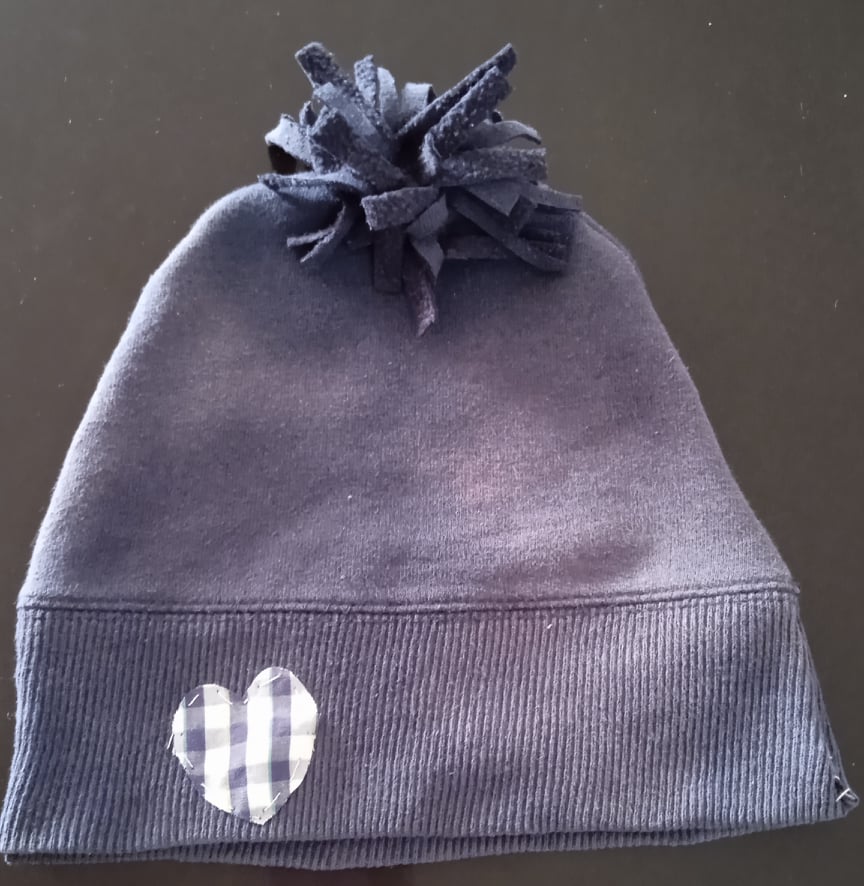
- Paso 3: Una vez cosidas las orillas, volteamos el gorro, luego con tela de otro color, recortamos un corazón o puede ser otro forma que usted desee, lo cosemos en la parte de adelante del gorro.
- Step 3: Once the edges are sewn, turn the hat inside out, then with a different color fabric, cut out a heart or any other shape you wish, and sew it on the front of the hat.
.jpg)
.jpg)
- Paso 4: Luego para el toque final, recortamos una tira de 2cm de ancho y la cortamos en tiras, luego la enrollamos y la cosemos en la parte de arriba del gorro, cabe destacar que usted puede hacer la decoración de su gorro como usted quiera.
- Step 4: Then for the final touch, we cut a 2cm wide strip and cut it into strips, then we roll it up and sew it on the top of the hat, it should be noted that you can make the decoration of your hat as you like.
.jpg)


.jpg)
.jpg)

0
0
0.000
Hi yannet80,
Join the Curie Discord community to learn more.
Thank you very much
Your content has been voted as a part of Encouragement program. Keep up the good work!
Use Ecency daily to boost your growth on platform!
Support Ecency
Vote for new Proposal
Delegate HP and earn more
Thank you very much
Muy original me encantó
Muchas gracias.
Beautiful thanks for sharing @yannet80
Thank you my friend.
Me encanta este tipo de gorros, son geniales. Un trabajo muy bonito 🌹
Muchas gracias bleuclair.
I knit a lot of hats. But sewing one is such a good idea!
Thanks for commenting my friend, best regards.