☄️Hermosas Argollas Fácil de Hacer/Beautiful Easy to Make/ Beautiful Earrings☄️
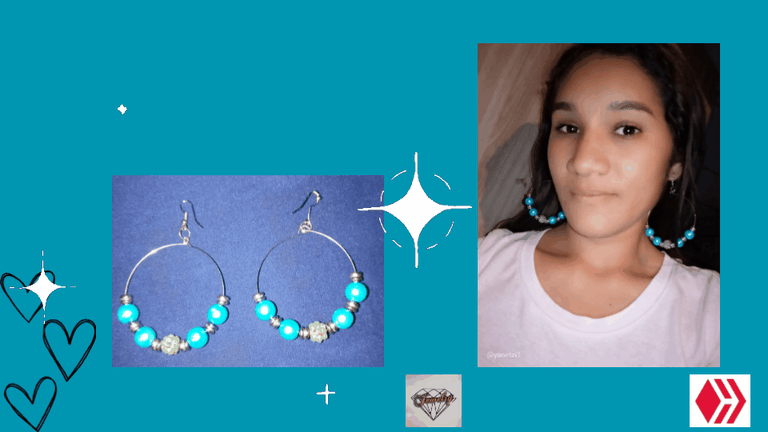
Hoy les traiga una linda y facil idea de como hacer unas argollas a nuestro gusto y con colores llamativos llenos de inspiración y con pocos materiales.
Los materiales utilizados en la elaboración de las argollas fueron los siguientes:
Materiales
- Alambre de Bisutería
- Perlas Grandes Color turquesa
- Piedra Grande color verde
- Separadores plateados
- Pinza para cortar o ajustar
- Pinza para apretar
- Ganchos de zarcillos .
A continuación les estare mostrando el Paso a Paso en la realizacion de nuestras argollas
Paso 1
Lo primero que vamos a hacer es tomar el alambre ya listo para colocar las piedras yo en este caso utilice las perlas grandes .
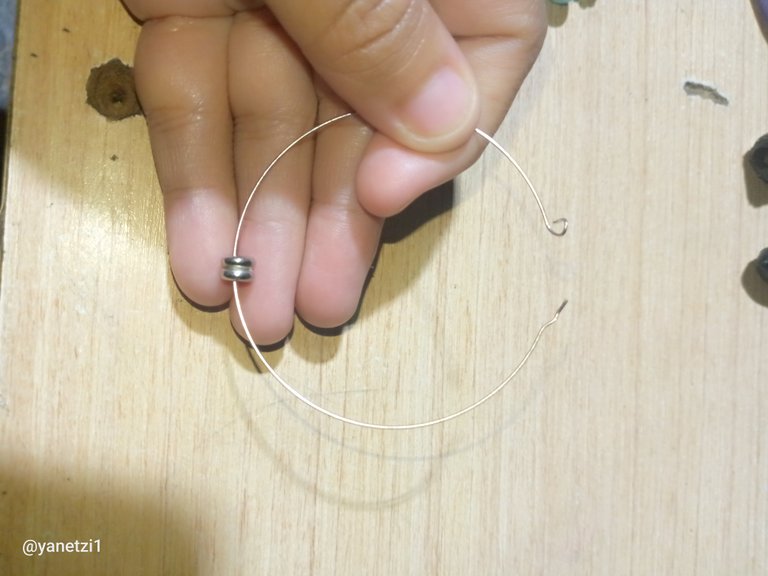
Comenzando solo vamos a introducir el separador plateado esto es para darle como una entrada a las demás qué iremos a utilizar.
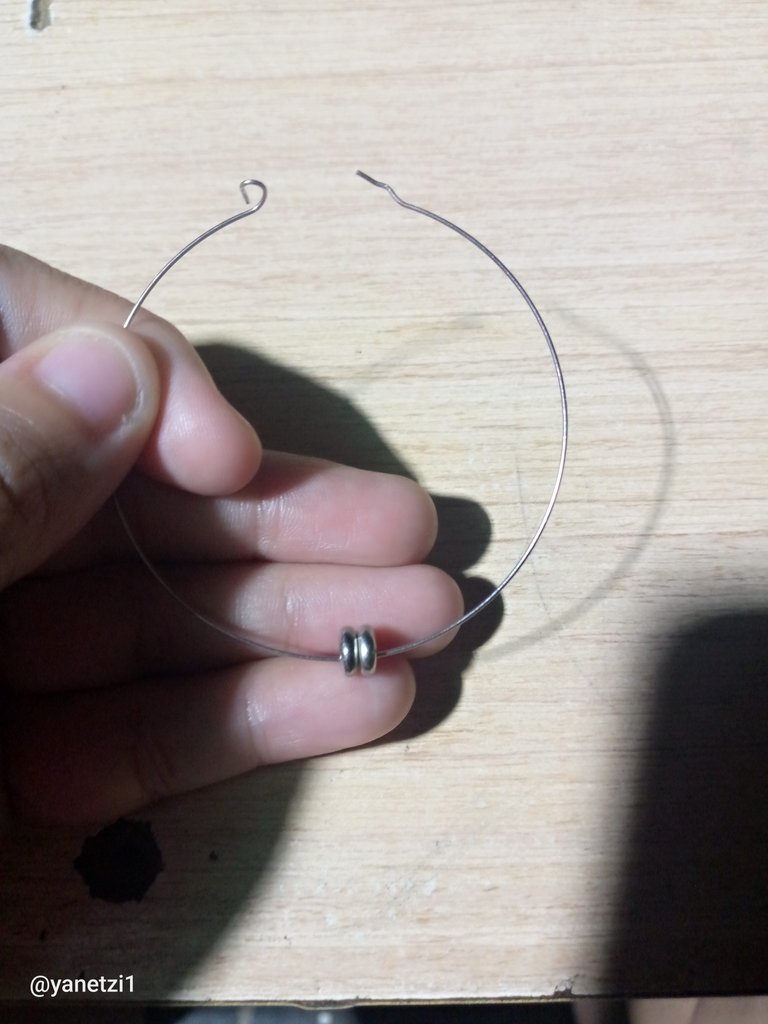
Paso 2
Ahora lo que vamos a hacer es introducir una de las perlas grandes flor turquesa de este modo
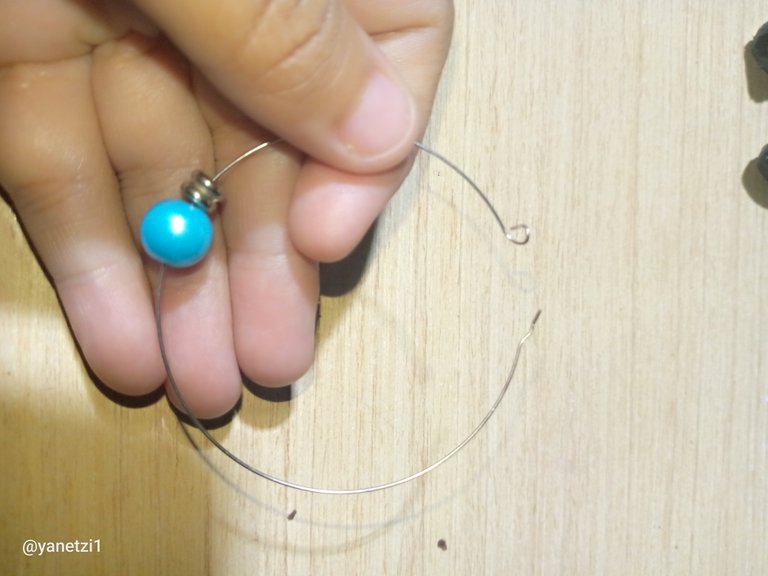
Siempre me han gustado las cosas que sean delicadas elegantes y bonitas en este caso no utilizaré muchas piedras ya que quiero que el alambre plateado tome mucha imagen a la hora de ponerme las argollas entonces las llamaré argollas solitarias porque son hechas con pocas piedras.
Paso 3
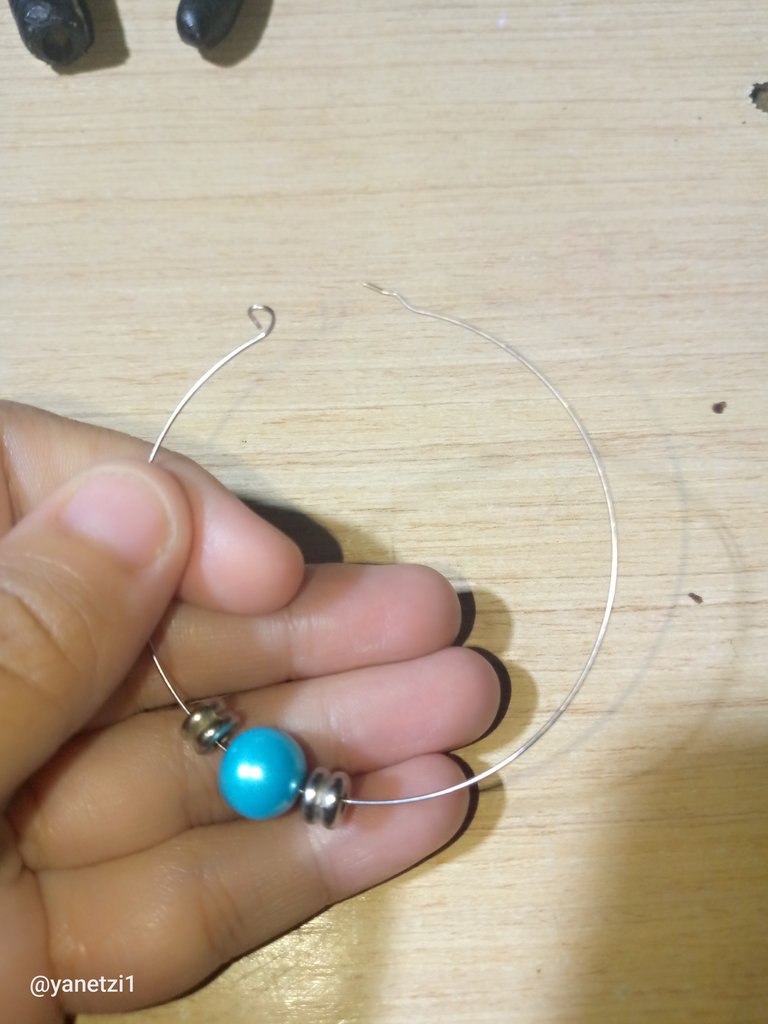
Luego de haber introducido la perla vamos a poner intermedio los separadores siempre utilizaremos las medidas de las piedras del lado tanto derecho como izquierdo esto es para que pueda quedar de una manera estable y ordenada.
Paso 4
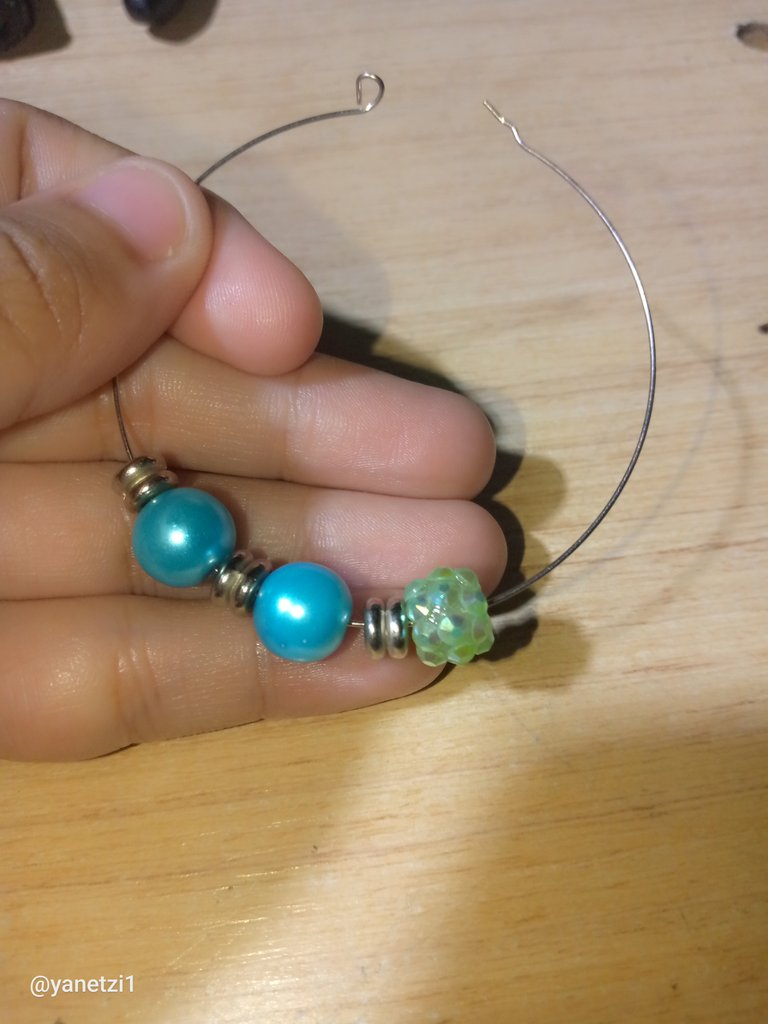
Después vamos a poner otra perla más seguida con los separadores Y por último en la parte del medio de nuestra argolla vamos a colocar la piedra color verde suavecito en forma de flores esto es para darle un toque más diferente y único siempre podemos combinar cuando tenemos variedades de piedra para que así puedan quedar muy lindas y diferentes.
Paso 5
Después de haber puesto la piedra en el centro vamos a hacer el mismo procedimiento de poner los separadores.
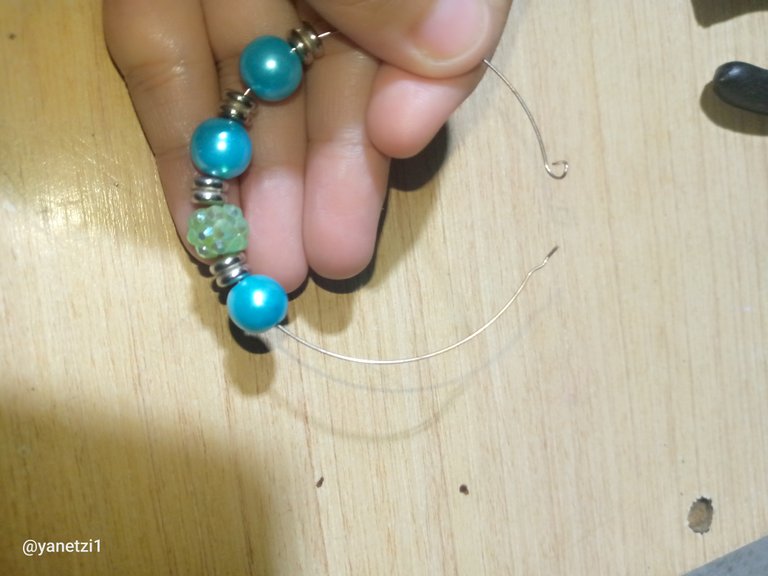
Seguidamente colocaremos las perlas y volvemos a colocar los separadores y después la otra perla por último solamente nos quedará colocar el último separamiento y así obtendremos nuestra hermosas argollas.
Paso 6
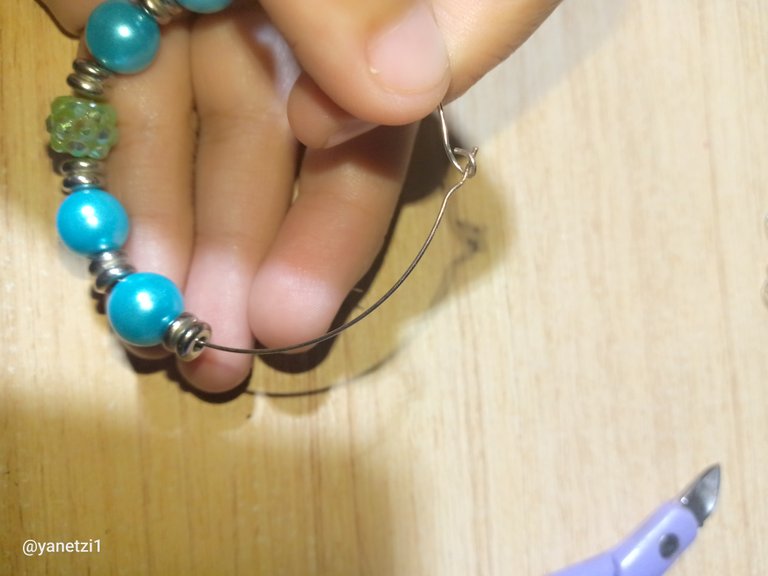
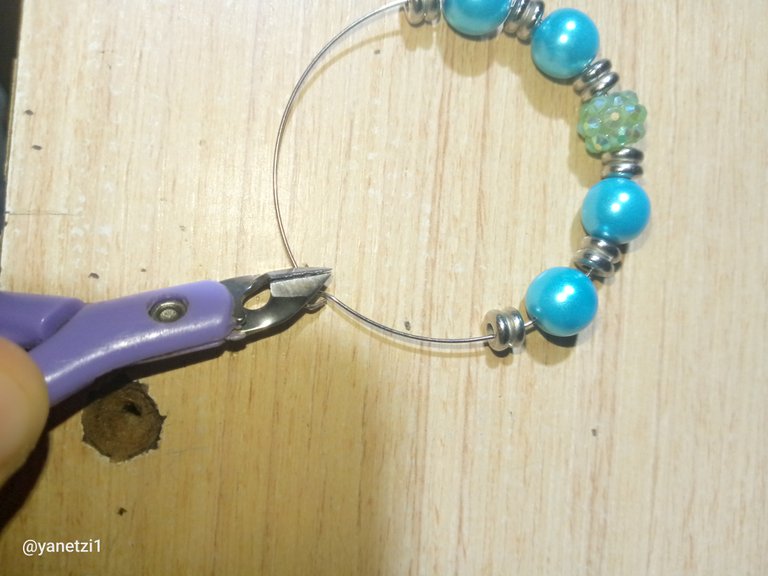
Después de hacer la estructura de la argolla y haberle colocado todas las piedras solamente lo lo que haremos es tomar la pinza y le vamos a hacer el el trancado introduciendo el alambre en el agujero y dándole una pinza a la vuelta para que así pueda quedar amarrado y de una manera más bonita.
Paso 7
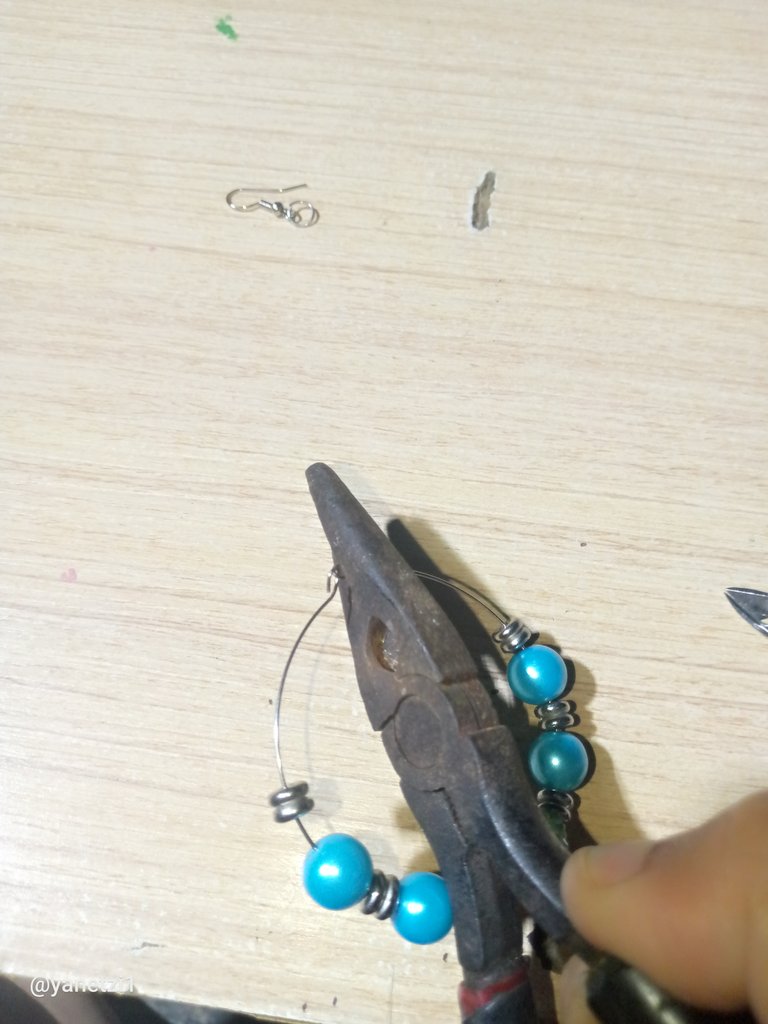
Ahora lo que vamos a hacer por ultimo es apretar y de una sola vez ponemos el gancho de zarcillo y listo asi terminamos nuestras argollas .
Resultado final!
Bueno amigos espero que sea de su agrado, estas argollas estan muy lindas y quiero que se animen a ser participe de creaciones lindas y faciles vomo estas, les deseo una semana llena de muchas bendiciones para sus vidas.
Hasta la Proxima amigos!

Las imagenes son de mi propiedad y fueron tomadas por mi telefono tecno spark go 2023
Traductor utilizado : Deepl
Las imágenes son editadas mediante la aplicación de canva.

Today I bring you a nice and easy idea of how to make some rings to our taste and with bright colors full of inspiration and with few materials.
The materials used in the elaboration of the rings were the following:
Materials
- Costume Jewelry Wire
- Large turquoise pearls
- Large green stone
- Silver separators
- Tweezers to cut or adjust
- Tightening pliers
- Earring hooks
Next I will be showing you the step by step in the making of our rings
Step 1
The first thing we are going to do is to take the wire ready to place the stones, in this case I used the big pearls.

First we are going to introduce the silver separator, this is to give it as an entrance to the others that we are going to use.

Step 2
Now what we are going to do is to introduce one of the large turquoise flower pearls like this

I have always liked things that are delicate, elegant and pretty, in this case I will not use many stones because I want the silver wire to take a lot of image when I put on the rings, so I will call them solitaire rings because they are made with few stones.
Step 3

After inserting the pearl, we are going to place the separators in between, always using the measurements of the stones on the right and left sides, so that it can be stable and orderly.
Step 4
Then we are going to put another pearl more followed with the separators And finally in the middle part of our ring we are going to place the soft green stone in the shape of flowers this is to give it a more different and unique touch we can always combine when we have varieties of stone so that they can be very nice and different.

Step 5
After having placed the stone in the center we are going to do the same procedure of placing the spacers.

Next we will place the pearls and we will place again the separators and then the other pearl and finally we will only have to place the last separator and thus we will obtain our beautiful rings.
Step 6
After making the structure of the ring and having placed all the stones, what we will do is to take the clamp and we will make the locking by inserting the wire into the hole and giving it a clamp around so that it can be tied and in a more beautiful way.


Step 7

Now what we are going to do lastly is to tighten and in one go we put the tendril hook and that's it, we are done with our rings.
Final result!
Well friends I hope you like it, these rings are very nice and I want you to be encouraged to participate in beautiful and easy creations like these, I wish you a week full of many blessings for your lives.
See you next time friends!

The images are my property and were taken by my tecno spark go 2023 phone.
Translator used : Deepl
The images are edited using the canva application.
Amiga que gran trabajo con esas argollas están muy lindas y te lucen muy bien ya que llaman mucho la atención felicidades buen post.
Oye quedaron muy Lindas estás argollas has realizado buen procedimiento y están super bellas ,muy elegantes, y llamativas.
Hermosas Argollas que Dios te bendiga y te llene de más ideas como estas,que Lindas te quedaron.
Congratulations @yanetzi1! You have completed the following achievement on the Hive blockchain And have been rewarded with New badge(s)
Your next target is to reach 600 comments.
You can view your badges on your board and compare yourself to others in the Ranking
If you no longer want to receive notifications, reply to this comment with the word
STOPTo support your work, I also upvoted your post!
Muy lindas y fácil de elaborar amiga .. exitos y bendiciones
Muchas gracias amiga 😘 amén igual para ti 😊
The earring is truly beautiful, and easy to make. The pearls are perfect. Nice work.