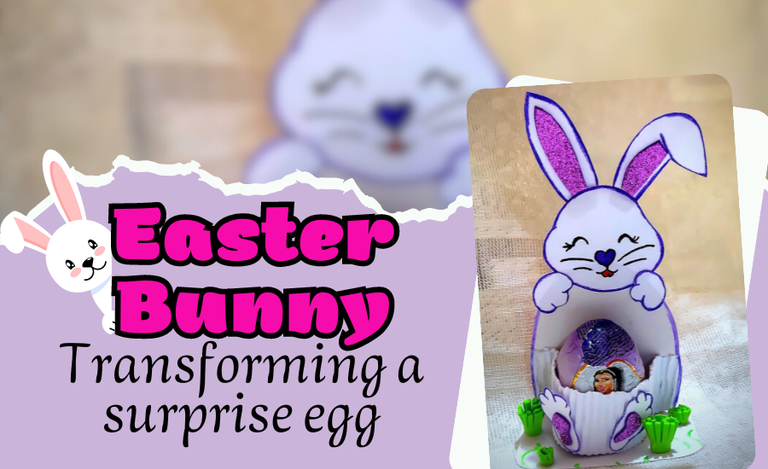
(ESP-ENG) Conejo de pascua: transformando un huevo sorpresa🐰✨
Bienvenidos, amigos creativos🎨💜
🙋♀️¡Hola a todos! Espero que hayan tenido días súper grandiosos llenos de gratos momentos, por este lado de la pantalla todo bien gracias a Dios❤️✨. Feliz de estar una vez más aquí compartiendo una nueva creación, he visto muchas linduras referente a pascua que sin duda me animé por completo aunque no tenia algo claro para esto, y una vez más mi hermana me ayudó, te cuento cómo fue y el proceso para que fuese posible.
Hace algunos días mi hermana me regala un huevo sorpresa para que yo recordara cosas de nuestra infancia cuando comíamos huevos Kinder, puesto que nos divertíamos mucho con la espera de un buen juguete😅, aunque ya sabíamos que eran algo mini que se encontraba allí, ante a este regalo y sumado a que se está acercando el día de pascua no dude en hacer alguna idea y compartirla con ustedes, si mi hermana no me da este detalle realmente no se me fuese ocurrido porque ni me acordaba que existían estos huevos sorpresas, así que sin tanto preámbulos…
Hace algunos días mi hermana me regala un huevo sorpresa para que yo recordara cosas de nuestra infancia cuando comíamos huevos Kinder, puesto que nos divertíamos mucho con la espera de un buen juguete😅, aunque ya sabíamos que eran algo mini que se encontraba allí, ante a este regalo y sumado a que se está acercando el día de pascua no dude en hacer alguna idea y compartirla con ustedes, si mi hermana no me da este detalle realmente no se me fuese ocurrido porque ni me acordaba que existían estos huevos sorpresas, así que sin tanto preámbulos…
Welcome, creative friends🎨💜
🙋♀️Hello everyone! I hope you have had super great days full of pleasant moments, on this side of the screen all is well thank God. Happy to be once again here sharing a new creation, I have seen so many cute things related to Easter that no doubt I was completely encouraged although I didn't have something clear for this, and once again my sister helped me, I tell you how it was and the process to make it possible.
A few days ago my sister gave me a surprise egg for me to remember things from our childhood when we ate Kinder eggs, since we had a lot of fun waiting for a good toy😅, although we already knew that they were something mini that was there, before this gift and added to the fact that Easter is approaching I did not hesitate to make some idea and share it with you, if my sister does not give me this detail really would not have occurred to me because I did not remember that there were these eggs surprises, so without further ado ....
¡Llegó la hora de crear! / It's time to create!👩🏻🎨🐰
 |
|---|

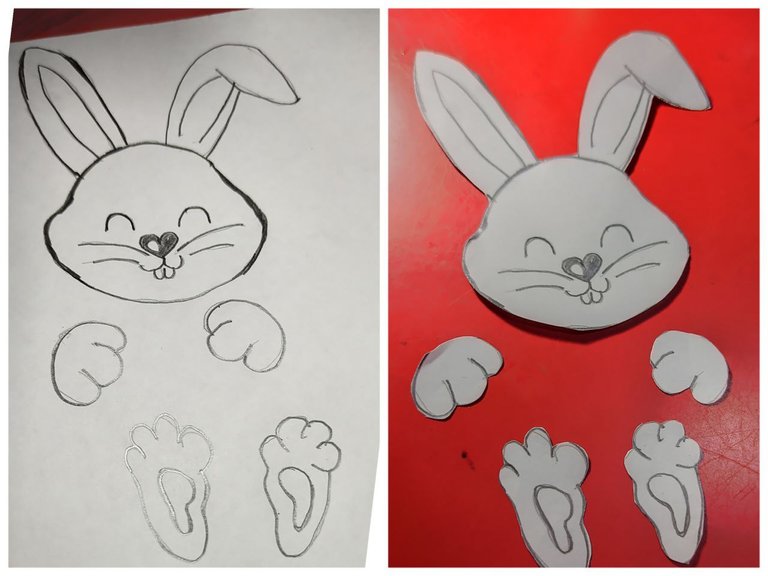
🐰 Paso 1: Esta celebración esta caracterizado por los huevos de pascuas y conejos, así que ya al tener un huevo sorpresa que decorar solo me faltaba el conejo por lo cual dibuje la cara, manos y patas, seguidamente recorte siendo esto el molde a utilizar.
🐰 Step 1: This celebration is characterized by Easter eggs and rabbits, so since I already had a surprise egg to decorate I only needed the rabbit, so I drew the face, hands and paws, then I cut it out and this was the mold to use.
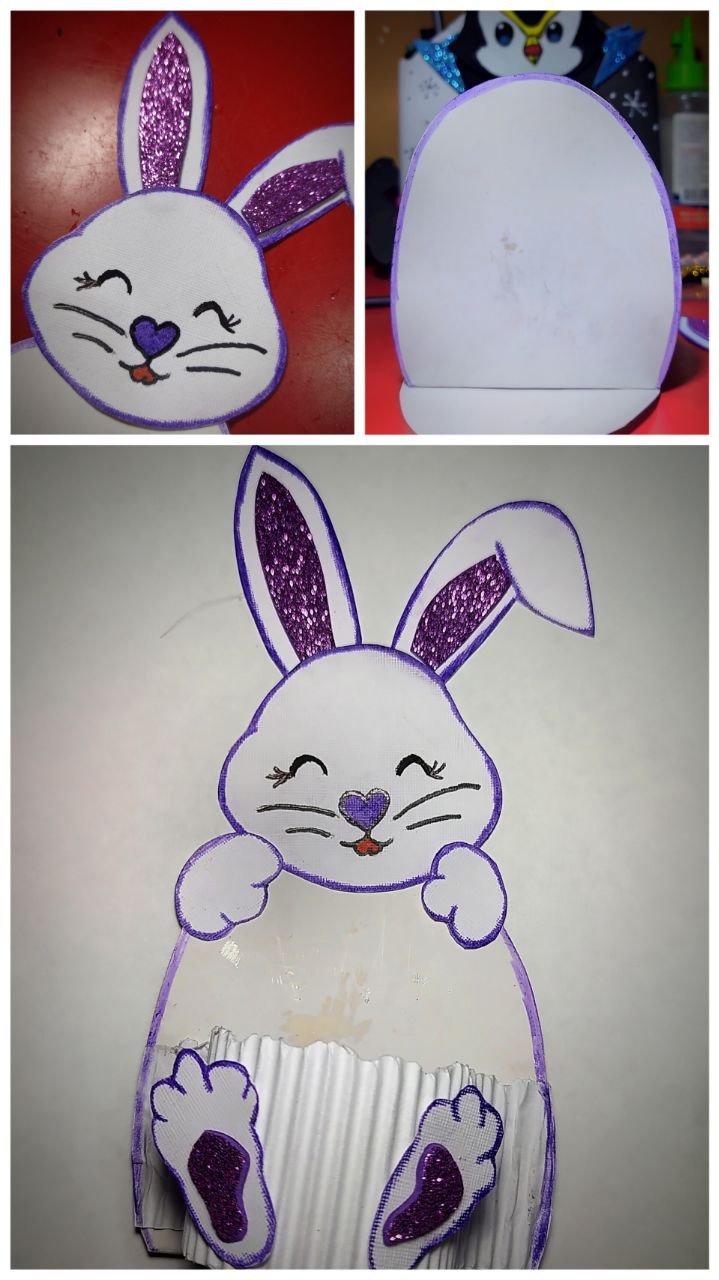
🐰 Paso 2: Ya teniendo el molde en una hoja blanca lo transferí en el foami de color correspondiente, en el cual escogí el color blanco y el centro de la oreja y patas en morado color escarchado. También realice difuminados alrededor de todo el borde en morado. Para la silueta de ojos, boca y nariz utilice pintura al frío color negro y en el corazón lo cual utilice como nariz lo pinte de morado.
🐰 Paso 3: En una cartulina blanca realice la silueta de un huevo y doble una de las puntas para pegar en otro trozo de cartulina siento esto como la base para colocar el huevo sorpresa.
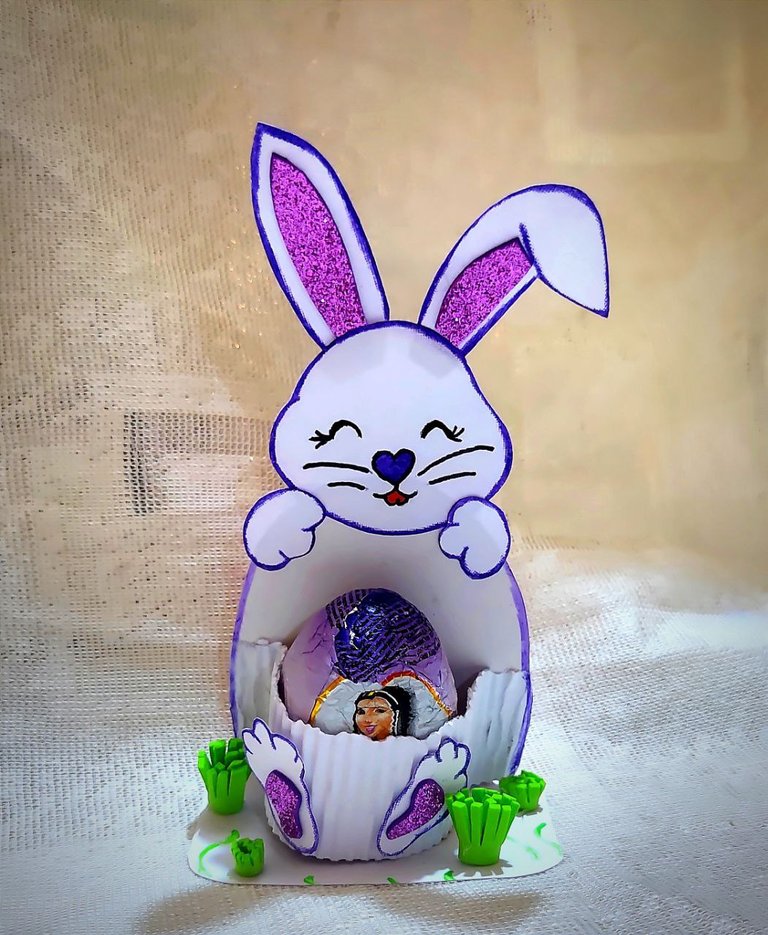
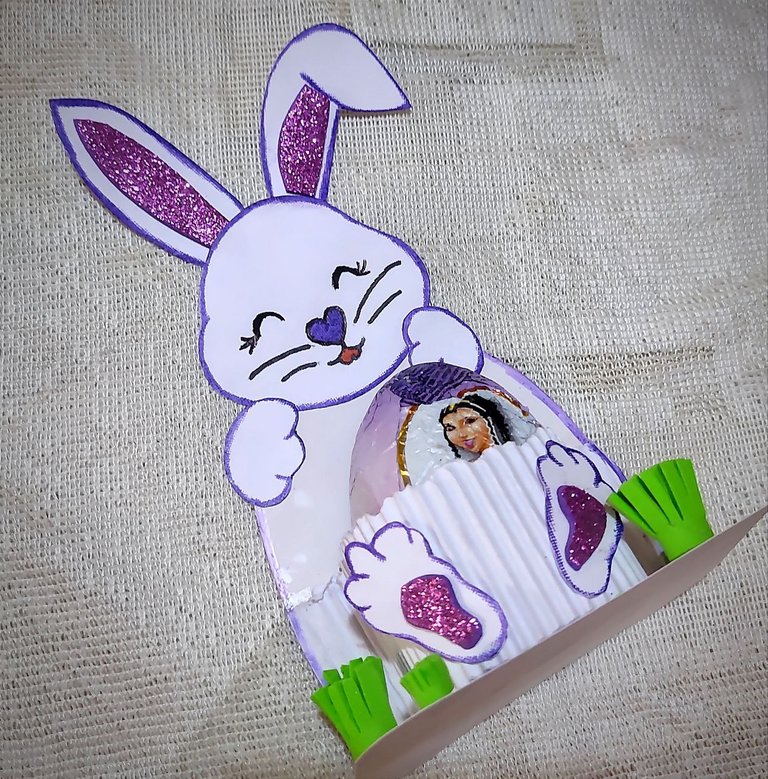
🐰 Paso 4: Ya teniendo listo las partes del conejo y la base en la parte superior pegue la cara y las manos del conejo en forma como si estuviera sosteniendo la base, para la parte superior pegue un trozo de cartulina corrugada, siendo esto, para sostener el huevo sorpresa. Adicional pegue las patas.
🐰 Step 2: Once I had the mold on a white sheet I transferred it to the foami of the corresponding color, in which I chose white and the center of the ear and the paws in purple frosting. I also did some purple frosting around the whole border. For the silhouette of the eyes, mouth and nose I used cold paint in black color and in the heart that I used as a nose I painted it in purple color.
🐰 Step 3: On a white cardboard make the silhouette of an egg and fold one of the ends to glue on another piece of cardboard. I feel this as the base to place the surprise egg.
🐰 Step 4: Once the parts of the bunny and the base are ready, glue the face and hands of the bunny on the upper part, as if it were holding the base. For the upper part, glue a piece of corrugated cardboard to hold the surprise egg. Additionally glue the legs.
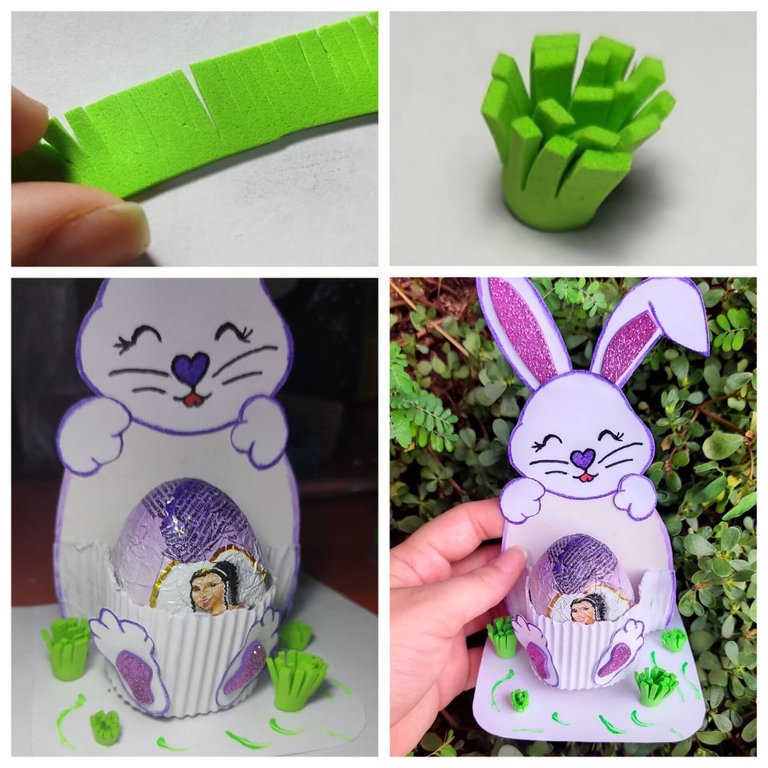
🐰 Paso 5: En foami verde con un grosor aproximado de dos centímetros realice pequeñas tiras, las cuales enrolle en forma de césped y estas las pegue en la base del conejo.
🐰 Paso 6: Dejé secar muy bien cada parte e inserte el huevo sorpresa el cual quedó a la medida perfecta.
🐰 Paso 6: Dejé secar muy bien cada parte e inserte el huevo sorpresa el cual quedó a la medida perfecta.
🐰 Step 5: In green foami with an approximate thickness of two centimeters, make small strips, roll them in the shape of grass and glue them at the base of the rabbit.
🐰 Step 6: I let each part dry very well and inserted the surprise egg which was the perfect size.
🐰 Step 6: I let each part dry very well and inserted the surprise egg which was the perfect size.

¡Y de esta forma se puede obsequiar algo lindo con motivo a pascua!🐰✨.
And in this way you can give something nice for Easter!🐰✨.
However, it can be adapted to any occasion, just change the silhouette of the doll and not just a rabbit, personally I loved the results because even for some cotillion can serve, remember just let your imagination fly✨.
See you in a new creation👩🎨
Mil gracias por leerme una vez
Nos vemos en una próxima publicación.
Muchas bendiciones y abrazos digitales🤗
Thank you very much for reading me once
See you in an upcoming post.
Many blessings and digital hugs🤗


0
0
0.000
Está precioso!!
Gracias 🤗❤️✨
Te quedó precioso este conejito con su huevo de pascua, una manualidad muy acorde a estas fechas y un detalle mu lindo para regalar 🥰
Gracias Mary, me alegro mucho que te gustará❤️🤗
Ami, que preciosura! Super tierno mi Yage. Me gustó mucho esta idea, gracias por compartirla. 💗💗
Gracias a ti por pasarte Ami❤️✨
Un trabajo muy lindo. Me gustaron mucho los colores.
Muchísimas gracias🤗❤️
https://twitter.com/hivediy47901/status/1774655976085295595
🤗🤗
Bellísimo amiga, además es pura ternura. Por cierto, amé la portada, bella