A Tour Round My Sustainable Soil Bag Garden.
Improvising is one thing I love to do as the feeling that comes afterwards is usually soothing. I do not know about others but it certainly feels good to know that I am able to create something sustainable out of things many people would classify as “trash”.

I cultivated the habit of recycling every item I thought was worth recycling a few years back. This habit has helped me create amazing diy projects from ‘trash’. This year, I decided to take this recycling habit outside–to the garden, which led to me trying out something new.
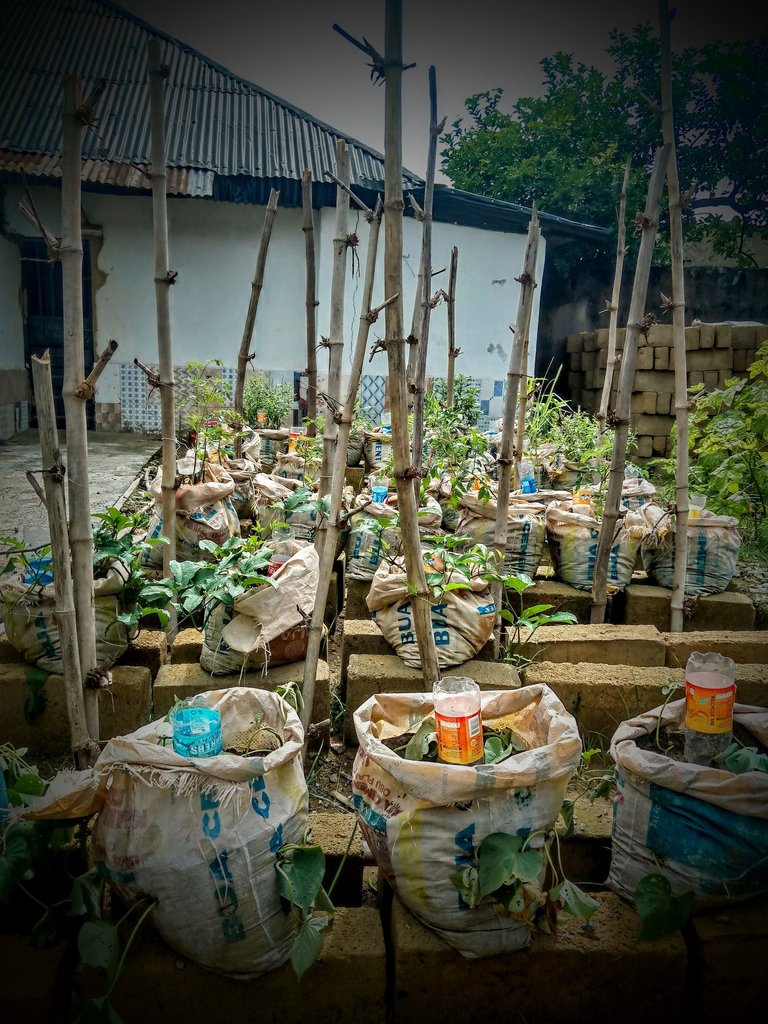
Right beside our house is a cement shop and the salesman happens to be a good friend of mine. As such, I asked him to give me a few cement bags he wanted to throw away. This was the first step at achieving my soil bag garden.
The next step–which was a very tedious step– was arranging the moulded cement blocks in rows. These cement blocks are an integral part of this soil bag garden because the array of crops I decided to plant are quite competitive (some more than others) and in order for every plant to thrive optimally, they would need their space.
It took about two days to get all the cement blocks in place and once I was done with that phase, I moved on to the next phase; the filling phase.
The bags of cement were placed on the cement blocks and filled with rich sand suitable for planting. I call the sand rich because after filling the bags, fruits peels and chicken dung were introduced to the bags. Afterwards, I left the bags for two weeks to allow proper decomposing of the fruit peels.
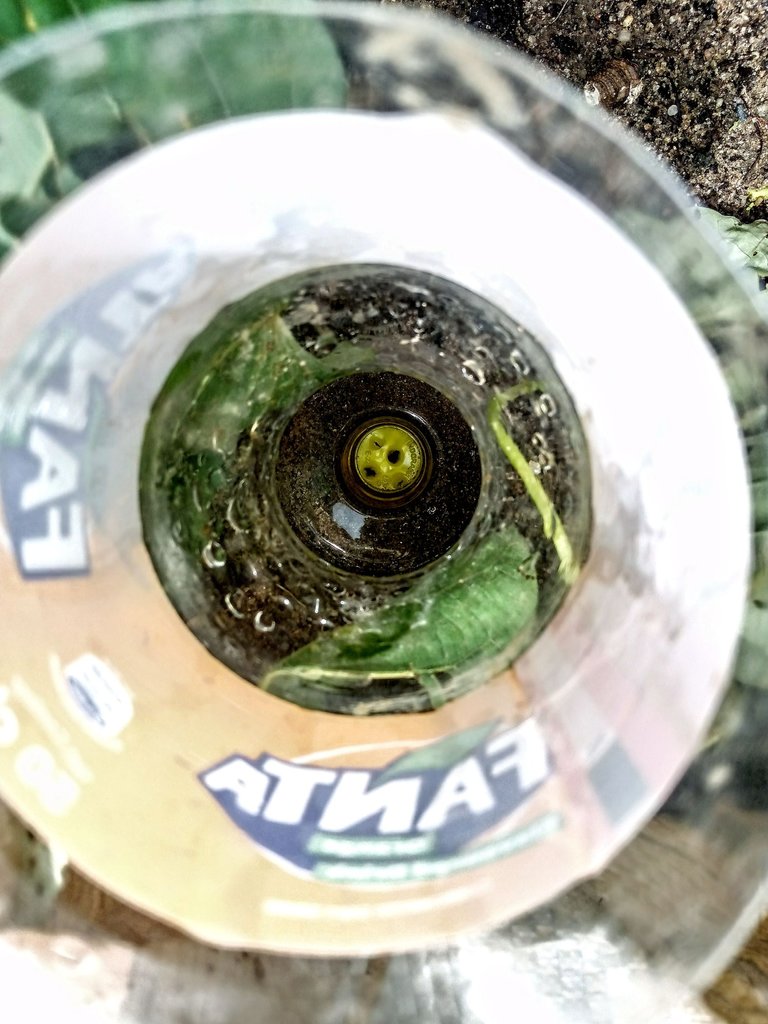
By the end of the second week, I tilled the sand in the cement bags and added cut-out plastic bottles in order to water them. The addition of the cut-out plastic bottles is just to ensure water enters deep into the soil bags. After all of this, my soil bags were ready for planting.
I was uncertain as to whether the plants would thrive or not but I made it a point of duty to water the bags every evening and on days it rained, I let them be.
The first thing I planted was pumpkin. This had to be the first thing I planted because I love this particular vegetable and I use the pumpkin leaves to cook a lot of my dishes.
Pumpkin leaves take about a month from the day of planting to the day of maturity. Also, they require tenderness when harvesting because if plucked wrongly, they may stop growing.
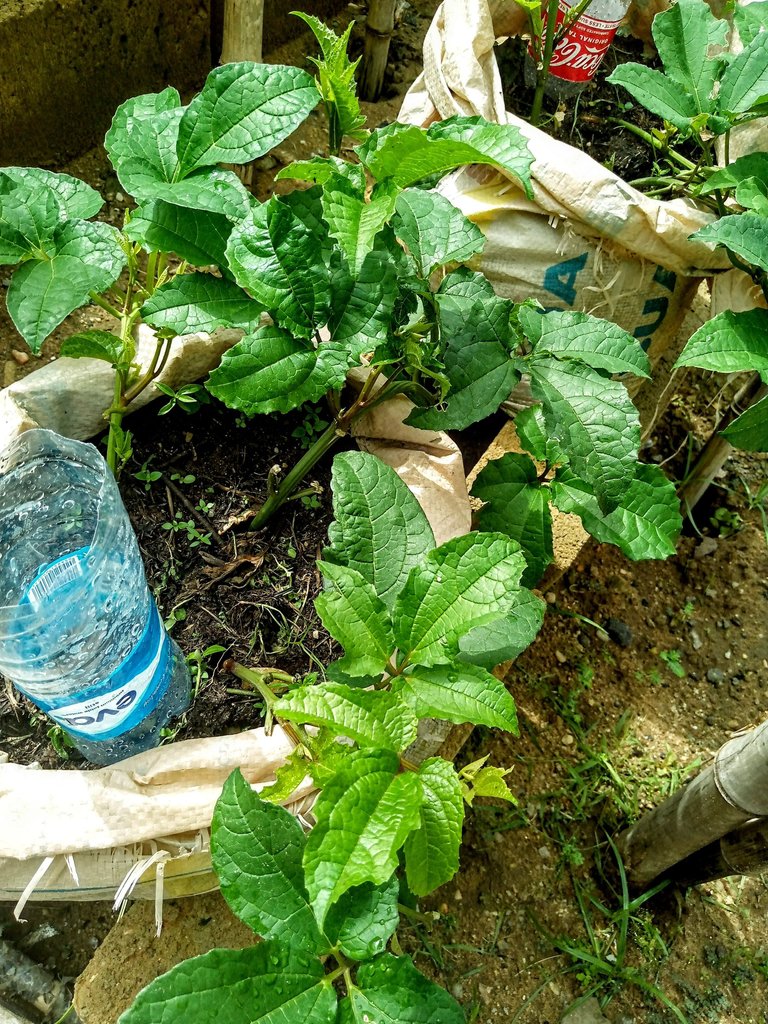
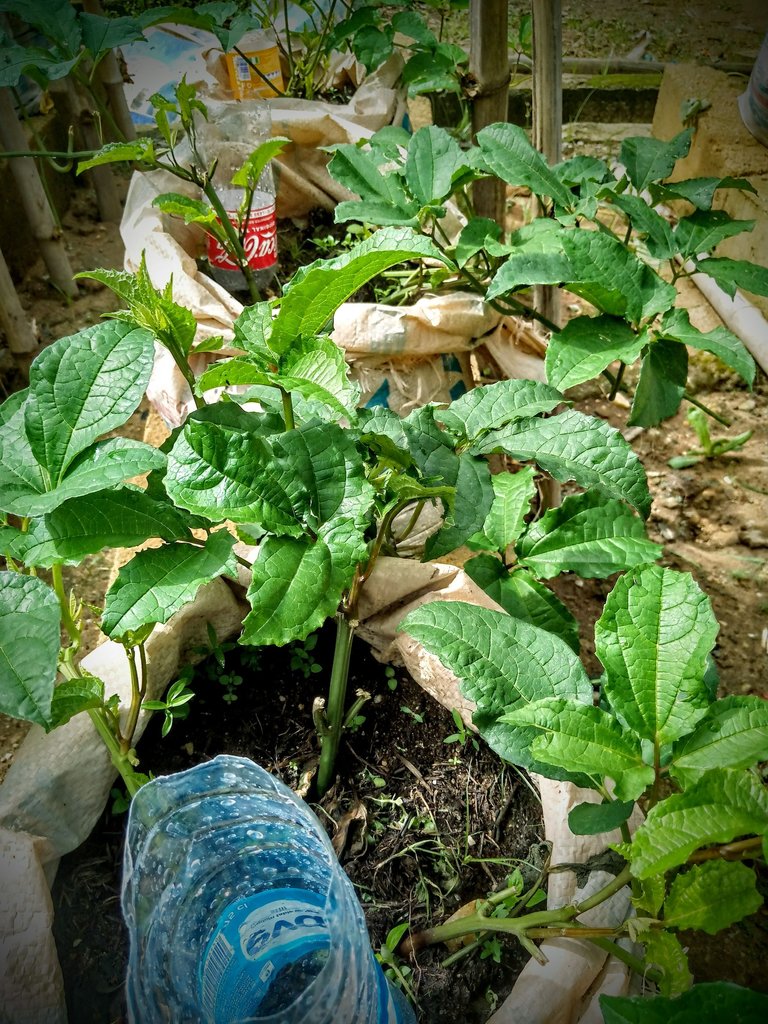
The next set of crops I planted can be classified as scent leaves. They too are used in the preparation of a wide range of dishes and purchasing them from the market can cost an arm.
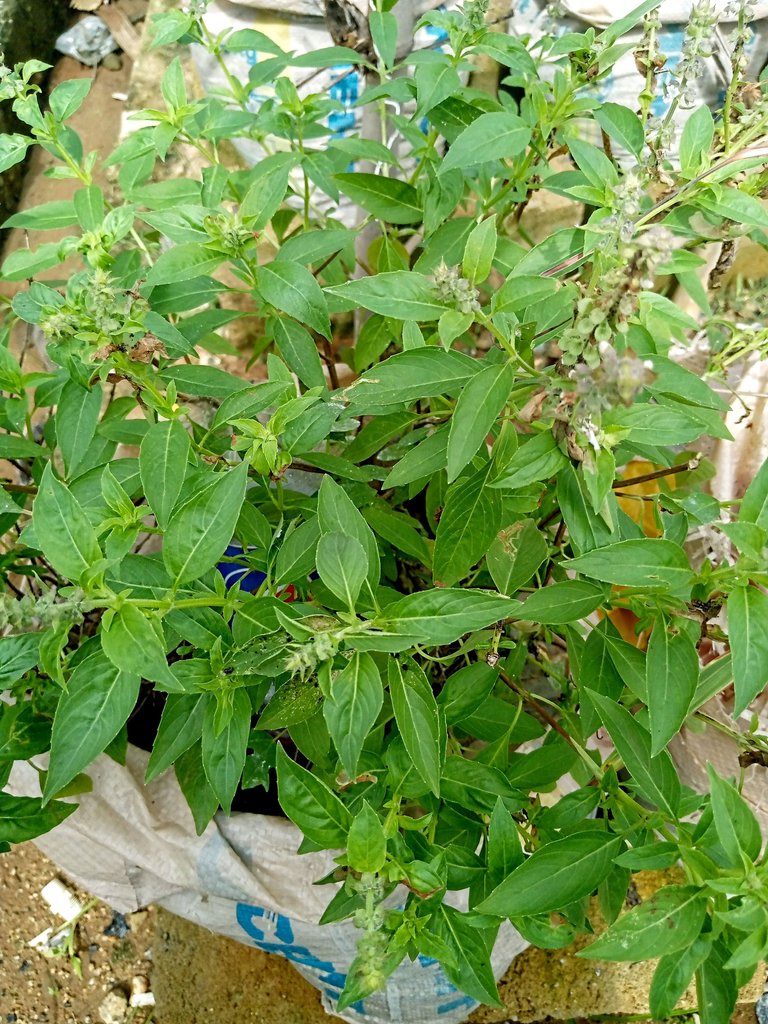
The first scent leaf is called ikõr in my language. I really do not know what it is called in English but it tastes amazing in dishes.
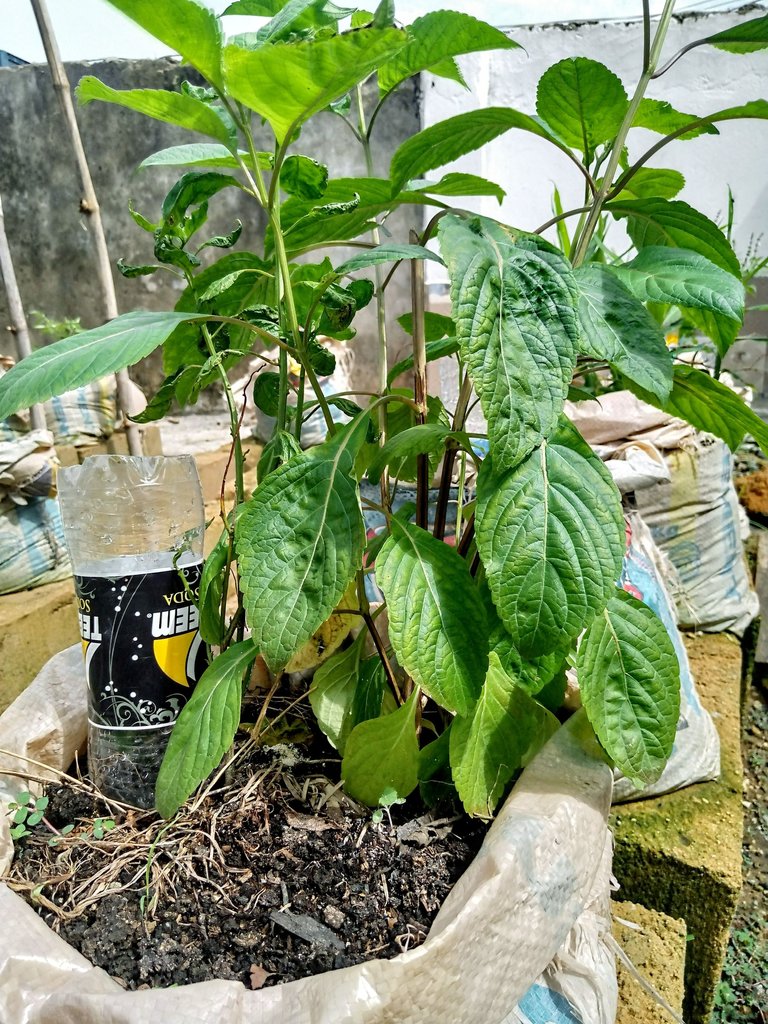
The second scent leaf is called ntõñg in my language. Again, I do not know the English name for it. This particular scent leaf tastes really nice when used to make peppered broth (pepper soup).
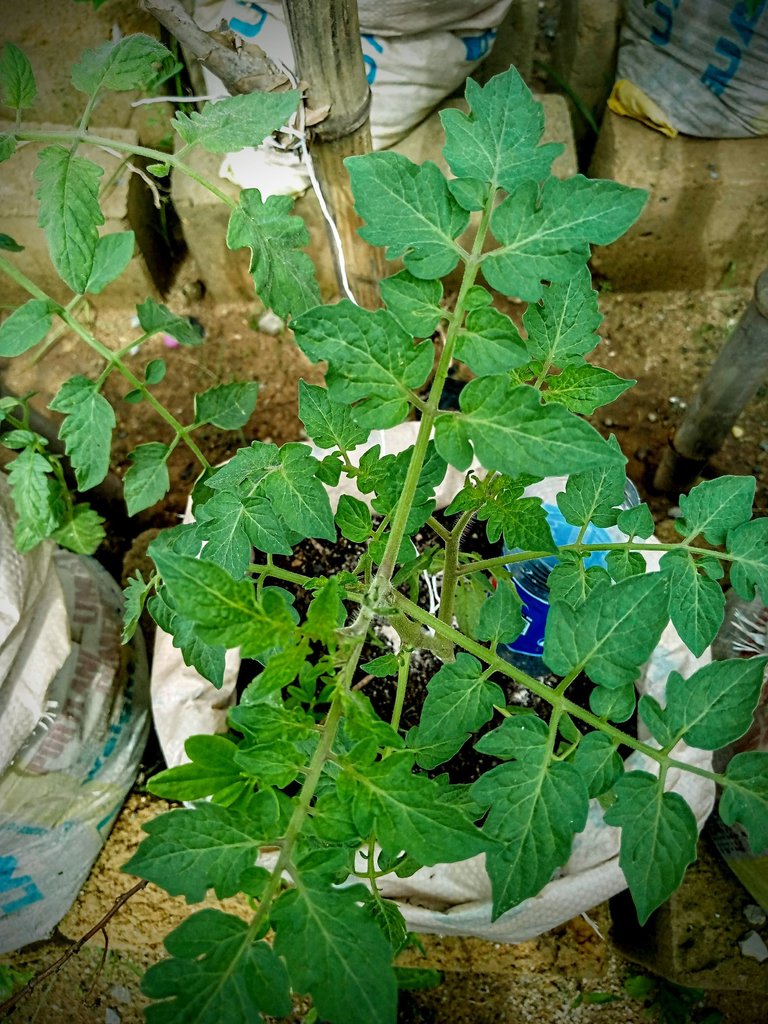
Away from the scent leaves, the next thing you can find in this garden is a row of tomatoes. The tomatoes were planted recently and haven't started fruiting.
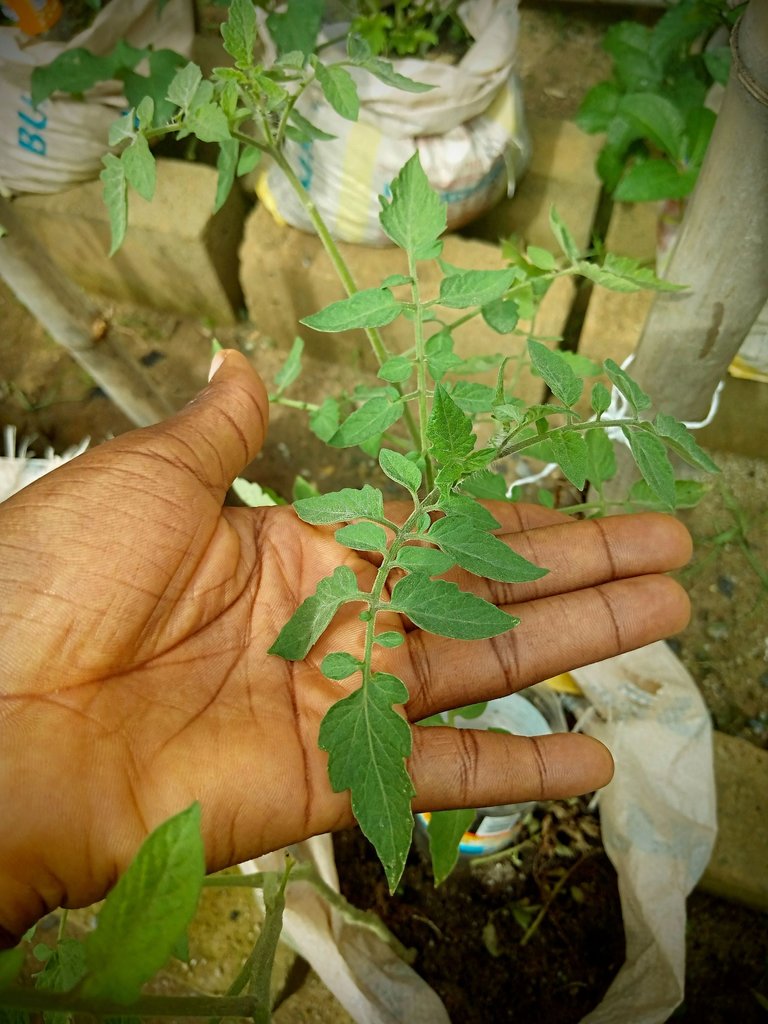
So far, they look healthy and I'm just so eager to see them fruit.
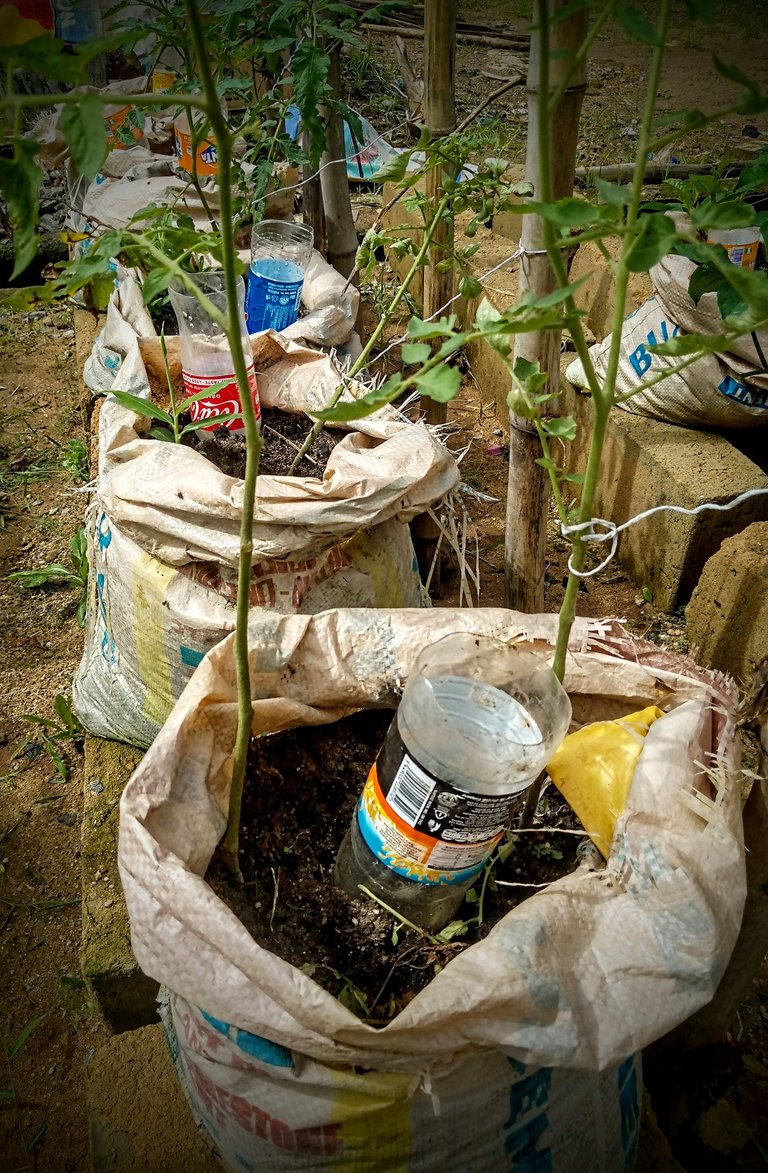
If you look closely, you would notice ropes that connect the tomatoes to the bamboo sticks. This is done to give the tomato plants a direction of growth and maximum support.
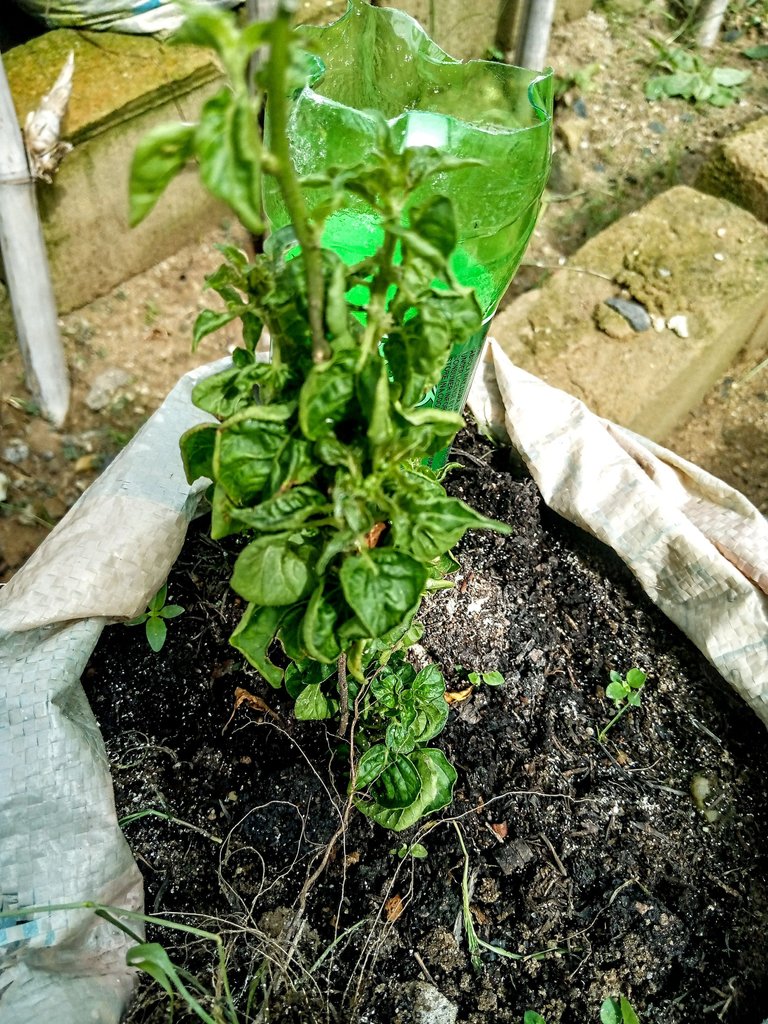
One other plant you can find in this garden is the pepper plant. I started planting pepper seeds at a very young age as they are seemingly the easiest seeds to plant. The pepper plant seems to be thriving too.
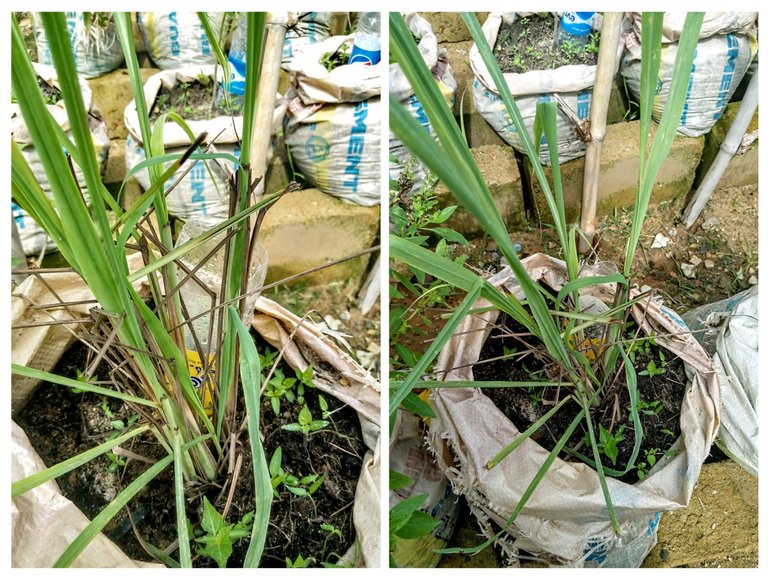
Closely related to the pepper plants are the lemon grass plant. This is a medicinal plants with numerous benefits. Mostly, the plant is boiled, strained and the water, drank.

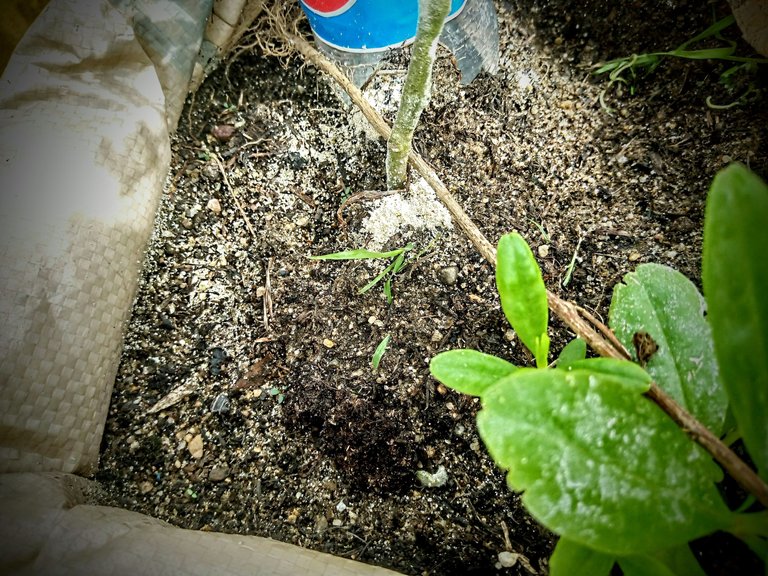
The last plant in a soil bag I would be introducing you to are my lovely Irish potatoes. They were planted shortly after the pumpkin and were totally for experiment. Potatoes thrive best in the northern part of my country and so I didn't get my hopes too high during this experiment. Nonetheless, these potatoes beat my expectations.
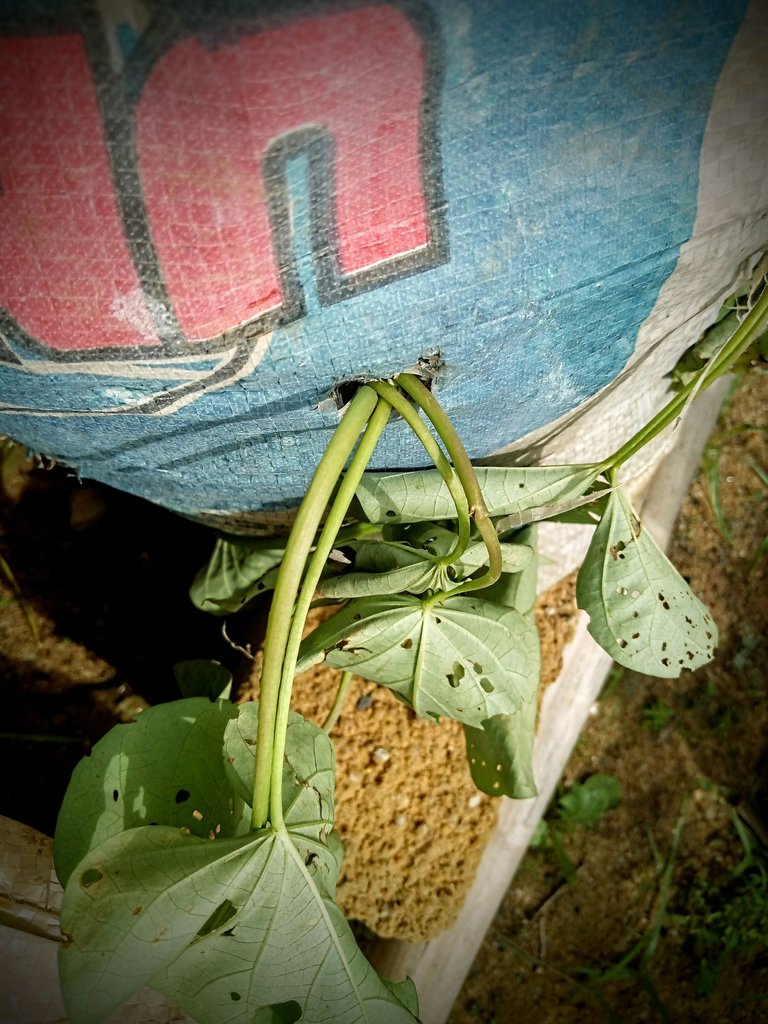
I made extra room for them to grow out from all sides of the cement bag. So far, they have grown exponentially well but they started getting these holes on their leaves and I can't tell if that is normal or if they are being attacked by a pest.
There are still a few soil bags laying around and I may be planting bee crops soon.
I have tried my best to take care of all the plants in my little soil bag garden with residual knowledge and insights from the internet as well.
One thing I infuse my soil bags with from time to time are finely ground egg shells. So, I save all the egg shells and when they are enough, I ground them, mix them with water and judiciously water my soil bags. This helps to provide the plants with enough calcium,reduce soil acidity and deter some pests.
If I'm being honest, this garden has been of great help to me. Not only am I eating fresh vegetables daily, I do not have to break a bank to get them as they are right outside the door. Starting a soil bag garden has undoubtedly been one of the best decisions I've made this year and I'm glad I was able to think this far.
What do you think of my mini soil bag garden? Do you have any questions, observations or insights? I would love to hear them.
All images used belong to me and were taken with my mobile device except stated.
Love 🤍
Fantastic job! It all looks tickety-boo. Irish potatoes? The best kind of course.
I love them, Irish potatoes.
Congratulations @wongi! You have completed the following achievement on the Hive blockchain And have been rewarded with New badge(s)
Your next target is to reach 110000 upvotes.
You can view your badges on your board and compare yourself to others in the Ranking
If you no longer want to receive notifications, reply to this comment with the word
STOPCheck out our last posts:
Wow!! This is brilliant Wongi👏👏. I've been wanting to start a garden for the longest time but I always end up not doing it coz of the stress. My plan was to plant mine in a tire but this seems way easier and would save money.
Ikor is also a scent leave?? I'm surprised. I used to think it was grass and would weed it out whenever I saw them on the farm 😂
Wow! We learn everyday.
This woman has been weeding away an amazing vegetable😂😂.
But you're right. This method saves cost and you wouldn't need so much space to start. I hope you get the motivation to start ✨
Lik!!😂😂😂. Do I use it like the normal scent leave ?
Yeah, I how so too 😊
Yes yes, ikor has an amazing scent on its own. So you just slice it like the regular scent leaves and you're good to go.
Really, I'll definitely try it out
HI dear, I see you mentioned pumpkins, have you seen we have a Hive World Championship about? There are more infos in my last post
!LUV
Heading over to your last post right away.
Thank you so much for the heads-up😊.
You're Welcome 🙂