DIY off-shoulder top and flare skirt
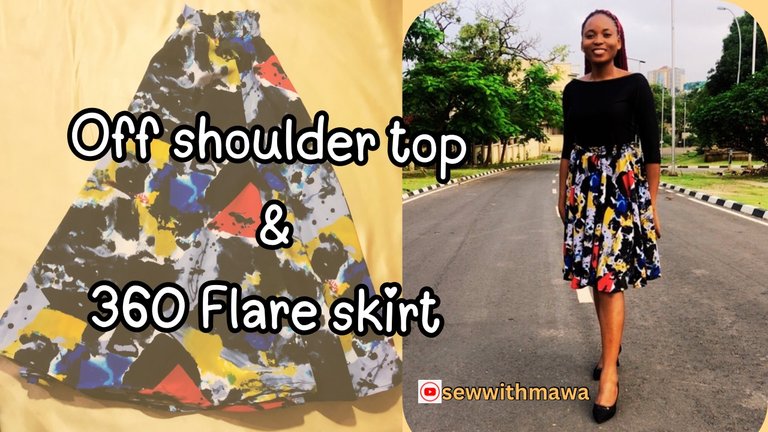
I love flare skirts for the ease of wearing as well as the ease of making them. I saw this pop of colours and said it would do so well with a plaited skirt as some will call it or a flared skirt.
A flared skirt without a top to go with it limits the ease of wearing it.
So I threw in the making of a fitted top in the mix and voila a complete outfit for a fun and play-filled day came to be.
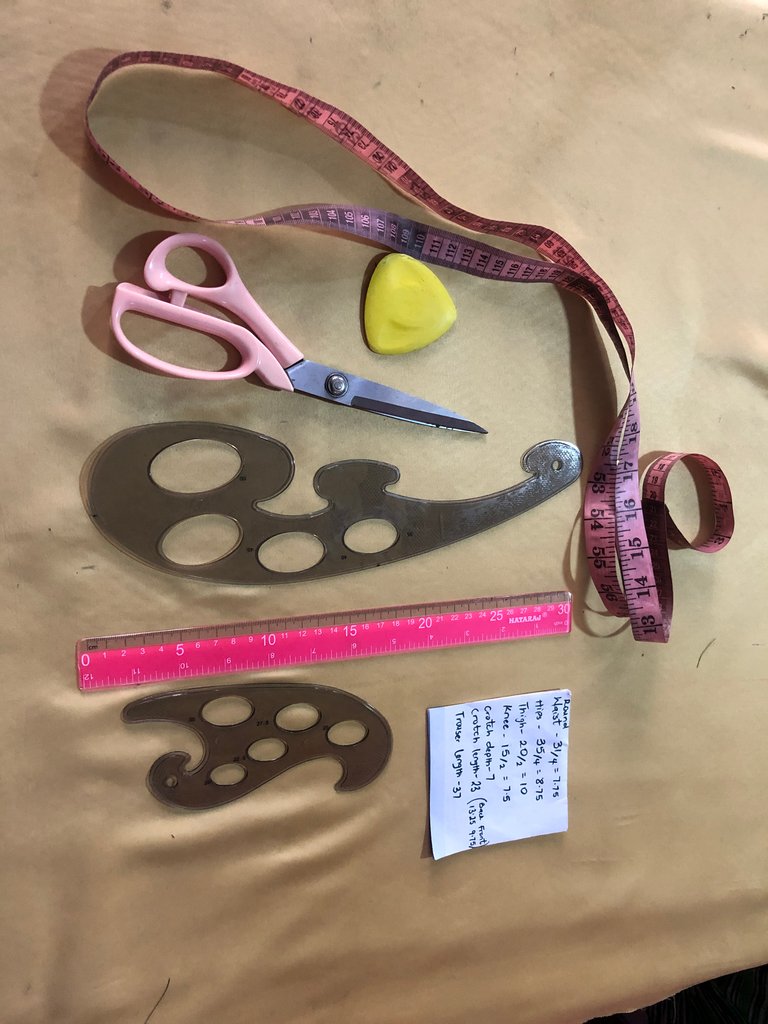
These are the instruments I used in making both the fitted top and a flared skirt.
- A ruler
- A curve ruler
- Chalk
- Writing materials (A writing pad and a pencil/ ballpoint pen or a marker)
- Measuring Tape
- Scissors
- A scripted measurement of a size 14 lady
To cut out the circumference of the skirt opening, we need to measure around the waist for a stretchy fabric that can pass over the hip, since the hip is wider than the waist.
For a non-stretchy fabric like the one I used to make this skirt, using the measurement of the round bust or hips will suffice.
If you are wearing the skirt from the top down or feet up. I had enough fabric so I used the widest part of the body being the hip in this situation.

After calculating I added a radius of 7 inches to the length of the skirt which was 26 inches and a sewing allowance of 1.5 inches totalling 34.5 inches minus 2 inches for the waistband, leaving us with 32.5 inches as the new length.

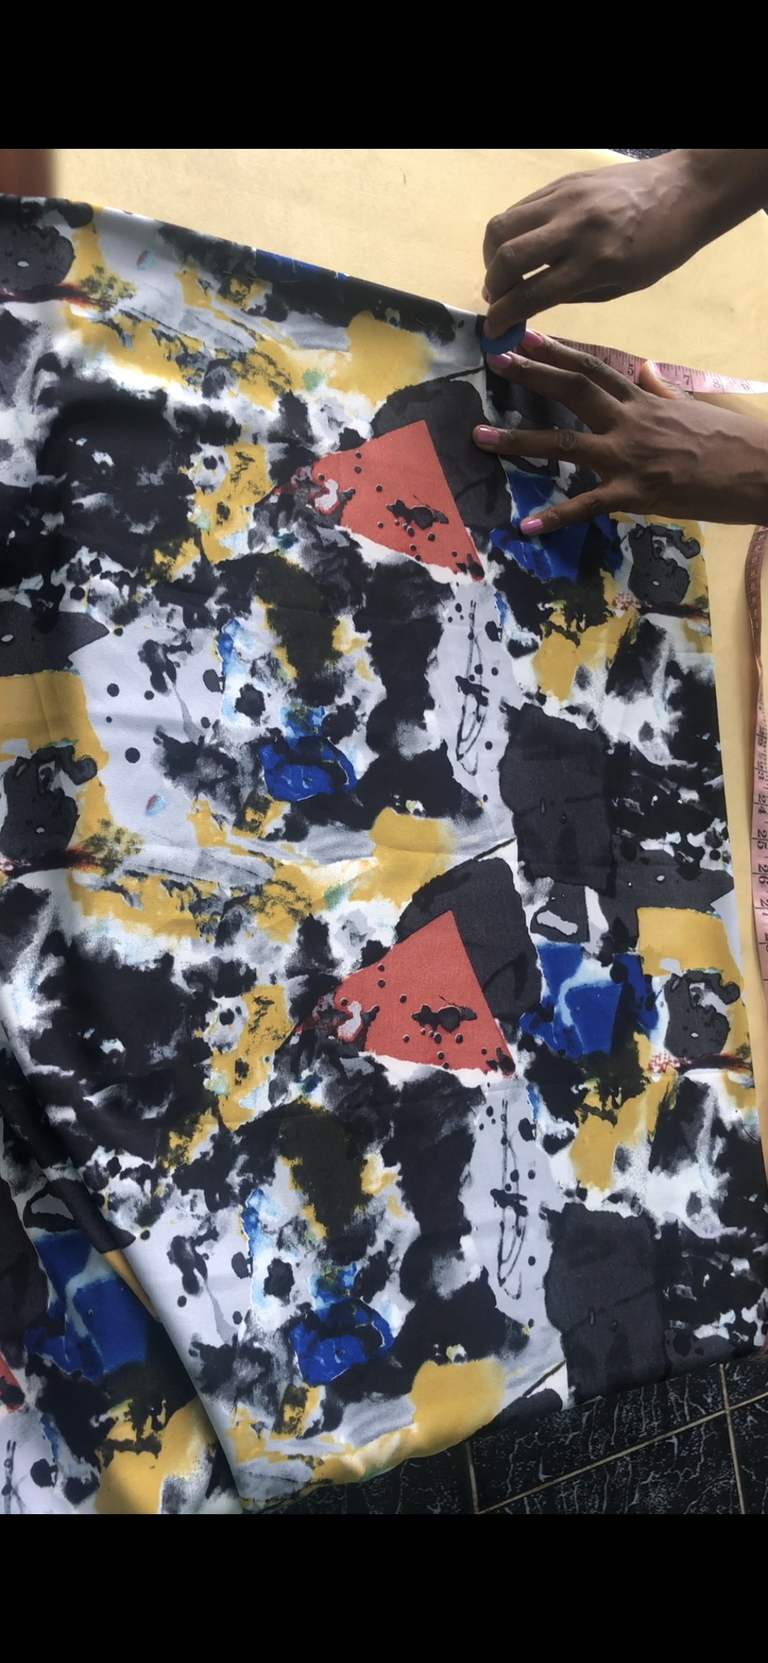
I measured the new length of 32.5 inches from the folded fabric with a pointy edge.
When I was sure the fabric was levelled on all points to be the length required I measured the 7 inches radius as seen in the picture below.
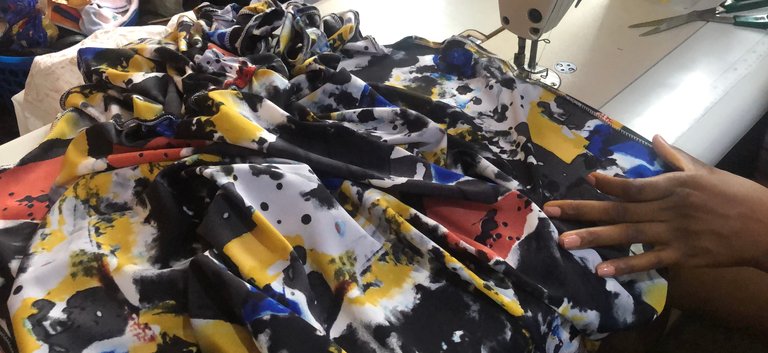
Then I cut it all around as seen.
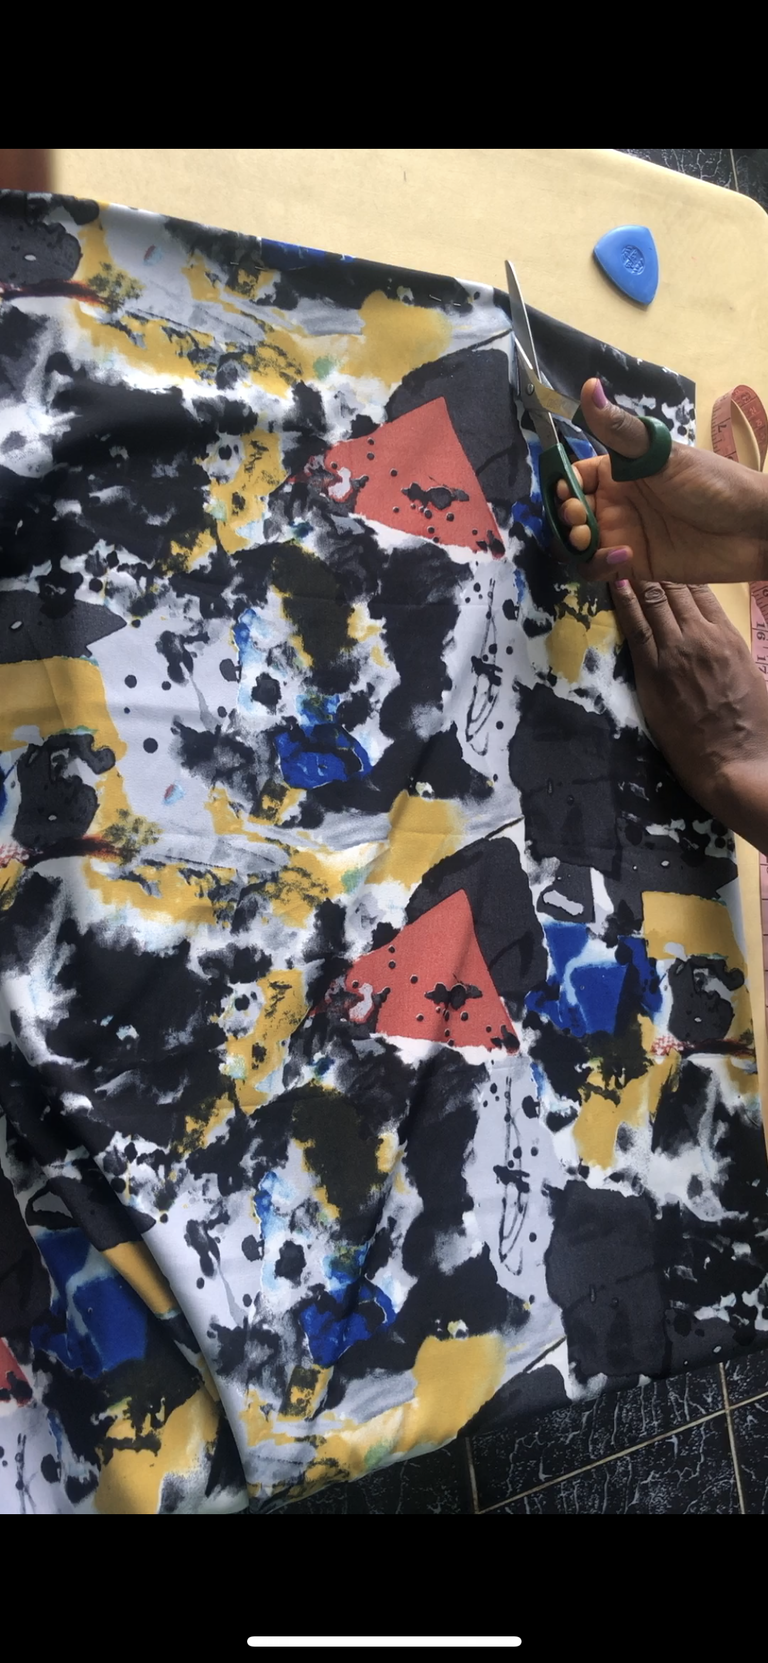
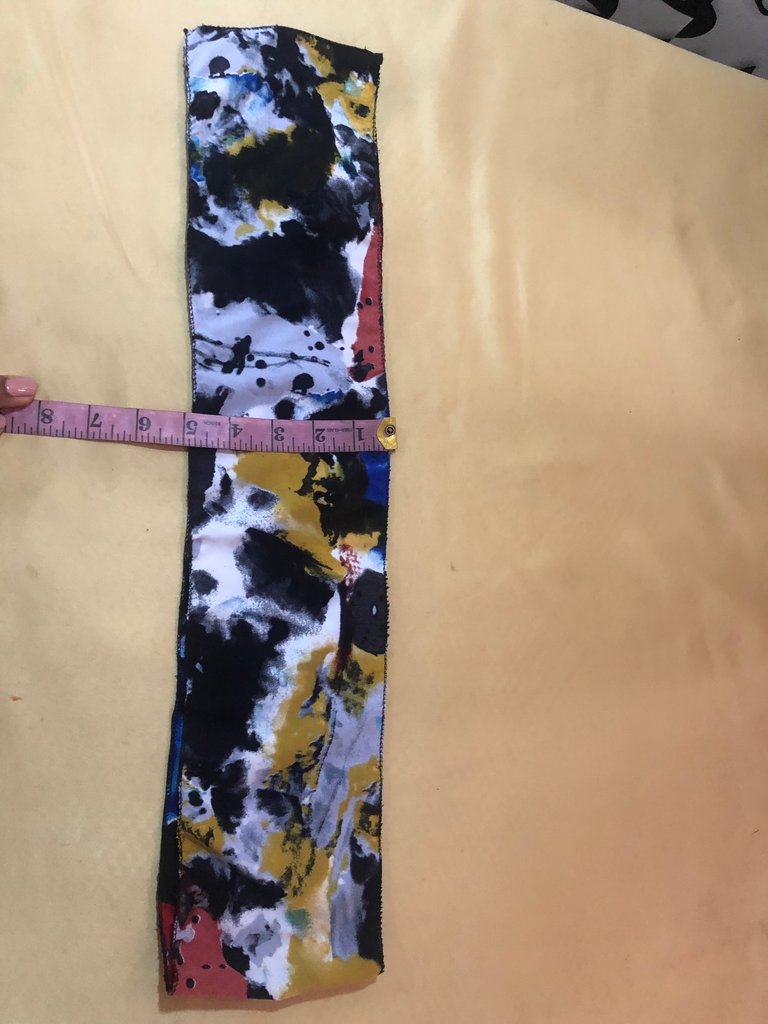
Then I measured the remaining required length of 25.5 inches.

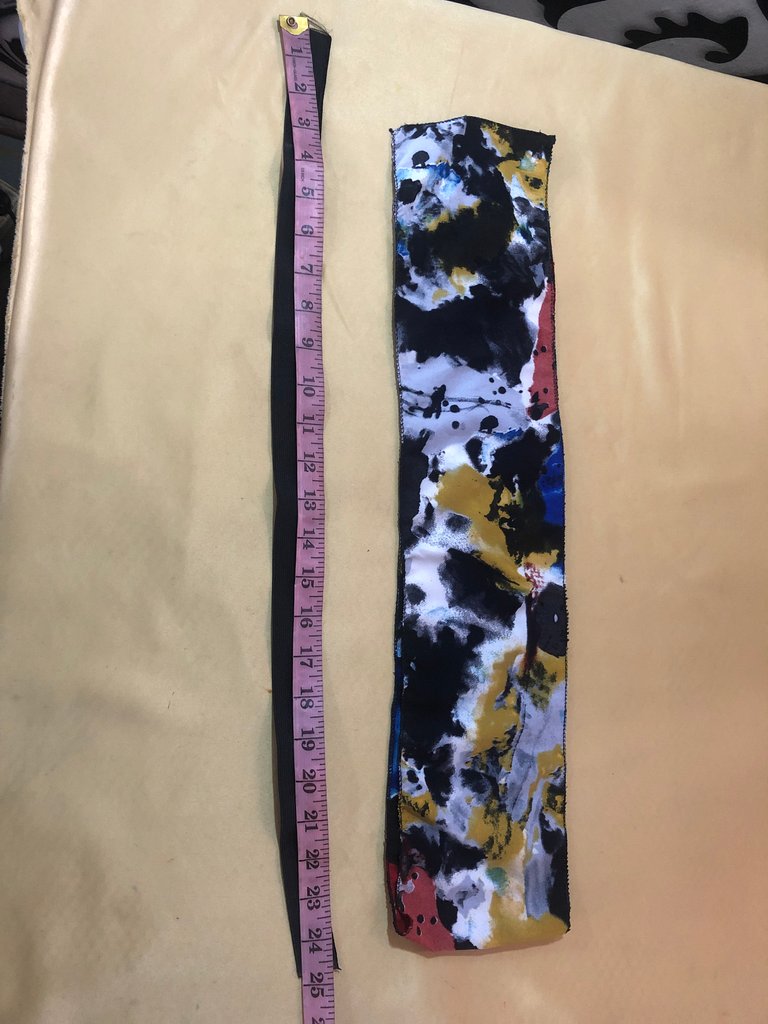
Here is the cutout of the measured length.

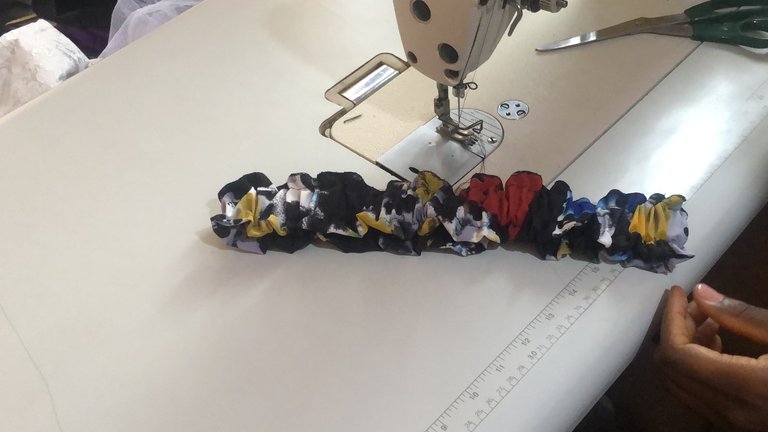
Here it is after being weaved at the edges.


Then I cut out the waistband of 22.5 inches on fold, totalling 45 inches in width and 5 inches in breadth.
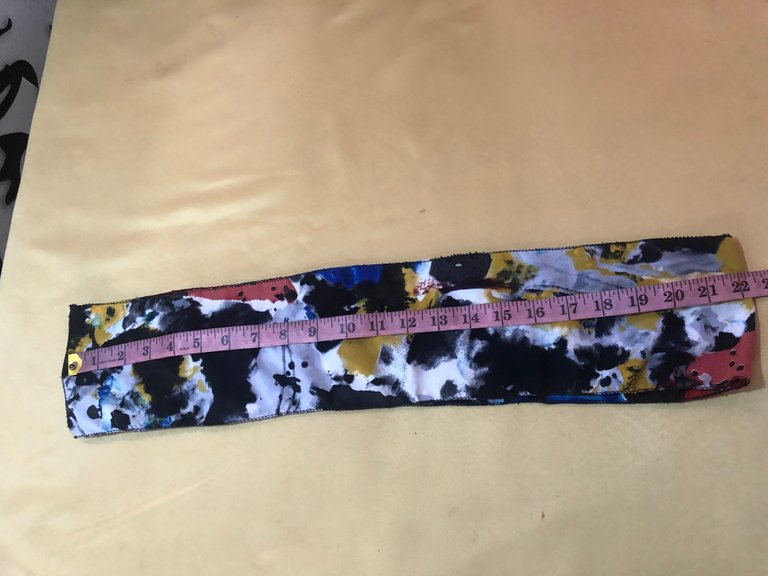
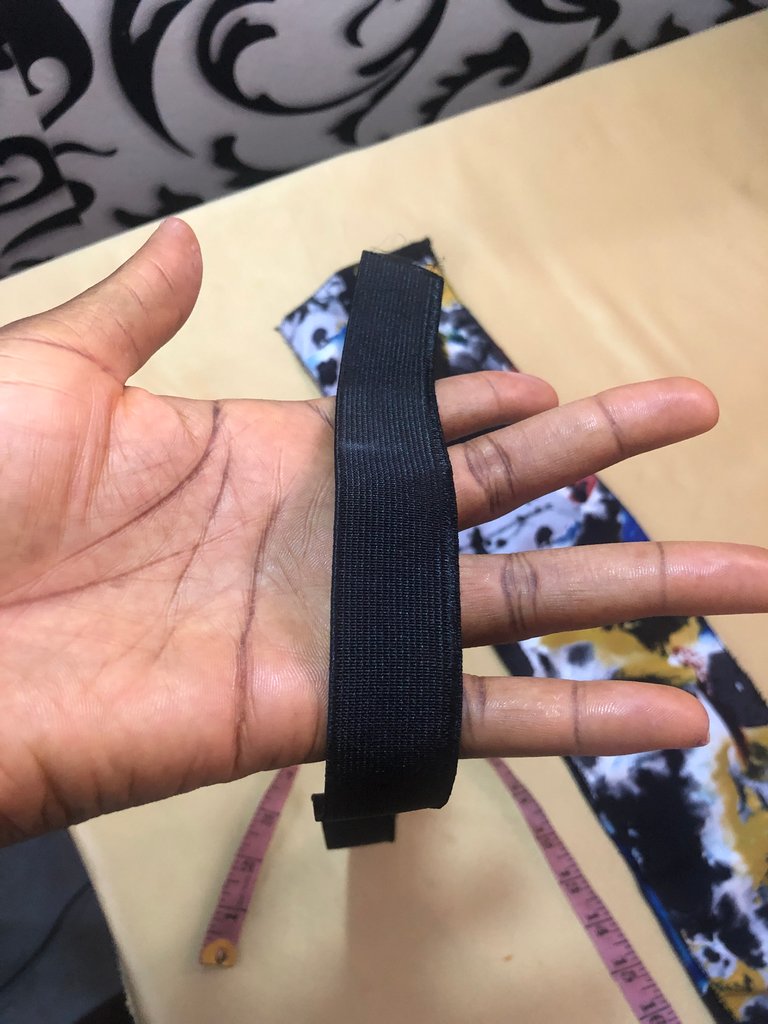
The elastic band measured at 24.5 inches.
Here is the close-up view of the band.
I sewed the waistband by the edge.

Then folded it to overlap each other with an opening for a band. Since the band was just an inch wide. I sewed over the unopened area by half an inch all around.
Then opening it up I placed the band inside and sewed it to seal the elastic within the waistband fabric.

Till it looked something like this…

I attached the weaved angles of both the band and the skirt by sewing them together by half an inch as seen below.

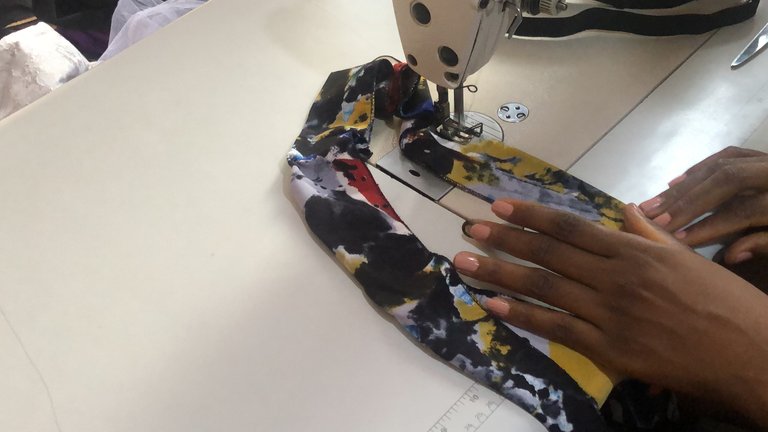
Then I sewed the bottom part of the skirt around by just folding it by half an inch.
Then cutting using a 30 by 22 inches black fabric I cut out the top as seen below.

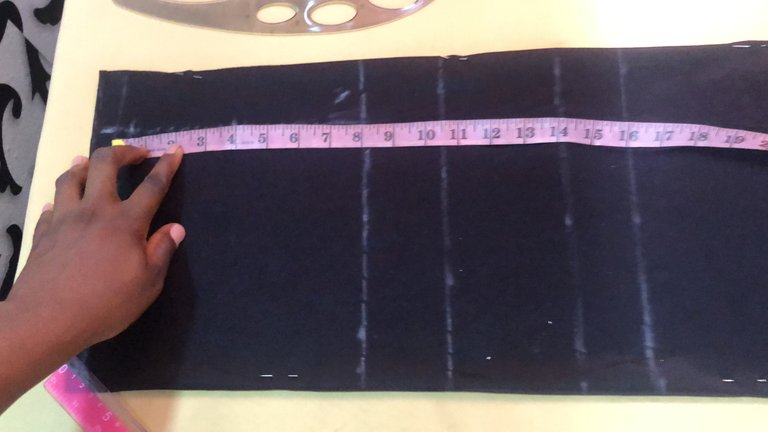

The back and front view of the cutout top.
Here is the link to a video of a detailed illustration of how to make an off-shoulder top and a flared skirt:
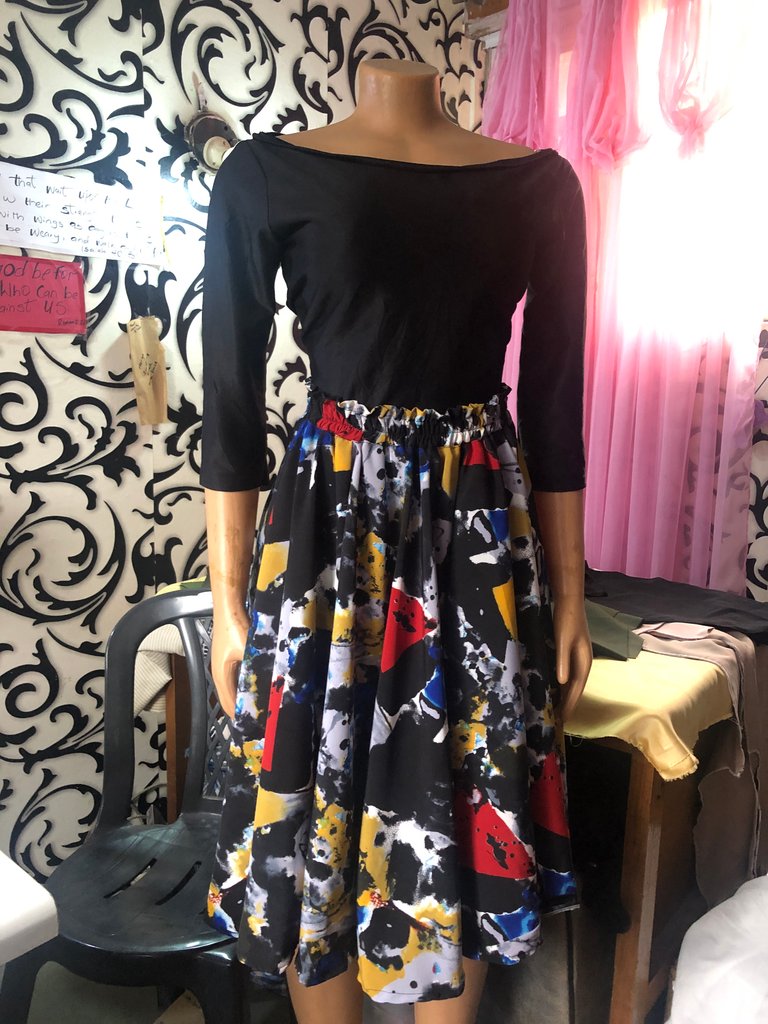
After weaving and sewing all the cut-out parts. Here is the final result;
Voila!🤩
®️Whitney Alexander
Amazing talent as always
!WEED
Thank you so much. Mighty honoured 🙏🏽💕
Its my pleasure You would do the same for me, Im sure 😉
Of course 🤩
Your such a talented designer, your work looks so neat and beautiful. Keep it up my friend 👍💕
Oh! This means a lot to me🤩. Thank you loads🙏🏽💕
This off shoulder dress is so nice and classy. Great work
Thank you! Thank you! Thank you loads! 💕 your compliment fills my heart with joy.🤩
This is really beautiful
Thank you so much 🙏🏽💕
Welcome
Wow, I really like the fabric for the skirt. I also didn’t know that flare skirts were this simple to make or it’s because you made a really simple and easy to understand tutorial. This is pretty.
Oh, thank you so much. Your compliment means a lot to me. Mighty honoured and glad you liked it. 💕 !hug
I sent 1.0 HUG on behalf of @whitneyalexx.
(1/3)