EYEMAKEUP: Inspiración en piedras preciosas PARTE II I Gemstones inspiration PART II [ESP - ENG]
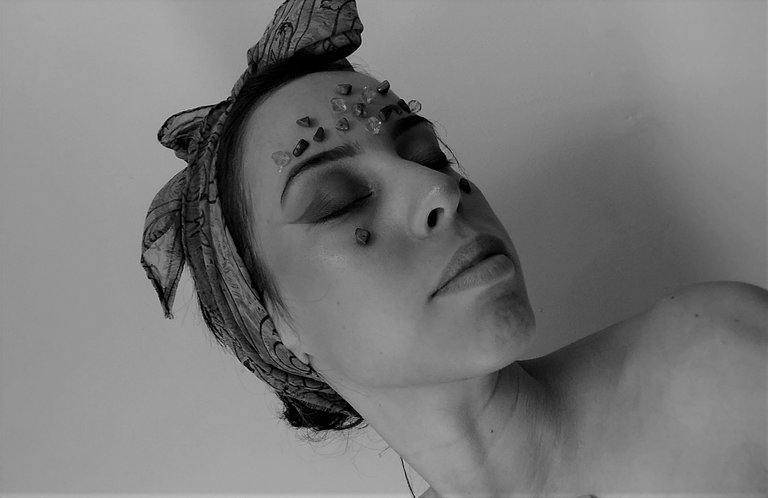


ESPAÑOL
Holaaa hermosa comunidad de #MakeUpPower, el día de hoy les traigo la segunda parte de Inspiración en piedras preciosas, este maquillaje la verdad me gustó bastante ya que no suelo utilizar color verde, siempre estoy en mi zona de confort de tonos marrones, hacer estos post me esta invitando a explorar los otros colores que tengo en la paleta que están prácticamente nuevos. Hace tiempo hice un maquillaje inspirado en una chica que vi en instagram, les dejo el post aqui, tambien dije que iba a salir de mi zona de confort después de eso y seguí igual, pero ahora si lo haré, lo prometo jajaja
Sin mas que agregar empecemos
ENGLISH
Hello beautiful community of #MakeUpPower, today I bring you the second part of Gemstones Inspiration, I really liked this makeup because I do not usually use green color, I'm always in my comfort zone of brown tones, making this post is inviting me to explore the other colors that I have in the palette that are practically new. Some time ago I did a makeup inspired by a girl I saw on instagram, I leave the post here, I also said I was going to leave my comfort zone after that and I stayed the same, but now I will, I promise hahaha.
With nothing more to add let's get started

Gema de hoy l Today's Gem:


Materiales:
⚜️ Crema Hidratante
⚜️ Base M.A.C
⚜️ Brochas para ojos: Difuminar y delineador
⚜️ Elsa Palette
⚜️ Pega paras pestañas
⚜️ Piedras decorativas
⚜️ Iluminador ocre
Nota: No estaré aplicando nada en las pestañas, porque actualmente tengo un problema de caída, si tienen alguna recomendacion, algun tonico magico, sera bien recibido
Materials:
⚜️ Moisturizing Cream.
⚜️ M.A.C Foundation.
⚜️ Eye Brushes: Blending and Eyeliner
⚜️ Elsa Palette
⚜️ Eyelashes glue
⚜️ Decorative stones
⚜️ Ochre Illuminator
Note: I will not be applying anything on my eyelashes, because I currently have a problem with eyelash loss, if you have any recommendation, any magic tonic, it will be well received.


Paso 1
Lo primero será hidratar la zona en la que vamos a trabajar, yo estaré usando la crema hidratante de Alive, me deja la piel super tersa y brillosa. Luego, pasaremos a utilizar cinta adhesiva para que la sombra que apliquemos quede bien marcada, la pondremos desde el pómulo hacia la sien, que quede bien estirado
Step 1
The first thing is to moisturize the area where we are going to work, I will be using Alive moisturizer, it leaves my skin super smooth and shiny. Then, we will use masking tape so that the shadow we apply is well marked, we will put it from the cheekbone to the temple, making sure it is well stretched.


Paso 2
Usaremos nuestro corrector y lo pondremos en el párpado para que la sombra de ojos se adhiera y con una esponjita difuminamos hasta tener un acabado uniforme
Step 2
We will use our concealer and put it on the eyelid so that the eye shadow adheres and with a sponge blend it until we have a uniform finish.

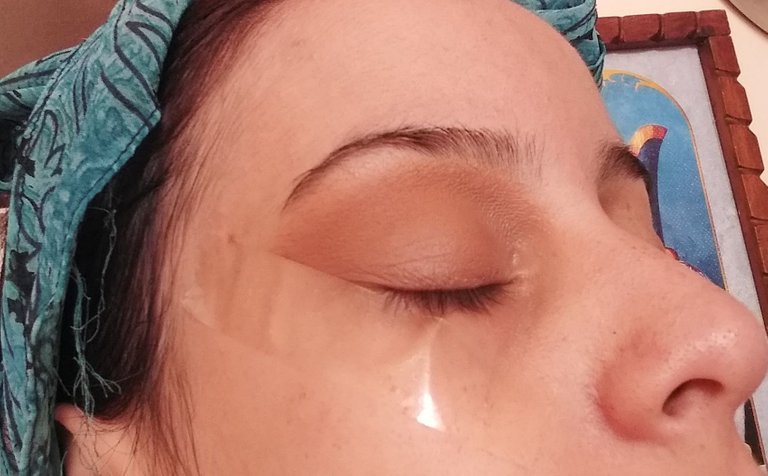
Paso 3
Aplica una sombra de ojos marrón en tono frío, con una brocha ovalada vamos difuminando delicadamente. No queremos un tono muy fuerte, ya que esto solo lo usaremos de base para nuestro color estrella
Step 3
Apply a brown eyeshadow in a cold tone, with an oval brush and blend delicately. We don't want a very strong tone, as this will only be used as a base for our star color.


Paso 4
En el ángulo externo del ojo y bien pegado del adhesivo aplicaremos nuestro color estrella que será un tono verde oscuro, con una brocha angular haremos un pequeño delineado que luego iremos difuminando hacia el centro pero solo el el párpado móvil, no tocaremos para nada la cuenca
Step 4
In the outer corner of the eye and well close to the adhesive we will apply our star color, which will be a dark green tone, with an angled brush we will make a small liner that we will then blur into the center but only on the mobile eyelid, not touching the eye crease at all.

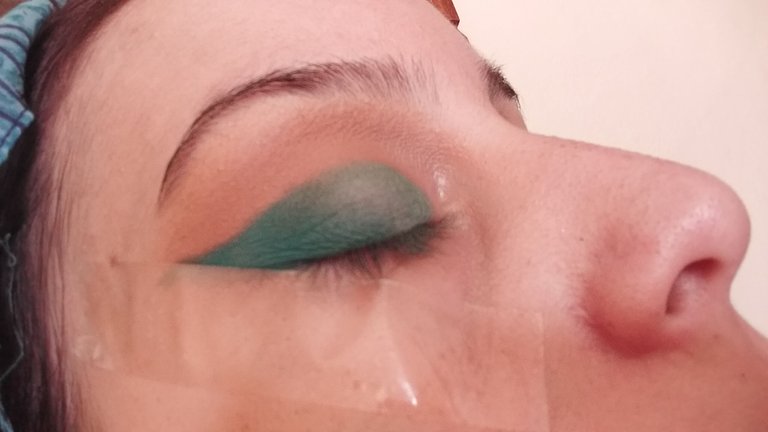
Paso 5
Pasaremos a aplicar un tono verde manzana un poco mas ligero, sólo para hacer una transición hasta el lagrimal, este no hará falta en lo absoluto difuminarlo
Step 5
We will apply a lighter shade of apple green, just to make a transition up to the tear trough, this will not need to be blended at all.


Paso 6
En el lagrimal usaremos un tono satinado azul verdoso, no muy llamativo. Quitaremos el adhesivo y mira que linea tan linda queda, este truco me gustó, porque las sombras que utilicé suelen ser muy porosas y tienden a soltar bastante polvo, termino llena de sombra en toda la zona del ojo jajaja. Para concluir con este paso, aplicaremos corrector debajo de nuestros ojos para limpiar el área
Step 6
In the tear tones we will use a greenish blue satin shade, not too flashy. We will remove the adhesive and look what a beautiful line is here, I liked this trick, because the shadows I used are usually very porous and tend to release a lot of dust, I end up full of shadow all over the eye area hahaha. To conclude with this step, we will apply concealer under our eyes to clean the area.


Paso 7
Luego de sellar nuestro corrector, delinearemos la parte de abajo con una sombra marrón oscura y el verde que usamos arriba. Nuestra cejas bien divas y continuamos con la pedrería
Step 7
After sealing our concealer, we will outline the bottom with a dark brown shadow and the green we used above. Our eyebrows look diva-like and we continue with the stones.


Paso 8
Primero organizar las piedras en un papel antes de aplicarlas, porque ya me ha pasado que luego no me gusta como se me ve y termino toda llena de pega. Luego de tener un orden irlas pegando una a una con pega para pestañas o pega de utileria
Step 8
First organize the stones on a piece of paper before applying them, because it has already happened to me that I don't like the way it looks and I end up all full of glue. After having an order, apply them one by one with eyelash glue or props glue.

¡Y finalmente, estamos listos! l And finally, we're ready!
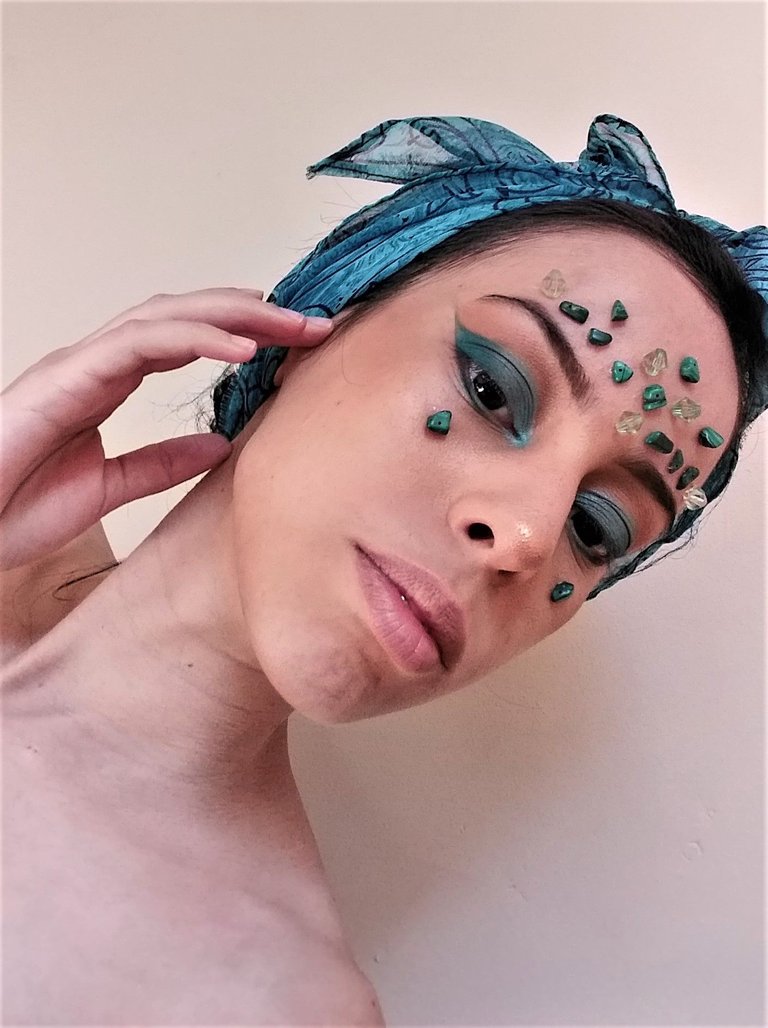

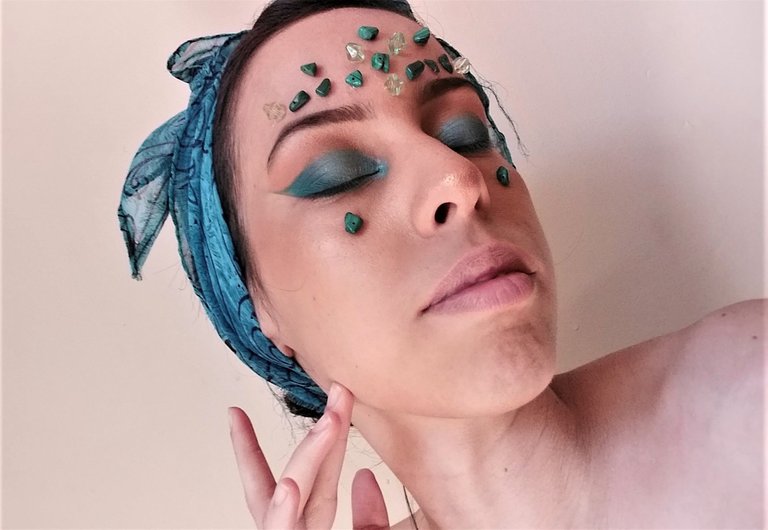

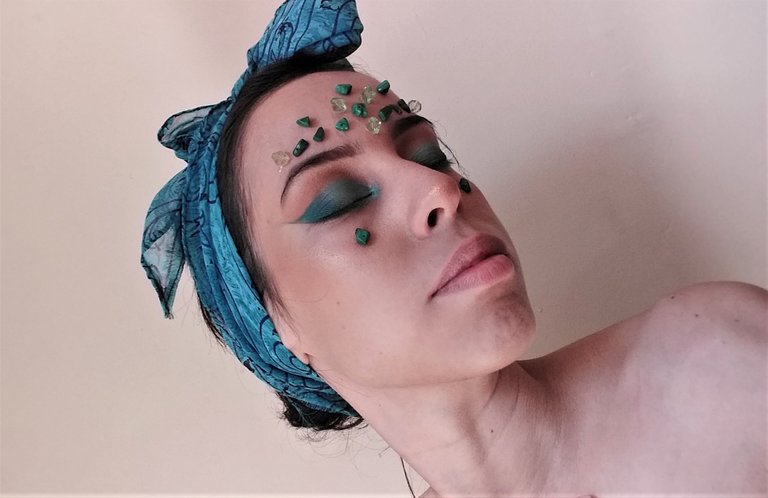

Muchas gracias por acompañarme el día de hoy, espero te haya gustado y te animes a recrearlo, si lo haces deja el link en el comentario y con mucho gusto lo veré 💖
Thank you very much for joining me today, I hope you liked it and I hope you are animated to recreate it, if you do, leave the link in the comment and I will gladly see it. 💗


https://twitter.com/vv_gm2/status/1506365716710178824
The rewards earned on this comment will go directly to the person sharing the post on Twitter as long as they are registered with @poshtoken. Sign up at https://hiveposh.com.
Congratulations @vvgm! You have completed the following achievement on the Hive blockchain and have been rewarded with new badge(s):
Your next target is to reach 50 posts.
You can view your badges on your board and compare yourself to others in the Ranking
If you no longer want to receive notifications, reply to this comment with the word
STOPTo support your work, I also upvoted your post!
Check out the last post from @hivebuzz:
Support the HiveBuzz project. Vote for our proposal!