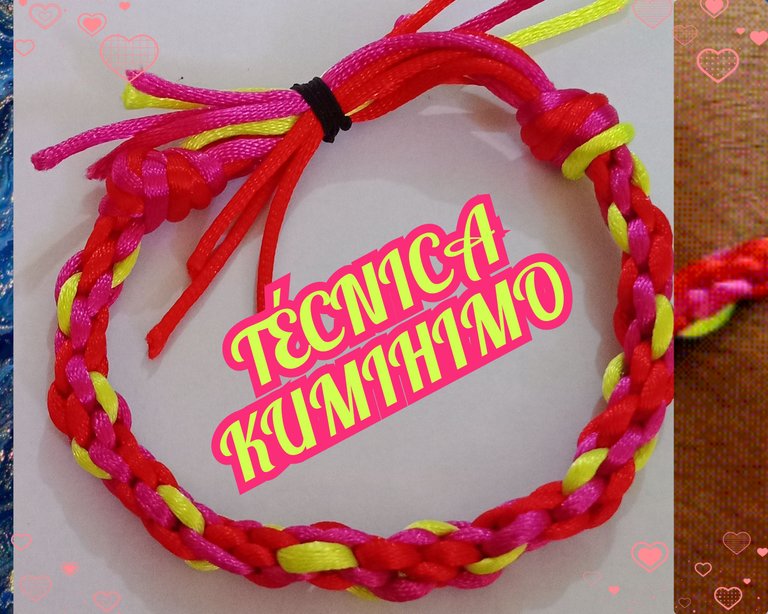
Pulsera Redonda con la Técnica Kumihimo
Ser artesano es dejar que el alma salga a la luz transformada en una obra.
Anónimo
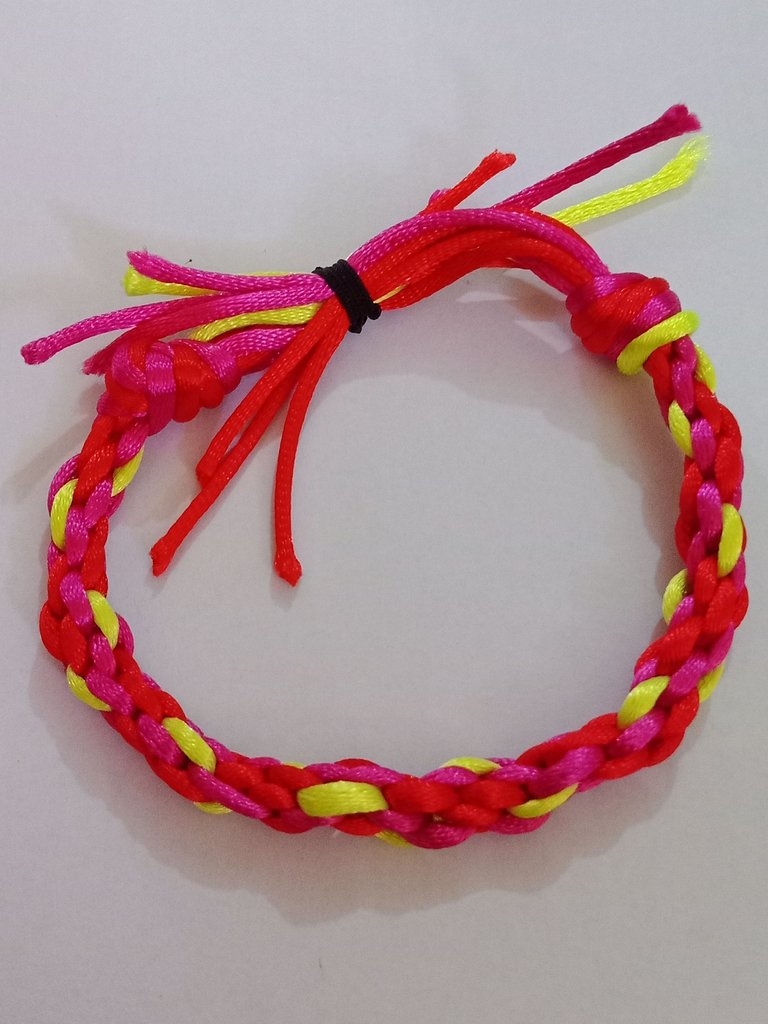
Bendiciones a todos los artesanos de esta creativa comunidad. Deseándoles mucha salud y prosperidad del alma. En esta ocasión les comparto una hermosa pulsera con la técnica kumihimo redondo.
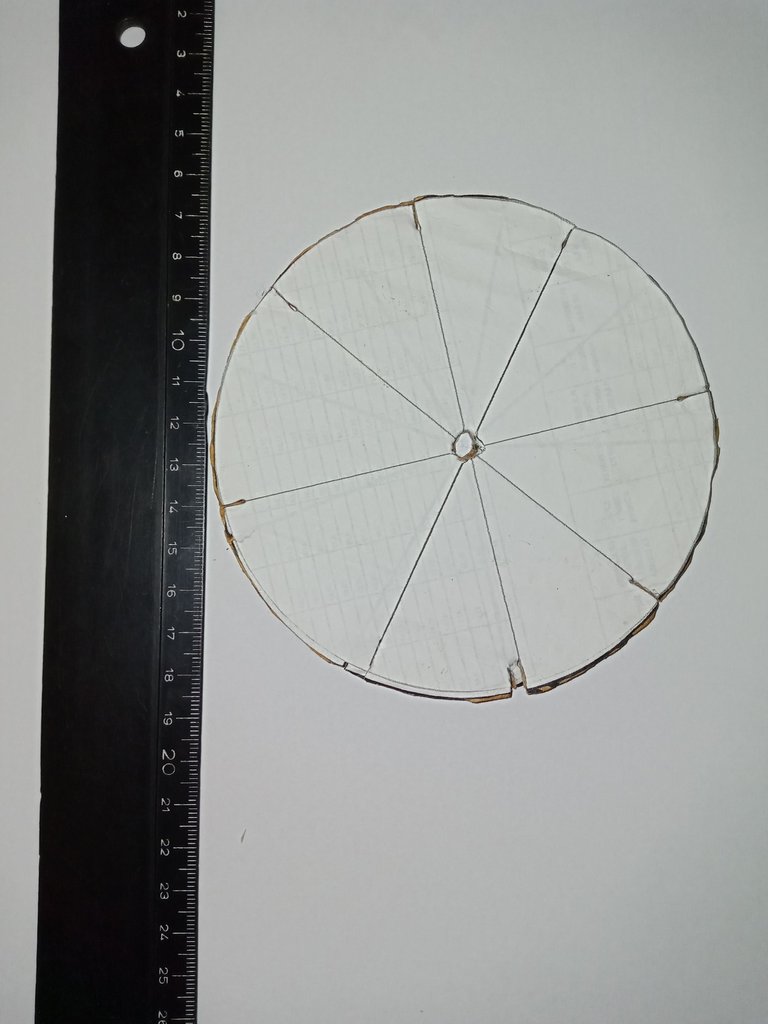
Esta pulsera es muy sencilla de elaborar y en pocos minutos. Es de mencionar que para realizar esta pulsera necesitamos un disco kumihimo pero como no lo tenía hice uno en casa con cartón de manera sencilla y práctica.
Queridos artesanos les invito a que me acompañen en todo el proceso de elaboración de esta pulsera con esta técnica maravillosa.
Así que manos a los hilos y al kumihimo de cartón.
To be a craftsman is to let the soul come to light transformed into a work of art.
Anonymous
Blessings to all the artisans in this creative community. Wishing you much health and prosperity of soul. On this occasion I share with you a beautiful bracelet with the technique kumihimo round.
This bracelet is very easy to make in a few minutes. It is worth mentioning that to make this bracelet we need a kumihimo disk but as I didn't have one at home I made one with cardboard in a simple and practical way.
Dear artisans I invite you to join me throughout the process of making this bracelet with this wonderful technique.
So hands to the threads and cardboard kumihimo.

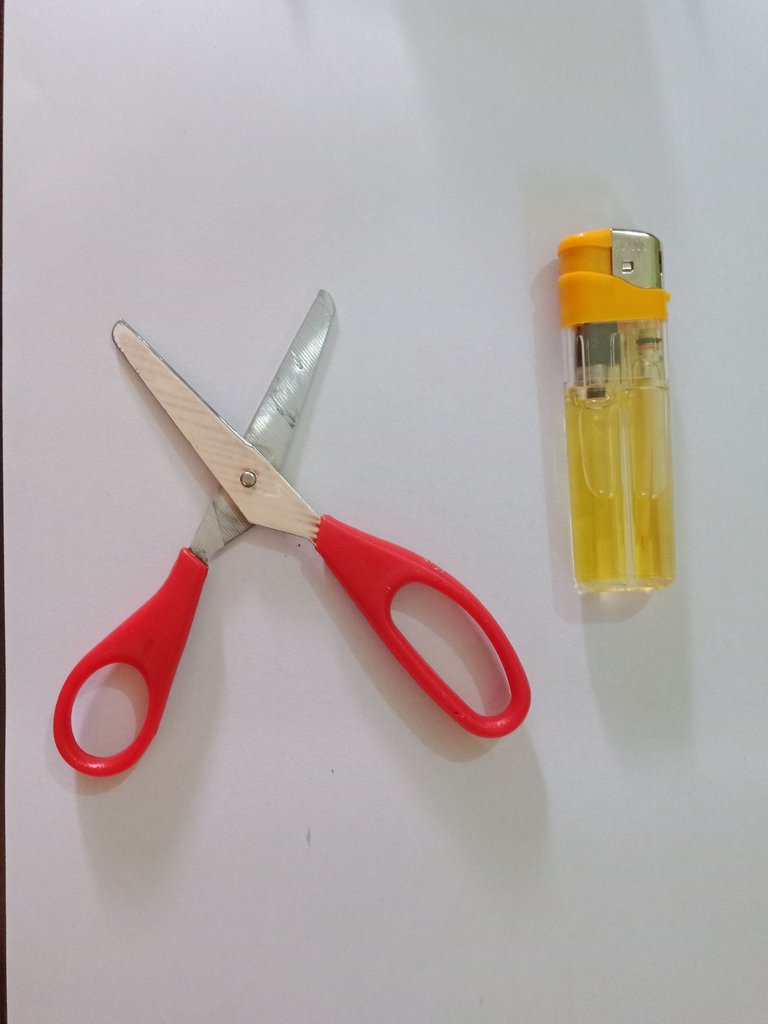
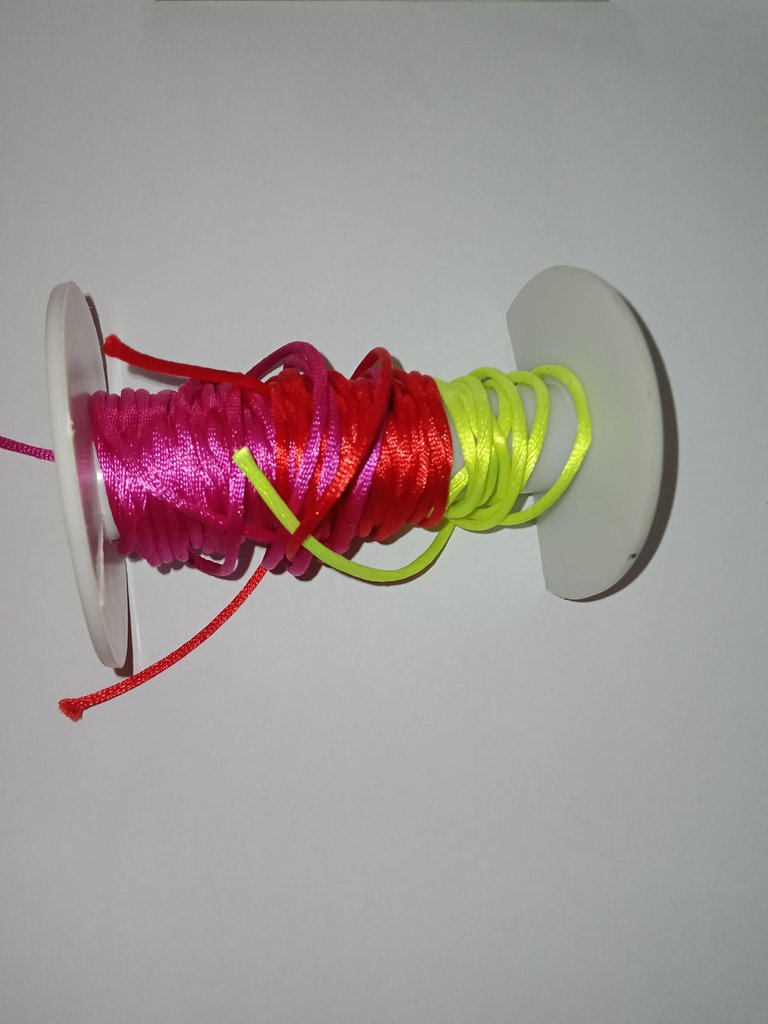
Para realizar esta hermosa joya utilicé los siguientes materiales, a saber:
- 7 hebras de hilo cola de ratón de 45cm
*Tijera
*Encendedor
*Regla
To make this beautiful jewelry I used the following materials, namely:
- 7 strands of mouse tail thread 45cm long
- Scissors
*Lighter - Ruler
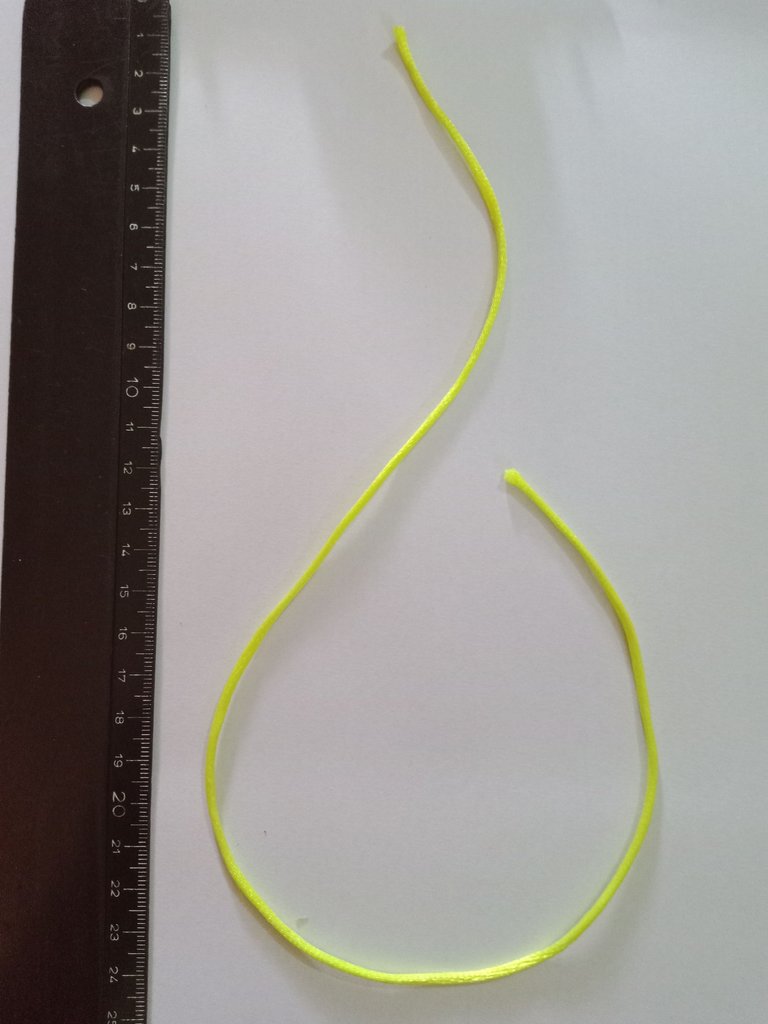
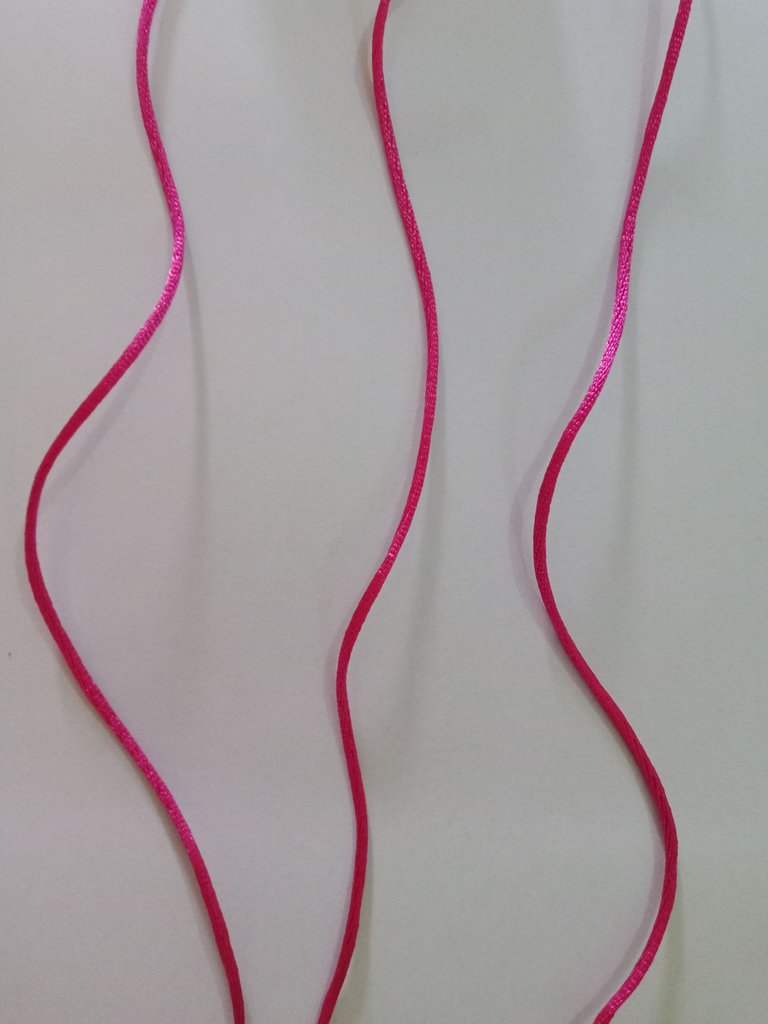
Inicié recortando 45 cm del hilo de color verde
I started by trimming 45 cm of the green thread
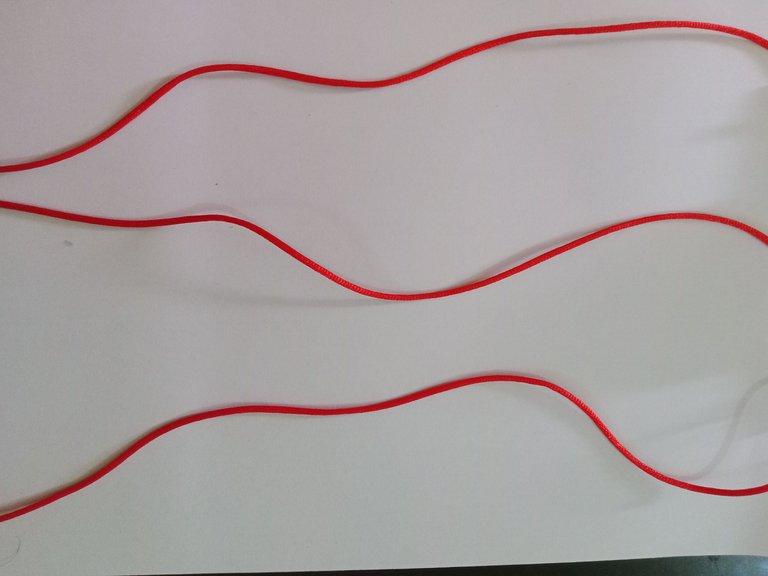
Después tomé el hilo de color verde como moldes y recorté tres hebras de hilo de color rojo
Then I took the green yarn as molds and cut three strands of red yarn.
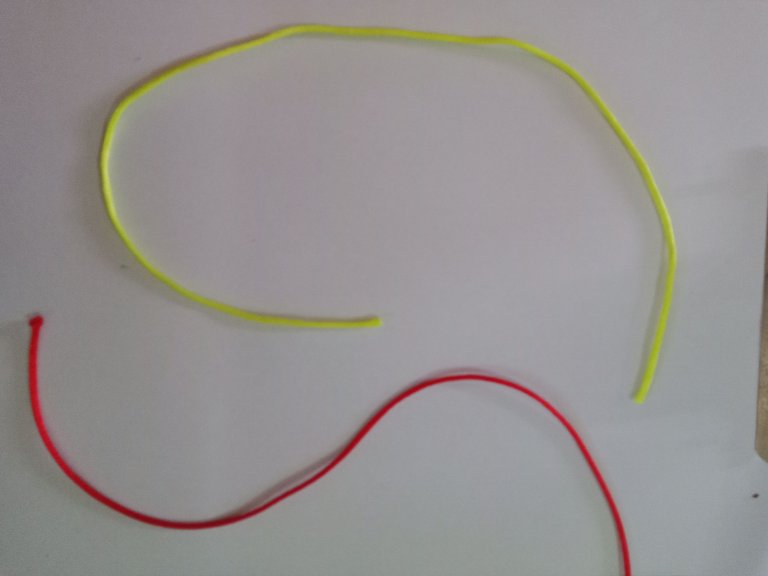

Seguidamente con ese mismo molde recorté también tres hebras de hilo de color rosa
Then with the same mold I also cut three strands of pink thread.
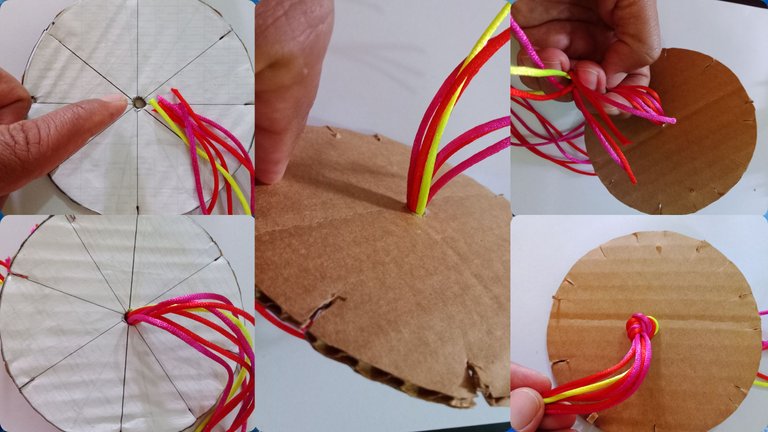
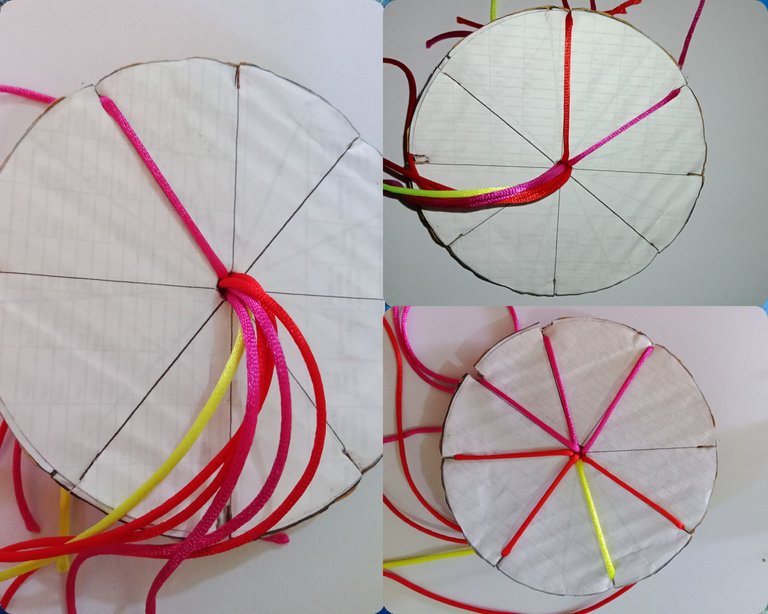
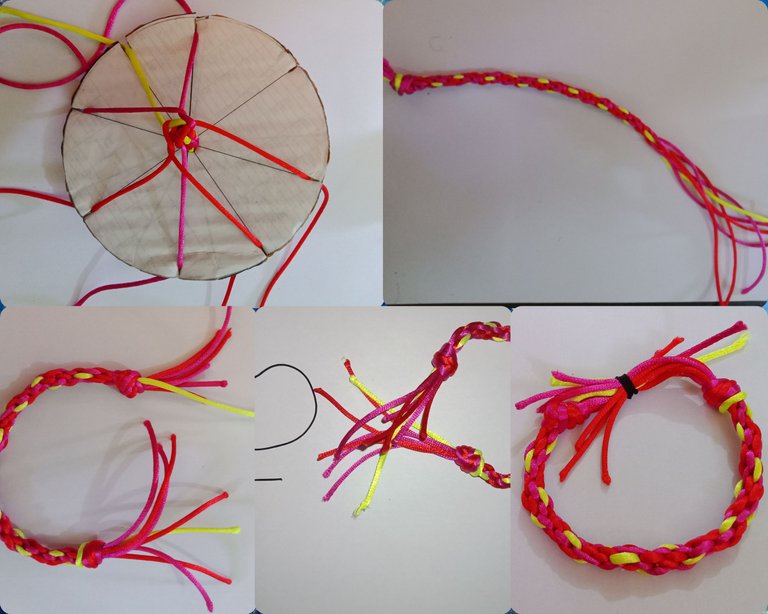
After tying the knot, I turned the disk over and began to place the threads in each opening of the disk until I left a space without thread. I made this disk with eight openings so that one is always free and I can perform the round kumihimo technique.
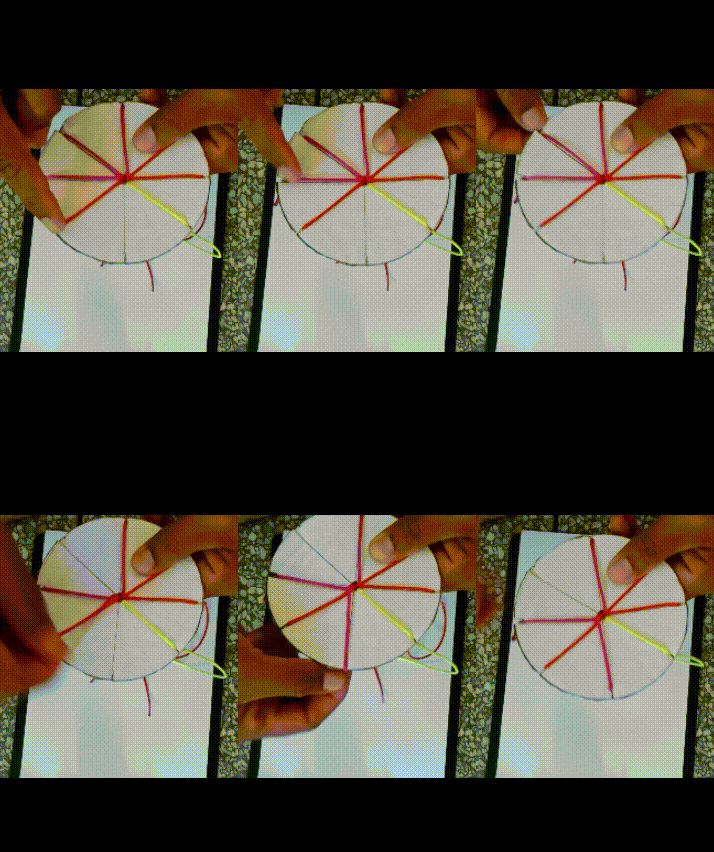
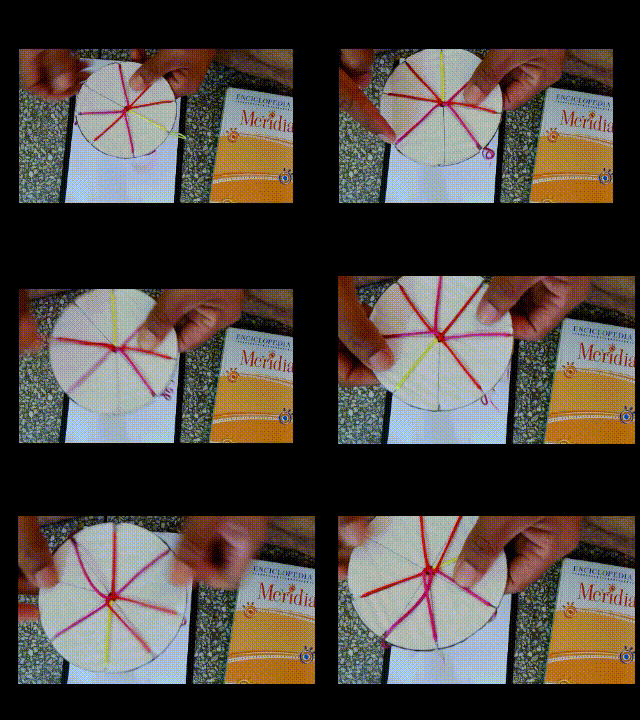
Primero colocamos nuestro disco con la línea que no contiene hilo en en el centro y en la parte superior, luego desde esa línea vacía contamos tres espacios o líneas hacia la derecha, la línea número tres ahora la sacamos y la introducimos en la línea que estaba vacía( es decir desde donde comenzamos a contar), luego el espacio o línea que quedó vacía la colocamos en el centro y en la parte superior y desde allí contamos tres líneas hacia la derecha y esa línea la llevamos hacia la línea que estaba contando y , así tenemos que repetir el proceso hasta que la pieza vaya tomando forma redonda. Luego De hacer esta secuencia vamos jalando por la parte de atrás del disco hasta llegar a la distancia deseada.
First we place our disk with the line that does not contain thread in the center and at the top, then from that empty line we count three spaces or lines to the right, the line number three now we take it out and introduce it in the line that was empty (that is from where we started counting), then the space or line that was empty we place it in the center and at the top and from there we count three lines to the right and that line we take it to the line that was counting and, so we have to repeat the process until the piece is taking a round shape. After doing this sequence we pull on the back of the disk until we reach the desired distance.

Que Dios les bendiga y nos vemos en la próxima aventura creativa
God bless you and see you in the next creative adventure!

Translated with https://www.deepl.com/translator
                  All images are my own, dividers courtesy of @kattycrochet.


             Todas las imágenes son de mi autoría, divisores cortesía de @kattycrochet.
Hola, todo un proceso, y tener paciencia, bueno, ese círculo es de gran ayuda, una excelente guía. Quedó muy bonita la pulsera, me gustó la combinación de colores. Saludos.
Es todo un proceso pero muy entretenido. Muchas gracias por pasar y comentar
El kumihimo es una técnica muy bonita, y el tejido es diferente, nos encanta que trajeras el disco y mostrarás como realizarlo 😉
Bendiciones!! Muchas gracias por sus amable palabras , me alegra saber que fue de gran utilidad.
Que tenga un domingo lleno de mucha Gracia y Paz
Yay! 🤗
Your content has been boosted with Ecency Points, by @virgilio07.
Use Ecency daily to boost your growth on platform!
Gracias por el apoyo
Hola mi amigo lindo!! Quedó simplemente espléndida tu pulsera. Todavía no practico esa técnica pero el disco lo hice con un cd. Con tu explicación, tengo una tarea pendiente. Un abrazo 🤗
Mejor aún prof. El CD es más firme. Es muy sencilla de elaborar.
Gracias por vuestro comentario
Me encanta esta pulsera, totalmente hermosa.
Gracias amiga por tus palabras. Que bueno que te gustó