TUTORIAL: hagamos un gatito 🐱/ TUTORIAL: let's make a kitten let's make a kitten🐱/ESP-ENG
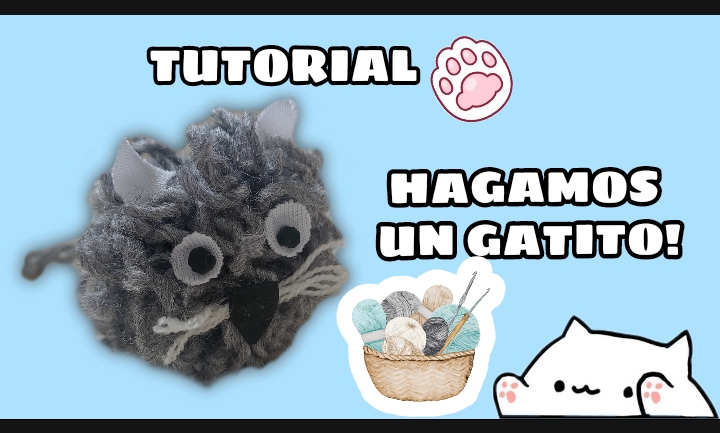
Hello creative friends of #hivediy, I am happy to greet you, after a few exhausting days I decided to do a little crafting to clear my head So let's continue to show you my creation of the day from today
The idea was to make a kitten with threads, if I'm honest I think it could have turned out much better but I think it turned out well for the first time, and the best thing is that you don't need a lot of material
Without further ado, here are the steps to follow. This time we will use the following materials:
MATERIALES / MATERIALS
- lana de algodón gris / gray cotton wool
- tijera/ Scissors
- tela o fieltro./ Fabric or felt
PASO A PASO
STEP BY STEP
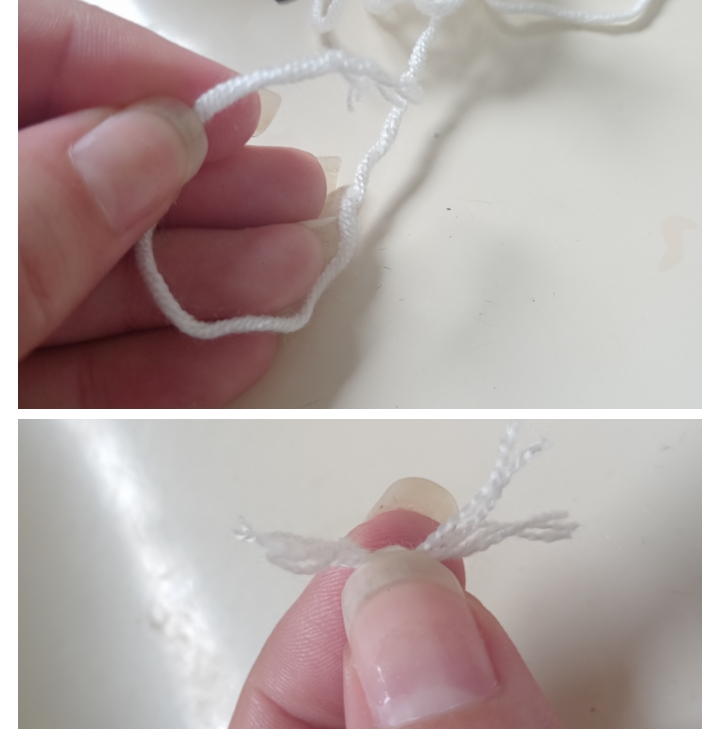
1 . The first thing I did was the body of the kitten, for this I took the wool and wound it around two of my fingers making 25 turns, with the scissors I cut and on the other hand I cut a little wool of about 8 cm.
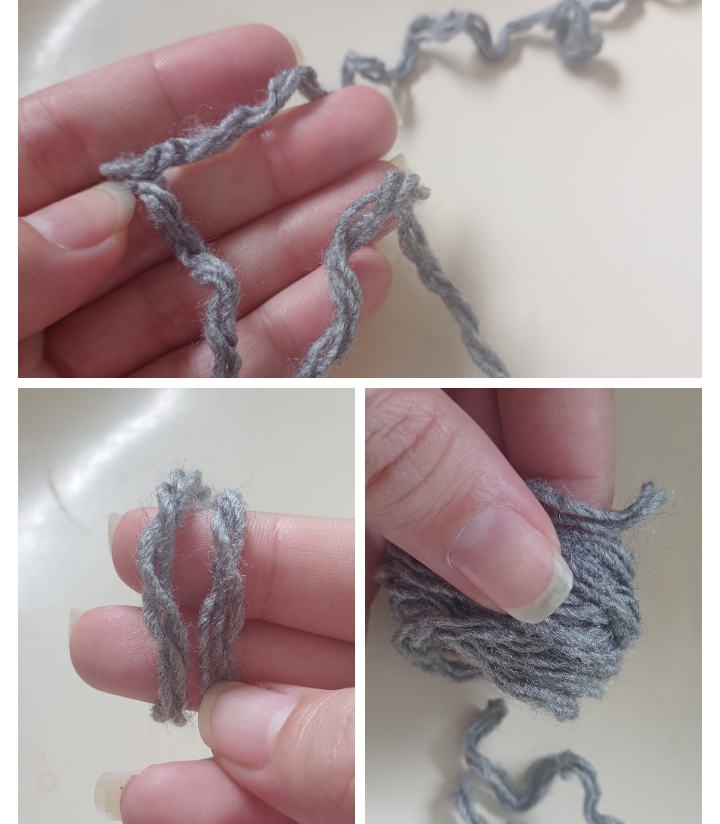
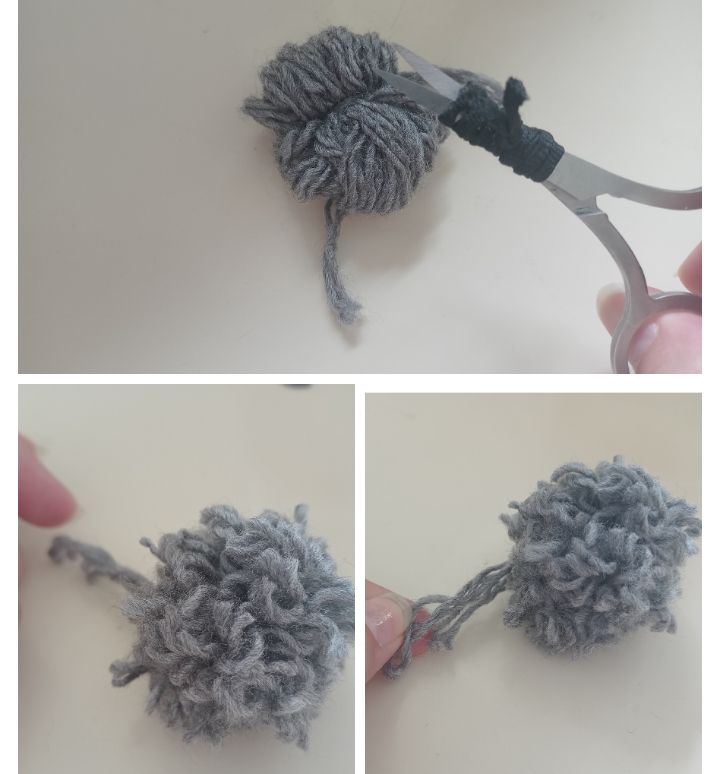
2 . With the wool I tied right in the middle, pressed hard and proceeded to cut the ends with my scissors, we will leave the ropes with which we knead long so that this can serve as a glue.
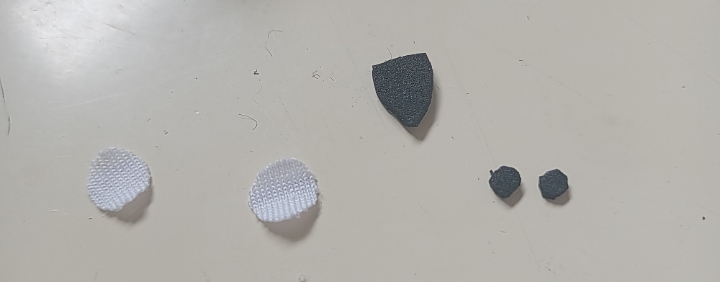
3 . On the other hand, I used recycled material to make ears, mustaches, eyes and nose.
4 . Finally we proceed to glue each piece in place to assemble our kitten.
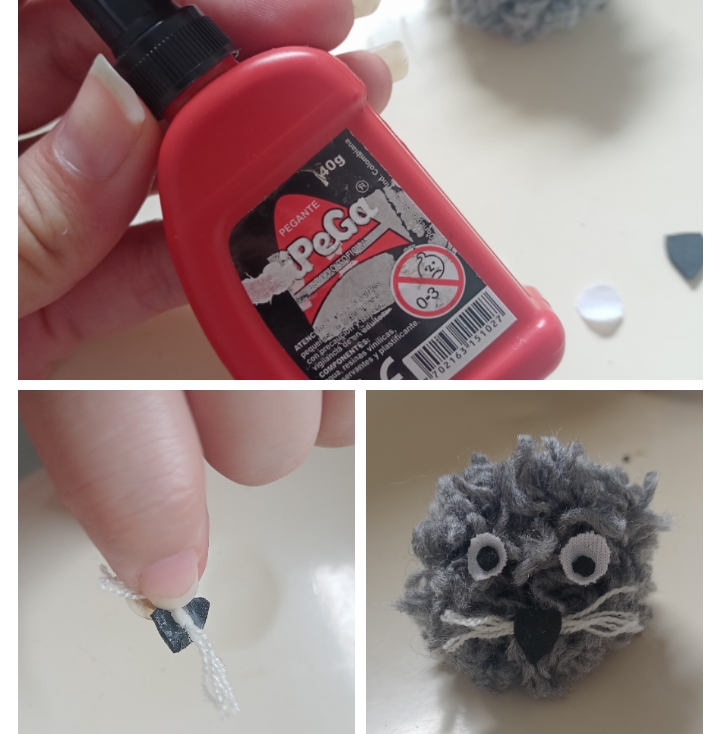
Ready, super easy right? In just a few steps you can create your small pet, which in this case is a kitten. You can create it in any color you like and that is up to each person's taste.
RESULTADO FINAL
FINAL SCORE
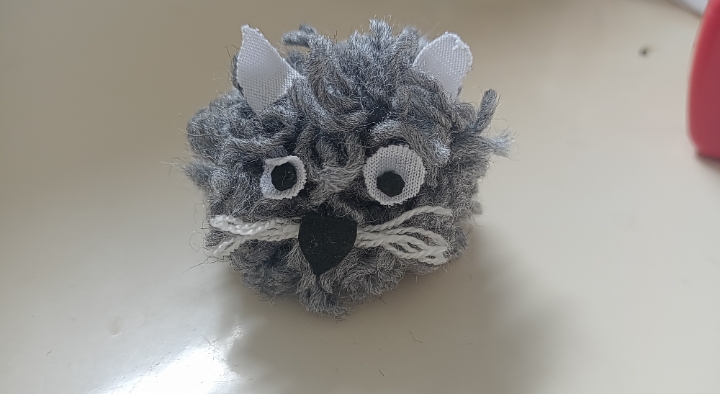
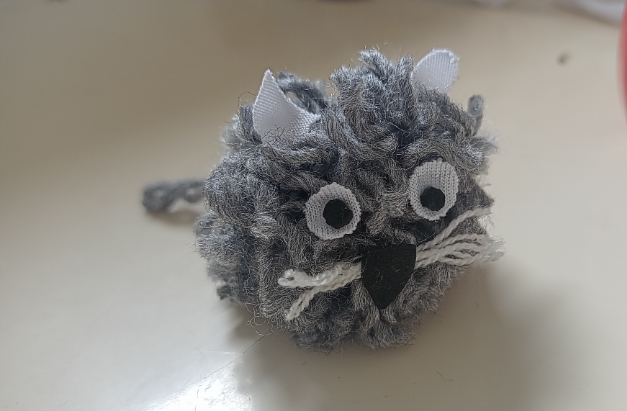
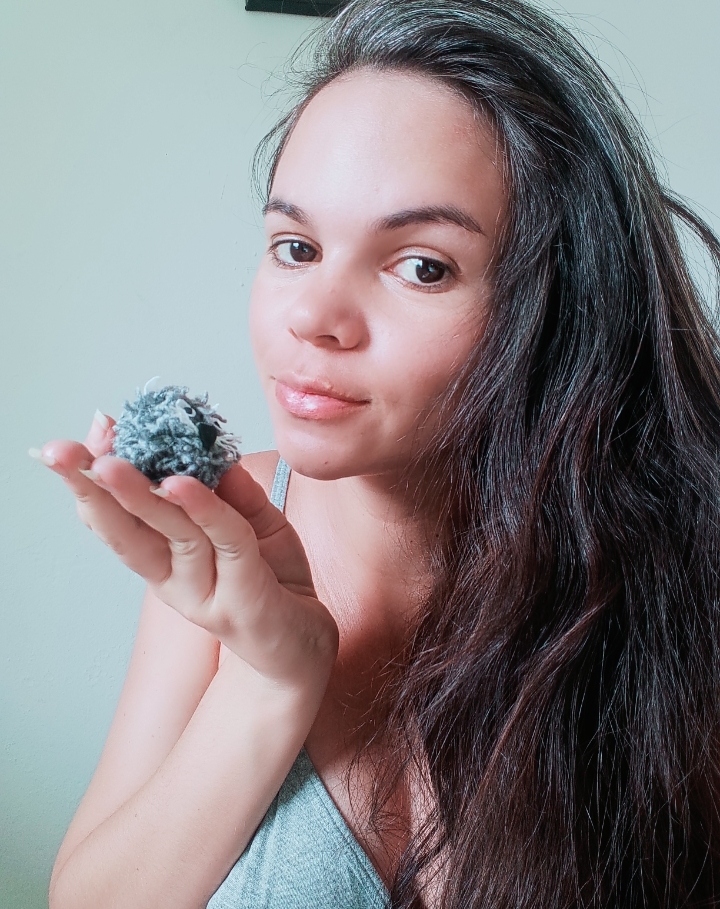
REMEMBER THAT YOU CAN GIVE IT YOUR PERSONAL TOUCH!
Happy to share with you friends, one more of my projects, I hope you liked it! It was made with love and dedication😊
Fotografías propias tomadas con mi REALME 7i
Contenido 100% exclusivo
Own photos taken with my REALME 7i
100% exclusive content
Muy lindo post y encantador gatito, habría sido genial ver un poco mas de cómo hiciste para lograr esa forma redonda.
También te invito a darle un vistazo a las reglas de la comunidad.
Hola, con el paso 2, al cortar todas las puntas con la tijera quedará como un pon pon, ya si deseas puedes cortar más del hilo para darle la forma que gustes.
Muchas gracias por tu comentario y sugerencia ☺️
@venusl19
https://leofinance.io/threads/view/hive-130560/re-leothreads-d5eiu7md
https://twitter.com/hivediy47901/status/1707177455553749397