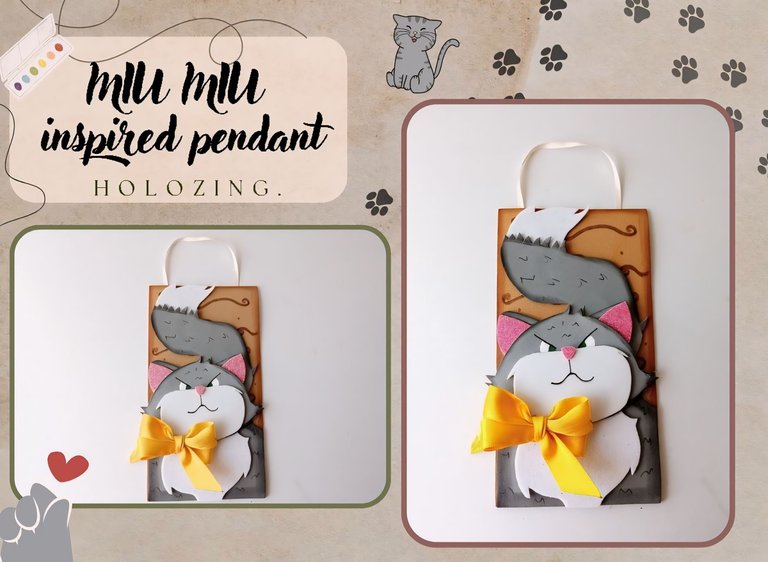
[Esp/Eng] ✨Miu Miu inspired pendant.✨
🔸Sin más que añadir, a continuación los dejo con el paso a paso:
✨Good afternoon, holozing friends!✨ I hope you are all doing well. For this part, I am doing very well, thank God. As always, I am happy to come back here to share with you a nice idea for a pendant inspired by Miu Miu. Whenever I like a creation I tell you that it is my favorite haha, but this one really is my favorite, I think it will be hard for me to top this creation, for many reasons, one of them is because Miu Miu is my favorite, my #1 from holozing, because it is a very cute angry cat and I feel that it fits more with my tastes in creations and my personality haha.
On the other hand, because my partner and I created the design, my partner is an illustrator, so he helped me with the design and then I transferred it to foam, it was a nice team effort, because he put his style and I put mine when transferring it to foam.
🔸Without more to add, then I leave you with the step by step:
♥️ESPERO QUE TE GUSTE,
¡Empecemos!
♥️I HOPE YOU LIKE IT,
Let's start!

✂️ MATERIALES | ✂️ MATERIALS

- Foami escarchado blanco y rosa.
- Foami marrón y gris.
- Pinturas y marcadores.
- Cinta.
- Pegamento.
- Hoja blanca.
- Tijeras.
- Regla.
- Lápiz.
- White and pink frosted foam.
- Brown and gray foam.
- Paints and markers.
- Tape.
- Glue.
- White sheet.
- Scissors.
- Ruler.
- Pencil.

✨ PROCEDIMIENTO | ✨ PROCESS

- ✨ PASO 1:
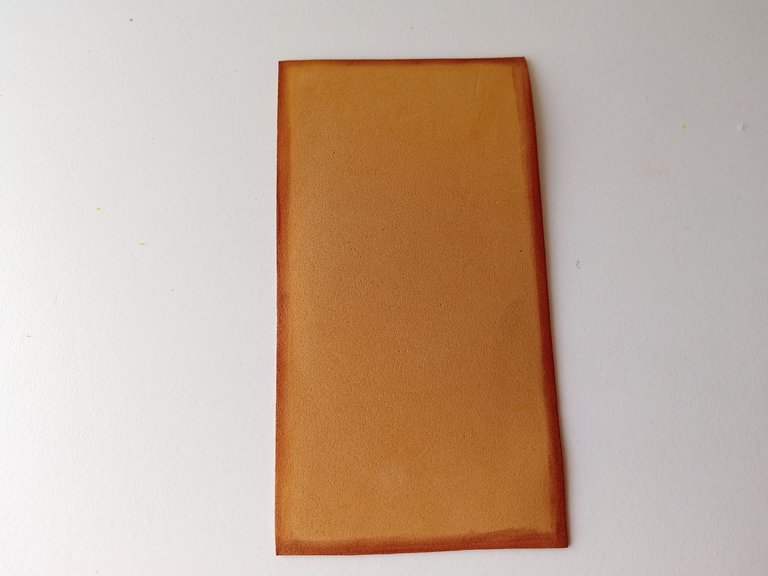
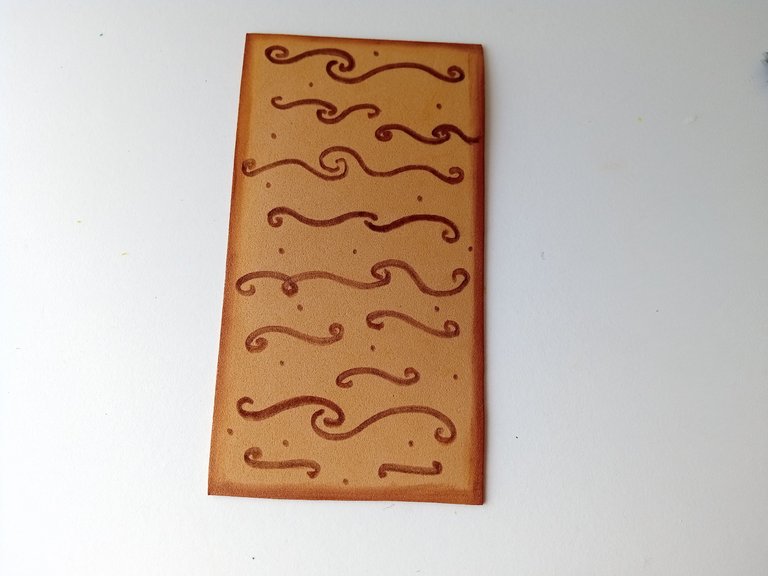
Lo primero que hice fue trazar las medidas y recortar la base del colgante. Para la base, utilicé foami marrón, como lo quise hacer un poco más delgado y pequeño, las medidas fueron de 16 cm x 8.5 cm y recorté. Luego, comencé a dar color a los bordes con pintura marrón, detalles de madera con marcador marrón y dejé secar.
- ✨ STEP 1:
The first thing I did was trace the measurements and cut out the base of the pendant. For the base, I used brown foam, as I wanted to make it a little thinner and smaller, the measurements were 16 cm x 8.5 cm and I cut it out. Then, I began to color the edges with brown paint, wooden details with a brown marker and let it dry.


- ✨ PASO 2:
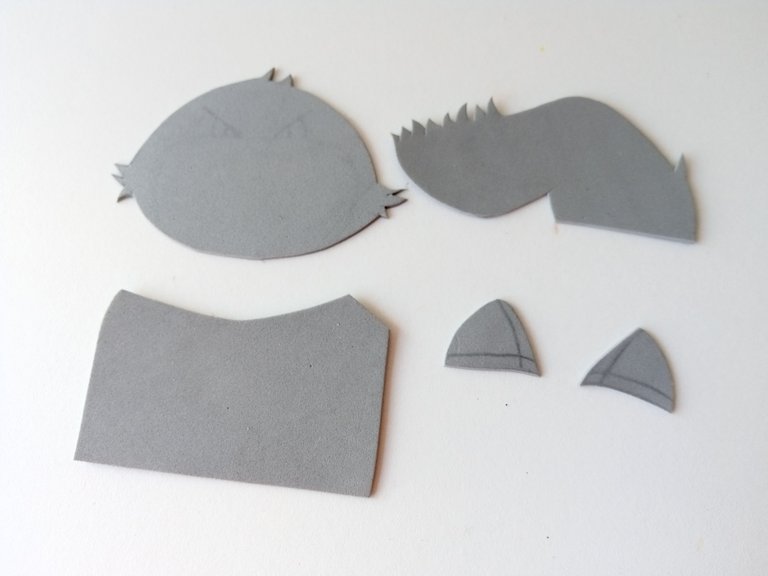
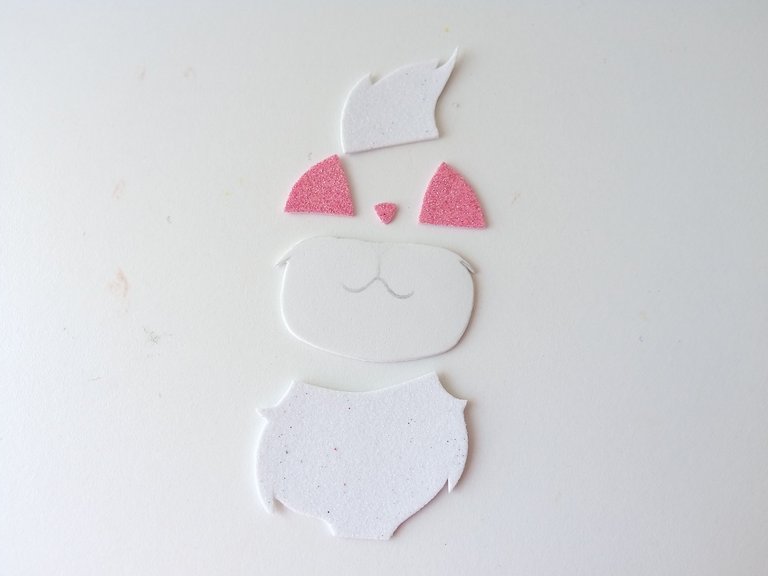
Seguidamente, dibujé el diseño de la decoración a una hoja blanca para hacer los patrones y luego, lo transferí a los colores correspondientes de foami, los cuales especifico a continuación: Cabeza, cuerpo y cola en foami gris; punta de la cola y parte interna del cuerpo en foami escarchado blanco; hocico en foami blanco; parte interna de las orejas y nariz en foami escarchado rosa.
- ✨ STEP 2:
Next, I drew the decoration design on a white sheet to make the patterns and then, I transferred it to the corresponding colors of foam, which I specify below: Head, body and tail in gray foam; tip of the tail and inner part of the body in white frosted foam; snout in white foam; inner part of the ears and nose in pink frosted foam.


- ✨ PASO 3:
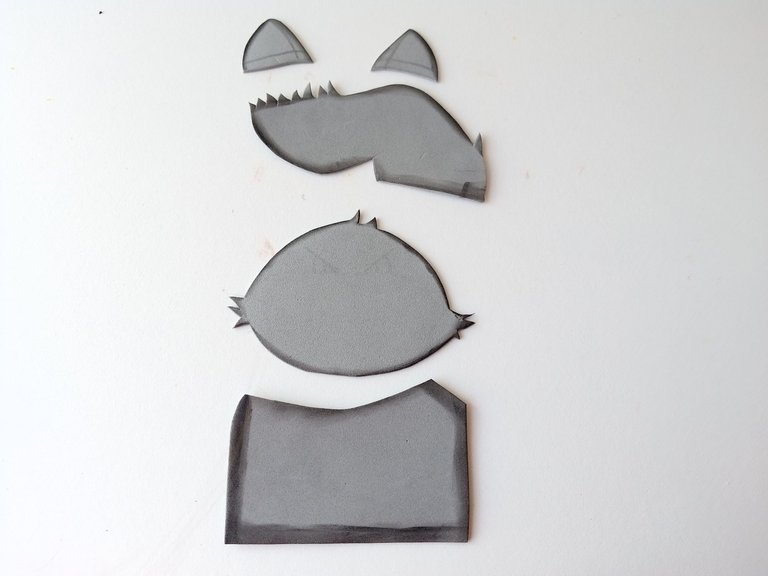
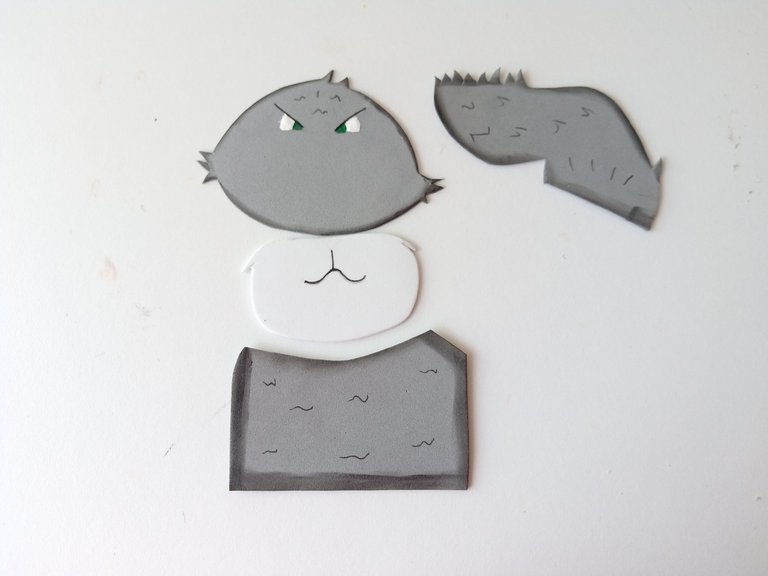
Al tener todas las piezas listas, comencé a dar color a los bordes de las piezas en foami gris, utilizando pintura negra. Luego, di detalles del pelaje y partes del rostro con marcador negro. Pinté los ojos con pintura blanca, verde y dejé secar.
- ✨ STEP 3:
Once I had all the pieces ready, I began to color the edges of the pieces in gray foam, using black paint. Then, I gave details of the fur and parts of the face with a black marker. I painted the eyes with white and green paint and let it dry.


- ✨ PASO 4:
Al estar totalmente secas las piezas, comencé pegando todas las piezas de la cara porque es lo que más detalles tiene y seguidamente, pegué las piezas del cuerpo, cola y al final uní todas las piezas y pegué a la base.
- ✨ STEP 4:
Once the pieces were completely dry, I started by gluing all the face pieces because it has the most details and then I glued the body pieces, tail and finally I joined all the pieces and glued them to the base.

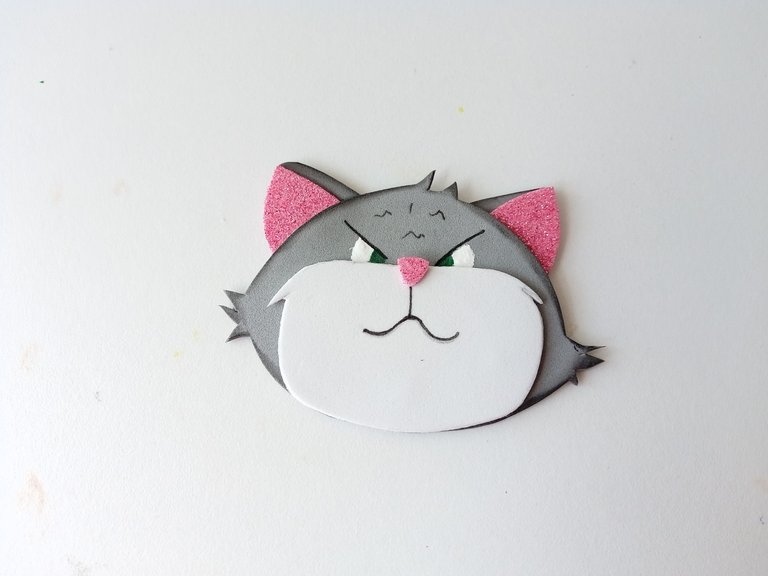
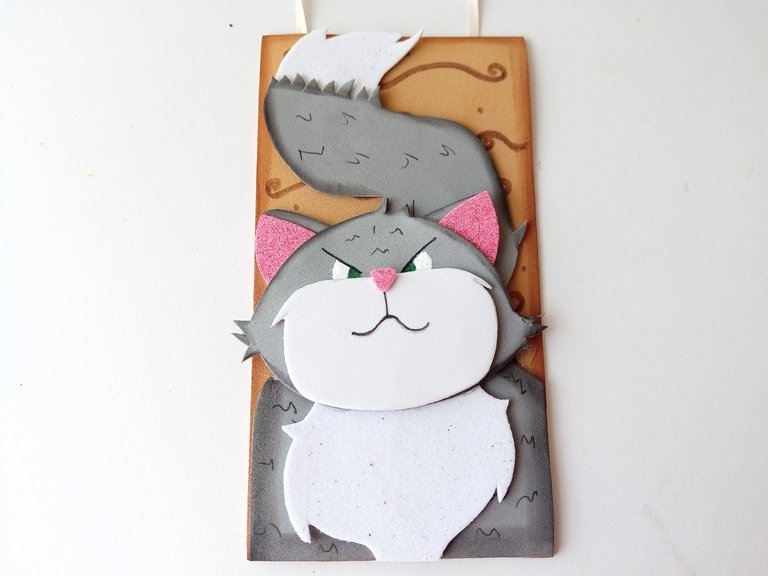
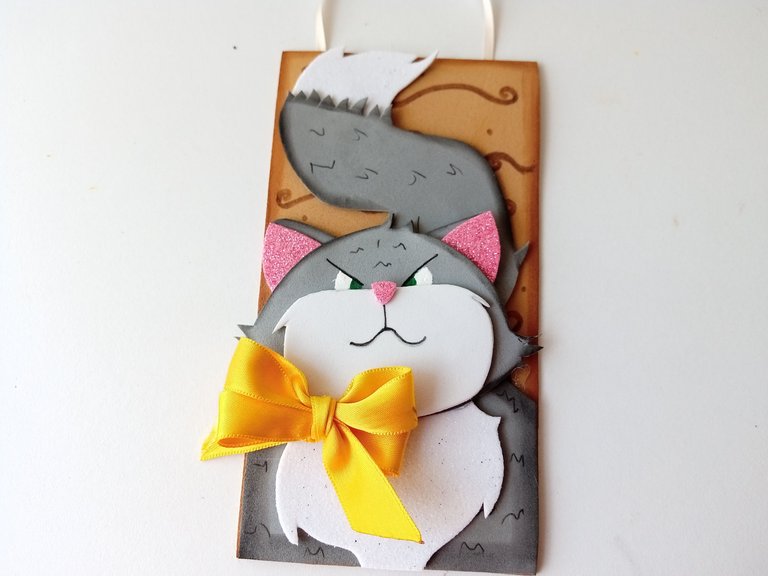

✨To finish, I glued tape to the top, so I could hang it and I added a cute yellow bow to give it contrast and highlight or give more life to the design, but this is totally up to me, it was just an extra detail that I wanted to add to the decoration haha. So I hope you liked this cute pendant and you are encouraged to make it step by step.
❤️Until the next post.
❤️ Hasta la próxima publicación.
❤️ Until the next post.


Todas las fotografías son de mi propiedad.
Separador y Fotos editadas en Canva
All photographs are my property.
Photos edited in Canva
Realmente quedó fantástico y hermoso, me encantó ese gatico gruñón y tierno a la vez!🩷
Gracias Ami bella! Me alegra que te haya gustado su expresión jaja 💕
Hermoso colgante! Lo amé 🥰🥰
Gracias mi Eve! 💕
Amiga está precioso, amo la expresión de su cara, fácilmente podría ser yo jajaja
Qué lindo que fue un trabajo en equipo,eso me encanta!
Jajaja podríamos ser las dos Ami 🤭. Muchas gracias mi Rosita 💕
Que cuchitura amiga, y sin duda el lazo le dio el toque perfecto 😍
Muchas gracias ami💕🤭
Hola amiga, que bonita esta manualidad y también me gusta ese gato, ya que su personalidad es única y sobre todo es llamativo, así que muy buena manera de representarlo y darle ese toque de colores y elementos.
Hola amigo! Muchas gracias. Totalmente, yo amo su personalidad, se ve súper tierno y amargadito 🤭
Me alegra que te haya gustado. Saludos ✨✨
Bellisimo ese colgante amii🥰🥰 ahhh no sabia que eras enojona amii jajaja yo siento que eres una lindura chica jiji
Jaja si tengo mis días Ami, como todos. Pero yo soy bien paz y amor siempre jaja. En mis días si saco las garras 😂