[Esp/Eng] ✨Chirple Radiant inspired switch decoration.✨
🔸Sin más que añadir, a continuación los dejo con el paso a paso:
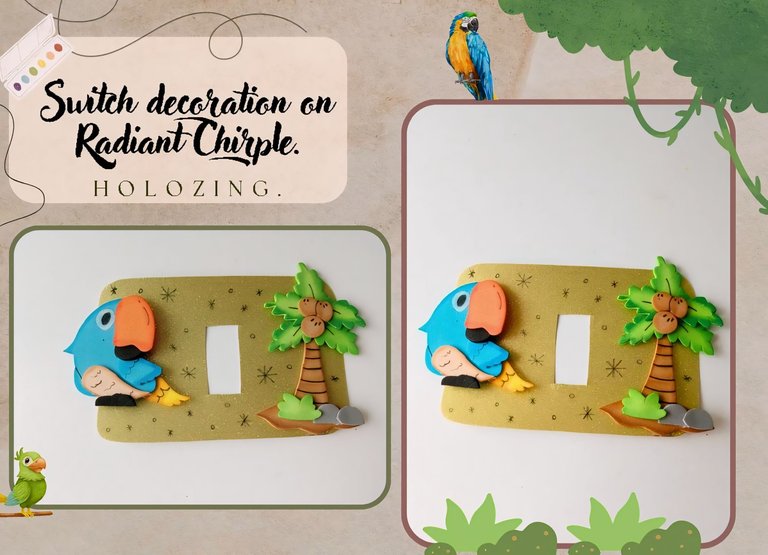
✨Good afternoon, holozing friends!✨ I hope you are all doing well. For this part, I am doing very well, thank God. As always, I am happy to stop by here again to share with you a nice decoration idea for the switch inspired by Chirple Radiant. I have been quite interested in seeing the other evolutions of each of the creatures and that is why you see me making so many, I usually go for the Radiant, since they are my favorites, because I like that color change in the creatures and obviously, I had to make Chirple, which is one of my favorites.
🔸Without more to add, then I leave you with the step by step:
♥️ESPERO QUE TE GUSTE,
¡Empecemos!
♥️I HOPE YOU LIKE IT,
Let's start!

✂️ MATERIALES | ✂️ MATERIALS

Para Chirple Radiant:
- Foami azul, amarillo,
Naranja, crema y negro.
Para la palmera:
- Foami verde, marrón y
gris.
Otros:
- Cartulina escarchada dorada.
- Pinturas y marcadores.
- Hoja blanca.
- Pegamento.
- Lápiz.
For Chirple Radiant:
- Blue, yellow,Orange,
cream and black foam.
For the palm tree:
- Green, brown and
gray foam.
Others:
- Golden frosted cardboard.
- Paints and markers.
- White sheet.
- Glue.
- Pencil.

✨ PROCEDIMIENTO | ✨ PROCESS

- ✨ PASO 1:
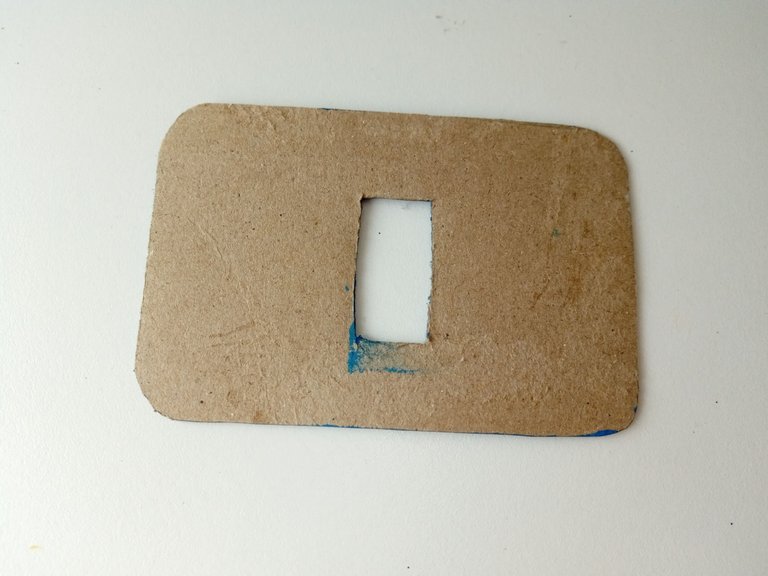
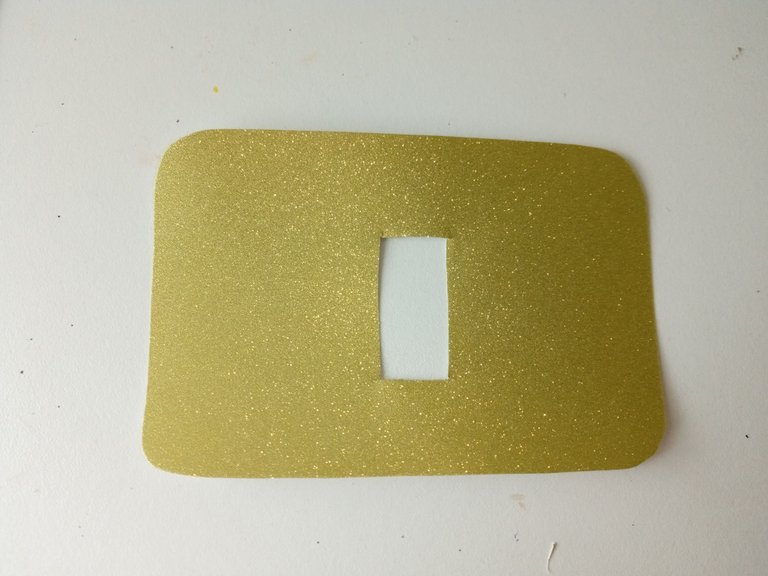
Lo primero que hice fue tomar las medidas del interruptor al cual le iba a colocar la decoración. En mi caso, utilicé cartón delgado para hacer el patrón, pero pueden hacerlo en una hoja blanca y luego, calqué este patrón en la cartulina escarchada dorada y recorté.
- ✨ STEP 1:
The first thing I did was take the measurements of the switch to which I was going to place the decoration. In my case, I used thin cardboard to make the pattern, but you can do it on a white sheet and then, I traced this pattern on the gold glitter cardstock and cut it out.


- ✨ PASO 2:
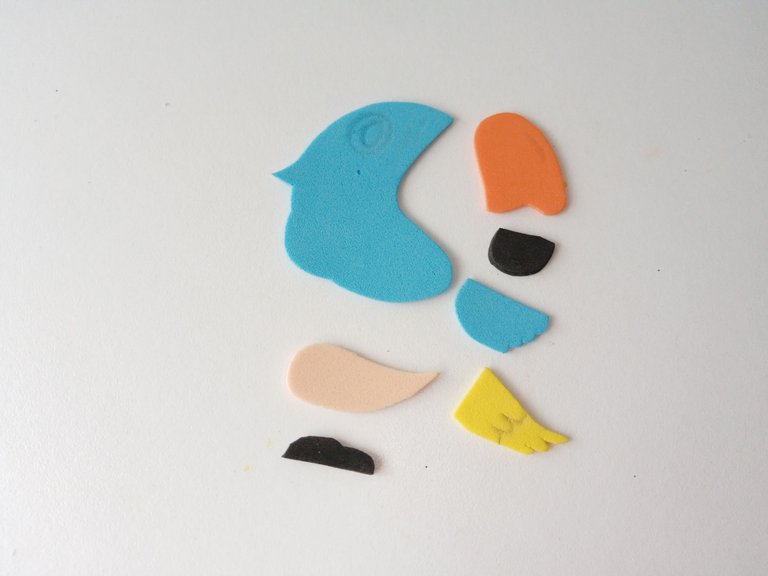
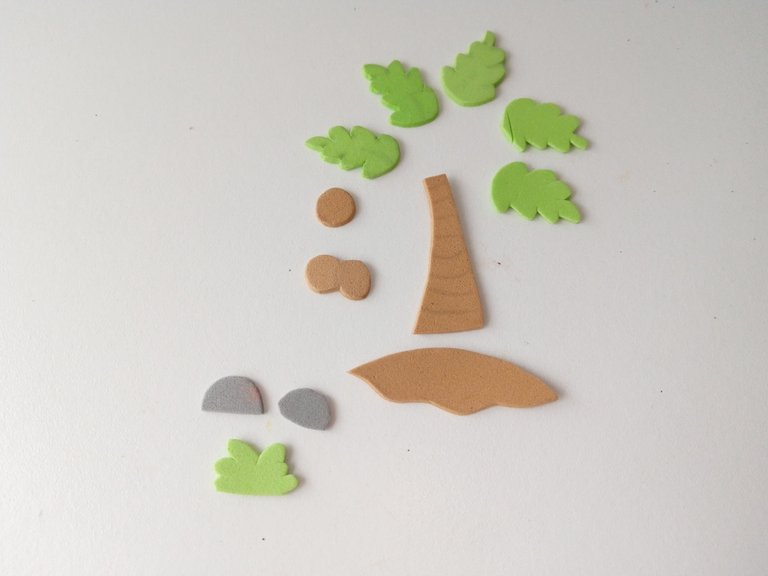
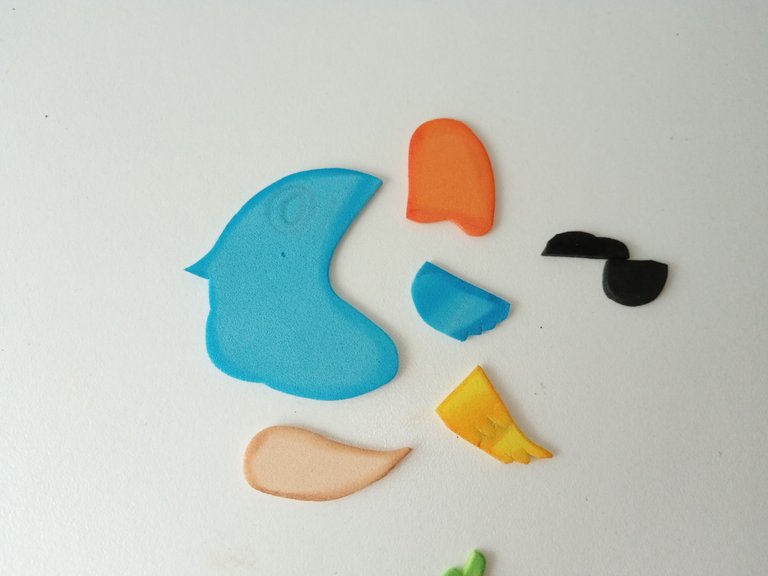
Luego, llego mi parte favorita que es elaborar los patrones de las decoraciones, que en este caso fue chirple y la palmera. Al tenerlos listos, los transferí a los colores correspondientes de foami de la siguiente manera: para Chirple; cuerpo y ala en foami azul, panza en foami crema, cola en amarillo, pico en naranja, patas y parte inferior del pico en foami negro. Para la palmera; hojas en verde, piedras en gris, tronco, cocos y base en marrón.
- ✨ STEP 2:
Then, came my favorite part, which is making the patterns for the decorations, which in this case were Chirple and the palm tree. Once I had them ready, I transferred them to the corresponding colors of foam as follows: for Chirple; body and wing in blue foam, belly in cream foam, tail in yellow, beak in orange, legs and lower part of the beak in black foam. For the palm tree; leaves in green, stones in gray, trunk, coconuts and base in brown.


- ✨ PASO 3:
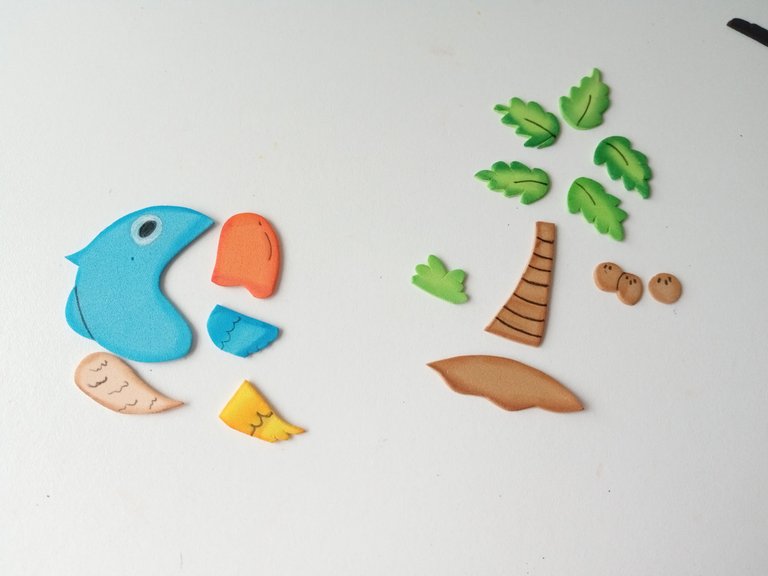
Al tener todas las piezas listas, comencé a dar color a los bordes, como siempre… utilizando colores que hagan contraste con cada una de las piezas y difuminando con ayuda de un pañito. Al estar totalmente seco, comencé a dar detalles con marcador negro para definir partes importantes del dibujo y el ojo de Chirple.
- ✨ STEP 3:
Once I had all the pieces ready, I began to color the edges, as always… using colors that contrast with each of the pieces and blending with the help of a cloth. Once it was completely dry, I started adding details with a black marker to define important parts of the drawing and Chirple's eye.


- ✨ PASO 4:
Para finalizar, pegué las piezas hasta formar cada una de las decoraciones. Luego, pegué a Chirple en el lado izquierdo de la base en cartulina escarchada y la palmera al lado derecho, dando la idea de que Chirple está viendo la palmera para volar hacia allá. Por último, con marcador negro, dibujé unas estrellitas y círculos por toda la base.
- ✨ STEP 4:
To finish, I glued the pieces together to form each of the decorations. Then, I glued Chirple to the left side of the frosted cardboard base and the palm tree to the right side, giving the idea that Chirple is looking at the palm tree to fly over to. Finally, with a black marker, I drew some little stars and circles all over the base.

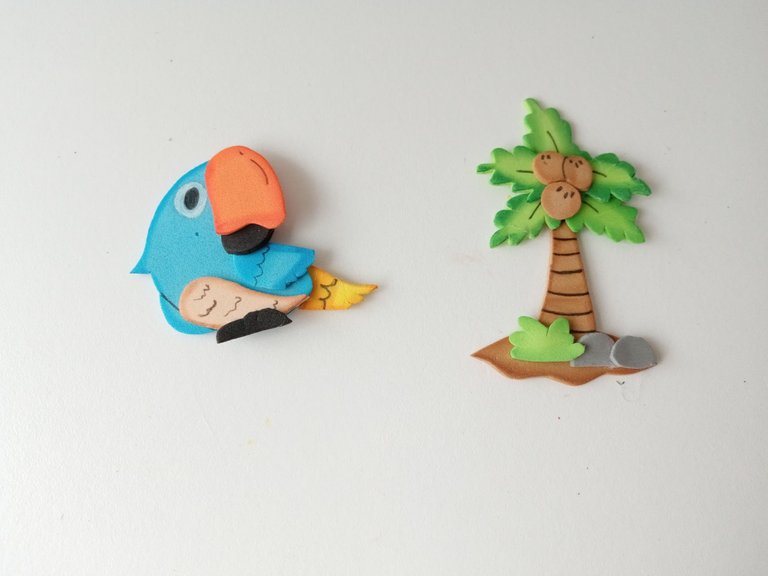
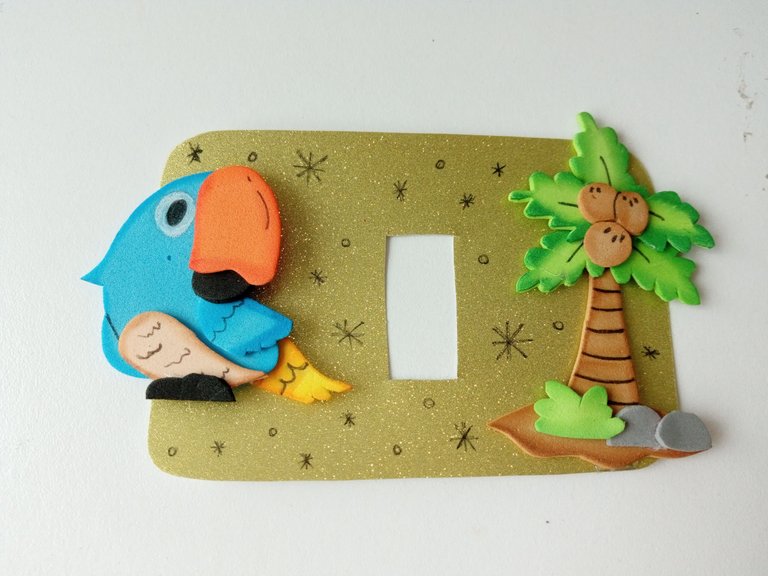

✨This is how you can make a nice switch decoration. What do you think? Does it look good for the kids' room? I think it's a very nice idea and although it's quite colorful, all the colors match very well, which makes it not look so saturated. I hope you liked it and are encouraged to make this idea.
❤️Until the next post.
❤️ Hasta la próxima publicación.
❤️ Until the next post.


Todas las fotografías son de mi propiedad.
Separador y Fotos editadas en Canva
All photographs are my property.
Photos edited in Canva
Ya imagino th casa ami jaja toda cuchi con los interruptores jeje este quedó bellisimo🥰🥰
Jaja bueno Ami, la verdad que no tengo, casi siempre hago para habitación de niños y los regalo a mis primitos. 🤭💓
This is such a beautiful decoration. The color, design and everything in between is super nice. You did an awesome job friend, well done and thanks for sharing.
Thank you so much for supporting my content! I'm so glad you liked the color combination and the finish. Regards 💕
Te quedó super lindo mi Valen, me encantó como hiciste cada mínimo detalle 😍
Gracias mi Vane! A veces me da por hacer detallitos extras y tienes razón, se ve más tierno.💕
Congratulations, your post has been curated by @dsc-r2cornell. You can use the tag #R2cornell. Also, find us on Discord
Felicitaciones, su publicación ha sido votada por @ dsc-r2cornell. Puedes usar el tag #R2cornell. También, nos puedes encontrar en Discord
Muchas gracias amigos 💕
Qué hermosa decoración Ami 🥰 sin duda todo en la casa se puede decorar
Totalmente amiga, hasta lo que uno menos imagina 🤭. Gracias preciosa.💕
Una belleza de trabajo ami, me encantó sobre todo la palmera, sus hojas quedaron preciosas!
Gracias mi Rosa bella ! También es mi favorita 🤭💕
Estos detalles me encantan, te quedó muy bonito amiga💕
Me parece que quedó genial.
Es una muy buena idea para decorar este espacio de la casa.