[Esp/Eng] ✨Chirple inspired keychain.✨
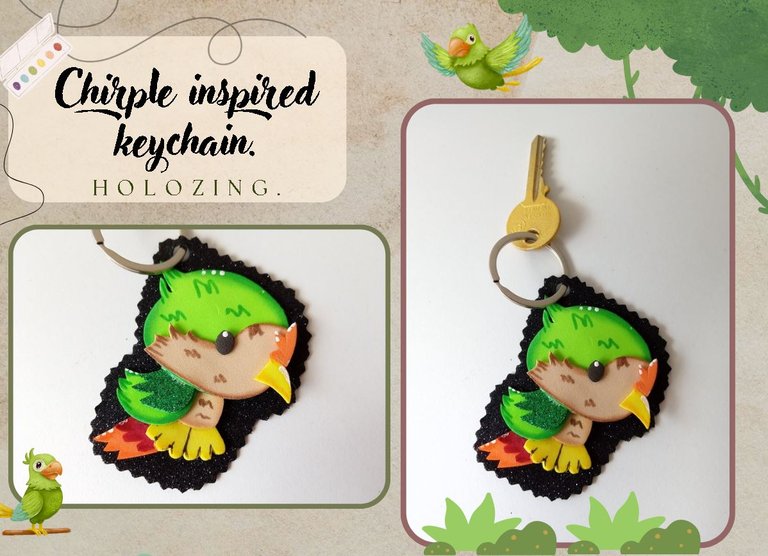
🔸Sin más que añadir, a continuación los dejo con el paso a paso:
Good afternoon, holozing friends! I hope you are all doing well, I am happy to stop by here again to share a nice idea for a keychain inspired by Chirple. I have already mentioned that Chirple is one of my favorite creatures and the first time I dared to share a decoration with you, I was fascinated with the result, but I think this time this is my favorite haha.
I want to mention that I am very happy with the creations I have been sharing lately, because I feel that I have improved a lot these last few months and each creation has a better result.
🔸Without more to add, then I leave you with the step by step:
♥️ESPERO QUE TE GUSTE,
¡Empecemos!
♥️I HOPE YOU LIKE IT,
Let's start!

✂️ MATERIALES | ✂️ MATERIALS

- Foami escarchado negro.
- Foami escarchado verde.
- Foami rojo.
- Foami amarillo.
- Foami verde.
- Foami beige.
- foami naranja.
- Aro metálico.
- Pegamento.
- Tijeras.
- Lápiz.
- Black frosted foam.
- Green frosted foam.
- Red foam.
- Yellow foam.
- Green foam.
- Beige foam.
- Orange foam.
- Metallic ring.
- Glue.
- Scissors.
- Pencil.

✨ PROCEDIMIENTO | ✨ PROCESS

- ✨ PASO 1:
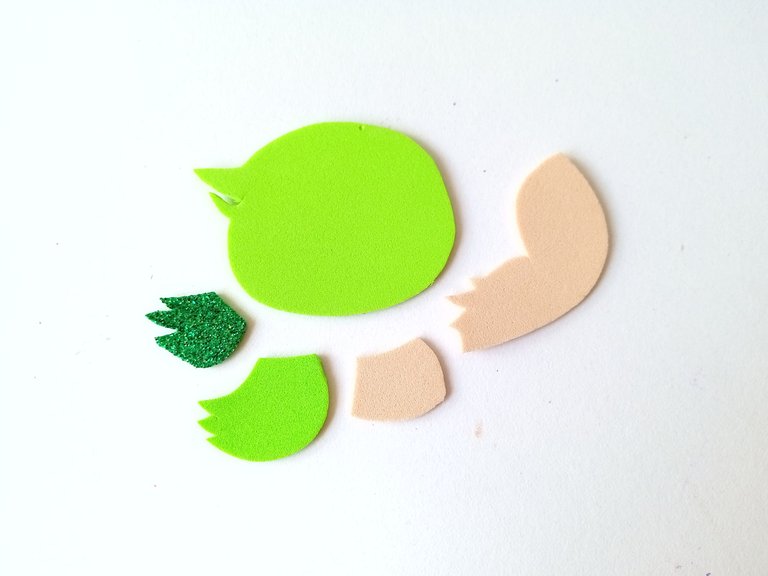
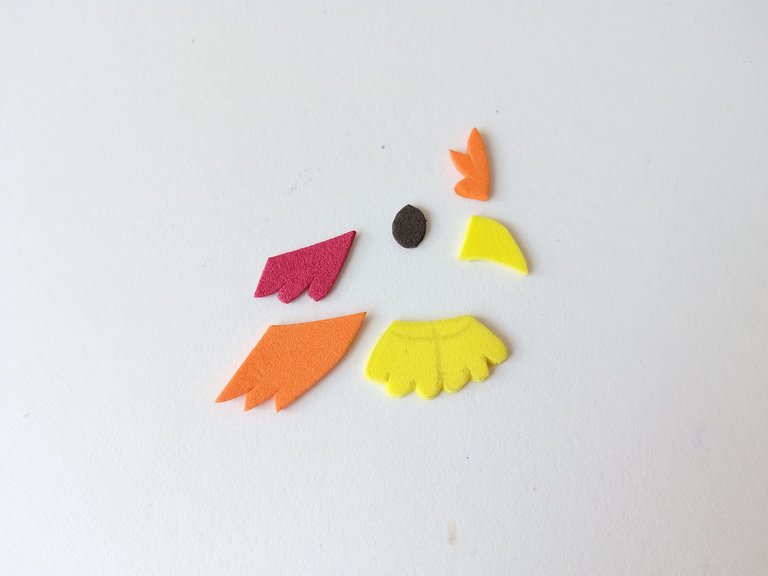
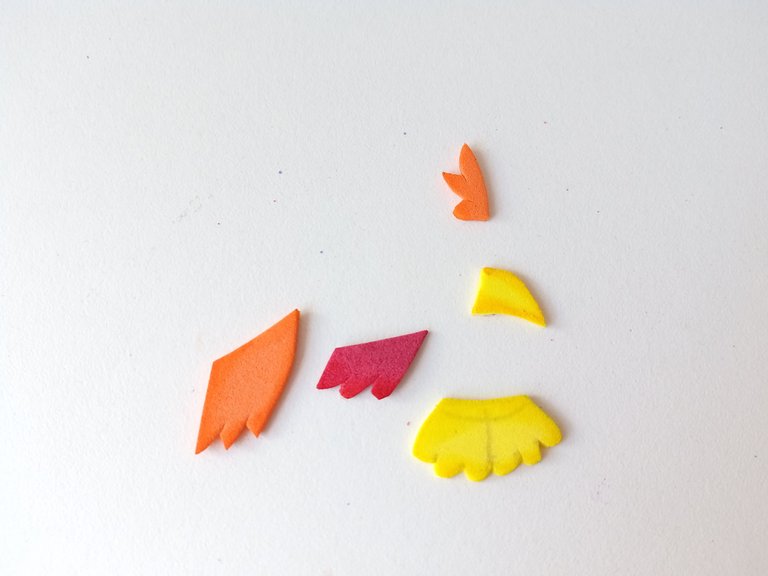
Lo primero que comencé a elaborar fue el patrón del diseño que tenía en mente para Chirple y luego transferí cada una de las piezas a los colores correspondientes de foami, que en este caso fueron los siguientes: la cabeza y el ala más grande en foami verde; la mitad de la cabeza y cuerpo en foami beige; ala más pequeña en foami escarchado verde; pico y patas en foami amarillo; cresta y cola más grande en foami naranja; la otra parte de la cola en rojo y ojo en negro.
- ✨ STEP 1:
The first thing I started to make was the pattern of the design I had in mind for Chirple and then I transferred each of the pieces to the corresponding colors of foam, which in this case were the following: the head and the largest wing in green foam; half of the head and body in beige foam; smaller wing in green frosted foam; beak and legs in yellow foam; crest and larger tail in orange foam; the other part of the tail in red and eye in black.


- ✨ PASO 2:
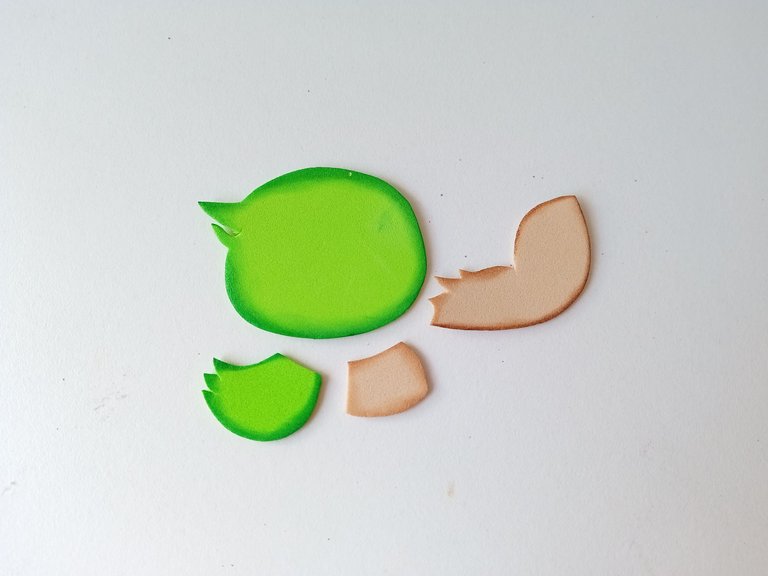
Al tener todas las piezas recortadas, comencé a dar color a los bordes, con pinturas y difuminando con ayuda de un pañito cada una de las piezas, menos las piezas de foami escarchado.
- ✨ STEP 2:
Once I had all the pieces cut out, I began to color the edges, with paints and blending each of the pieces with the help of a cloth, except for the frosted foam pieces.


- ✨ PASO 3:
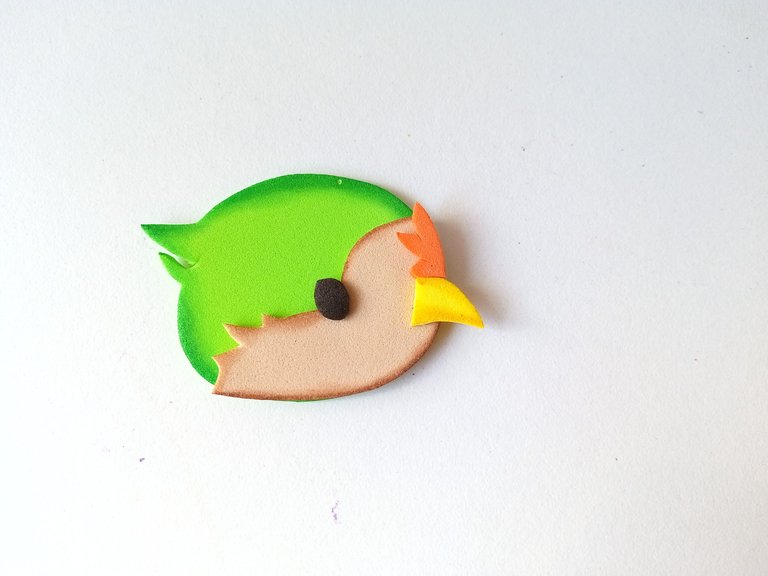
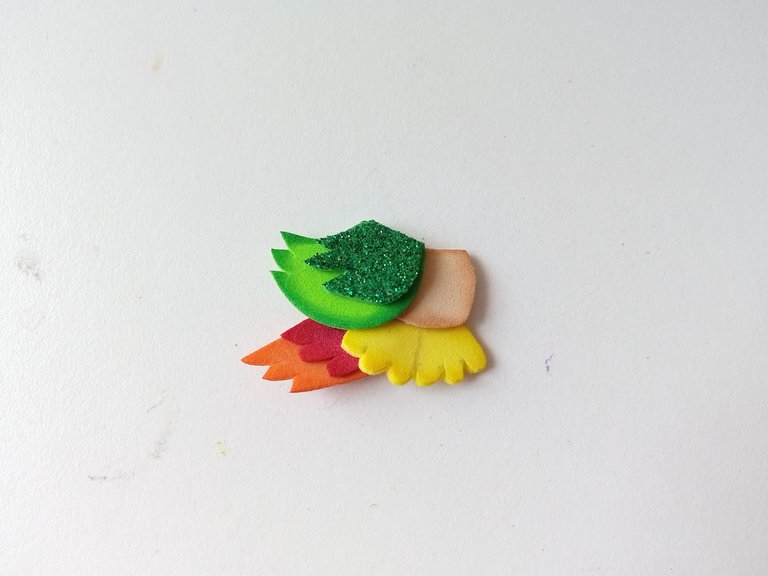
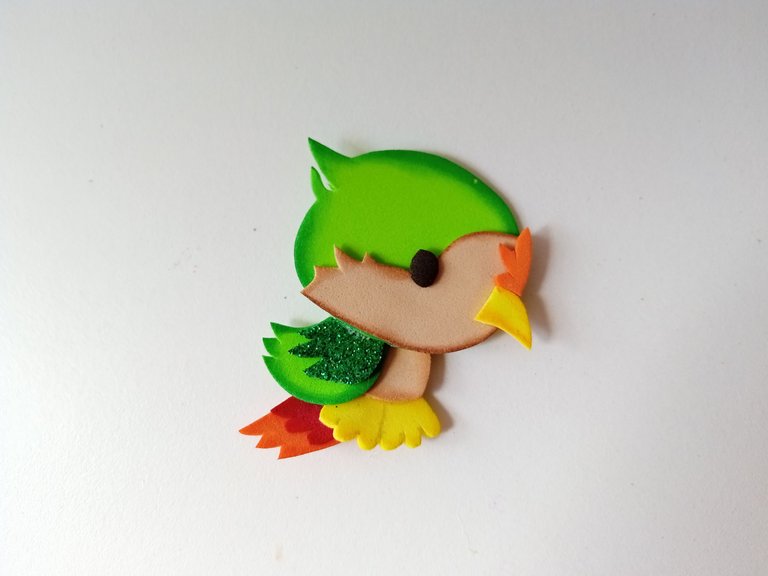
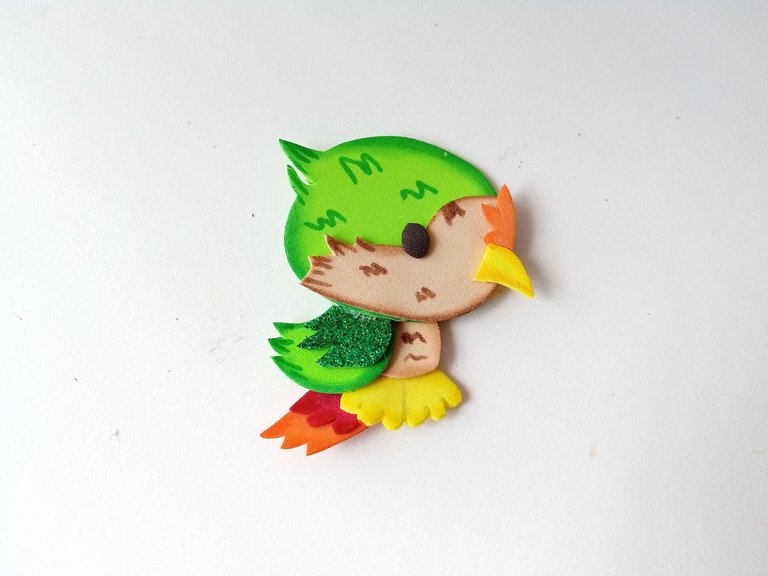
Al estar secas todas las piezas, comencé a pegar la criatura en dos partes; primero comencé pegando todas las partes de la cabeza, como pico, cresta y ojo, para después pegar la parte superior del cuerpo, como las alas, cola y patas. Al tener ambas partes, pegué hasta formar a Chirple.
- ✨ STEP 3:
Once all the pieces were dry, I began to glue the creature in two parts; first I started by gluing all the parts of the head, such as the beak, crest and eye, and then I glued the upper part of the body, such as the wings, tail and legs. Once I had both parts, I glued them together to form Chirple.


- ✨ PASO 4:
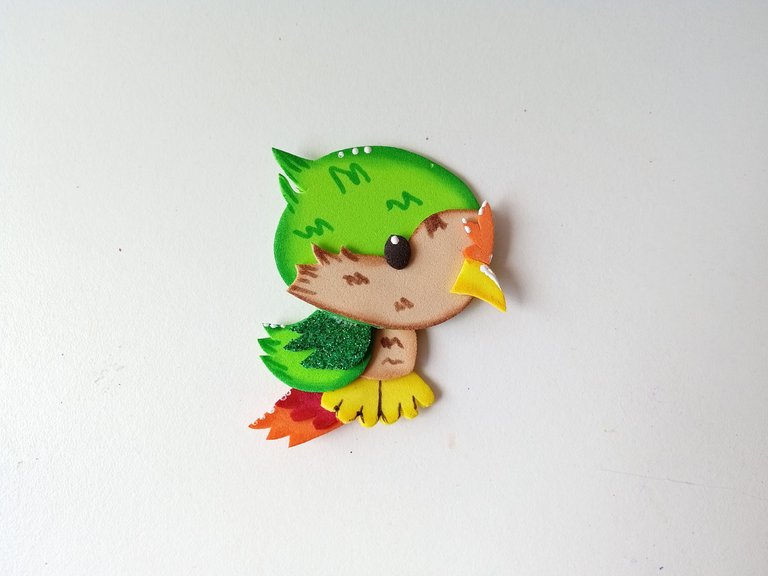
Para dar aún más detalles, tomé marcadores y dibujé un poco el plumaje en la cabeza con marcador verde y en parte del cuerpo con marrón, para que hiciera un poco de contraste y diera apariencia del pelaje. Además, di puntos de luz con pintura blanca en los lugares que creía convenientes, como cabeza, pico, alas y por supuesto, al ojo.
- ✨ STEP 4:
To give even more detail, I took markers and drew some plumage on the head with a green marker and on part of the body with brown, so that it would create a bit of contrast and give the appearance of fur. In addition, I gave points of light with white paint in the places that I thought were convenient, such as the head, beak, wings and of course, the eye.


- ✨ PASO 5:
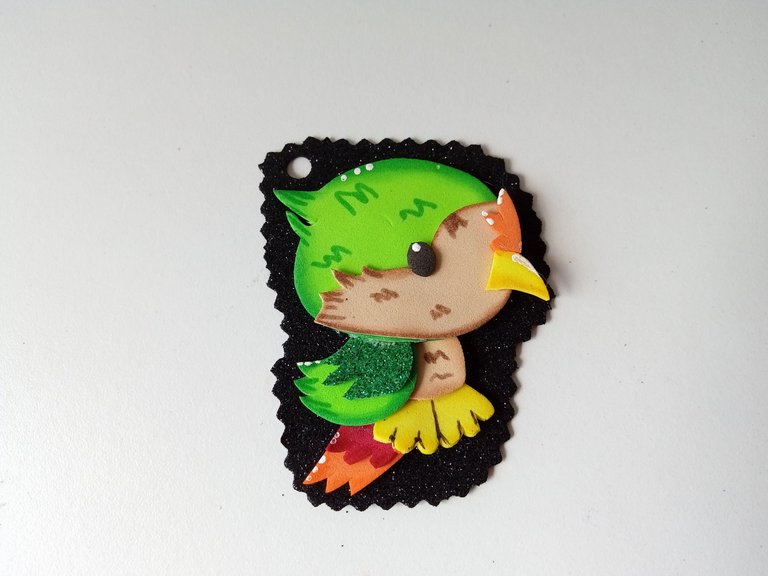
Para finalizar, pegué la pieza al foami escarchado negro y recorté con tijeras de diseño, dejando un borde y en la parte superior izquierda, abrí un agujero y metí el aro metálico con las llaves.
- ✨ STEP 5:
To finish, I glued the piece to the black frosted foam and cut it out with designer scissors, leaving a border and on the top left, I opened a hole and inserted the metal ring with the keys.

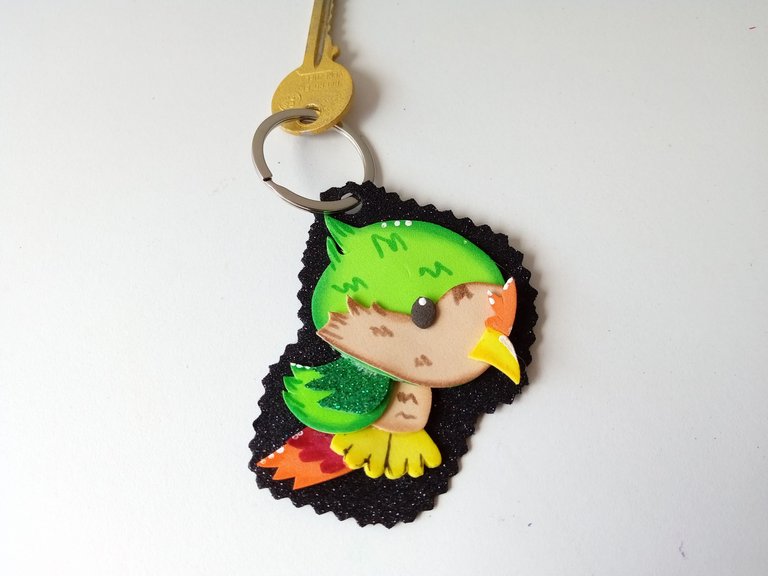


✨¡And ready!✨ This is how I made this beautiful Chirple-inspired keychain. This is actually my favorite creation so far, well… I think so, it looks very colorful and has a very nice finish. It's perfect for a little something extra. I hope you liked the step-by-step instructions and are encouraged to make it.
❤️Until the next post.


❤️ Hasta la próxima publicación.
❤️ Until the next post.


Todas las fotografías son de mi propiedad.
Separador y Fotos editadas en Canva
All photographs are my property.
Photos edited in Canva
From Venezuela, our witness drives decentralization and the adoption of Web3 technology, creating opportunities for the local community and contributing to the global ecosystem. // Desde Venezuela, nuestro testigo impulsa la descentralización y la adopción de la tecnología Web3, generando oportunidades para la comunidad local y contribuyendo al ecosistema global.
Sigue, contacta y se parte del testigo en: // Follow, contact and be part of the witness in:
Muchas gracias por el apoyo 💕
Hola Velnpba! Un gusto conocer este trabajo que has realizado. Vi tu post por casualidad en rutablockchain y me ha encantado, me has animado a intentar una actividad similar. Gracias por compartirnos este contenido. Saludos
!BBH
Hola! Muchísimas gracias por tu comentario, me alegra mucho que te haya gustado lo que hago y vinieras a ver mi contenido 🤭. Espero te animes a elaborar tus propias creaciones.
Saludos ✨
@valenpba! @bulkathos likes your content! so I just sent 1 BBH to your account on behalf of @bulkathos. (1/50)
(html comment removed: )
)
Made a key ring holder with a great feel that features a holozing community favorite animal chirple. Thank you so much for the smooth presentation of each step.
!PIZZA
Muchas gracias por el apoyo ✨💕
$PIZZA slices delivered:
@danzocal(1/10) tipped @valenpba
Amiga hermosa, me enamore de este llavero tan hermosooooo!🩷🩷🩷✨
Precioso como todo lo que haces ami, es un llavero bastante lindo y llamativo, sin duda lo usaría 😍
Y mi favorita también. Me encantó ese llavero
Bellísimo, me encantaron los colores mi Valen 😍