Gardening with The Anarchist's: After Hours!
What's up my fellow Cannabis Lovers and Enthusiasts!? It's time to welcome you all back to another edition of:
Gardening with The Anarchist's: After Hours!
It was a very exciting week this week, and if you read my last "After Hours" post, you know exactly why! But before we get too far into that, let's take a look at the...

Week 5 Highlights!
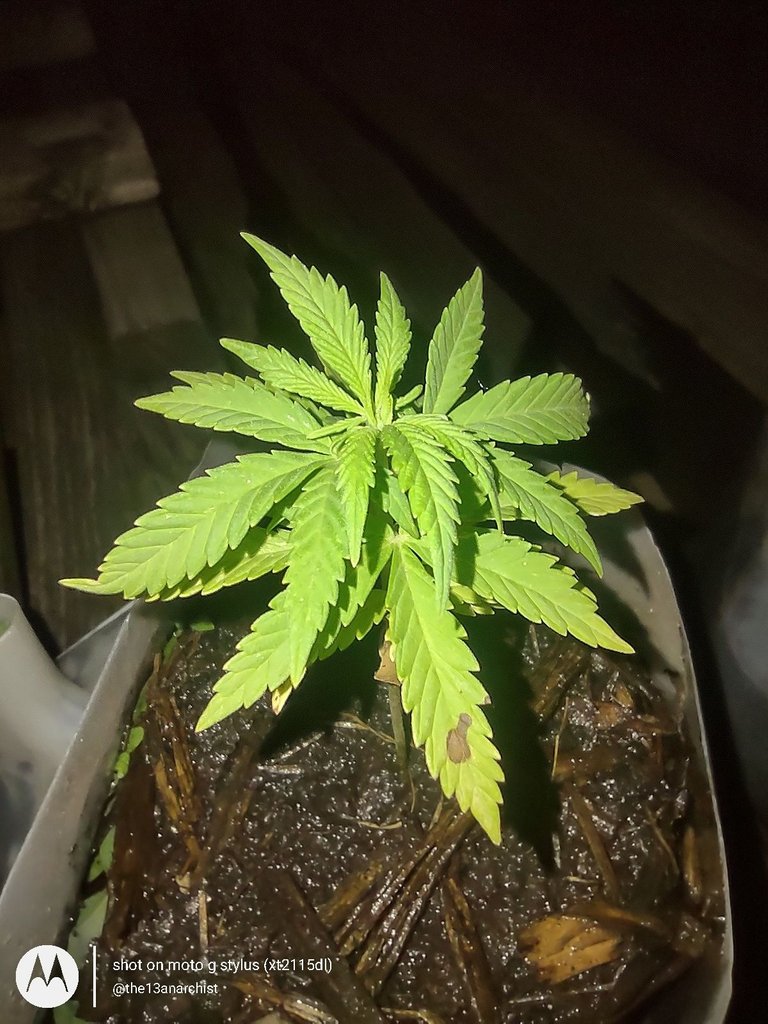
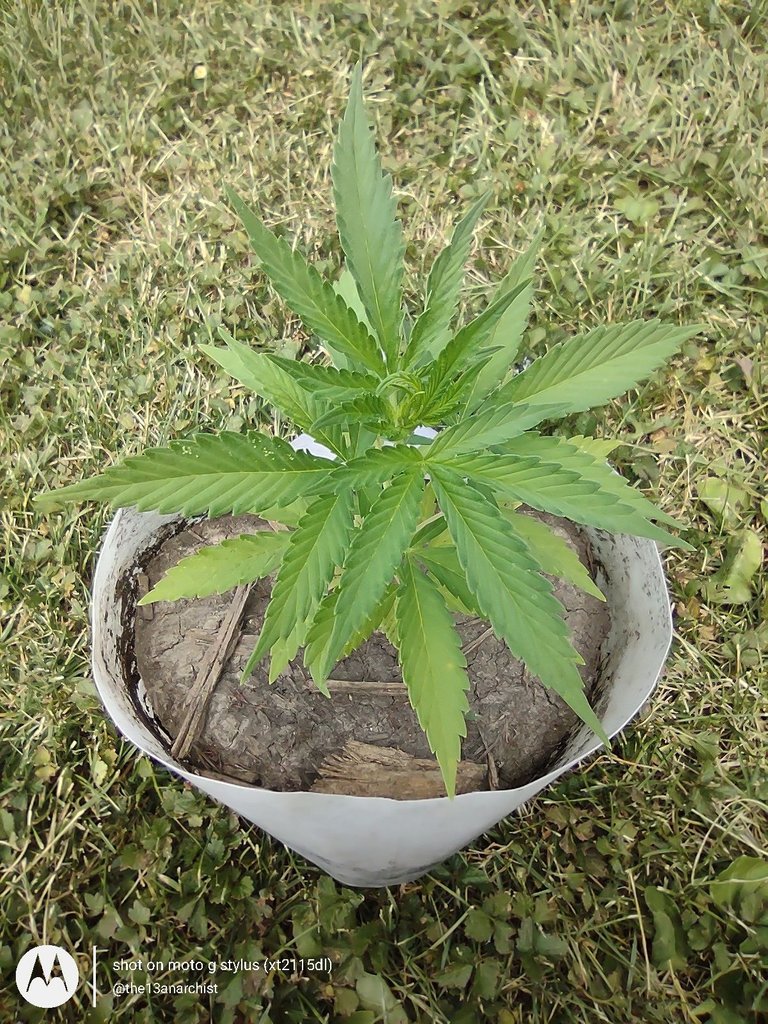
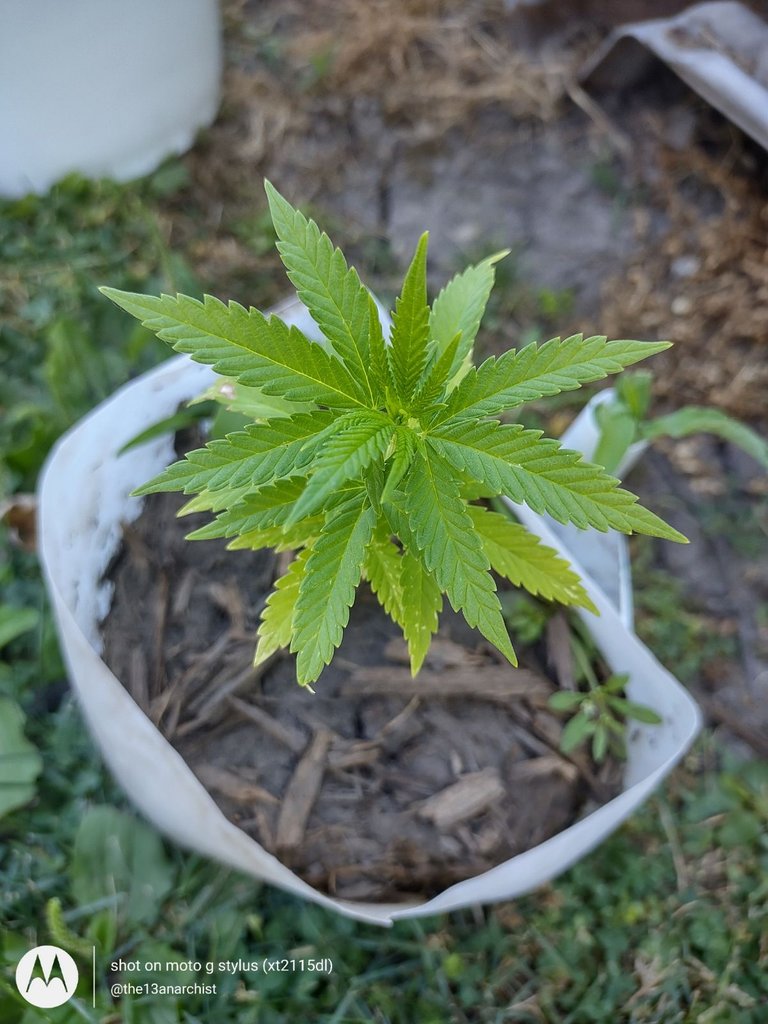
After a pretty good week, Plant 1 seems to be the most improved and also the best looking plant out of all 6, and I really hope that it's growth continues! As of now, it's business as usual for this little beauty!
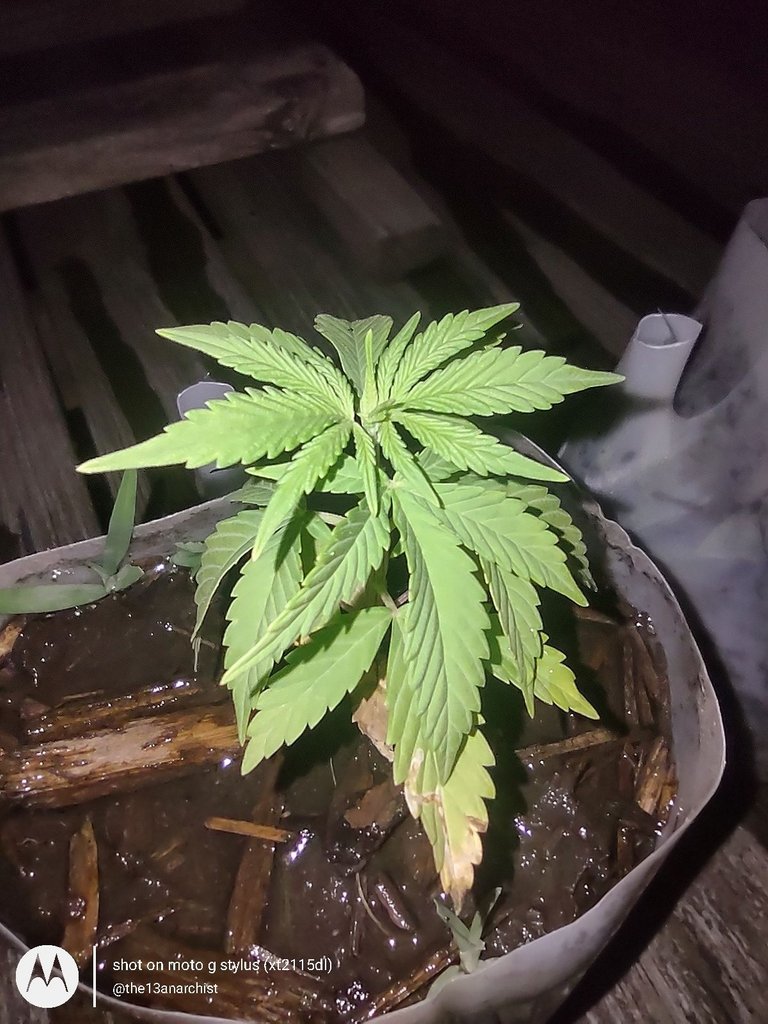
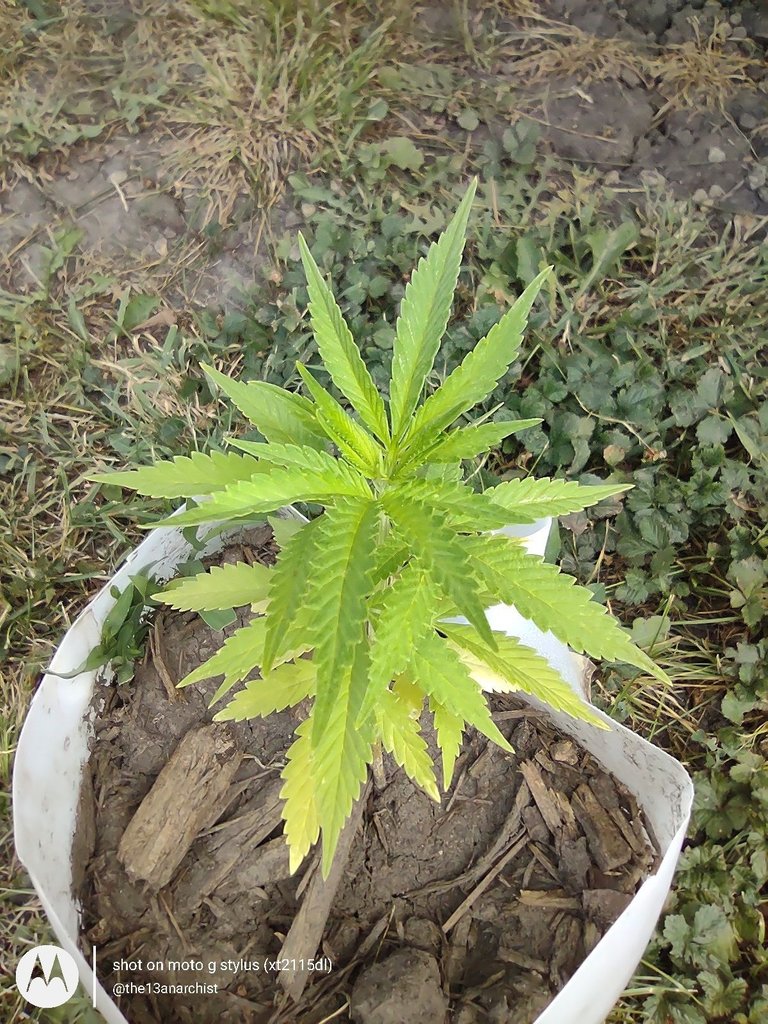
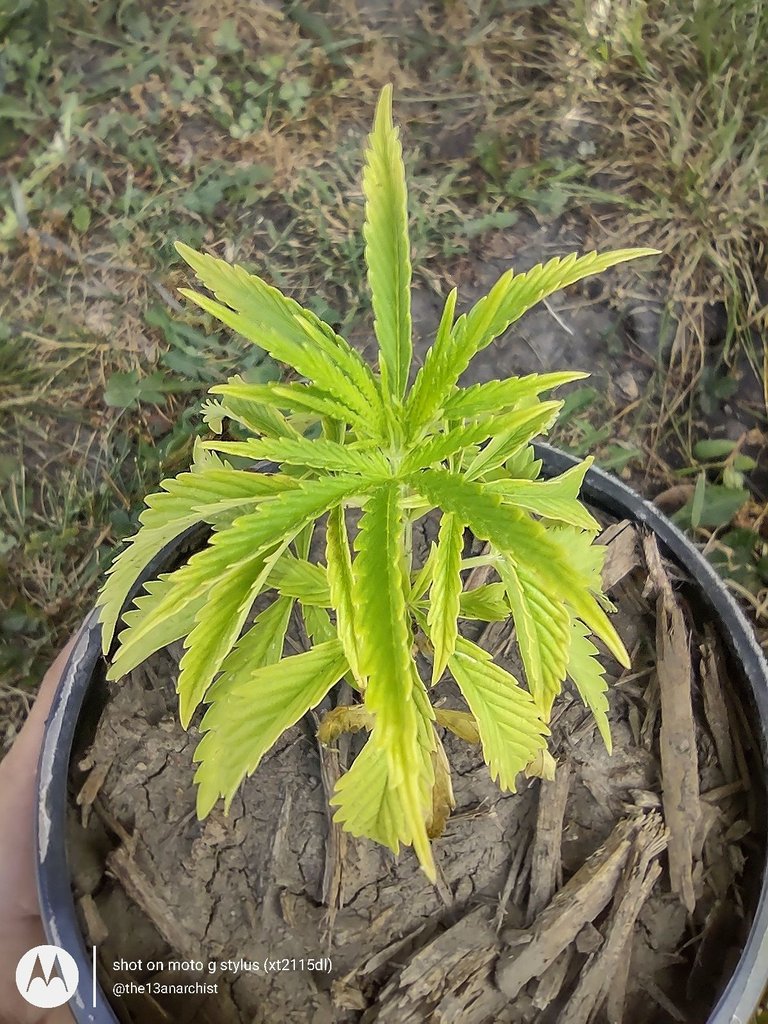
Plants 2 through 4 also seem to be doing pretty good for the time being, but they did start to yellow a little bit during this past week! I'm wondering if it has something to do with the temperature of the soil, or maybe my watering schedule?
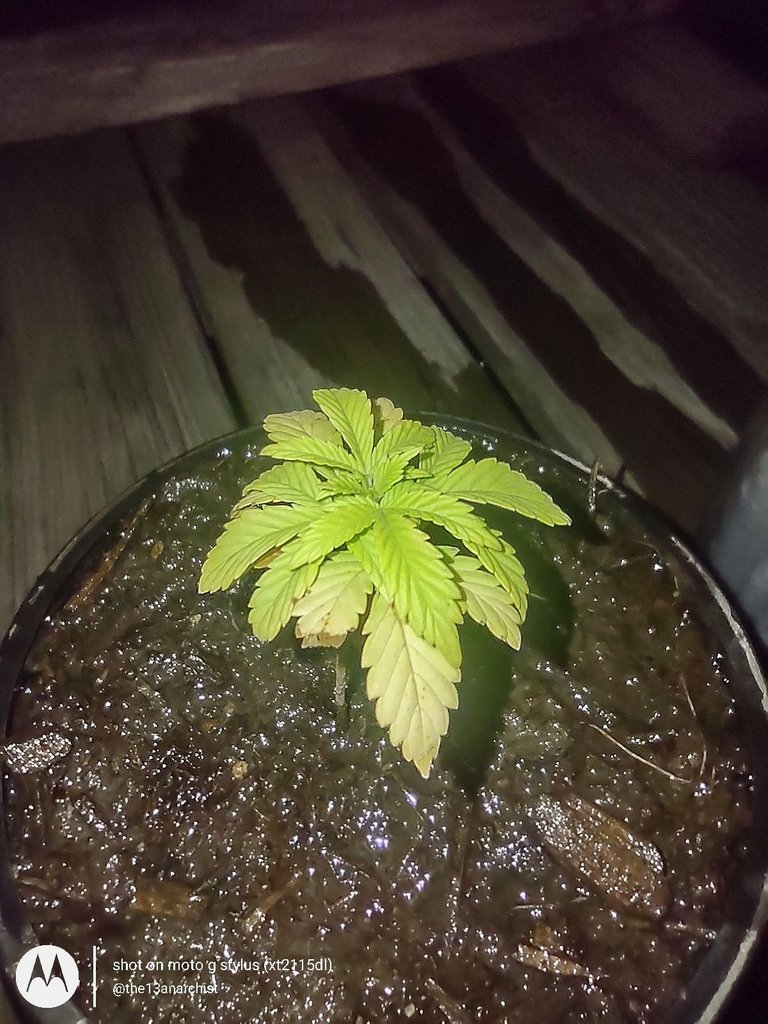
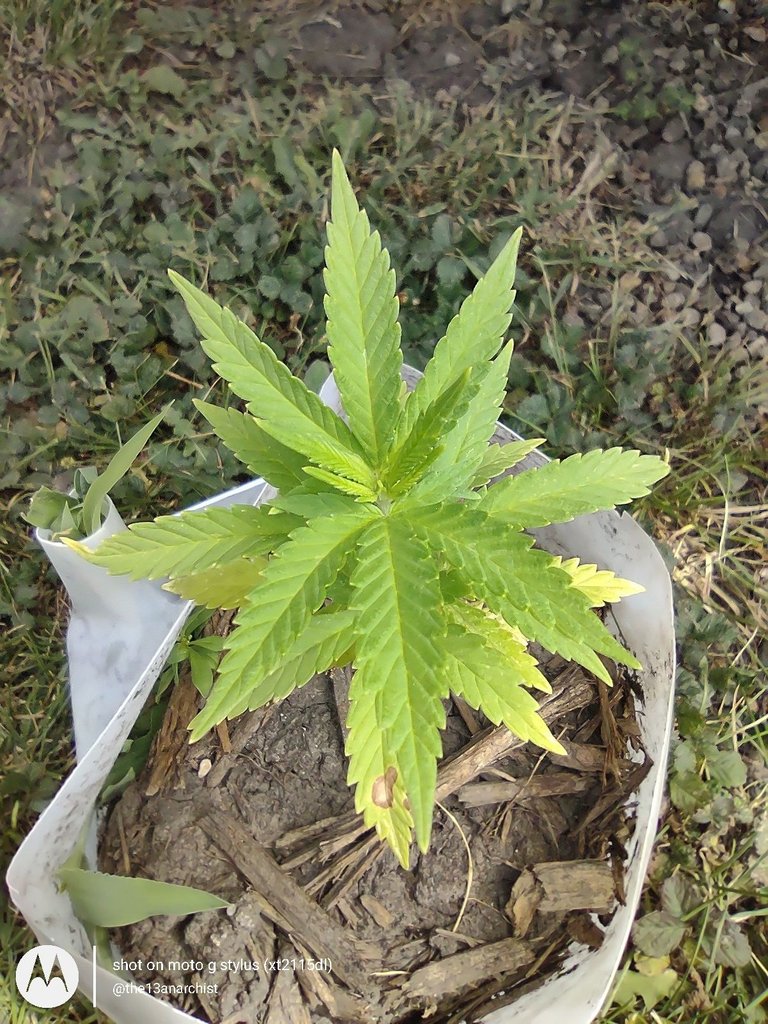
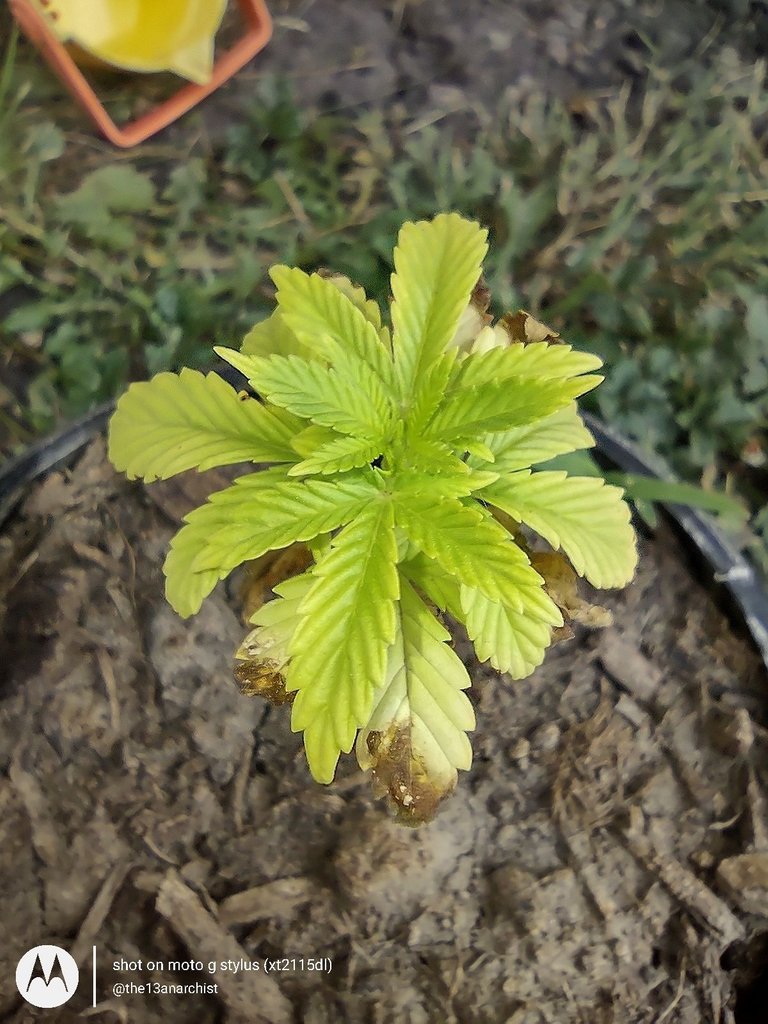
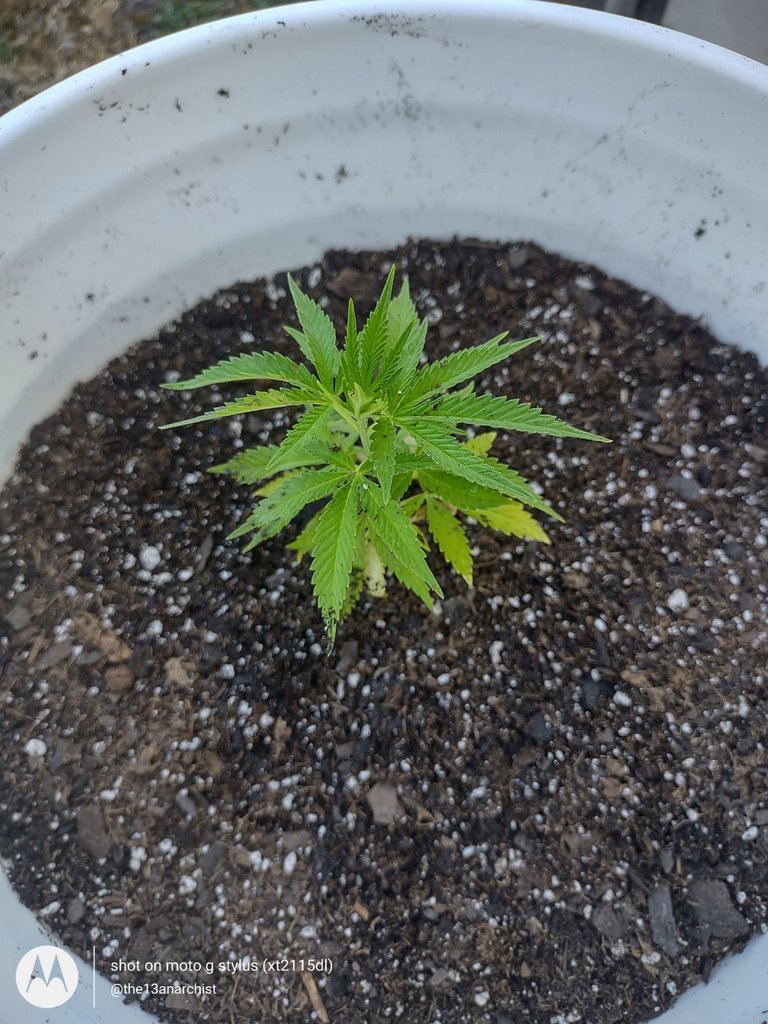
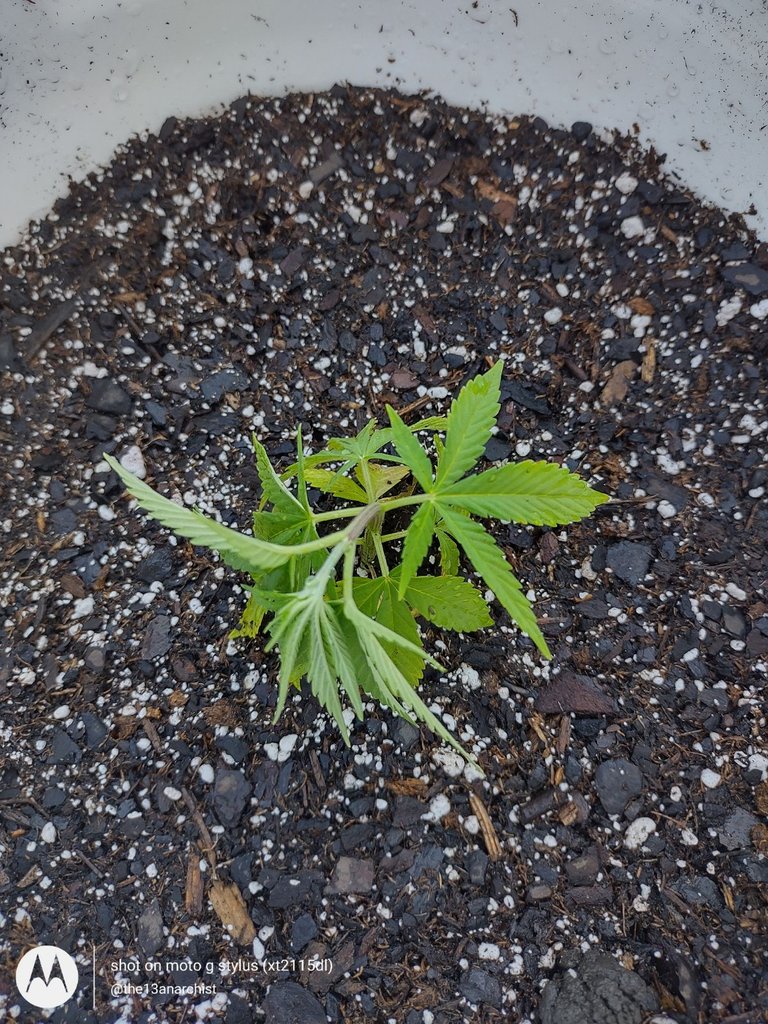
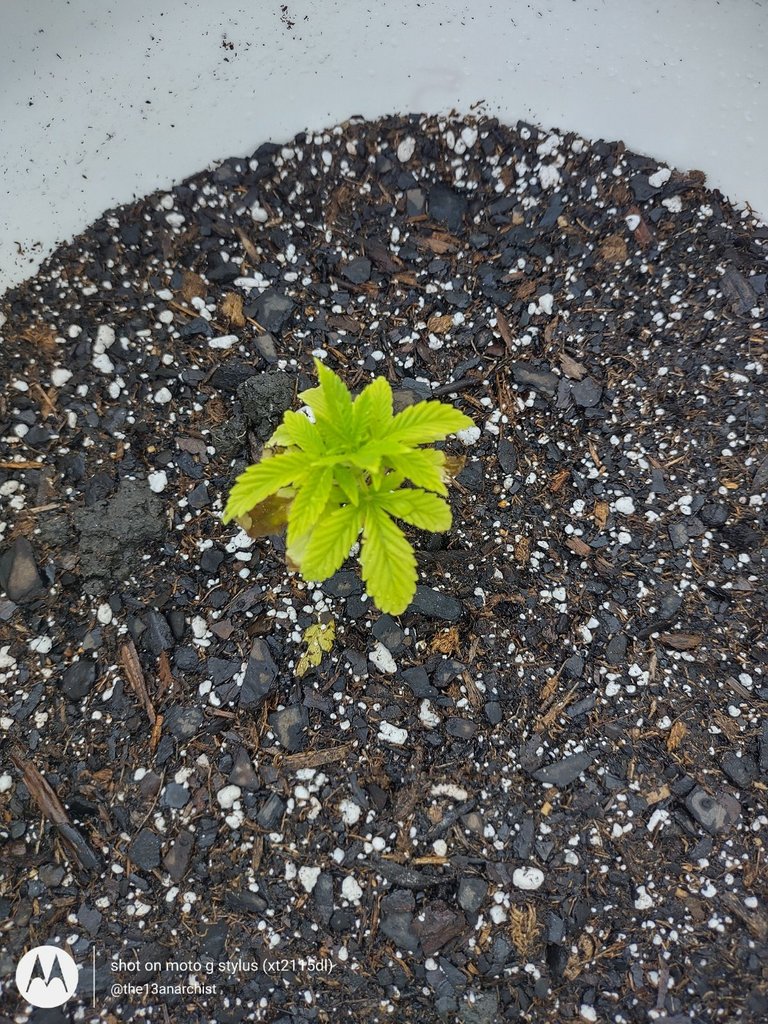
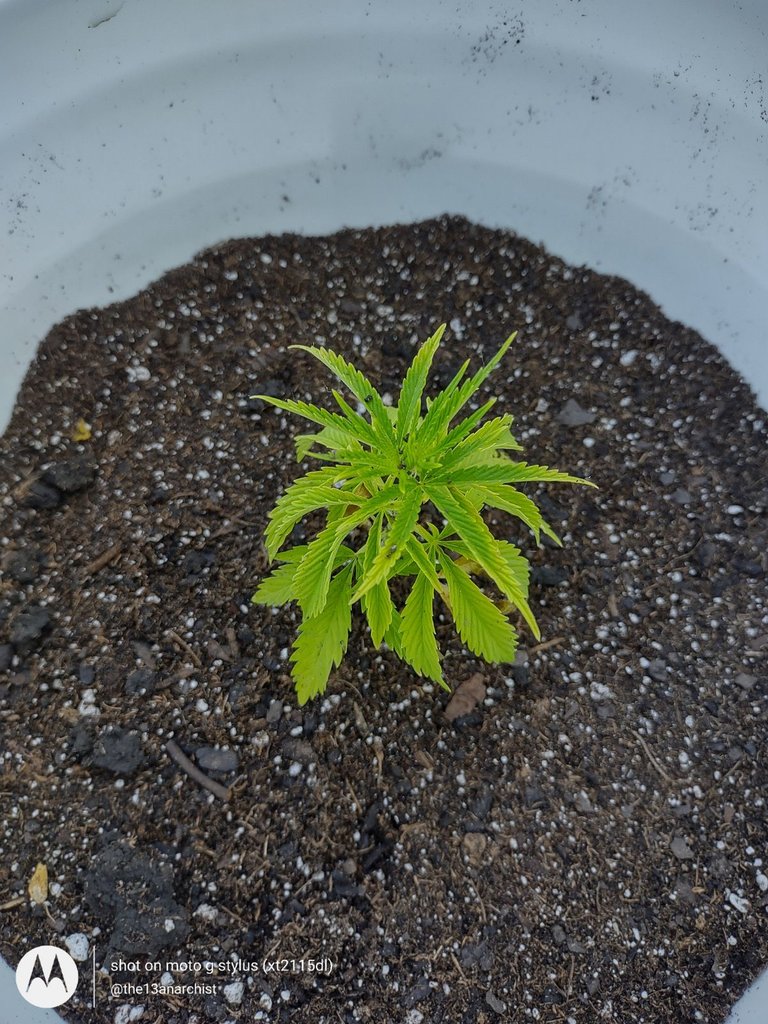
Plant 5 was definitely starting to show signs of being stunted, and really started turning yellow this past week, which is very unfortunate to see! With this being the only plant that received the miracle grow/garden soil mix from my neighbors, I have to assume this is the cause!
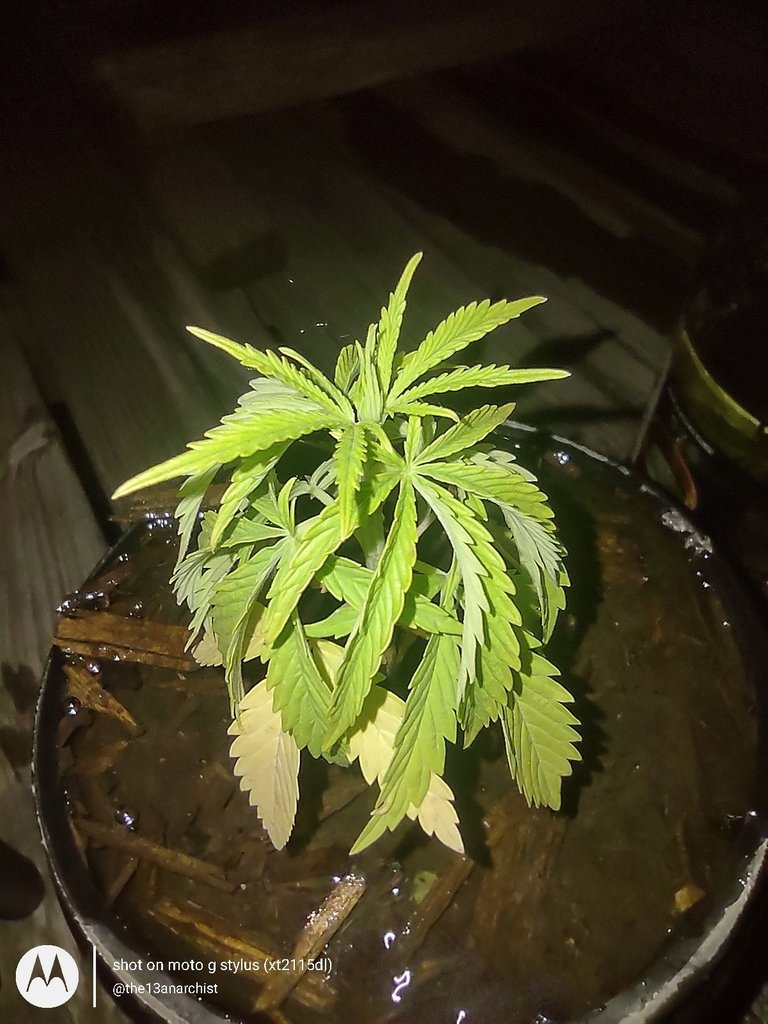
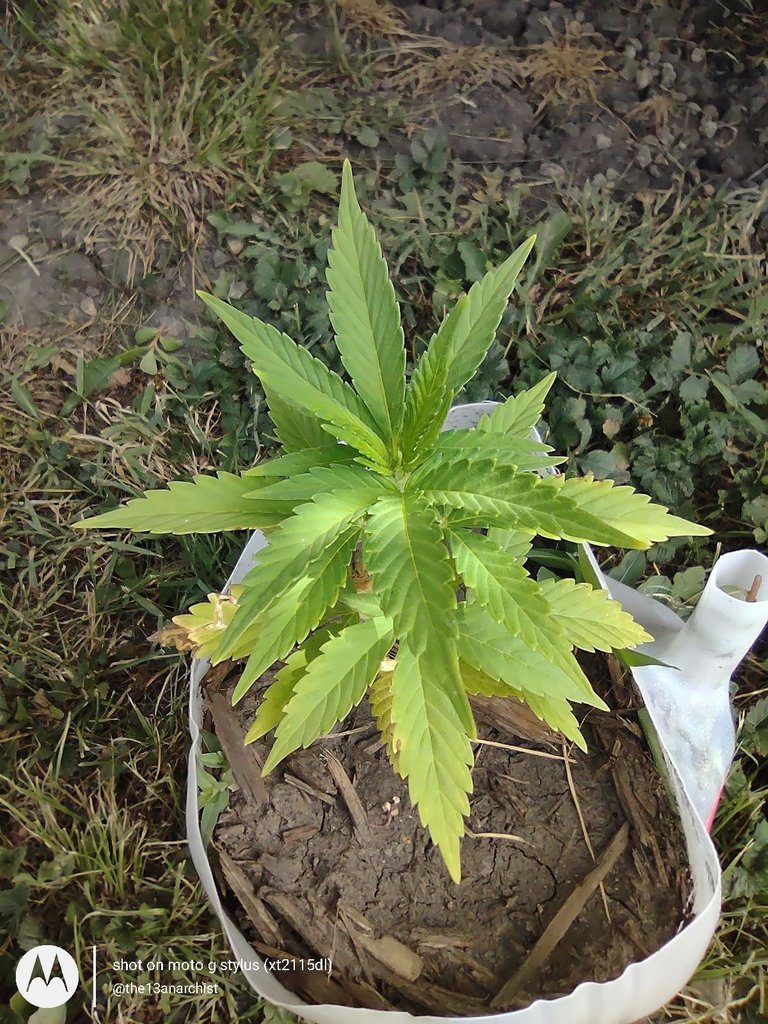
Plant 6 also seemed to take a turn this week, literally, as the leaves have started turning up, folding into themselves! I'm not quite sure of the cause, but again, I think it may be due to the heat and temperature of the soil!
Now that we have reviewed the highlights from last week, let's see what I've learned from the previous week as well!

Learning Experiences from Week 5!
After talking to @canna-curate and @dynamicgreentk, I strongly believe that my homemade planters were far too small for our plants, and this caused the soil to become way too hot for the plants to benefit from, and caused the yellowing that we experienced last week.
Also, after learning the new information that @dynamicgreentk shared, I feel like the miracle grow that was used in Plant 5 was the cause of its yellowed leaves and stunted growth! Hopefully after we get this little one transplanted it will start to recover!
Yet again, I feel like I've waited far too long to transplant our plants, and I should have purchased bigger pots, or had a designated area in the garden or yard to plant them in. However, without knowing whether the plants are male or female, I didn't want to plant them into the ground yet.
As for the issue with the bigger pots, I finally had some extra spending money this week, and was able to finally make that purchase! Which, I'll go more into detail on that in just a bit, but first, let get into the...

Week 6 Daily Breakdown!
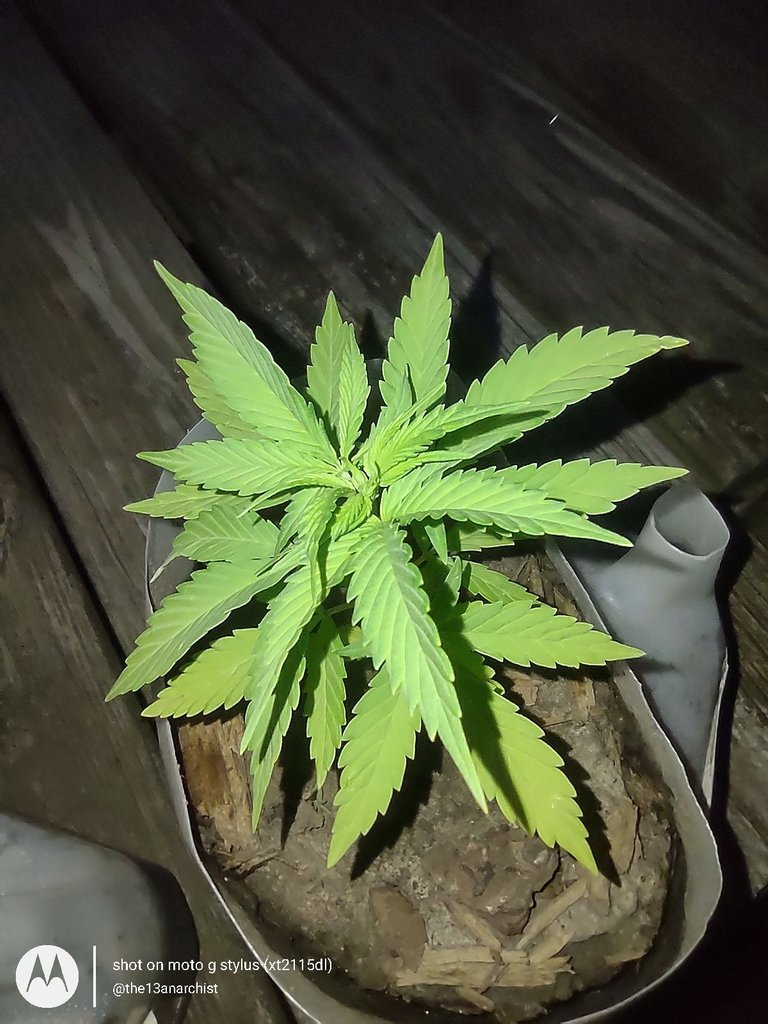
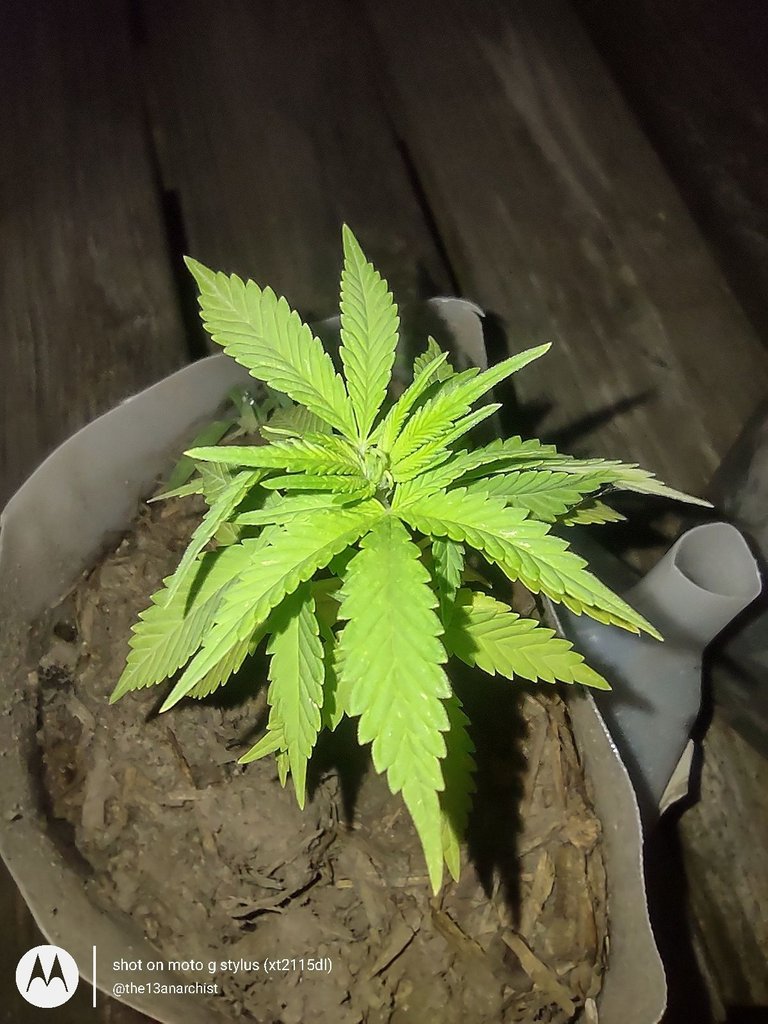
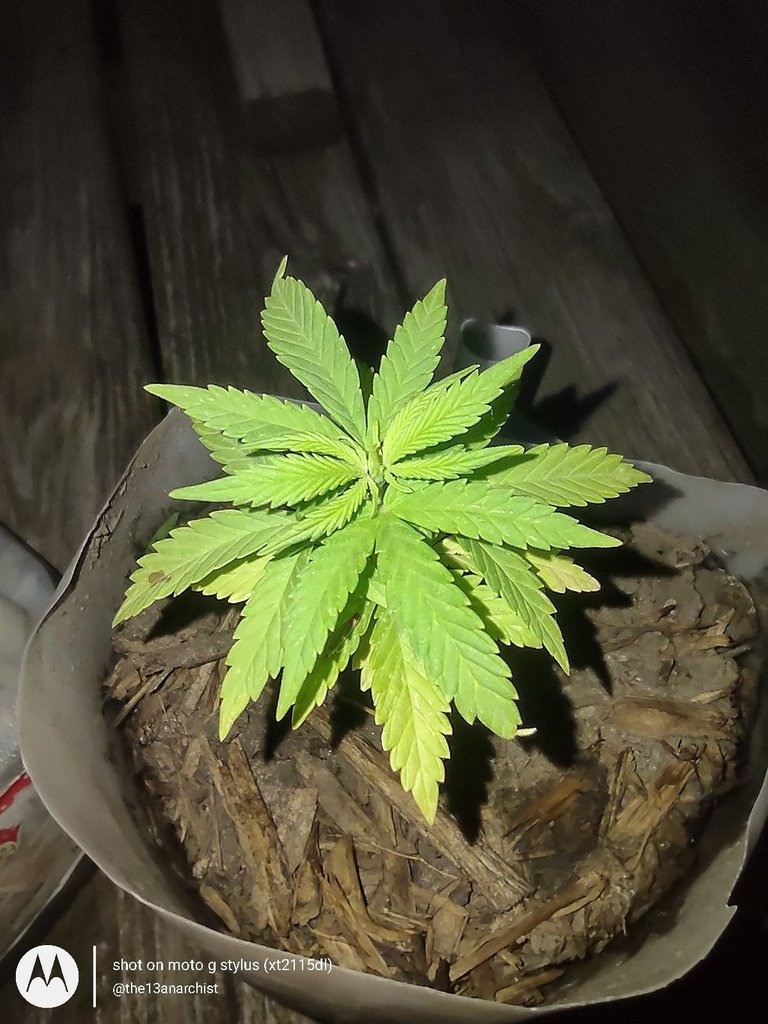
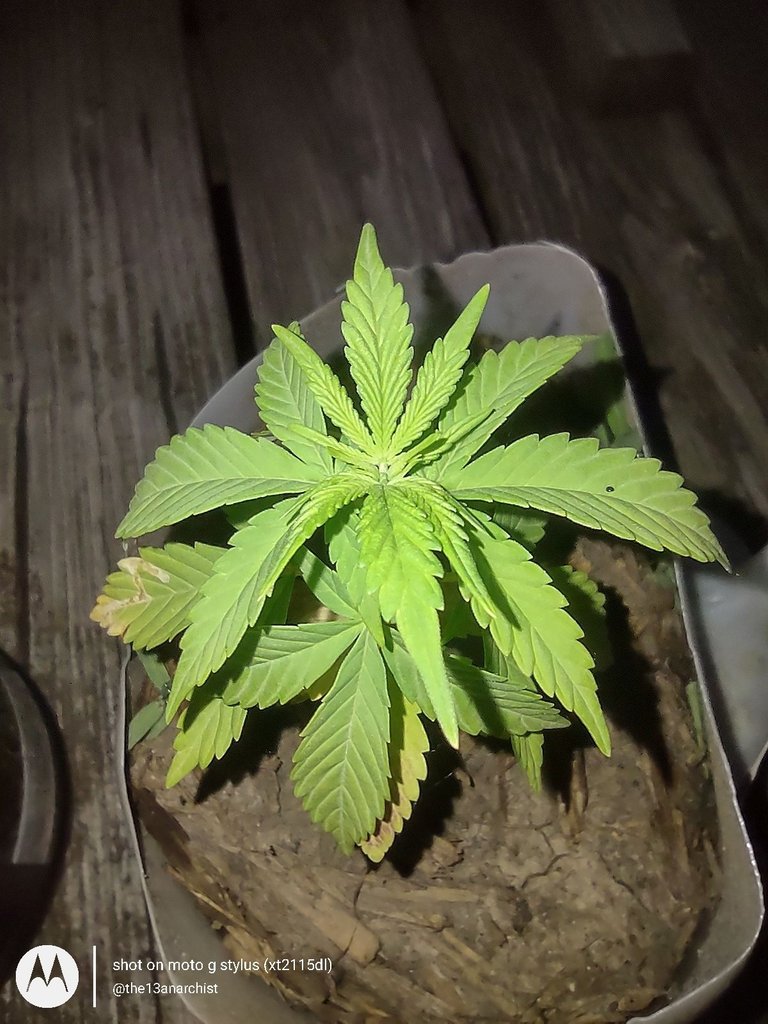
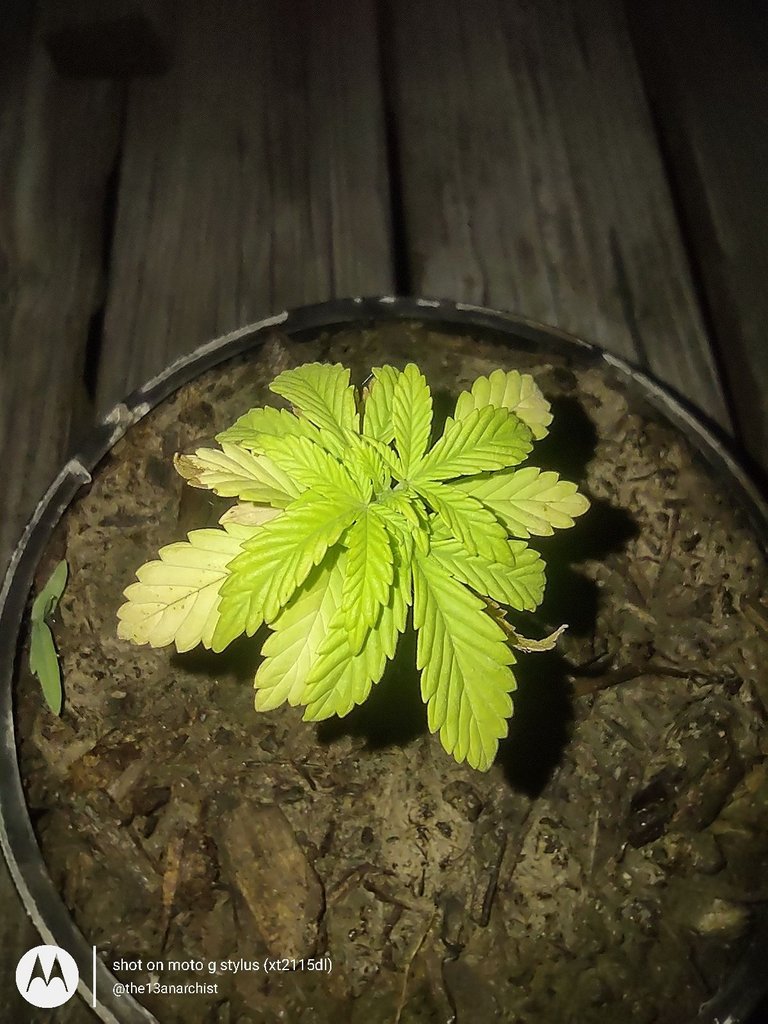
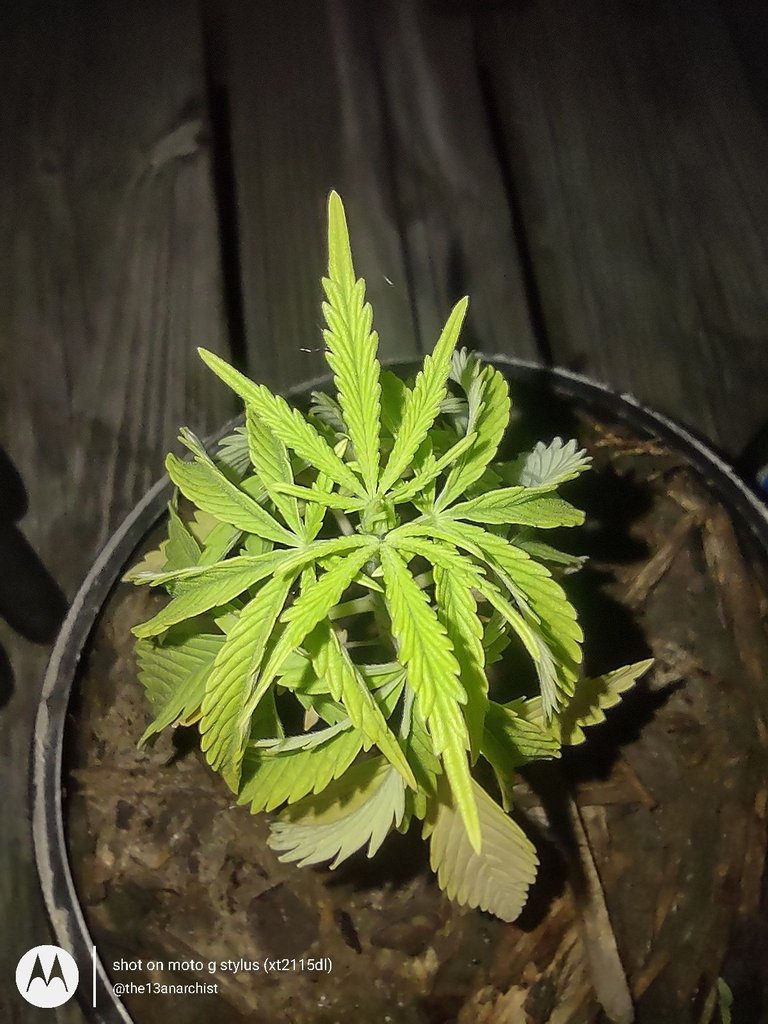
Starting back up on Monday, June the 27th, each of our plants started looking a lot better after the previous week! Trying to keep the temperature of the soil in mind, I waited to water until after rocking junior to sleep, which was around 9:30 PM.
I'm really hoping that this new water schedule will prevent the soil from getting too hot during the day and potentially burning up the plants!
 |  |  |
|---|---|---|
 |  |  |

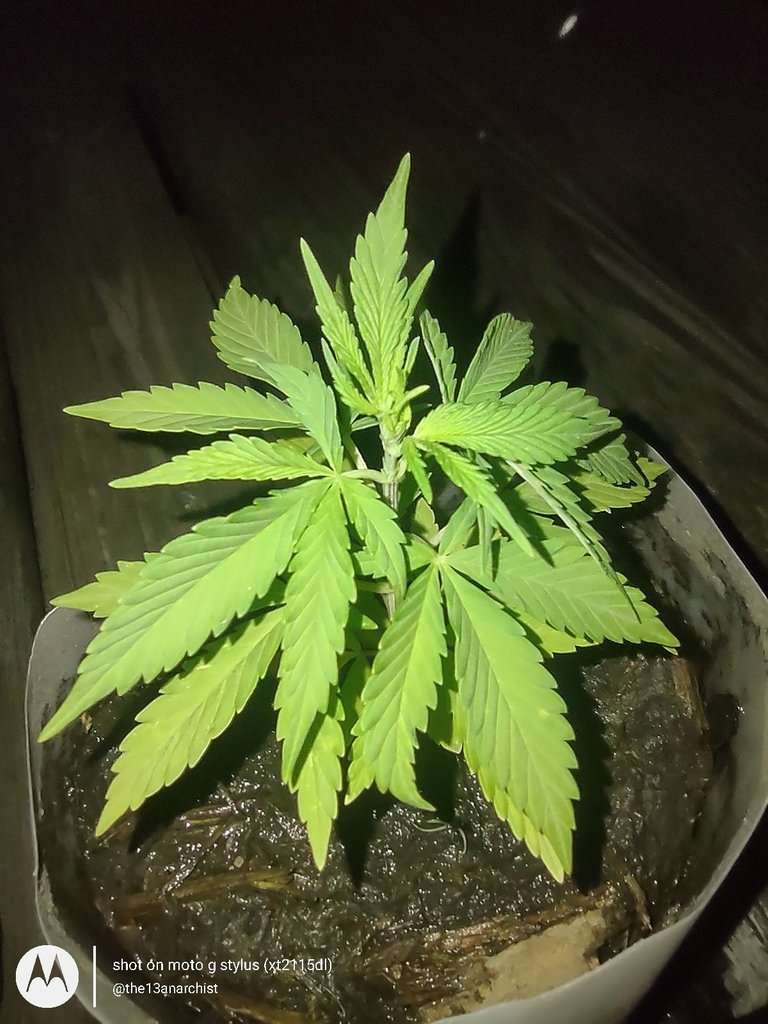
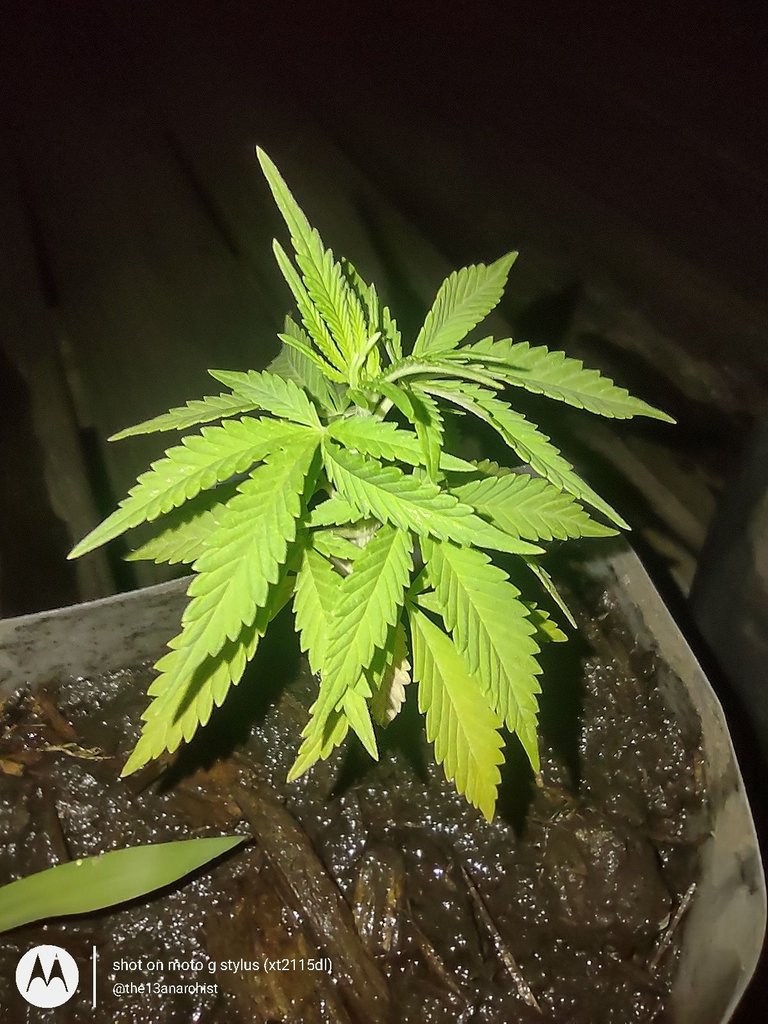
Moving into Tuesday, June the 28th, all the plants were looking pretty good again, but Junior and I went for a walk around town for a little while immediately after I got home, so I wasn't able to take as close of a look as I wanted before it got dark, but I was able to water them all before taking pictures!
 |  |  |
|---|---|---|
 |  |  |

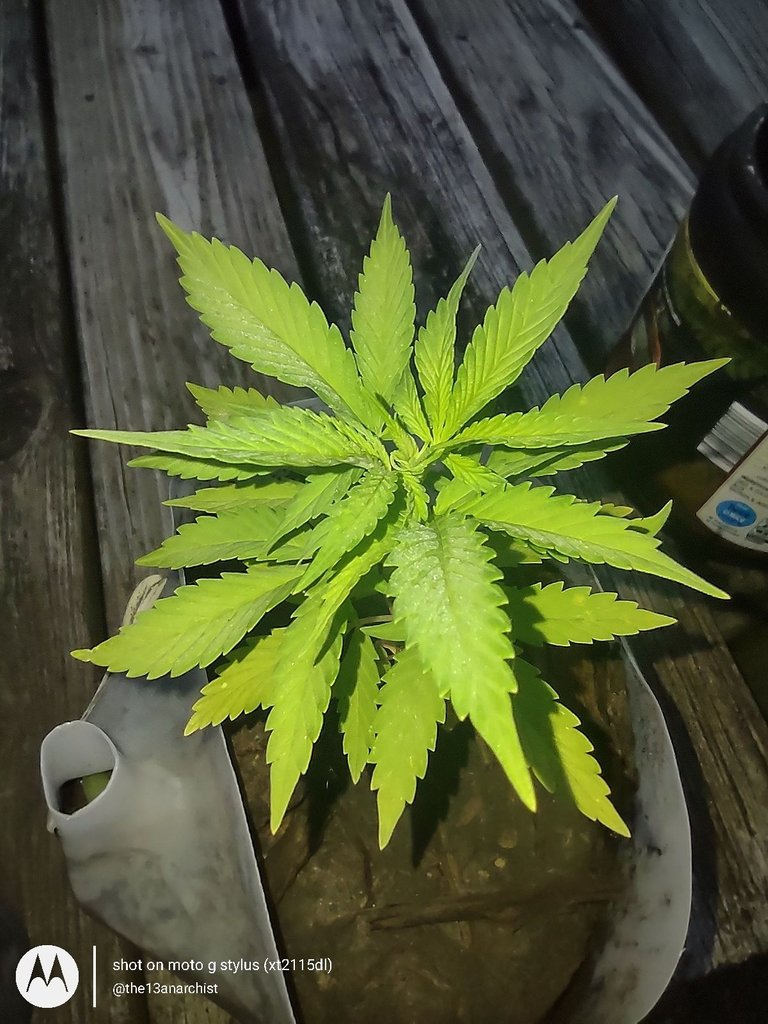
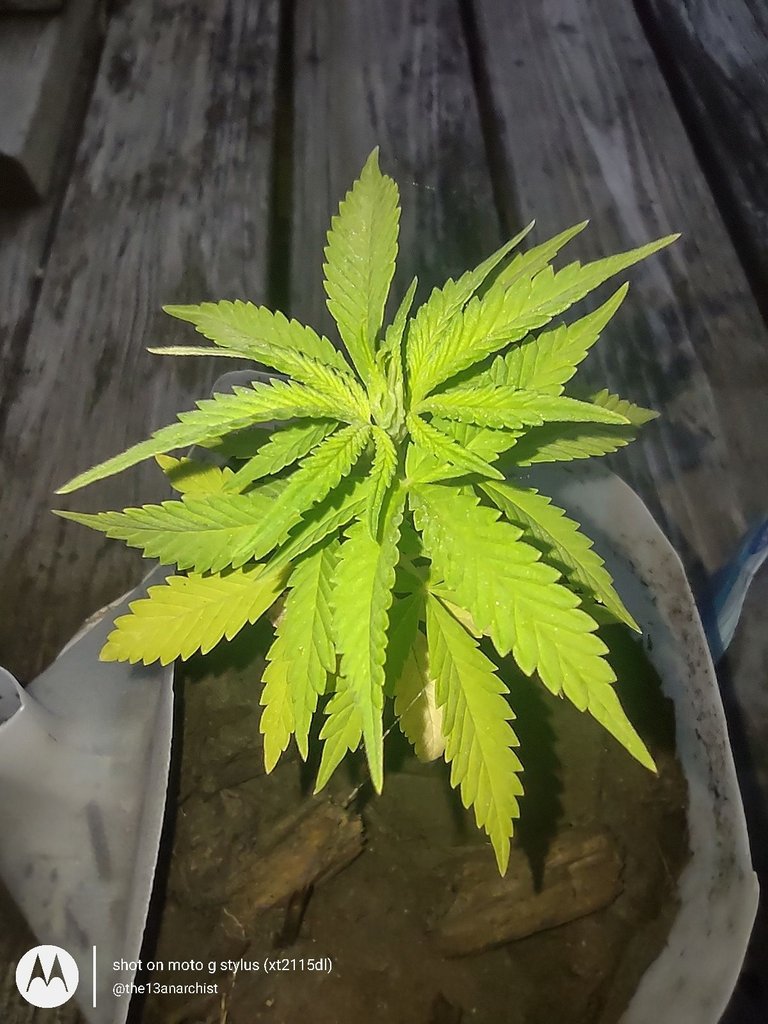
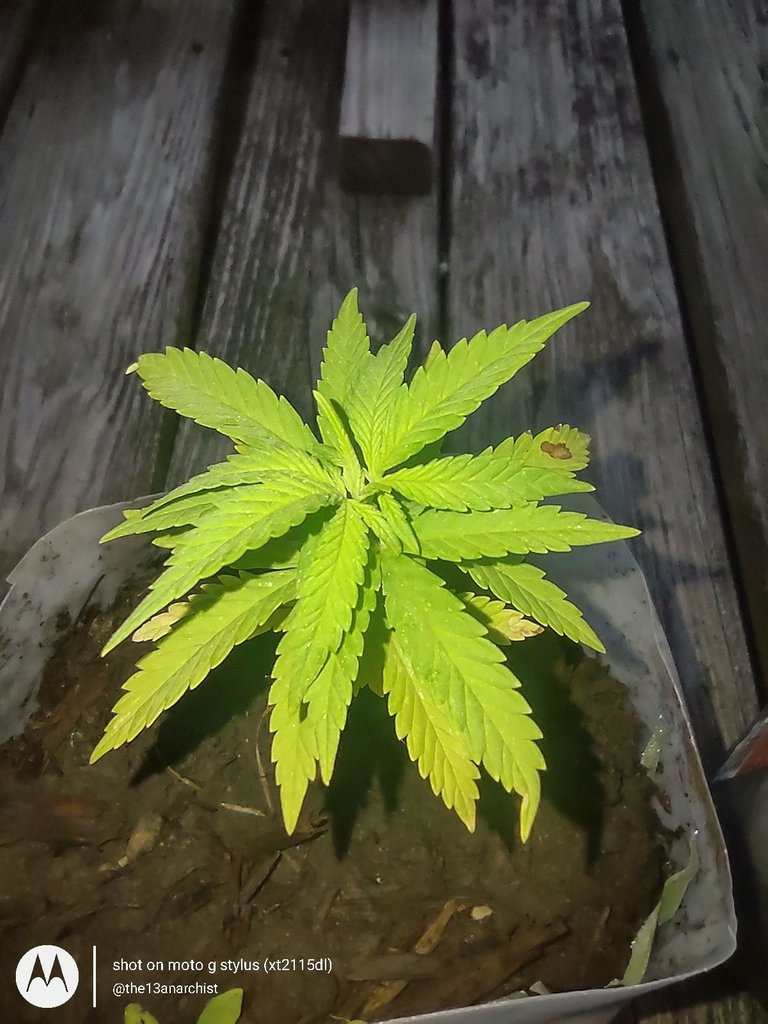
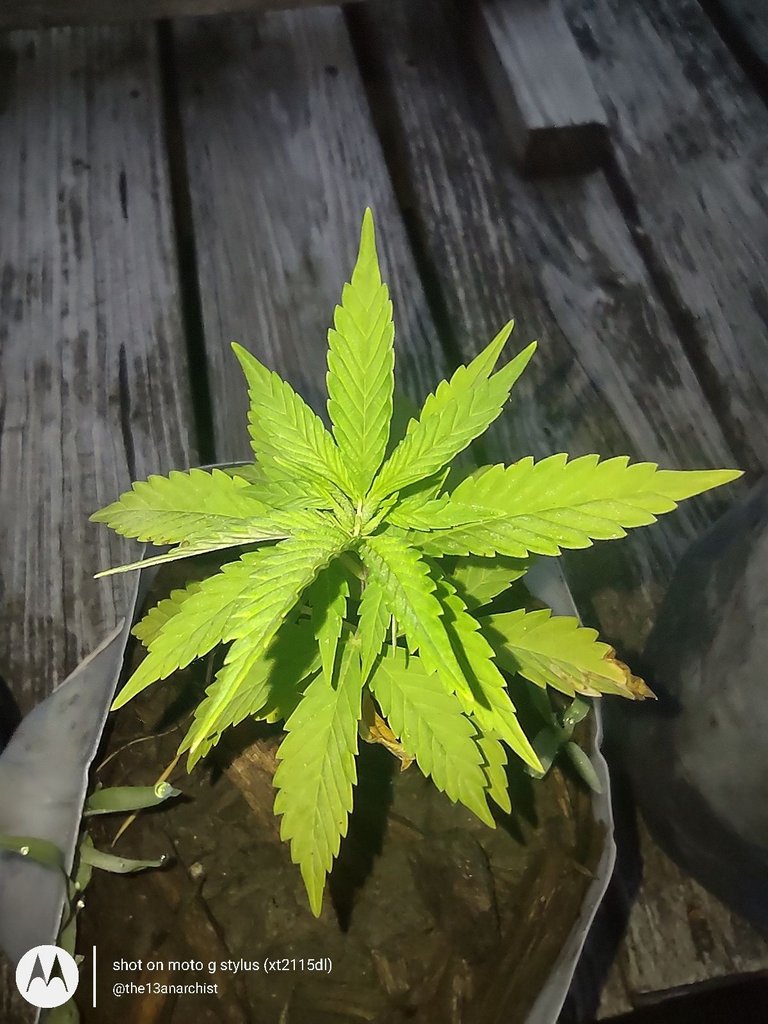
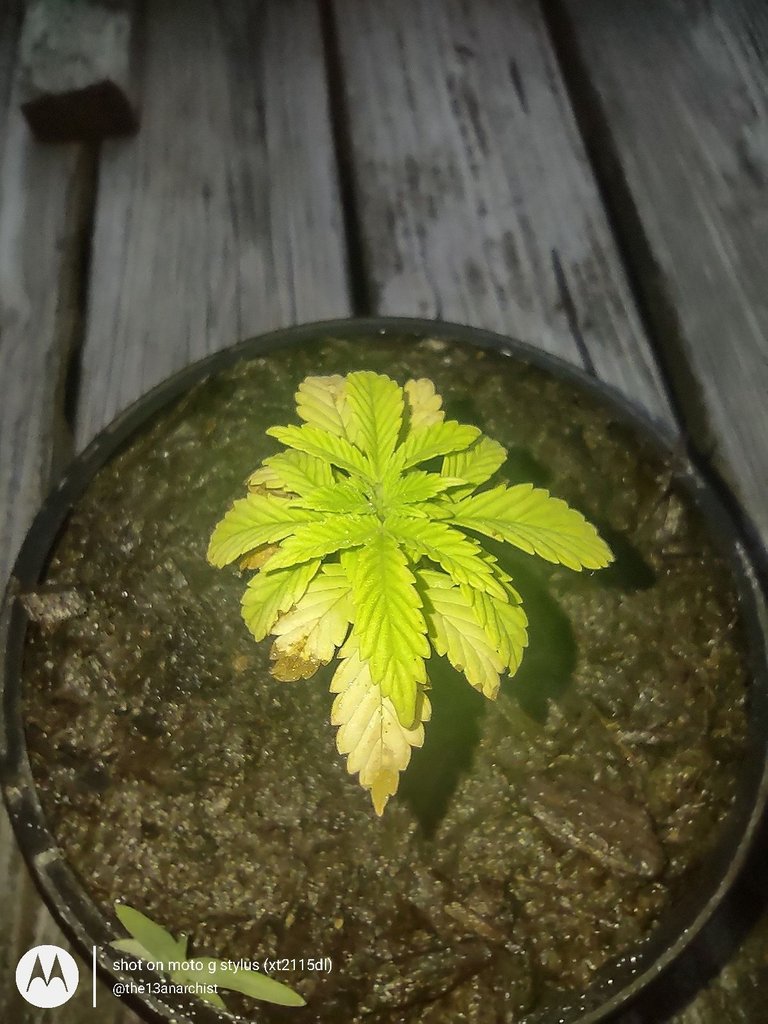
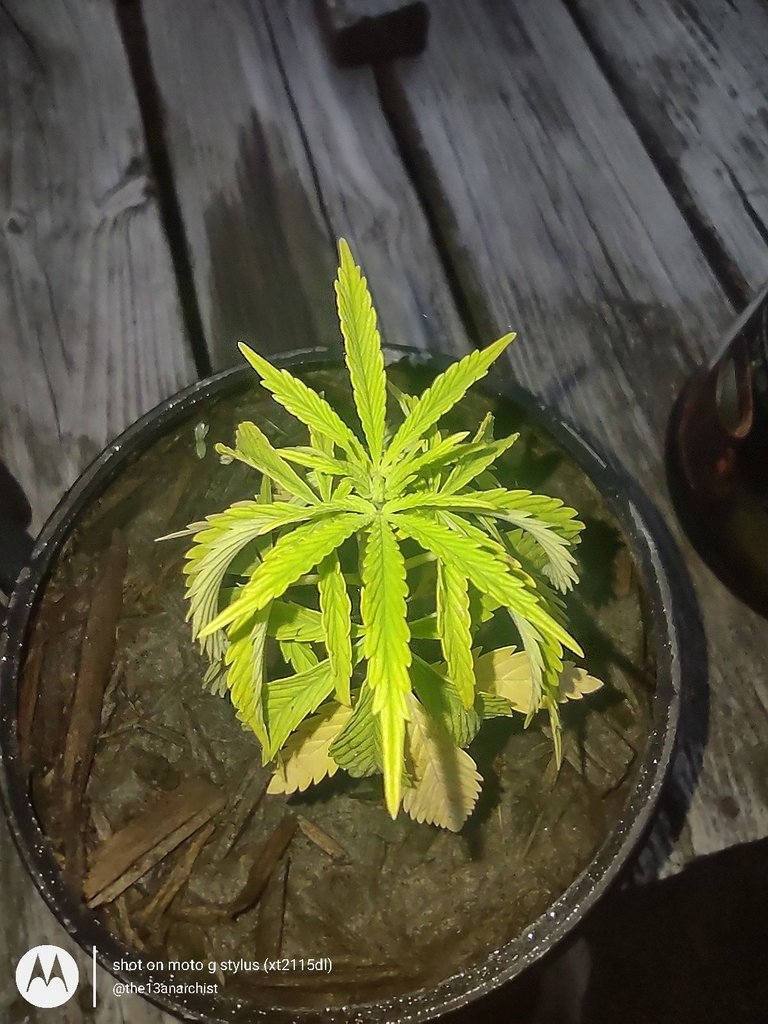
On Wednesday, June the 29th, the temperatures stayed around 76°F for the most part of the day; but, the substrate in all of the planters was pretty dry when I got home.
With the temperature being as "low" as it was, I decided to go ahead and give them all a drink to try to help cool them off a little more! I really hope I'm not overdoing it with the water!
 |  |  |
|---|---|---|
 |  |  |

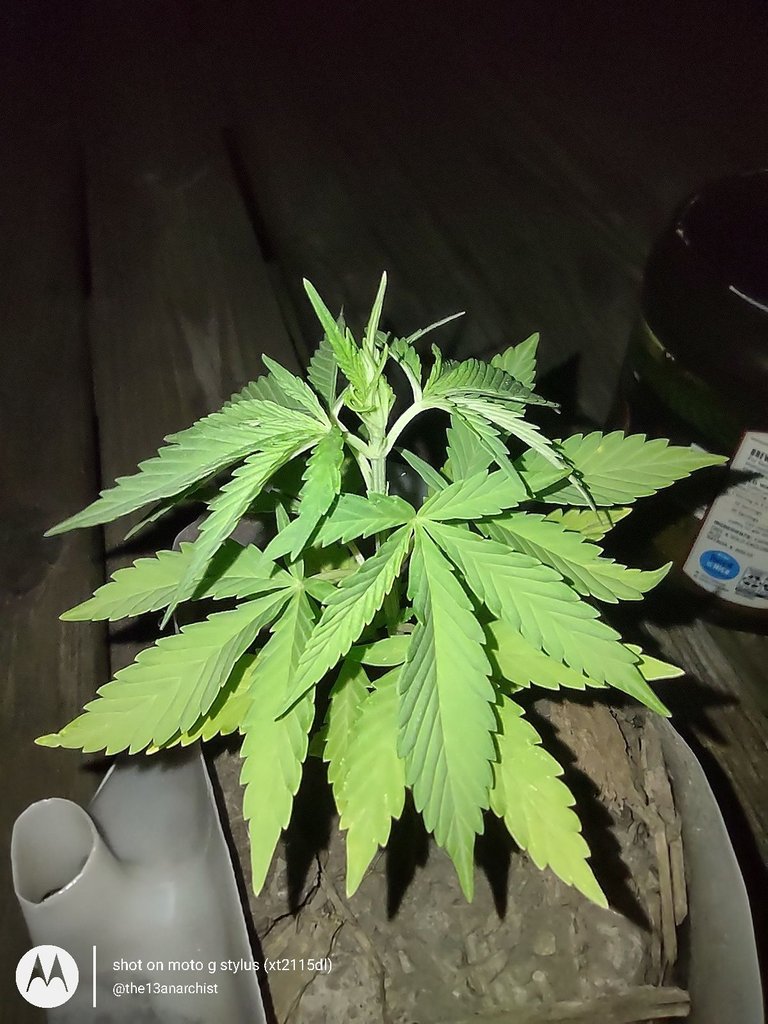
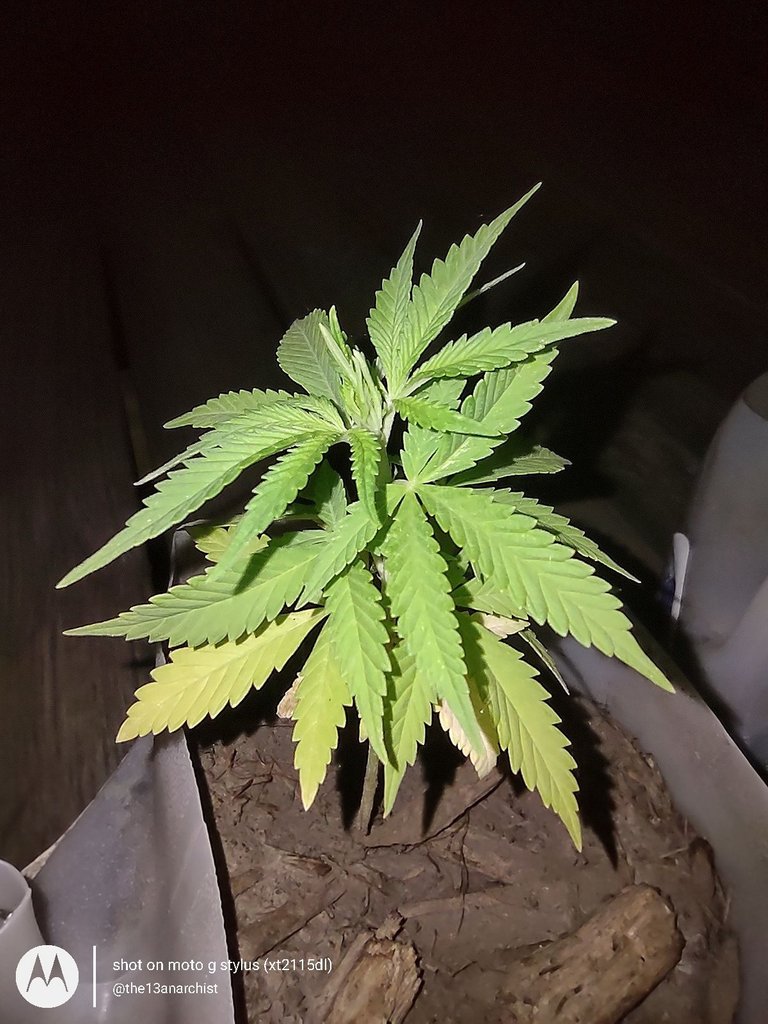
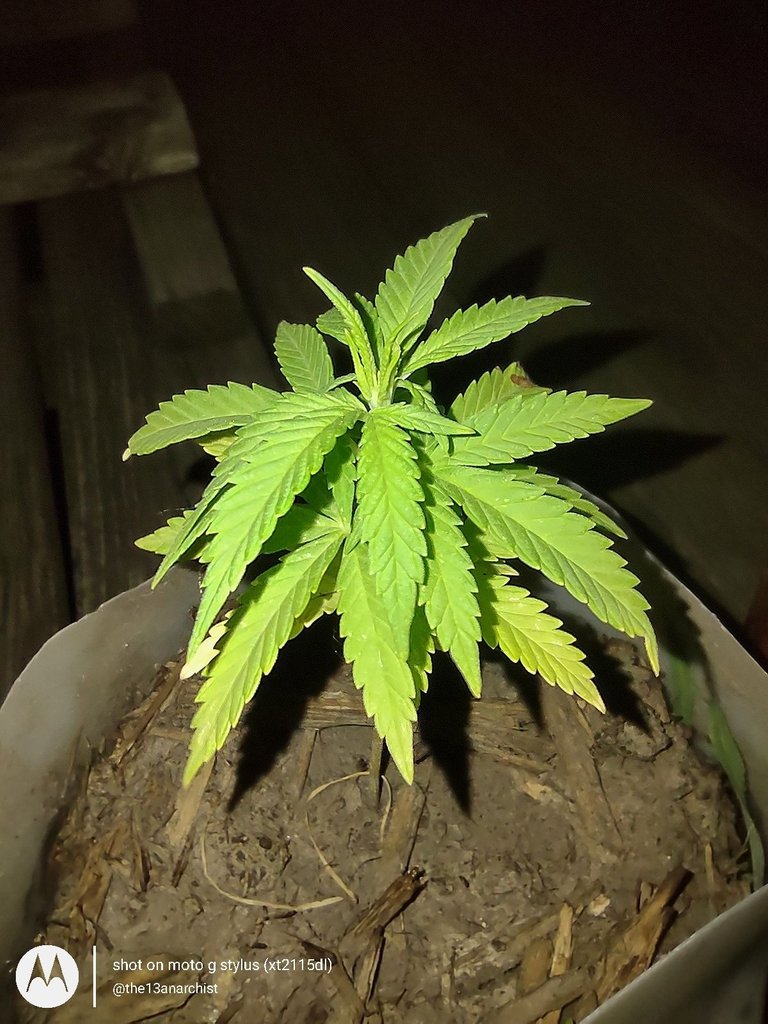
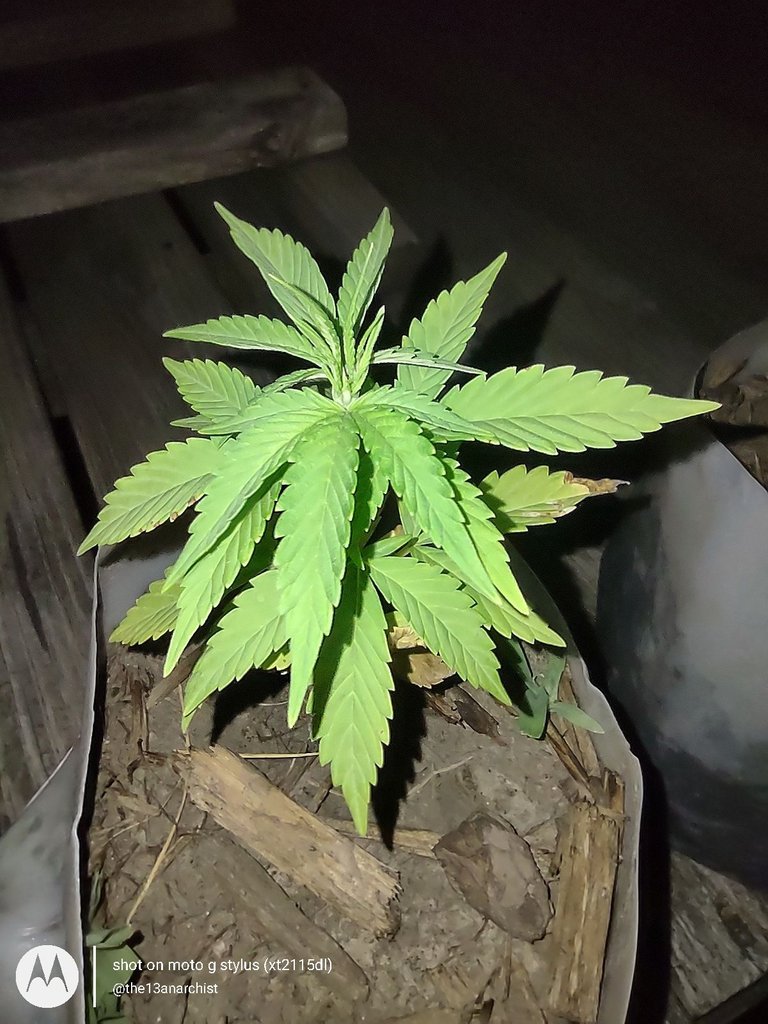
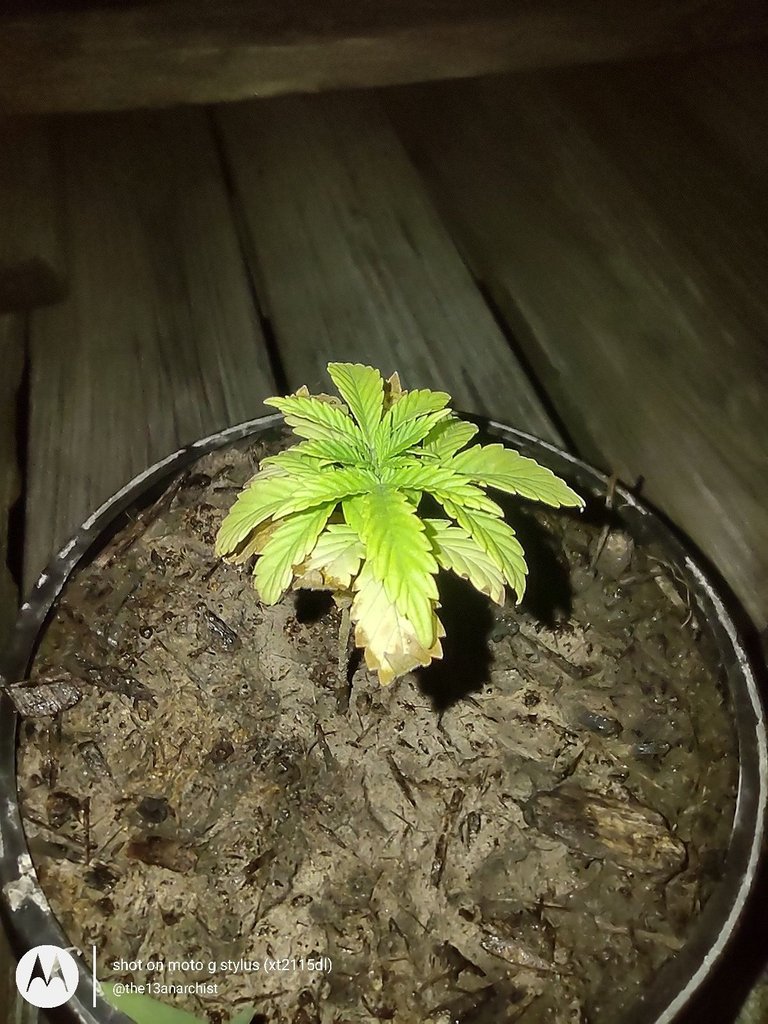
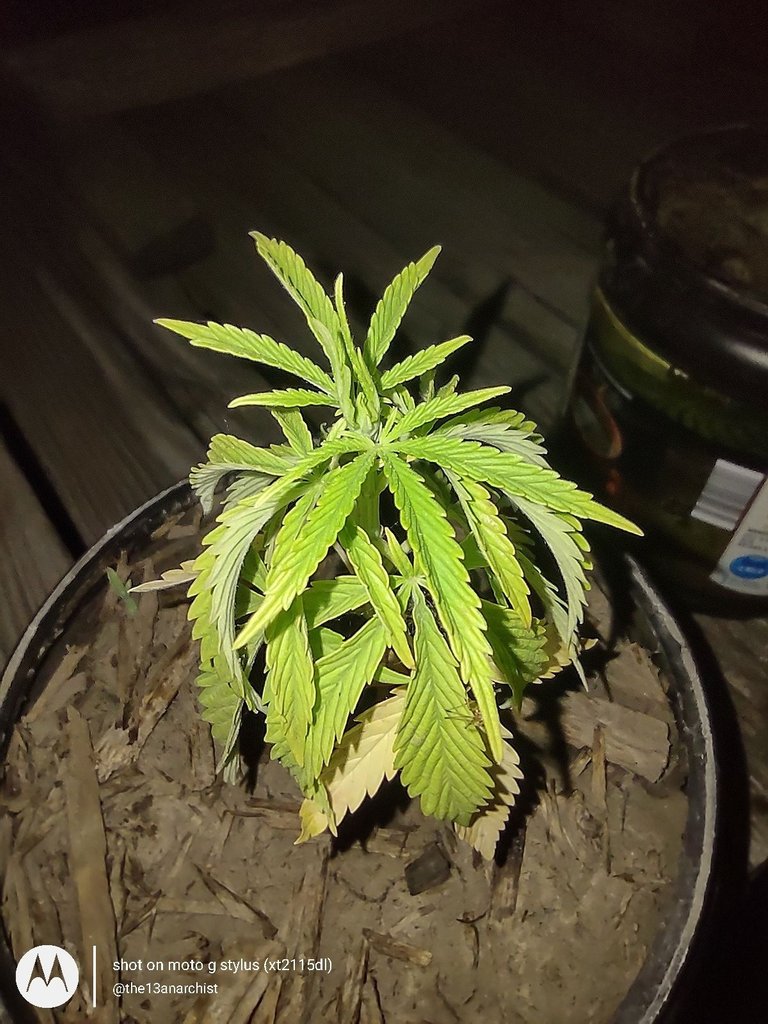
Thursday, June the 30th was a pretty busy day for our family! We received news that I was getting a bonus from work, and we had a company function to celebrate immediately after work!
Then, about an hour after that started, we had to run uptown to go to Fairy's last home softball game! We were all pretty tuckered out afterwards, so I made sure I watered them and took some pictures!
 |  |  |
|---|---|---|
 |  |  |

After an early day at work on Friday, July the 1st, I was reminded just how busy life could get! After receiving my bonus, we went and put a deposit down on 2 vehicles, and then headed to the DMV to get the titles transferred and registered! After spending entirely too much money on that, we went grocery shopping for the week!
I was even able to make a much needed purchase of some 5 gallon buckets and new soil for the plants! Talk about a busy day! I intended on watering our plants and taking pictures when I got home, but fell asleep with Junior again before I got the chance!

After waking up on Saturday, July the 2nd, Murt and I immediately started cleaning out and checking the vehicles; Murt cleaned them out and detailed them while I checked the fluid levels and performed a little inspection of my own!
When we were done with that, I got to work on preparing the 5 gallon buckets to be used as our new planters! You can check out that process in my Special Edition Update I posted last Monday!!
 |  |  |
|---|---|---|
 |  |  |
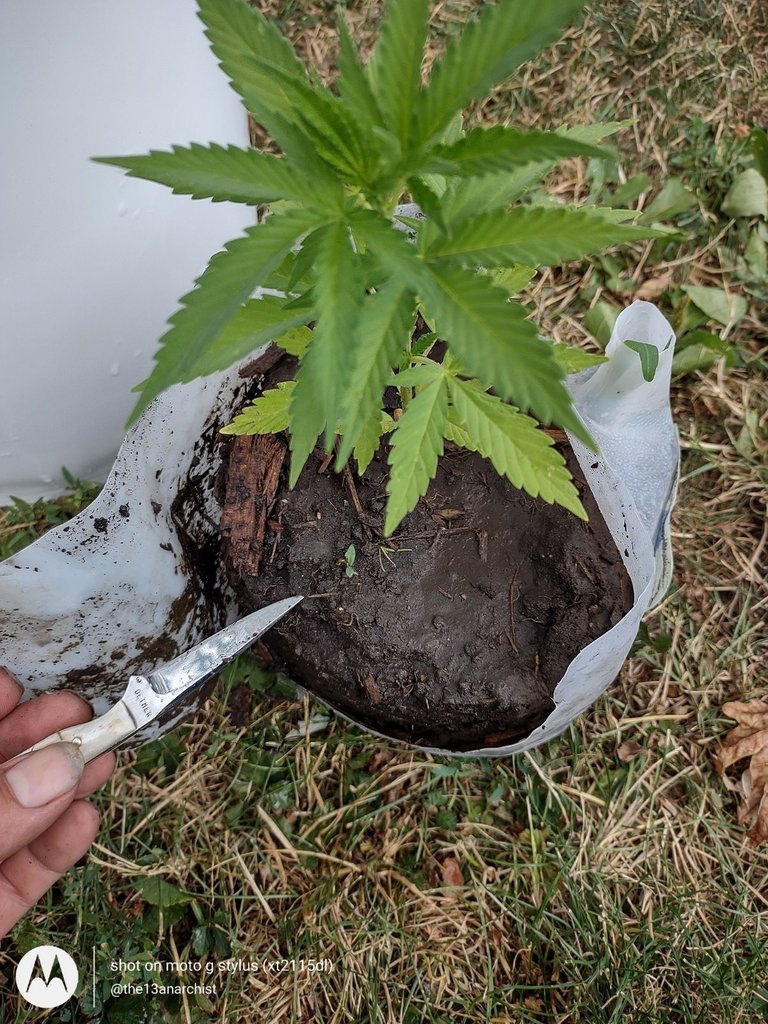
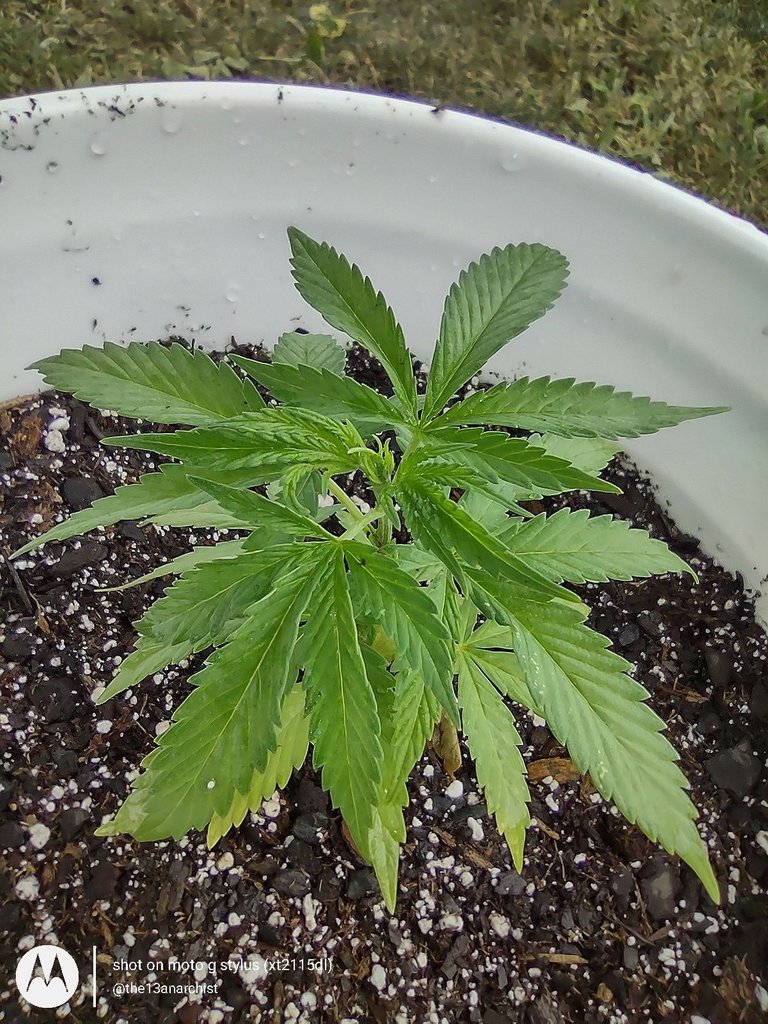
Once that was done, I immediately transplanted Plant 1, just to see how it went! In hindsight, I should have transplanted a different plant, just in case I accidentally killed it off. Regardless, the transplant was a complete success!
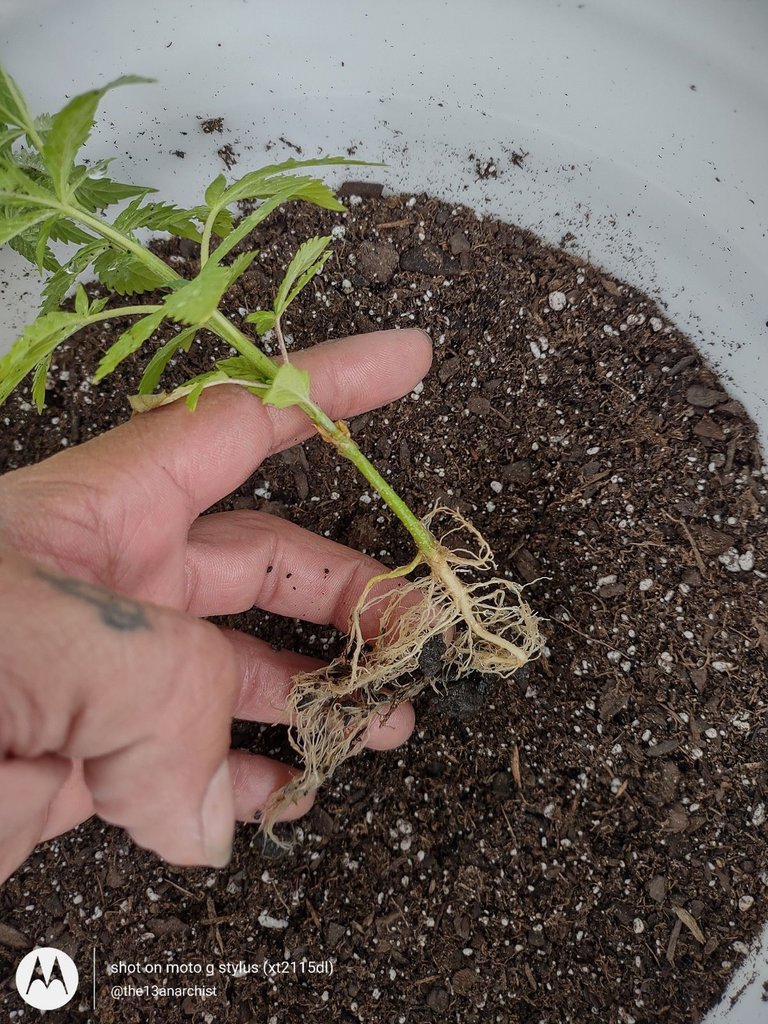
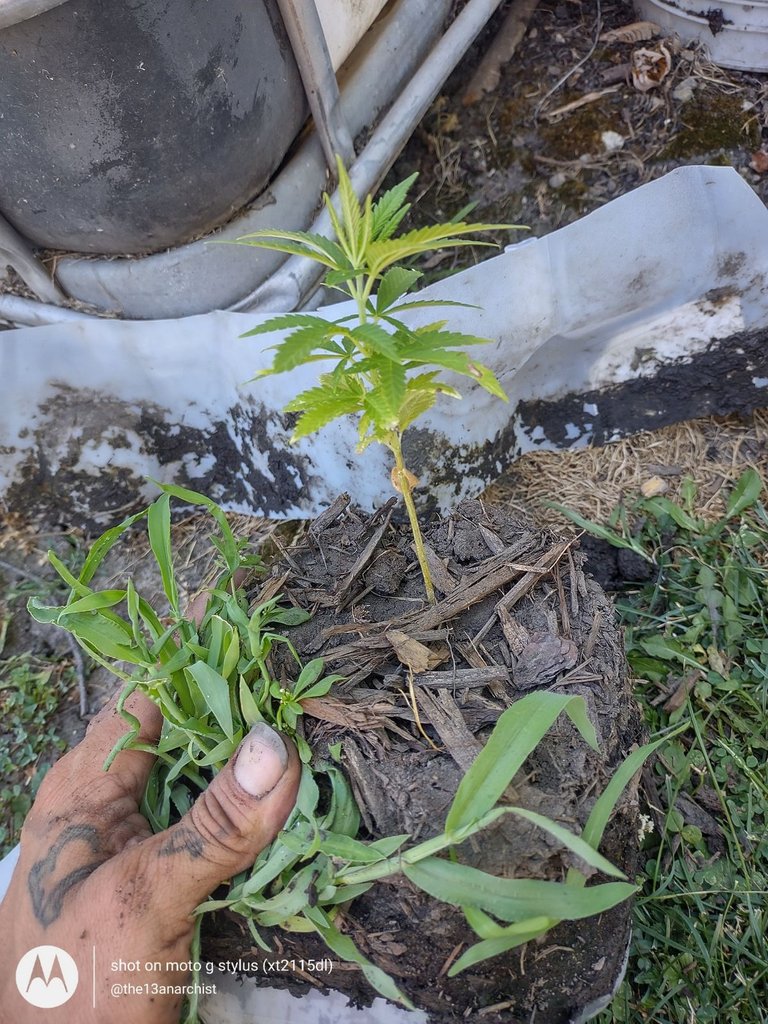
The soil in the milk jug planter was very hard and compacted, almost like clay! So I broke up as much of the dirt as possible, being careful to not harm the roots.
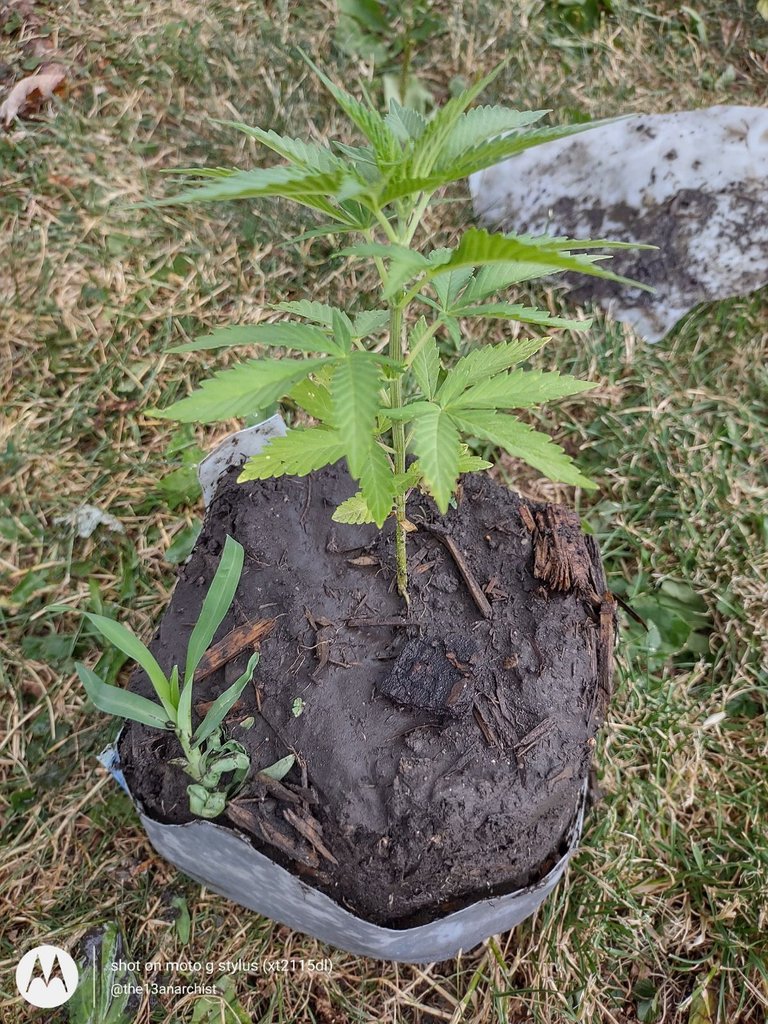
It took a little while, but I finally got the root system free from the clay-like dirt, and after soaking the roots in some water, I transplanted it into the first of my new planters!
 |  | |
|---|---|---|
 |  |
I then intentionally over-watered the rest of the plants to try and break up soil to make transplanting easier! We did have plans that evening, so I watered Plant 1, and we went about our evening!

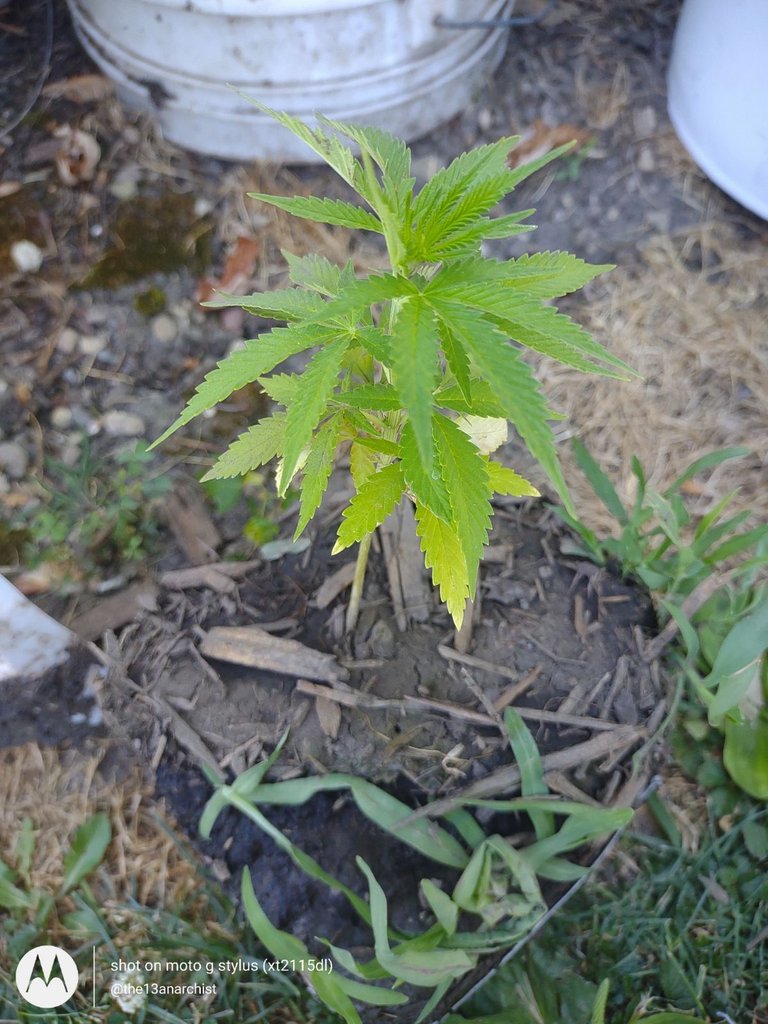
The next day, Sunday, July the 3rd, we officially finished transplanting Plants 2 through 5 into their new planters! Overwatering them the day before really seemed to loosen the soil a bit, and definitely made it easier to transplant!
I also noticed that the roots of the plants were pretty good sized in the planters that had more of my homemade substrate in them, like Plant 1's root system shown above. Meaning that it did look like my assumption from Week 2 was correct; the roots did grow from farther up the stem after I attempted to cure the long legs of our small seedlings! :)
 |  |
|---|
 |  |  |
|---|
 |  |
|---|

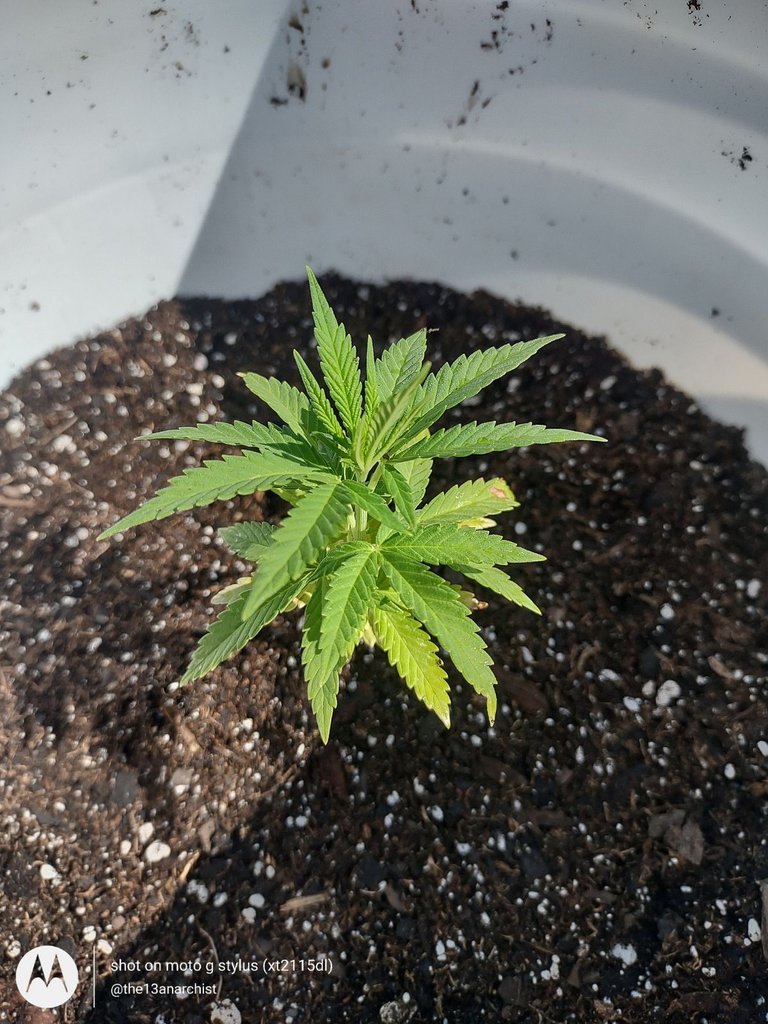
However, once the root reach the hard-packed soil from our garden, it's growth stopped. You can tell in the pictures of Plant 5, shown below, how small the root is; and, although I wasn't able to get a picture of it at the time, the root system was barely growing into the garden soil.
 |  |
|---|
 |
|---|
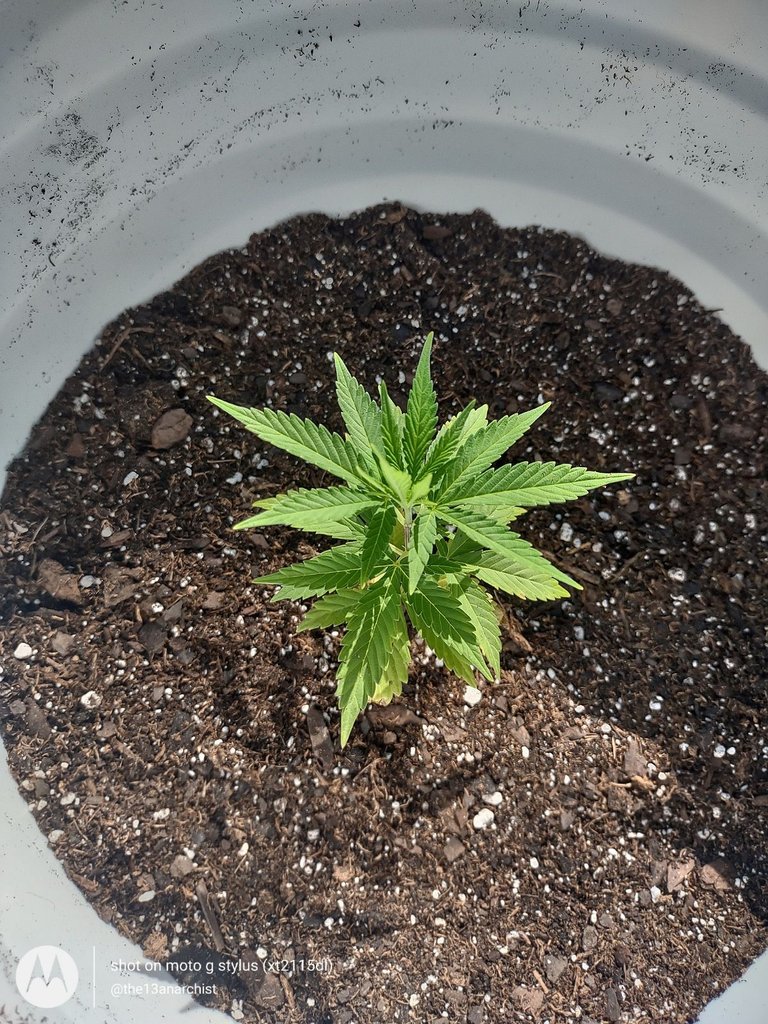
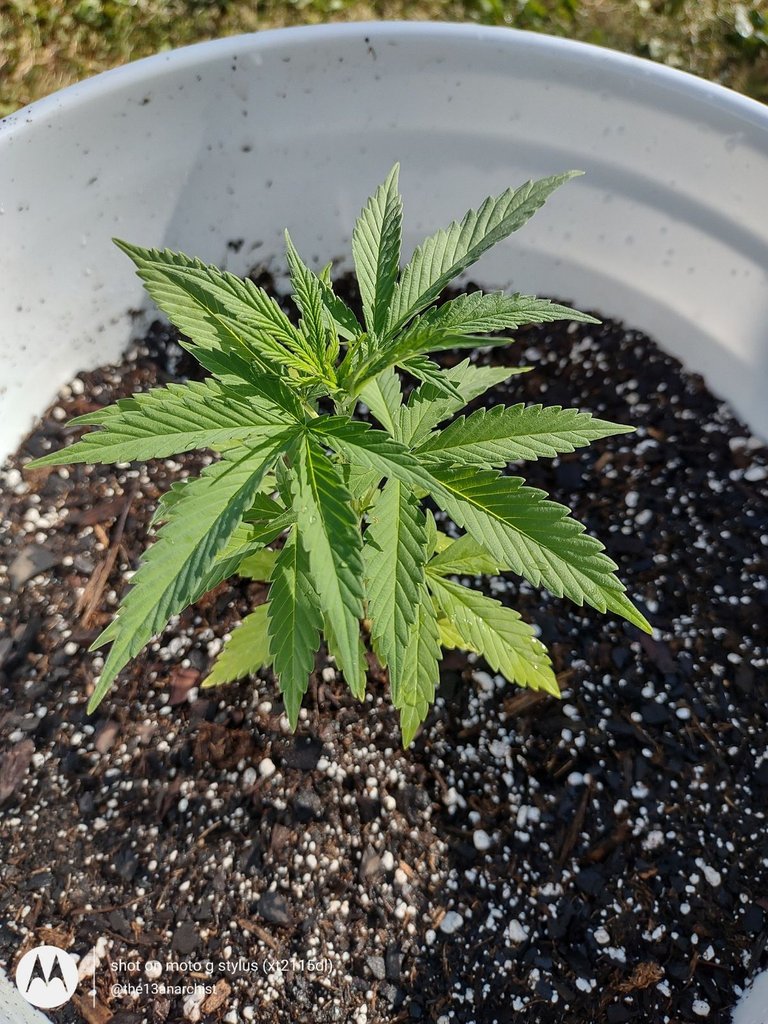
Plant 1 also seems to be flourishing in its new environment; hopefully with them all in their new bedding, they will start to make some real progress in their growth! :)
 |
|---|

Going back to this comment from @lacausa on the last edition of "After Hours"
You should try Fox Farm Ocean Forest next time. I think the Happy Frog is for the beginning stage like seedling and Veg. Good luck and happy growing.
After doing a little bit of research, I will gladly say that I do agree with you that Happy Frog is designed more for starting your seeds and early plant development due to its water retentive properties. But, after seeing the small roots on our plants, I do believe I made a good choice with the Happy Frog, and hope that it will help the plants develop a healthier, and stronger, root structure!
However, 2 bags wasn't quite enough to fill all 6 of the buckets as full as I would have hoped; so, @dynamicgreentk, I have a question for you! Since you are our Resident Soil Expert within the Weed Cash Community, would it be acceptable to add some of the Ocean Forest Potting Soil with the Happy Frog Potting Soil I've already used? I did buy a bag, but I wanted to wait to add it until I got some expert advice!

But that will do it for this one, folks! I hope you all had a great weekend, and don't forget to tune-in next week for another "After Hours" Update! Stay Trippy, My Little Hippies! ✌️💚

- Dividers made using Canva!
- Photos taken with my trusty Moto G Stylus
- Pictures edited using Image Size App
- Signature custom made by @doze!
Well, I am going to a school for soil stuff but far from an expert. In these situations you gotta go by touch (too wet or dry), smell ( should smell like forest floor or neutral) and visual (is there molds or bugs). Should be ok to mix both together.
Endo mycorrhizal fungi is a thing to use with each watering for cannabis that will help the roots explode.
Well you definitely know a lot, that's for sure! And I hope I am able to learn a lot from you!
Both of them definitely smell like a forest floor, and I haven't noticed any mold or anything like that.
The Happy Frog does contain some sort of bioactive material that activates when it comes in contact with the roots, so I'll look into that a little bit and see how it goes!
As for the Endo mycorrhizal fungi, is there a supplement or nutrient that you use for this? Or how exactly do you obtain it is a better question lol
Here are some examples:
https://buildasoil.com/products/bioag-vam-endo-myco-mix
https://bigfootmyco.com/
https://www.htgsupply.com/products/orca/
That is so awesome! Thank you so much! I'll definitely have to start working something like that into our budget! That BioAg one was pretty cheap too! Is that something that you add to every watering? Or just in the beginning stage like I'm in now?
I have a product with kelp, humic acids and minerals so I use it once a week. However, if it was just spores than yeah every watering. It gets expensive but lots of growers swear by using it every watering.
Ok! Well I'll have to do some thorough research before I get anything then, because while I need to try to stay within my weekly spending budget, I do want to help our plants the best we can!
I don't see why not. You should bw ok to mix it. Are you using nutrients?
I didn't think there would be an issue, just wanted to double check before I did something stupid lol.
No, unfortunately I'm not. I don't really know enough about all of that side of growing yet to feel confident in using any sort of nutrients or anything like that.
I did add a couple finger pinches of organic fertilizer when I mixed up the substrate to fill the top of the original planters, but other than that I haven't used anything on them.
What nutrients would you recommend, and for learning purposes, why? :)
I use Fox Farm, with the fox farm schedule. Check it out. There are some soils you can use to grow with water only. Do you PH the water?
They have an actual schedule of what nutrients and fertilizers to use, and when to use them during different stages?! I checked out their website and was curious about their line of nutrients, but there are so many I didn't know where to start! I will definitely take a look at that schedule though!
And no I haven't yet, but getting a pH tester was actually going to be my next purchase, so I could figure that out and use that as a guide to go from there! 😊
Congratulations @the13anarchist! You have completed the following achievement on the Hive blockchain and have been rewarded with new badge(s):
Your next target is to reach 5000 upvotes.
Your next target is to reach 300 replies.
You can view your badges on your board and compare yourself to others in the Ranking
If you no longer want to receive notifications, reply to this comment with the word
STOPHoly cow! I can't believe that I've received over 200 replies! Or the fact that I've recieved as many upvotes as that! Thanks for all your hard work and the amazing stat tracking you do, @hivebuzz!! :)
My opinion is hold off on the ocean forest until they are a little bigger. It seems like maybe the soil was a to hot, which caused the lockout . Happy frog will be sufficient.
However I used to use a mix of happy frog and happy soil.if you do mix do 2 parts happy frog. 1 part ocean forest :)
!1UP
Thank you for that @canna-curate!
And ok, I didn't want to do it immediately after transplanting them, because I figured that would stress them too much!
All I really want to do with the Ocean Forest is just "build up" the base of the plant to be a about an inch or two below the top of the bucket, so I hope I won't have to add too much! But thank you so much for the advice, and I definitely will keep the 2:1 ratio in mind when I do add the new soil!! :)
You have received a 1UP from @canna-curate!
@weed-curator, @vyb-curator, @pob-curator, @neoxag-curator, @pal-curator, @cent-curator
And they will bring !PIZZA 🍕.
Learn more about our delegation service to earn daily rewards. Join the Cartel on Discord.
ohh wao i love your plant, nice
Thank you very much @osita21! I'm glad you enjoyed the update! 😊
it is looks great, in a few months you will have good buds :D
Thanks @jakiro! And I certainly hope so! We're really excited to see how they do! :)