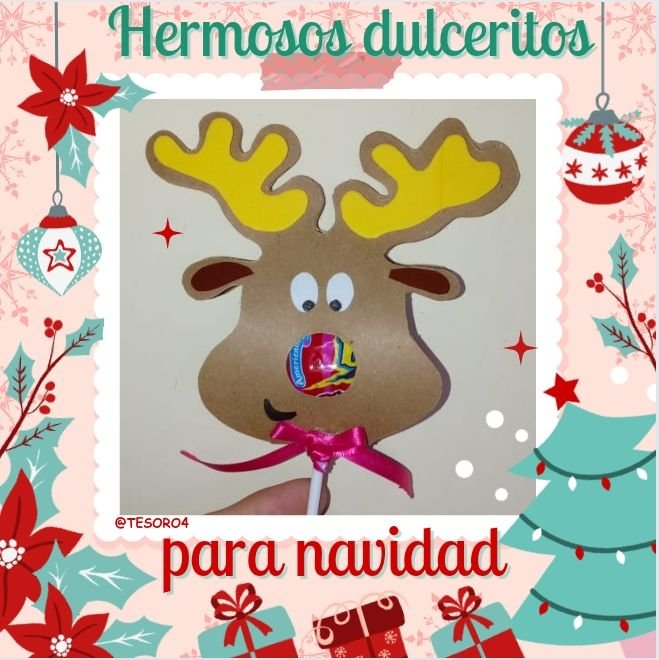
Beautiful reindeer candies, to give as Christmas gifts. ❄️🦌
Hola a todos en nuestra comunidad creativa, sean bienvenidos todos a mi post 💝.
Hello everyone in our creative community, welcome everyone to my post 💝.
📍📍📍📍📍📍📍📍📍📍📍📍📍📍📍📍
Hoy quiero mostrarles como elaboro unos lindos renitos porta dulces ideales para obsequiar a los pequeñines de la casa en navidad.
Today I want to show you how to make some cute candy holders ideal to give to the little ones at home for Christmas.
Dígame a quien no ha de gustarle el dulce? tanto a grandes como a chicos? Es por ello que hoy decidí trabajar por ellos y para ellos y así tener algo que ofrecerles luego de la comida de noche buena.
Tell me, who wouldn't like candy? both adults and children? That's why today I decided to work for them and for them so I have something to offer them after the Christmas Eve meal.

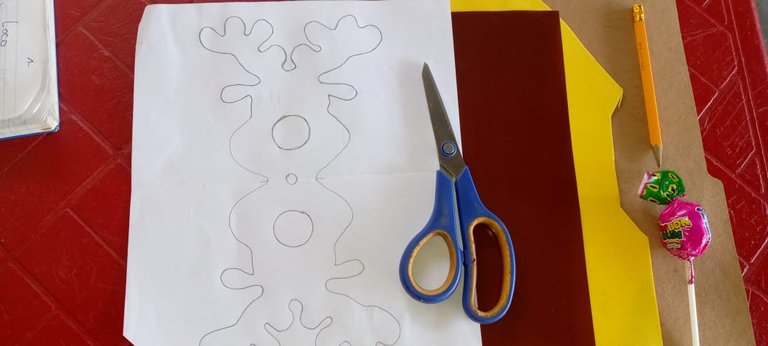
🦌 Carpeta marrón
🦌 Tijeras
🦌 Lápiz
🦌 Papel lustrillo marrón
🦌 Foami amarillo
🦌 Chupeta
🦌 Dibujo del reno
🦌 Marcador negro
🦌 Brown folder
🦌 Scissors
🦌 Pencil
🦌 Brown glossy paper
🦌 Yellow Foami
🦌 Lollipop
🦌 Reindeer drawing
🦌 Black marker
📍📍📍📍📍📍📍📍📍📍📍📍📍📍📍📍
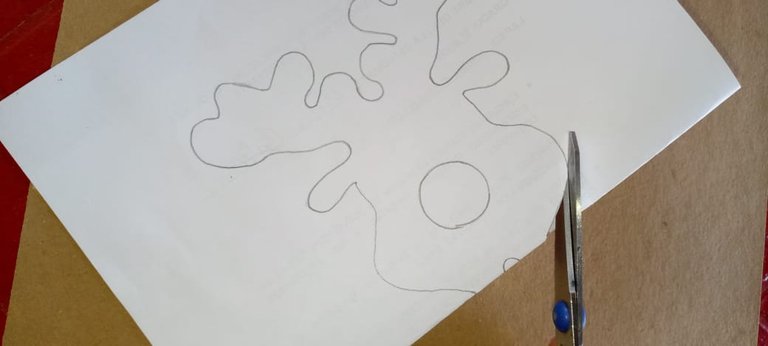
PASO 1
Tomamos nuestro dibujo y lo recortamos en doble sentido, para que tenga las 2 caras y la chupeta quede cubierta.
We take our drawing and cut it in two directions, so that it has both sides and the lollipop is covered.
PASO 2
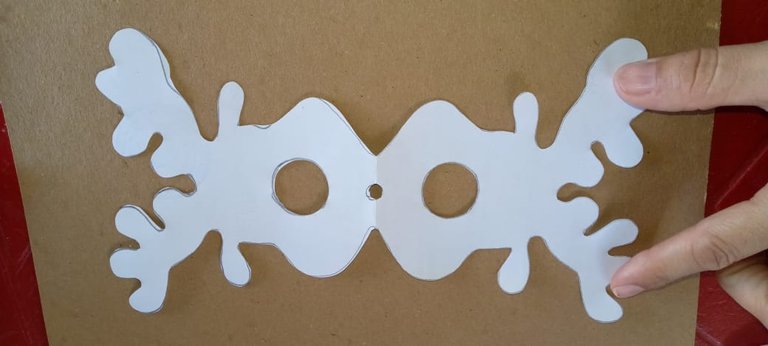
Una vez hecho esto; dibujamos nuestro molde en la carpeta marrón, normalmente se hace con cartulina; pero la carpeta era lo que tenía a la mano y voy a utilizar el doblez de la carpeta para que me quede doble de una vez la pieza.
Once this is done; we draw our mold on the brown folder, normally this is done with cardboard; but the folder was what I had on hand and I am going to use the fold of the folder to double the piece at once.
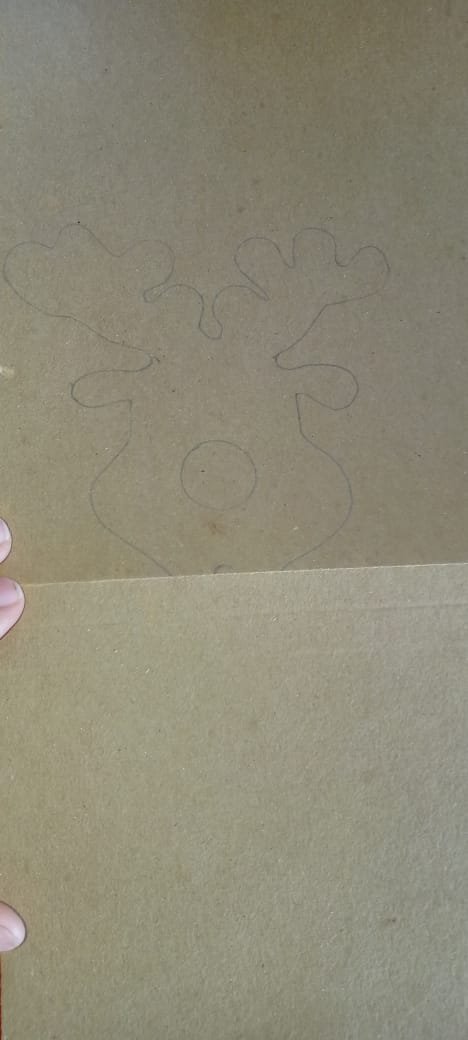
Recortamos
We cut
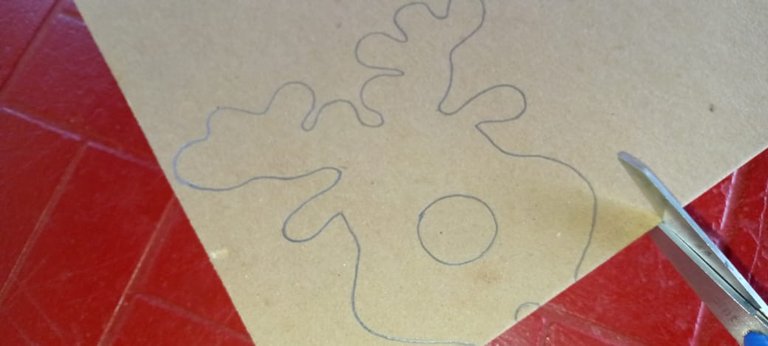
Y obtendremos está pieza
And we will obtain this piece
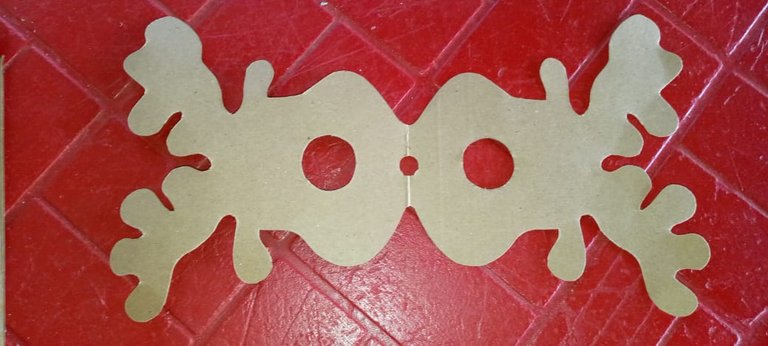
PASO 3
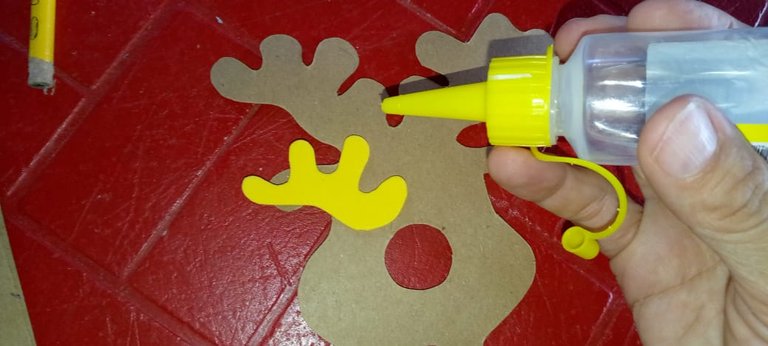
Tomaremos el Foami amarillo para hacer la parte interna de los cuernos.
We will take the yellow Foami to make the inner part of the horns.
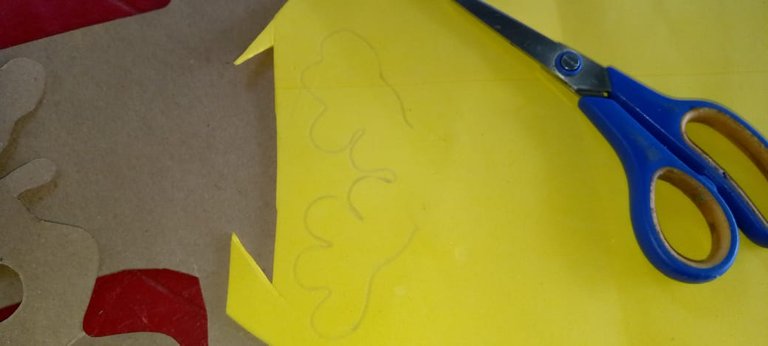
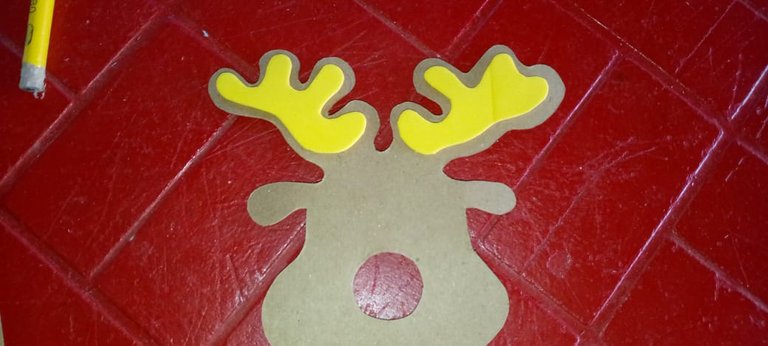
Recortamos y pegamos
Cut out and glue
Nos quedará así
It will look like this
PASO 4
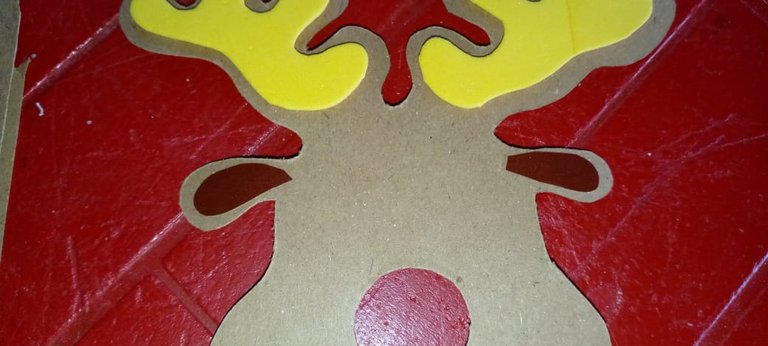
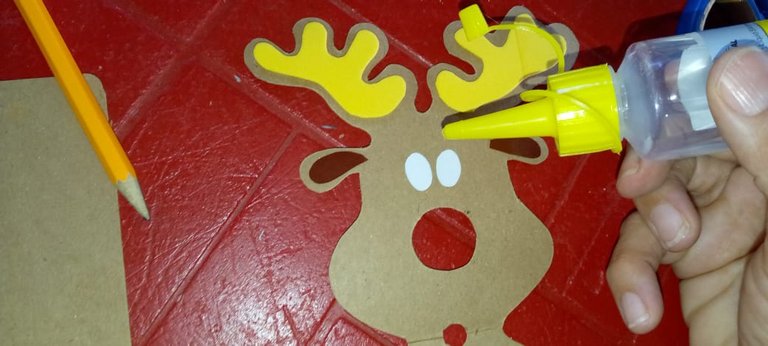
Con el papel lustrillo marrón, haremos la parte interna de las orejas y recortamos y pegamos los ojitos.
With the brown lustrillo paper, we will make the inner part of the ears and cut out and glue the eyes.
PASO 5
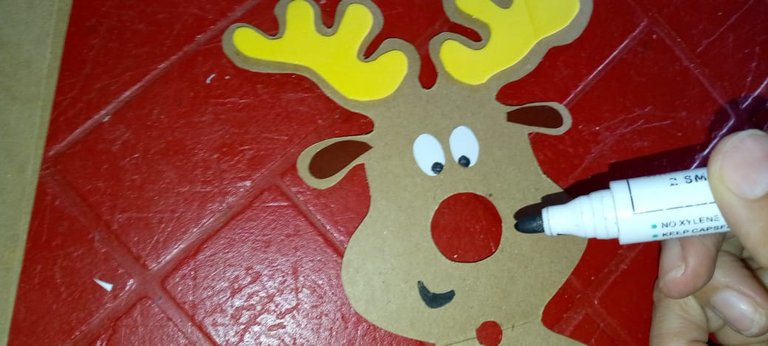
Pintamos las parte interna de los ojitos y la boquita con la ayuda del marcador negro.
Paint the inside of the eyes and the mouth with the help of the black marker.
PASO 6
Introducimos la chupeta en un orificio en la unión de ambas caras del reno.
We insert the pacifier into a hole at the junction of both sides of the reindeer.
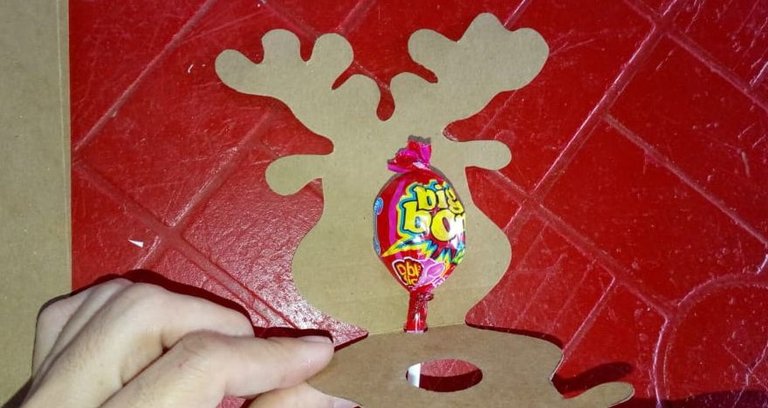
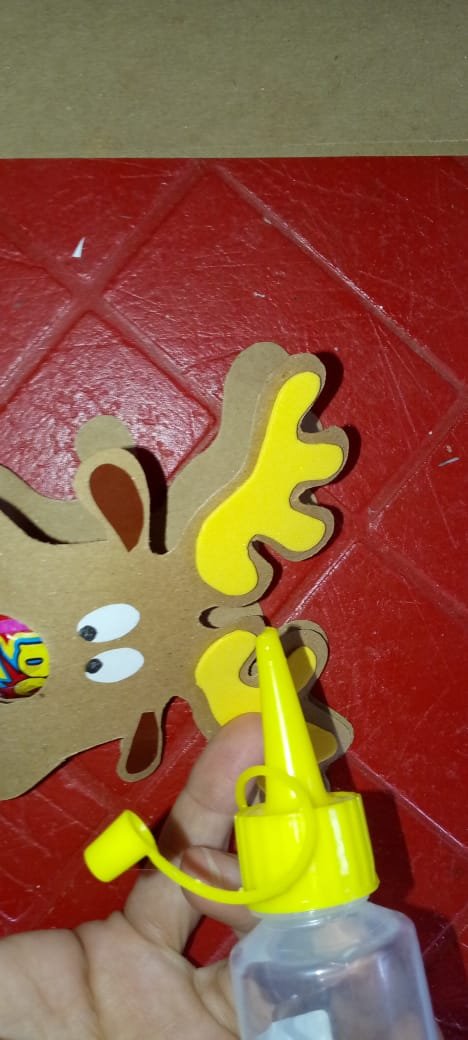
Aplicamos pegamento en la parte media de la cabeza, para cerrar nuestra pieza.
We apply glue in the middle part of the head, to close our piece.
PASO 7
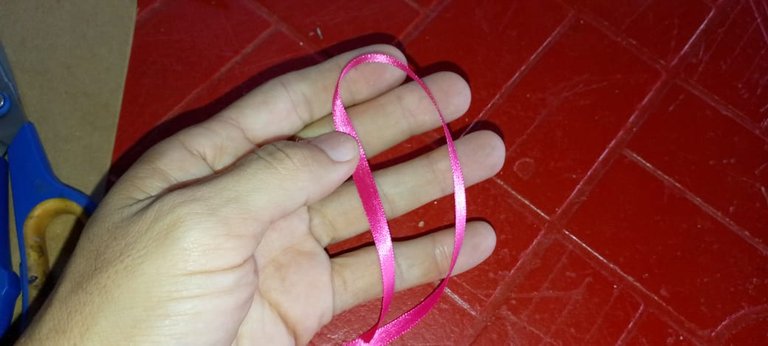
Tomamos un trozo de cinta, del color que desees; hacemos un pequeño lacito alrededor del cuello de nuestro reno, y listo!.
We take a piece of ribbon, in the color of your choice; we make a little bow around the neck of our reindeer, and that's it!
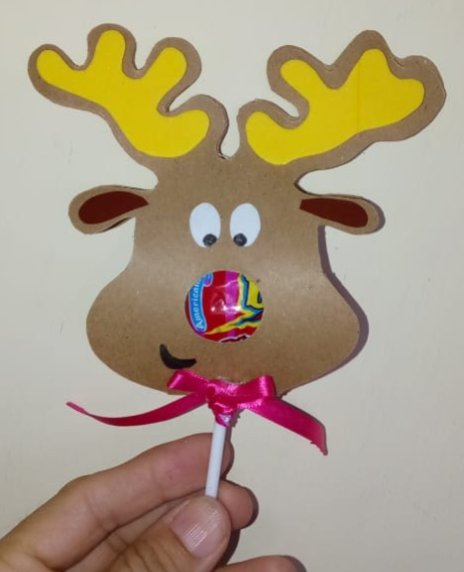
Así, de hermoso ha quedado nuestro reno porta chupeta.
This is how beautiful our pacifier holder reindeer has turned out.

📍📍📍📍📍📍📍📍📍📍📍📍📍📍📍📍
El texto es completamente de mi autoría.
Editor de fotos Canva.
Fotos tomadas con mi equipo celular Tecno GO 2023.
Traductor DeepL.
The text is entirely my own.
Canva photo editor.
Photos taken with my Tecno GO 2023 cell phone.
Translator DeepL.
0
0
0.000
Está precioso!!
Mil grcs linda!
https://twitter.com/hivediy47901/status/1730579004065722388
Uhhh estos serian perfectos para alguna bolsa sorpresa de un niño que cumple años en diciembre realmente se ven muy lindos y prolijos ¿Pensaste en hacer otros modelos?
Holis, si la verdad si he pensado en hacerlos de otros motivos pero como estamos en navidad quise lucirme con este modelito..me alegra q te haya gustado, grcs por visitar