Aretes de espiral, fáciles y económicos |Tutorial [Eng-Esp]
Best regards! This is my first post in this beautiful community, so I hope you like it. Today I want to share some spiral earrings on cord that I made for my daughter.
¡Reciban un cordial saludo! Esta es mi primera publicación en esta bella comunidad, así que espero les guste. Hoy quiero compartir unos aretes de espiral en cordón que hice para mi hija.
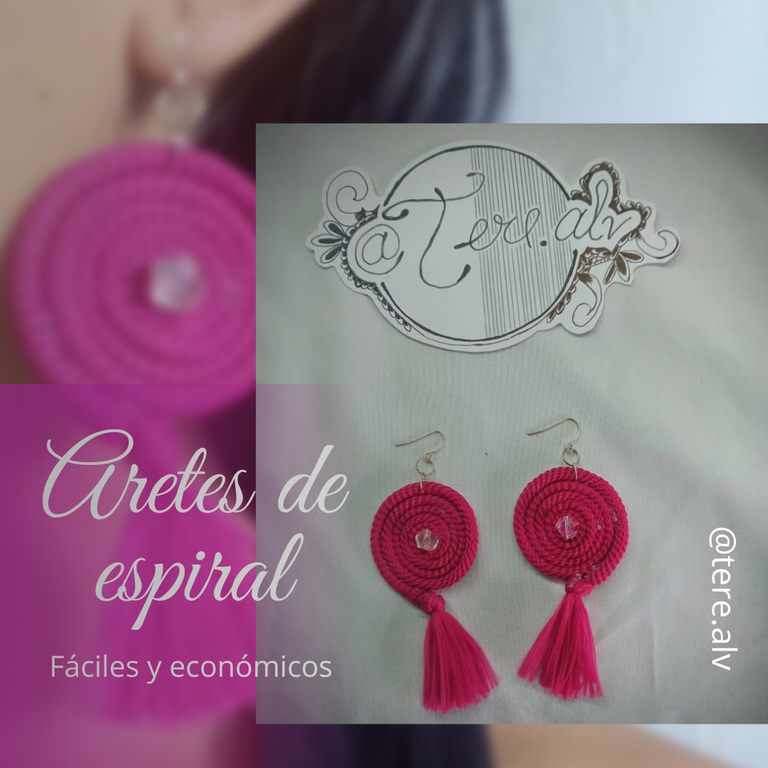
Project characteristics.
| Cost | 5$ |
|---|---|
| Estimated time of elaboration | 30 minutes |
| Style | Casual - Juvenile |
Características del proyecto
| Costo | 5$ |
|---|---|
| Tiempo estimado de elaboración | 30 minutos |
| Estilo | Casual - Juvenil |

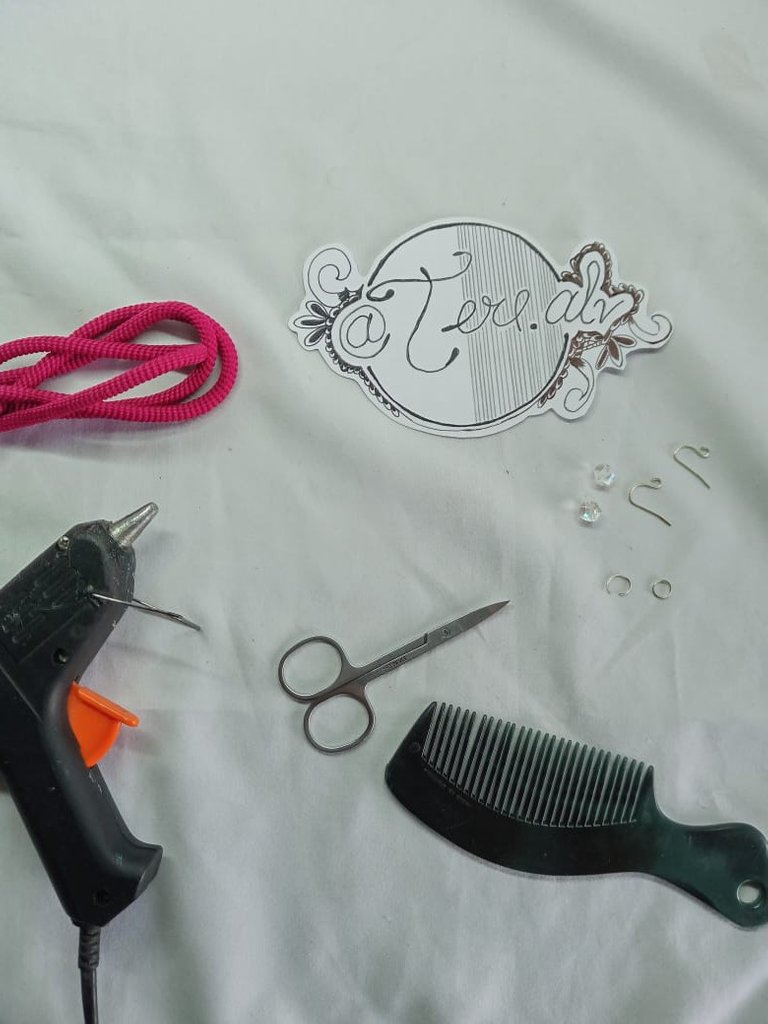
Materials:
60 centimeters of cord
Scissors
Silicone gun
Hook for earrings
2 transparent stones
Fine comb
4 earring rings
Metric ruler
Materiales:
60 centímetros de cordón
Tijera
Pistola de silicón
Enganche para aretes
2 piedras transparentes
Peine fino
4 argollas para aretes
Regla métrica
Procedure of elaboration:
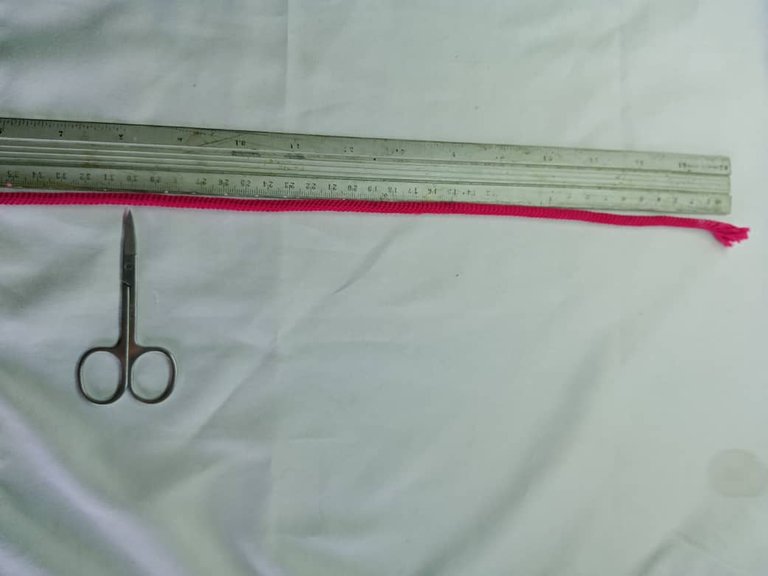
-We start by cutting the cord in 2 parts of 30 centimeters, we can use the metric ruler to measure and cut. The longer the cord is the larger the spiral will be. I selected 30 centimeters since my daughter does not like earrings that big.
Procedimiento de elaboración:
-Comenzamos cortando el cordón en 2 partes de 30 centímetros, podemos utilizar la regla metrica para medir y cortar. Mientras más largo sea el cordón más grande quedará el espiral. Seleccioné 30 centímetros ya que a mi hija no le gustan los aretes tan grandes.
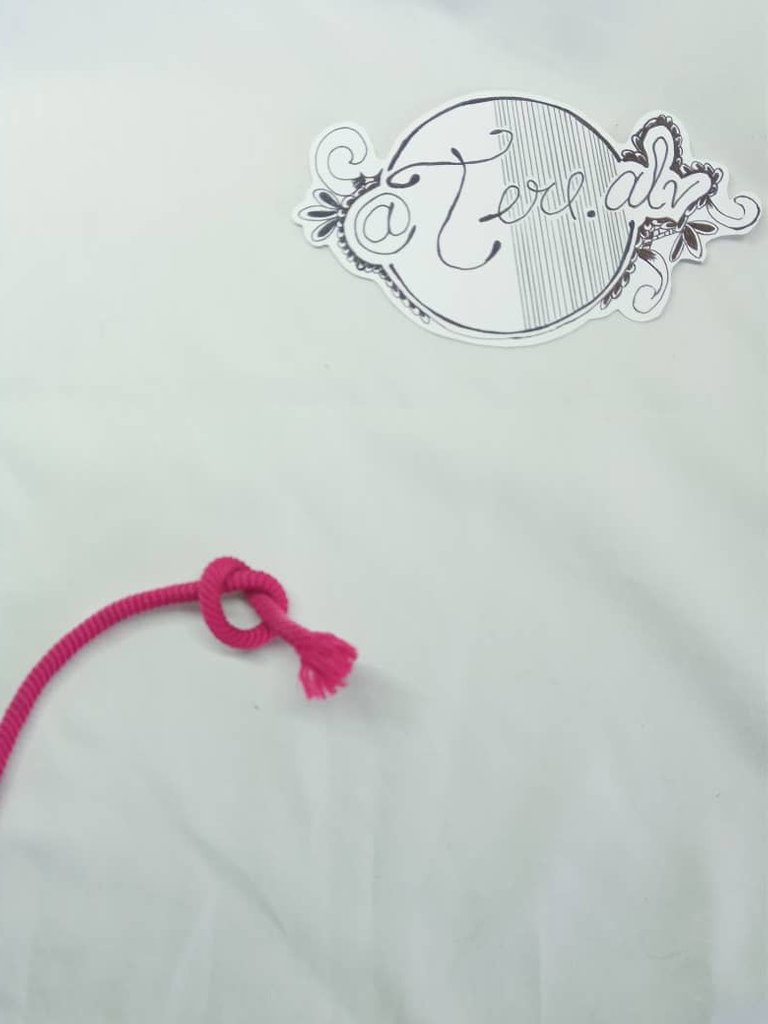
-We make a knot in one of the ends of each cord leaving 1 centimeter away from the tip.
-Hacemos un nudo en uno de los extremos de cada cordón dejando 1 centímetro de distancia de la punta.
-After knotting, we are going to unravel the cord. This cord that I used has a different color thread filling, we remove it with the scissors.
-Después de que anudamos, vamos a deshilachar el cordón. Este cordón que yo utilicé tiene un relleno de hilo de otro color, eso lo retiramos con la tijera.
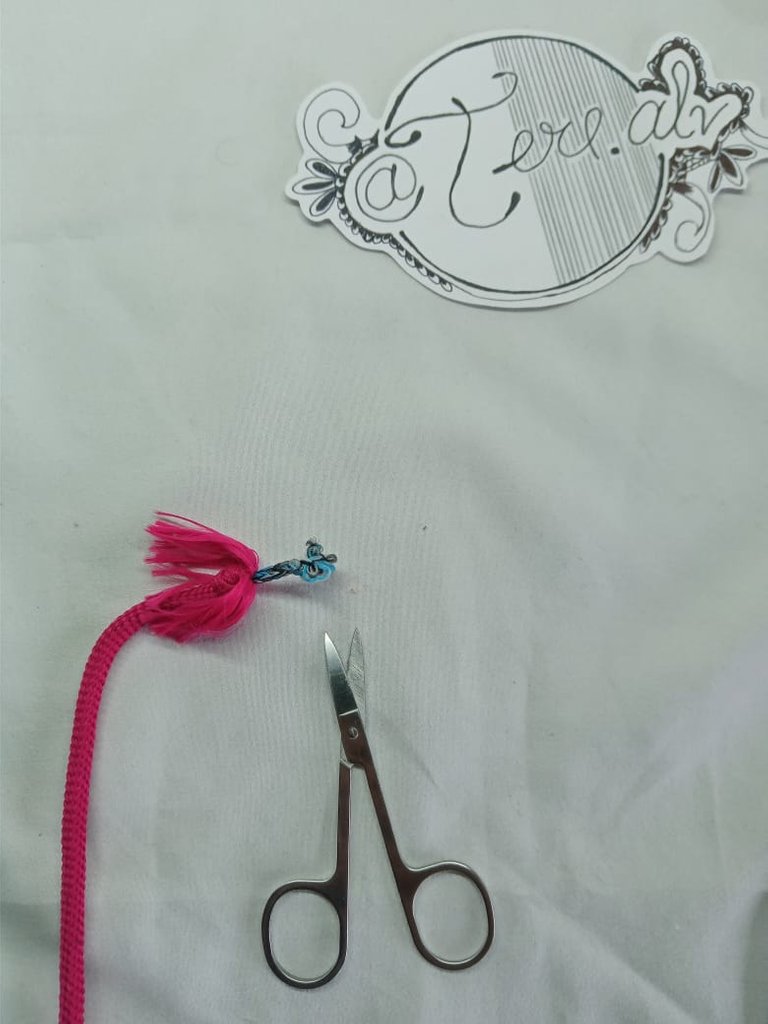
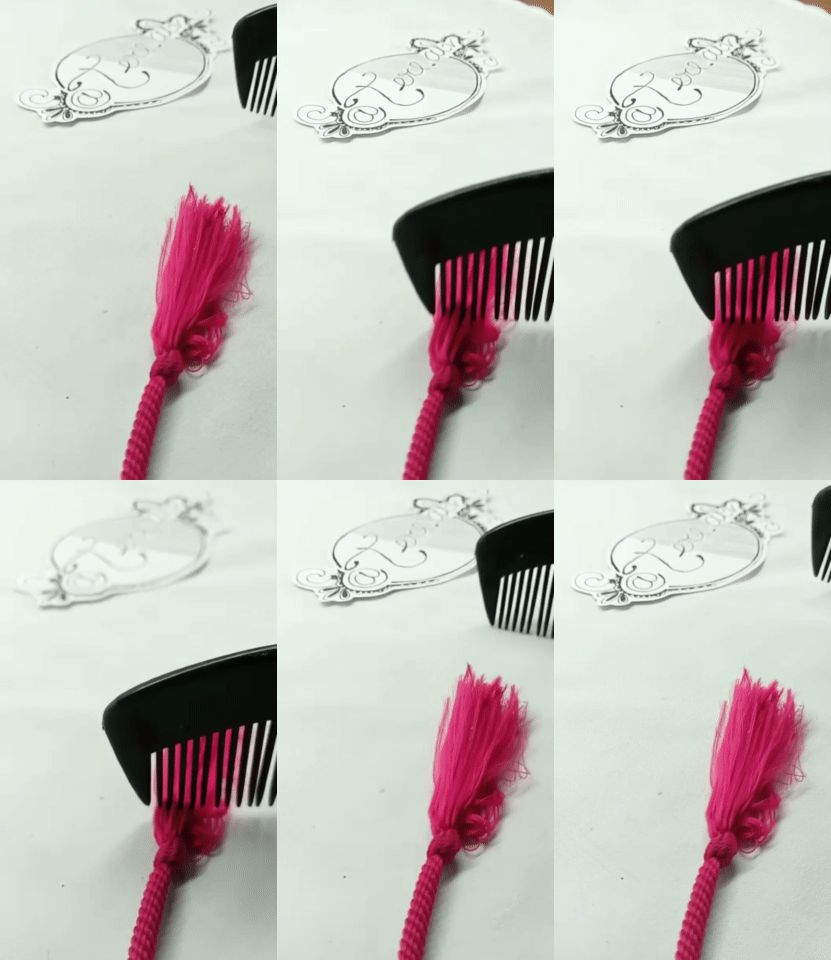
-We comb very well so that there are no knots. It is important to untangle the strands of thread very well, as this will make the pendant look much more lush and beautiful.
-Peinamos muy bien para que no queden nudos. Es importante desenredar muy bien las hebras de hilo ya que de esto dependerá que el colgante se vea mucho más frondoso y bonito.
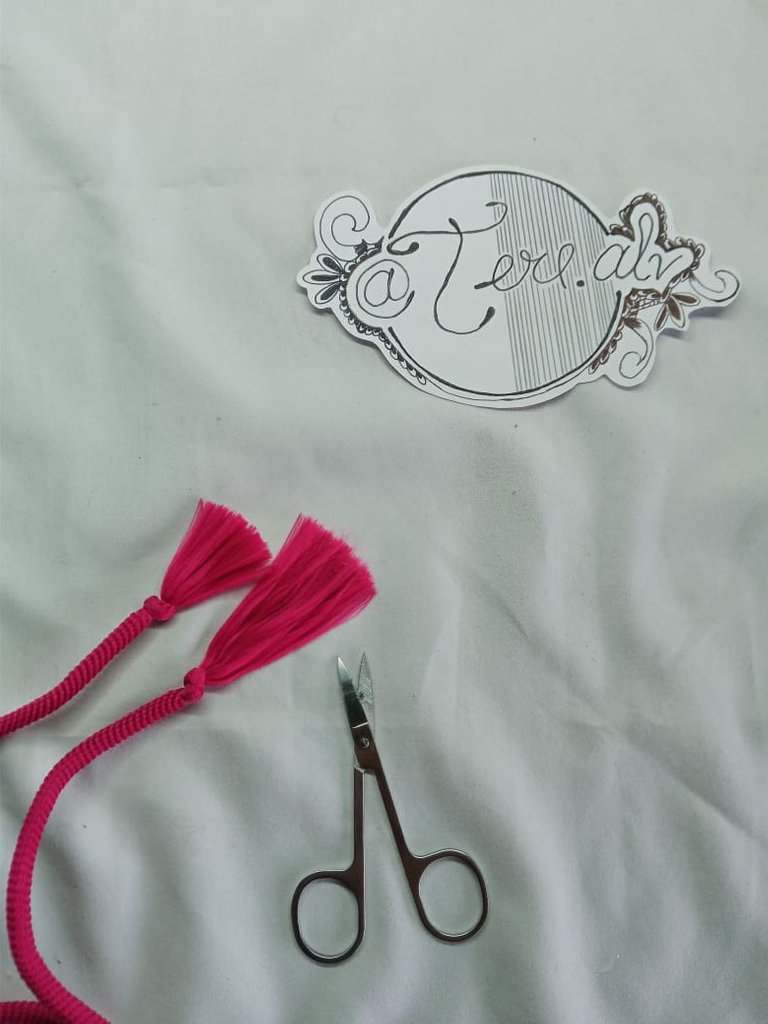
-We cut the beards of both cords so that they are equal. We measure from the knot and match the threads we have just pierced so that they are even.
-Cortamos las barbas de ambos cordones para que queden iguales. Medimos a partir del nudo y emparejamos los hilos que acabamos de piernar para que queden parejos.
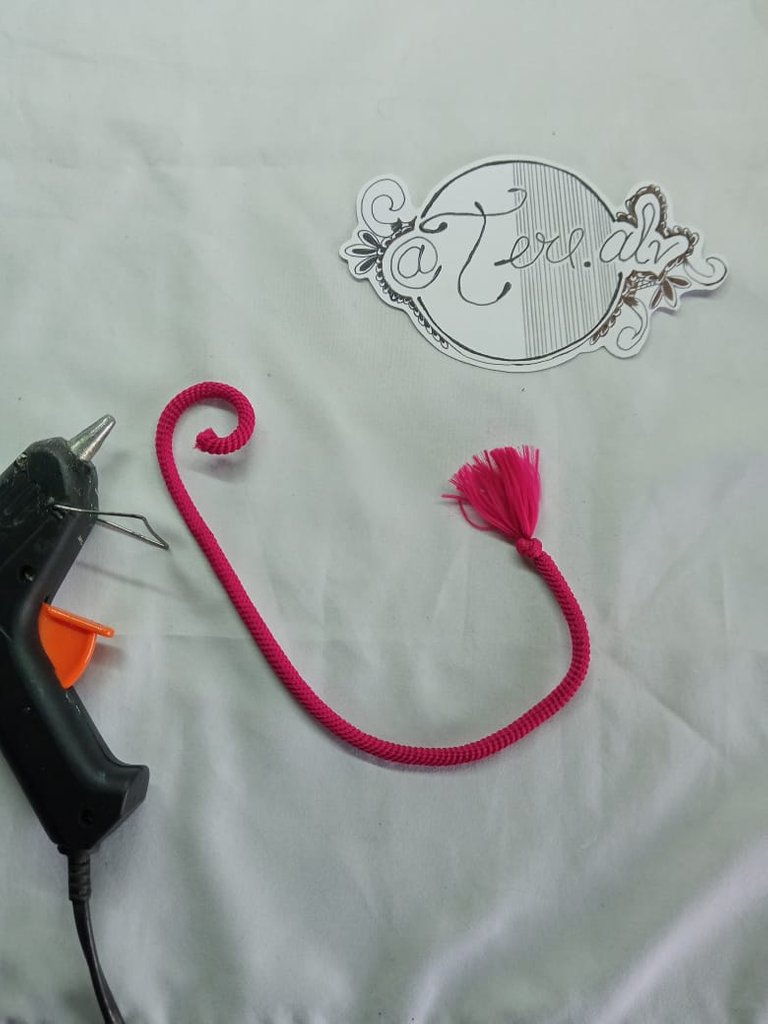
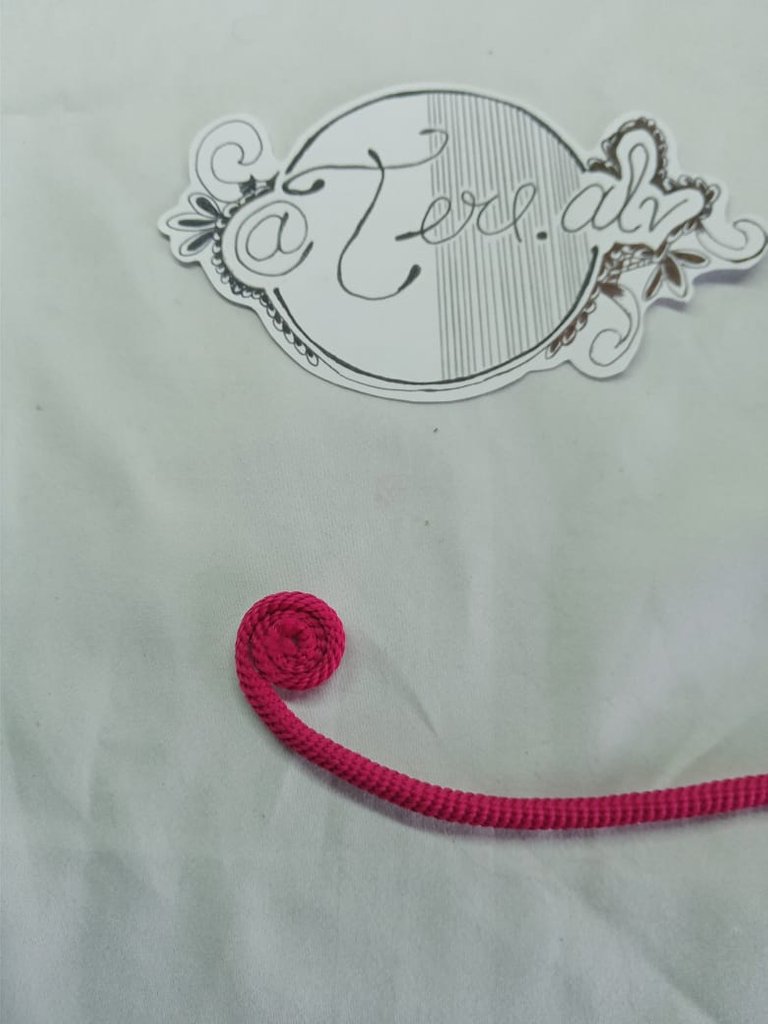
-Then we take the other end of the cord and start winding it in a spiral until we reach the knot.
-Luego tomamos el otro extremo del cordón y comenzamos a enrollar en espiral hasta llegar al nudo.
-We turn the cord tightly and place small silicone stitches to fix the loop. Then we repeat with the next loop and so on until we reach the knot that will be my final point of the spiral.
-Giramos apretando bien el cordón y vamos a colocar pequeños puntos de silicón para fijar la vuelta. Luego repetimos con la siguiente vuelta y así hasta llegar al nudo que será mi punto final del espiral.
-The idea is to have the spiral and the knot with the thread pendant at the bottom like this:
-La idea es que nos quede el espiral y el nudo con el colgante de hilo havia abajo de esta forma:
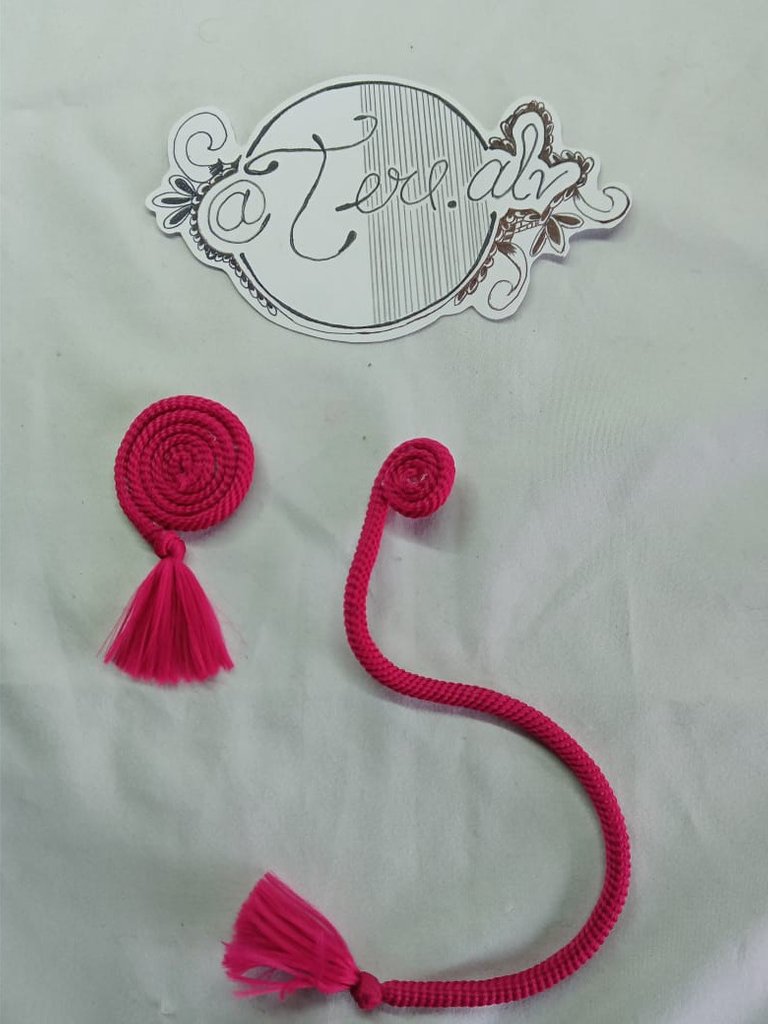
-We place a ring on each spiral, we try to place the ring on the opposite side of the knot so that it is well balanced when using the earring.
-Colocamos una argolla a cada espiral, tratamos de que la argolla quede en el lado contrario del nudo para que quede bien equilibrado a la hora de utilizar el arete.
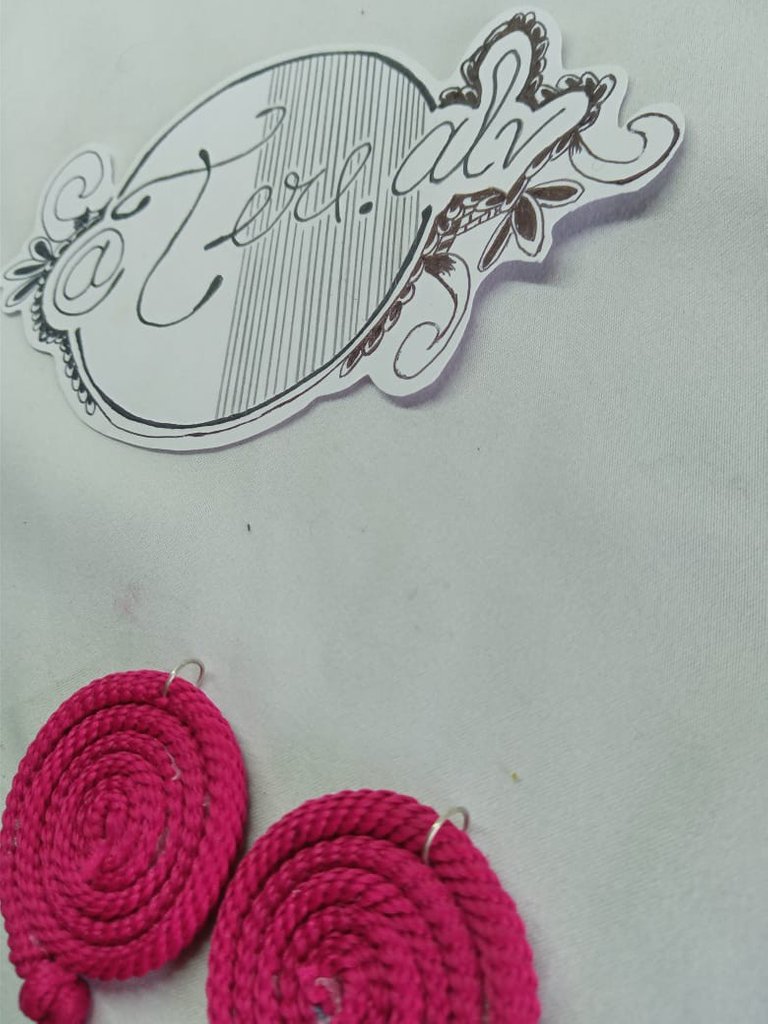
Note: Normally this type of ring can be handled perfectly well with the fingers with a little pressure, but if necessary we can help us with tweezers for jewelry.
Nota: normalmente este tipo de argolla se puede manejar perfectamente con los dedos haviendo un poco de presión, pero si es necesario podemos ayudarnos con unas pinzas para bisutería.
-We glue a stone in the center of each of the spirals with silicone. Trying that they are symmetrical and in the same position, so the earrings will look as a pair.
-Pegamos con silicón, una piedra en el centro de cada uno de los espirales. Tratando que queden simétricas y en ala misma posición, así los aretes se verán en pareja.
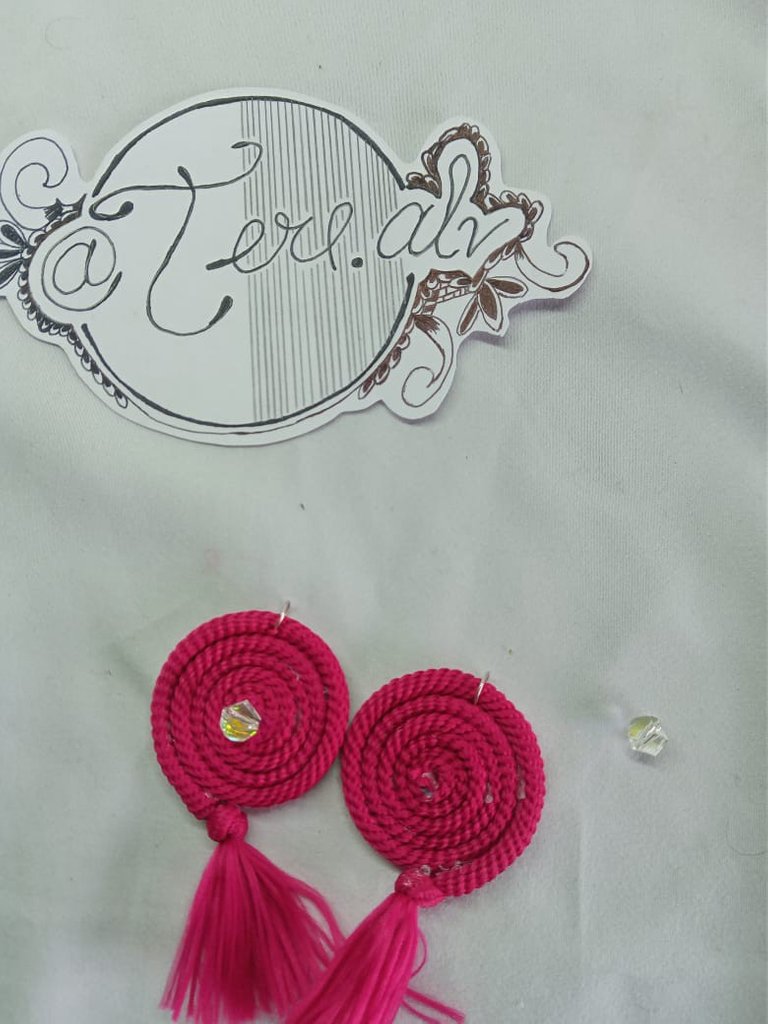
-We place another ring, so that it is in the opposite direction and then we place the hook. In the same way you can use your fingertips using little pressure or a pair of tweezers to close the rings and the hooks.
-Colocamos otra argolla, para que quede en sentido contrario y luego si colocmos el enganche. De igual manera se pueden utilizar la punta de los dedos utilizando poca presión o una pinzas para cerrar las argollas y los enganches.
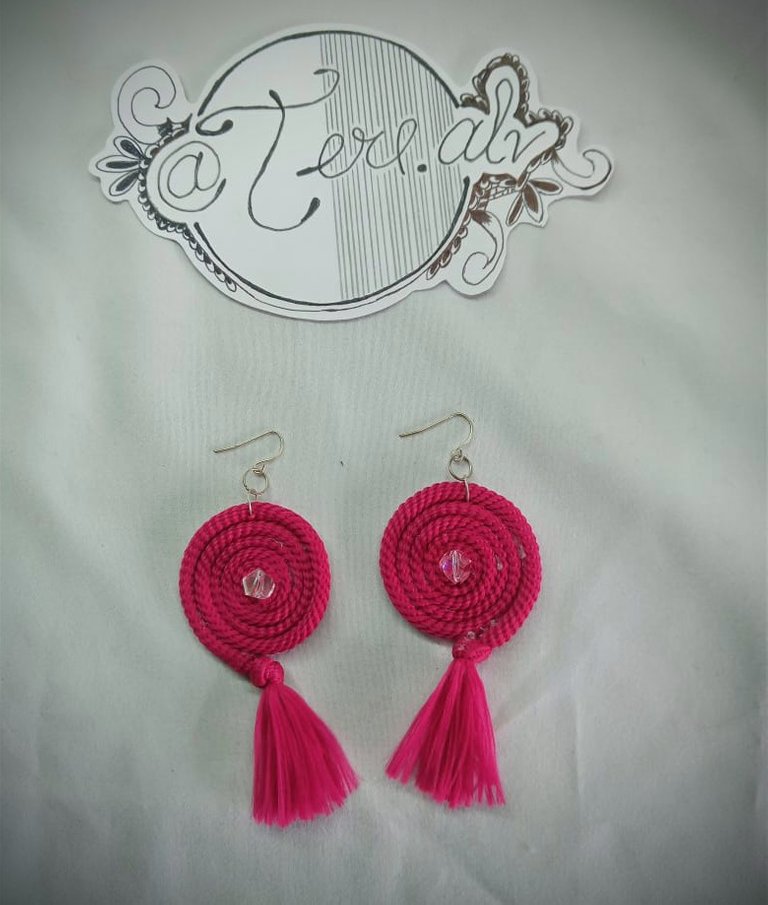
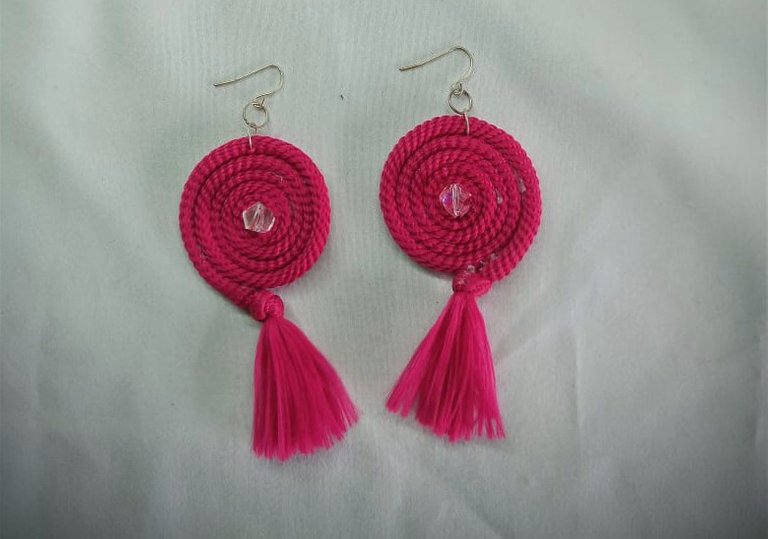
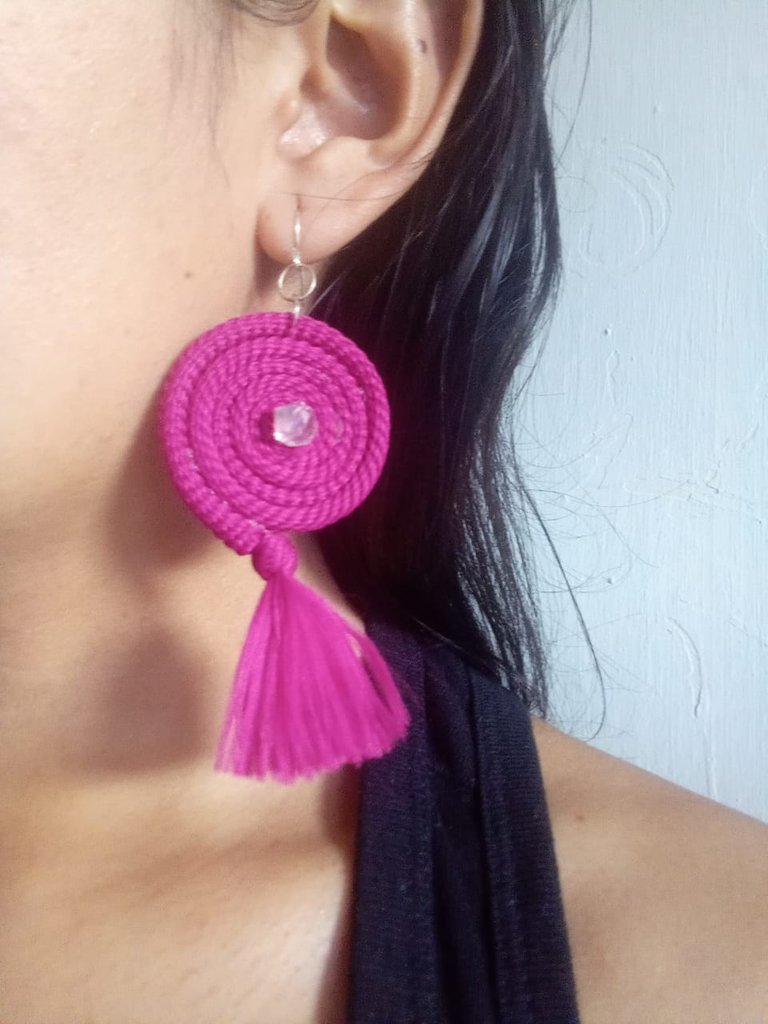
And the earrings are ready. This technique can also be done with wire wrap, placing a wire inside the cord to give it more strength, but this way it is much easier to do and with a minimum budget we can have an excellent final result. I really enjoyed working on this project and my daughter loved her new earrings. I hope you like the tutorial and see you soon with more Jewelry material.
Y listos los aretes. Esta técnica también se puede hacer con alambrismo, colocando un alambre dentro del cordón para darle mayor resistencia, pero de esta forma es mucho más fácil de realizar y con un presupuesto mínimo podemos tener un excelente resultado final. Me gustó mucho trabajar en este proyecto y a mi hija le encantaron sus nuevos aretes. Espero les guste el tutorial y nos vemos pronto con más material de Jewelry.

Las fotos fueron tomadas con mi teléfono ZTE Blade A3 2020. La traducción fue hecha con deepl.com. Post de mi autoría.
_
The photos were taken with my ZTE Blade A3 2020 phone. The translation was done with deepl.com. Post of my authorship.

Congratulations @tere.alv! You have completed the following achievement on the Hive blockchain and have been rewarded with new badge(s):
Your next target is to reach 250 posts.
You can view your badges on your board and compare yourself to others in the Ranking
If you no longer want to receive notifications, reply to this comment with the word
STOPTo support your work, I also upvoted your post!
Check out the last post from @hivebuzz:
Support the HiveBuzz project. Vote for our proposal!
Me da mucha alegría este logro. Gracias por el apoyo @hivebuzz
Por cierto, la propuesta de HiveBuzz perdió fondos recientemente y necesita su ayuda.
¡Podemos pedirle que [apoye la propuesta] (https://peakd.com/me/proposals/199) para que podamos continuar con nuestro trabajo!
Todo lo que necesita hacer es hacer clic en el botón "soporte" en esta página. ¡No te costará nada!
¡Gracias!
Te quedaron muy lindos esos aretes. Saludos 🤗
Gracias por el apoyo y su apreciación.
Muy bonitos los aretes y juveniles @tere.alv
Muchas gracias y espero poder seguir participando en esta comunidad.
Hola amiga Tere, están muy lindos los aretes, me gusta mucho el color.
Muchas gracias. Me pareció un bello trabajo y sencillo para iniciar en la comunidad.
Bienvenida a la comunidad amiga @karolrodriguez que bueno tenerte por aquí, nos encanta ver nuevas caras,y nuevos proyectos, te invitamos primeramente a leer las reglas de la comunidad ya que los post deben ser de más de 1000 palabras si es en dos idiomas y 500 solo en inglés.
Los zarcillos te han quedado preciosos, increíble como se pueden hacer de un cordón, gracias por tu tutorial.
Muchas gracias por la bienvenida. Me siento muy feliz.
Me disculpo por el error, ya he corregido el máximo de palabras y el tutorial es mucho más explicativo. Muchas gracias 😊.
Agradezco el recibimiento y espero nos veamos pronto con más trabajos de Jewelry.
Bienvenida a la comunidad @tere.alv. Muy bonito trabajo el que nos presenta, me encantó la técnica, y el acabado tan prolijo. Le quedaron hermosos esos aretes. Muchos éxitos. Que tenga hermosa noche. ✨✨✨
Muchas gracias por tan bonito recibimiento. He visto trabajos hermoso en la comunidad y espero poder cumplir las expectativas de todos los compañeros creadores. Me siento muy contenta por su apreciación, viniendo de una artesana tan reconocida en la colmena por sus bellos trabajos, muchas gracias. Feliz noche para usted y gracias nuevamente.
Your content has been voted as a part of Encouragement program. Keep up the good work!
Use Ecency daily to boost your growth on platform!
Support Ecency
Vote for new Proposal
Delegate HP and earn more
Gracias por el apoyo
Thank you for sharing this amazing post on HIVE!
Your content got selected by our fellow curator @stevenson7 & you just received a little thank you via an upvote from our non-profit curation initiative!
You will be featured in one of our recurring curation compilations and on our pinterest boards! Both are aiming to offer you a stage to widen your audience within and outside of the DIY scene of hive.
Join the official DIYHub community on HIVE and show us more of your amazing work and feel free to connect with us and other DIYers via our discord server: https://discord.gg/mY5uCfQ !
If you want to support our goal to motivate other DIY/art/music/homesteading/... creators just delegate to us and earn 100% of your curation rewards!
Stay creative & hive on!
Muchas gracias por el apoyo
Que lindos aretes @tere.alv me gustaron mucho, felicidades🌻💐🌸🌼🌹🌷🌻🌸🏵️🌼🌹🌷🌻🏵️🌼.
Muchas gracias. Es un trabajo sencillo pero queda muy lindo. Gracias por el apoyo.
🌹🌷🌻🏵️🌼