Lets Put It In Gear And Dissapear (My Daily Doings)
Well Hello There Hivers


Today I got one of those odd jobs, a gear lever replacement on a Ford T6 Ranger automatic. This is something that I've never done before, It's also not one of the common problems we have on the automatic Rangers regarding the gearbox or drive train issues. As I said I have never encountered such a problem but the older the vehicle the more problems arise so here we are being able to do something different today.
Given this isn't really a majorly hard task to complete but it's surely a change from the stuff I do on a daily basis.
If you happen to have gear lever problems on your Ford Ranger, perhaps It's stuck in park and doesn't want to go out of park unless you manually select it out of park using the bypass method. You might want to check this out, it may or may not help you. It could surely save you a penny or two from not taking it in to the dealers
(The bypass method is that little cover just in front of the gear lever, if you un-clip the cover and press in on that button you can select it out of park gear without having to depress the clutch/brake or even having to start the vehicle, this function or bypass method was added so that the vehicle can be disengaged from gear when It's broken down or when it has a flat battery and your unable to jump start the vehicle but the vehicle has to be moved. This is obviously only relevant for a technician in a workshop as the ordinary citizen would have no knowledge of this.)
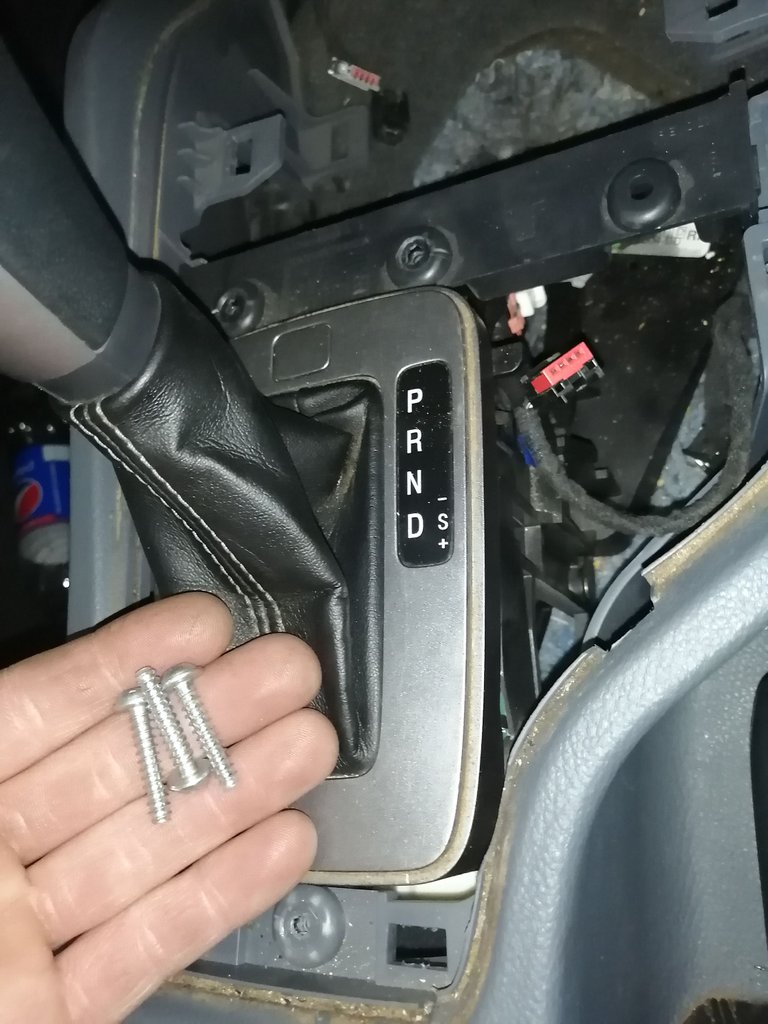
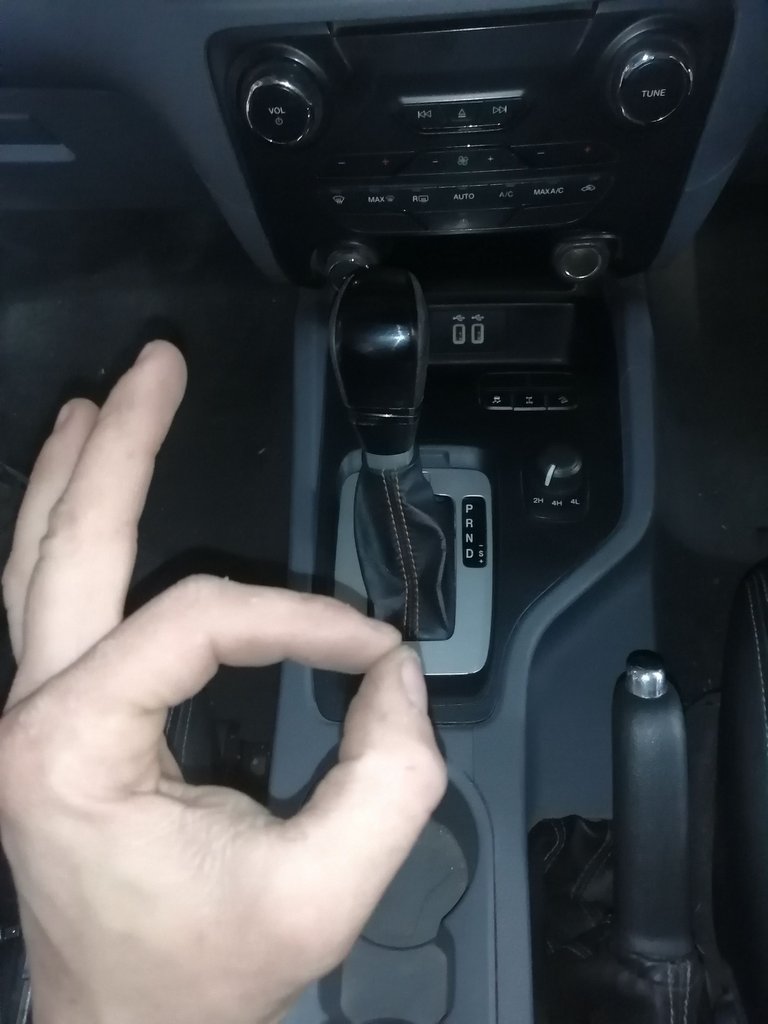
For those of you who do not know what a gear lever is well It's displayed in the photo below😂 Okay this might seem like a joke but I bet you there are people who have no clue at all!
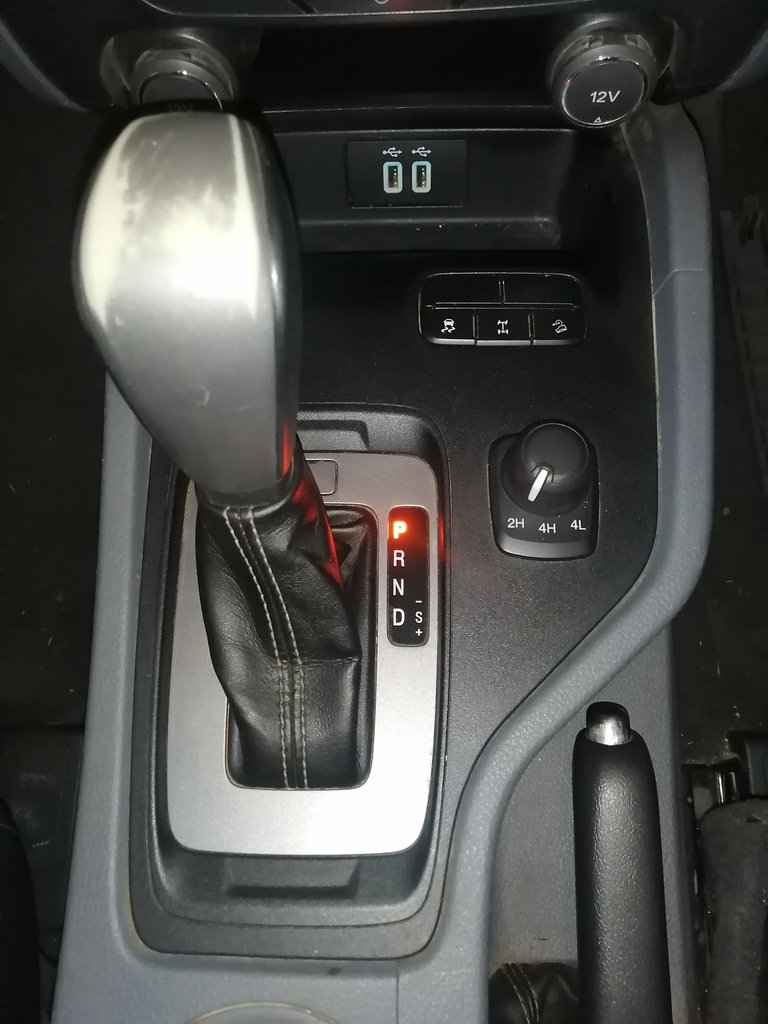

Without further a due lets rip this center console apart! Okay so I kind of forgot to disconnect the battery with this one but luckily for me nothing shorted out!
What you want to do first is find a very thin screw driver. Don't go wedging in there with a big lever... Unless it's your own vehicle because a client really wont be happy to look into the dent marks you made whenever they need to shift the lever! Laughs so working with care is a real big priority on this one. Remember all of this is cosmetics and cosmetics have to look pristine!
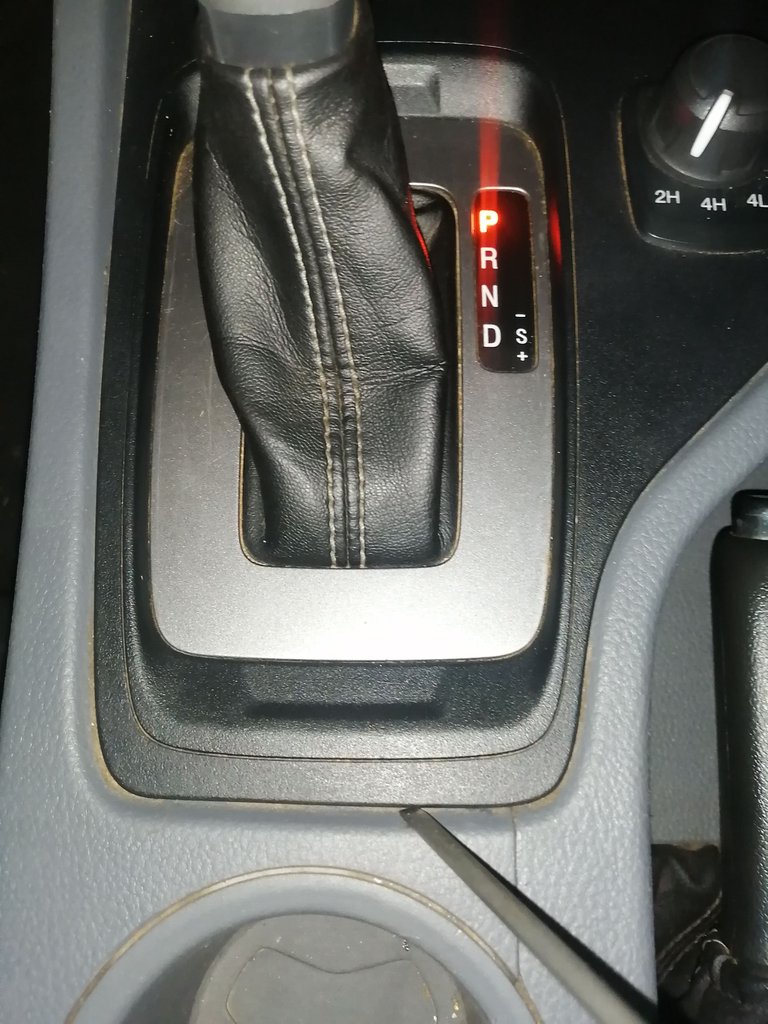
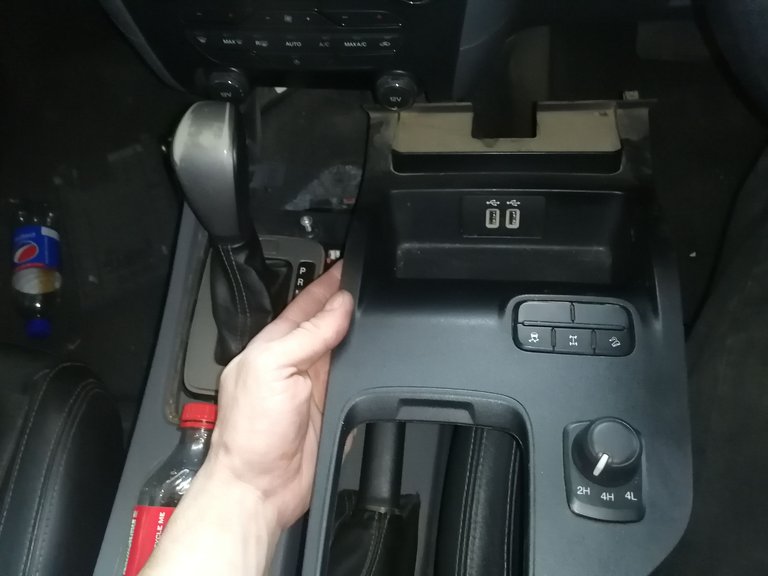
If you are able to get one clip un-clipped it should go very easy from there on, but don't rush it gently push your fingers underneath the plastic where the black plastic joins with the grey plastics and work your way around the edges.
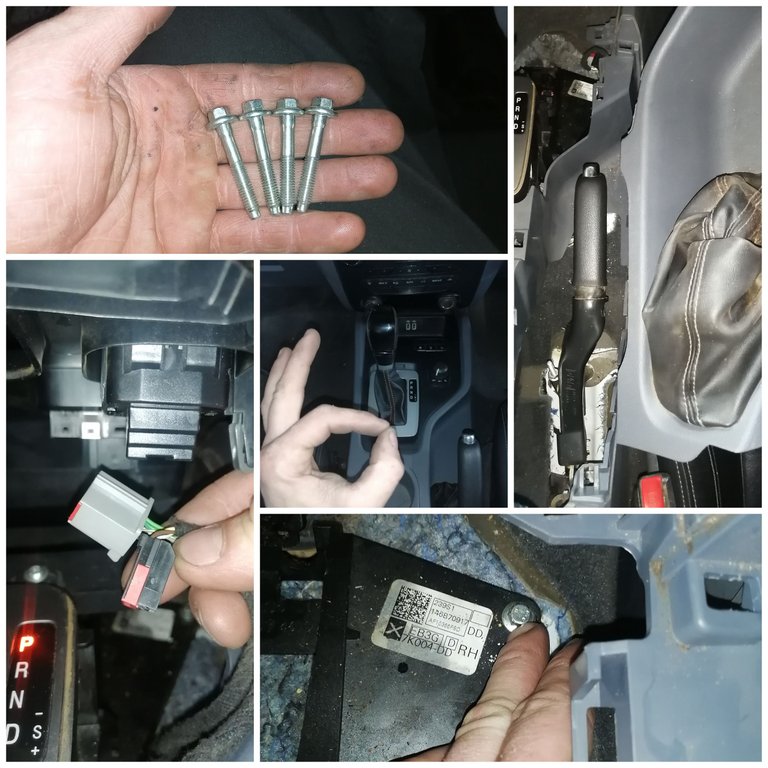
Once you have it completely dislodged from the center console itself you have to be careful not to pull the wires and plugs out.
Wow I really can't believe that I didn't disconnect the battery pole, I mean just look at that glowing red Park sign. 🤣
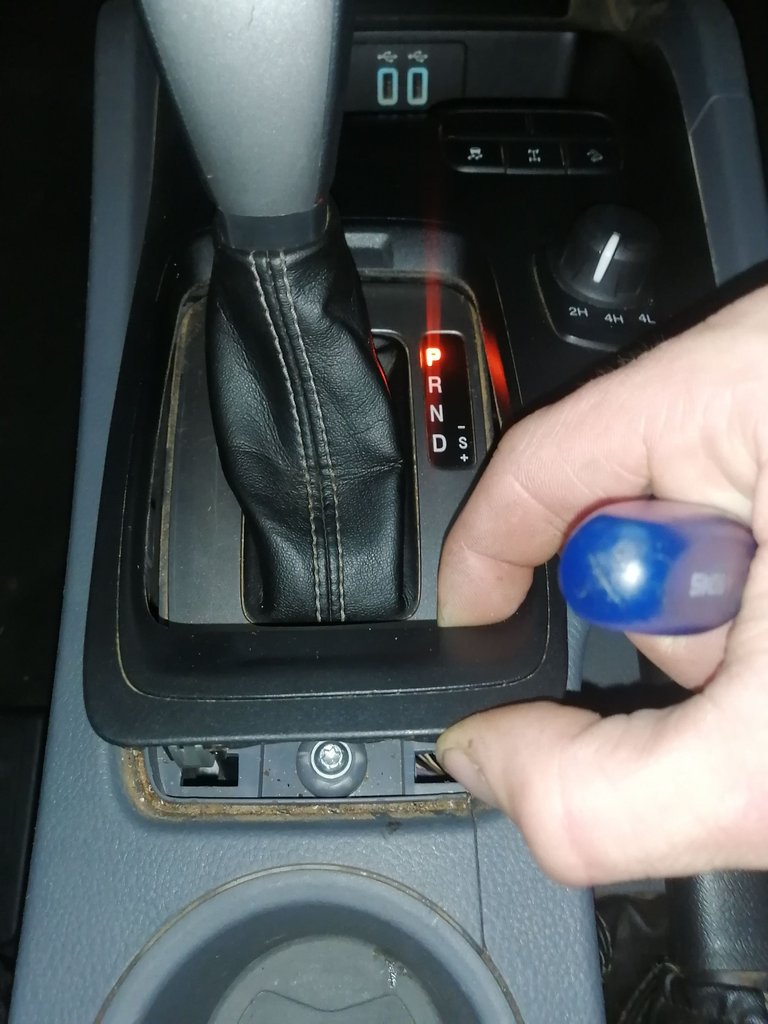
Gently pull the dislodged plastics upwards exposing the plugs that you have to unplug. As you unplug the first one you will notice that you can pull it upwards more and more because the wires sort of restricts you from pulling it too far up.
Wow that's a lot of pulls and pullings in one sentence 🤣
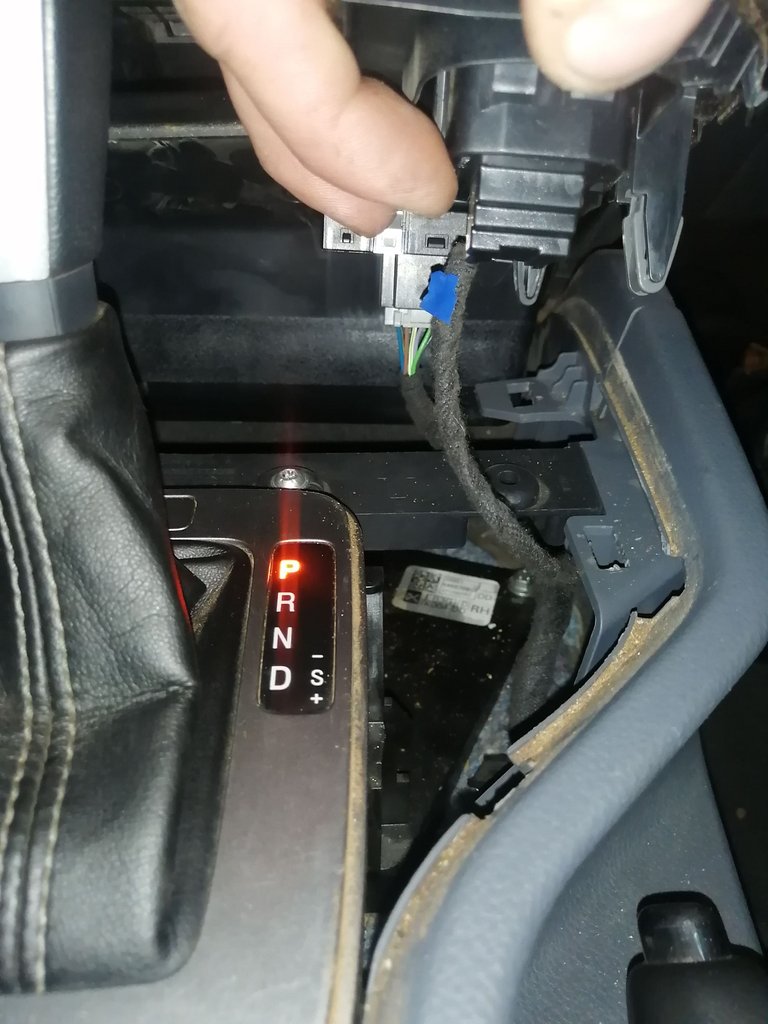
Keep in mind that there are a few more plugs to remove. I did not show all of the plugs because it's harder to take photos of the rest, you kind of work blindly with your arms extended down into the center console.
I was sitting there with my eyes closed as if I was looking through my fingers xD Strange isn't it? When you close your eyes you somehow have a better picture of what you're working with when it's in a dark corner. This probably doesn't make sense at all🤣🤣
A technician would know.
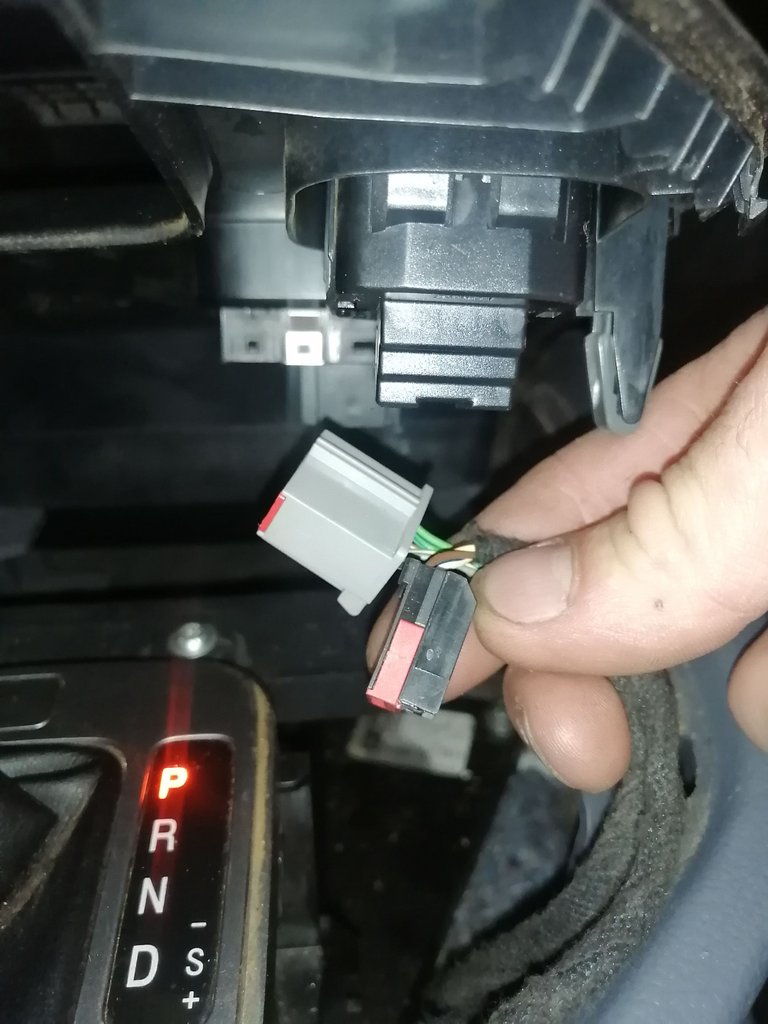
There we go it made it out in one piece, not going to lie when I started this I thought to myself "Oh dear lord I am going to break so many plastics clippings this thing is going to hang around in the car like a druggie on the streets 🤣"

Unbolting the Top Supports of the Gear Lever
So for the next step you need to grab yourself a T-30 torque bit and remove the three bolts holding the top mounts of the gear lever in place.
Removing the front mount piece will make the side panels of the center console more flexible if that's the right word. I will refer back to that later on in the post.
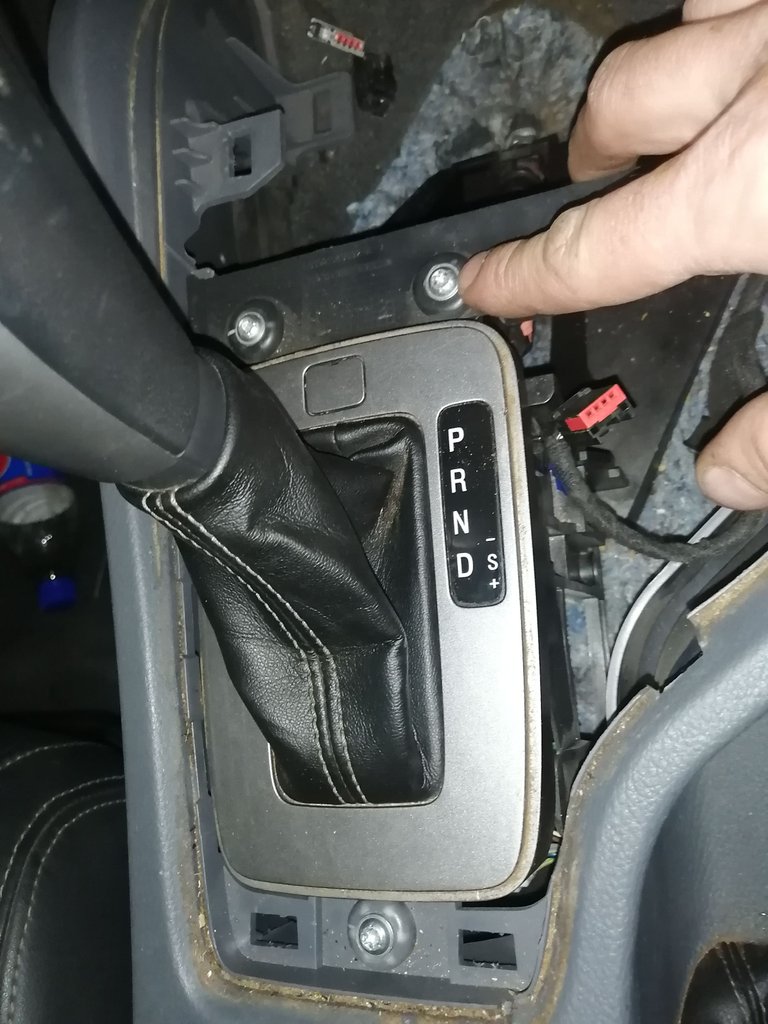
Notice how the red glowing park sign is not glowing anymore? Well that's not because I disconnected the battery, that's because I unplugged the power to the gear lever.
Laughs Laughs
Anyways them three bolts are removed now, making the next section of work a little bit easier to complete.

Removal of the Gear Selector Link
So for the gear selector link well this is kind of crucial, this can absolutely not break! Unless you are replacing it well then you can do whatever you like.
To be quite honest with you breaking that cable is really almost impossible yet people still manage to get that right?
It just pops off but somehow people end up forcing it and breaking it.
What I like to do is take a big Flat Screwdriver and wedge it in where my finger is located and just give it a little twist. It has a rubber bush inside of the plastic piece which squeezes over the little metal pin that holds it in place.
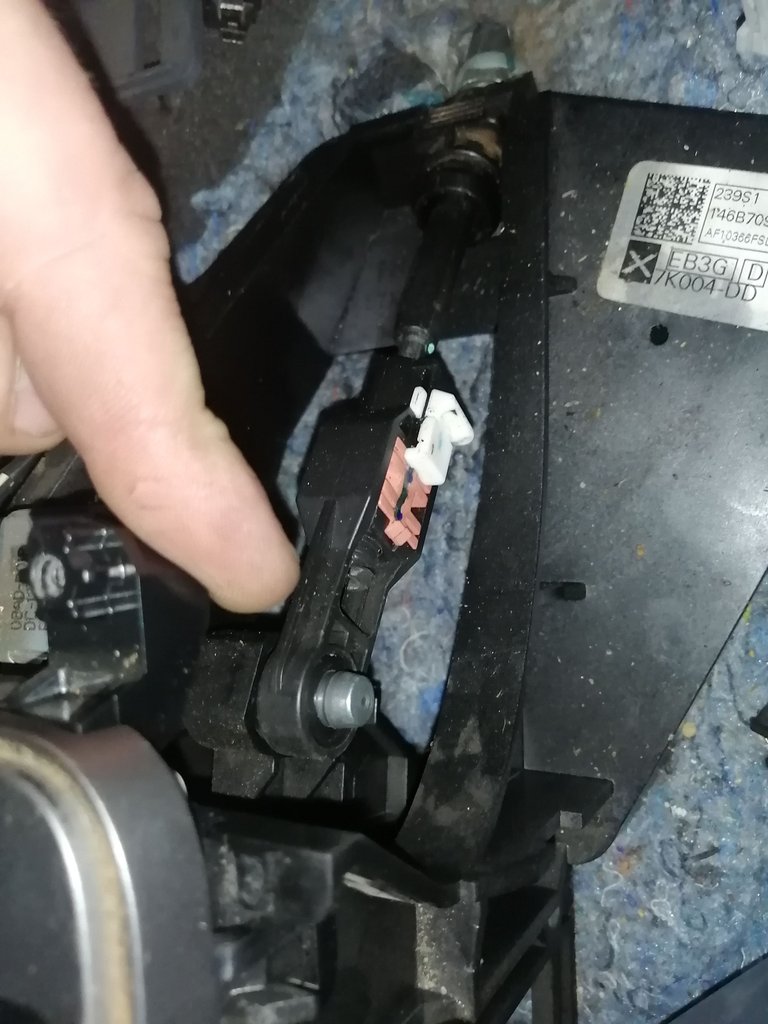
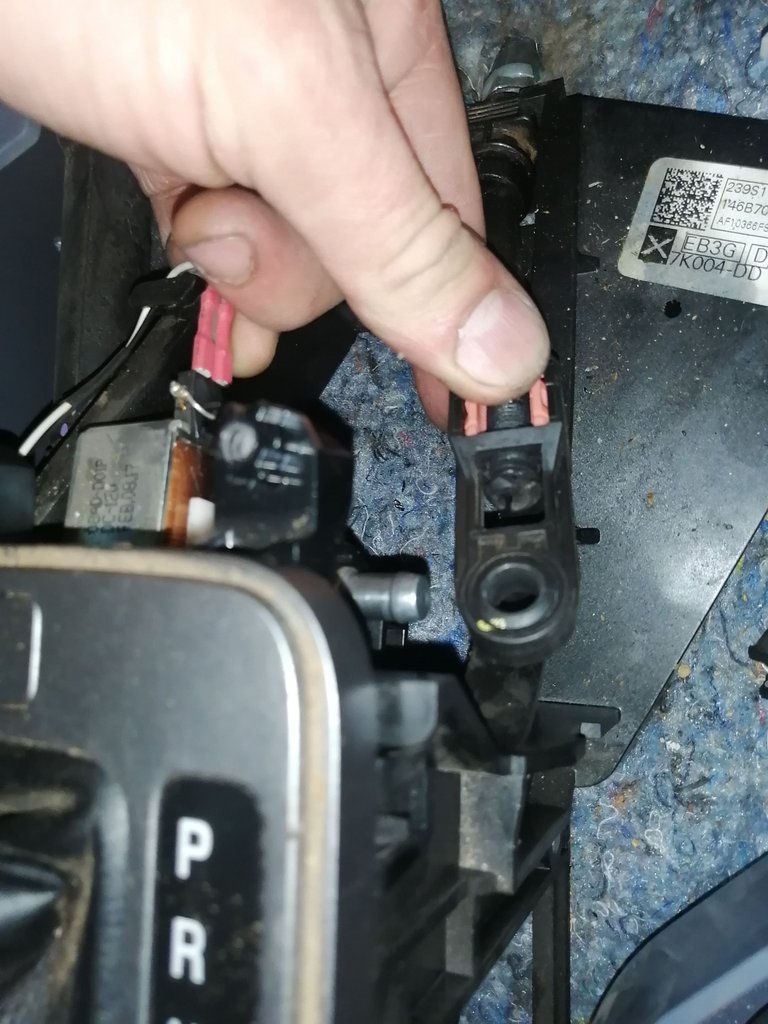
I can now simply push my fingers underneath the cable where it is mounted for support and give it a little bit of a wiggle movement and it should come out with a little bit of effort.
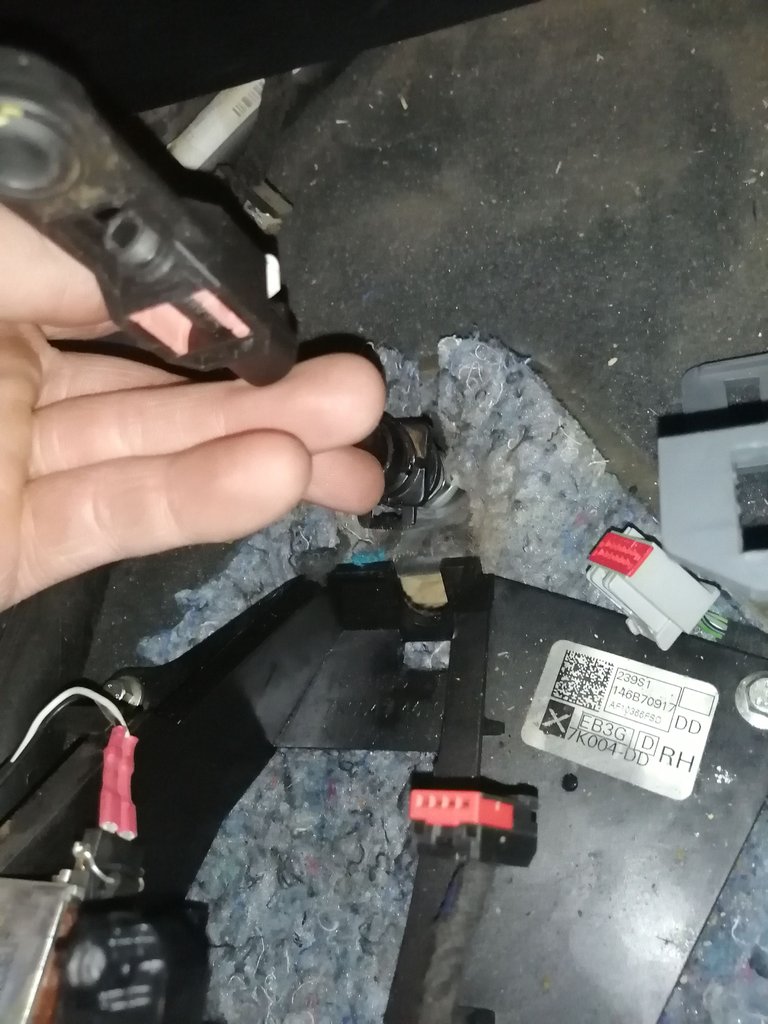
The older the vehicle the more dust and sand packs up between the slots which would in turn make it a bit harder to remove, if so what I would do is simple tap it with the back of the screwdriver handle and then give it a wedge with it.
This should make it slide right off.

Unbolting the Mounts of the Gear Lever
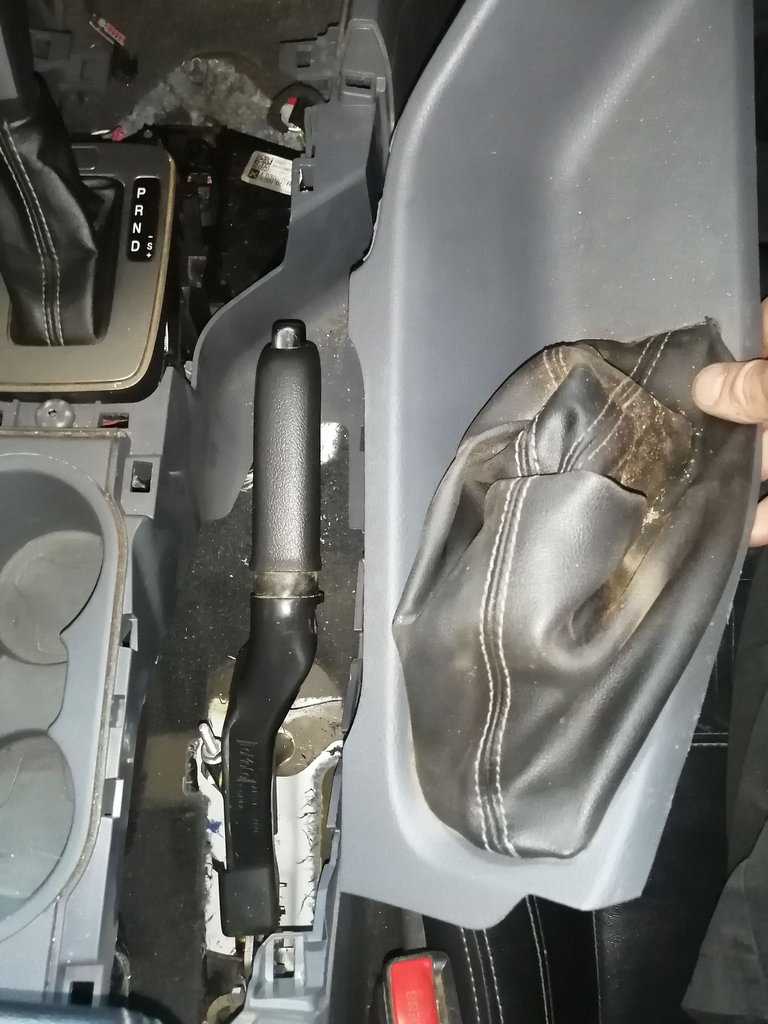
Removing the handbrake panels is a must, here and there laziness can be applied but this needs to be removed in order to reach two of the four bolts holding the gear lever mounting in place.
It surely has a lot more panel removing than I initially thought it would.
Laughs Do I even know what I am doing??
As I mentioned in the above section that it has four bolts holding it in place. I tend to use a 3/8's drive in situation like these, the four bolts are all 8mm hexagon heads. You will also need to get the extension for the 3/8's drive in order to squeeze it in between the center console.
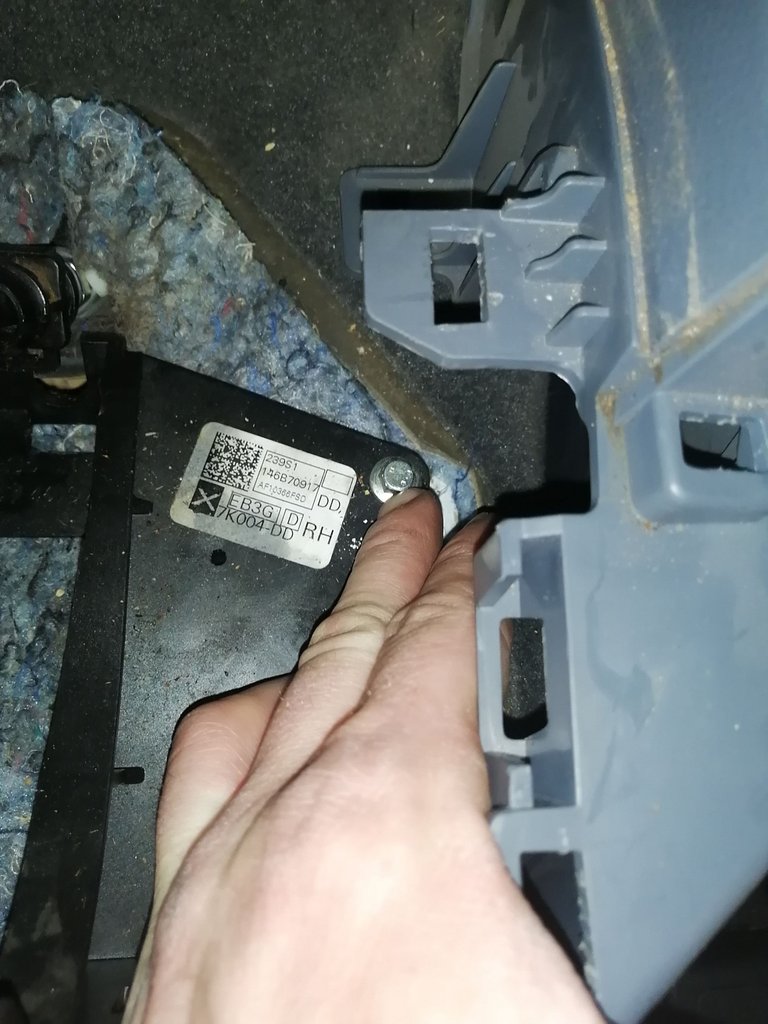
Two of the four bolts are located where I am pointing in the picture below, well more or less. Yes underneath the center console.
Again sorry I can not get photo's of them unless I remove the entire center console and that is unnecessary for the job I am doing.
Welp maybe a little necessary because I do force my extension in between the plastics, luckily it's not damaging anything.
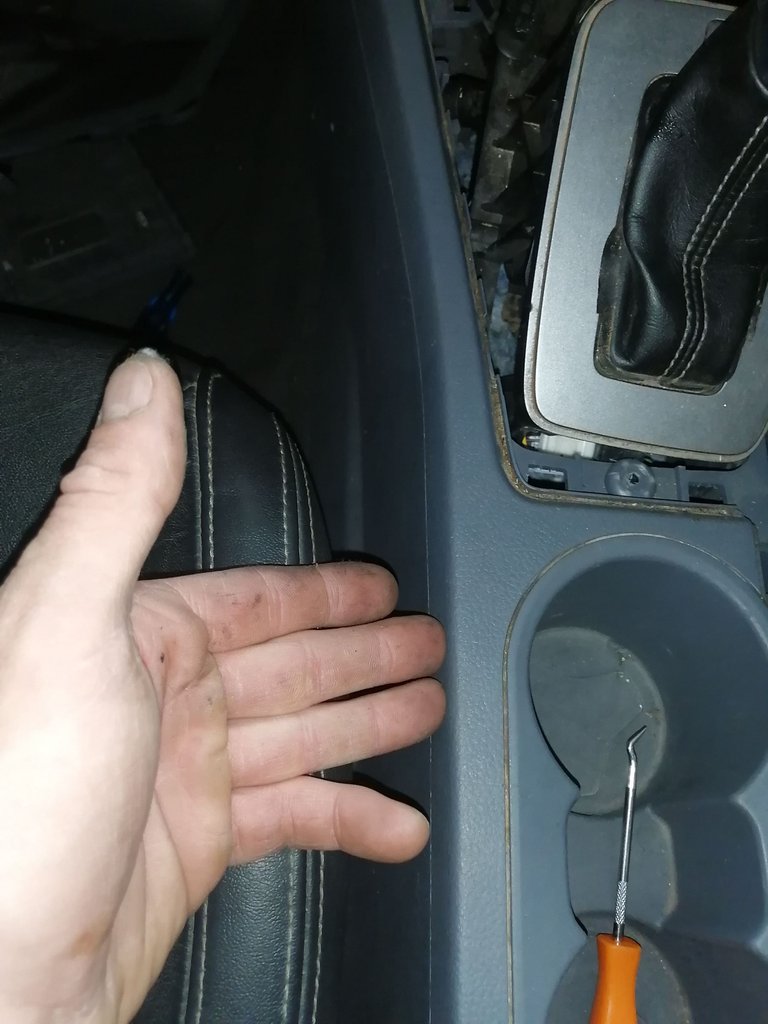
Laughs that one bolt proved to be somewhat of a bitch to remove if I have to be honest. But none the less job completed!
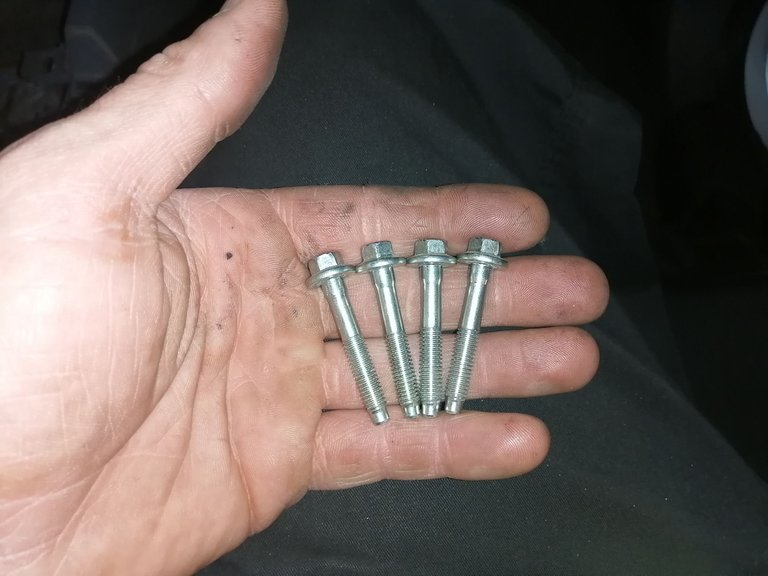

Its Finally out and Ready to Receive a Replacement Part!
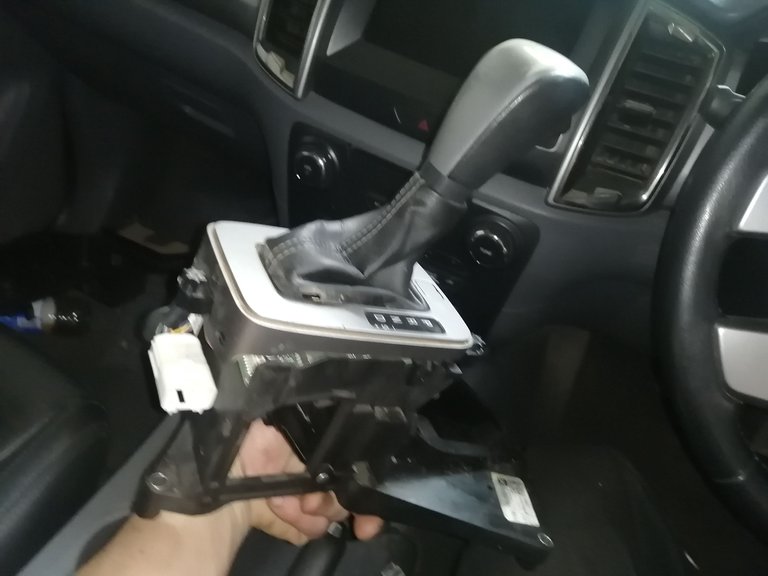
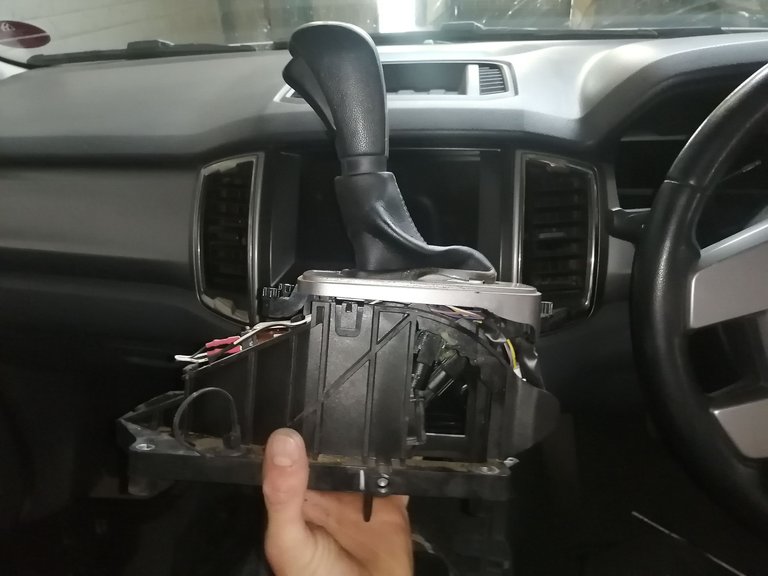
Sorry for the blurred photo, but it does look somewhat like a rats nest now xD dayum cars would be real ugly without those people interior cosmetics!
After all looks do sell eyyyy.
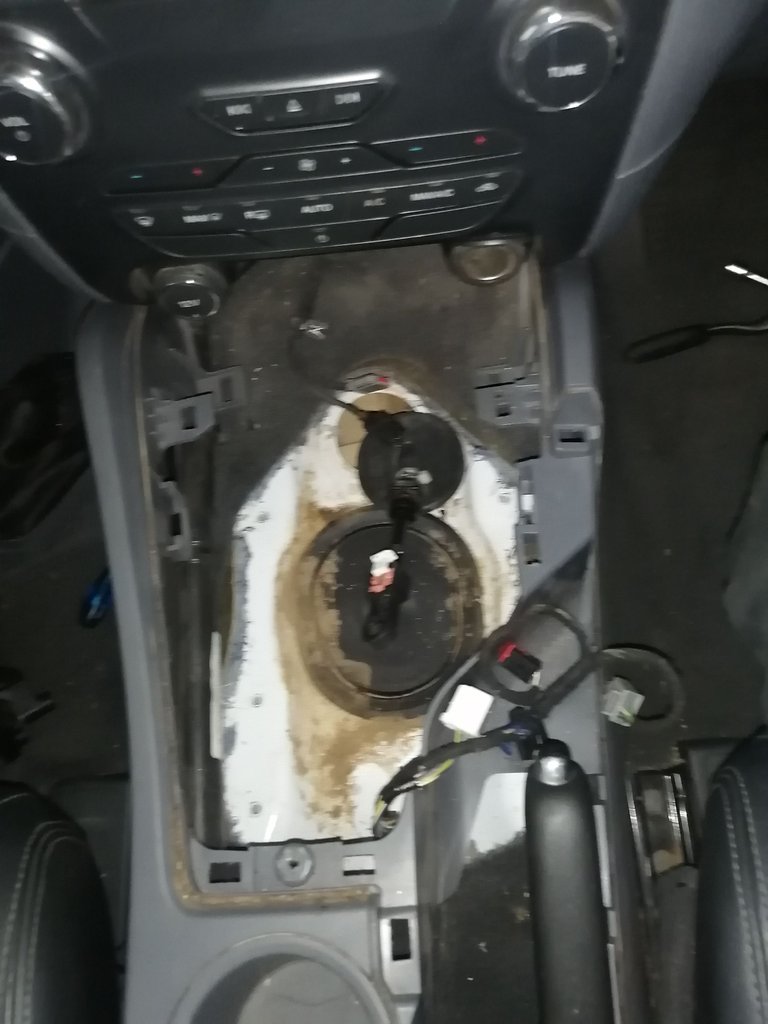
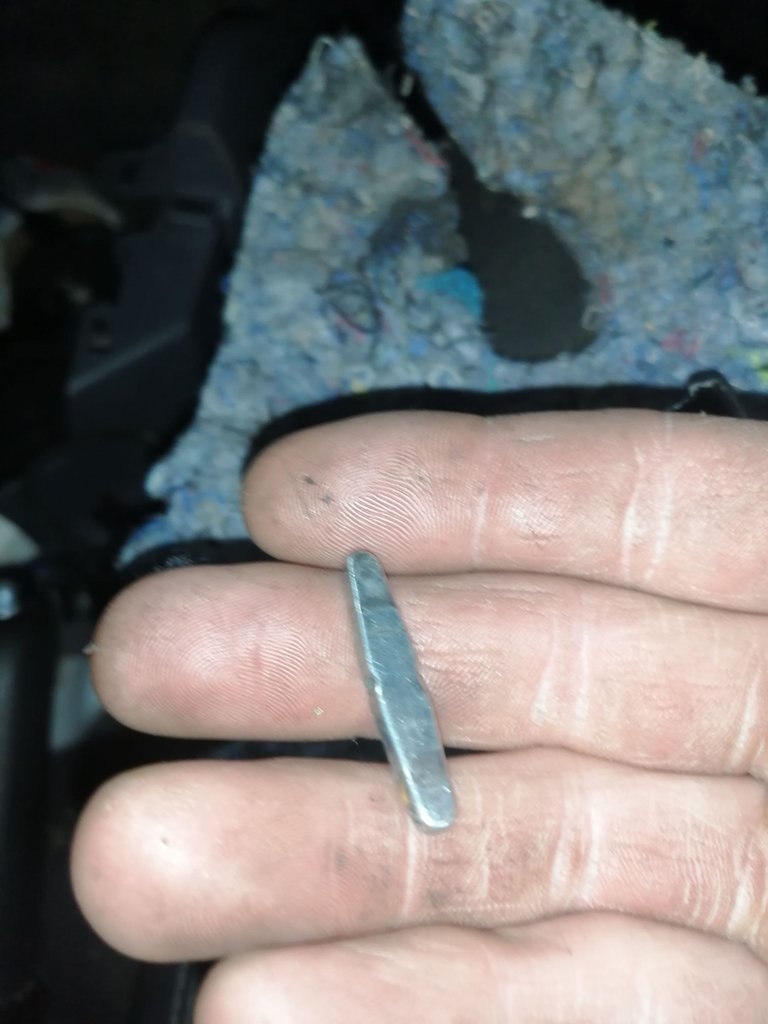
I found this metal pin lying inside the center console I am assuming this is the root of the problem. Where it goes I have no idea, we shall leave that for another day to do some inspection. For now we have work that needs doing!

Replacement Part Fitted
Later that afternoon the client brought his own replacement part, I am assuming he has a buddy that owns a scrapyard because he asked for the old parts back sooooo they busy with some ratty business tricks here, however that's not my concern.
What I can say is that lately people are always busy with ratty things always trying to step on one another. All I'm doing is making sure I ain't the one getting stepped on.
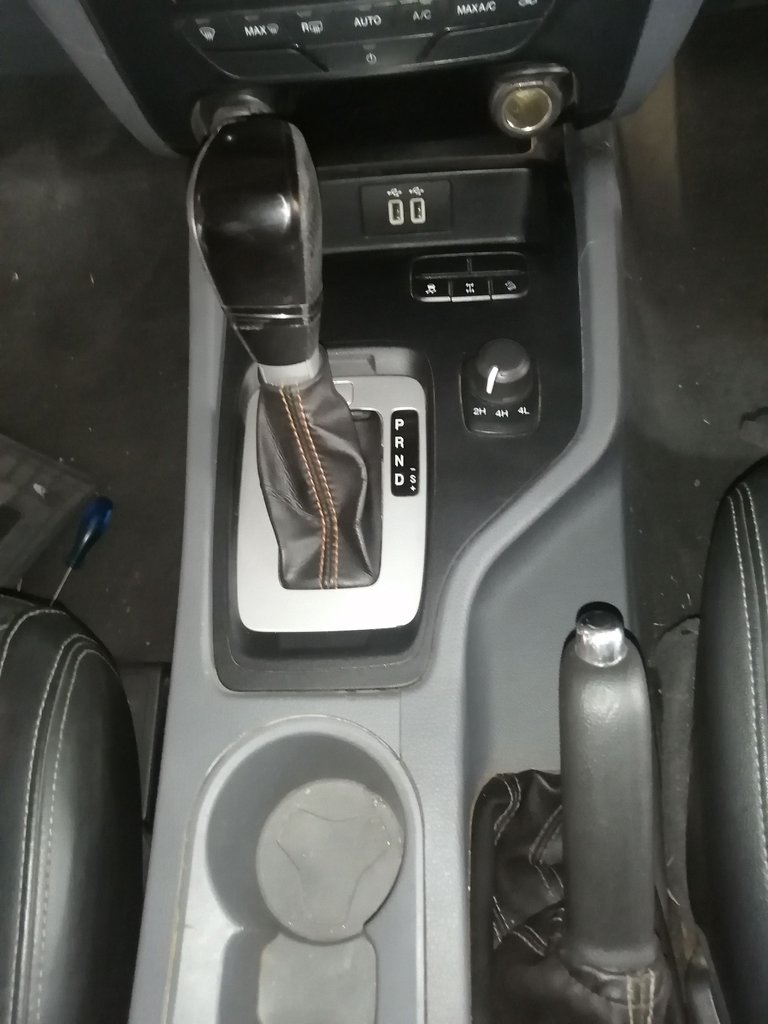
HMMM This owner of the vehicle even brought an upgraded part!
He now has a Wildtrak Gear lever fitted into his vehicle! Notice the orange stitching?
_Yeahhhh booooyyy that's removed from a Ford Wildtrak but I dunno it kind of stands out with the rest of the trimmings it makes it look somewhat dirty and doesn't quite fit in with the rest of the interior.
Ah well as long as the client is happy I am happy!
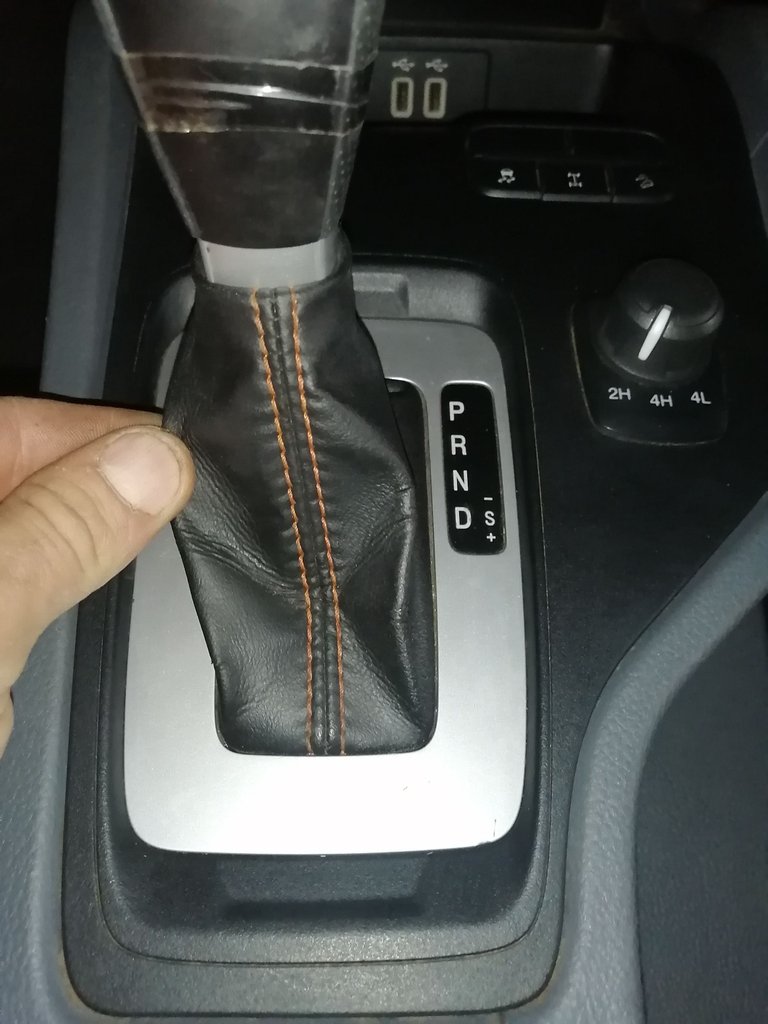

The Perfecto Sign for my Buddy
Soooooo @jesustiano I did this specially for you... Like I was done with this job and came back to it just to get a snap of the Perfecto sign.
I was lucky the vehicle was still there and not yet picked up by the client!
Wow not going to lie it feels like I typed a book just on how to remove a gear lever Laughs and here I thought this was going to be more of a quicky. Given I did write a lot of unnecessary crap 😂
Oh I've not forgotten about the Megatronic bud I shall get to it sometime and also the replies I need to hand out xD.
As always stay blessed Bud!!!

To everyone who made it this far into my post Thank you for the read and the support.
If you found this entertaining or educational please consider a re-blog and up-vote.
Most of all please leave a input in the comments below, whether is good or bad critic I would like to know, whether its your opinion or your way of doing things in a different manner I would like.


Connecting the people of #HIVE across South Africa. #hive
https://twitter.com/Technicalside/status/1578870004224704512
The rewards earned on this comment will go directly to the people( @technicalside ) sharing the post on Twitter as long as they are registered with @poshtoken. Sign up at https://hiveposh.com.
If I were to resume the whole post into a single line, it would be:
Luckily it's not damaging anything, my god what a pain in the arse are the cosmetics when you are doing your best not to break them, the good old perfecto sign hahaha, it was just missing on some of your recent posts, so I had to comment about it, you did quiteI did write a lot of unnecessary crapfor quoting you, but is good, more details is always better when we talk about engines and specially when we talk about replacing sticks, even more when one upgrades it's "stick" xD (Pun intended, I know is a bad joke) Anyway, glad to see you back to hive motor, and I'm gonna wait for the Megatronic anytime now :)Hahaha yeahh it is missing on some posts 😂 I have a backlog of stuff I want to share... And some of them I didnt take the photo with that sign... And its too late to go back now 😂😂📸...
But Im including it in most of them now 😂😂gotta have a trademark broh😎😎📃
A very well placed pun you gave there 😎🤓😂😂😂 really 😂
Luckily for me I didn't damage anything.... If it was an older vehicle I would probably have had a few broken clips here and there 😬😬😬
Your trademark gonna be the perfecto sign xD lulz, that is interesting enough hahaha, yeah lucky for you, because if you damage something you gonna pay it, right? It was a really bad joke i know it, but is like joking about fishing, it is what it is xD
It for sure is gna be broh 😂😂 and that's all your fault now... See. 👌👌
Haha youd think.... But no.... The thing is I put in a lot of effort for my work... Not to brag or anything but I really do...
To put it plain and simple.. I dont fuck around with the jobs... I do the work to get it done...
So if I break something... Well my boss knows.... Shit happens.. Especially in the motor industry... All I have to do is notify them.. Listen I messed up and broke this or that....
I've never paid for something that i broke... But then again.. I've never broken something expensive. And ive never stayed quiet about something that ive broken... Maybe that's ehy they gladly replace it instead of me paying the bucks.....
I have had some close encounters though 😂 of motors almost falling out or gearboxes almost falling.. But Im a quick little fucker and can think on my feet
Good thing you can think fast enough to fix things before they escalate badly, lulz you should make a fund of "things that I dint pay but here is the cash for it" so one day when you do actually break something expensive, you have money for it xD
Yay! 🤗
Your content has been boosted with Ecency Points, by @technicalside.
Use Ecency daily to boost your growth on platform!
Support Ecency
Vote for new Proposal
Delegate HP and earn more