DETAILED EXPLANATION ON HOW TO USE BME280 WEATHER PARAMETER SENSOR TO MEASURE REAL TIME WEATHER PARAMETERS WITH ARDUINO
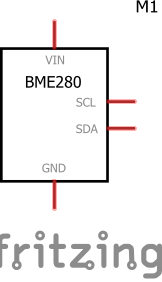
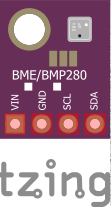
BME280 is a sensor highly utilized when the need for a sensor to measure humidity, temperature, altitude, and barometric pressure arises due to its high accuracy, low power consumption, stability, and very small size. BME280 sensor can use both I2C (Inter-Integrated Circuit) and SPI (Serial Peripheral Interface) communication protocols to communicate with microcontrollers. This case I would be discussing with detailed explanation of how to use the BME280 sensor with Arduino Uno microcontroller.
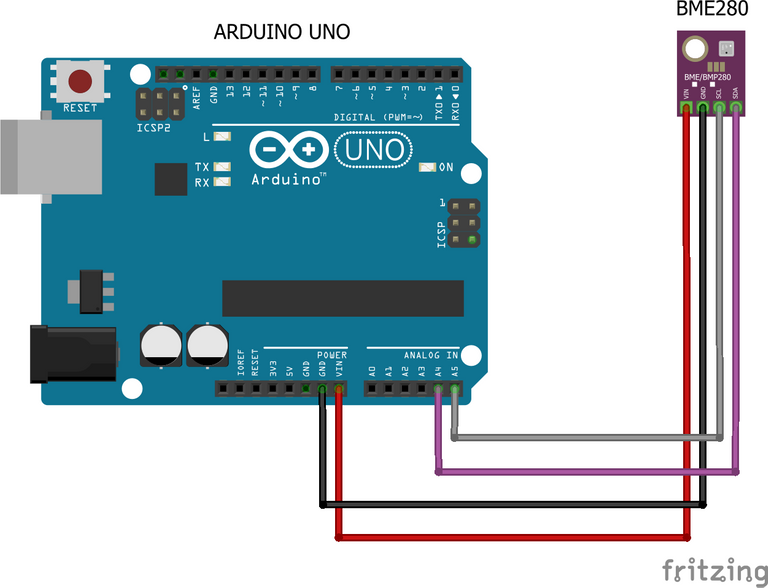
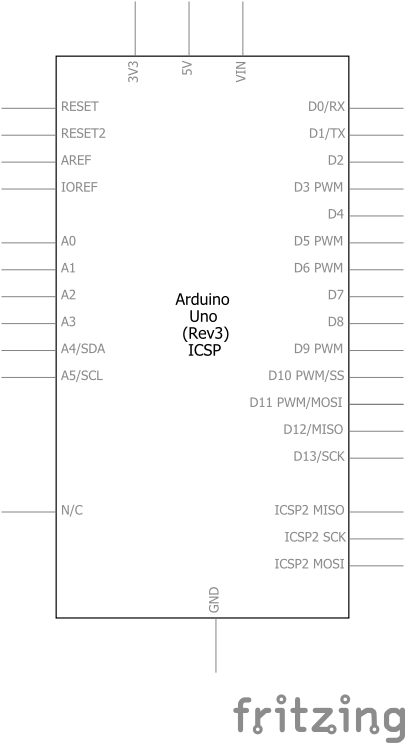
The circuit diagram and wiring diagram showing the physical connection of the BME280 sensor module with Arduino Uno microcontroller is shown below:
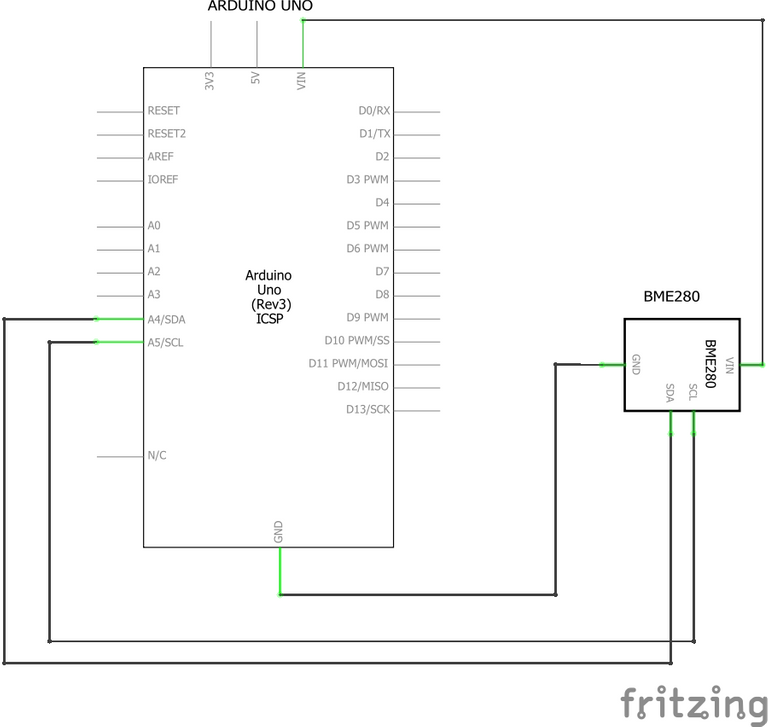
From the diagram it that be deduced that the GND and Vin of the microcontroller and the sensor connects together and the SDA pin of the sensor goes to the A4 pin on the Arduino Uno microcontroller while the SCL pin of the sensor goes to the A5 pin on the Arduino Uno microcontroller respectively. The table below shows a clearly matching of the pins of the sensor with the Arduino Uno microcontroller.
| Arduino Uno | BME280 | |
|---|---|---|
| 1 | GND | GND |
| 2 | Vin | Vcc |
| 3 | A4 | SDA |
| 4 | A5 | SCL |
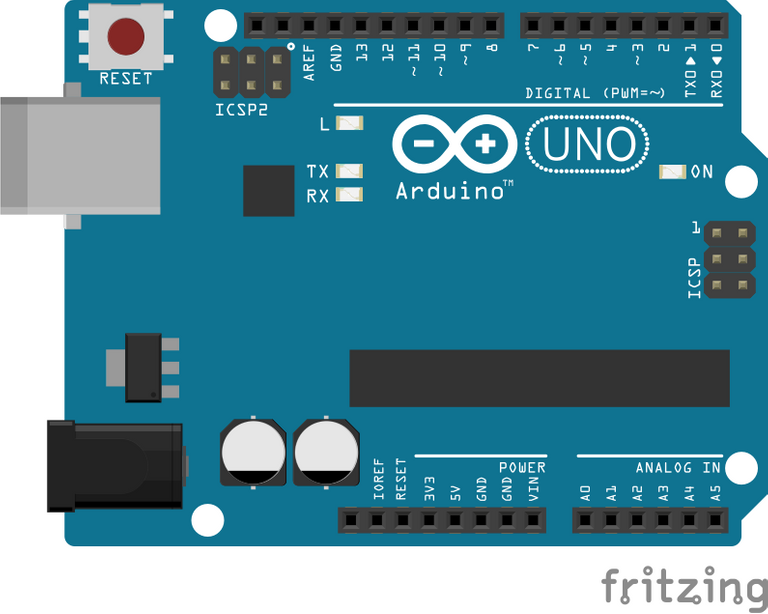
After successfully making the connections between the Arduino Uno microcontroller and the BME280 Sensor Module following the instructions mentioned or discussed above, then the next things is to program the microcontroller to communicate with the BME280 sensor module in measuring or retrieving realtime weather parameters such as temperature, humidity, altitude and barometric pressure.
Installing the required libraries:
As it is known that libraries are files which consists of blocks of codes that helps in easily finding solutions to problems rather than writing the whole code from scratch, which would be very diffcult and time consuming.
The Adafruit BME280 Library helps in easily using the arduino to communicate with the BME280 sensor and getting requried information from the sensor. The library can be easily downloaded via this link. It can also be installed from Arduino IDE (Integrated Development Environment) by following the instructions below:
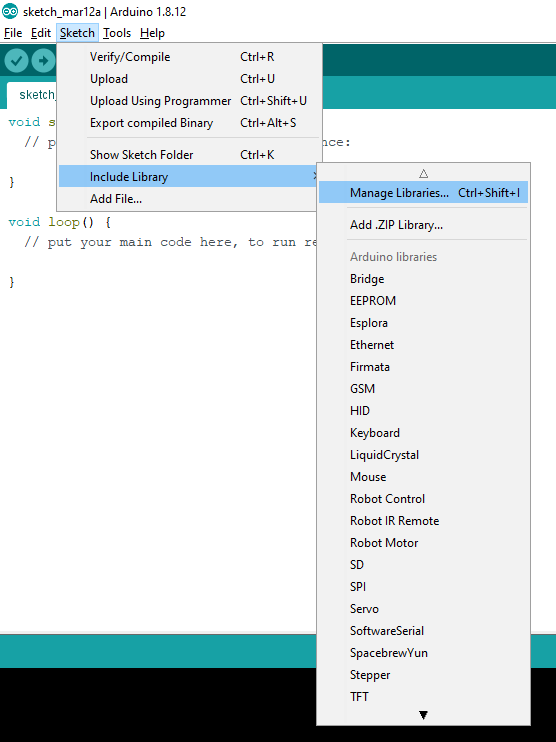
As shown in the image above, click on Sketch located at the upper part of the Arduino IDE followed by Include Library the click on Manage Libraries. On clicking on Manage Libraries, a new window showing the image below is been displayed.
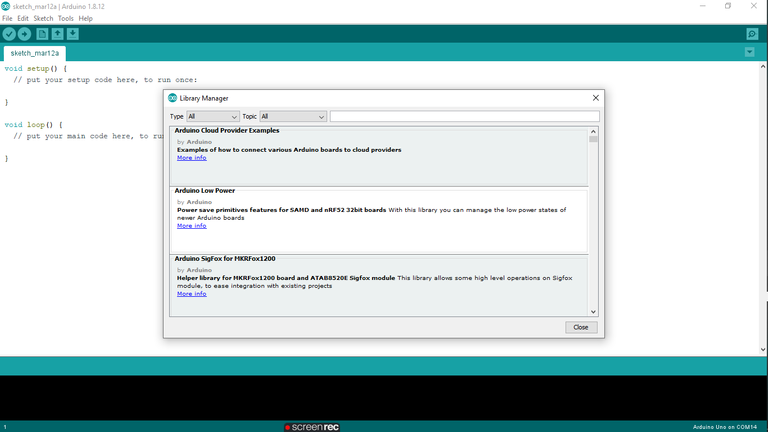
Then search for bme280 then install the BME280 library by Adafruit as shown in the image below:
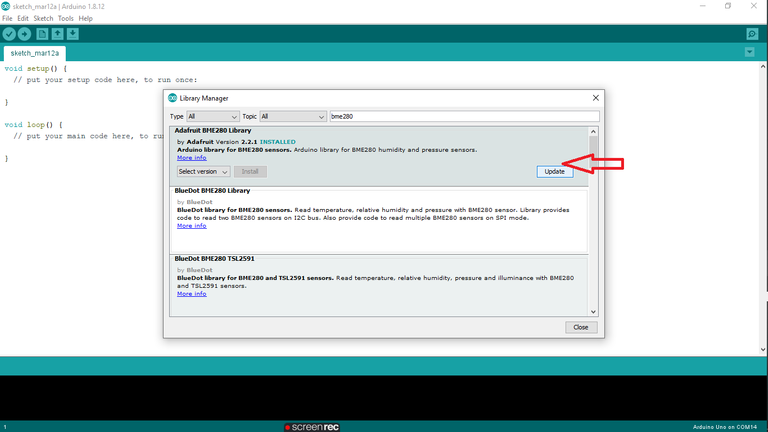
I have it installed already on my IDE that is why it has the update button else, it would have been an install button.
Writing Codes
After successful installation of the Adafruit BME280 library, then the next thing on the line is to write codes that would be uploaded to the microcontroler to communicate with the BME280 sensor then get required informations with it.
#include <Wire.h>
#include <Adafruit_Sensor.h>
#include <Adafruit_BME280.h>

#define SEALEVELPRESSURE_HPA (1013.25)

Adafruit_BME280 bme;

void setup() {
    Serial.begin(9600);

    if (!bme.begin(0x76)) {
        Serial.println("Could not find a valid BME280 sensor, check wiring!");
        while (1);
    }
}

void loop() {
    Serial.print("Temperature = ");
    Serial.print(bme.readTemperature());
    Serial.println("*C");

    Serial.print("Pressure = ");
    Serial.print(bme.readPressure() / 100.0F);
    Serial.println("hPa");

    Serial.print("Approx. Altitude = ");
    Serial.print(bme.readAltitude(SEALEVELPRESSURE_HPA));
    Serial.println("m");

    Serial.print("Humidity = ");
    Serial.print(bme.readHumidity());
    Serial.println("%");

    Serial.println();
    delay(1000);
}
Above is the code to be uploaded to the Arduino Uno microcontroller to read the humidity, temperature, altitude and barometric pressure from the BME280 sensor.
The BME280 sensor is widely utilized in several projects or devices such as:
- It is used in the development of Weather Stations for weather forcasting
- It is used in the development of wearable devices
- It is used in areas were the need to measure humidity, temperature, pressure and altitude is required
- It is used in automation control
- It is used in temperature regulators
- And a lot much more.
Thanks for reading and visiting my blog 🤝. Kindly support this post by reblogging, upvoting, and commenting, it would be highly appreciated.
Images used in this post were all designed by me using frizting, a circuit design and simulation software.
Posted with STEMGeeks
Congratulations @techlhab! You have completed the following achievement on the Hive blockchain and have been rewarded with new badge(s):
Your next target is to reach 600 upvotes.
You can view your badges on your board and compare yourself to others in the Ranking
If you no longer want to receive notifications, reply to this comment with the word
STOPTo support your work, I also upvoted your post!
Support the HiveBuzz project. Vote for our proposal!
Great post! Thanks for sharing!
!1UP
Thanks for the nice comment @ivarbjorn 🤝.
You have received a 1UP from @ivarbjorn!
@ctp-curator, @stem-curator, @vyb-curator, @pob-curator, @neoxag-curator, @pal-curatorAnd they will bring !PIZZA 🍕
Learn more about our delegation service to earn daily rewards. Join the family on Discord.