I teach you how to make diaper covers for babies (ESP/ENG)
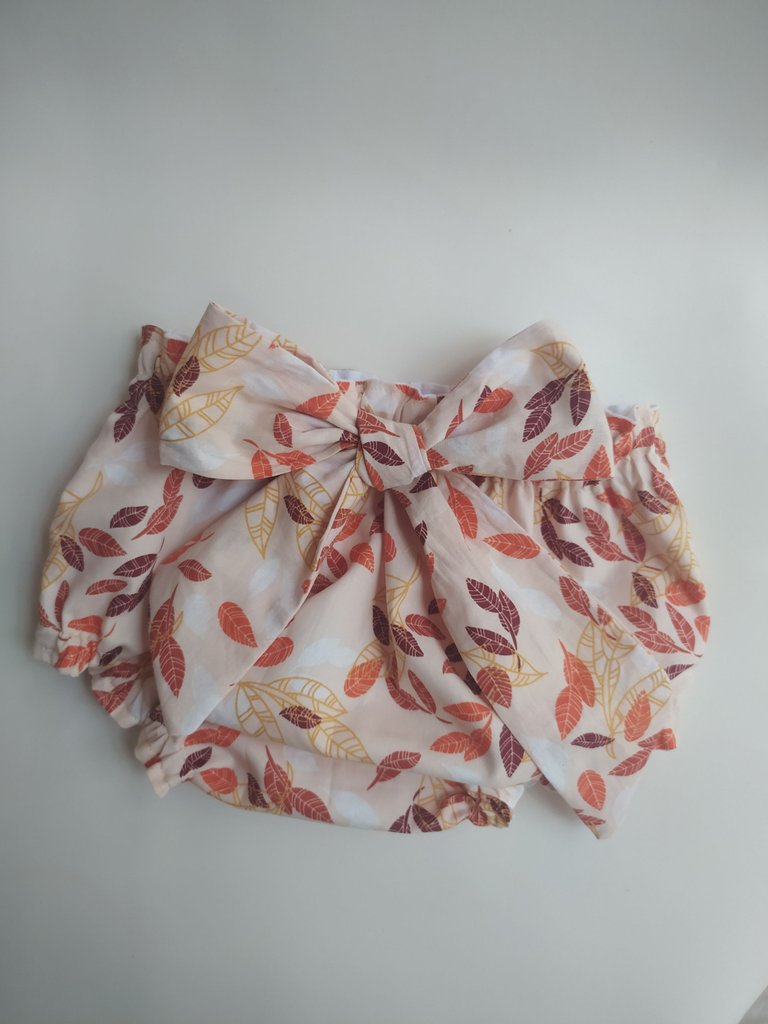
Hello needleworkmonday friends! As I told you in past posts I love making baby clothes 😍 I started in this world thanks to what I discovered that I would be aunt of twins and the desire to have them wear clothes made by someone from their family allowed me to take the risk.
Hola amigos de needleworkmonday! Cómo les comenté en post pasados me encanta hacer ropa de bebé 😍 comencé en este mundo gracias a qué descubrí que sería tía de gemelas y las ganas de que usarán ropa hecha por alguien de su familia me permitió arriesgarme.
And as in this world of sewing I started on my own without taking any kind of courses, you will always see that the first attempt I made some wrong step and it did not look as it should. The first diaper cover I made looked like the one in the photo 👇🏼
Y como en este mundo de la costura me inicie por mi cuenta sin hacer cursos de ningún tipo, siempre verán que el primer intento hice algún paso mal y no quedo como debía. El primer cubre pañal que hice se veía como el de la foto 👇🏼
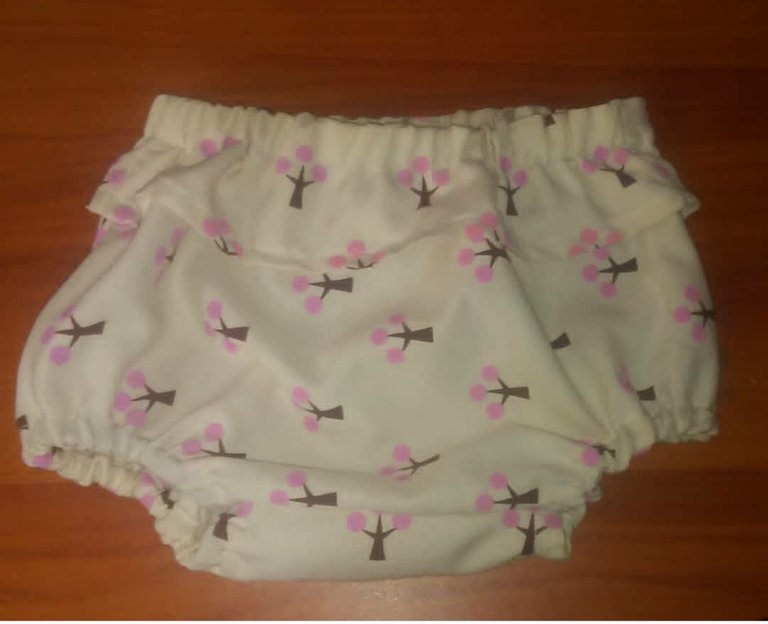
When I compare my early work with my current work I appreciate how much I have grown and improved my techniques, so I want to show you how I learned to make this diaper cover so that it looks cute and looks like it was bought in a store.
Cuando comparo mis primeros trabajos con los actuales aprecio cuánto he crecido y mejorado las técnicas, y por eso les quiero enseñar cómo aprendí a confeccionar este cubre pañal para que quede lindo y parezca comprado en una tienda.
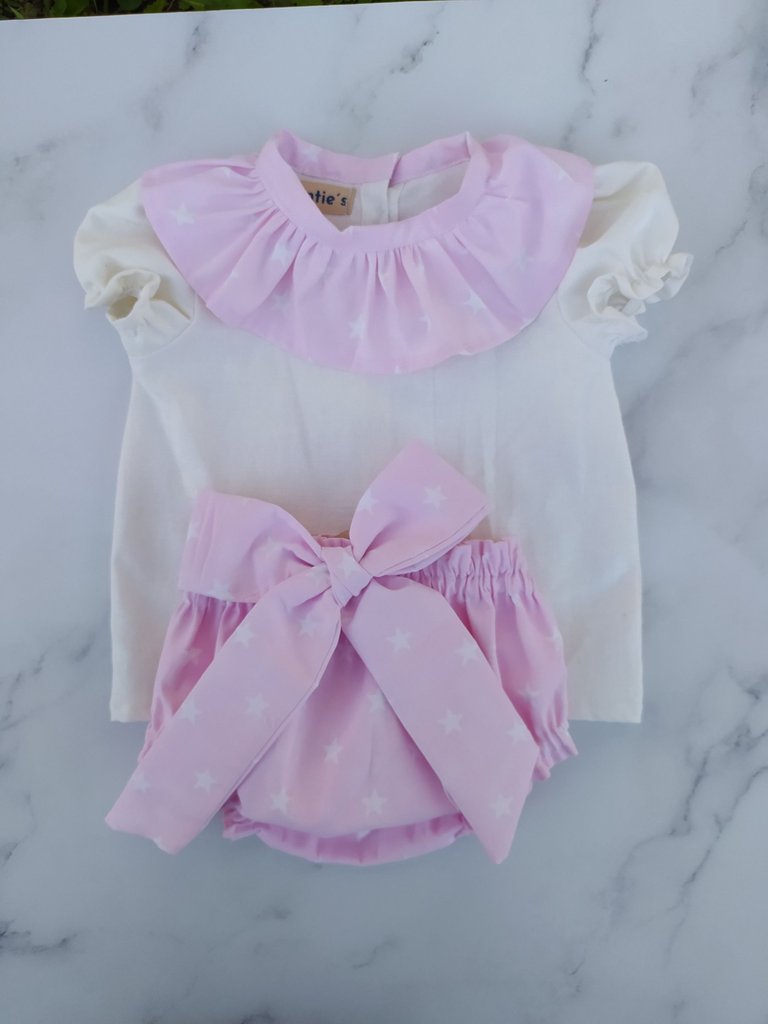
Materials:
- For this diaper cover you can download the patterns from the internet, there are several free versions.
- We will need 6 pieces of elastic of 26 centimeters.
- Approximately half a meter of fabric for the diaper cover and half a meter to make the lining.
- Threads in the color of the fabric and scissors.
Materiales:
- Para este cubre pañal puedes bajar los patrones de internet, hay varias versiones gratuitas.
- Necesitaremos 6 trozos de elástico de 26 centímetros.
- Aproximadamente medio metro de tela para el cubre pañal y medio metro para hacer el forro.
- Hilos del color de la tela y tijeras.
The first thing to do is to cut the fabric. For this we must place the fabric with the right sides facing each other and always trying to optimize the use of this, so I always fold the amount of fabric I need for the pattern (as shown in the photo) and never fold in half because I would lose a lot of material.
Lo primero que debemos hacer es cortar la tela. Para esto debemos colocar la tela con los derechos enfrentados y siempre procurando optimizar el uso de esta, por eso yo siempre doblo la cantidad de tela que necesito para el patrón (como se muestra en la foto) y jamás doblo a la mitad porque perdería mucho material.
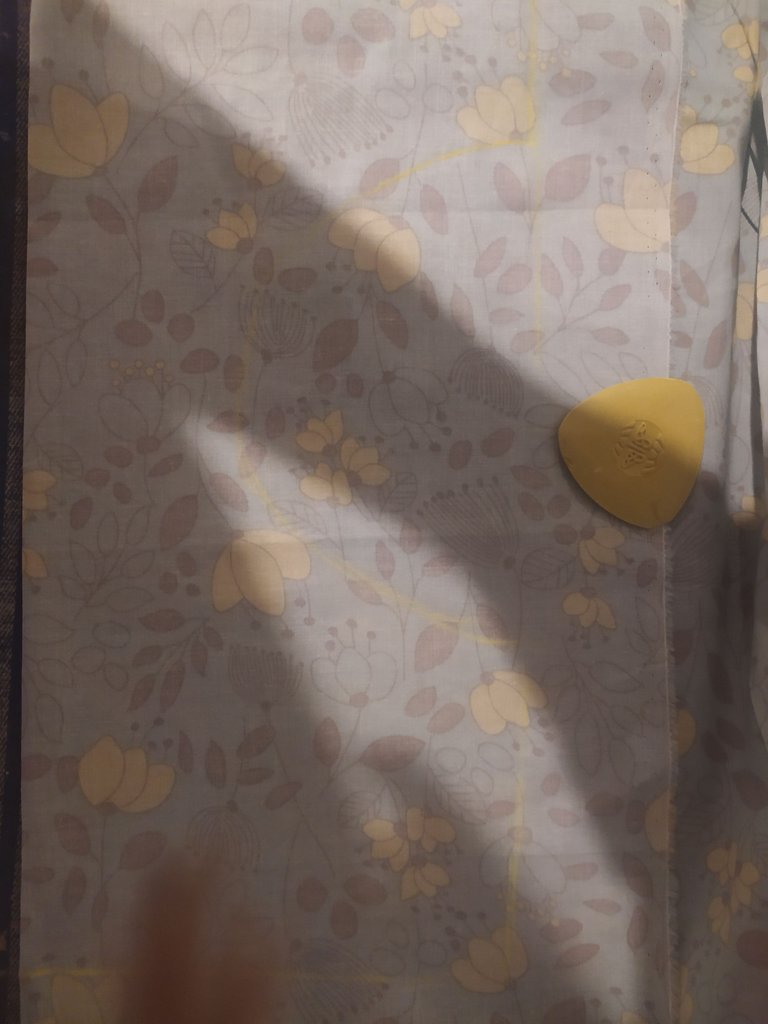
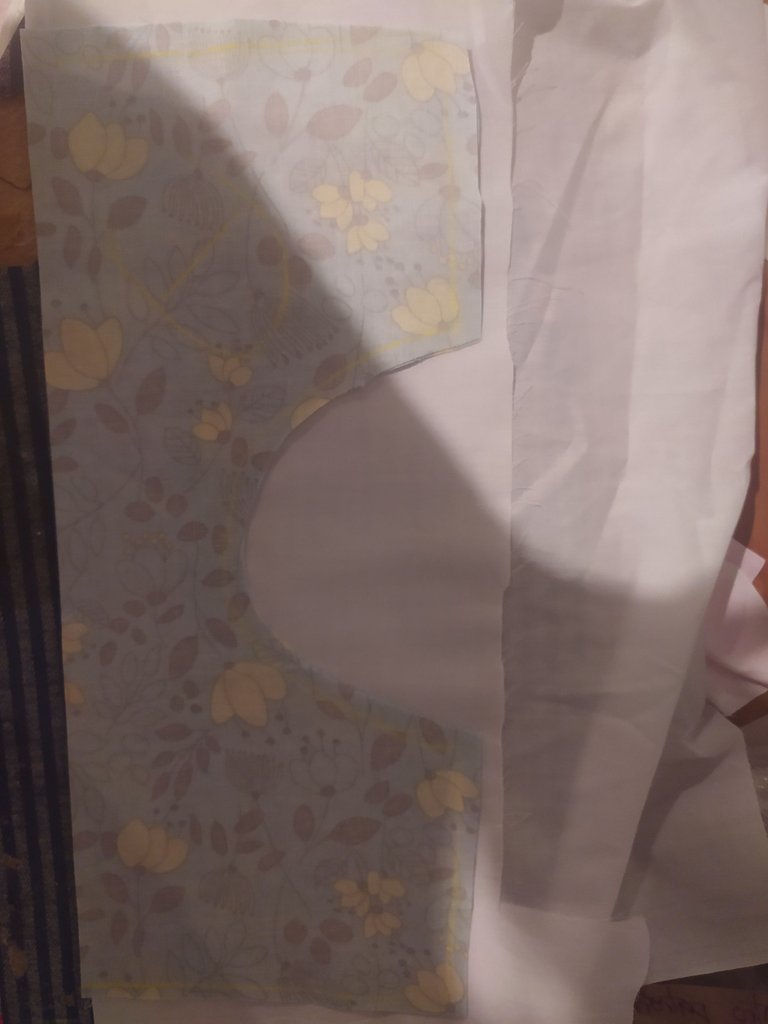
We cut the pattern on the fabric and on the lining fabric. I use cotton fabric so that it is not hot for babies.
Cortamos el patrón en la tela y en la tela de forro. Yo utilizo tela de algodón para que no sea calurosa para los bebés.
When we have both pieces of fabric cut we will face the right sides of both pieces to start joining. The stitching will be done on the top of both the right side and the back and on the sides of the pattern that make a semi-circle.
Cuando tenemos ambas piezas de tela cortadas vamos a enfrentar los derechos de ambas piezas para comenzar a unir. La costura la haremos en la parte superior tanto del derecho como de la espalda y en los costados del patrón que hacen un semi círculo.
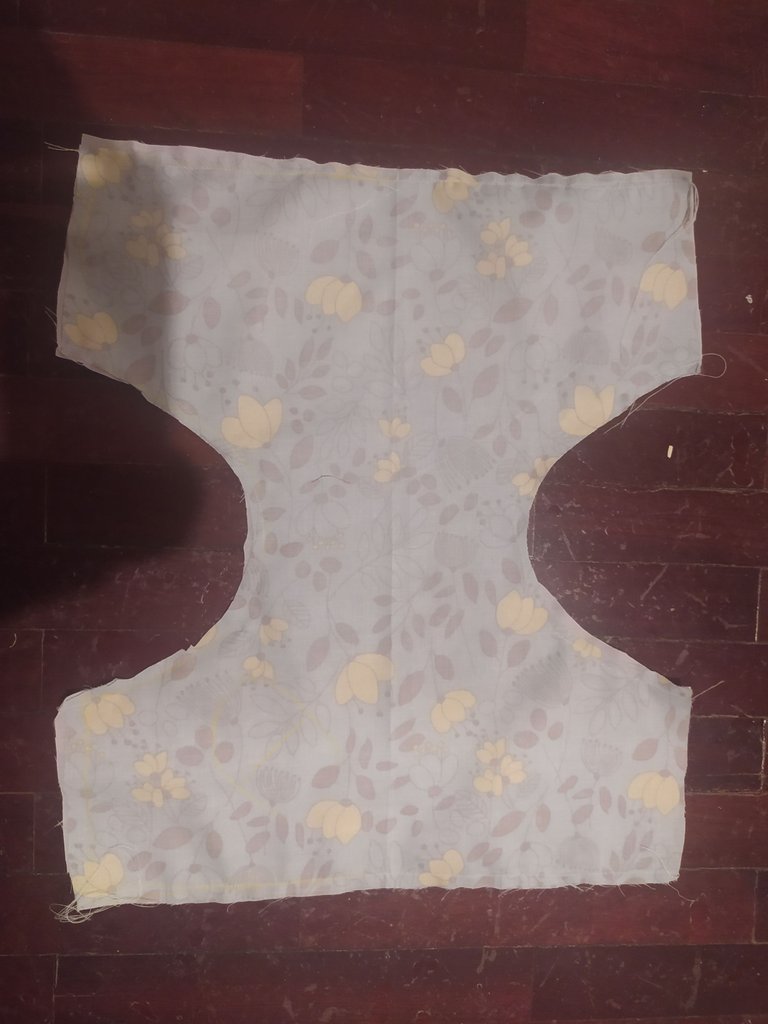
Join the ends together and turn the seam on the part we did not sew. But first we will make some cuts in the curved parts to make the curved shape without folds and without pulling.
Unidos los extremos debemos dar vuelta a la costura por la parte que no cosimos. Pero primero haremos unos cortes en las partes curvas para que se haga la forma curva sin pliegues y sin que tire.
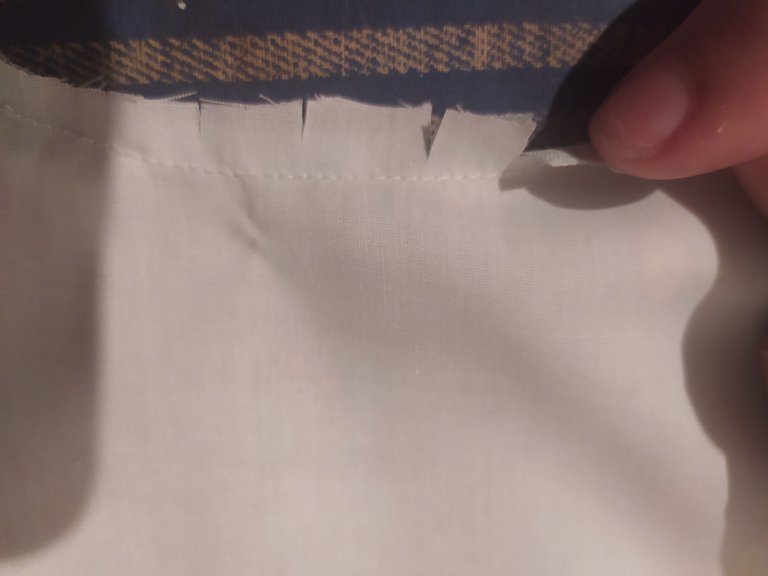
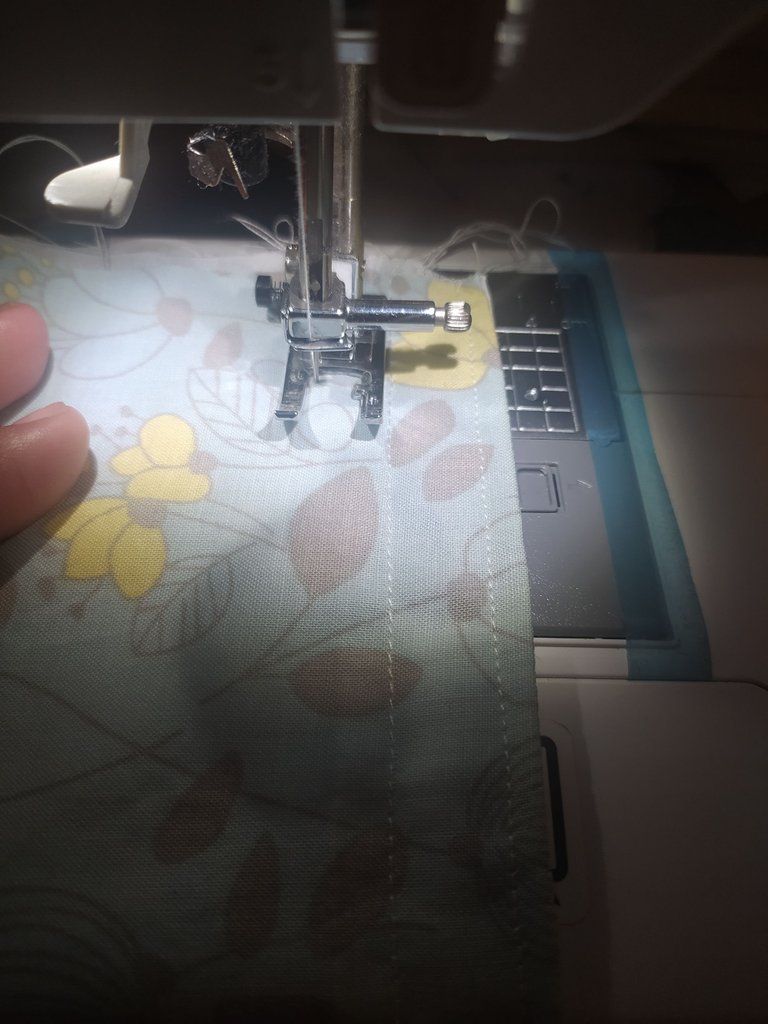
Once the garment is turned over, we will iron it to eliminate wrinkles and verify that everything is correctly sewn. Then we are going to start sewing the seams that will serve as a channel to pass the elastic.
For the front and back we will make 3 seams in a straight line of a centimeter or a centimeter and a half apart. And between the legs we will make 2 seams in a straight line with a centimeter or centimeter and a half of separation between them.
Volteada la prenda vamos a planchar para eliminar las arrugas y verificar que todo esté correctamente cosido. Luego vamos a comenzar a realizar las costuras que servirán de canal para pasar los elásticos.
Para las partes delantera y espalda haremos 3 costuras en línea recta de un centímetro o centímetro y medio de separación. Y entre las piernas haremos 2 costuras en línea recta con un centímetro o centímetro y medio de separación entre ellas.
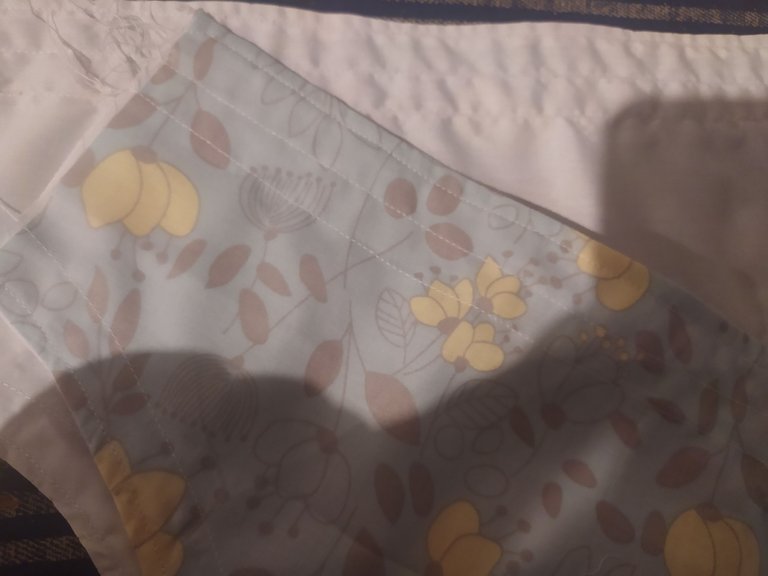
Ready the seams and we can begin to pass the elastic. You can help yourself with a bodkin, I use a Knitting needle 😂 and secure at each end with a simple seam or a pin.
Listas las costuras ya podemos comenzar a pasar los elásticos. Puedes ayudarte con un pasacinta, yo utilizo una aguja de tejer 😂 y aseguras en cada extremo con una costura sencilla o con un alfiler.
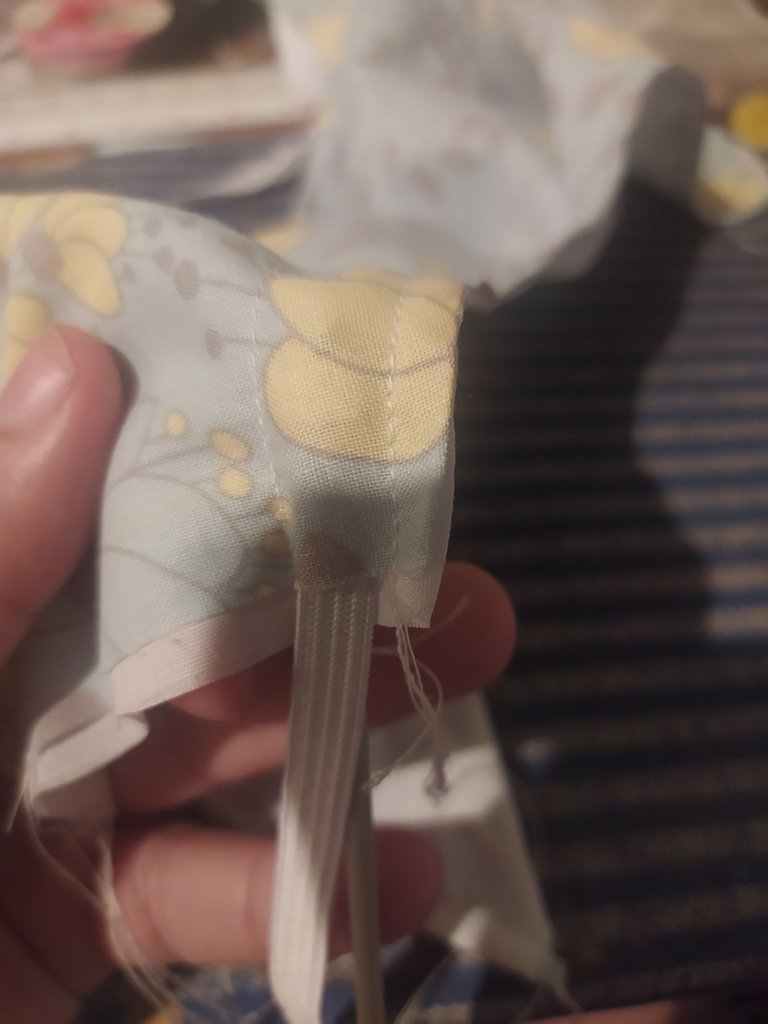
When we have passed all the elastics we will join the seams on the side of the fabric where we turn the garment, that is, on the sides and we will sew as usual, with the right sides facing, with straight stitches and then with overlock. If you don't have overlock you can use a zigzag stitch.
Cuando hayamos pasado todos los elásticos vamos a unir las costuras por el lado de la tela dónde volteamos la prenda, es decir, por los laterales y vamos a coser como siempre, con los derechos enfrentados,con puntadas recta y luego con overlock. Si no tienes overlock puedes pasarme costura en zigzag.
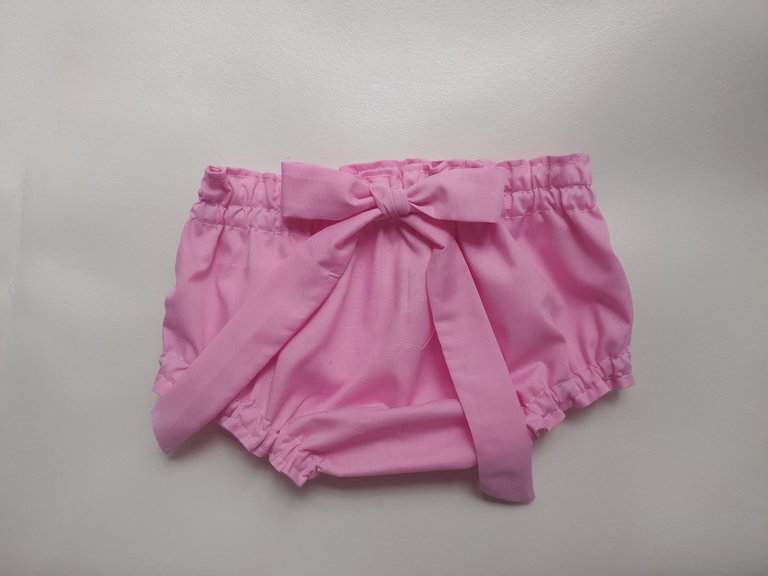
The bow is the last part and we make it by cutting a strip of the width of your choice but that measures the length of the fabric. This fabric was 120 centimeters wide.
El lazo es la última parte y la hacemos cortando una tira del ancho de tu preferencia pero que mida de largo lo que mide el largo de la tela. Esta tela tenía un 120 centímetros de ancho.
And that's it! Ready to use or give as a gift
Y es todo! Listo para usar o regalar
If you like sewing and knitting you can follow me or follow me on Twitter: soysofia1993
Si te gusta la costura y el tejido puedes seguirme o en mi Twitter: soysofia1993
The people doing V2K want me to believe it is this lady @battleaxe Investigate what she has been up to for 5 years. Its the next step to stopping this. Make her prove where she has been for 5 years or where she is now. She is involved deeply with @fyrstikken and his group. Her discord is Battleaxe#1003. I cant say she is the one directly doing the v2k. Make her prove it. They have tried to kill me and are still trying to kill me. I bet nobody does anything at all. Make @battleaxe prove it. I bet she wont. They want me to believe the v2k in me is being broadcasted from her location. @battleaxe what is your location? https://ecency.com/fyrstikken/@fairandbalanced/i-am-the-only-motherfucker-on-the-internet-pointing-to-a-direct-source-for-voice-to-skull-electronic-terrorism
https://twitter.com/SoySofia1993/status/1498347265047605252
The rewards earned on this comment will go directly to the person sharing the post on Twitter as long as they are registered with @poshtoken. Sign up at https://hiveposh.com.
Si ser tía es genial no imagino serlo por partida doble, te felicito y le envío bendiciones a esos ángeles que pronto llegan a alegrar la vida de la familia, saludos
Gracias!!! La verdad que ser tía es una locura 😍 el nivel de amor por ellos no tiene límites
Wow this looks amazing thanks for sharing @soysofia
Thank You @smilestitches this si My favorite clothes for babys
you are so smart! you make it look so beautiful!
Thank You 🥰
Gracias por el apoyo 🙌🏻
Congratulations @soysofia! You have completed the following achievement on the Hive blockchain and have been rewarded with new badge(s):
Your next target is to reach 900 upvotes.
Your next target is to reach 200 comments.
You can view your badges on your board and compare yourself to others in the Ranking
If you no longer want to receive notifications, reply to this comment with the word
STOPTo support your work, I also upvoted your post!
Check out the last post from @hivebuzz:
Support the HiveBuzz project. Vote for our proposal!
Están realmente hermosos y muy tiernos estos panties, te felicito por este proyecto tan lindo.
Por favor recuerda usar la etiqueta #needleworkmonday cada vez que publiques tus proyectos los días Lunes, para el resto de la semana puedes usar la etiqueta #needlework.
¡Tu post ha sido seleccionado por nuestro personal en nombre del Programa de Incubación de la Comunidad OCD y ha recibido un voto positivo de OCD! ¡¡¡Felicidades!!! Por favor, sigue compartiendo contenido de calidad 😊.
Te invitamos a compartir cualquier proyecto relacionado con las agujas directamente en la Comunidad NeedleWorkMonday. Los lunes usamos la etiqueta #needleworkmonday y los demás días la etiqueta #needlework.
Escrito por @kattycrochet para la Comunidad NeedleWorkMonday.
Muchas gracias por el apoyo que me han brindado en la comunidad @kattycrochet espero seguir compartiendo muchos más proyectos 🥰