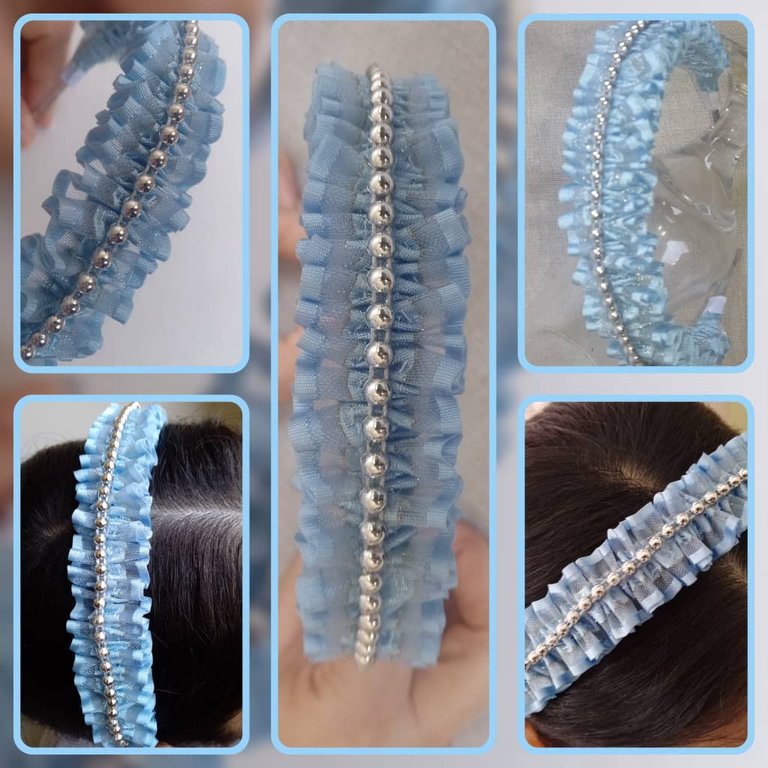
(ESP) Hermosa Diadema “Frufrú” con cinta (ING) Beautiful "Frufru" headband with ribbon
Versión Español
BIENVENIDOS A MI BLOG!!!
Gracias por la visita
Un cordial saludo a todas y todos mis amigos Hiverianos, feliz de estar con ustedes nuevamente compartiendo contenido que espero sea de su total y completo agrado, como los que día a día publican en esta hermosa comunidad.
En esta ocasión les traigo a ustedes la elaboración de una hermosa diadema que desde que la vi me llamó muchísimo la atención y por supuesto estaba buscando el momento preciso para realizarla, ya que es una pieza muy sencilla de elaborar pero a la vez luce muy bien y como siempre acoto en la fabricación de este tipo de accesorios, lo mejor es que puedes darle tu toque personal en cuanto a colores, tela, cintas y accesorios que le puedas colocar para darle esa firma muy personal, los materiales que utilizaremos te los describo a continuación, así como también el paso a paso a seguir para su elaboración, por esta razón te invito a seguir conmigo para que no pierdas detalles y logres también elaborar tu hermosa diadema “frufrú”.
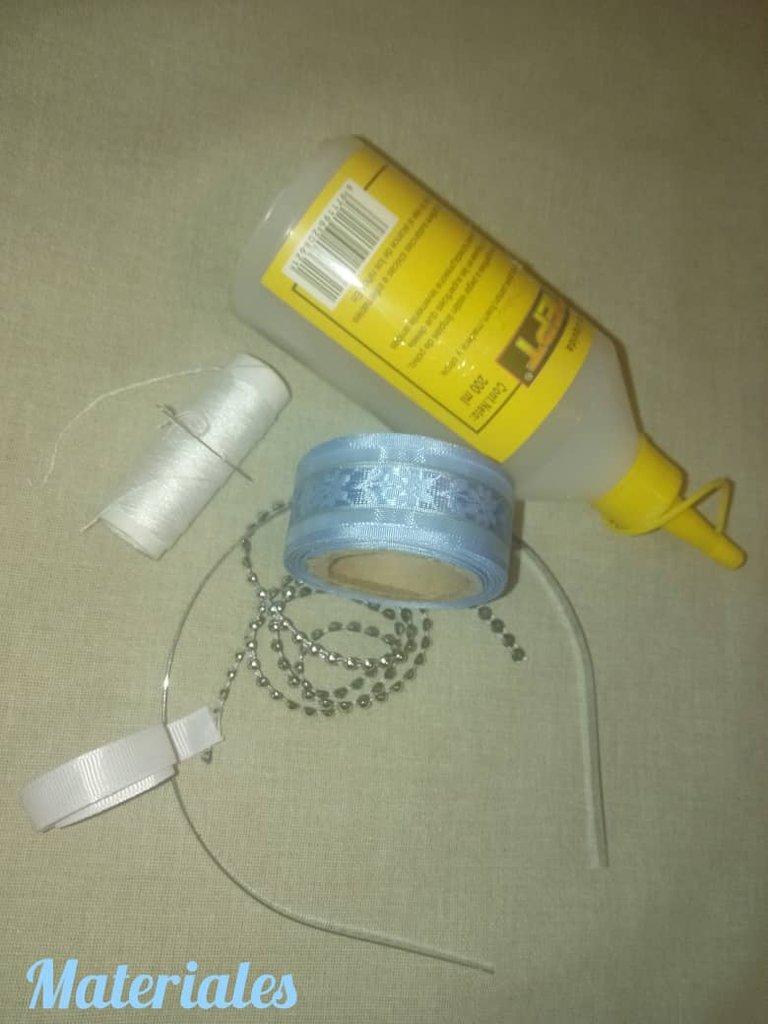
Para ello necesitaremos lo siguiente:
MATERIALES:
• Tijera
• Aguja
• Hilo de coser
• Silicón líquido
• Cinta de tres centímetros de ancho ( dos pedazos de 105 centímetros cada una)
• Perlas corridas plateadas (30 centímetros)
• Una diadema de metal
• Cinta blanca de un centímetro de ancho (dos pedazos de uno a dos centímetro aproximadamente)
Ahora vamos al paso a paso para su confección:
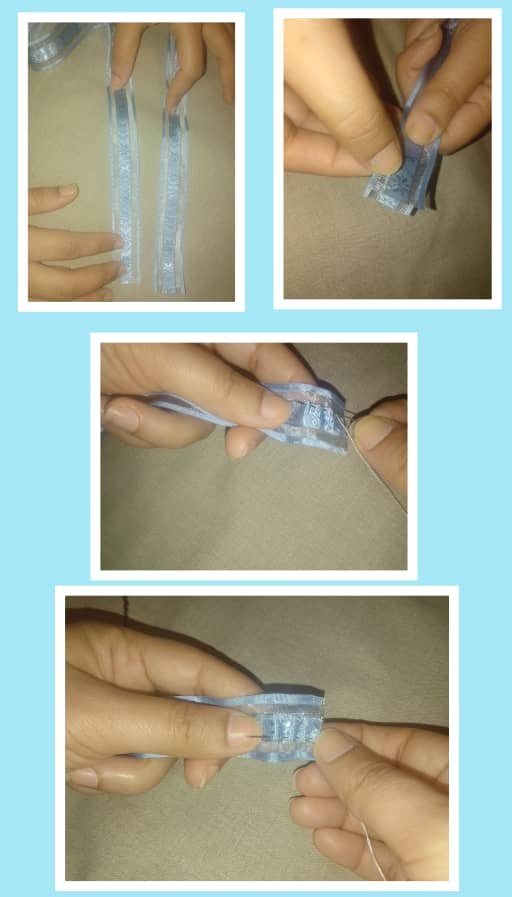
PASO 1:
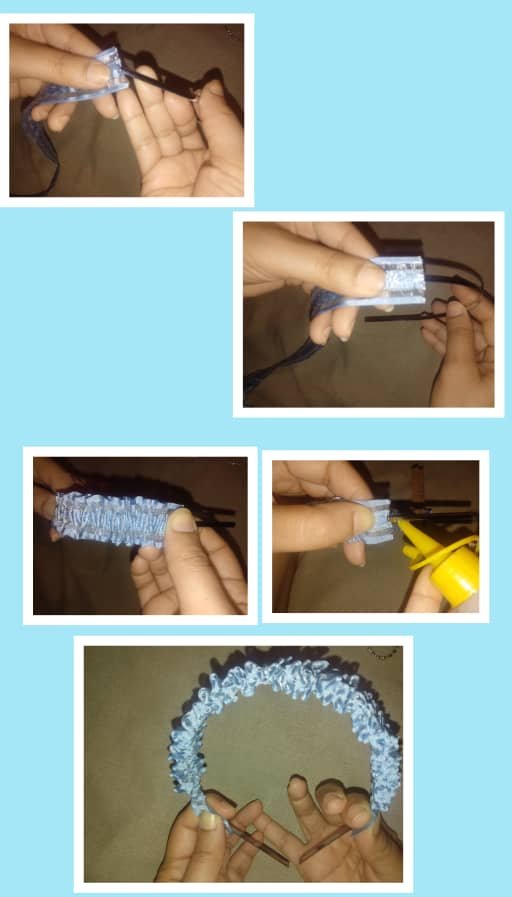
Lo primero que haremos será medir el largo de nuestra diadema y multiplicar por tres la cinta que vamos a utilizar, en mi caso mi diadema mide 35 centímetros por tal razón mis cintas de satén medirán 106 centímetros cada una, tal como lo indico arriba en los materiales a usar, ahora coloco una cinta encima de la otra para luego, con la ayuda de una aguja e hilo, coser en medio de estas, una costura por arriba y otra por debajo dejando una abertura por donde introduciremos nuestra diadema, en mi caso la abertura fue de un centímetro de ancho aproximadamente, todo dependerá del ancho de tu diadema.
PASO 2:
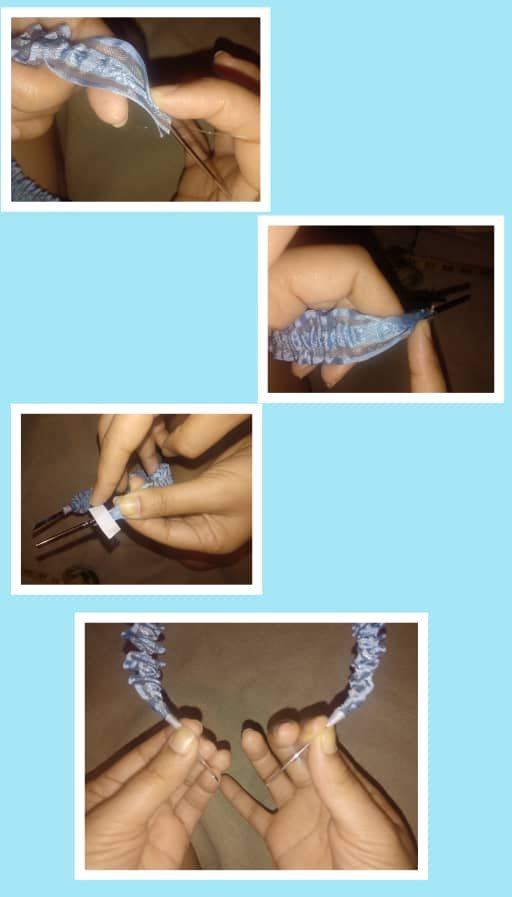
Con nuestra cinta ya cocida ahora procederemos a introducir nuestra diadema a través de la abertura de las cintas, la introducimos de un extremo a otro, dejando aproximadamente unos cuatro centímetros en cada extremo para luego proceder a arruchar la cinta para que quede nuestra forma de “frufrú”. Una vez lograda, fijamos las puntas de nuestras cintas usando nuestro silicón y cerramos, así evitaremos que se ruede la misma y pierda la forma, posteriormente cortaremos unos dos centímetros de nuestra cinta blanca y colocamos en los extremos de la cinta de satén para que quede prolijo y sellar las puntas.
PASO 3:
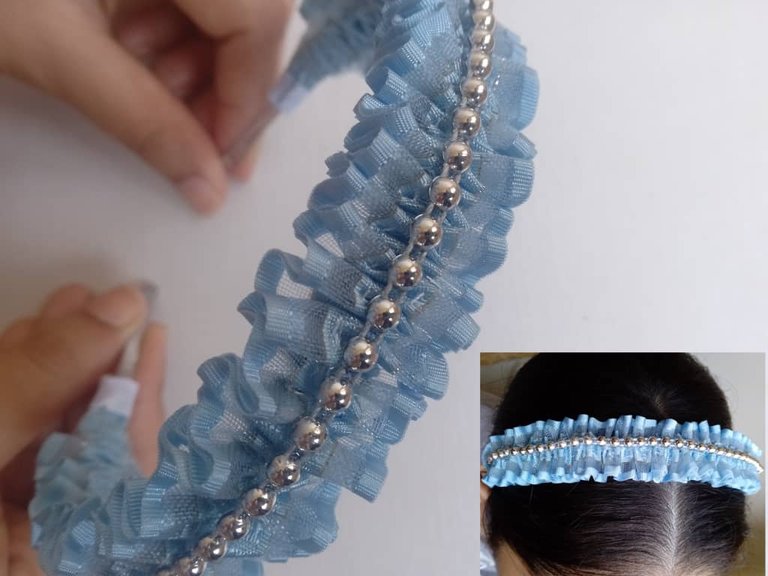
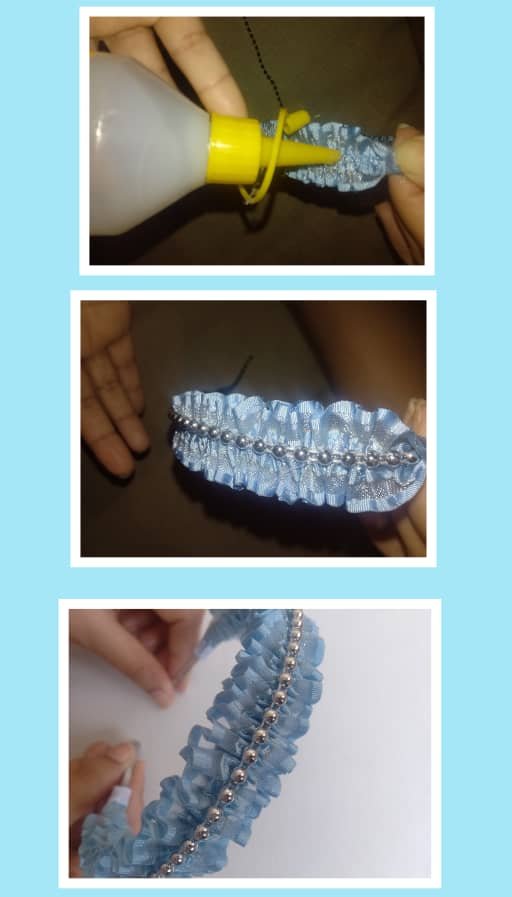
Ahora como toque final y para darle un poco más de elegancia a nuestra diadema, le colocaremos las perlas corridas plateadas a lo largo de esta y por encima y el centro de nuestra cinta con la forma “frufrú” para ello usaremos nuevamente el silicón y vamos fijando de punta a punta.
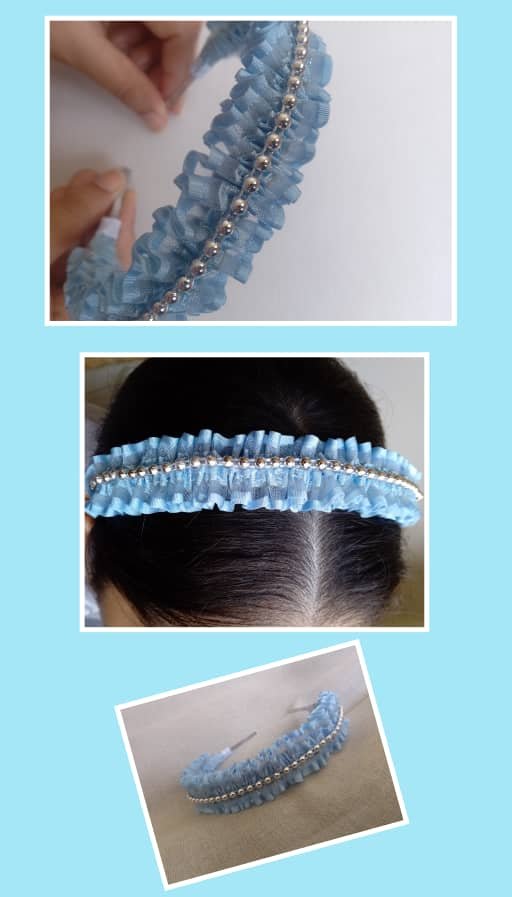
Hermosa diadema “Frufrú” ideal para toda ocasión, sencilla y elegante.
English Version
WELCOME TO MY BLOG!!!
Thank you for visiting

A cordial greeting to all my Hiverian friends, happy to be with you again sharing content that I hope will be of your total and complete pleasure, like the ones you publish every day in this beautiful community.
This time I bring to you the elaboration of a beautiful headband that since I saw it caught my attention and of course I was looking for the right time to make it, because it is a very simple piece to make but at the same time looks great and as I always mention in the manufacture of such accessories, the best thing is that you can give it your personal touch in terms of colors, fabric, ribbons and accessories that you can give it, The materials that we will use are described below, as well as the step by step to follow for its elaboration, for this reason I invite you to follow me so you do not lose details and you can also elaborate your beautiful "frufru" headband.

For this we will need the following:
MATERIALS:
- Scissors
- Needle
- Sewing thread
- Liquid silicone
- Ribbon three centimeters wide ( two pieces of 105 centimeters each)
- Silver-plated running pearls (30 centimeters)
- A metal headband
- One centimeter wide white ribbon (two pieces of approximately one to two centimeters each).

Now let's go to the step by step for its confection:
STEP 1:
The first thing we will do is measure the length of our headband and multiply by three the ribbon we are going to use, in my case my headband measures 35 centimeters for such reason my satin ribbons will measure 106 centimeters each, as I indicate above in the materials to use, now I place one ribbon on top of the other to then, with the help of a needle and thread, sew in the middle of these, a seam on top and one below leaving an opening where we will introduce our headband, in my case the opening was about one centimeter wide, everything will depend on the width of your headband.

STEP 2:
With our ribbon already baked now we will proceed to introduce our headband through the opening of the ribbons, we introduce it from one end to the other, leaving approximately four centimeters at each end and then proceed to crumple the ribbon to get our "frufru" shape. Once achieved, we fix the ends of our ribbons using our silicone and close, so we will avoid rolling the same and lose the shape, then cut about two inches of our white ribbon and place at the ends of the satin ribbon to make it neat and seal the ends.


STEP 3:
Now as a final touch and to give a little more elegance to our headband, we will place the silver pearls along the length of this and above and in the center of our ribbon with the "frufru" shape for this we will use the silicone again and we will fix from tip to tip.

Beautiful headband "Frufru" ideal for all occasions, simple and elegant.

Una lluvia de bendiciones, salud y éxitos para todas y todos.
A shower of blessings, health and success to all of you.
Foto tomada con mi teléfono Infinix 11, editada con GridArt, Collage Maker y FotoCollage, Traducción con el programa www.DeepL.com/Translator (versión gratis).
Photo taken with my Infinix 11 pone, edited with GridArt, Collage Maker y FotoCollage, Translation with the program www.DeepL.com/Translator (free version).
Te ha quedado muy lindo @sovebrito, digno de una princesa, gracias por compartir el paso a paso, Felicidades y mucha suerte cariño.
hola querida amiga, gracias por tus lindas palabras lo aprecio mucho, bendiciones para ti
Muy delicada tu diadema quedó sencilla pero con un toque de elegancia.
hola amiga, gracias por comentar, que bueno que te haya gustado, saludos para ti, éxitos.
Amiga está súper lindo me encanto