🐤Makes a Very creative Chick Matchbox🐤 /🐤 Realiza una muy Creativa Fosforera de Pollito🐤
Hola amigos de Hive. Mis saludos para todos ustedes. Hoy quiero mostrarles la elaboracion de una fosfera, idela paa organizar el encendedor.

Materiales Utilizados
- Foami Escarchado amarillo
- Foami Blanco
- Foami Negro
- Silicon Caliente
- Pintura al frio naranja
- Compás o plato pequeño redondo
Paso a Paso
1

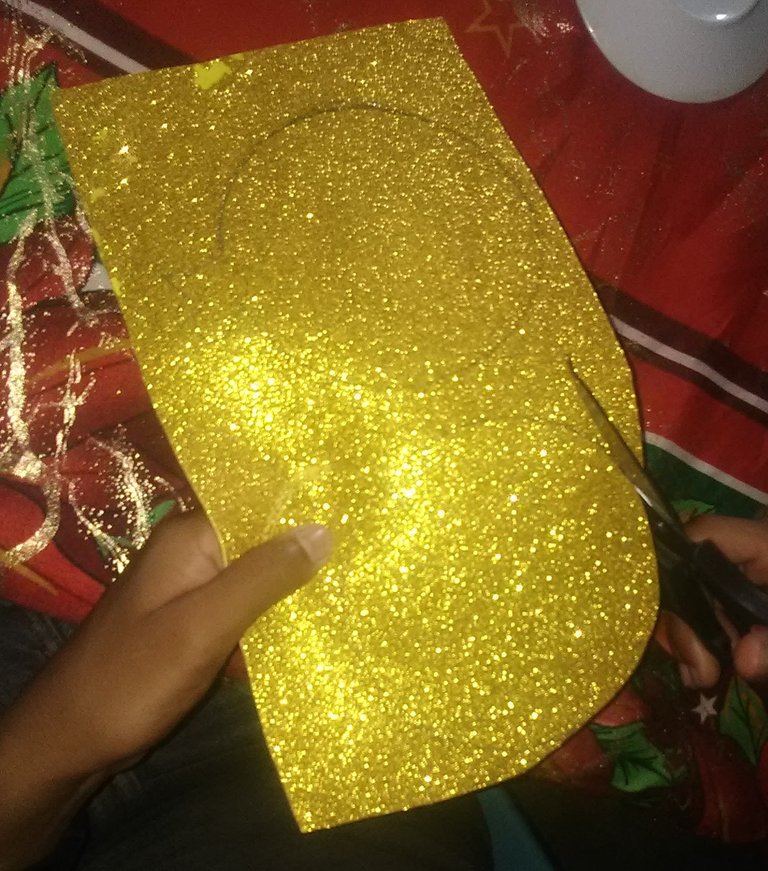
Sobre el foami amarillo se va a marcar un circulo con el compás o con el plato pequeño. Para marcar un diametro de 6cm. Se deben marcar 2 circulos sobre el foami.
2

Sobre uno de los circulos, se va hacer una cresta.
Paso 3

Luego se trazan dos alas sobre el foami

Luego se recortan las dos alas.

Asi tendremos dos alas para el pollito.
Paso 4

Paso 5

Luego sobre un foami blanco se van a marcar dos circulos blancos que van hacer los ojos del muñeco.
Paso 6

Sobre los circulos balnco se van a hacer dos circulos negros para pegarlos en ambos ojos, y luego se hacen, se recortan y se pegan 4 circulos blancos muy pequeños.
Paso 7

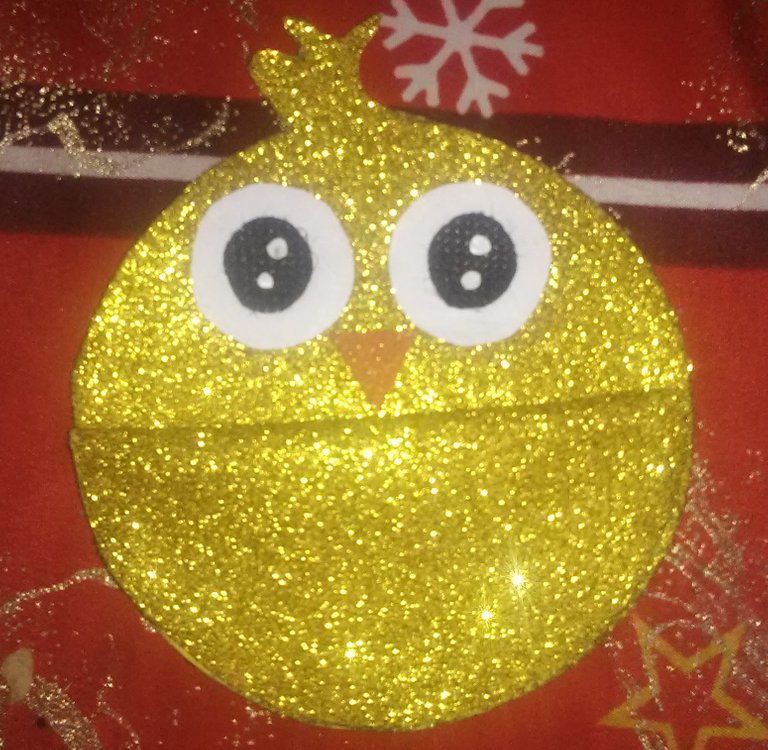
Despues se debe tomar un pedazo de foami amarillo y hacer un triangulo para que sea el pico del pollito, este se pinta de color naranja y se pega en el centro de l acara del pollito.

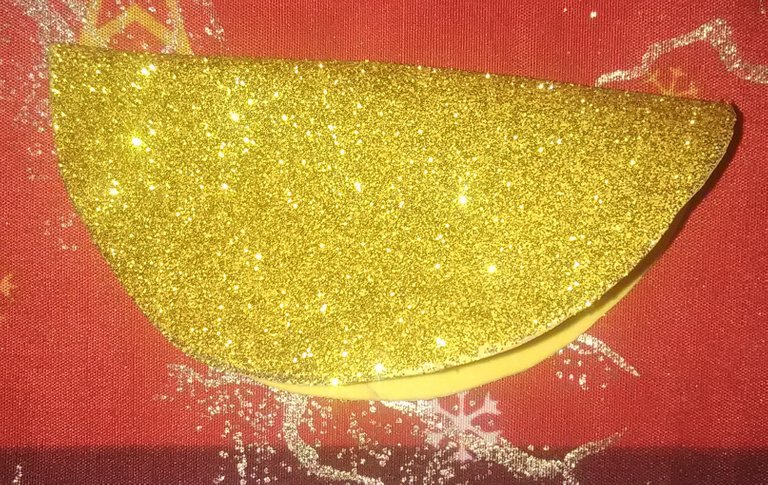
Finalemente se toma el otro circulo y se dobla a la mitad y se pega con el silicón caliente.

Luego ese medio circulo se pega en la parte baja del pollito, para que sea el bolsillito donde se guardaría los encendedores.
Espero les guste @hivers! Saludos y gracias por leer!
gracias a todos!
Las fotos fueron tomadas por un tlf ZTE Blade.
Las fotos son de mi autoria
Traductor: https://www.deepl.com/es/translator
Hello friends of Hive. Greetings to all of you. Today I want to show you the elaboration of a sphere, ideal to organize the lighter.

Materials Used
- Yellow Frosted Foami
- White Foami
- Black Foami
- Hot Silicon
- Orange cold paint
- Compass or small round plate
Step by Step
1

On the yellow foami, mark a circle with the compass or the small plate. To mark a diameter of 6cm. Mark 2 circles on the foami.
2

On one of the circles, make a crest.
Step 3

Then, trace two wings on the foami

Then cut out the two wings.

This way we will have two wings for the chick.
Step 4

Step 5

Then, on a white foami, mark two white circles that will make the eyes of the doll.
Step 6

On the white circles, make two black circles to glue them on both eyes, and then make, cut out and glue 4 very small white circles.
Step 7

Then take a piece of yellow foami and make a triangle to be the beak of the chick, paint it orange and glue it in the center of the chick's face.

Finally take the other circle and fold it in half and glue it with the hot silicone.

Then glue that half circle to the bottom of the chick, to be the little pocket where the lighters would be kept.
I hope you like it @hivers! Greetings and thanks for reading!
The pictures were taken by a ZTE Blade tlf.
The photos are of my authorship
Translator: https://www.deepl.com/es/translator
Increíble kike me encantó está muy fácil de hacer y quedará hermoso colgado en la cocina
Muchas gracias...
Thank you for sharing this post in the DIYHUB Community!
Your content got selected by our fellow curator desro & you just received a little thank you upvote from us for your great work! Your post will be featured in one of our recurring compilations which are aiming to offer you a stage to widen your audience within the DIY scene of Hive. Stay creative & HIVE ON!
Please vote for our hive witness <3
Congratulations @rodriguezkike232! You have completed the following achievement on the Hive blockchain And have been rewarded with New badge(s)
Your next target is to reach 400 upvotes.
You can view your badges on your board and compare yourself to others in the Ranking
If you no longer want to receive notifications, reply to this comment with the word
STOPTo support your work, I also upvoted your post!
Check out our last posts:
Support the HiveBuzz project. Vote for our proposal!
Quedó hermoso 🤩, y es muy útil para saber dónde están los fósforos cuando se va la luz y no estarlos buscando por toda la cocina 😅
gracias amiga! saludos
Yay! 🤗
Your content has been boosted with Ecency Points, by @rodriguezkike232.
Use Ecency daily to boost your growth on platform!
Support Ecency
Vote for new Proposal
Delegate HP and earn more