[ESP-ENG] Fabricando tu propia Baqueta || Making your own Rute Stick
Hola a todos! / Hello Everyone!
Hoy vengo a mostrarles un post un poco diferente a lo usual que suelo subir a mi blog, pero es algo muy especial que espero a muchos músicos les sirva! pues se trara de hacer nosotros mismos un tipo de baqueta de percusión llamaada Rute, Es mas suave que una baqueta normal al momento de golpear el instrumento pero mas dura que una escobilla, que suelen ser muuy suaves y no se escucha un carrizo sin microfonia jajaja
Today I come to show you a post a little different from the usual that I usually upload to my blog, but it is something very special that I hope many musicians will find useful! Well, we will try to make ourselves a type of percussion drumstick called Rute, It is softer than a normal drumstick when hitting the instrument but harder than a brush, which are usually very softs and you cannot hear a reed without microphones hahaha
Empezamos primero mostrando el resultado!
Let´s start showing the final result
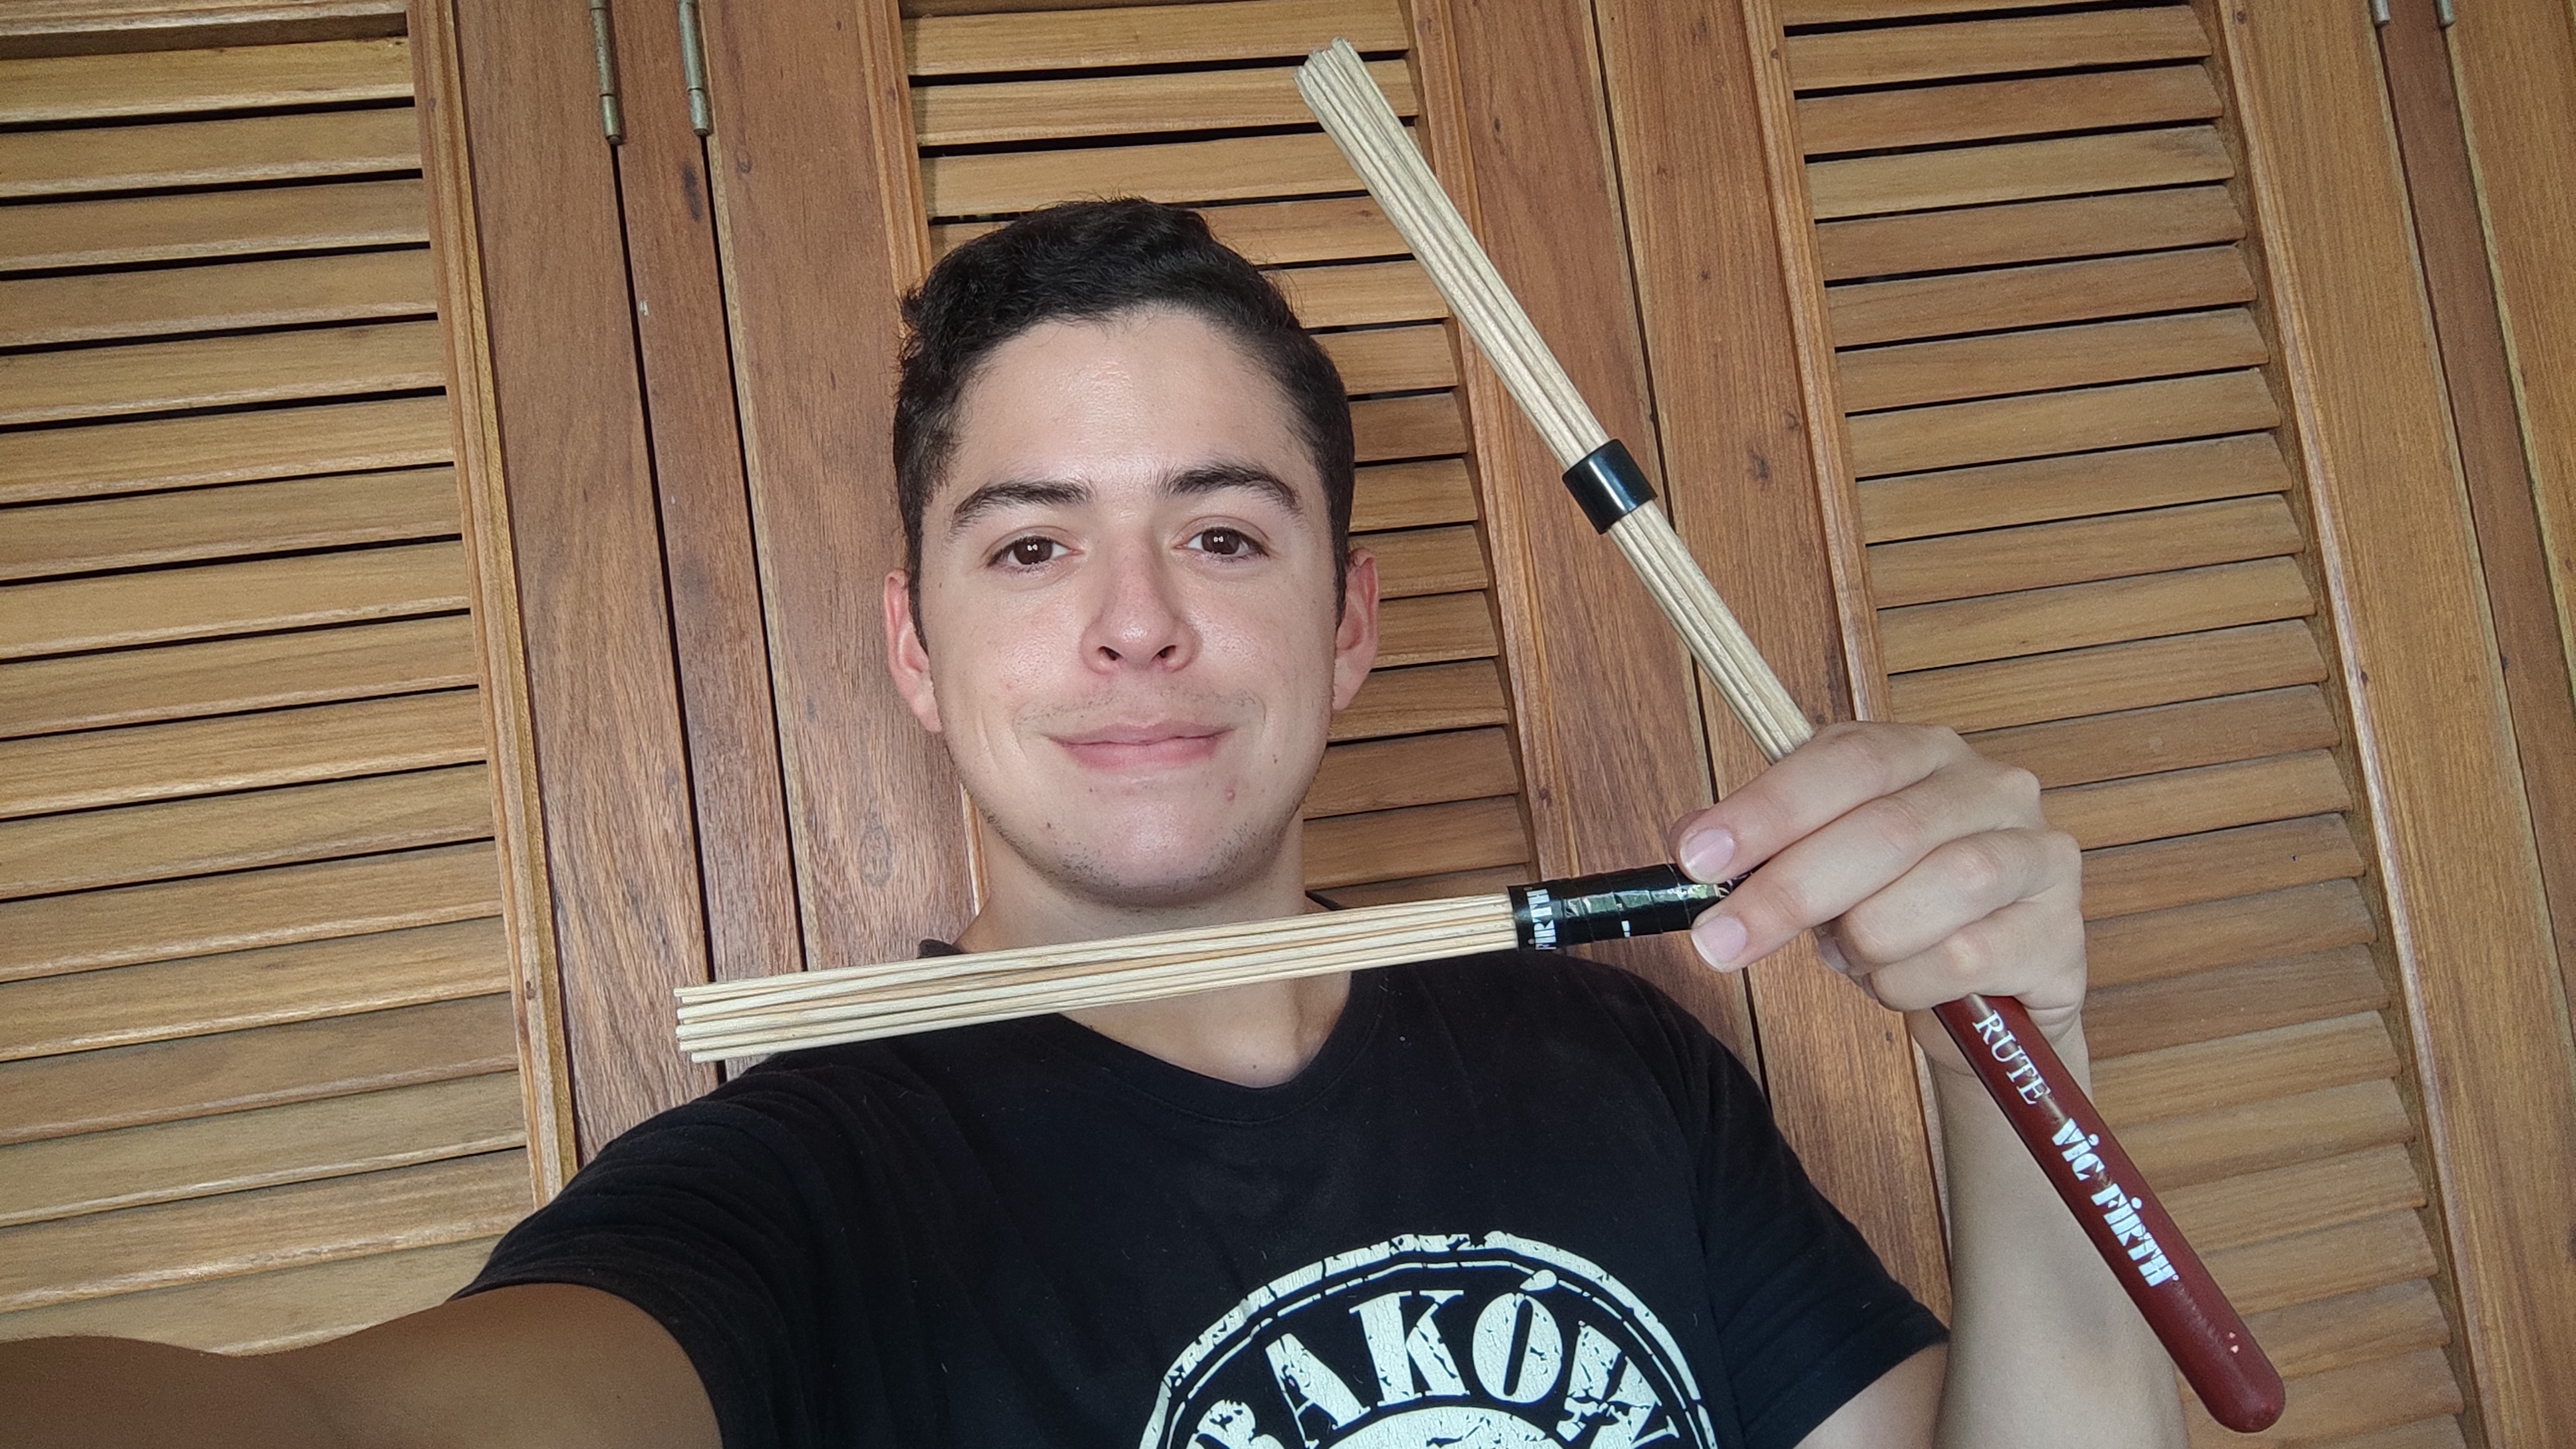
Yo con la baqueta Lista! / Me with the Rute done
Y miren, esto es lo que haremos por nuestra cuenta
And look, this is what we will make by ourselves

La baqueta que buscaremos hacer / The Rute we will try to make
Empezamos entonces primero mostrando los materiales de lo que necesitariamos:
We start showing the list of the materials we will need:
| Materiales | Materials |
|---|---|
| Palillos de Carne | Meat skewers |
| Teipe | Tape |
| Cola Blanca | Glue |
| Cinta negra para el mango | Black Tape |
Paso 1: Seleccionar los palillos adecuados y de mejor estado, la idea es seleccionar solo aquellos que esten en perfecto estado, sin astillas, sin dobles raros, sin pedazos incompletos, para asi asegurarnos de obtener al final un producto con mayor durabilidad
Step 1: Select the appropriate and best-condition toothpicks, the idea is to select only those that are in perfect condition, without splinters, without rare doubles, without incomplete pieces, in order to ensure that we finally obtain a product with greater durability.

Los palillos de pinchos de carne / The meat stick
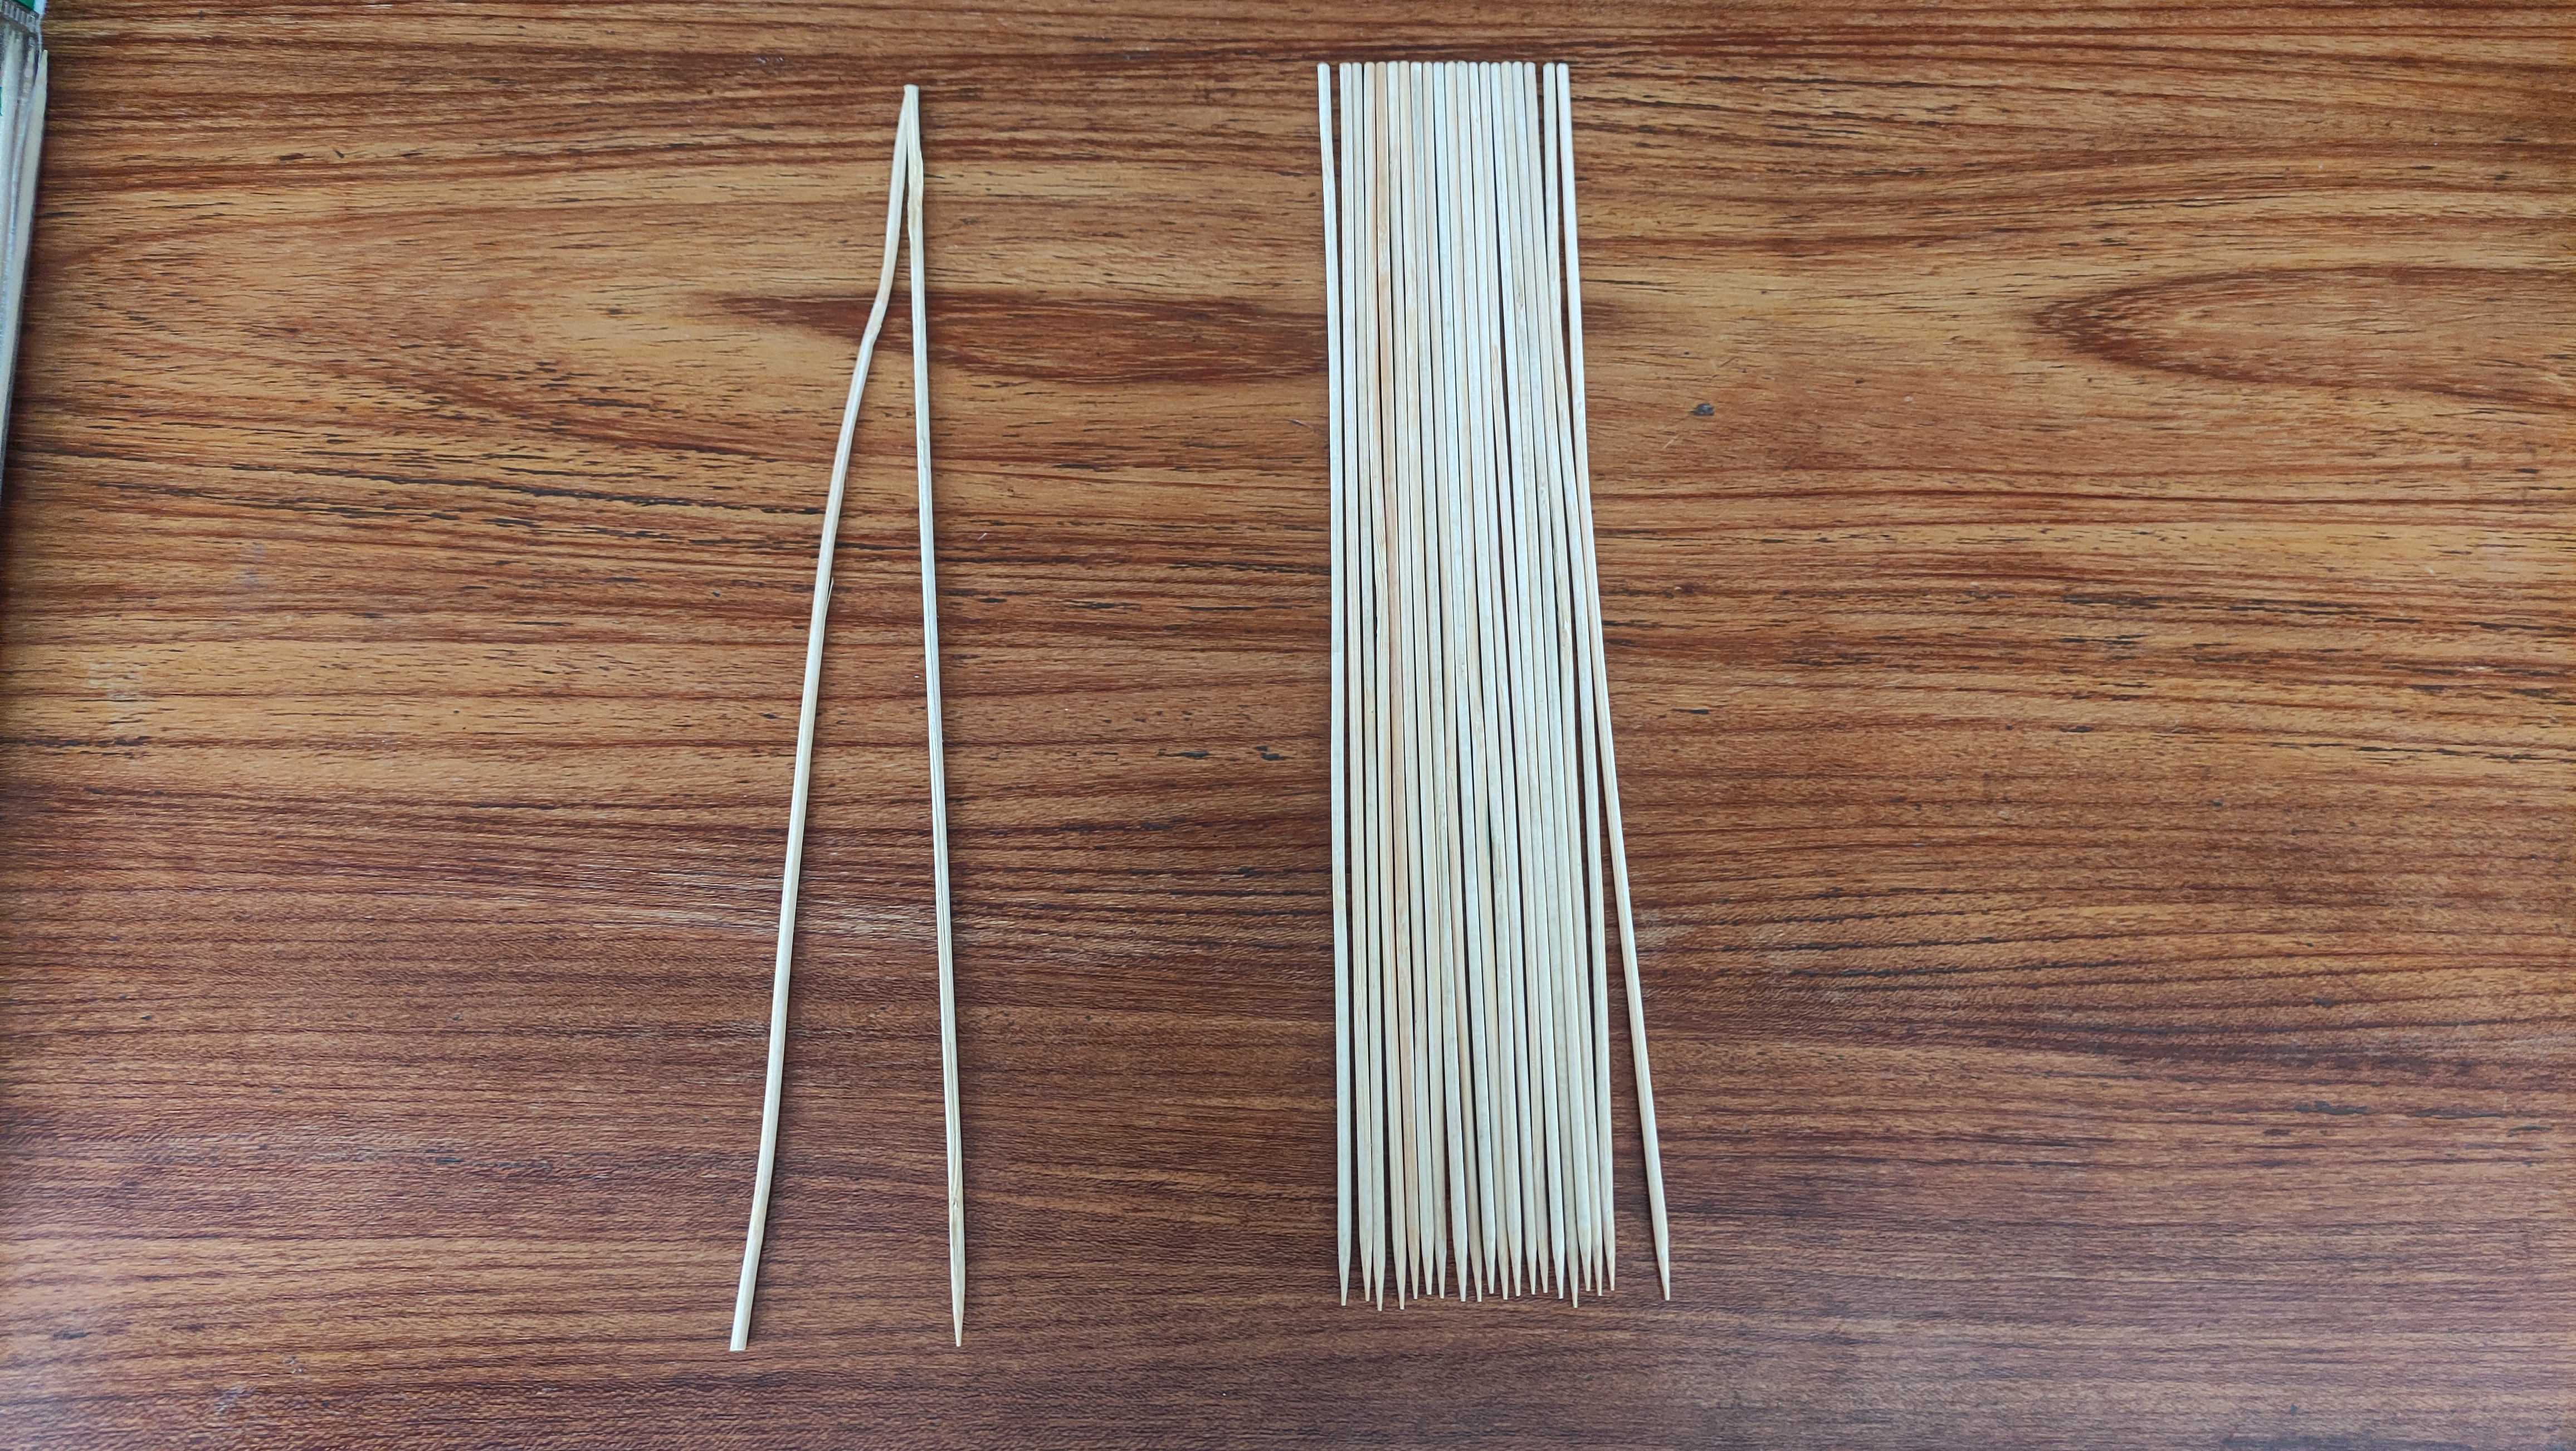
Los palillos seleccionados junto con los defectuosos / Good sticks vs not good sticks
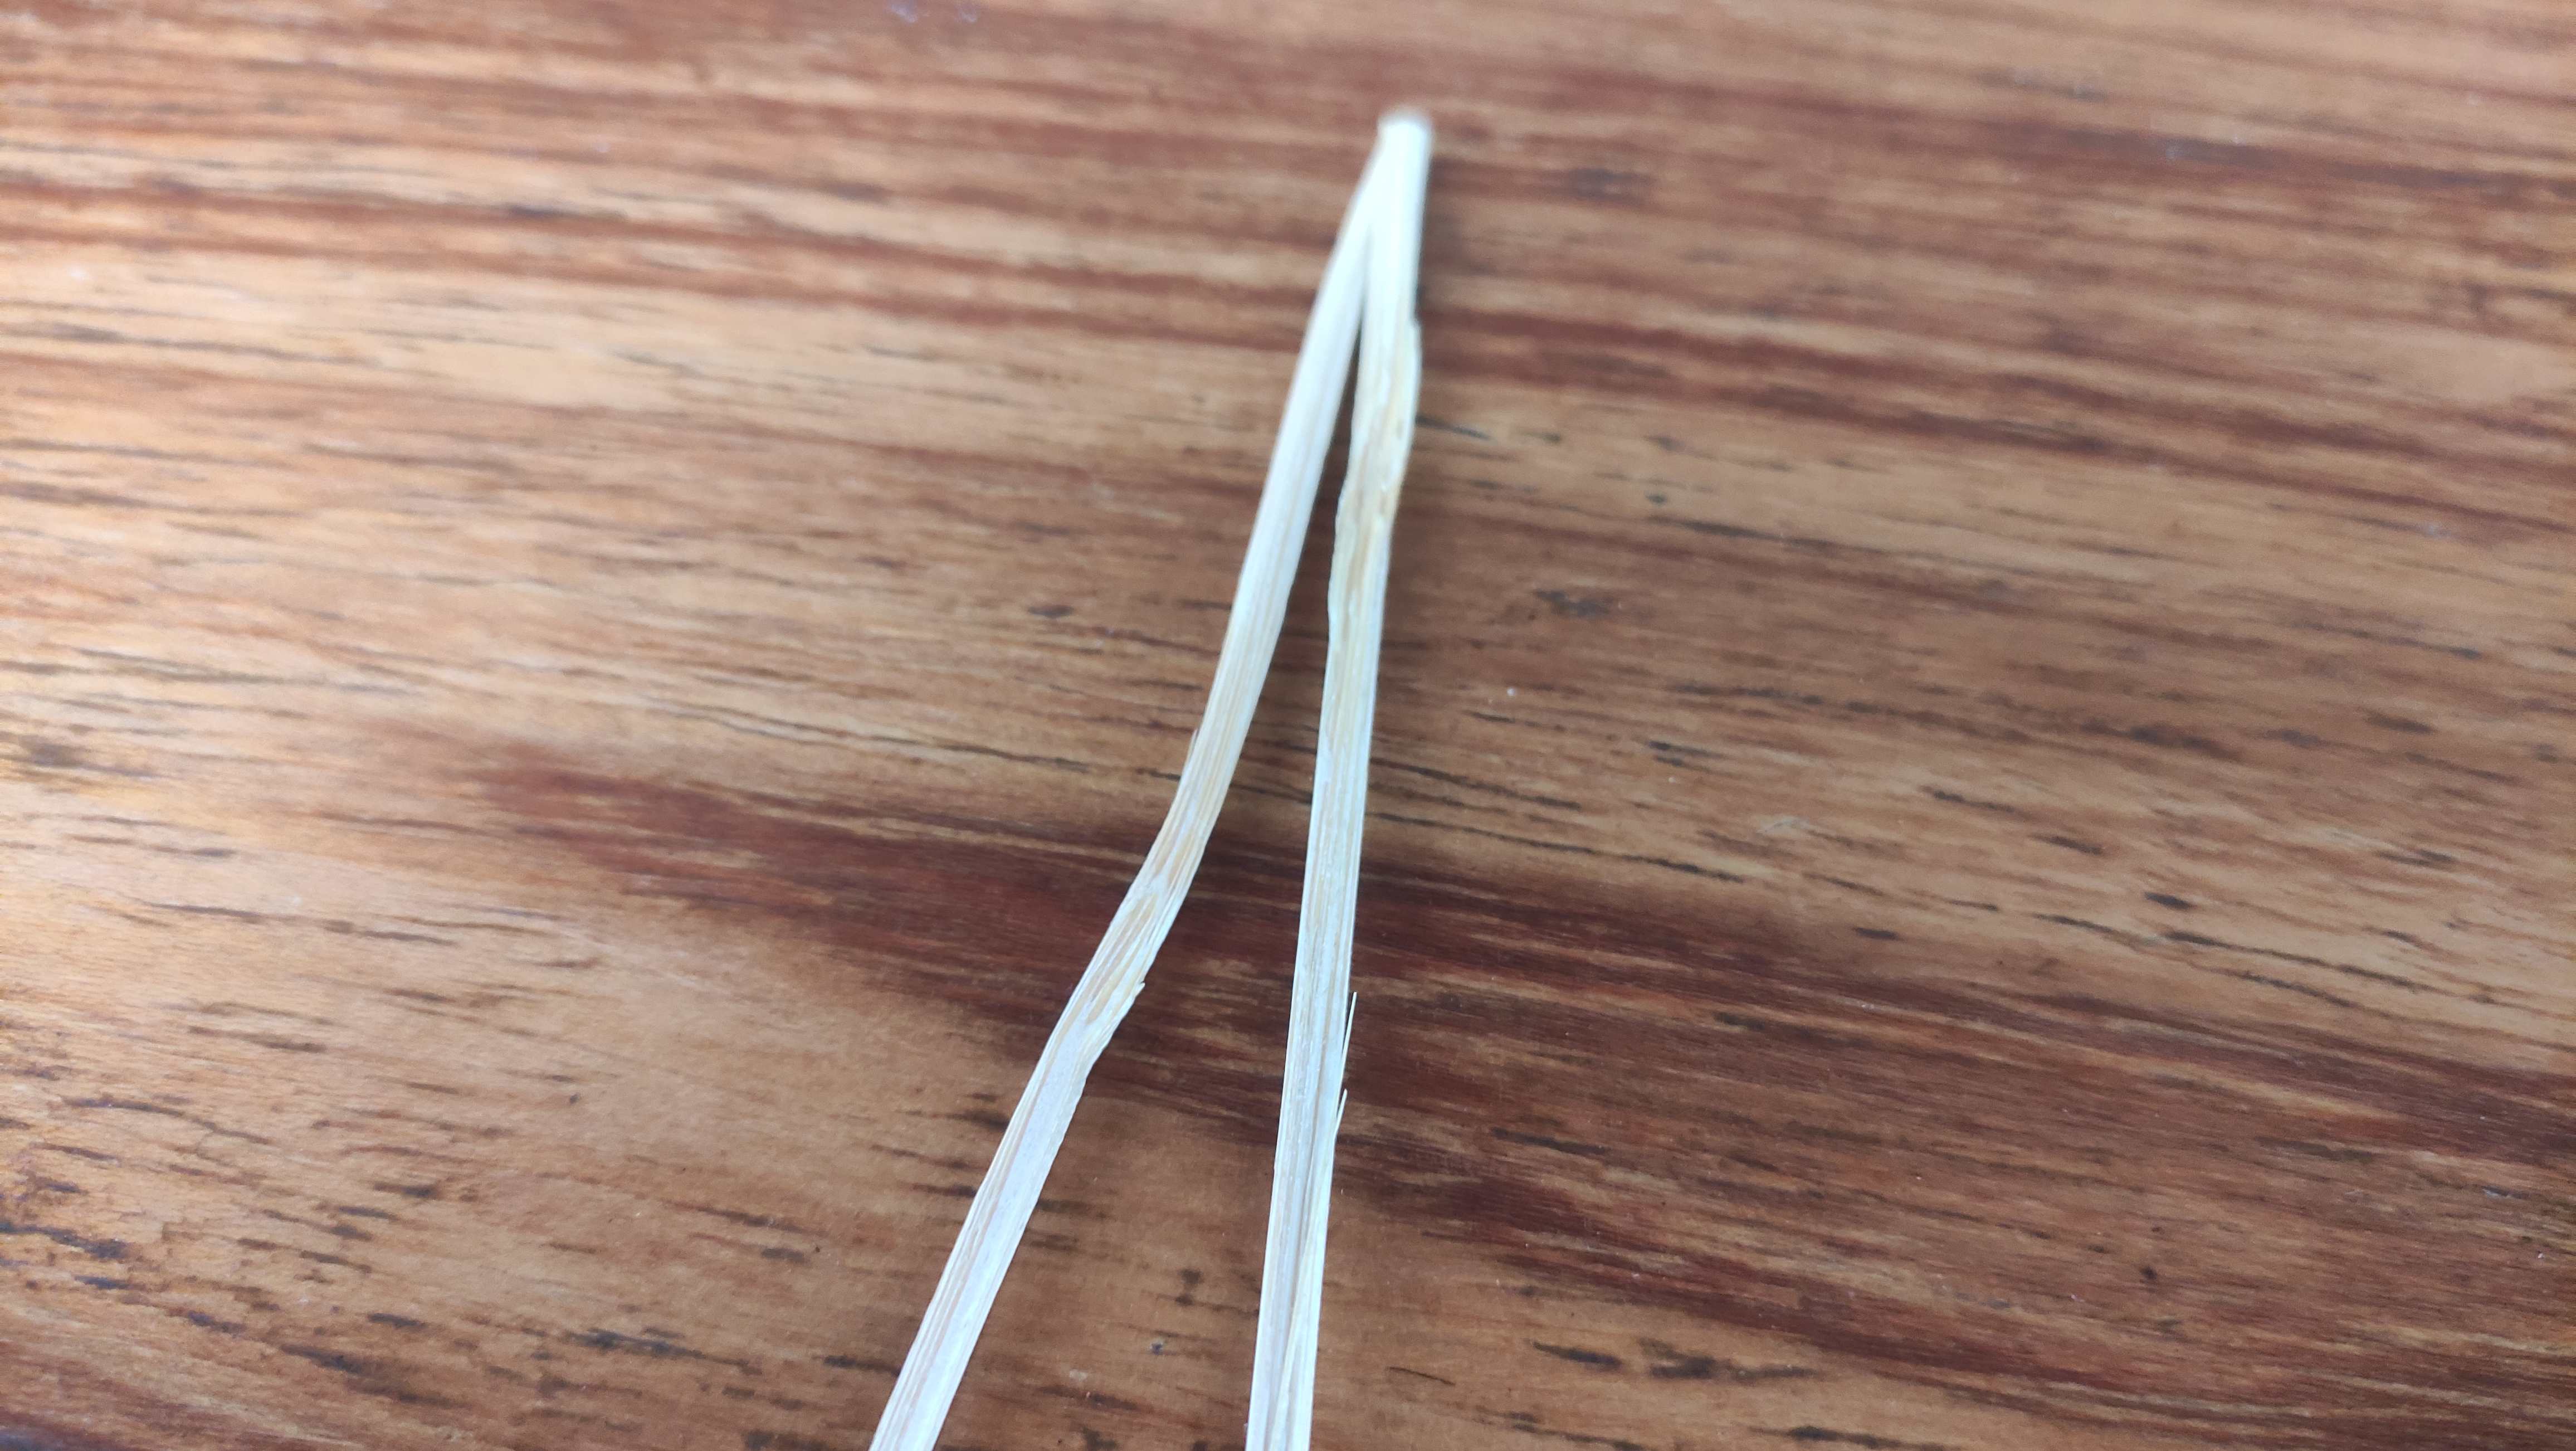
Ejemplo de unos bien defectuosos y choretos jajaja / Example of those not good
Paso 2: Pegaremos los paillos con el teipe, así como salen en la imagen, uno abajo otro donde tendremos el grip, y otro mas arriba para asegurarlo al maximo
Step 2: We will glue the sticks with the teipe, as they appear in the image, one below another where we will have the grip, and another one above to ensure it as much as possible.

Usamos Teipe para unirlas / Use tape to join them
Paso 3: Untamos la pega para unir los palillos con fuerza, la pega lo que hará será sustituir los teipes temporales para entonces penetrar dentro y entre cada palillo para darle fuerza a la union, la idea es que a pesar de usarla y golpearla contra los instrumentos, aguanten la pela
Step 3: We spread the glue to join the sticks with force, what the glue will do is replace the temporary teipes and then penetrate inside and between each stick to give strength to the union, the idea is that despite using it and hitting it against the instruments, hold peels

Echando la pega / Using the glue
Esparcimos todo con los dedos para que penetre la pega y dejamos reposar hasta que este bien seco todo
We spread everything with our fingers so that the paste penetrates and let it rest until everything is very dry
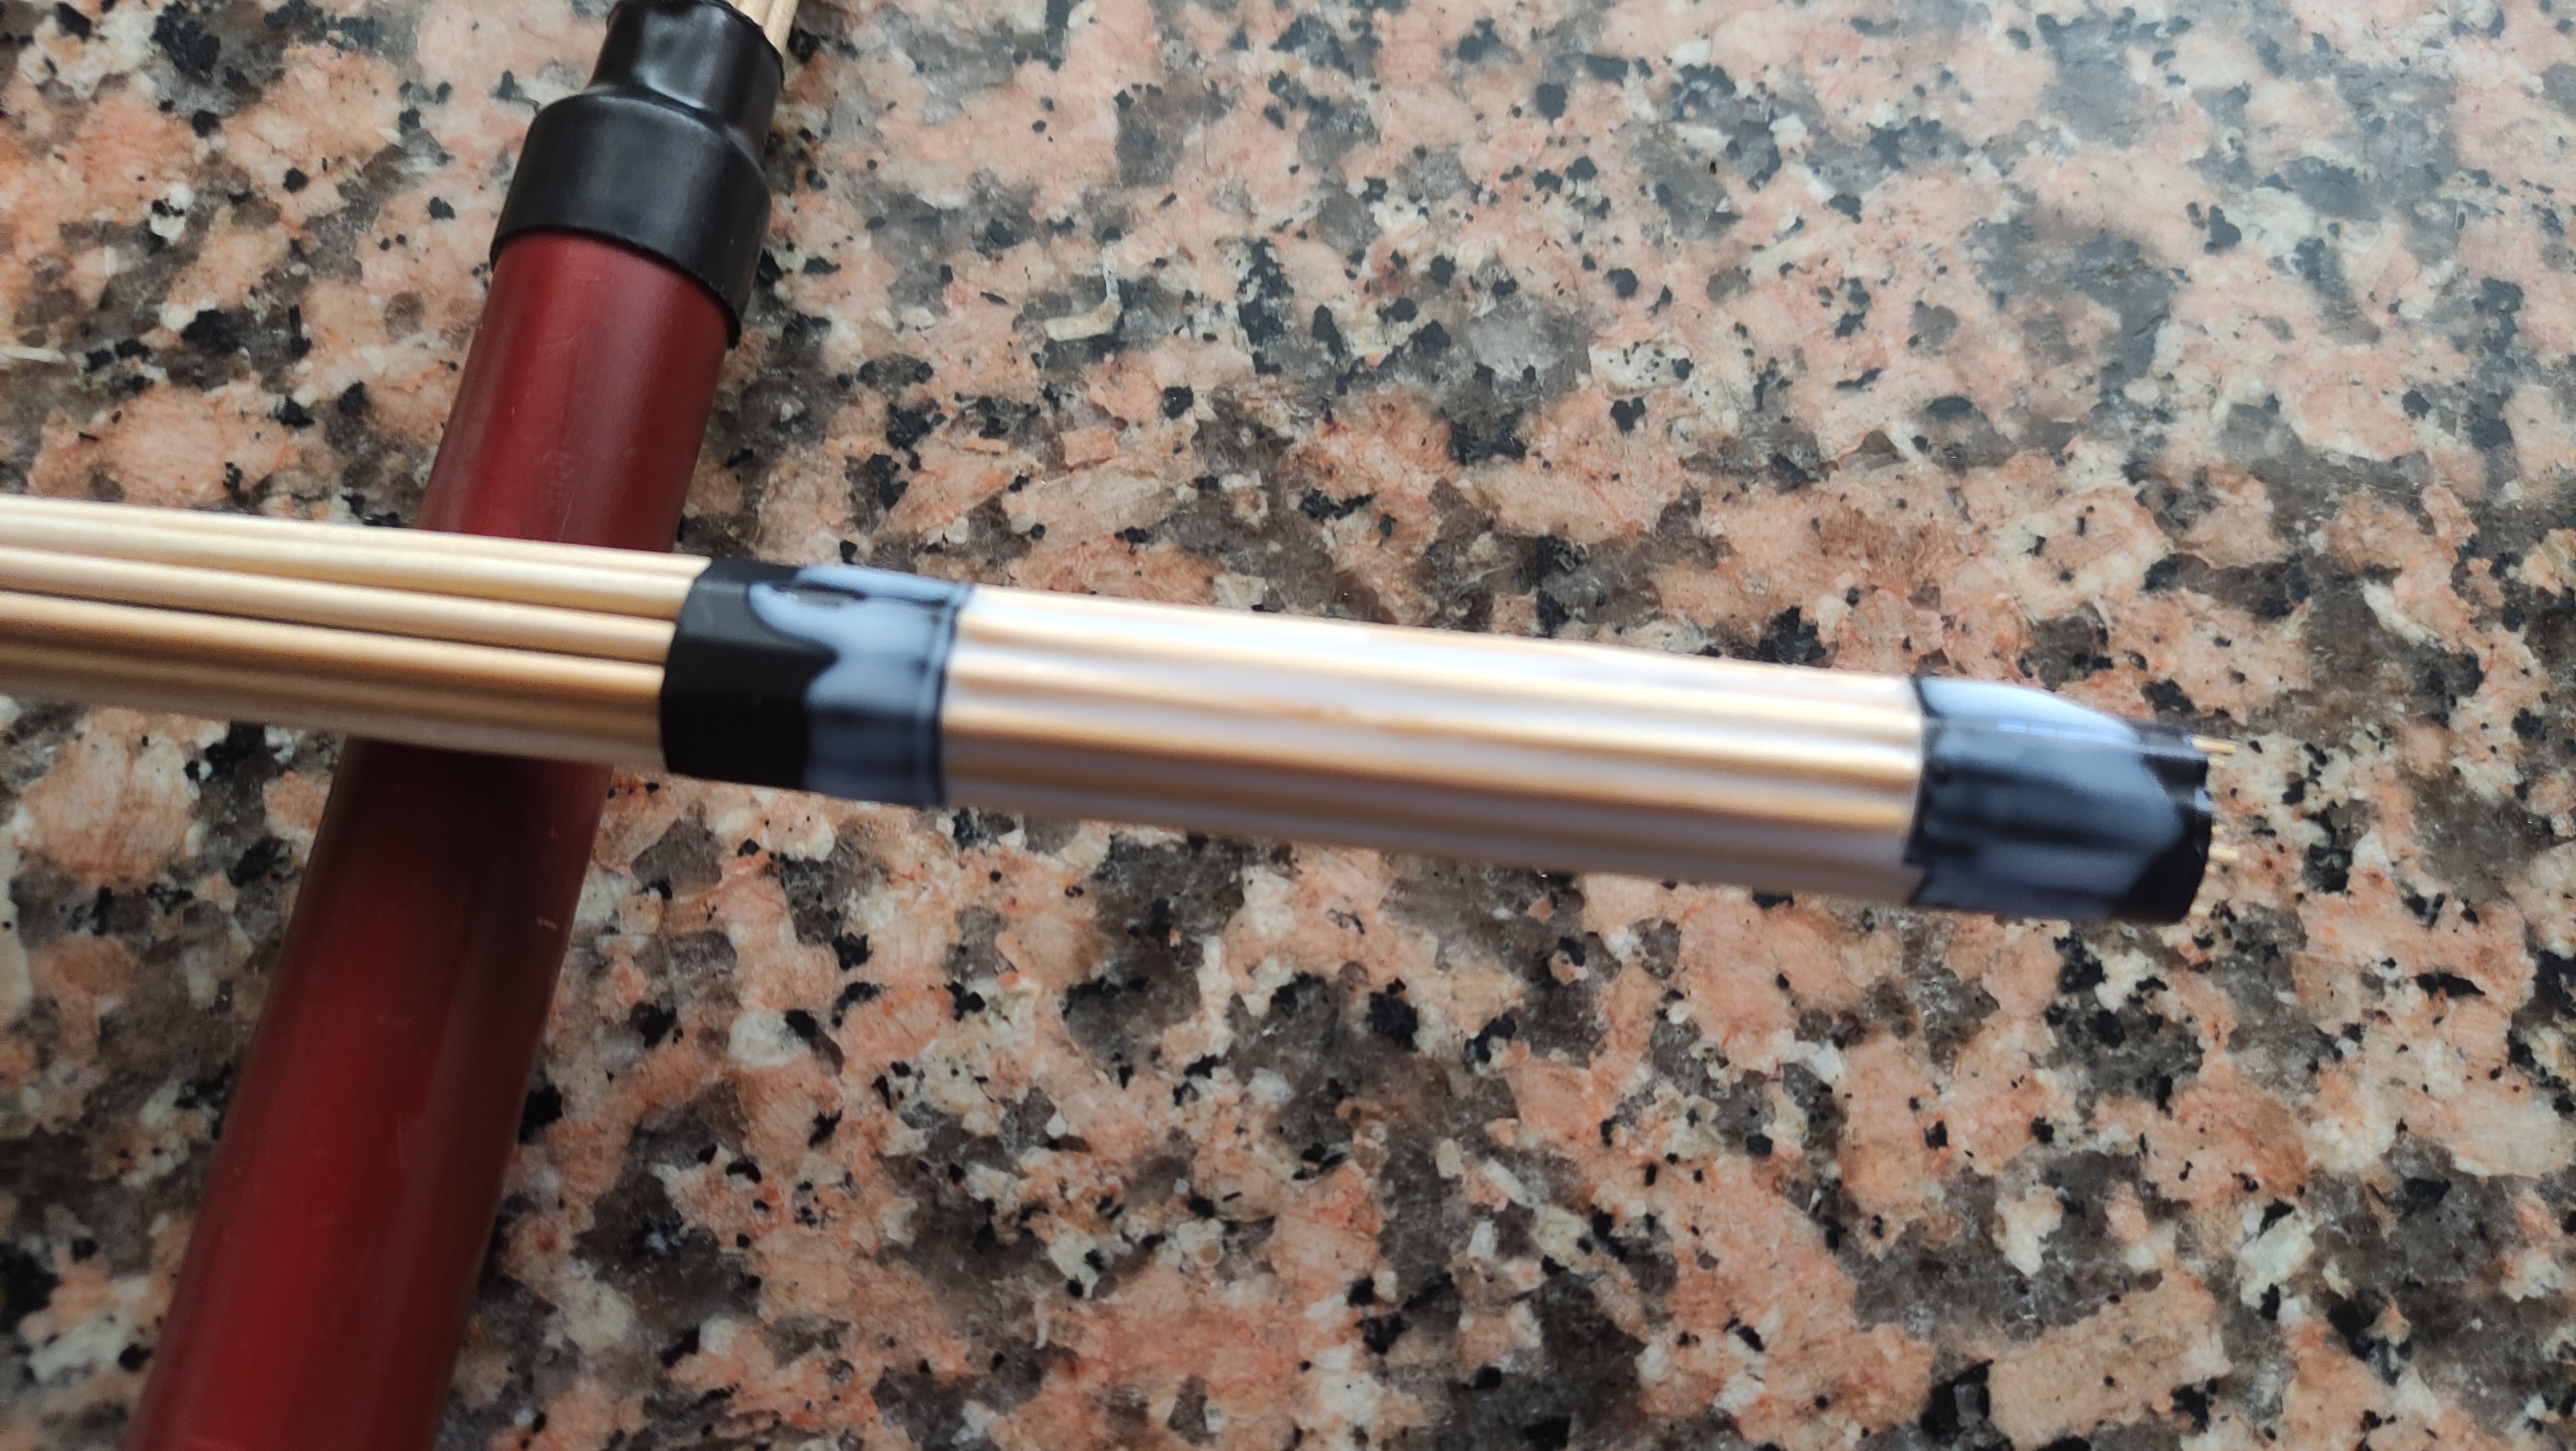
Reposando / Resting
Paso 4: Echar pega por debajo para mayor refuerzo, ademas lo dejaremos reposar con esa parte hacia arriba asi la pega va bajando con la gravedad y nos aseguramos pegue entre los palillos bien profundamente
Step 4: Put glue underneath for greater reinforcement, also we will let it rest with that part facing upwards so the glue goes down with gravity and we make sure it sticks between the sticks very deeply
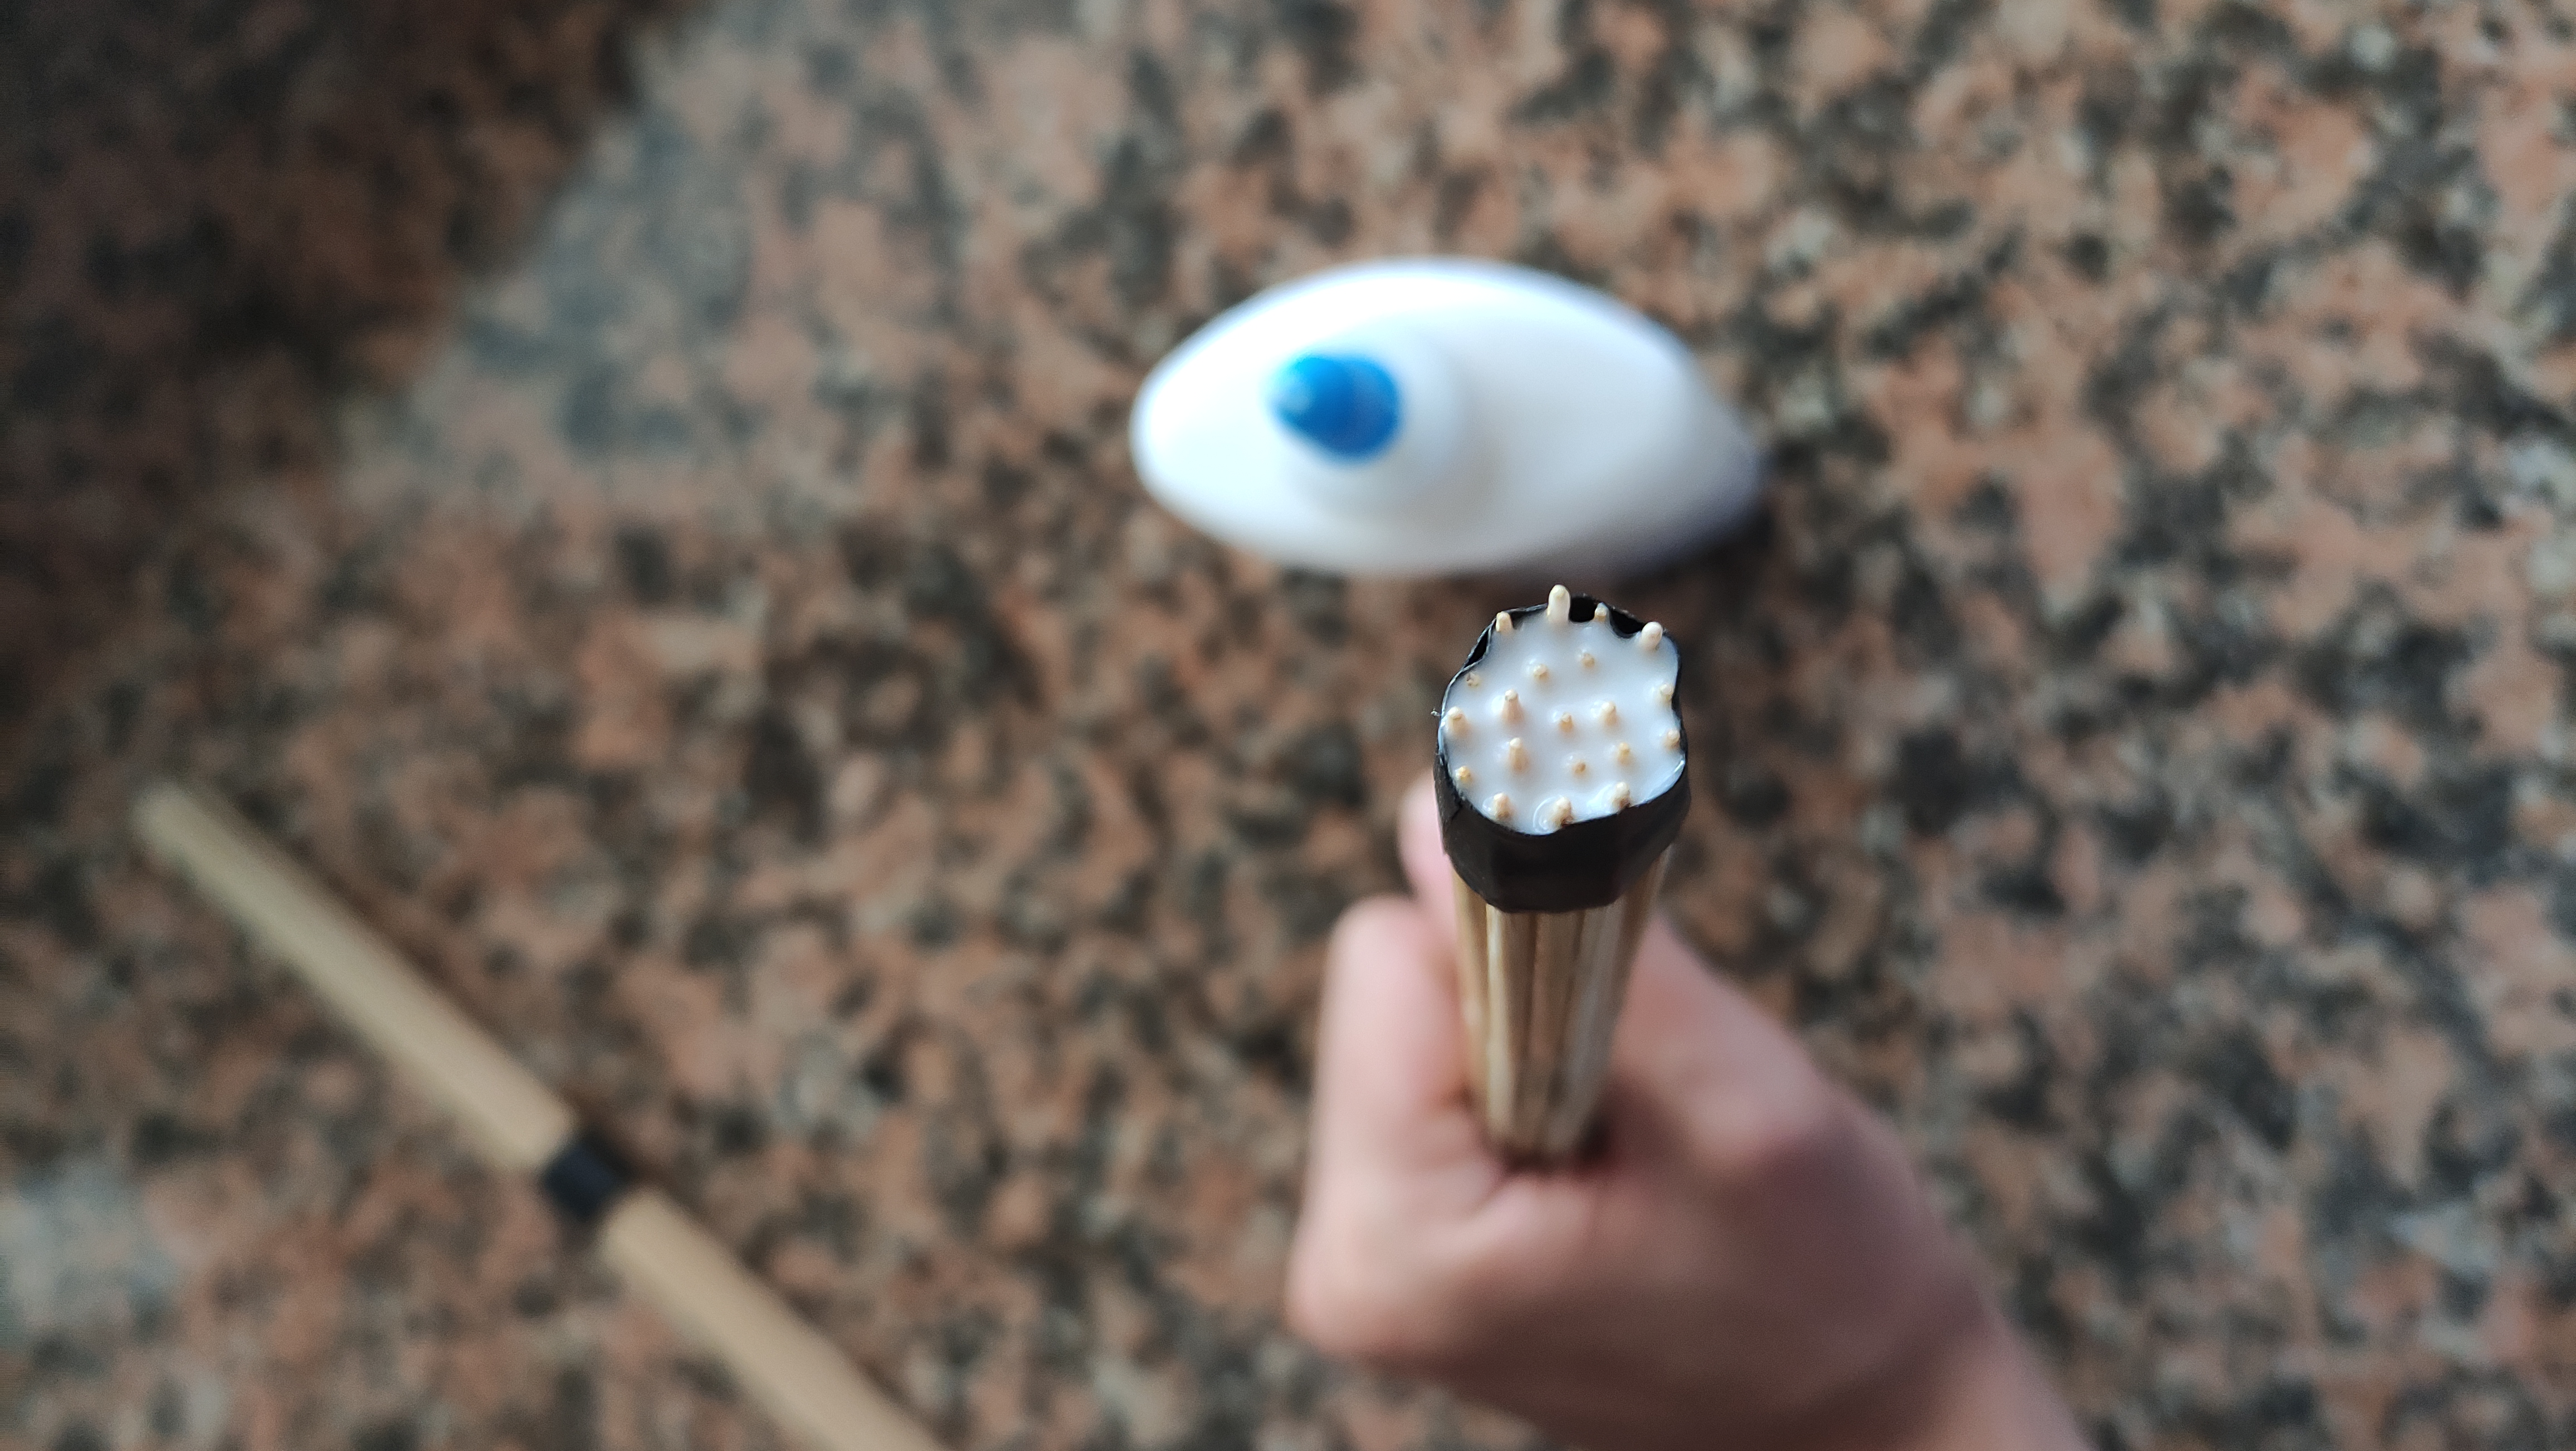
Pega por debajo / Glue underneath
Asi quedará tras dejarla secar con esta parte hacia arriba, la pega bajara y penetrara bastante
So it will remain after letting it dry with this part facing up, the glue will go down and penetrate a lot

Ya reposada / Already rested
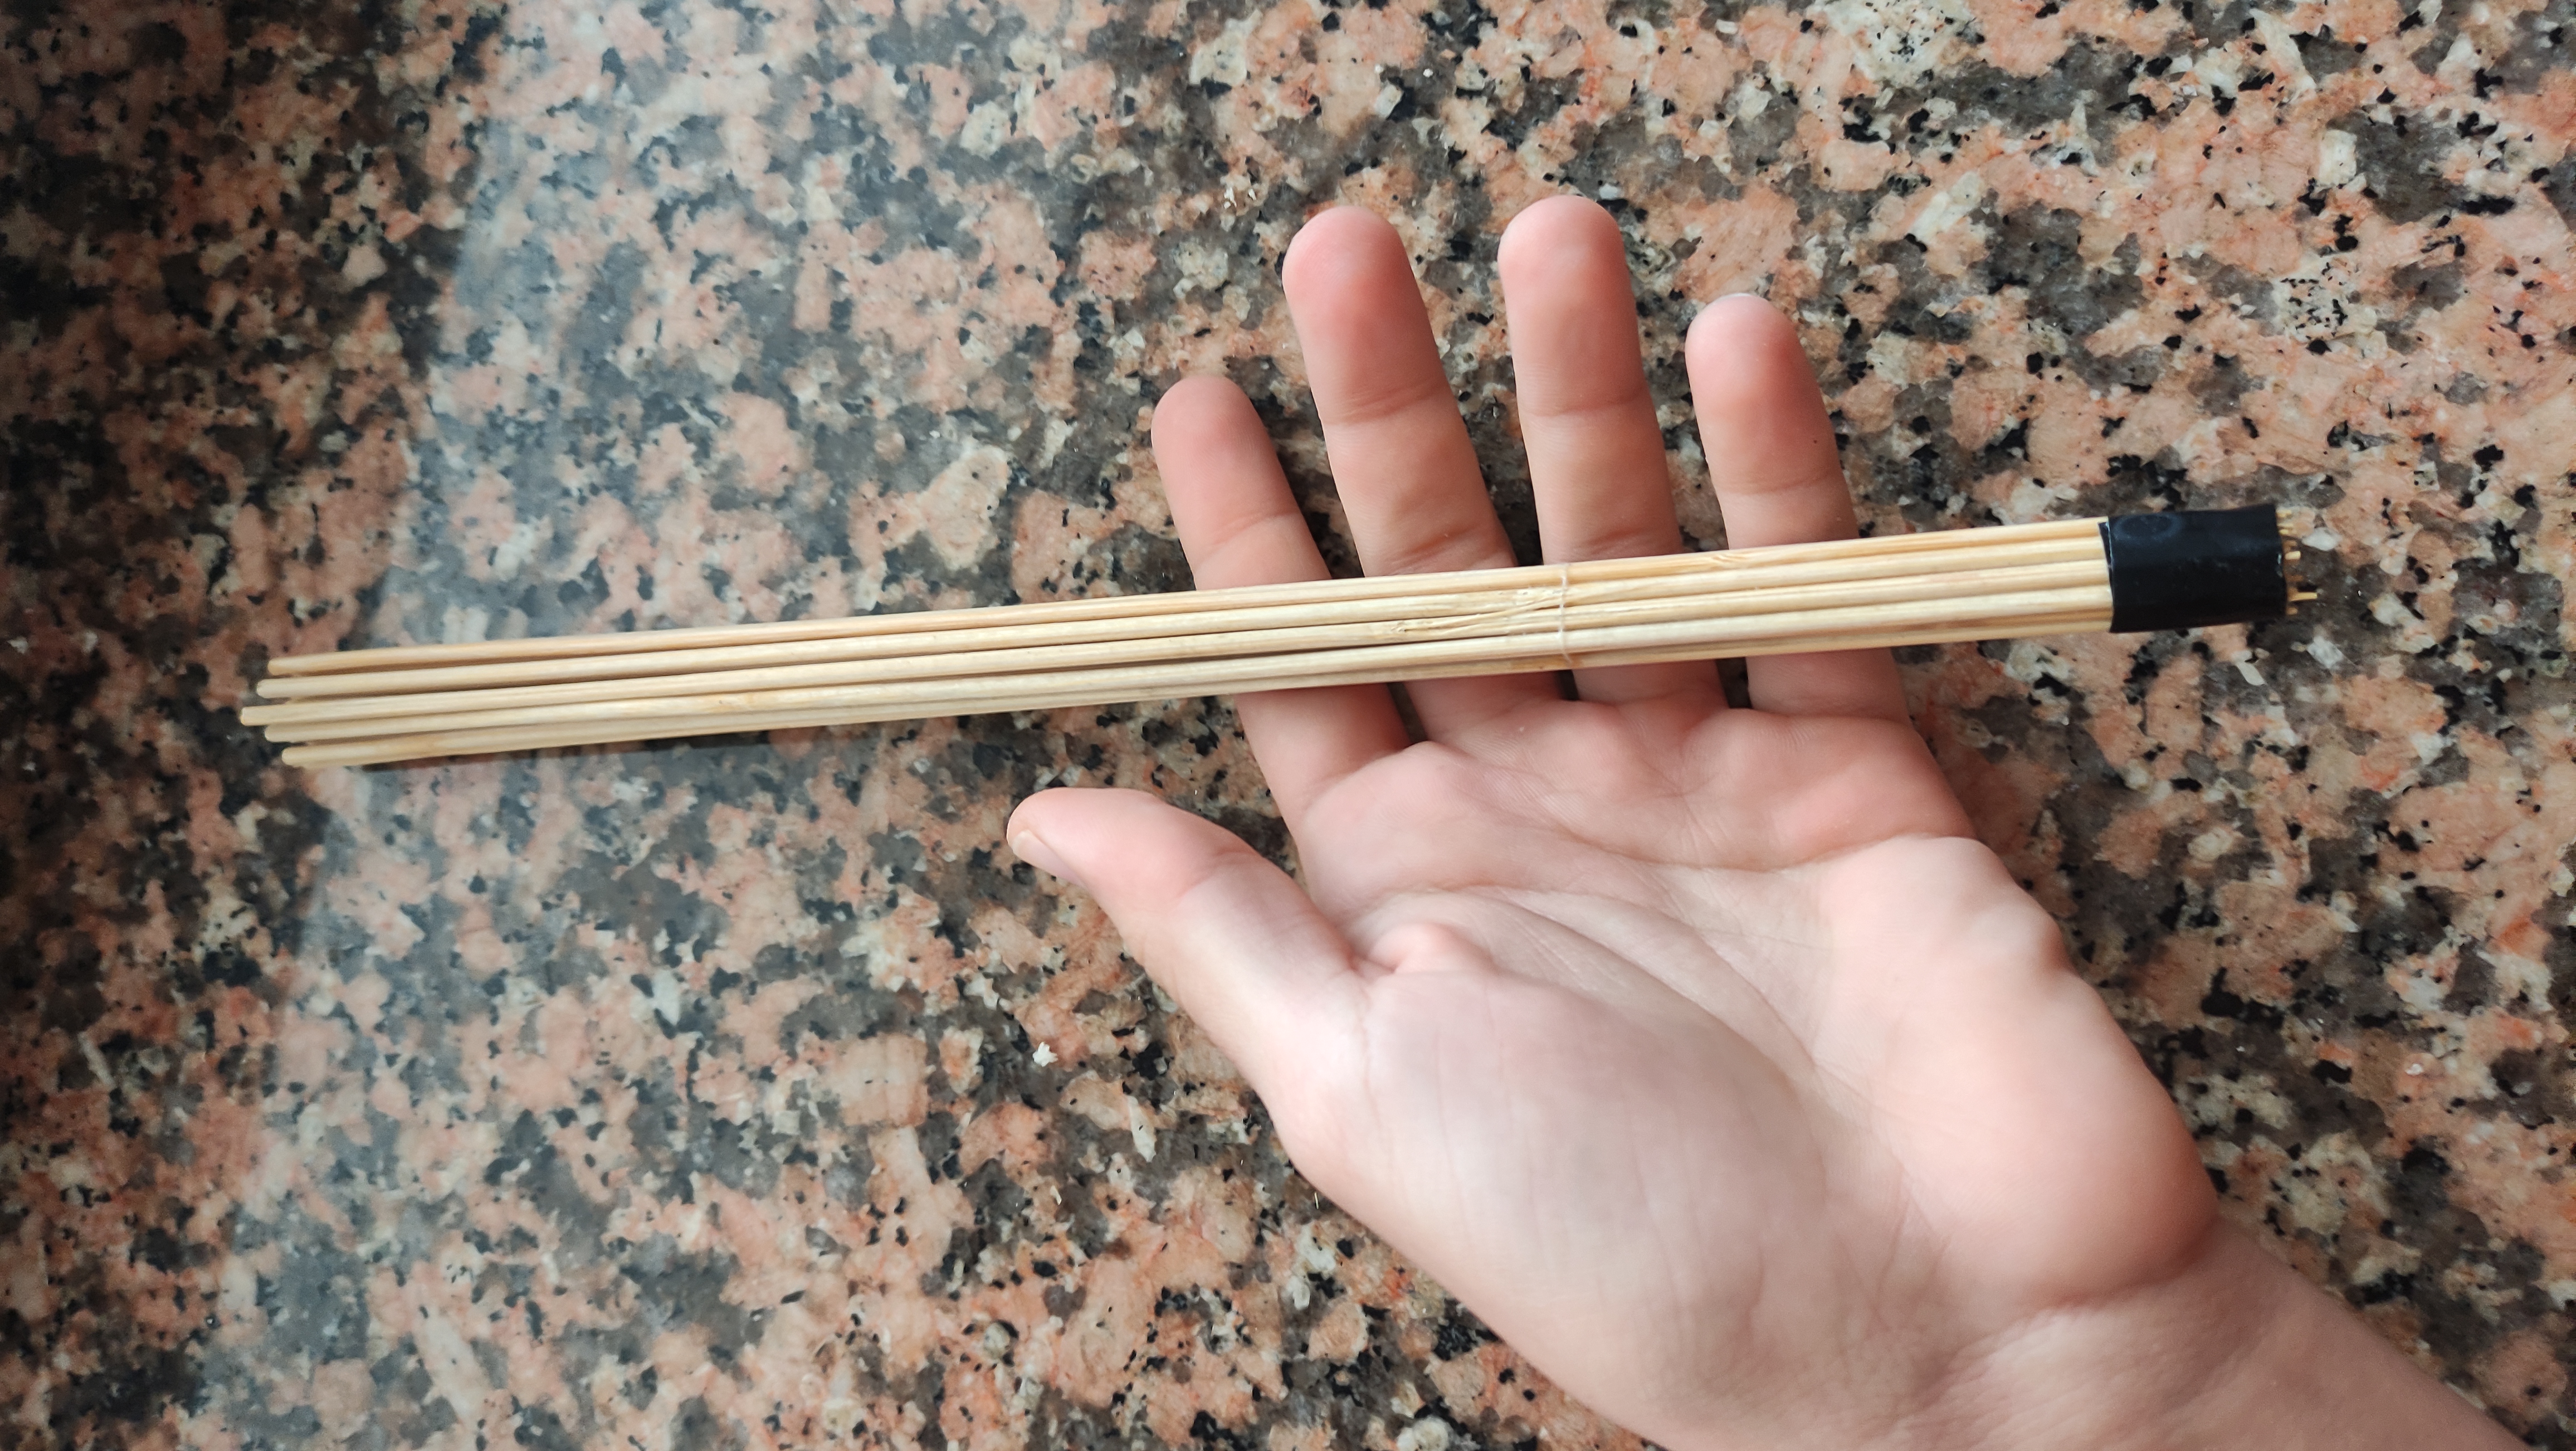
Quitamos los teipes / Take the tapes out
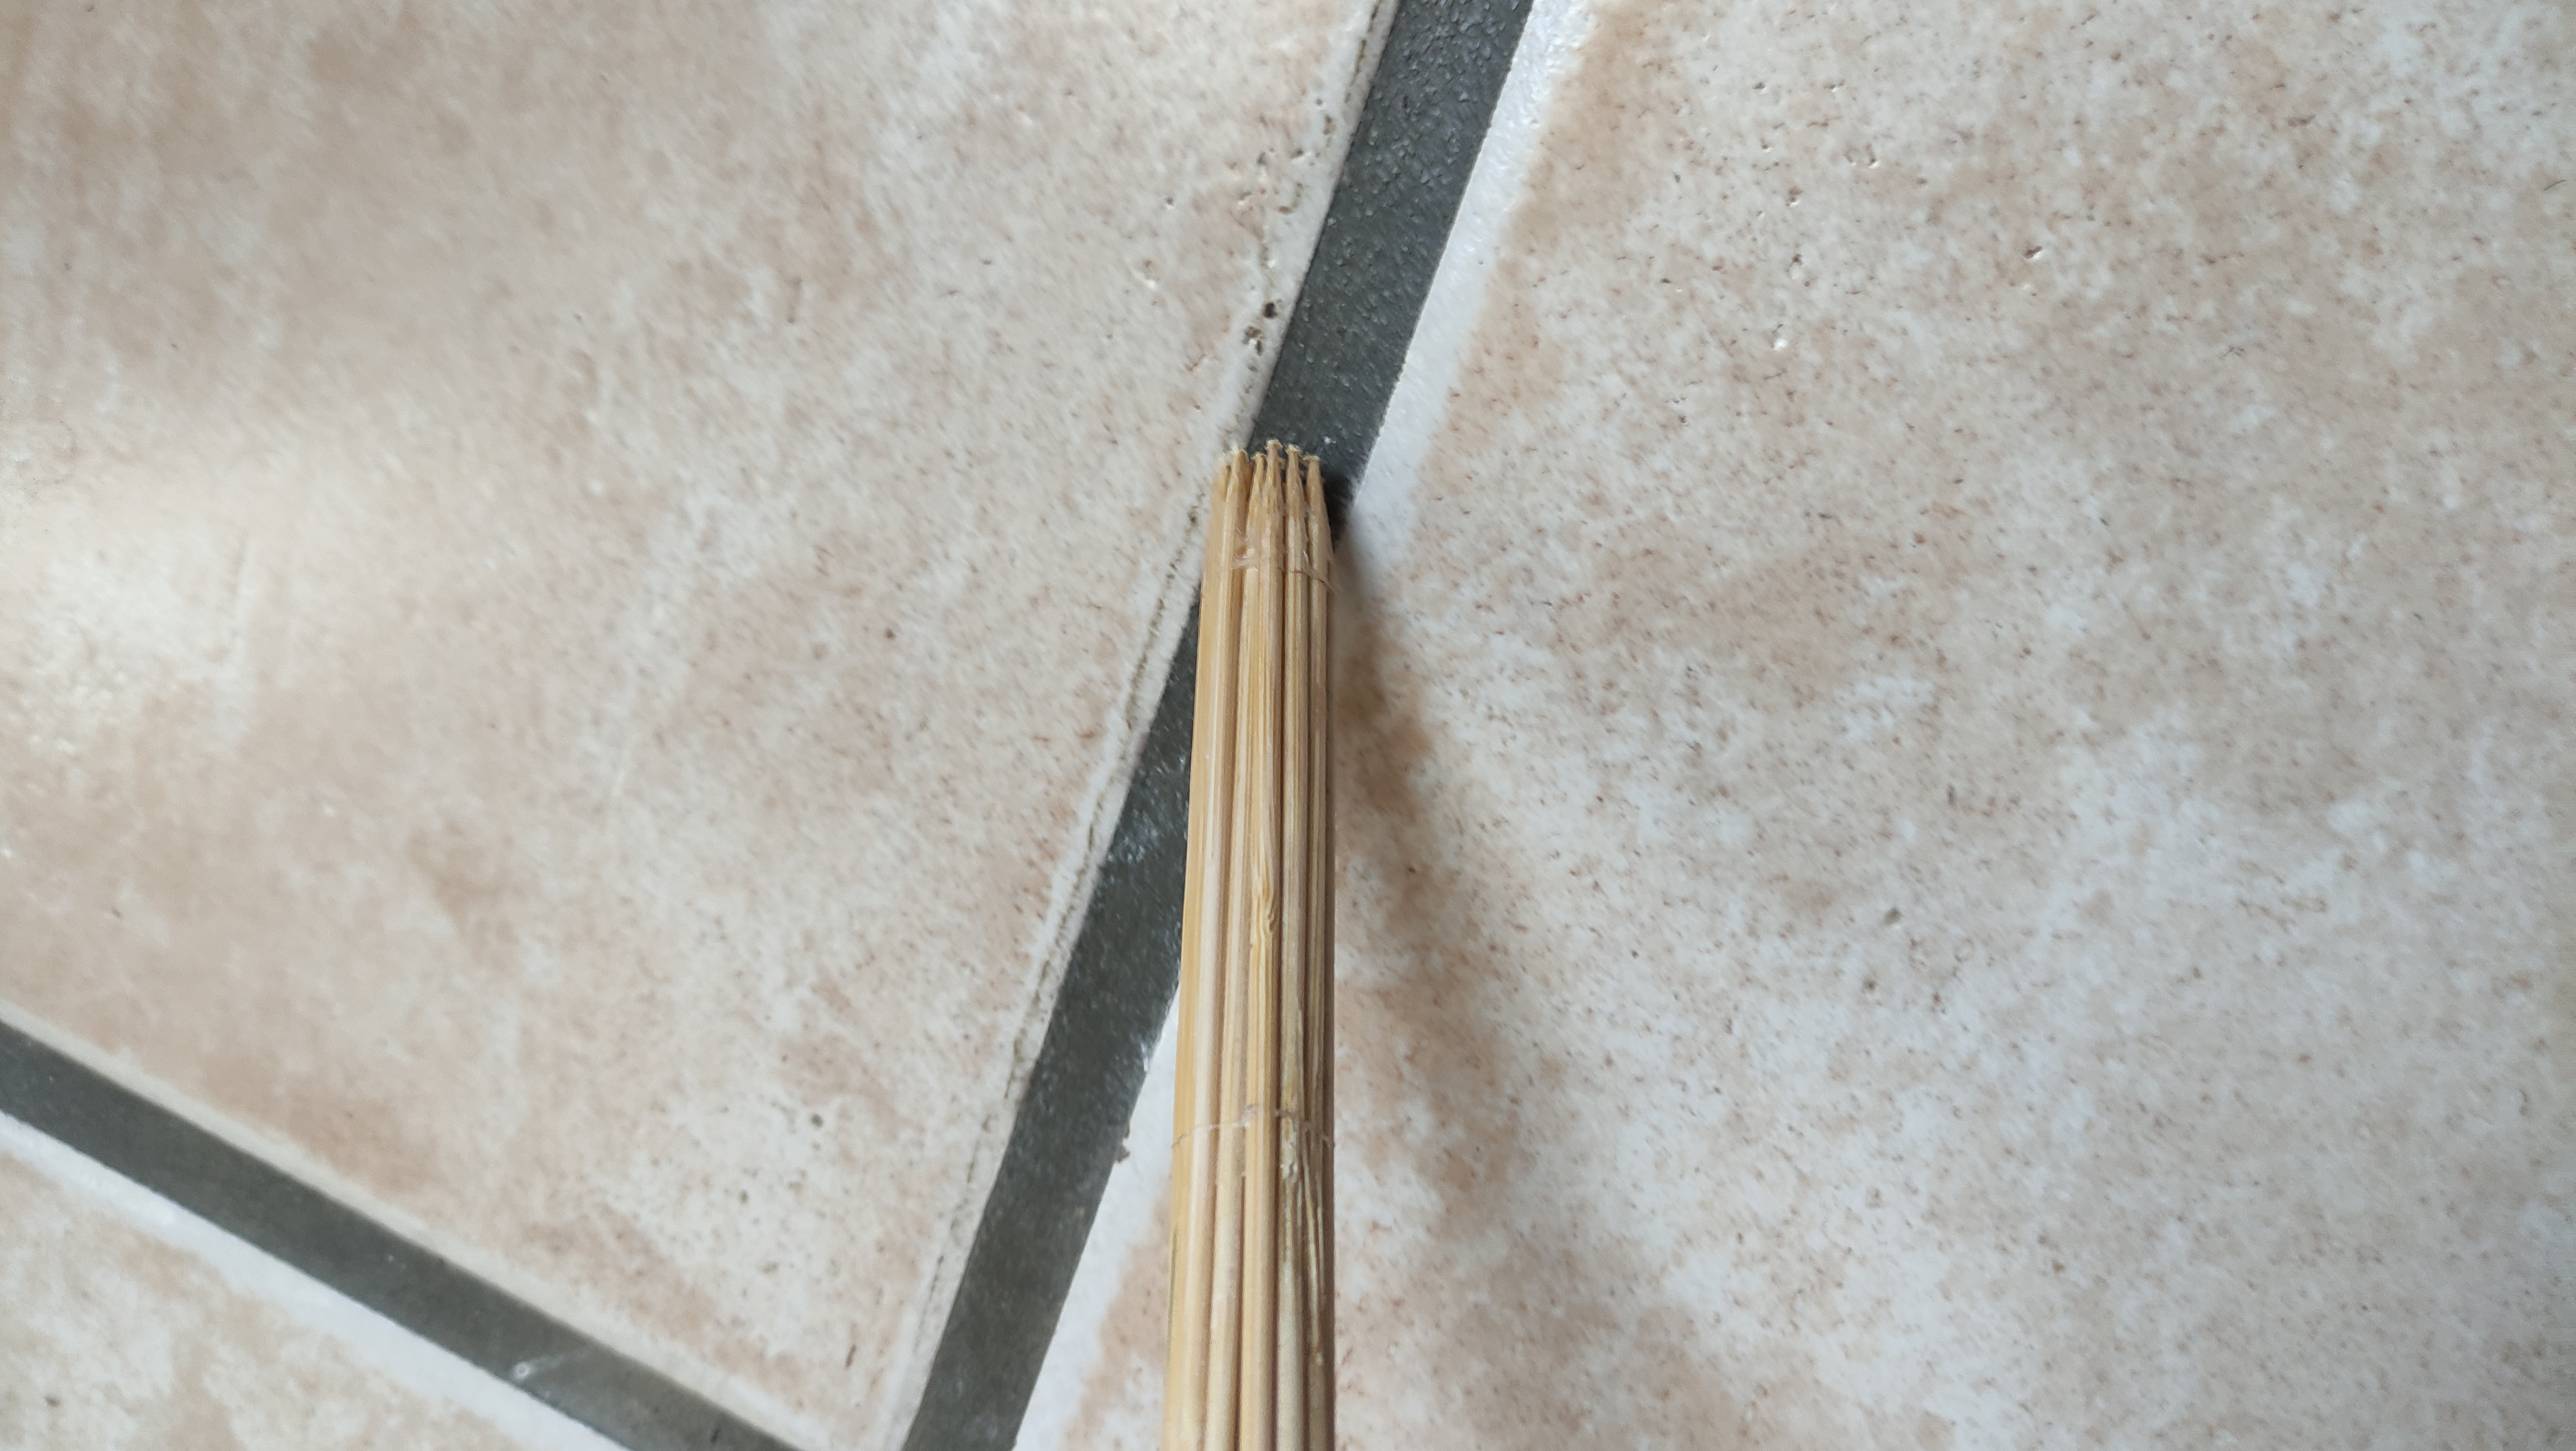
Lo raspamos con el piso o con lo que quieran ara que pierdan un poco el filo del pincho / Sanding it with the floor
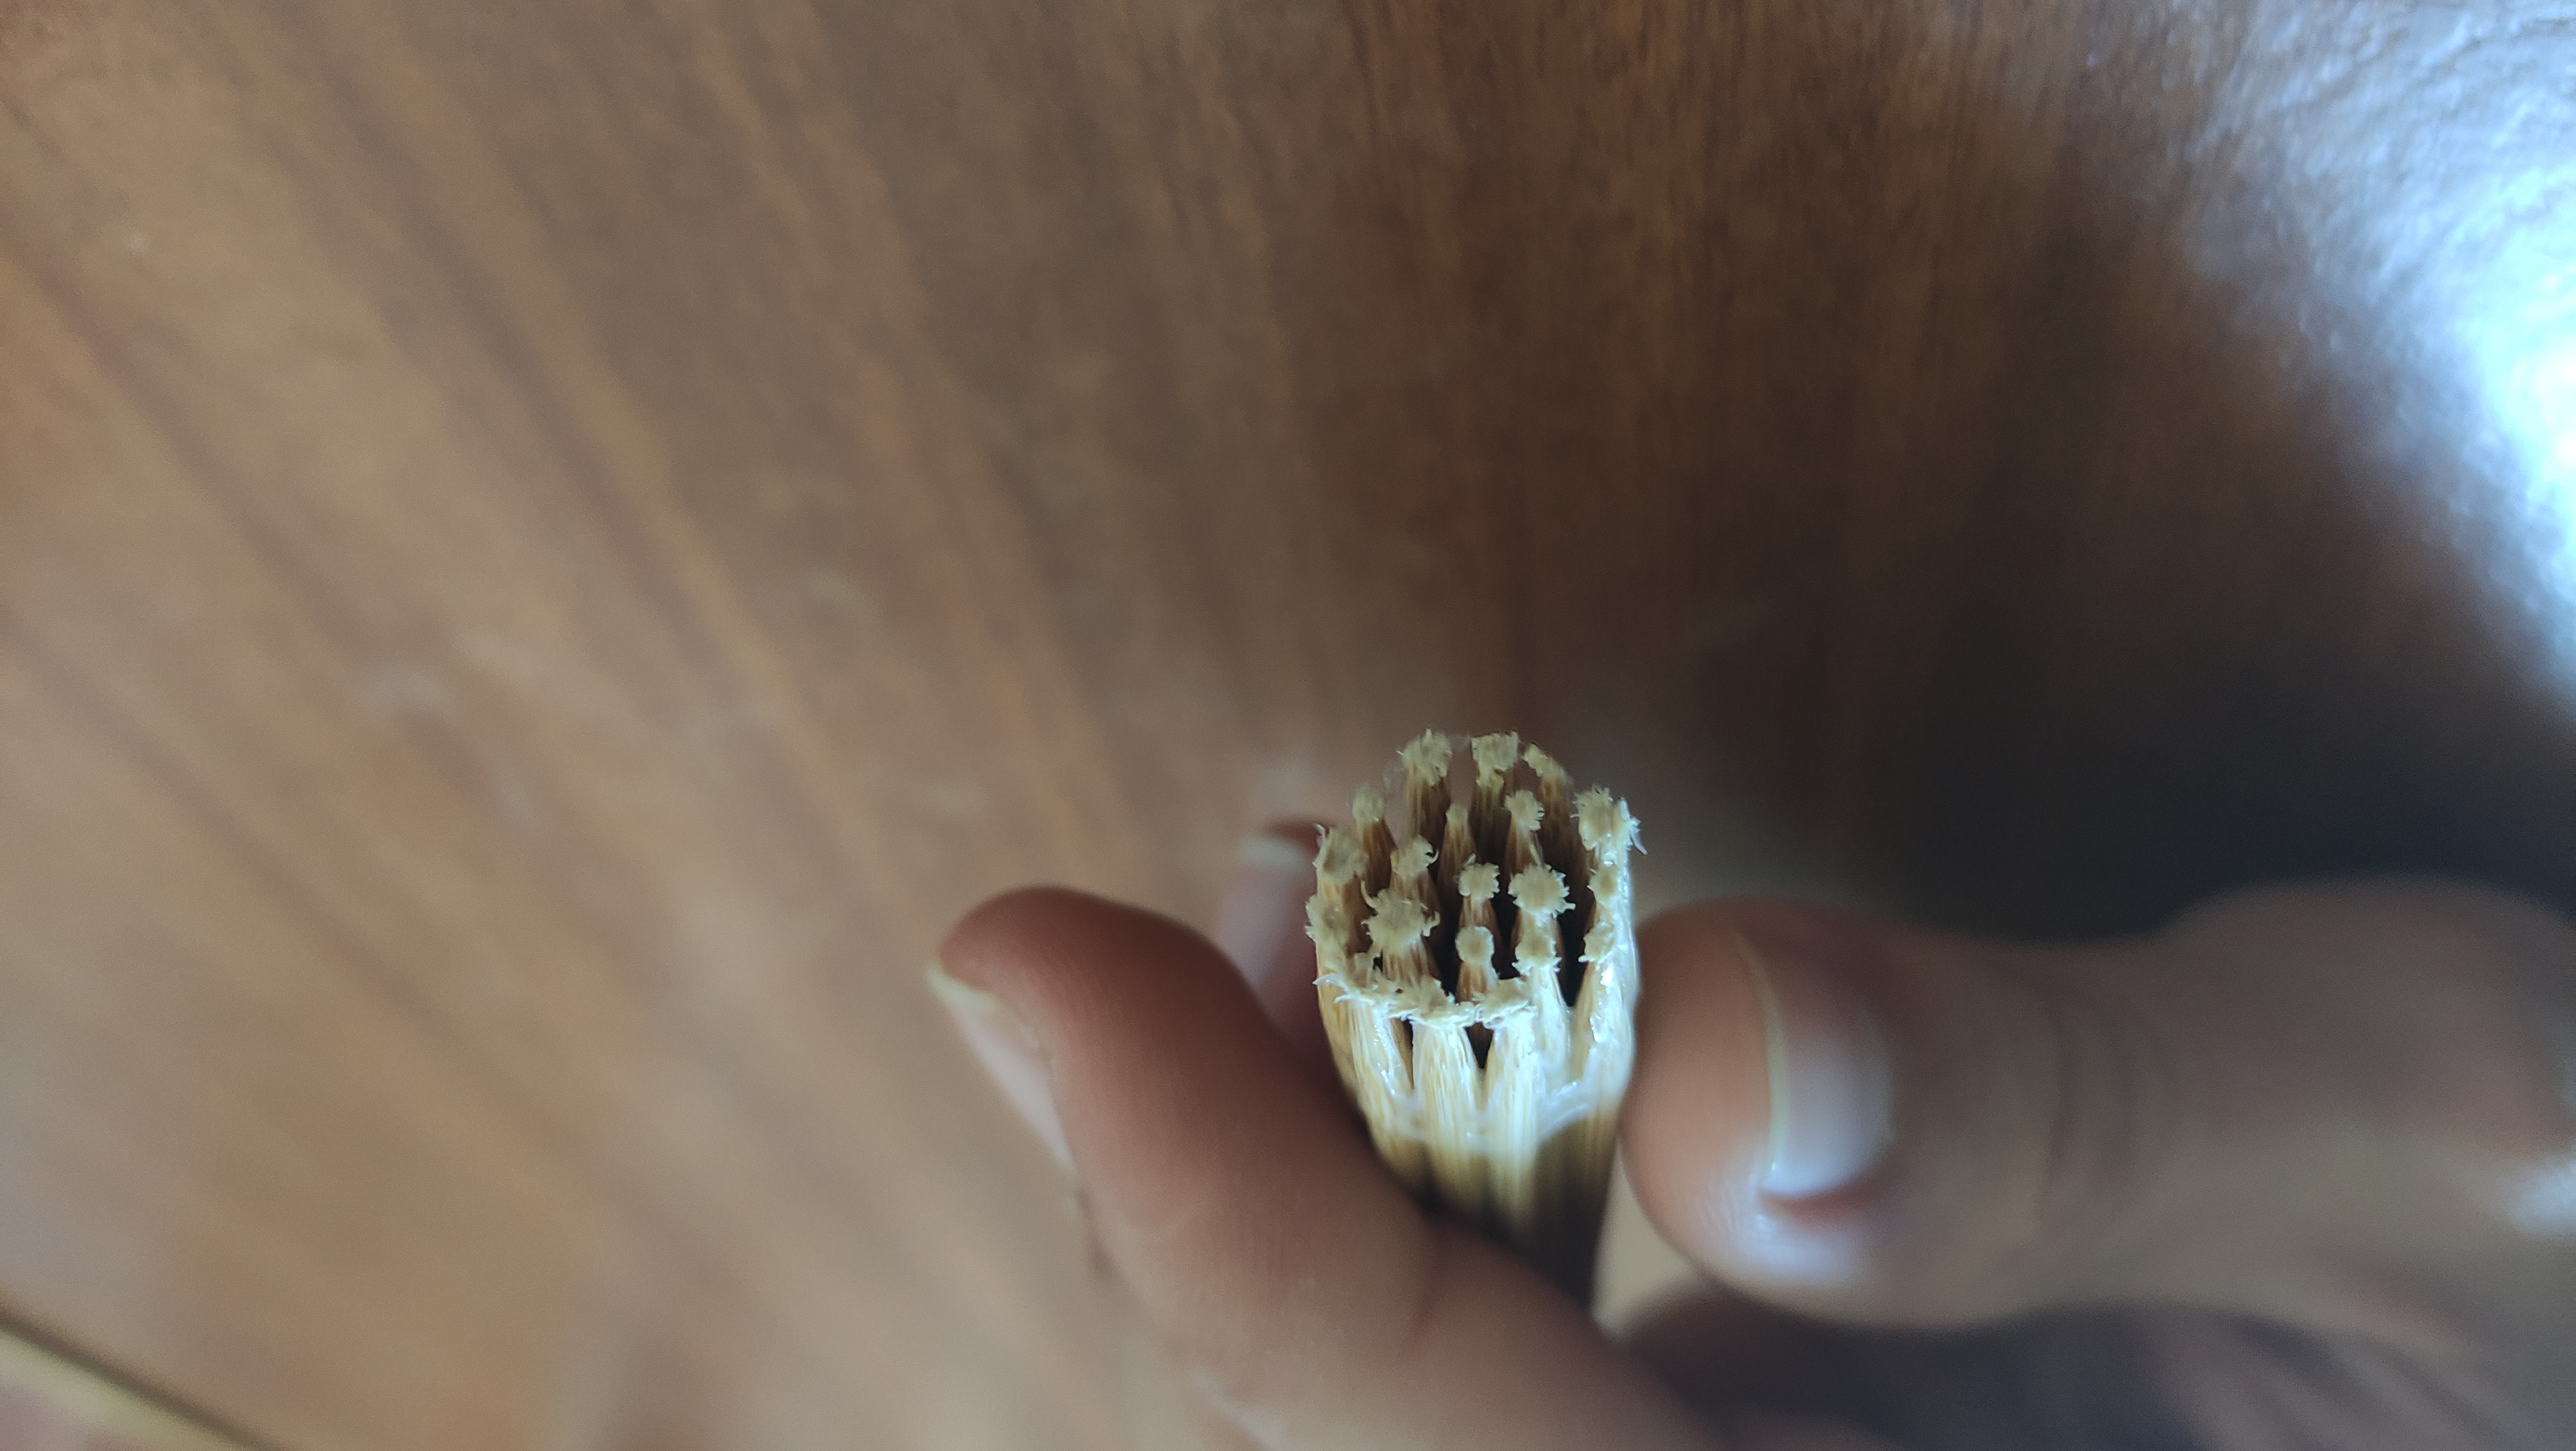
Queda así / Like this
Paso 5: Finalmente usaremos el teipe que queramos par ael mango, lo ideal sería algo tipo el antiresbalante que usan los tenistas en sus raquetas, pero bueno yo usé uno que tenpia por allí
Step 5: Finally we will use the teipe that we want for the handle, the ideal would be something like the anti-slip that tennis players use on their rackets, but hey I used one that I had there

Cubrir la parte del agarre / Taping the grip
Finalmente tendremos nuestra baqueta lista! espero les haya gustado mi post y que les sea util! ya yo la he usado y tiene un color muy genial! estare vbiendo su durabilidad, pero por el precio en comparacion con una de la marca,me gusta mucho mas esta jajaja

Thank you for sharing this amazing post on HIVE!
Your content got selected by our fellow curator @rezoanulvibes & you just received a little thank you via an upvote from our non-profit curation initiative!
You will be featured in one of our recurring curation compilations and on our pinterest boards! Both are aiming to offer you a stage to widen your audience within and outside of the DIY scene of hive.
Join the official DIYHub community on HIVE and show us more of your amazing work and feel free to connect with us and other DIYers via our discord server: https://discord.gg/mY5uCfQ !
If you want to support our goal to motivate other DIY/art/music/homesteading/... creators just delegate to us and earn 100% of your curation rewards!
Stay creative & hive on!
Dear @ricardopercusion, we need your help!
The Hivebuzz proposal already got an important support from the community and is close to be funded. However, it misses a few votes to get past the return proposal and your could make the difference!
May we ask you to support it so our team can continue its work this year?
You can do it on Peakd, ecency, Hive.blog or using HiveSigner.
https://peakd.com/me/proposals/199
Thank you!