[ESP/ENG] Reviví un "Apple Magic Mouse 1" haciéndole mantenimiento / I revived an "Apple Magic Mouse 1" by performing maintenance on it
Hoy les cuento como hice funcionar de nuevo un Mouse Apple, el cual me trajo un amigo para que se lo revisara, ya que no le servía.
Entonces, manos a la obra apreciados Hivers...
A big hello to the entire HIVE community!
Today I will tell you how I made an Apple Mouse work again, which a friend brought me to have it checked, since it was not working for him.
So, let's get to work, dear Hivers...
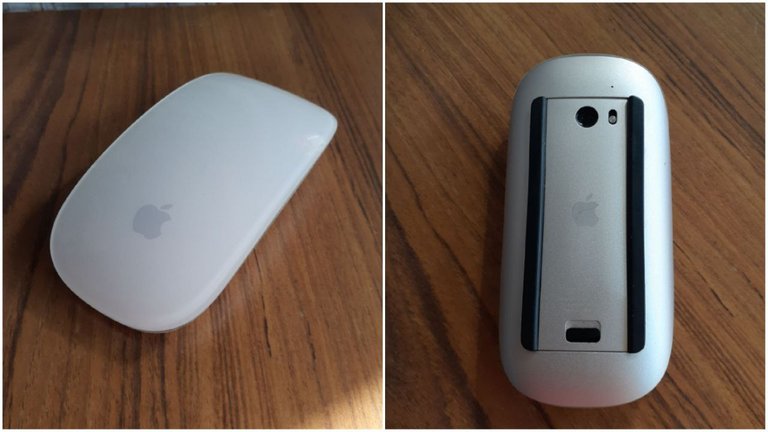
El "Apple Magic Mouse 1" posee un diseño delgado, elegante y minimalista, cuenta con una carcasa superior táctil, un botón de encendido para activar el dispositivo y su conexión es a través de Bluetooth.
A continuación les muestro algunos datos técnicos del dispositivo:
The Apple "Magic Mouse 1" has a slim, elegant and minimalist design, it has a tactile upper casing, a power button to activate the device and its connection is via Bluetooth.
Below I show you some technical data of the device:
Datos técnicos / Technical data
Marca: Apple
Fabricante: Apple Computer
Series: Magic Mouse
Dimensiones del producto: 20.3 x 7 x 14.3 cm; 71 gramos
Pilas: Litio-metal (Tipo de pila necesaria)
Número de modelo del producto: Magic Mouse
Color: Blanco
Factor de forma: Ambidextrous
Tamaño de la pantalla: 3.5 Pulgadas
Tipo de conexión inalámbrico: Bluetooth
Plataforma de Hardware: PC / Mac
Sistema operativo: Mac OS X v10.5.8\nWindows 7, **Windows Vista, Windows XP Home, Professional (SP3)
Software compatible: Ja
Descripción de la batería: AA
Pilas incluidas: No
Peso del producto: 71 g

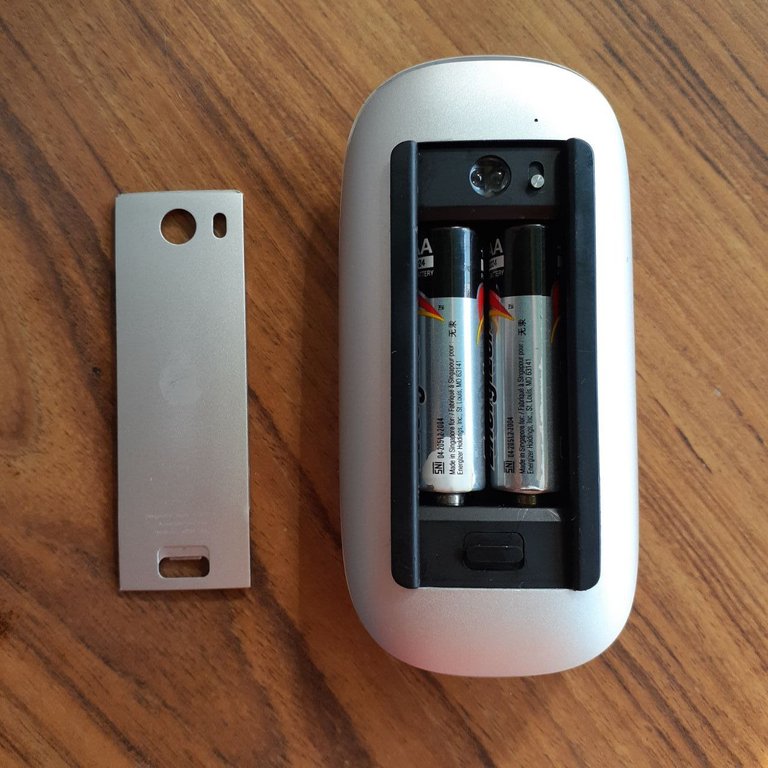
We start by performing a visual inspection of the device, then we check the condition of the batteries and the contacts of the device. In the first instance we can notice that one of the batteries has a white tone on the negative pole side, which may be indicative that the battery is in bad condition.

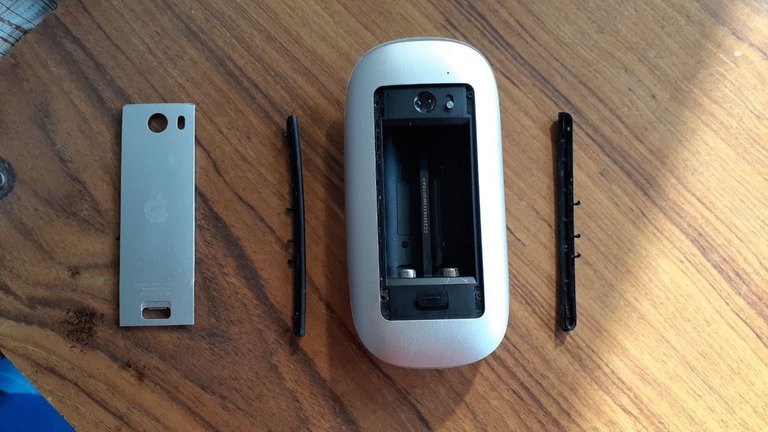
We remove the batteries and the rubber bands on the edge of the battery holder to proceed to disassemble the device. These rubber bands are the ones that help the mouse slide more easily when using it.

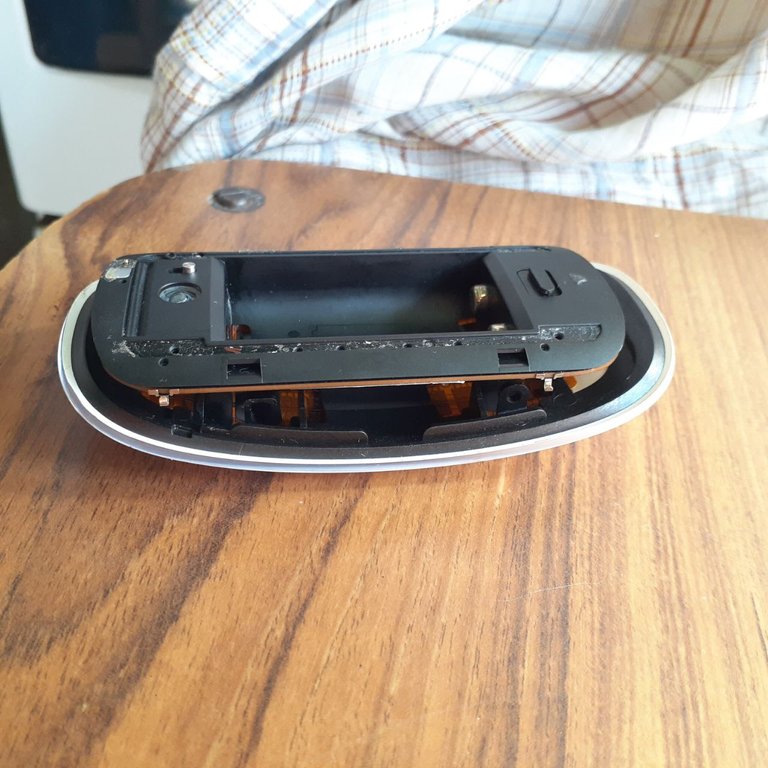
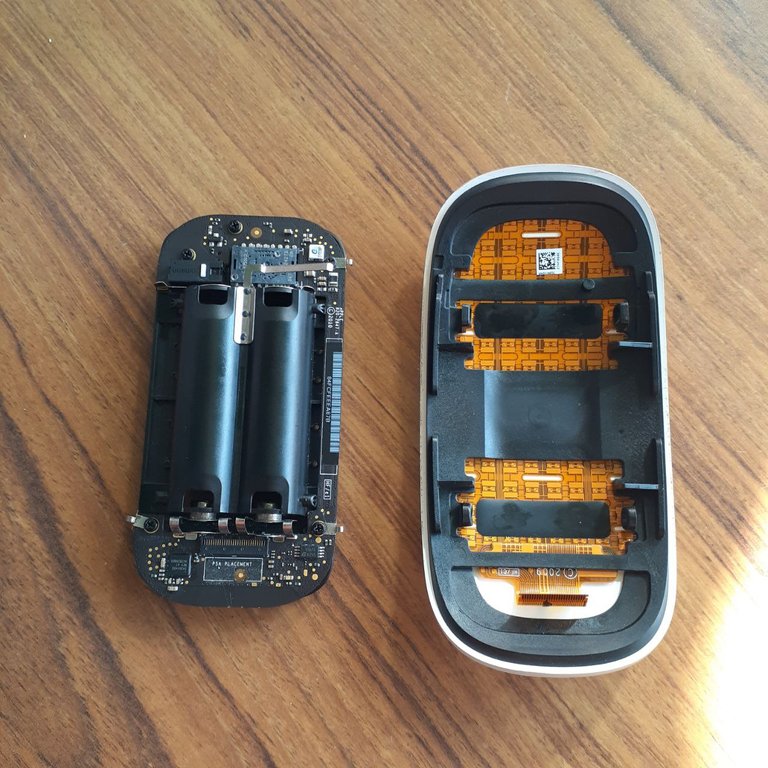
Once we have removed the rubber bands, we proceed to remove the lower casing with extreme care to avoid damaging it, with the help of a plastic instrument, in this case I used an old telephone card, then and also very carefully we remove the upper casing, which is the touch casing, thus obtaining on one side the casing and on the other side the electronic card together with the battery holder.

Cuándo realicé dicha limpieza, y luego de haber inspeccionado correctamente la tarjeta electrónica, supuse que sería todo ya que no había nada más fuera de lugar.
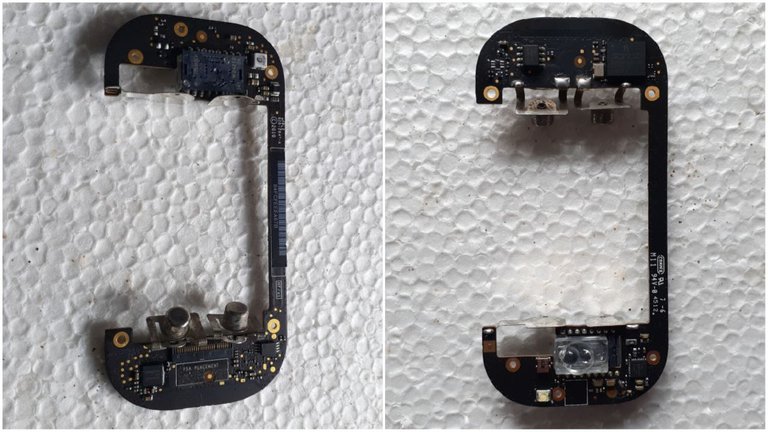
Here we can see the electronic card of the "Apple Magic Mouse 1" on both sides, once we have removed it from the battery holder, removing some screws. We made a visual inspection by both sides to determine the state of the same one, finding that the connection contacts for the batteries were sulfated.
were sulfated, for which we proceeded to clean it with the help of a small knife and a very fine sandpaper.
When I performed such cleaning, and after having properly inspected the electronic card, I assumed that would be all since there was nothing else out of place.

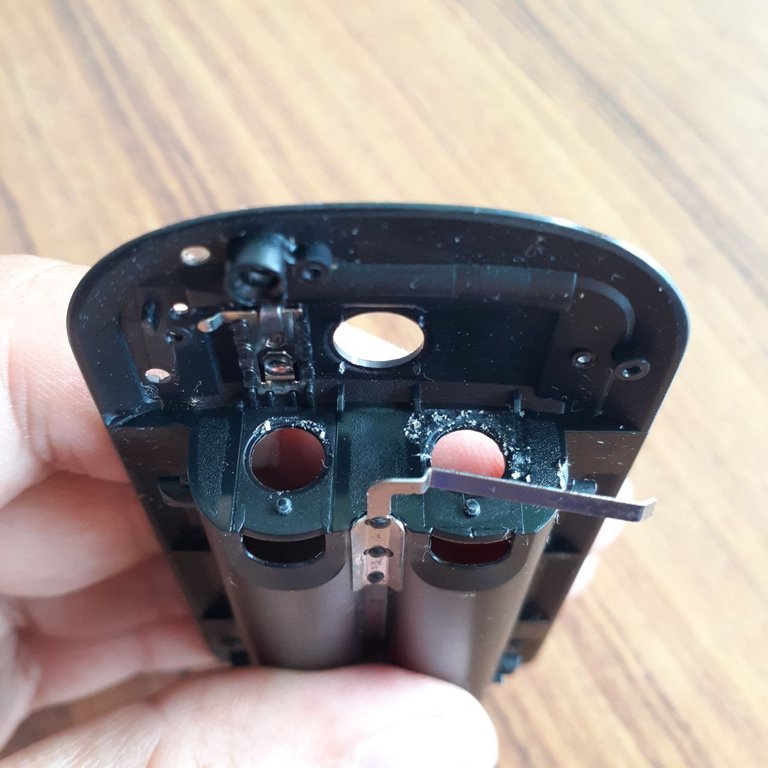
On the battery holder we also found traces of sulfate, which we carefully cleaned with the help of soapy water and a brush.

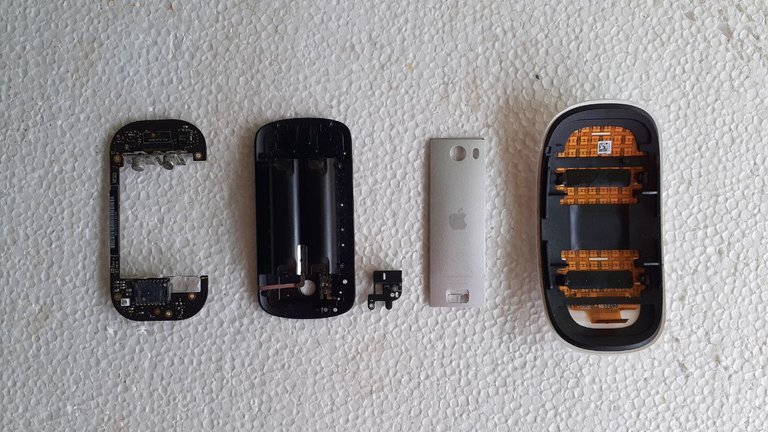
Then once we have done the visual inspection of all its parts and we have done the necessary cleaning and maintenance we have the parts to start the assembly.

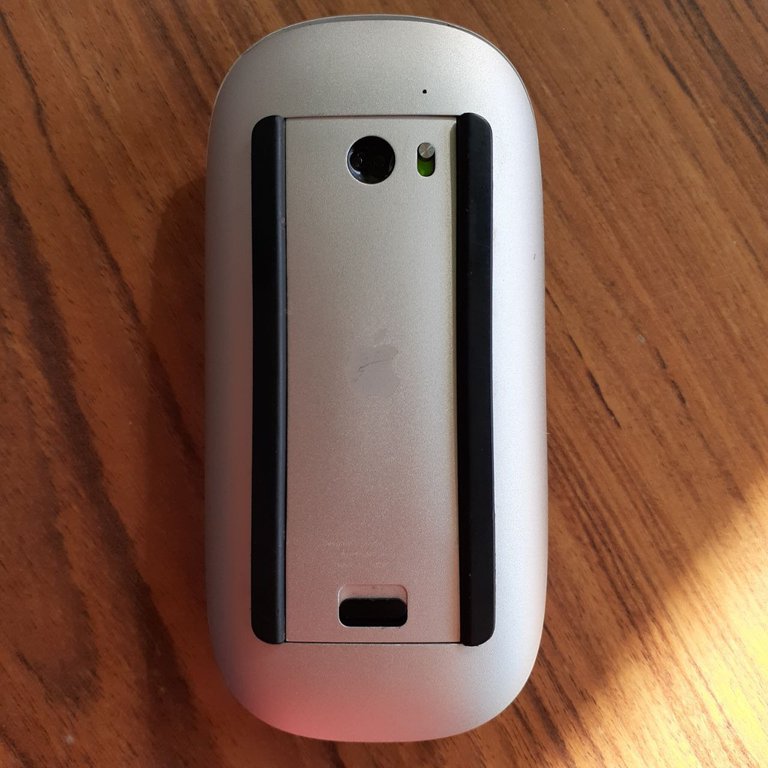
Finalmente, una vez que armamos el dispositivo lo único que resta es probarlo, para ello encendemos el dispositivo con el pequeño switch que vemos en la parte superior derecha, un pequeño botón plateado acompañado de una franja verde en el fondo y listo.
Ya que mi PC de escritorio no cuenta con conexión Bluetooth se me ocurrió curiosamente probarlo con mi celular, encendí el bluetooth, busque el dispositivo, lo emparejé con mi celular y para mi sorpresa, funcionó perfectamente y podía manejar mi celular con el "Apple Magic Mouse 1"


Hasta la siguiente publicación!
Until the next post!
Todas las fotografías fueron tomadas con mi celular SAMSUNG Galaxy A20.
All photographs were taken with my SAMSUNG Galaxy A20 cell phone.
El separador de texto y las demás imágenes son de mi autoría.
The text separator and other images are of my authorship.

https://twitter.com/robertsreinold/status/1487497440752279554
The rewards earned on this comment will go directly to the person sharing the post on Twitter as long as they are registered with @poshtoken. Sign up at https://hiveposh.com.
excelente amigo
Gracias por leer 🙌
Esto está genial, a mi me gusta reparar cosas también y volverle a dar vida útil.
En este caso, está publicación hubiera quedado mejor en la comunidad amiga de @geekzone, puedes visitarla y leer su descripción. Agradecemos que compartas con nosotros tu contenido mecánico.
Muchas gracias por leer 🙌
Reparar algo por nuestra cuenta es realmente satisfactorio, a parte que nos ahorra algo de dinero también.
Gracias por la recomendación, ya los busqué y leí su descripción.
Saludos, es una dedicatoria bastante buena la que tienes de reparar aparatos que ya entraron en la zona gris de ser llamados "dañados". Sin dudas un trabajo ejemplar ¿Qué opino tu amigo del mouse revivido?
Saludos, amigo! Me gusta mucho el tema de las reparaciones casi sin importar de lo que se trate, a pesar de que mi especialidad son las reparaciones eléctricas y electrónicas, me gusta arreglar muchas cosas en general, intentar en lo posible de darle una segunda vida a aquello que es considerado dañado o incluso hasta irreparable, algunas veces no tengo los conocimientos y habilidades necesarias pero investigo y busco la manera de resolver el problema.
Mi amigo tal vez antes de entregármelo para revisarlo no tenía mucha fe en que se salvaría, pero quedo bastante sorprendido y encantado con su Mouse reparado, totalmente funcional.
Muchas gracias por leer mis publicaciones y apreciar mi trabajo, saludos!
Siempre a la orden Reinold. Realmente no es la tematica de hivemotors, pero siempre que incluyas soldadura sera valido :D
La verdad es que olvidé mencionar en el post que tuve que remover la soldadura de los pines de los contactos para las baterías y luego volver a soldarlos, ya que dichas soldaduras estaban frías o en mal estado. De todas formas, gracias de nuevo 👍
Eso hubiera sido super bueno para hivemotors :)