My first Quilling - Seahorse
Hello everyone, today I want to share with you a topic that interested me a lot a few months ago and today I dared to make my first design with quilling!
To begin with, let's talk a little about what quilling is.
.jpeg)
What is Quilling?
Quilling, also called paper filigree or paper rolling, can be described as a craft technique. This ancient art consists of making decorations made from fine paper ribbons rolled up on themselves. By assembling the elements, magnificent 3-dimensional decorations are obtained.
How is filigree made?
It consists of filling with very fine metal threads, generally gold or silver, shapes or figures previously made by the artisan, which make up complex pieces of jewelry, forming a pattern similar to lace. It is a fine and delicate process.
In my case I decided to use letter-type cardboard to make a filigram of a seahorse.
To create this, use the following materials:
- Card type letter
- A pencil
- A printed image
- A couple of wooden sticks
- White paste
- A tweezer
First step
Since this is my first time doing this, I took a picture from the internet, which is the one below. I printed this image, and used it to mark on a glasse-type white cardboard (only use a corner of the cardboard and print the image according to the size of the design you select).
The previous image, I marked it on White Cardboard glace type. As I am a beginner I used this to mark on the card, so I have a guide mark on the card where I would do the quilling.
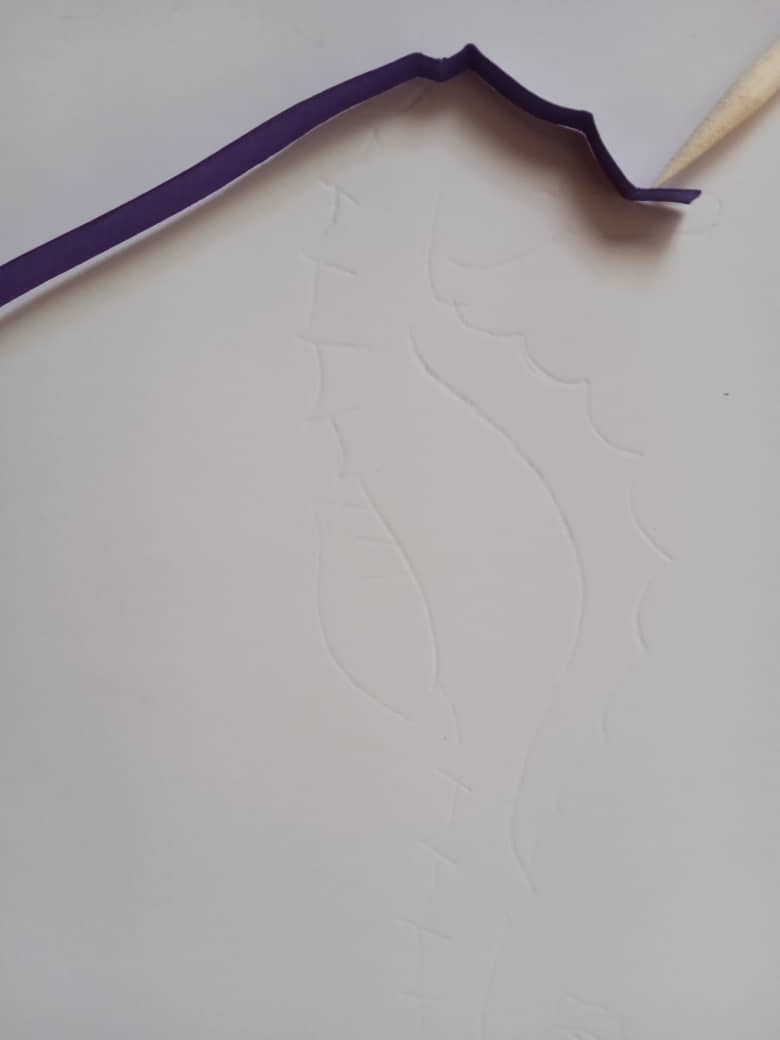
Second step
Before beginning, take letter-type cardboard of different colors and with the help of a ruler and scissors cut strips of half a centimeter. In order to have material to work.
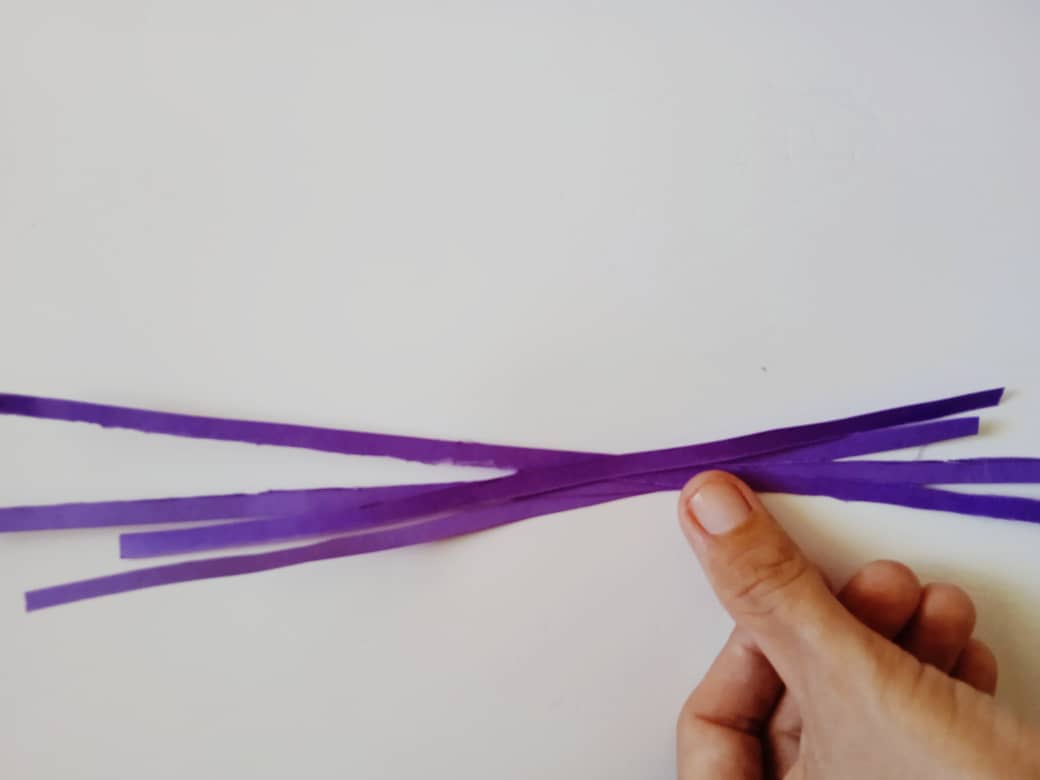
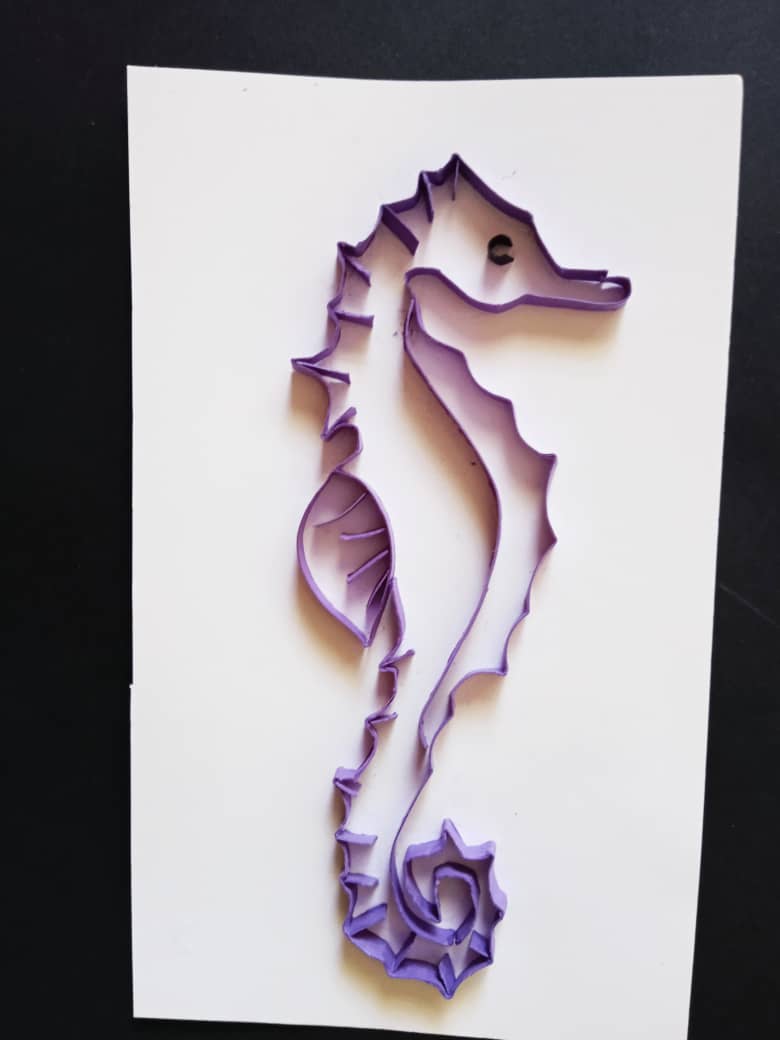
In my case, I decided to use purple cardboard for the outer edge of the drawing, that is, the body of the little horse. And with the help of the mark line that I left on the white cardboard, in addition to a wooden stick.
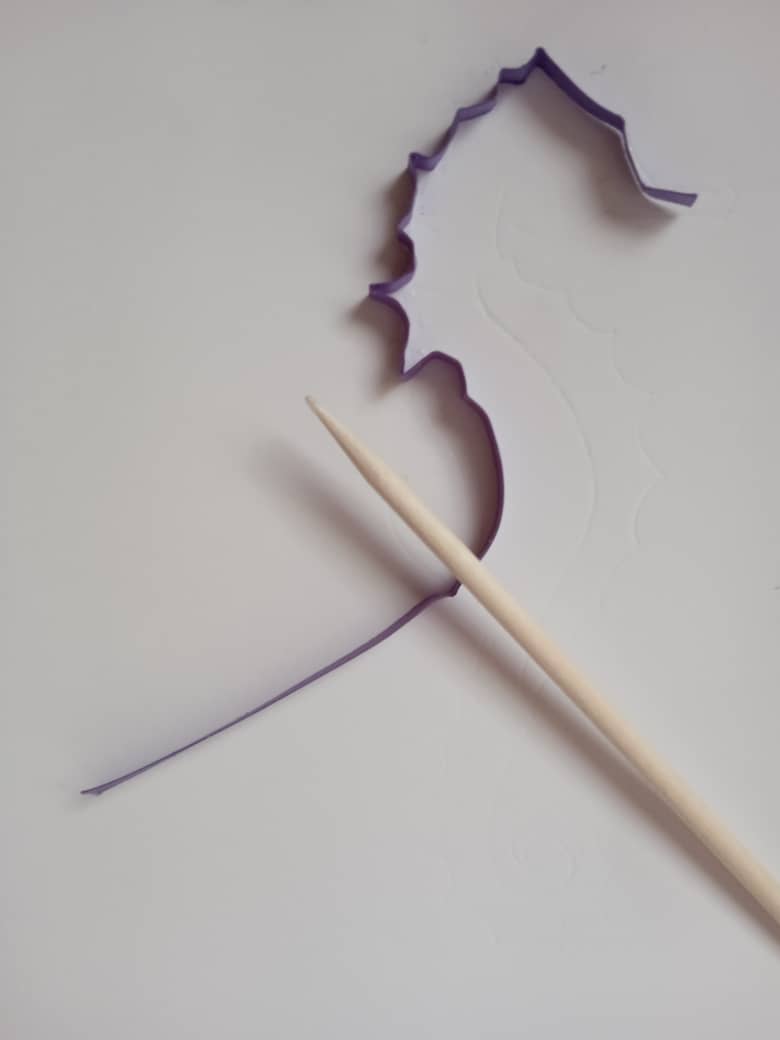
I began to shape the cardboard strip to be able to paste, in my case I decided to first shape the purple strip and then place it on all the edge of the drawing pastes to be able to paste more easily, given the difficulty of the image.
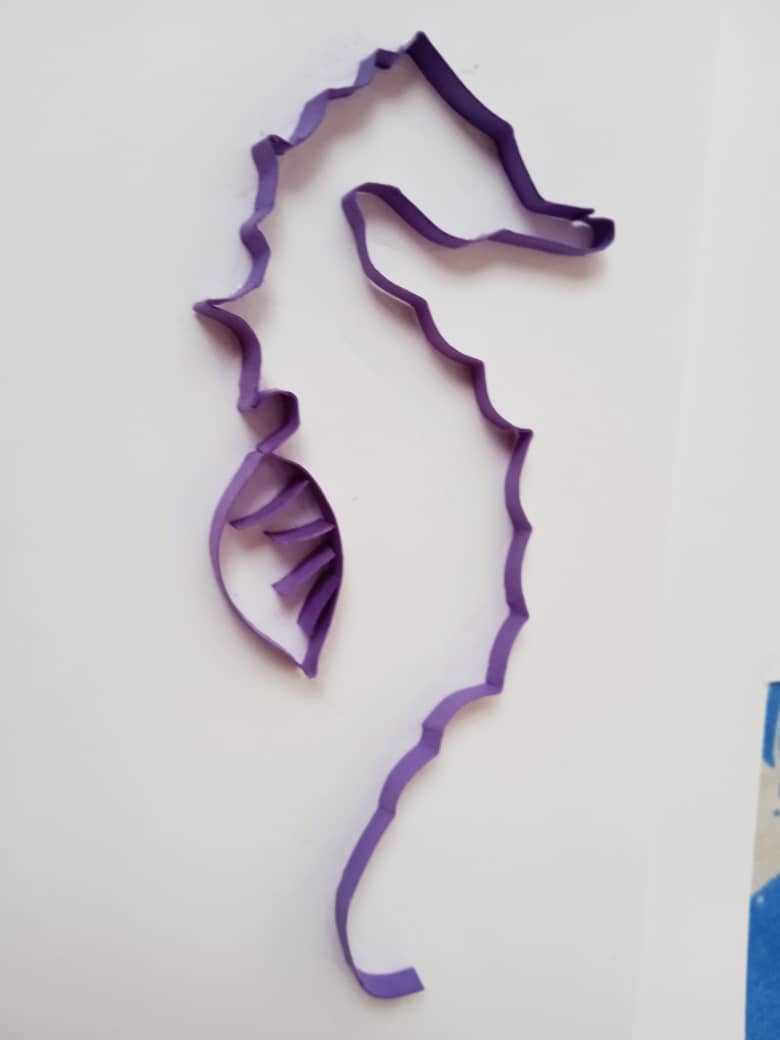
Continue shaping the cardboard with the wooden stick and shaping the quilling that you decided to do. Resulting in the following once everything is covered externally. Also with a small piece of black cardboard, place a half sphere to simulate an eye.
Third Step
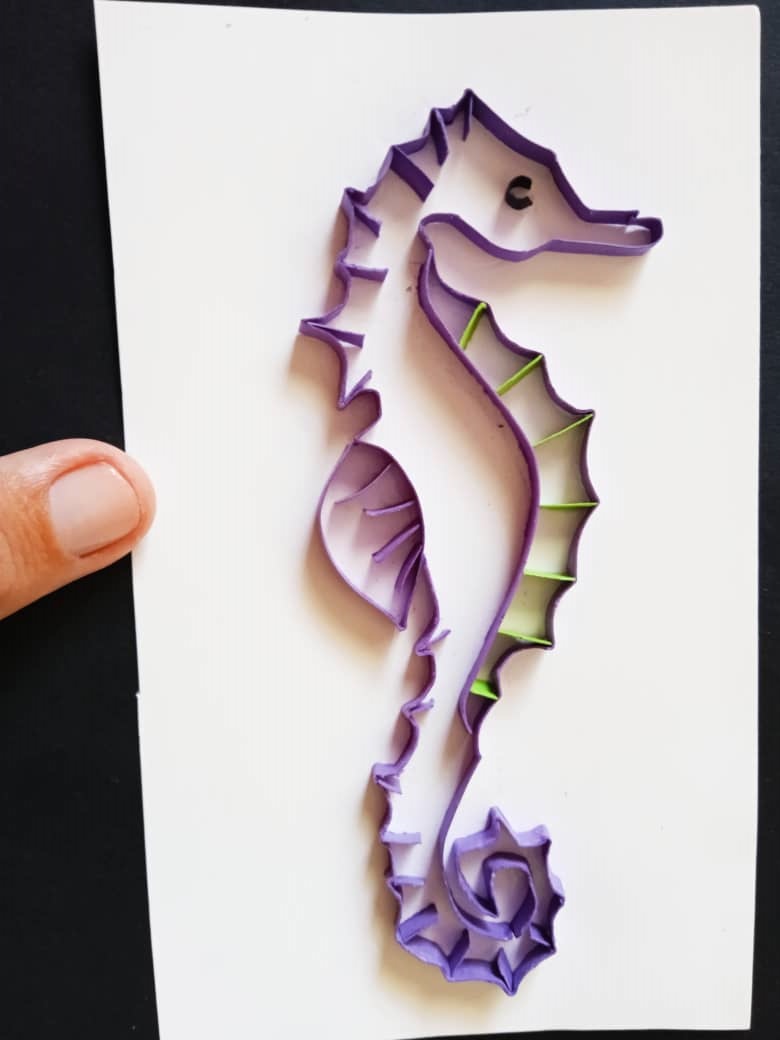
As I thought it was cute, but I thought it was still missing so I decided to give it details to make it look more creative and like a horse full of colors throughout the body. For this reason, with strips of green cardboard, I glued them to the chest of the sea horse. creating stripes.
After that, with light green, dark green and yellow cardboard, I made shapes of half spirals and spirals to fill the body and give it more detail.
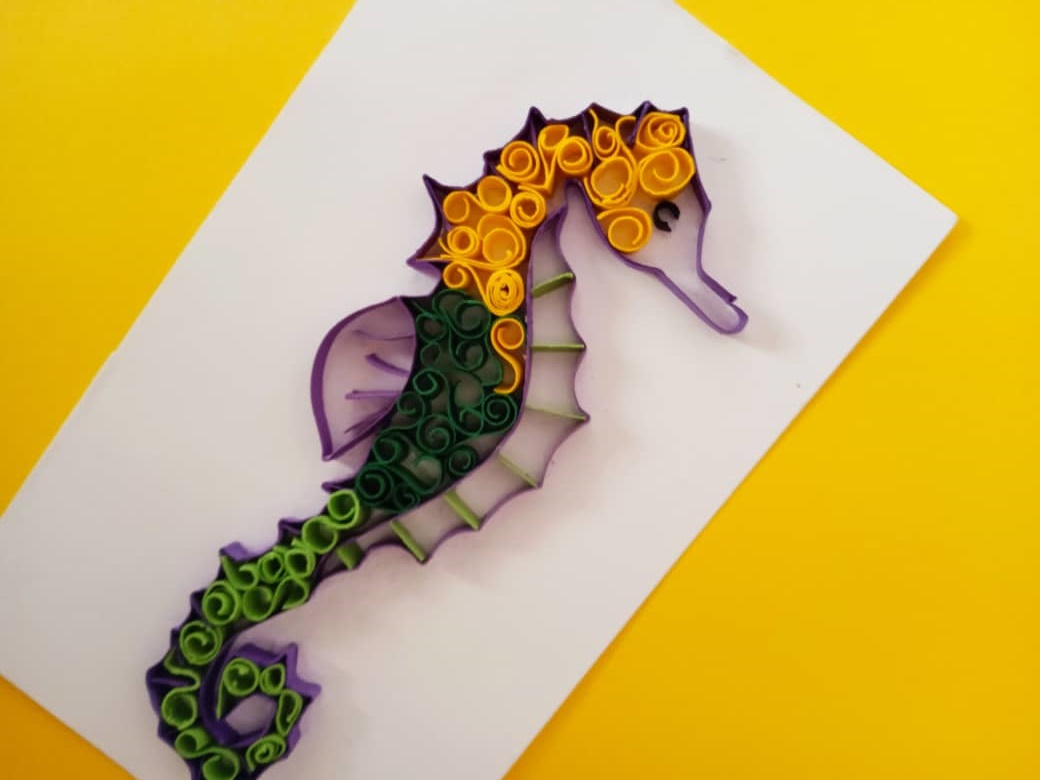
At this point it seemed to me that it was finished, however I decided to place other lines on the chest of the dark green and yellow seahorse to give it even more detail in which all the colors matched and in turn give it more structure.
And this has been the end result...
.jpeg)
I liked how my quilling turned out. And I think that for the first time I have done this, it has turned out to be a beautiful seahorse.
I hope you like my post, I think I will continue doing quilling (although I am not an artist for that reason). I gladly accept suggestions of other figures to make.
