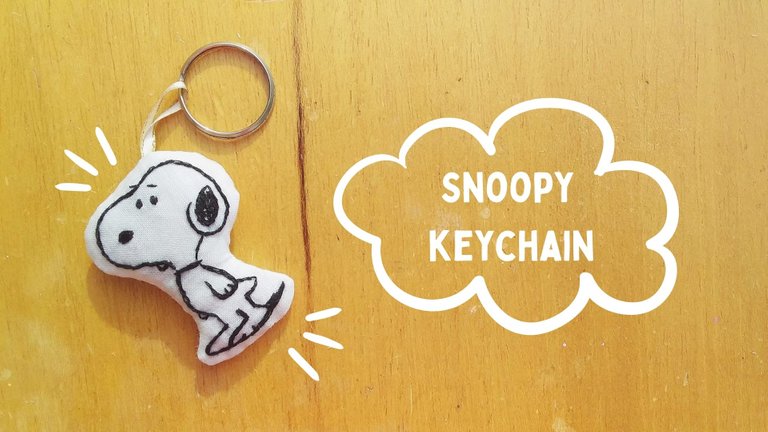
[ESP/ENG]• Haciendo un llavero de Snoopy | Making a Snoopy keychain•
Bienvenido | Welcome
Saluditos, gente linda de la colmena, espero que se encuentren muy bien😋 he estado un poco ausente de la plataforma debido a unos problemas con mi internet 😒 realmente espero que se logre resolver pronto y así subir cositas más seguido 👉👈 Y bueno, hoy les traigo un post donde les mostraré cómo hice un lindo llavero de Snoopy🤗 está súper sencillo de hacer y lo mejor es que puedes adaptarlo a cualquier otro personaje que quieras 😋 así que ahora sin más, comencemos.
Greetings, beautiful people of the hive, I hope you are very well😋 I've been a little absent from the platform due to some problems with my internet 😒 I really hope it will be solved soon so I can upload more often 👉👈 And well, today I bring you a post where I will show you how I made a cute Snoopy keychain🤗 it's super simple to make and the best thing is that you can adapt it to any other character you want 😋 so now without further ado, let's get started.
Materiales | Materials:
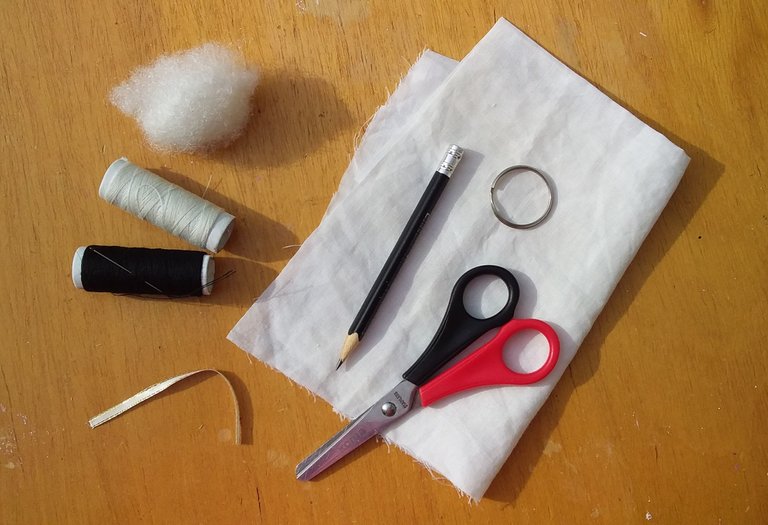
| Tela | Aguja e hilo | Listón |
|---|---|---|
| Tijeras | Lápiz | Aro de llavero |
| Guata |
| Fabric | Needle and thread | Ribbon |
|---|---|---|
| Scissors | Pencil | Key ring |
| Wadding |
Proceso | Process
Paso 1 | Step 1
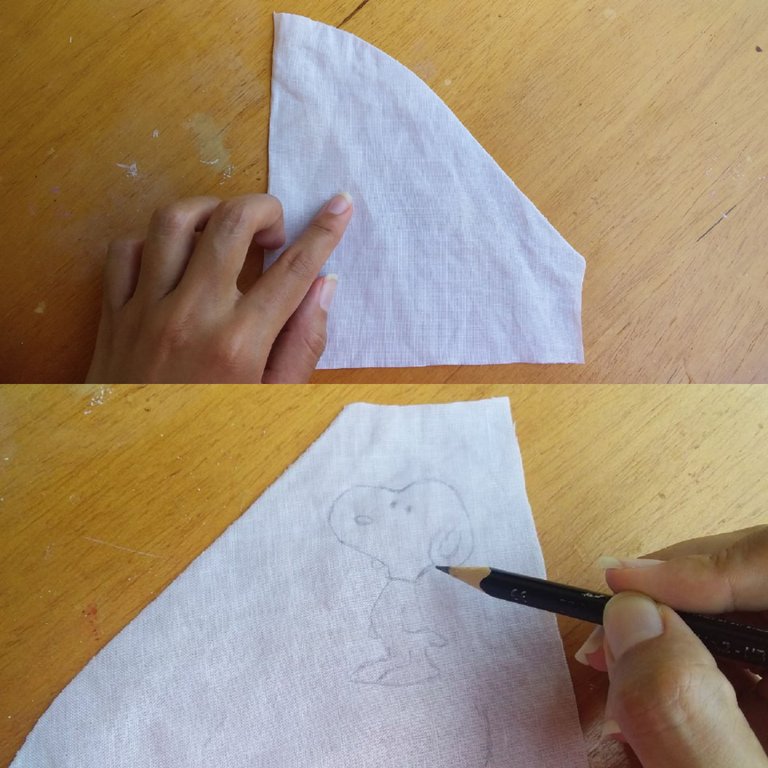
Lo primero que hice fue tomar mi telita y empezar a dibujar la forma de mi Snoopy.
The first thing I did was to take my fabric and start drawing the shape of Snoopy.
Paso 2 | Step 2
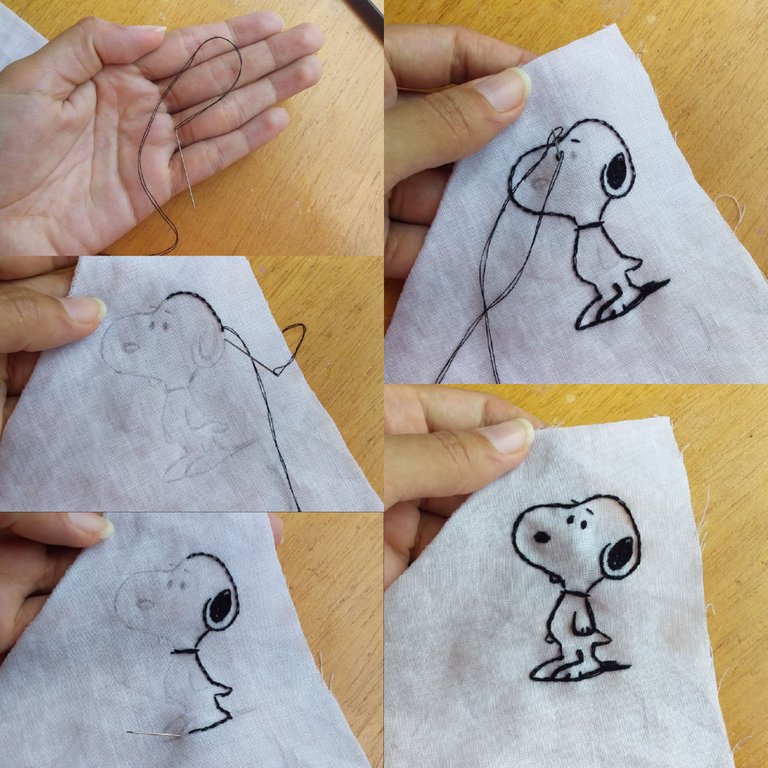
Una vez terminado el dibujo, empecé a bordarlo con hilo negro.
Once the drawing was finished, I started to embroider it with black thread.
Paso 3 | Step 3
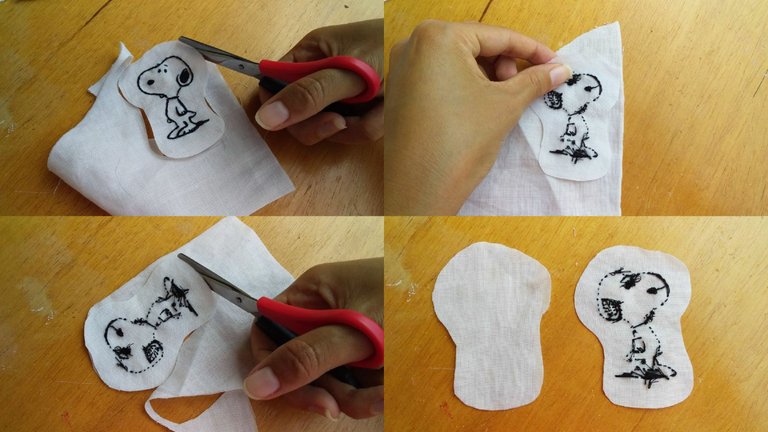
Corté el Snoopy dejando 1 cm de margen por todo alrededor, luego lo puse boca abajo sobre otro trozo de tela y empecé a cortar para obtener 2 piezas iguales.
I cut the Snoopy leaving 1 cm of margin all around, then I put it face down on another piece of fabric and started cutting to get 2 equal pieces.
Paso 4 | Step 4
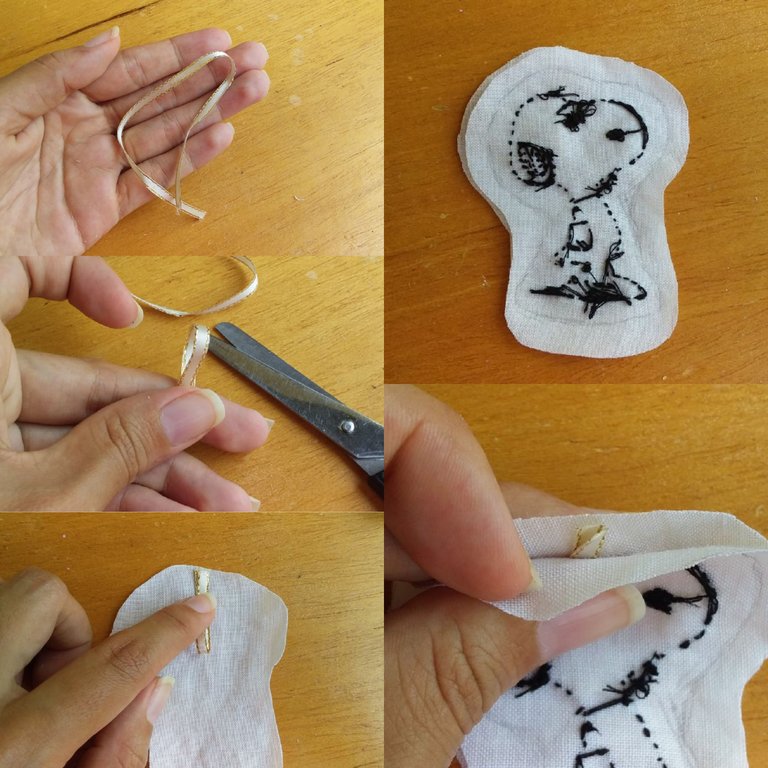
Lo siguiente que hice fue cortar un trozo de listón y ponerlo entre las dos piezas de tela.
The next thing I did was to cut a piece of ribbon and put it between the two pieces of fabric.
Paso 5 | Step 5
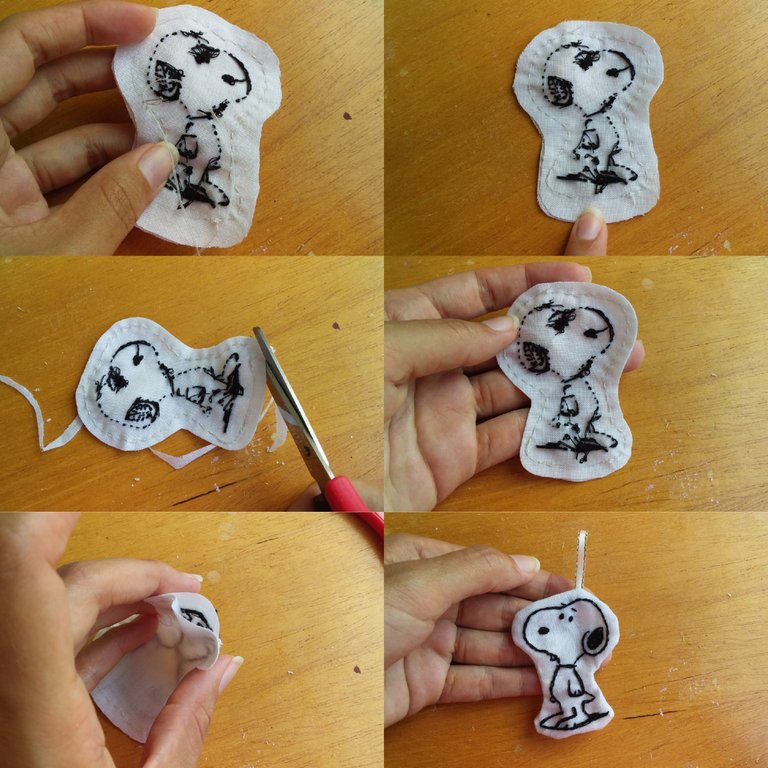
Cosí alrededor dejando una pequeña abertura abajo, corté el exceso y luego le di vuelta.
I sewed around it leaving a small opening at the bottom, cut off the excess and then turned it inside out.
Paso 6 | Step 6
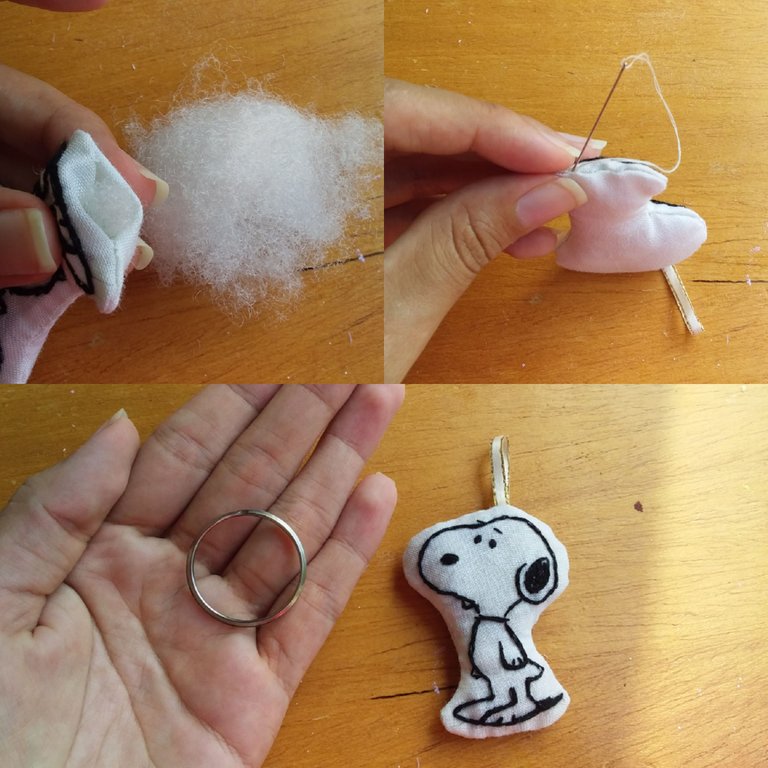
Por último empecé a rellenar con guata, luego cerré la abertura y puse la argolla de llavero en el listón.
Finally I began to stuff with wadding, then I closed the opening and put the key ring on the ribbon.
Resultado | Result
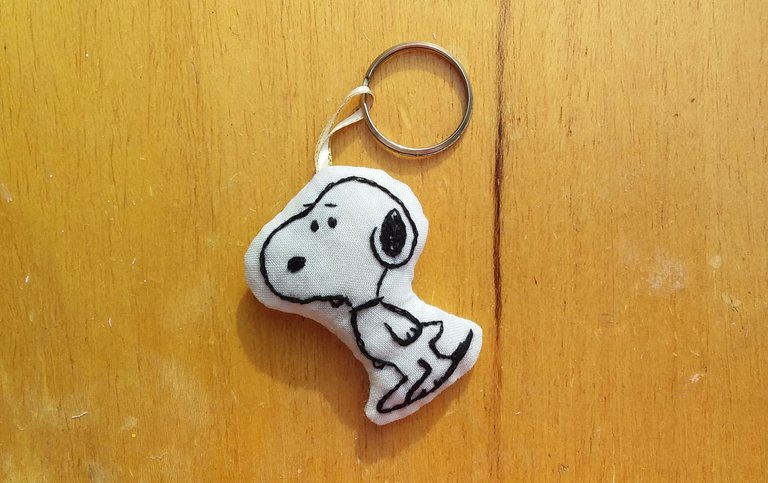
Y listo, este fue el resultado😋 espero que les haya gustado mucho y que lo hagan en casita. Muchas gracias por leerme.💖💕
And ready, this was the result😋 I hope you liked it a lot and that you make it at home. Thank you very much for reading me💖💕
Me encanta Snoopy, en sí lo conocí hace poco, jaja. El llavero quedo de lujo, tan elegante y original. ¡Gran trabajo!.
A mi también me encanta Snoopy, desde muy pequeña 😊 gracias por tu comentario 💖
Qué lindo llavero 🤩, este post es muy práctico para mí ya que necesito un llavero urgente para no perder más mis llaves, y lo cuidare mucho cuando yo lo haga 😊 gracias por esta publicación.
Espero que te quede muy cute 😊💖 gracias por leerme💖
Amiga Pau, esto es una belleza lo que presentas por acá, me encanta Snoopy, ese bordado quedó muy prolijo, te felicito
Nice thanks for sharing
Dear @paugomez, we need your help!
The Hivebuzz proposal already got important support from the community. However, it lost its funding a few days ago and only needs a few more HP to get funded again.
May we ask you to support it so our team can continue its work this year?
You can do it on Peakd, ecency, Hive.blog or using HiveSigner.
https://peakd.com/me/proposals/199
Your support would be really helpful and you could make a difference.
Thank you!