[ESP/ENG] 😱🖼🎨Haciendo un broche bordado de "El Grito" | Making an embroidered brooch of "The Scream".🎨🖼😱
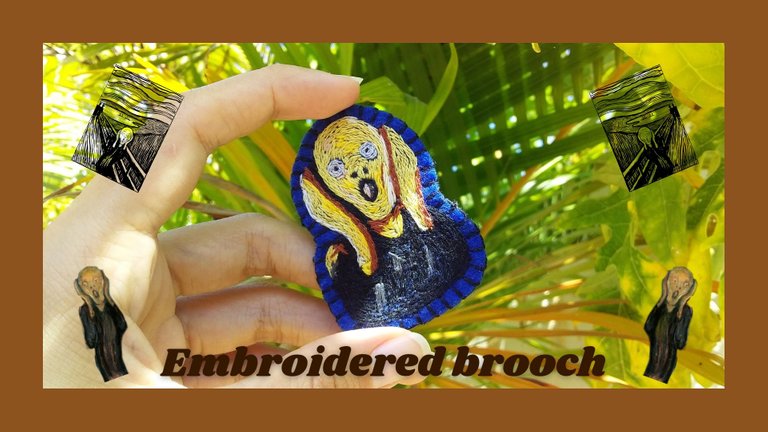
Bienvenidos | Welcome
Hoolaa, amigos de hive, espero que se encuentren muy bien. El día de hoy me entusiasma mucho mostrarles el proceso de cómo realicé un precioso broche bordado de la icónica pintura de Edvard Munch: "El Grito". Sin duda una de mis obras favoritas de mi artista favorito.😱🎨 Espero que les guste mucho.
Sin más que decir, comencemos.
Helloo, hive friends, I hope you are feeling well. Today I am very excited to show you the process of how I made a beautiful embroidered brooch of the iconic painting by Edvard Munch: "The Scream". Undoubtedly one of my favorite works by my favorite artist.😱🎨 I hope you like it very much.
Without more to say, let's get started.
Materiales | Materials:
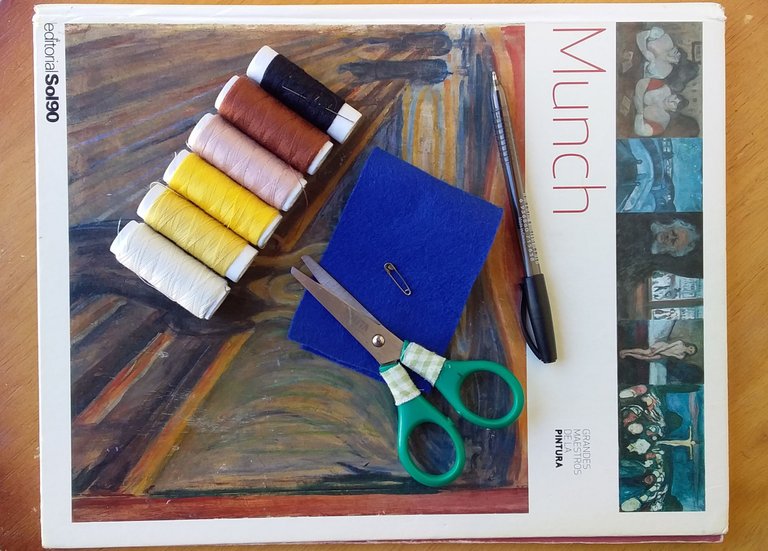
| Aguja e hilos | Fieltro | Tijeras |
|---|---|---|
| Bolígrafo | Alfiler |
| Needle and threads | Felt | Scissors |
|---|---|---|
| Pencil | Pin |
😱Proceso | Process😱
Paso 1 | Step 1
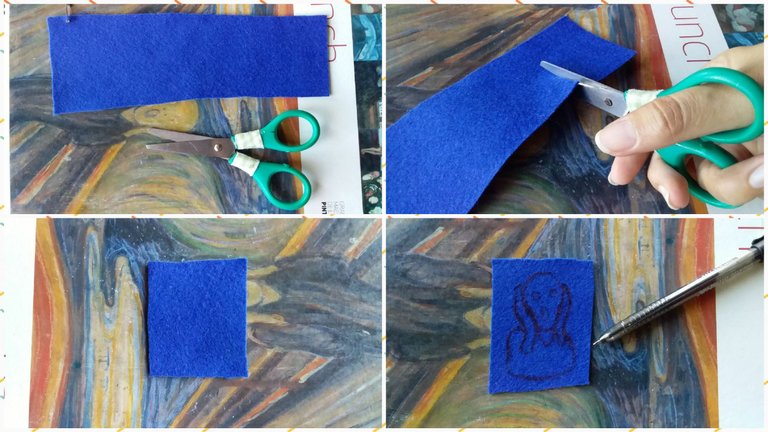
Lo primero que hice fue tomar el fieltro y cortar un pequeño trozo, luego con un bolígrafo dibujé el personaje.
The first thing I did was to take the felt and cut a small piece, then with a pen I drew the character.
Paso 2 | Step 2
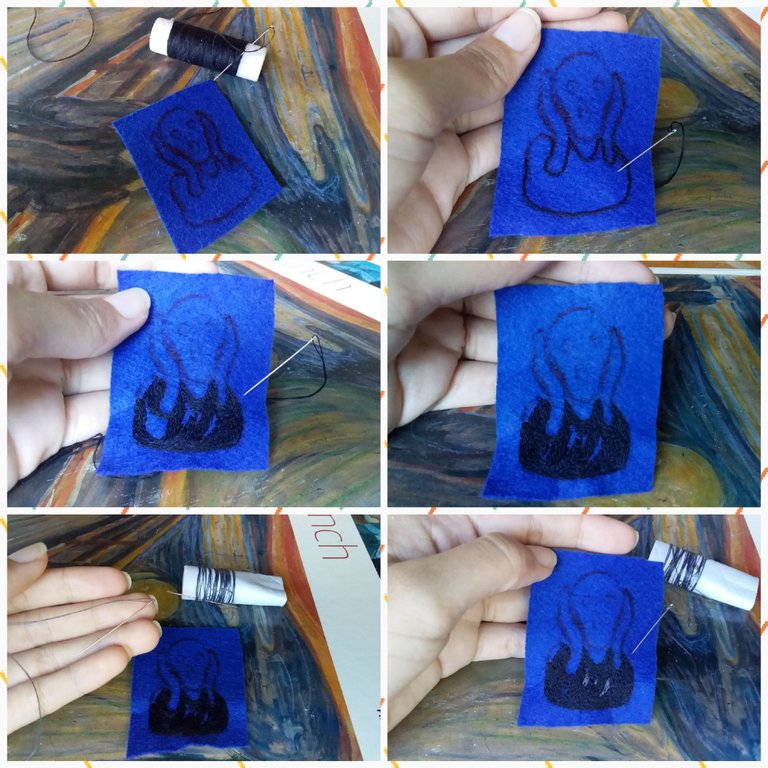
Con hilo negro empecé a contornear la túnica y poco a poco fui rellenando. Luego para dar un toque de luz, utilicé hilo gris.
With black thread I began to outline the tunic and little by little I filled it in. Then, to give it some light, I used gray thread.
Paso 3 | Step 3
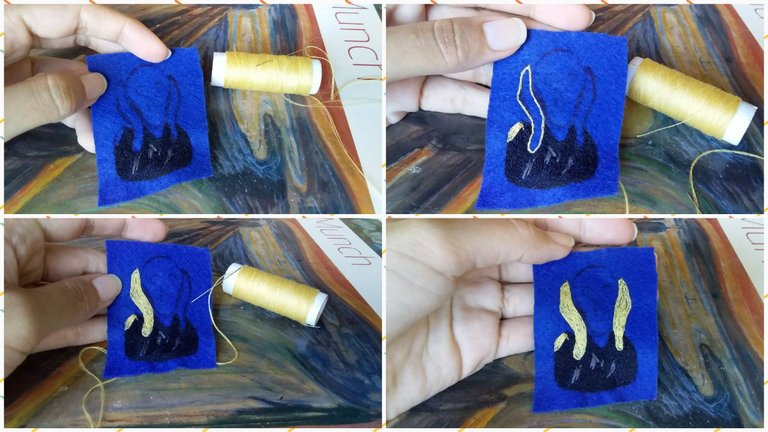
Continué bordando las manos con hilo amarillo e hice un pequeño detalle en el hombro.
I continued embroidering the hands with yellow thread and made a small detail on the shoulder.
Paso 4 | Step 4
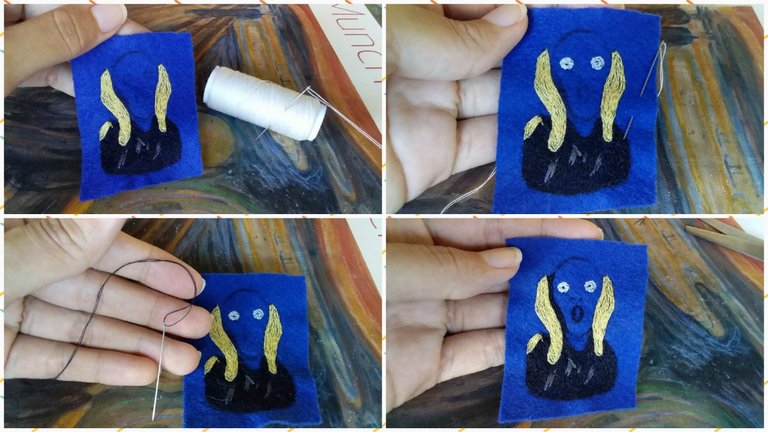
Para los ojos, utilicé hilo blanco y para las pupilas, nariz y boca, utilicé hilo negro.
For the eyes, I used white thread and for the pupils, nose and mouth, I used black thread.
Paso 5 | Step 5
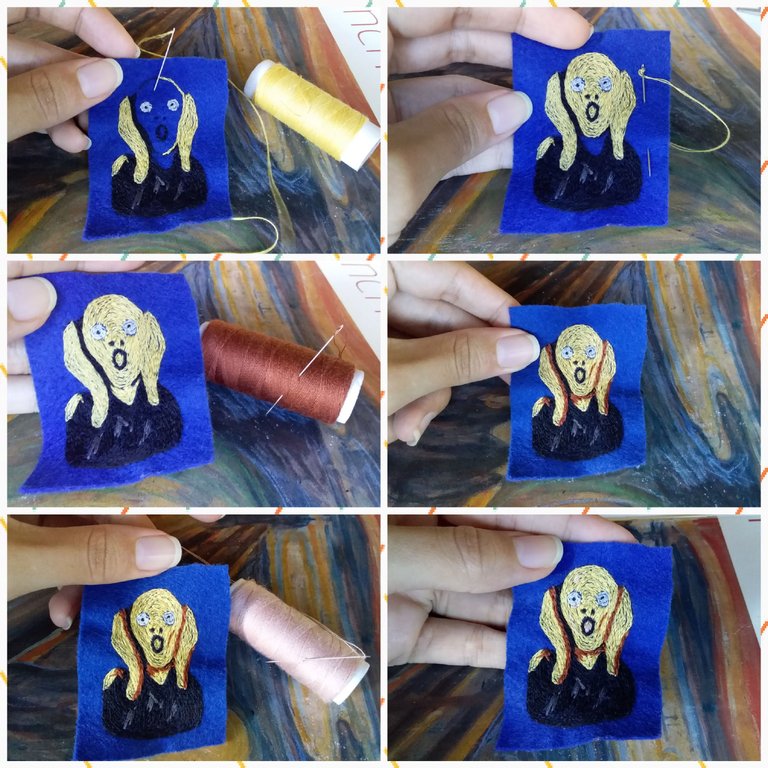
Terminé de bordar el rostro y cuello con hilo amarillo e hice unos detalles de sombra con hilo marrón y beige en varias zonas del rostro, cuello y manos.
I finished embroidering the face and neck with yellow thread and made some shadow details with brown and beige thread in various areas of the face, neck and hands.
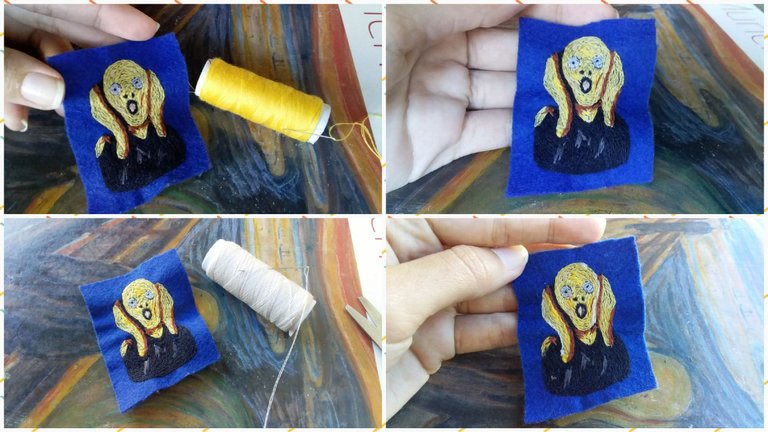
Por último, hice algunas puntadas en la cara y las manos con blanco y un tono más fuerte de amarillo para dar luz.
Finally, I did some stitching on the face and hands with white and a stronger shade of yellow and to give light.
Paso 6 | Step 6
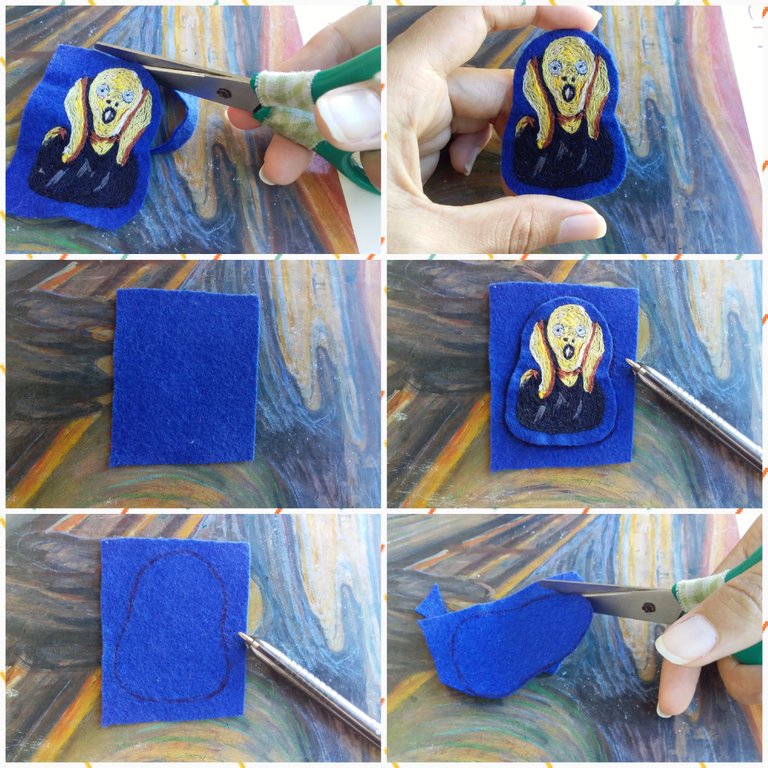
Una vez terminé de bordar, corté los excesos dejando un pequeño margen. Luego, ubiqué la pieza sobre otro trozo de fieltro, marqué su contorno y corté.
Once I finished embroidering, I cut off the excess leaving a small margin. Then, I placed the piece on another piece of felt, marked its outline and cut.
Paso 7 | Step 7
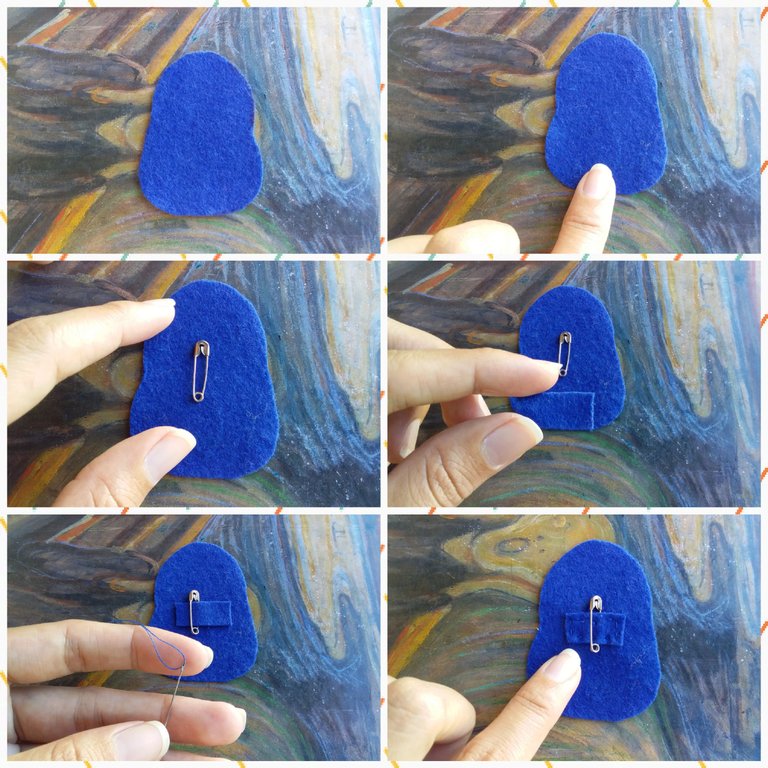
Le di la vuelta a la pieza y coloqué el alfiler encima. Para asegurarlo, corté un pequeño trozo de fieltro, lo pasé por el alfiler y lo cosí.
I turned the piece over and placed the pin on top. To secure it, I cut a small piece of felt, put it through the pin and sewed it on.
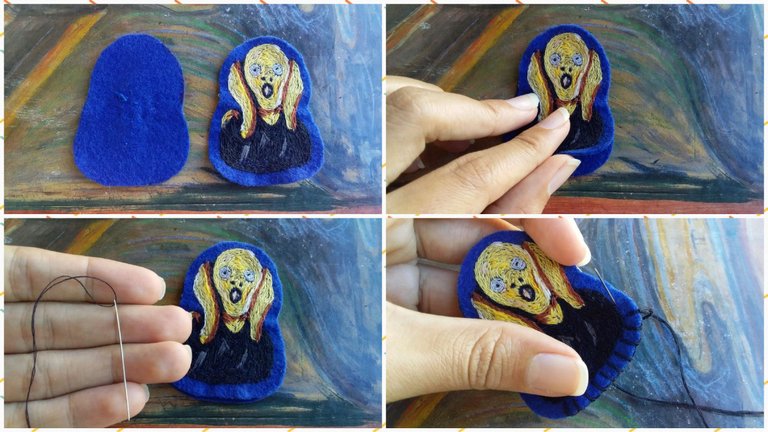
Junté ambas piezas y las cosí por todo al rededor.
I put both pieces together and sewed them all the way around.
😱Resultado | Result😱
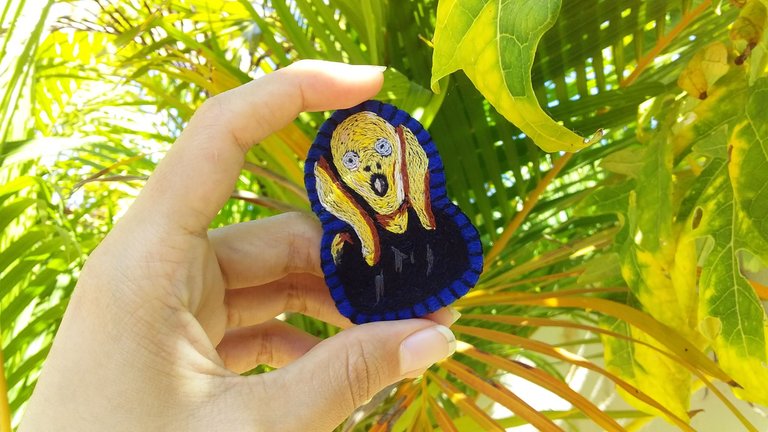
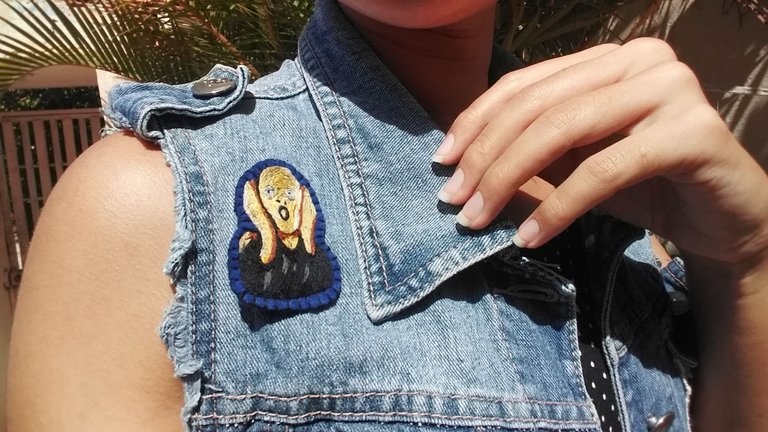
Y este fue el resultado, espero que les haya gustado.
Muchas gracias por leerme!
And this was the result, I hope you liked it.
Thank you very much for reading me!

Hola @paugomez tu broche me pareció bastante original y poco común. Me gustó la forma en que lo bordaste para dale esos toques de luz y sombra, te felicito. Saludos y bendiciones.
Muchísimas gracias por su comentario, me alegra que le haya gustado😊❤ saludos❤
Wow how did you make this looks so cute thanks for sharing
Thank youu😙❤
Está precioso, sin duda sería algo que llevaría en una chaqueta o en un bolso. Siempre me ha gustado la técnica del bordado pero no es algo que me haya atrevido a hacer, pero esto me inspira nuevamente, jajaja. 😁
Jajaja, me alegra que te haya gustado❤😊 al principio tampoco era algo que me llamara mucho, pero poco a poco fui aprendiendo. Es lo mejor hacer tus propios parches y pines.😁
Thank you for sharing this amazing post on HIVE!
Your content got selected by our fellow curator @stevenson7 & you just received a little thank you via an upvote from our non-profit curation initiative!
You will be featured in one of our recurring curation compilations and on our pinterest boards! Both are aiming to offer you a stage to widen your audience within and outside of the DIY scene of hive.
Join the official DIYHub community on HIVE and show us more of your amazing work and feel free to connect with us and other DIYers via our discord server: https://discord.gg/mY5uCfQ !
If you want to support our goal to motivate other DIY/art/music/homesteading/... creators just delegate to us and earn 100% of your curation rewards!
Stay creative & hive on!