Cómo hacer íconos tipo parche - How to make patch like icons [eng/esp]
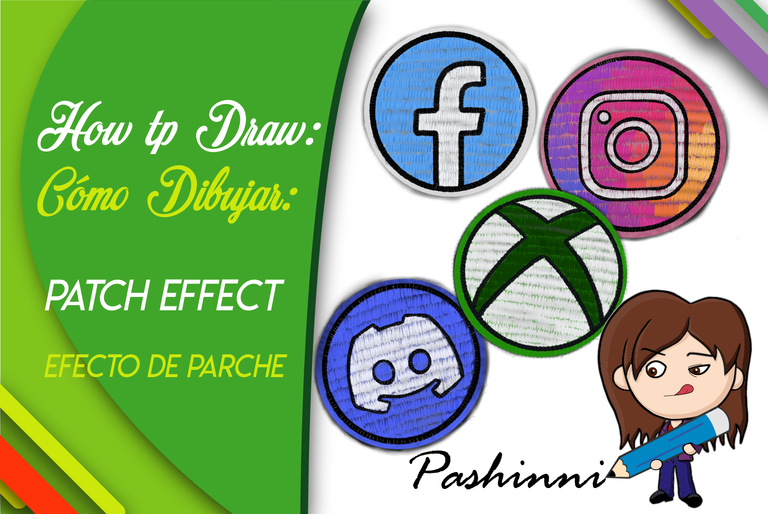
¡Hola a todos!
Antes que nada, gracias a @tsunsica por ayudarme a cómo poner mis redes sociales con imágenes y acomodados, me estaría quebrando la cabeza con cómo hacerlo y que queden del tamaño correcto...
Bueno, eso me lleva al post de hoy, para agregar mis redes decidí dibujar mis versiones de los íconos para hacerlos ver como parches ya que anteriormente había hecho un dibujo digital con el mismo estilo y me gustó el resultado así que traigo paso a paso como hacer ese tipo de efecto sin ser tan tardado.
Yo usé la app de Procreate, pero ya que muchas aplicaciones para ilustración cuentan con características similares se puede hacer en cualquiera de ellas.
Hey everyone!
Before anything, thanks to @tsunsica for helping me out on how to add my social media with images, I'd still be breaking my head wondering how to make it and managing to make them look the right size...
Well, that takes me to today's post, to add my social media I decided to draw my own versions of the icons to make them look like patches, time ago I made a digital drawing in the same style and I liked the result so I'll show you step by step how to create that effect without taking much time.
I used Procreate app, but since many drawing apps have similar characteristics it can be done with any of those.
Paso 1
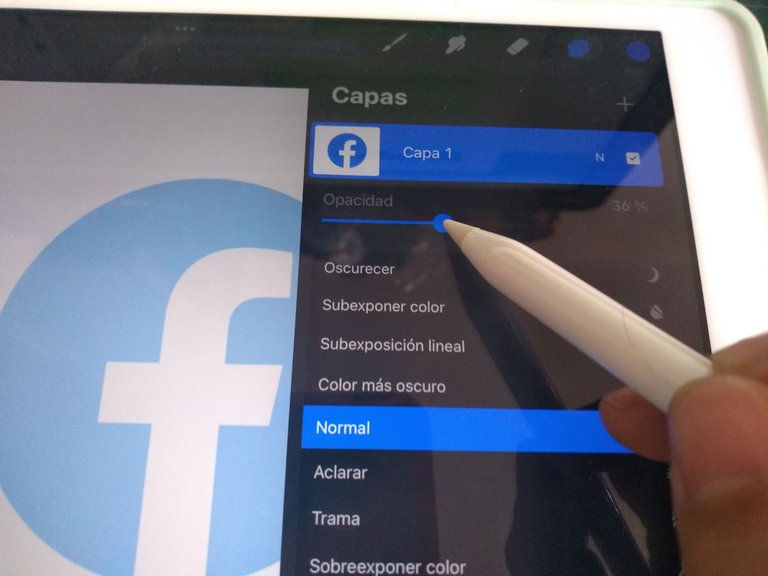
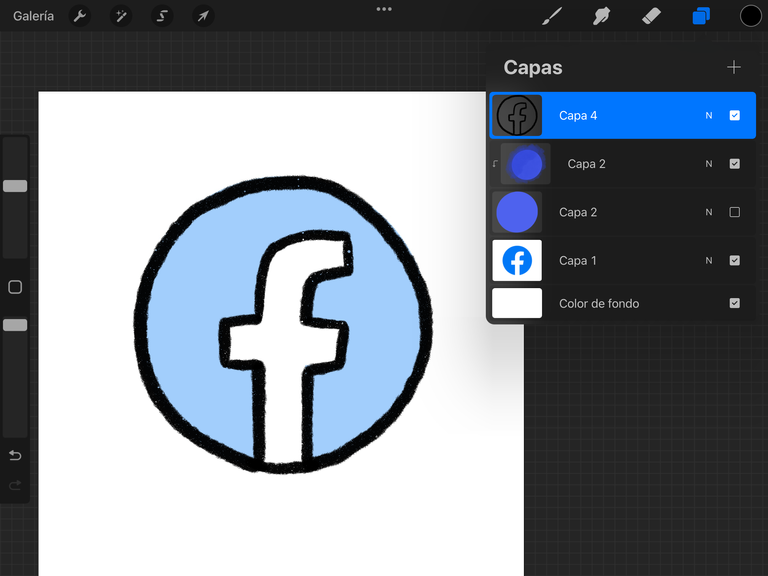
Inserté el logotipo solo para guiarme en el trazo, le bajé la opacidad para que no interfiera mucho al hacer los trazos con el color, esa capa con el logo no tendrá nada más, solo eso y será eliminada al final.
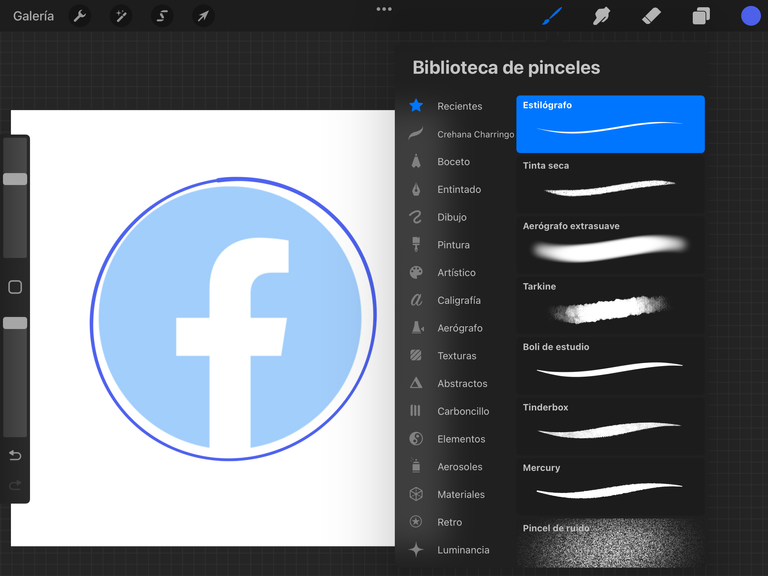
Para comenzar el parche, en una capa nueva basta con un círculo o cuadro que cubra todo el logotipo, en mi caso elegí que todo fuera circular, para ese círculo usé un pincel sencillo de estilógrafo y lo rellené con el color del logo original.
Step 1
I inserted the logo just as a guide for the outline, I lowered the opacity in order of it not interfering when doing the lines, the layer with the logo won't have anything else, that'll be erased at the end.
To start the patch, in a new layer draw a circle or square that covers the whole logo, in my case I wanted everything to be in circles, to make that circle I used a simple Pen brush and filled it with the color of the original logo.
Paso 2
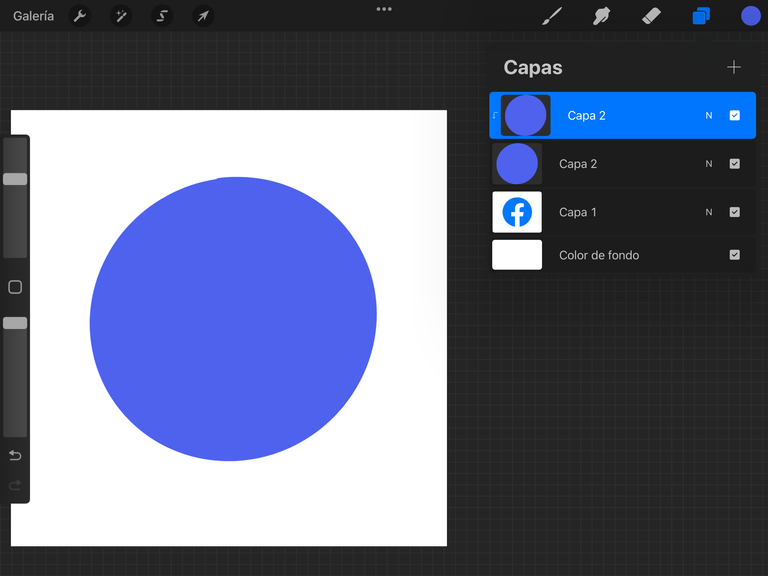
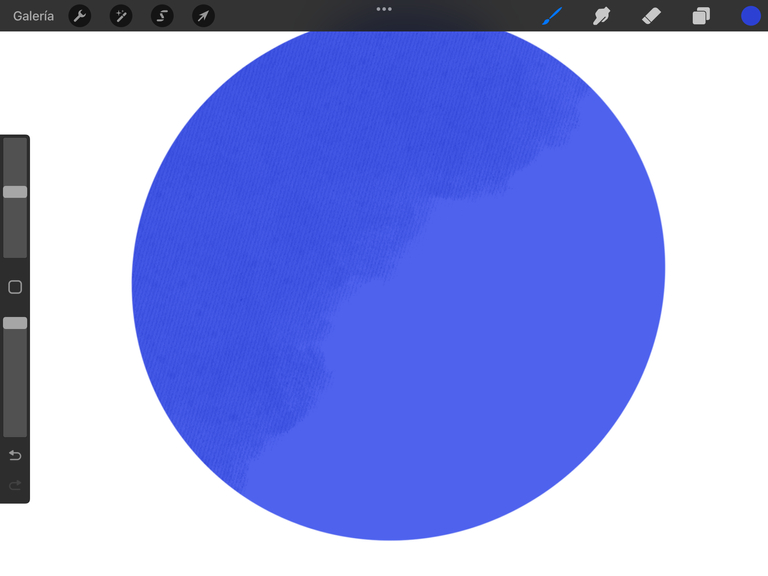
Dupliqué la capa con el círculo para hacerla máscara de recorte de la primera y poder añadir textura de tela sin salirme de la circunferencia, para esa textura usé el pincel llamado Tarkine en un tono ligeramente más oscuro del azul con el que rellené el círculo.
Step 2
Duplicate the layer with the circle to create a clipping mask and be able to add fabric texture without going out the circumference, for that texture I used a brush called Tarline in a color lightly darker than the blue I used to fill in the circle.
Paso 3
Oculte de momento la capa con el círculo para volver a ver la guía del logotipo en el fondo.
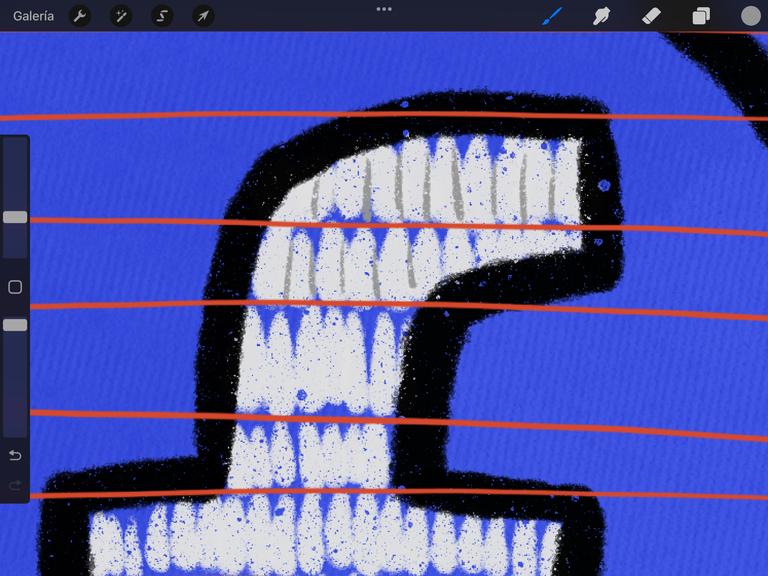
En una nueva capa tracé en negro el contorno del logo con el pincel de Tinta Seca, ese será el pincel que mayormente se usará para este tipo de efecto de parche.
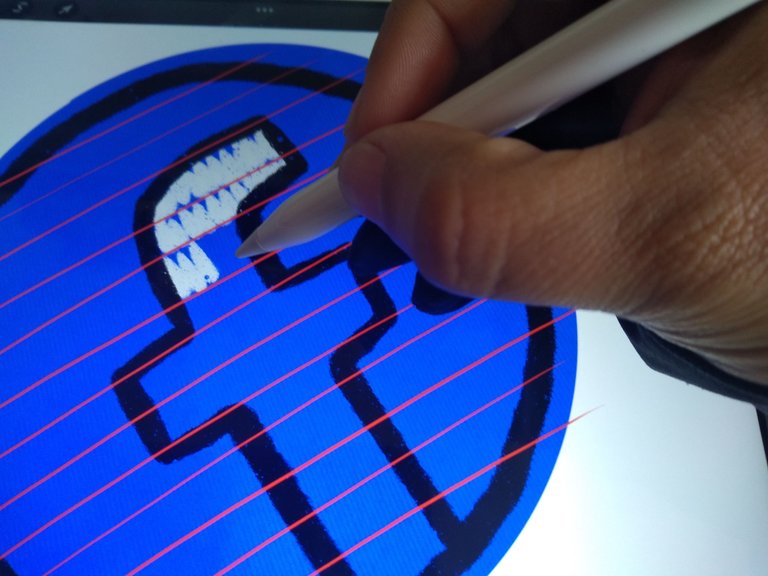
Para la guía de los trazos que marquen las costuras, en una nueva capa provisional arriba de todo tracé líneas horizontales solo para marcar filas.
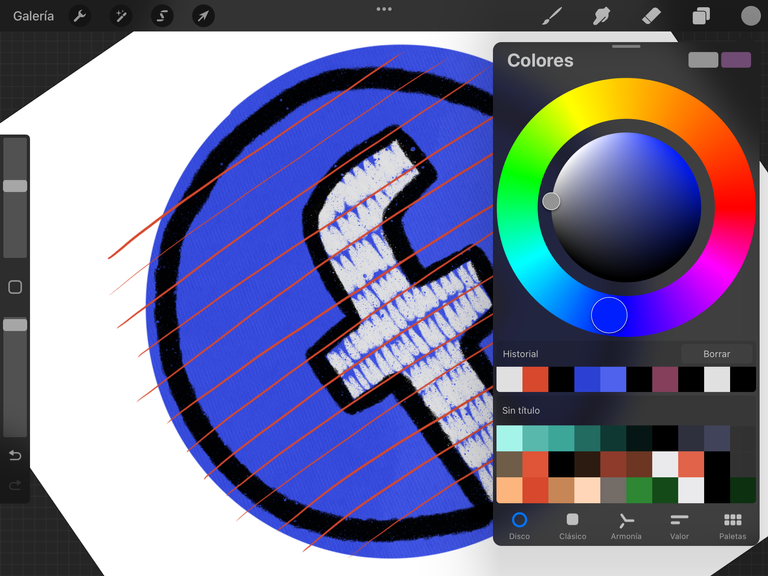
Volví a hacer visible la capa del círculo azul para poder ver los trazos blancos, con el mismo pincel de Tinta Seca, llené cada fila con pequeñas líneas simulando las puntadas, así hasta llenar todo el logotipo con el color correspondiente.
Después para darle un poco de definición a cada trazo, con el mismo pincel pero más delgado y de color gris para diferenciarlo de blanco, hice pequeñas líneas repitiendo el patrón.
Step 3
For now, I hid the layer with the circle to be able to see the image in the background.
In a new layer draw the outline of the logo with a Dry Ink brush, that will be the brush that will be mostly used for this patch effect.
As a guide for the lines emulating stitches, in a new provisional layer above all, draw horizontal lines to make rows.
Un-hide the circle layer to be able to see the white stitches lines, with the same Dry ink brush, fill every row with little lines to simulate stitches until the whole logo is filled with the corresponding color.
Then, to give it some definition to each line, with the same brush but thinner and with gray color, make small lines repeating the pattern.
Paso 4
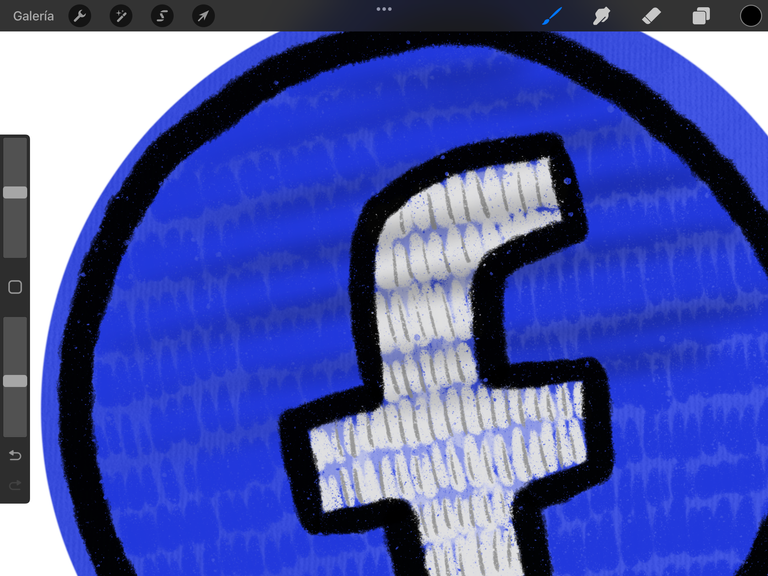
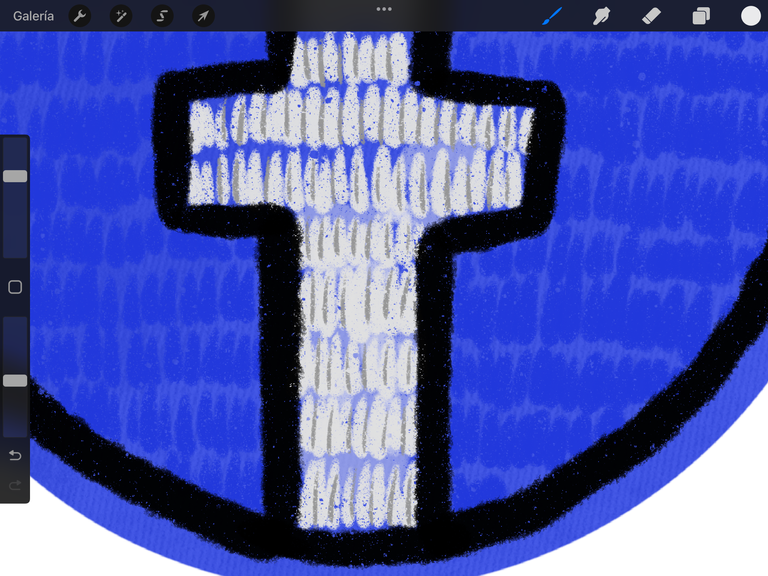
Con pincel de Aerógrafo Extrasuave, luego de eliminar las líneas guía de las filas, las sustituí con trazos del aerógrafo solo para dar profundidad entre cada fila.
Y para que no sea tan notorio el fondo azul en los espacios que dejé sin trazo de puntadas, en la capa donde está el círculo con textura, utilicé esa misma textura pero en color blanco y con poca opacidad para blanquear un poco el fondo.
Step 4
With an Extrasoft airbrush brush, after eliminating the guide row lines, I substituted them with lines with the airbrush to give some depth between rows.
In order to not making too visible the blue background in the spaces without stiches, go back to the layer with the textured circle, using that same texture but in white and low opacity, fill the blue spaces.
Paso 5
Finalmente, con el mismo pincel de aerógrafo, creé una nueva capa debajo de todas, para hacer una sombra al parche, no tiene que ser perfecta ya que un parche muestra relieves por tener dobleces en la tela.
Y como toque final, con el mismo pincel de las puntadas, el de Tinta Seca, con un grosor muy fino, añadí pequeñas líneas blancas en el contorno negro para simular que son varios hilos, así como también agregué trazos fuera de la circunferencia para simular hilos sueltos.
Step 5
Finally, with the same airbrush brush, on a new layer behind them all, create a shadow for the patch, it doesn't have to be perfect because a patch isn't all plain due to the fabric being bent.
And as a final touch, with the same brush used for stitches, the Dry ink brush thinner, add tiny white lines through the black outline you made at first to emulate several strands. Also with that same brush I added lines outside the circle to simulate lose strands.
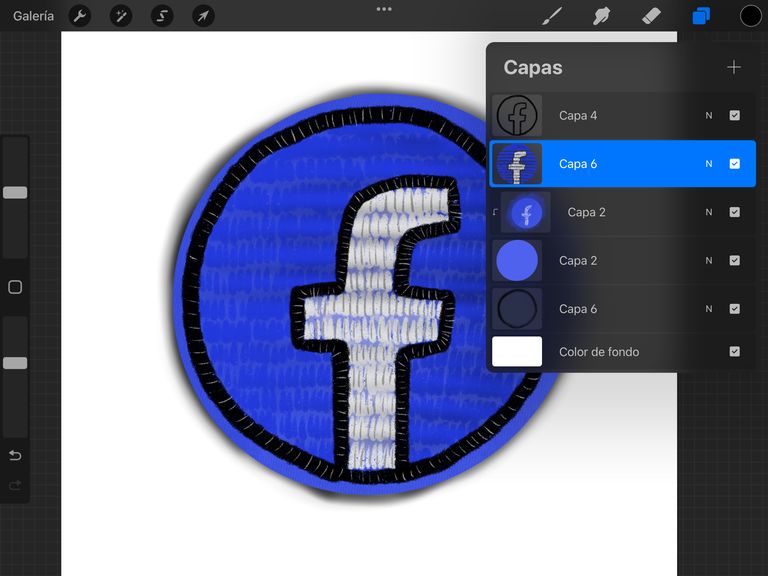
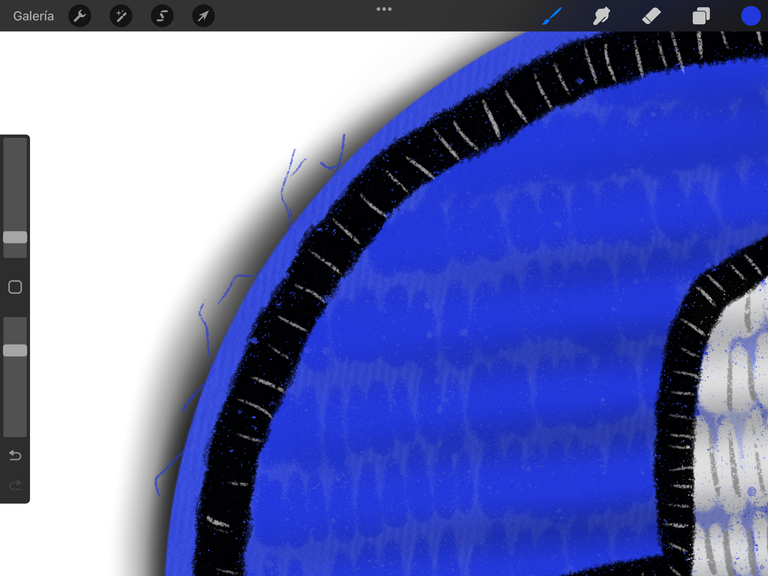
El mismo procedimiento fue con todos, como ven con solo 3 pinceles se puede simular un efecto tipo costura. Se pueden añadir aún mas detalles para algo más grande, como por ejemplo crear pequeñas líneas en todo el contorno del parche para simular está cosido a alguna prenda.
The same procedure was used with all logos, as you can see only with 3 brushes you can simulate a stitch like effect. You can add even more details for something bigger, for example draw little lines all around the patche's outline to make it look it's sewed to any clothing.
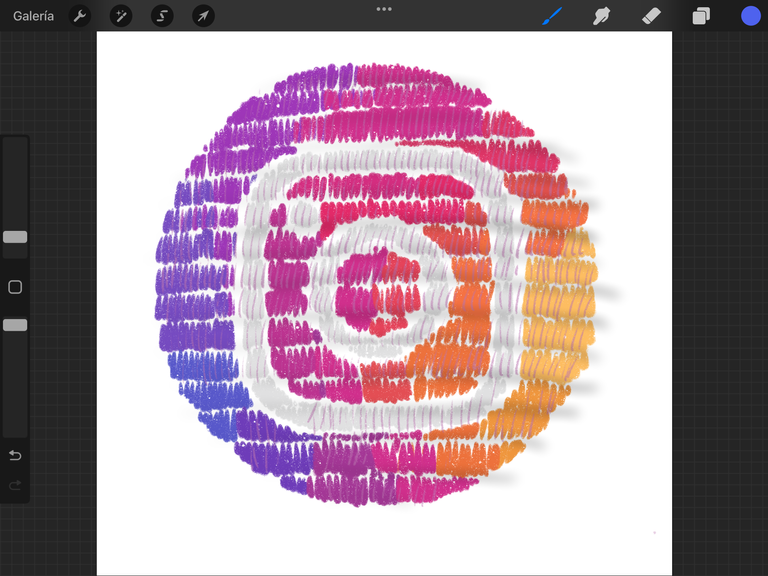
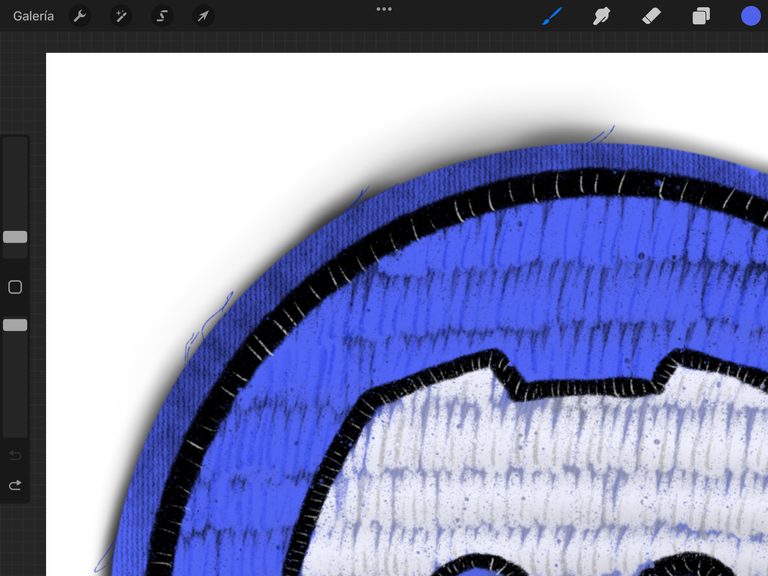
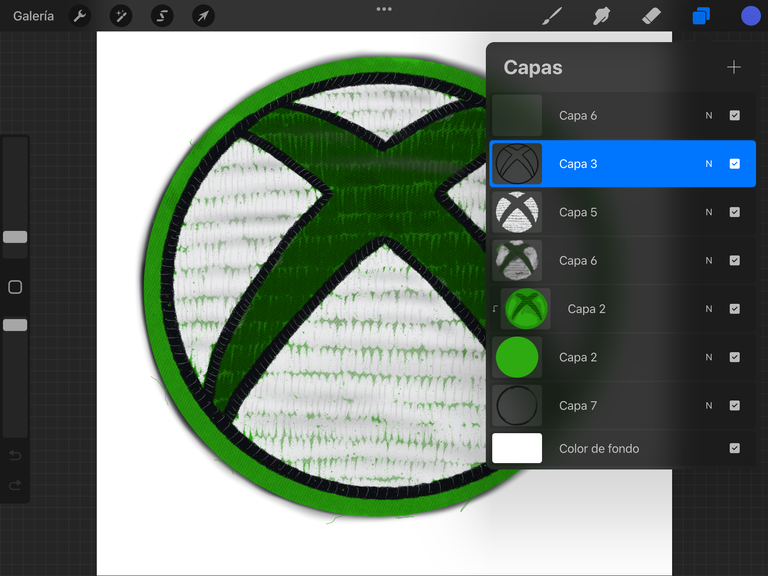

Y eso es todo, este tipo de trazado se puede hacer básicamente con cualquier dibujo y aunque parece que se lleva tiempo con tantas líneas no es así, para hacer estos cuatro tardé como una hora para tenerlos todos listos... solo pareció más tiempo para mi porque hacía un poco y me distraía con alguna película o con mi teléfono por mas tiempo del que pasaba dibujando 😅.
And that's it, this style of drawing can be used with basically any illustration, and even though it might seems it takes a long time with that many lines it's not the case, to make this four it took me around an hour to have them ready... it just seemed longer to me because I drew a little and got distracted with a movie or my phone longer time than what I spent drawing 😅

If you want to enjoy some cool mash up mixes, feel free to visit my brother Luigi Parrinni's youtube channel.
Banners made by me with Ai.
Social media icons drawn by me with Procreate.

You can find me at:
    |
|---|
The people doing V2K want me to believe it is this lady @battleaxe Investigate what she has been up to for 5 years. Its the next step to stopping this. Make her prove where she has been for 5 years or where she is now. She is involved deeply with @fyrstikken and his group. Her discord is Battleaxe#1003. I cant say she is the one directly doing the v2k. Make her prove it. They have tried to kill me and are still trying to kill me. I bet nobody does anything at all. Make @battleaxe prove it. I bet she wont. They want me to believe the v2k in me is being broadcasted from her location. @battleaxe what is your location? https://ecency.com/fyrstikken/@fairandbalanced/i-am-the-only-motherfucker-on-the-internet-pointing-to-a-direct-source-for-voice-to-skull-electronic-terrorism
The people doing V2K want me to believe it is this lady @battleaxe Investigate what she has been up to for 5 years. Its the next step to stopping this. Make her prove where she has been for 5 years or where she is now. She is involved deeply with @fyrstikken and his group. Her discord is Battleaxe#1003. I cant say she is the one directly doing the v2k. Make her prove it. They have tried to kill me and are still trying to kill me. I bet nobody does anything at all. Make @battleaxe prove it. I bet she wont. They want me to believe the v2k in me is being broadcasted from her location. @battleaxe what is your location? https://ecency.com/fyrstikken/@fairandbalanced/i-am-the-only-motherfucker-on-the-internet-pointing-to-a-direct-source-for-voice-to-skull-electronic-terrorism
😵 Me encanta como se quedan. Y me imaginaba que se hacían diferente, es más sencillo de lo que parece jajaja. Me encantó el efecto!
https://twitter.com/tsunsica_ga/status/1497315884926390274
The rewards earned on this comment will go directly to the person sharing the post on Twitter as long as they are registered with @poshtoken. Sign up at https://hiveposh.com.