Matrimony
Hello everyone, i wish to share my latest digital piece with you
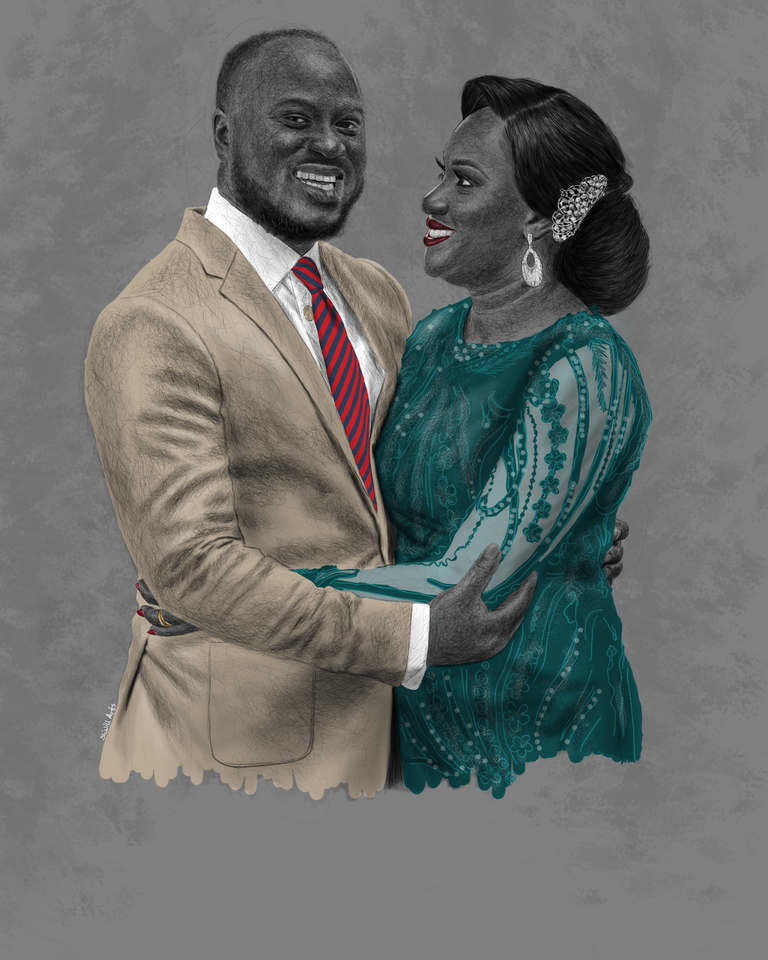
This piece "Matrimony" was inspired by the love i felt in the reference pic,this man of God and his wife shares something special and i could feel it just from the picture so i thought i would love to create a piece of this picture.
I started off this piece really slow because i didn't want to rush it and loose the initial sentiment that inspired the work. I put in the time and effort to make this look almost perfect.
Matrimony is not forged overnight, it takes time and patience, so i pit alot of that into creatong this piece.
The process shots of this piece...
The starting strokes

I dabbled across the page with clear view of what i want this piece to look like in mind but still i let the reference guide my every stroke.
First mould
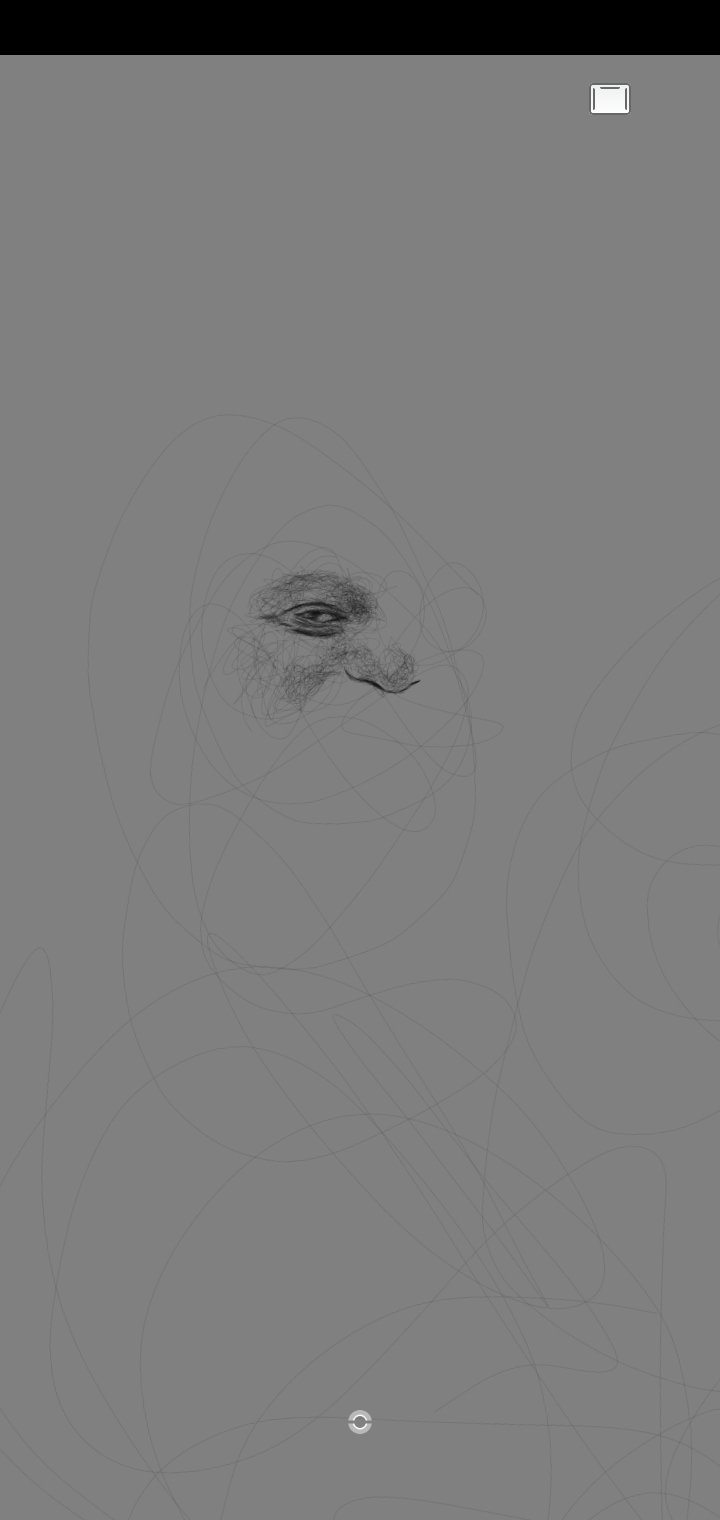
I always work from left to right so i started off scribbling the man's face first and it took more alot to fairly mould the face before we get off to making it more solid
First mould:stage 2
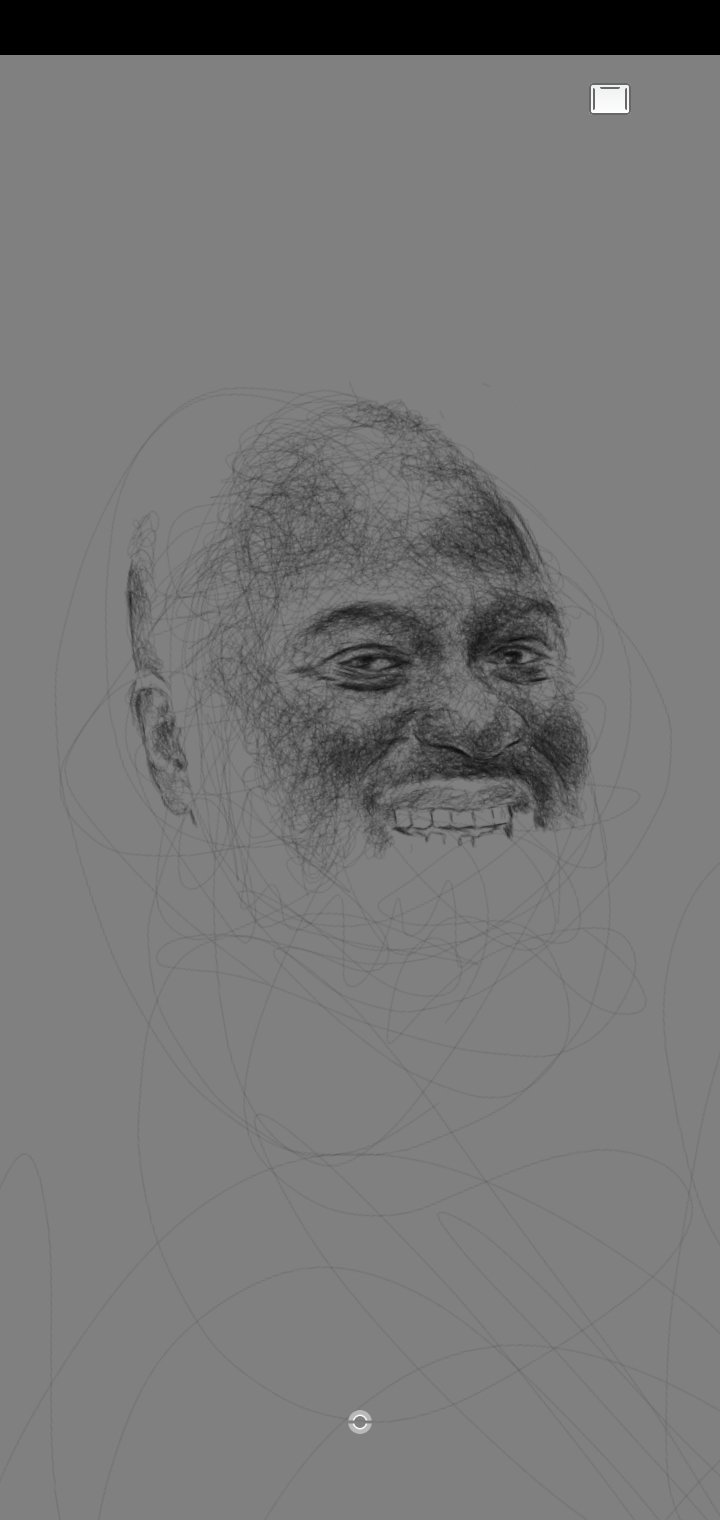
The face starts to look more tangible with more effort i put into it and at this stage i started loosing the energy to do it and i had only barely begun. I didn't eant to ruin the work so i left it for a while and took a break. During my break i realised that just like in matrimony sometimes you fall out a little bit but a quick getaway can set you straight again, in essence taking a break and handling things with patience is important.
First mould:stage 3
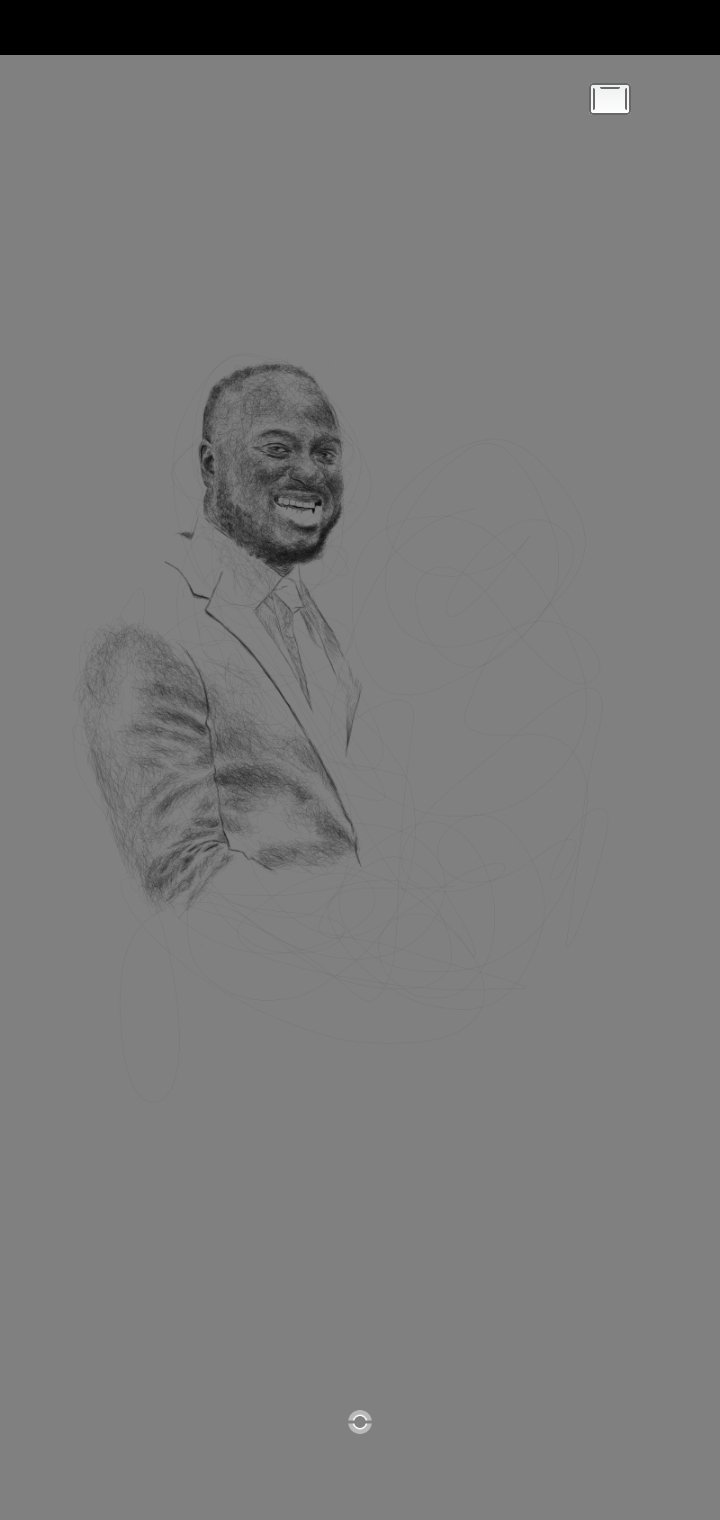
I got back to work and i fleshed out the work all the way through the torso and now i am feeling the energy and optimism that i will indeed get the result i desired.
First mould: stage 4
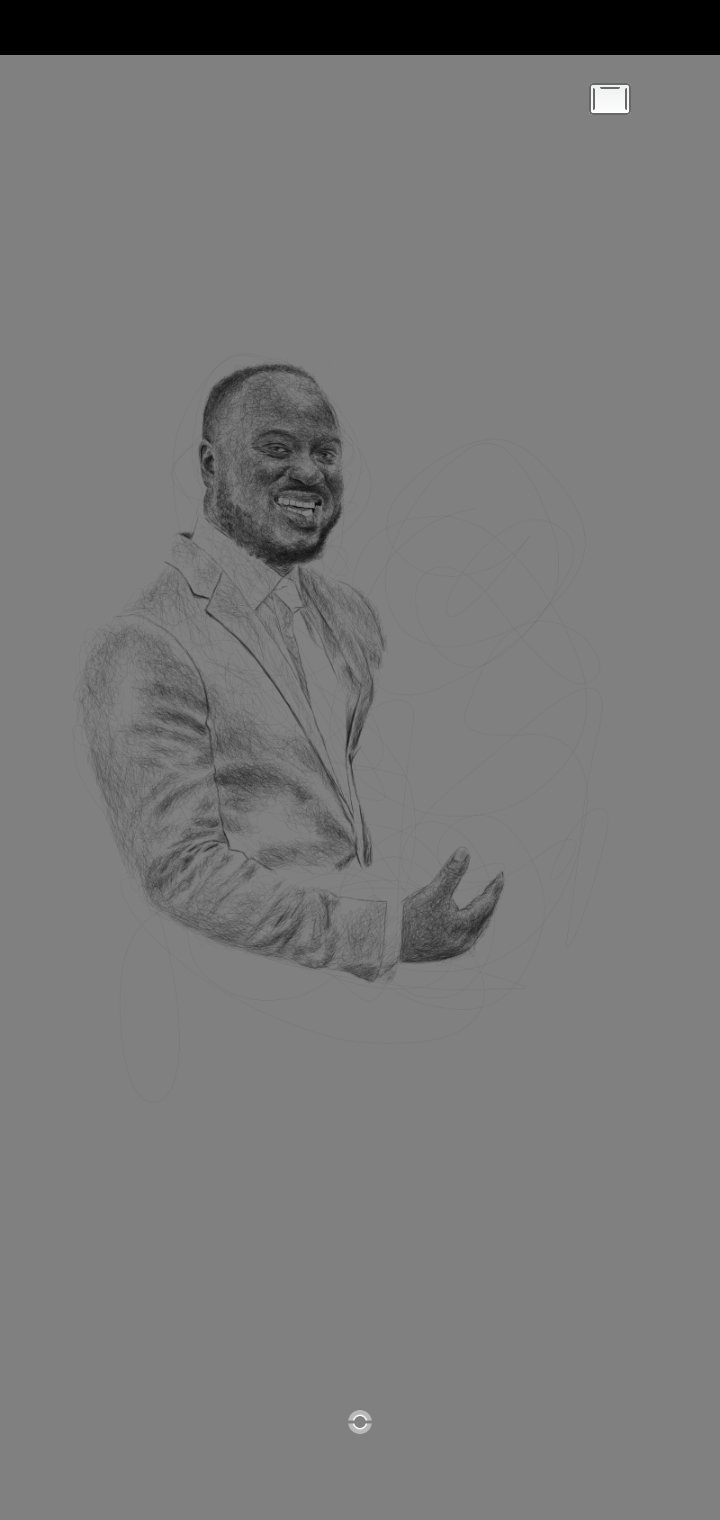
I finished the first mould on the hand which interacts directly with the second mould,i wanted to mive ahead to painting the piece but i had a plan and i wanted to follow through with it.
Second mould: stage 1
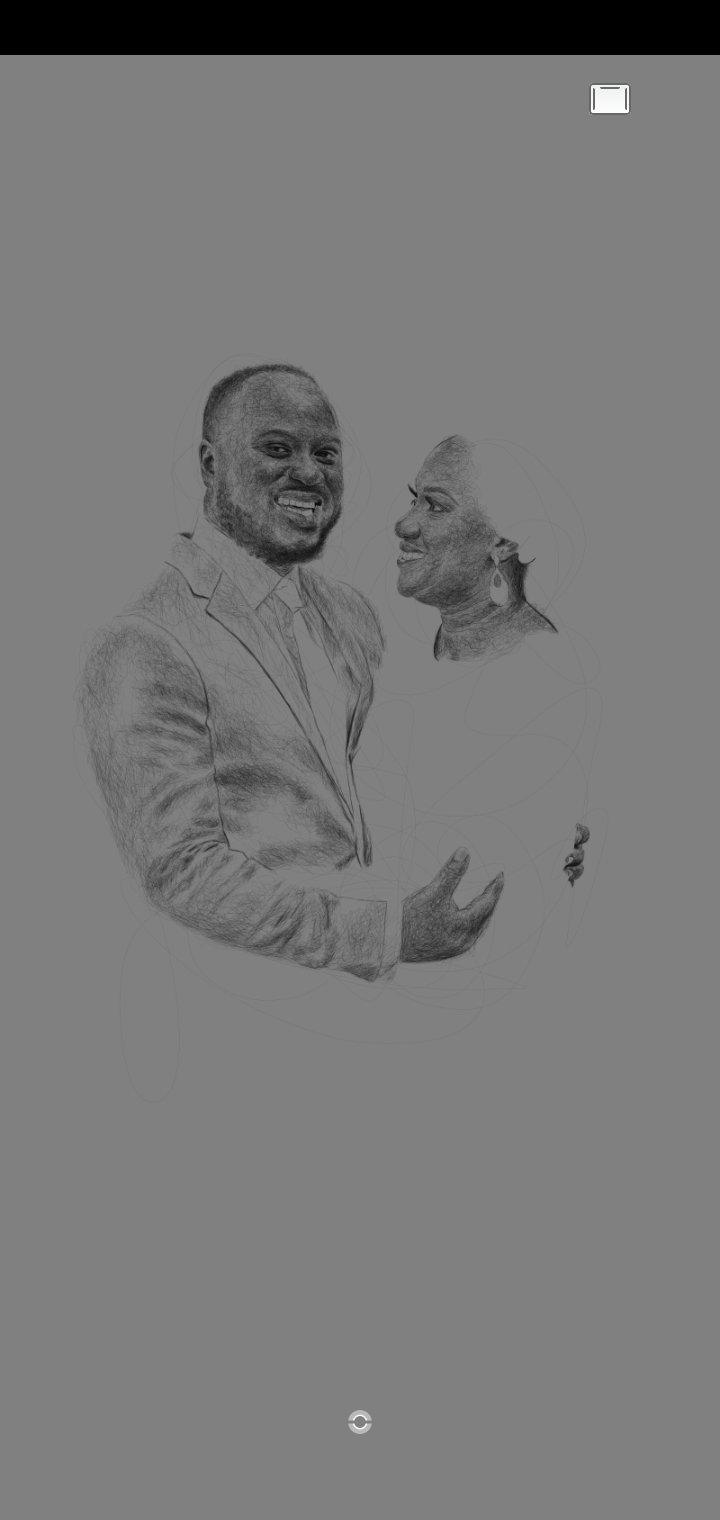
The second mould was much faster because i was feeling my energy surging with completion of the first mould,i scribbled with excitment, her profile is a beauty.
Second mould: stage 2
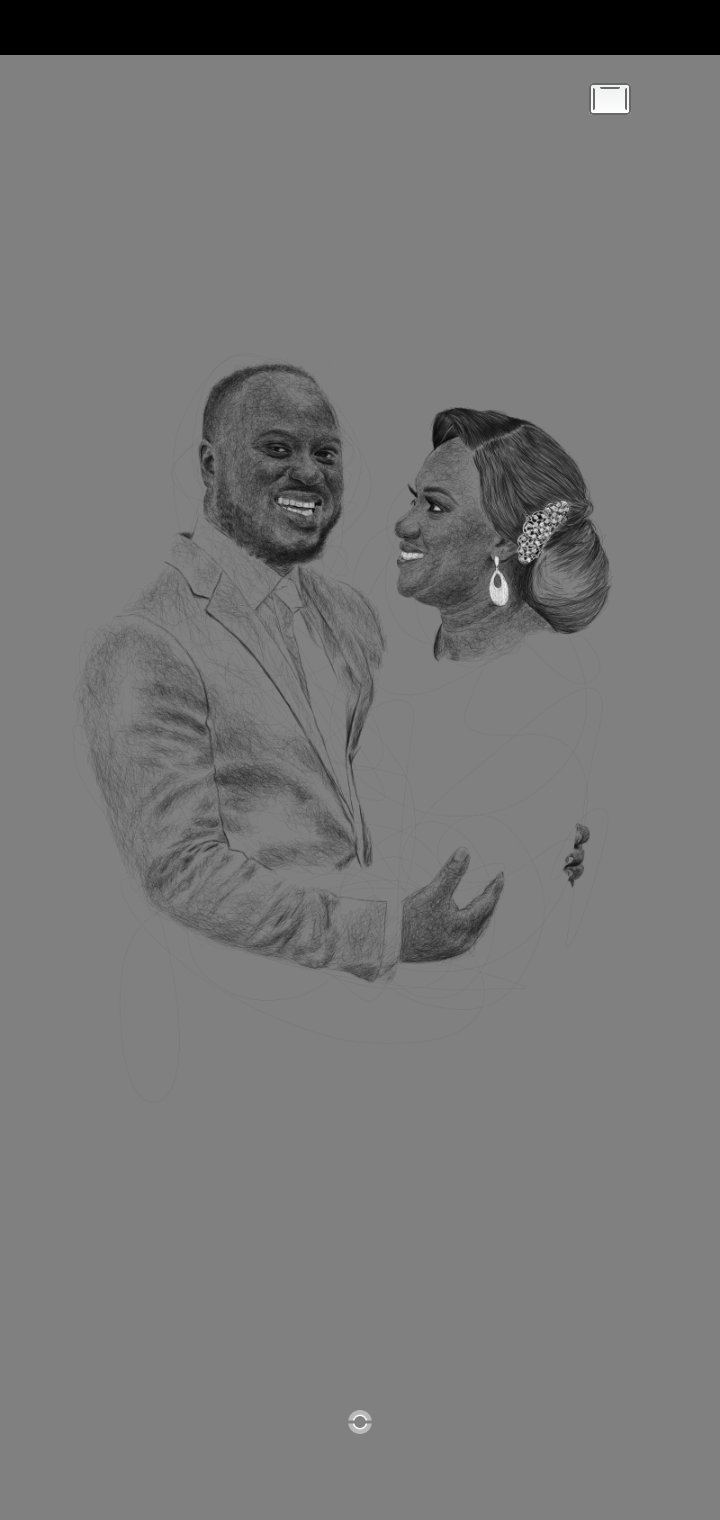
I completed the second mould really quick and i hhad finally gotten to my favourite part of the work; adding the colours.
I went back to the first mould and started there.
Colours: stage 1
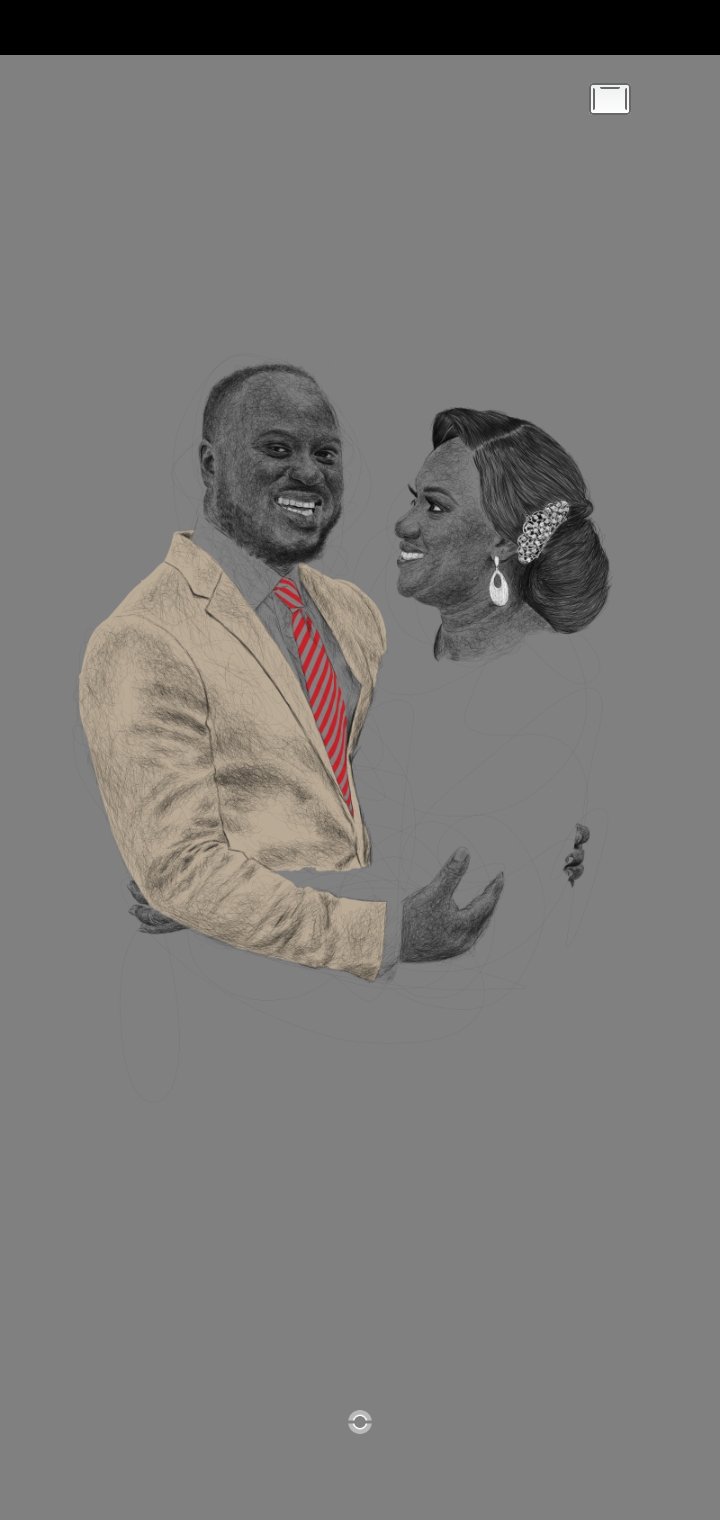
I started with his suit, Tan all through. The colour was looking dashing and exquisite,i felt like i was playing dress-up with the moulds😆.
Colours: stage 2
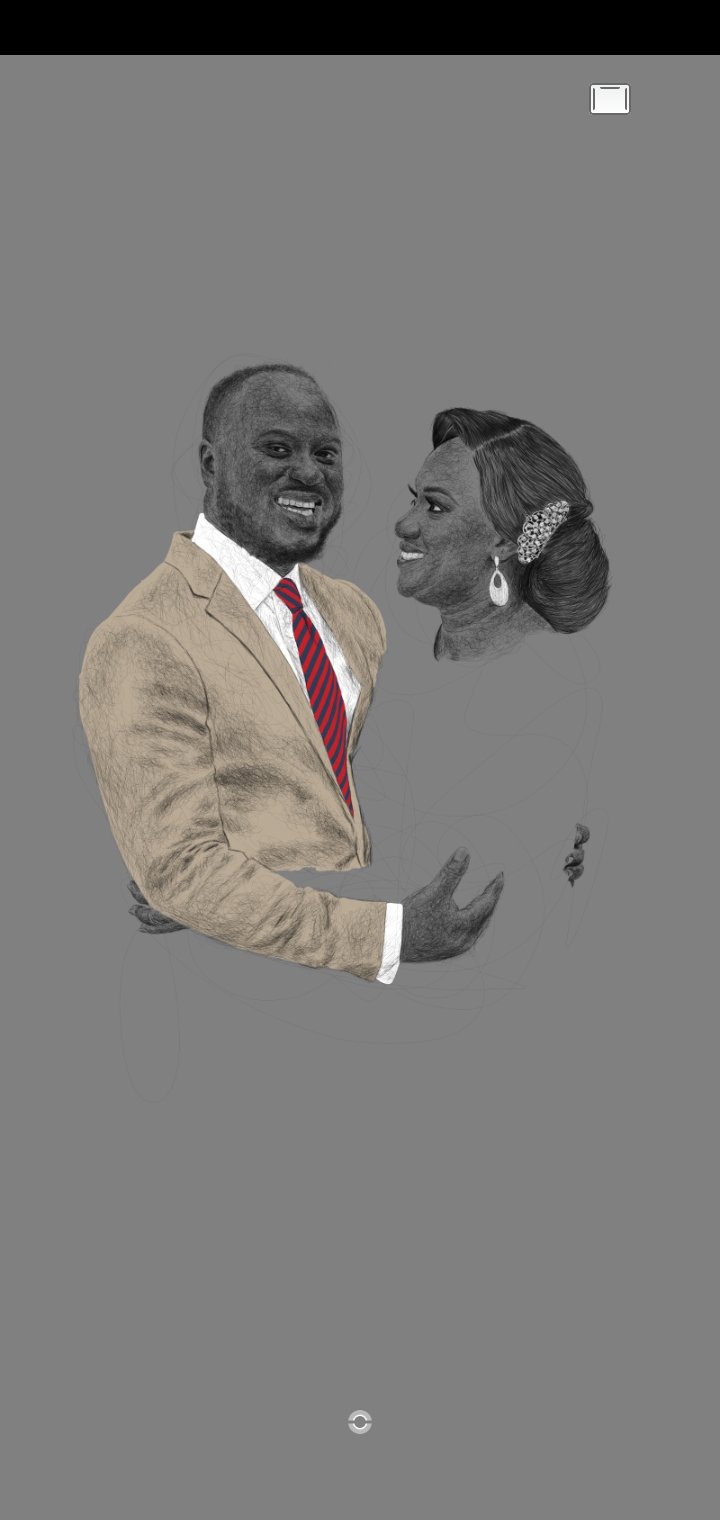
The tie is my favourite part of this phase, it colour compliments the suit so well that i hope to get that dame tie with the exact colours.
Colours: Stage 3*
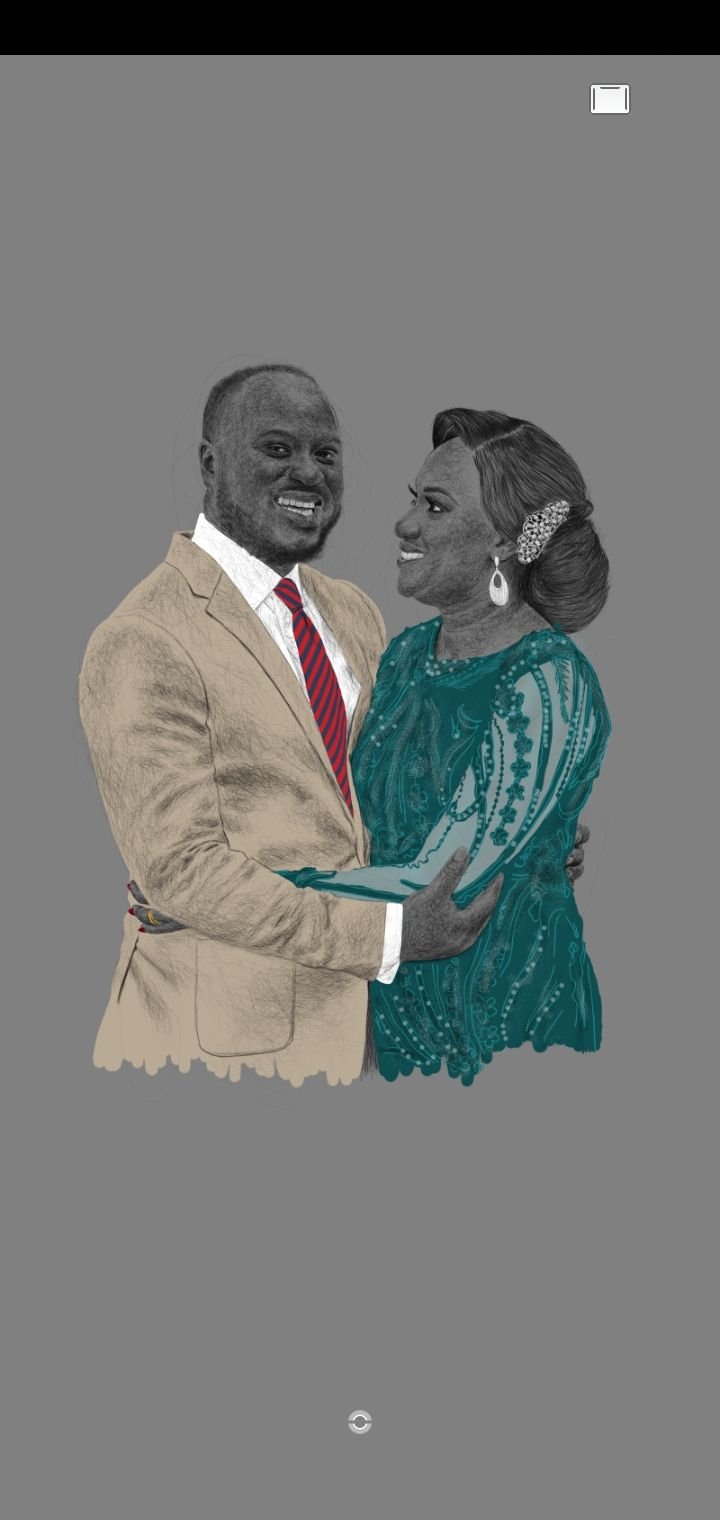
Creating the design on her dress was really something, i tried multiple methods before i finally got this. At first the design looked like i was just splattering paint on a canvas then i had an epiphany.
I painted the whole dress in teal green then i picked another shade of green and drew lines and patterns all over the Painted dress after that, i sprayed black all over the designs and then white to create an illusion of sparkling stones.
Final stage: background effect
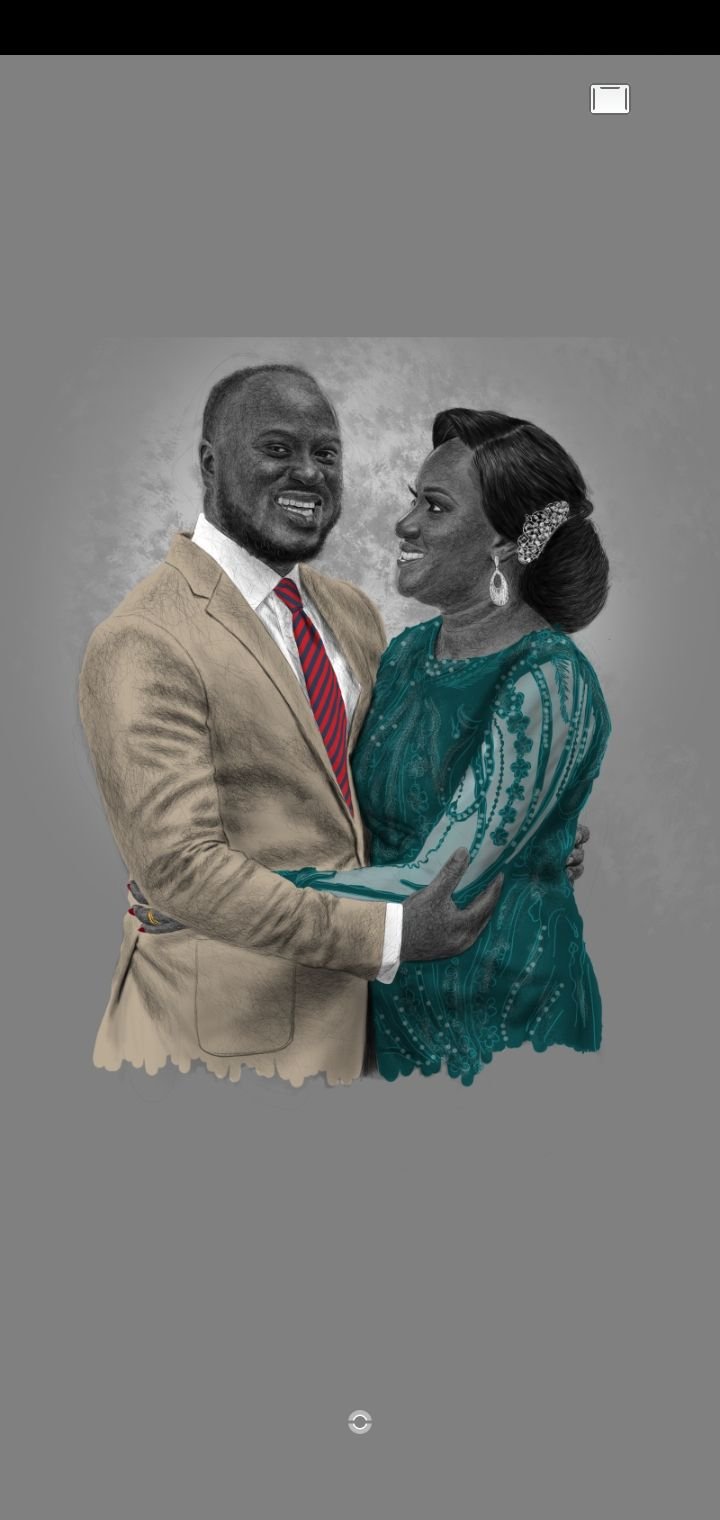
Choosing the background was no easy task also, i took my time to try out several effects; the white design here felt like a good idea at first but eventually i got the best mix than i hoped for.
Thank you for viewing my post