DIY//ideas from origami paper/how to make an easy pen holder
PAPER PEN HOLDER
Hello all art lover friends !!!
Good morning everyone, today the morning weather is very sunny, how are you today? Hopefully you will always be healthy and well.
Today I want to share my content again, namely making a pen holder from origami Paper.
As you can see, I quite often share several ways to make things from origami paper, 2 days ago I shared how to make a rabbit from paper, now I will share an easy way to make a pen holder from origami paper.
Let's get straight to it, friends, let's look at the steps below that I share, hopefully friends at home can easily understand what I'm explaining.
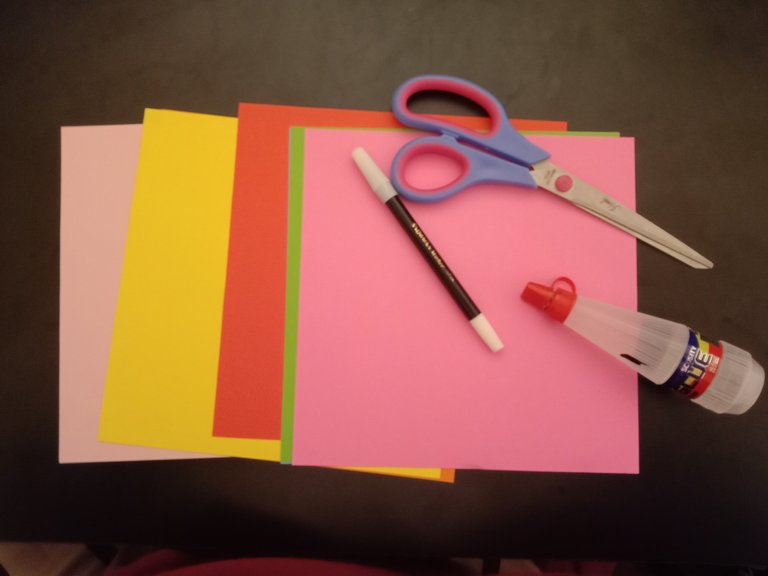
MATERIALS USED
✔️Paper 7 colorful origami sheets measuring 21cmx21cm

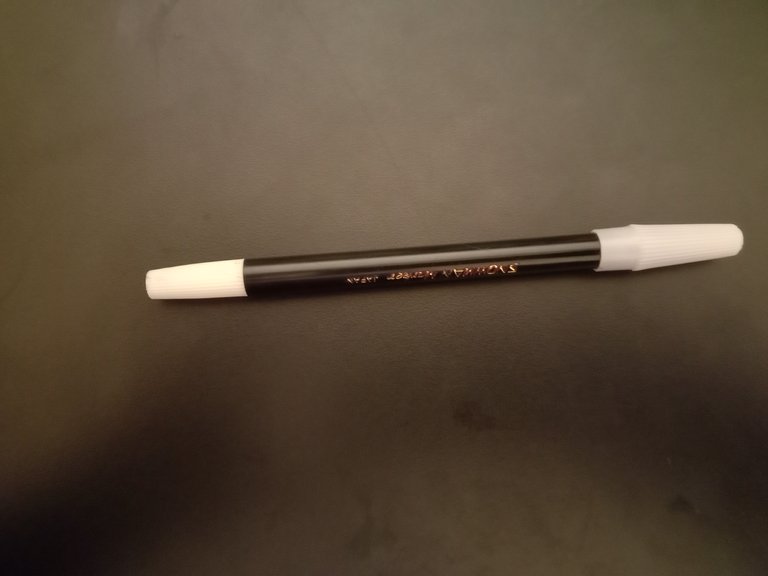
✔️Pen marker
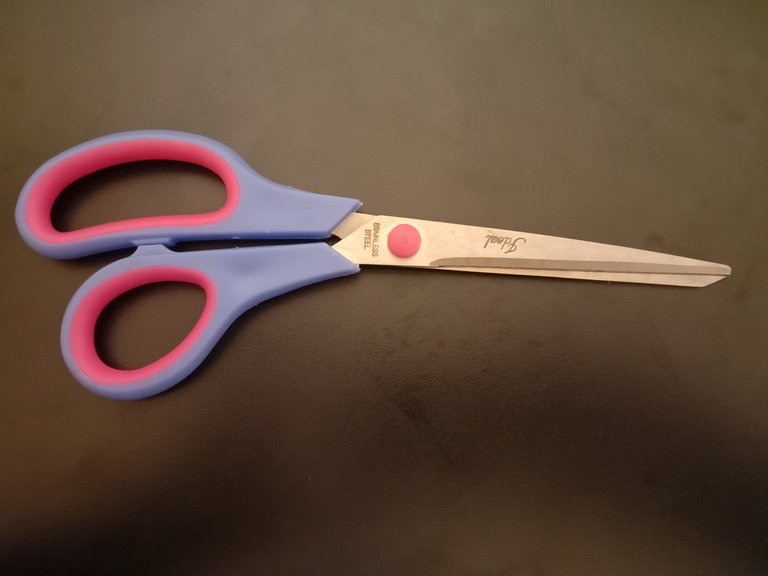
✔️Scissors
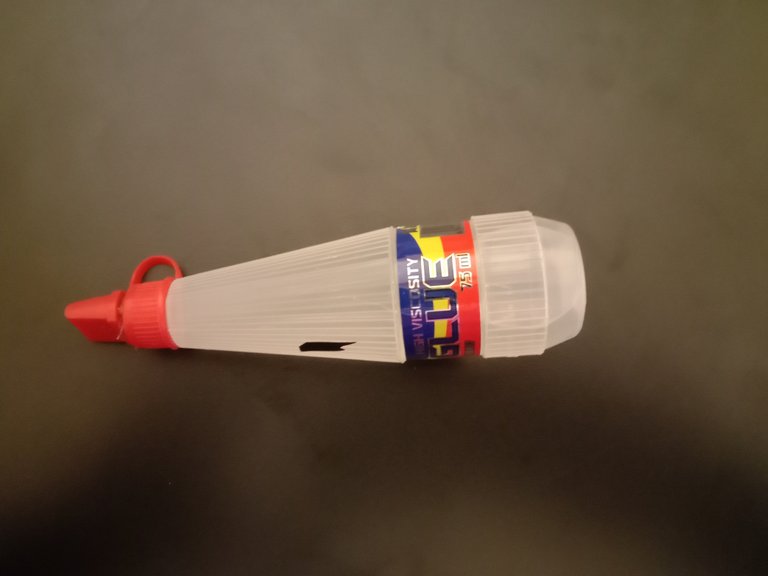
✔️Glue
All the ingredients
WORKING PROCESS
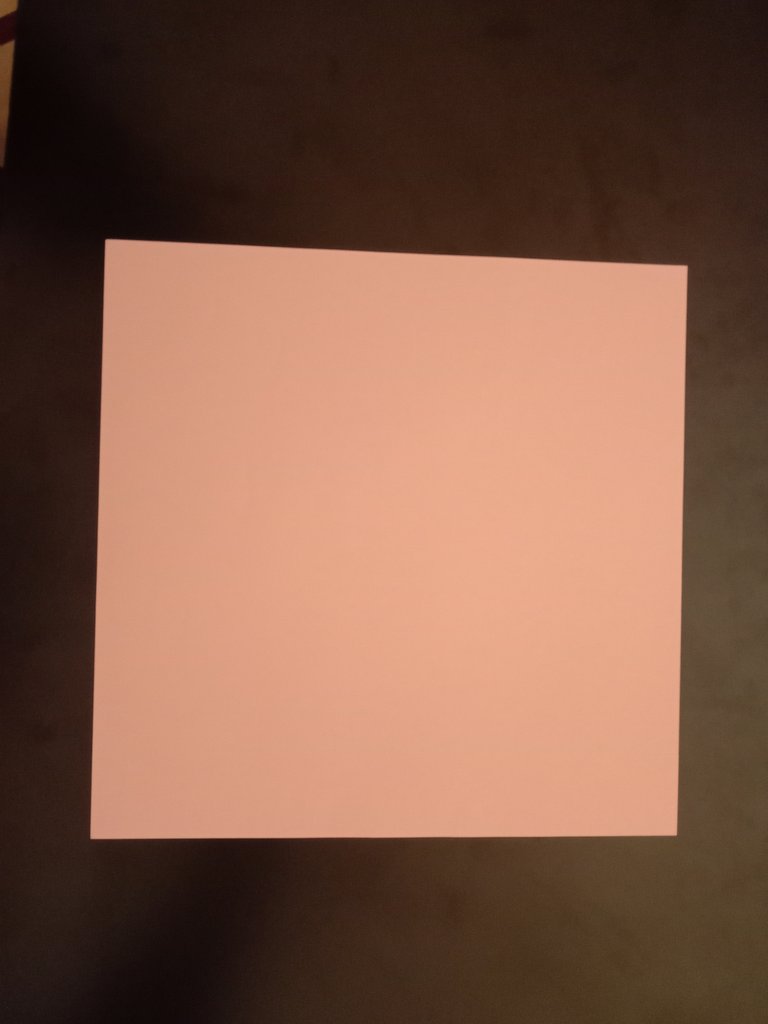
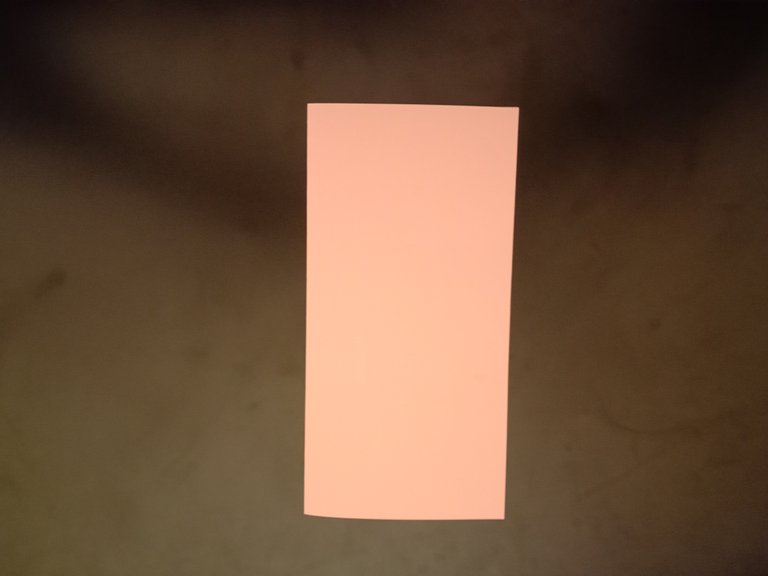
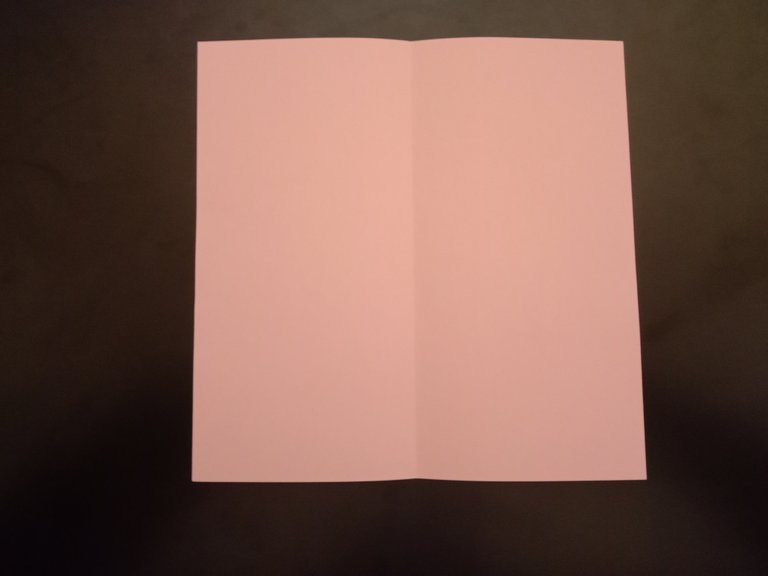
✔️ First, take the paper, then fold it in half and press so that there is a shadow line in the middle Then open the paper again .
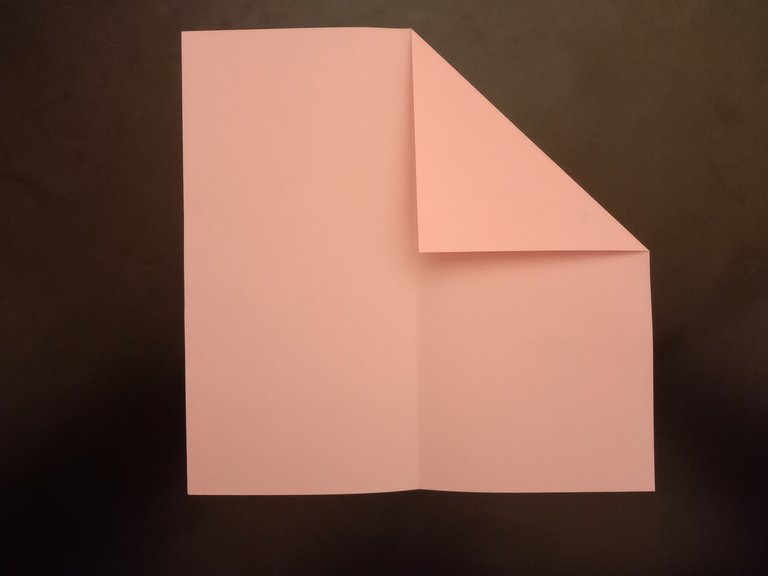
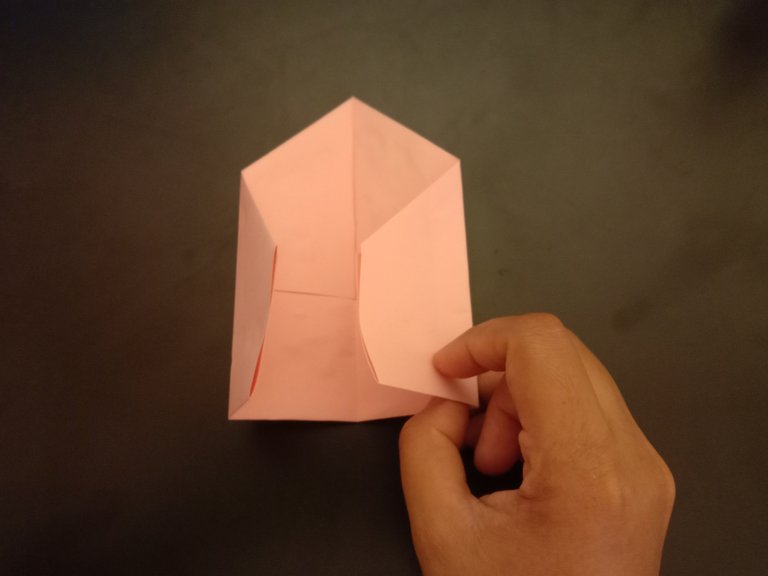
✔️ Then take the top left and right corners and fold them towards the middle, there will be a pointed shape on top,Then we fold the bottom part up
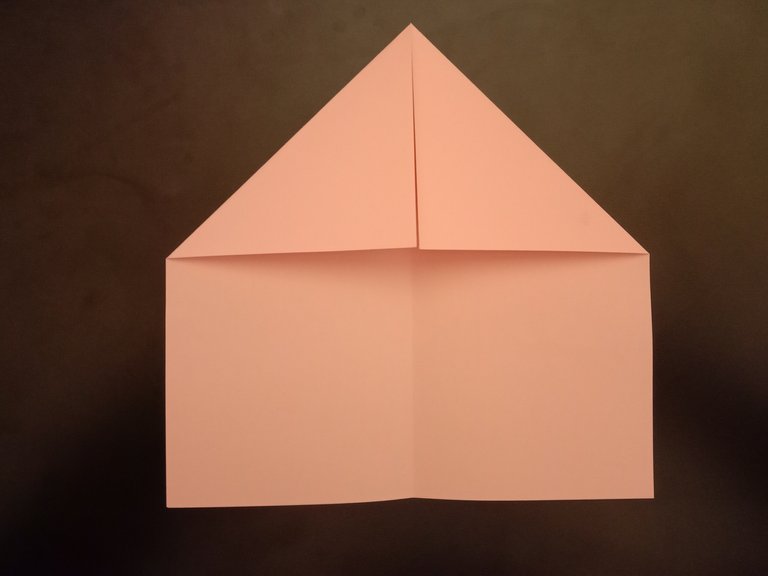
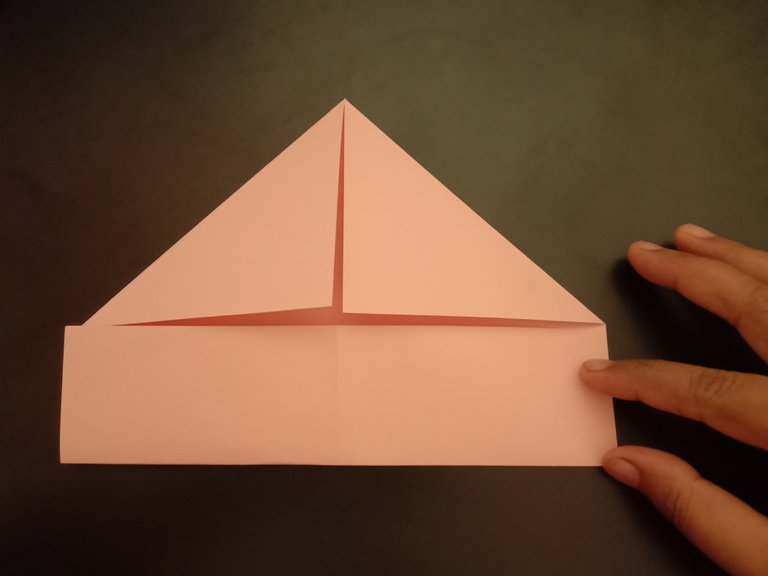
✔️Then, after all the fold lines are visible, we open them again and glue them according to the original folds.
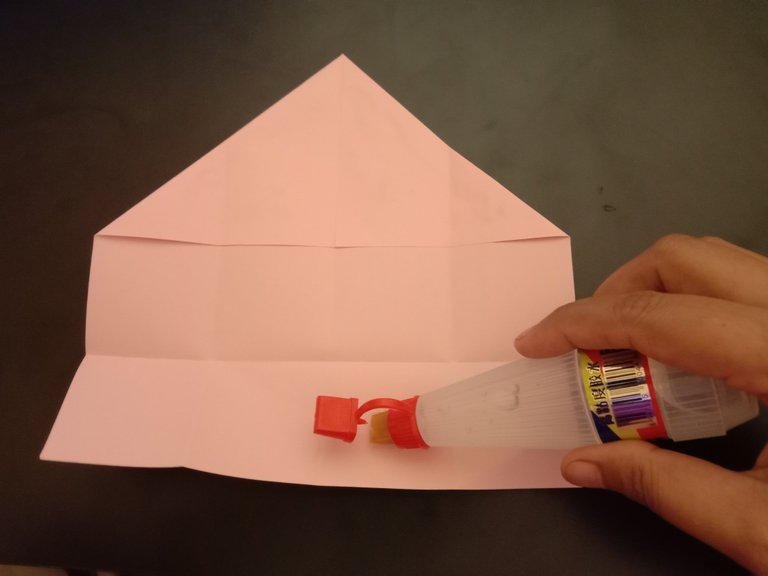
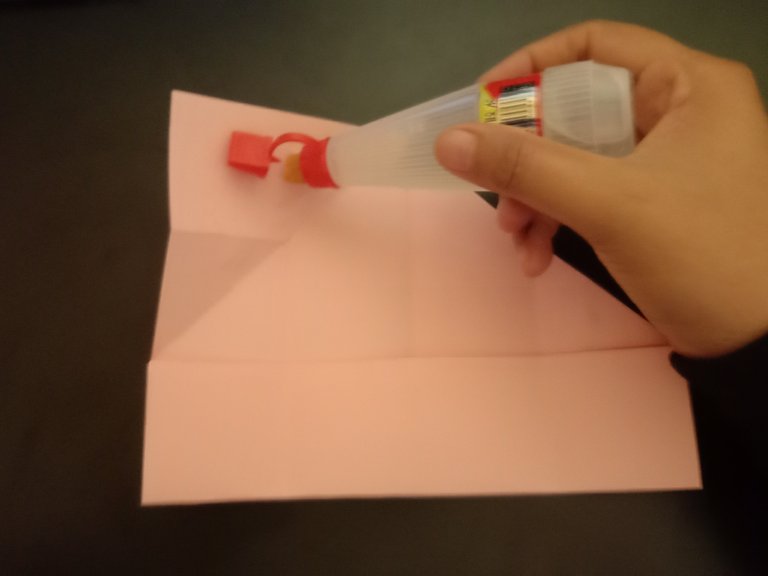
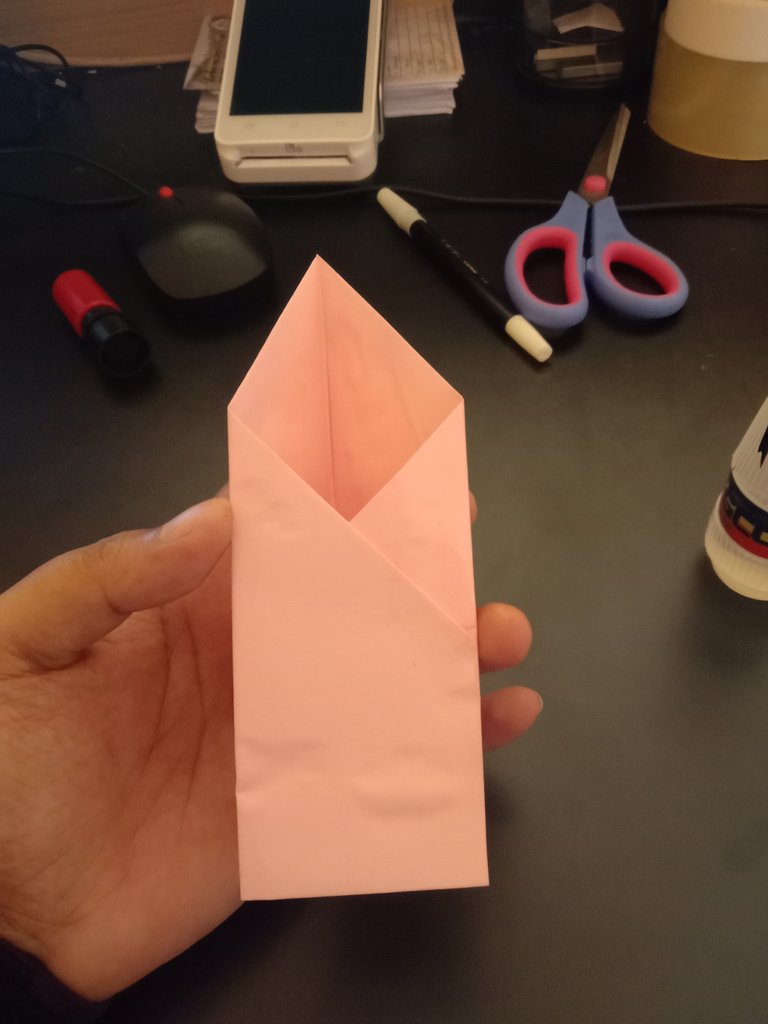
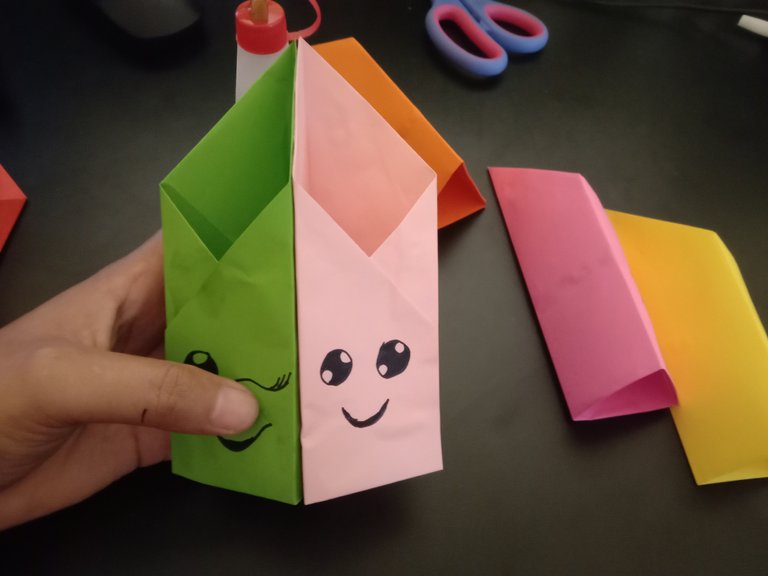
✔️ After gluing everything, take the right and left sides and fold the To the Middle To Middle,Press the fold to create a shadow line.
✔️After folding it, glue the middle part
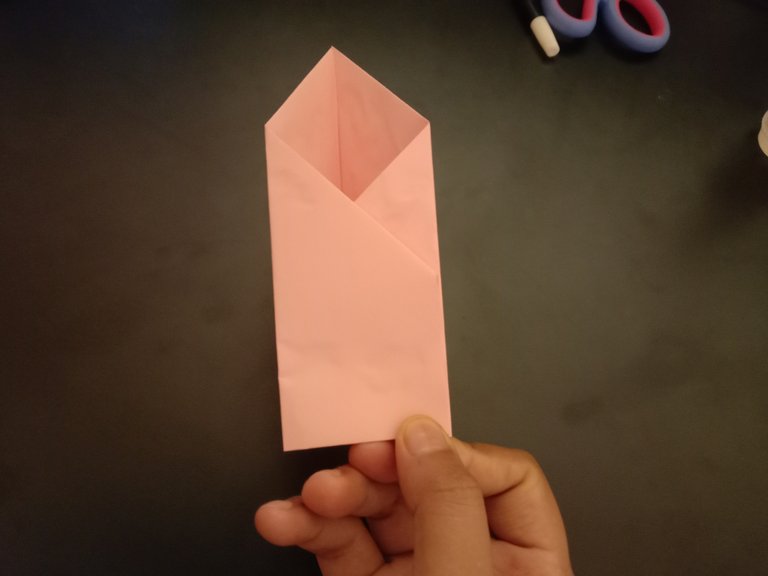
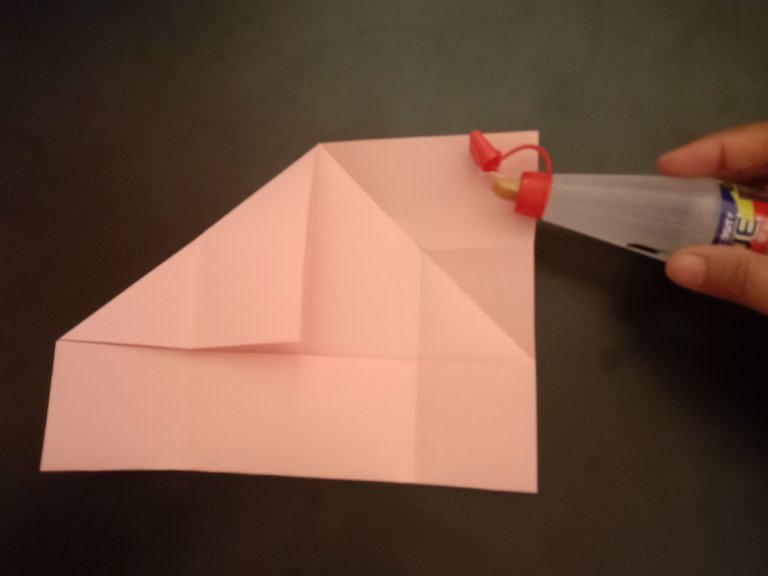
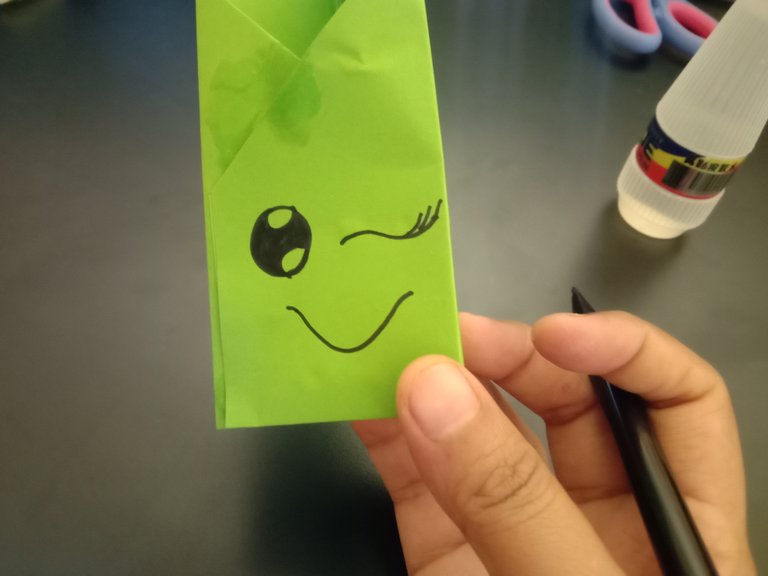
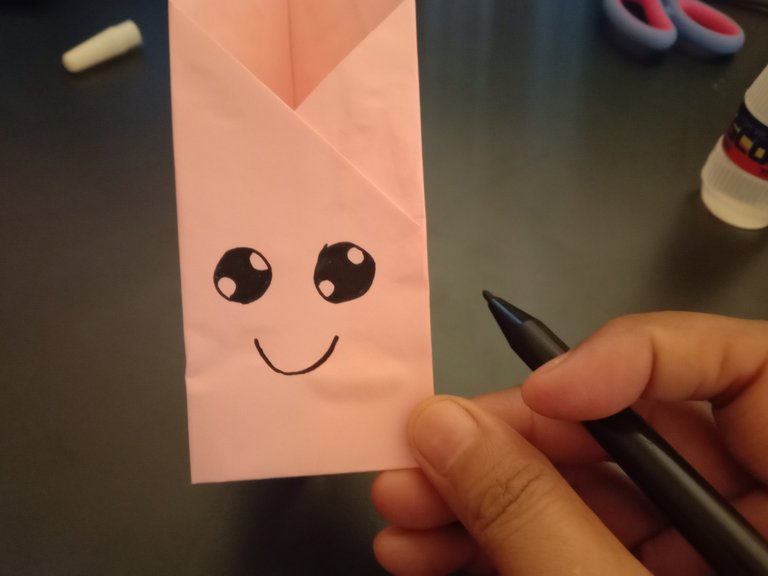
✔️Then finally I drew a little so it wouldn't be visible
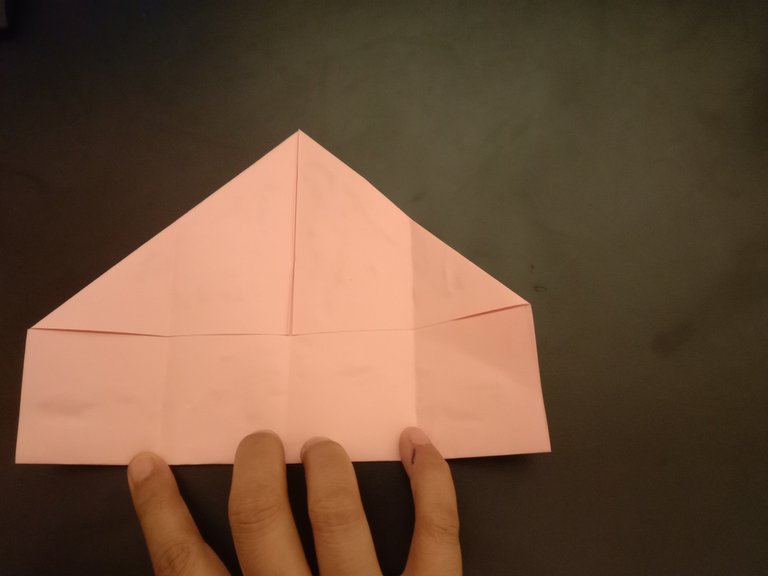
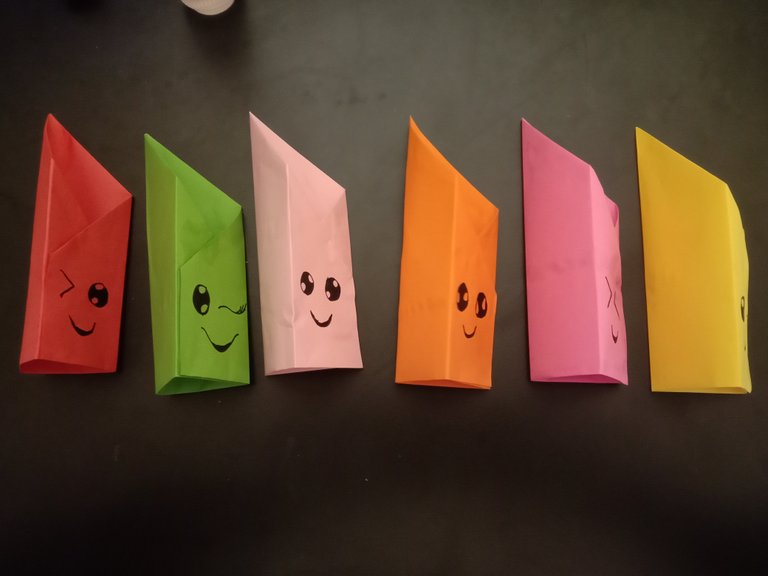
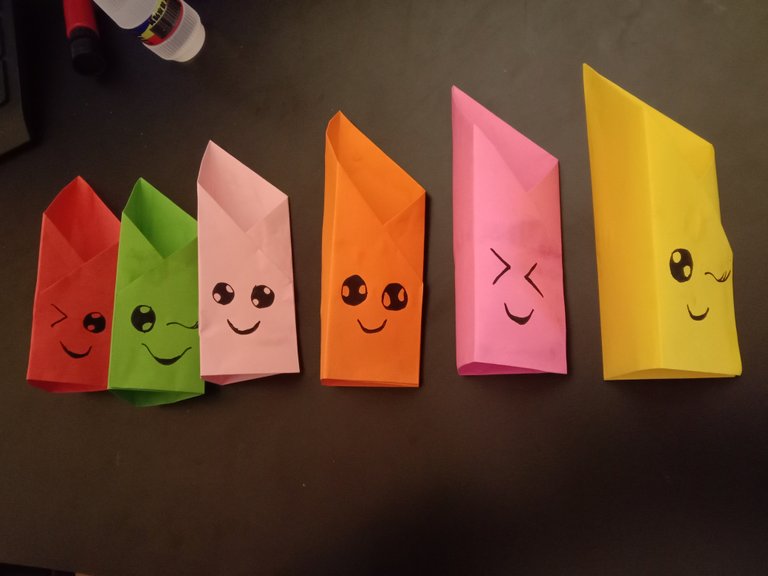
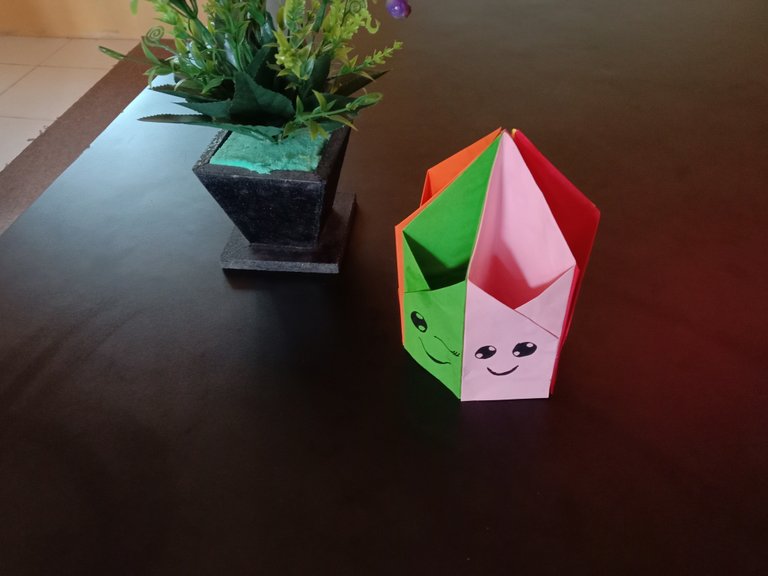
✔️ This is the view of the lan that is ready, and we will glue it one by one
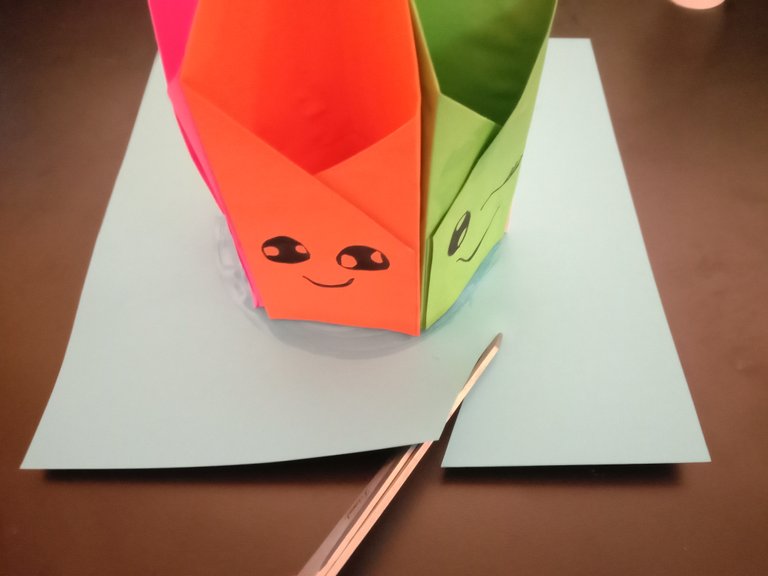
✔️Then take another piece of paper to make the bottom of the pencil holder.
Place it at the bottom and fill it with glue,Then cut it out according to your pencil case
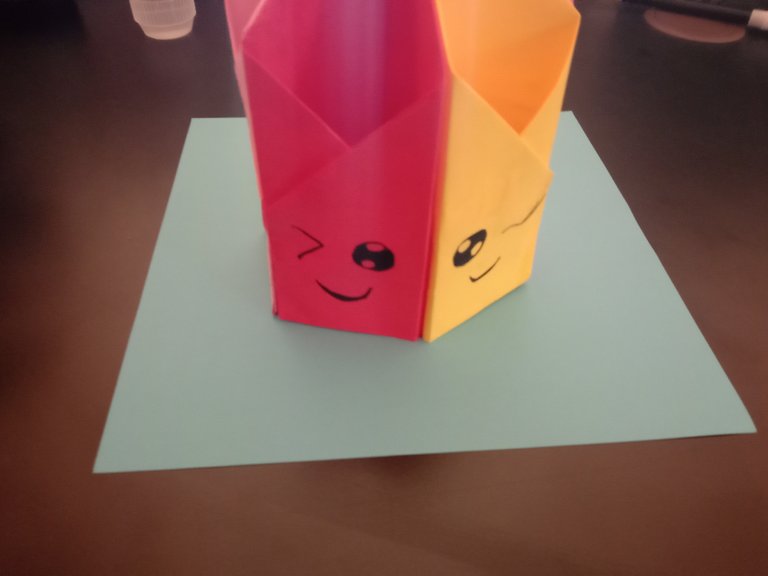
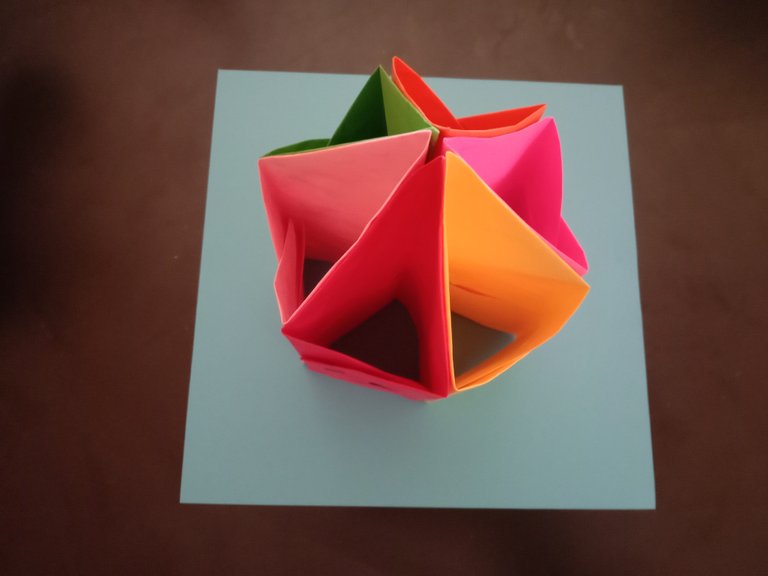
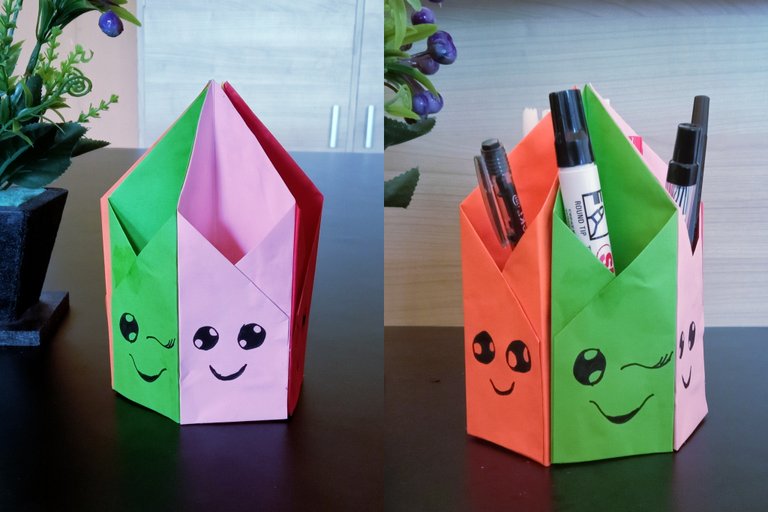
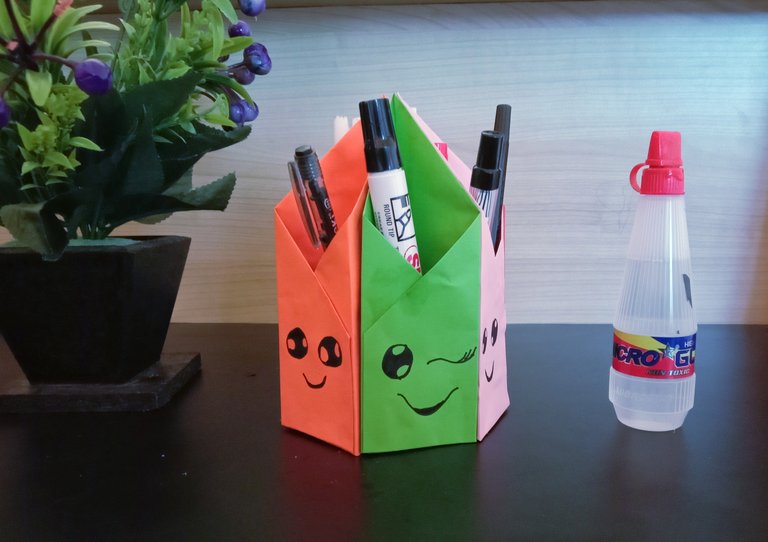
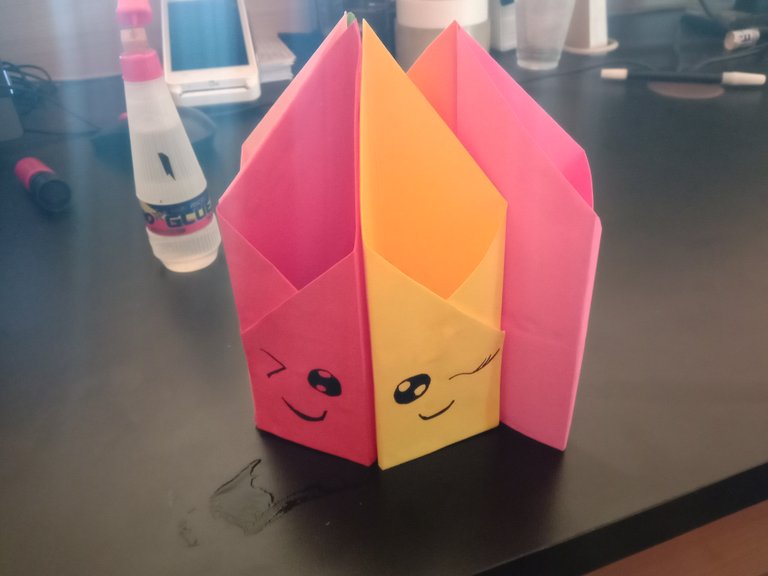
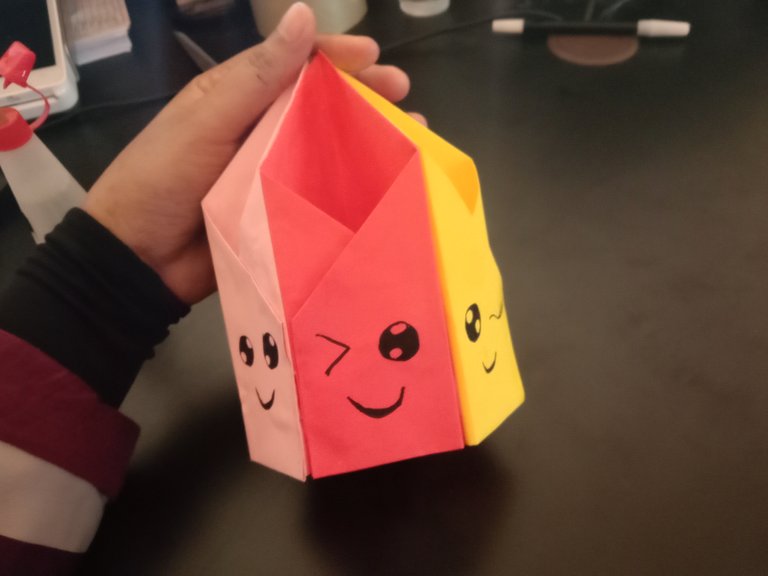
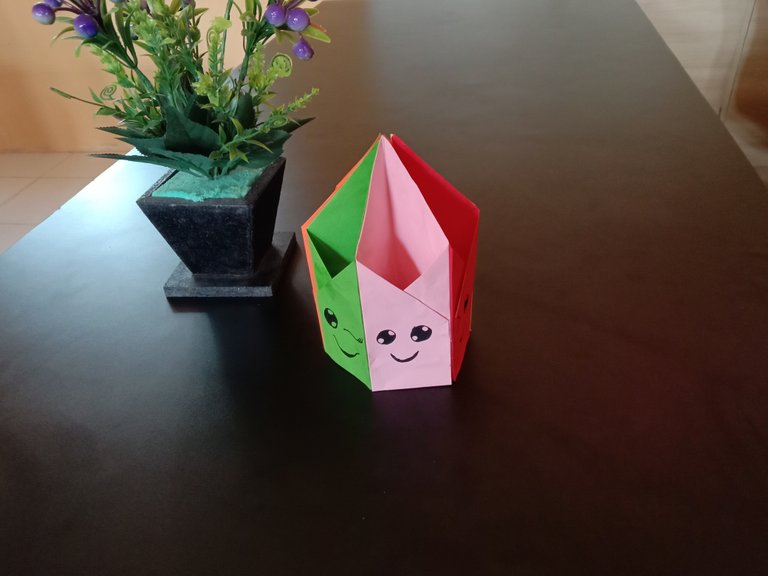
The result
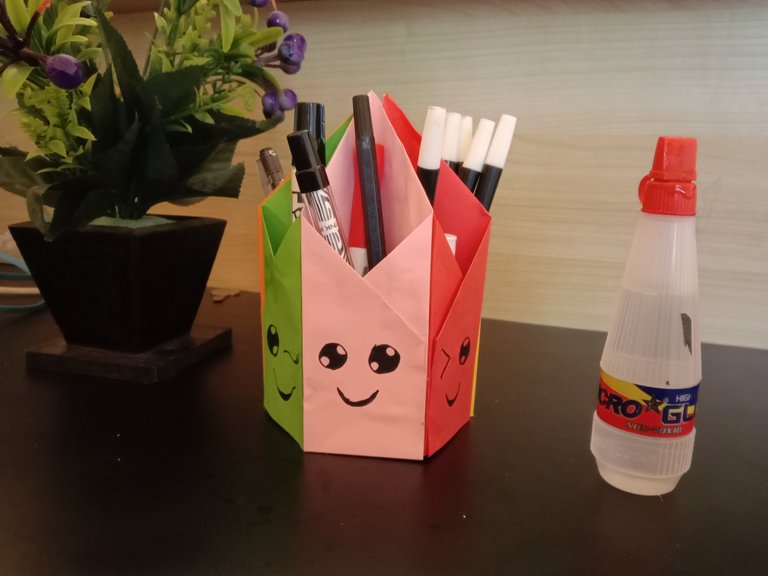
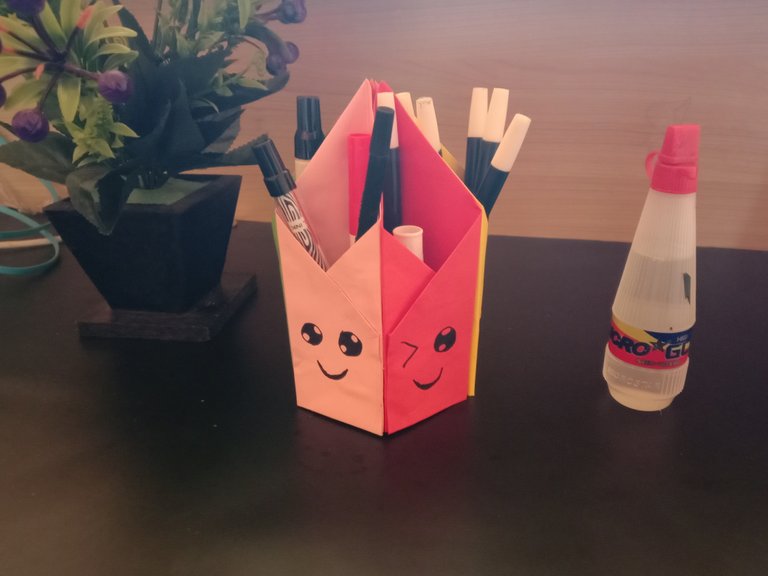

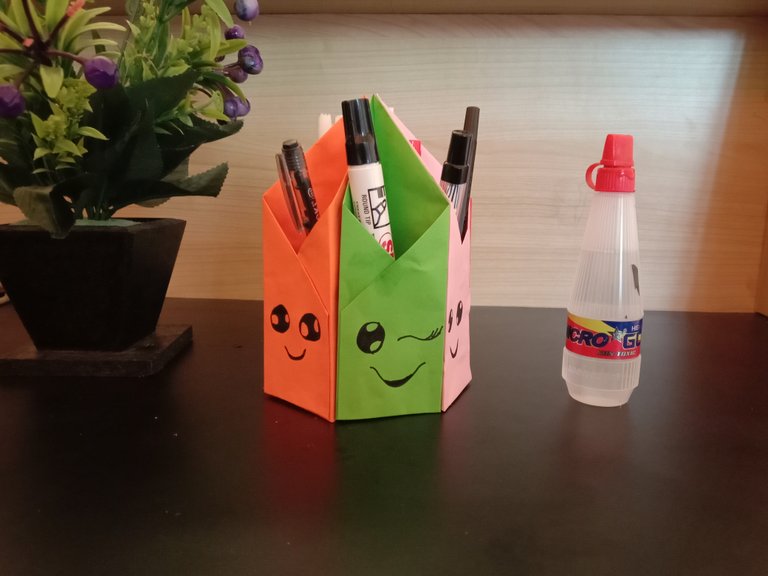
Those are some of the steps, friends, in making a pen holder from paper, how do you like the results?
Hope you guys like it.
See you next time...
What a tender work full of color and warmth, anyone would like to have on your desk a pen holder like this in origami, you execute the technique very well. Beautiful final result. Thanks for sharing your process in our community.
Thank you very much @diyhub, positive support will make me more active in working again in this beloved community
Beautiful work, I love how you work the technique everything is so beautiful and delicate. Thank you for giving us your creative process @nurul-uli ✨
!DIY
You're welcome friends, glad to see you like it, I hope you can try it someday
You can query your personal balance by
!DIYSTATSThank you very much
It really comes out so beautiful.
!DIY
Thank you very much dear 😊
You're welcome. 🤗
You can query your personal balance by
!DIYSTATSThank you very much😊
Some very striking colors, what a great job. I love it🥰
Thank you very much friend, glad to see you like it, greetings
Thank you dear, glad to see you like it, nice to meet you dear