Back to the Basics: Cat
Since coming back to using airdry clay, I realized that I forgot where I came from- and that is, I started posting DIY tutorials to help young kids or those who are round them learn how to do basic sculpting.
In this post, I will be teaching you how to make a basic cat. As I have a strong leaning toward kawaii creatures, the basic principles will be obvious on that. The head is unusually big, arms and limbs small, unusually large eyes- all embodiment of what we all call kawaii or cute.
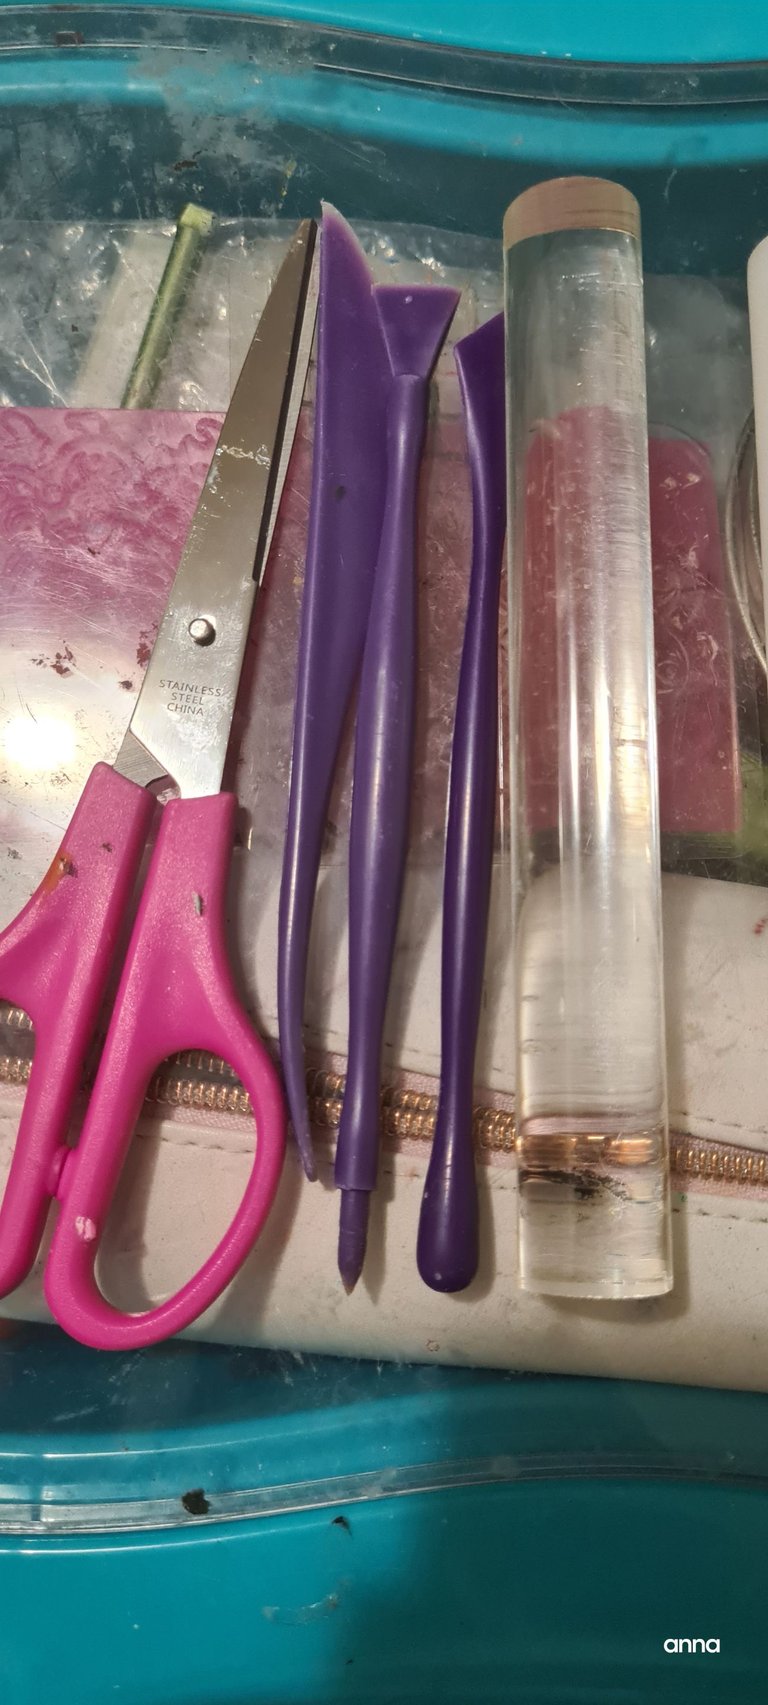
Here are my basic tools. You can buy them in the craft store or, if you like to buy air dry clay sets, they usually come with the kit.
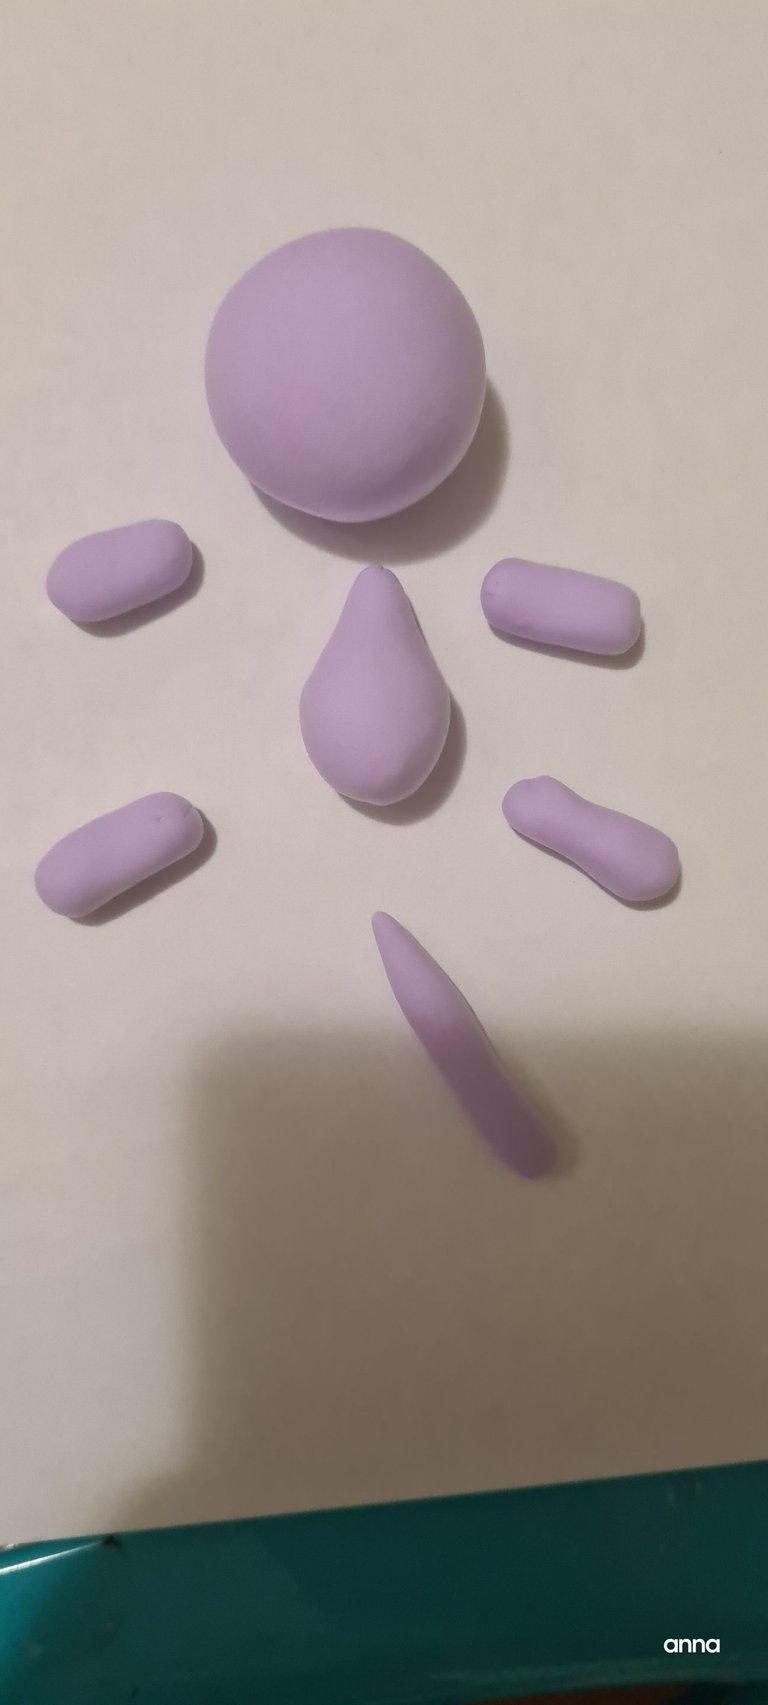
Basic body shapes:
As discussed earlier- big head, small body. I do not usually do this randomly because as airdry clay starts curing with the air, adding details would make it more complicated( cracking, fracturing on the pieces, difficulty adhering them together).
- Body and legs
I will be making the basic designs. Simply get the "body" part and make the paw part.
Its pretty straightforward: get the arm then slice 4 marks that will eventually become a finger. This is not strictly an anatomical piece so don;t worry if it does not look good.
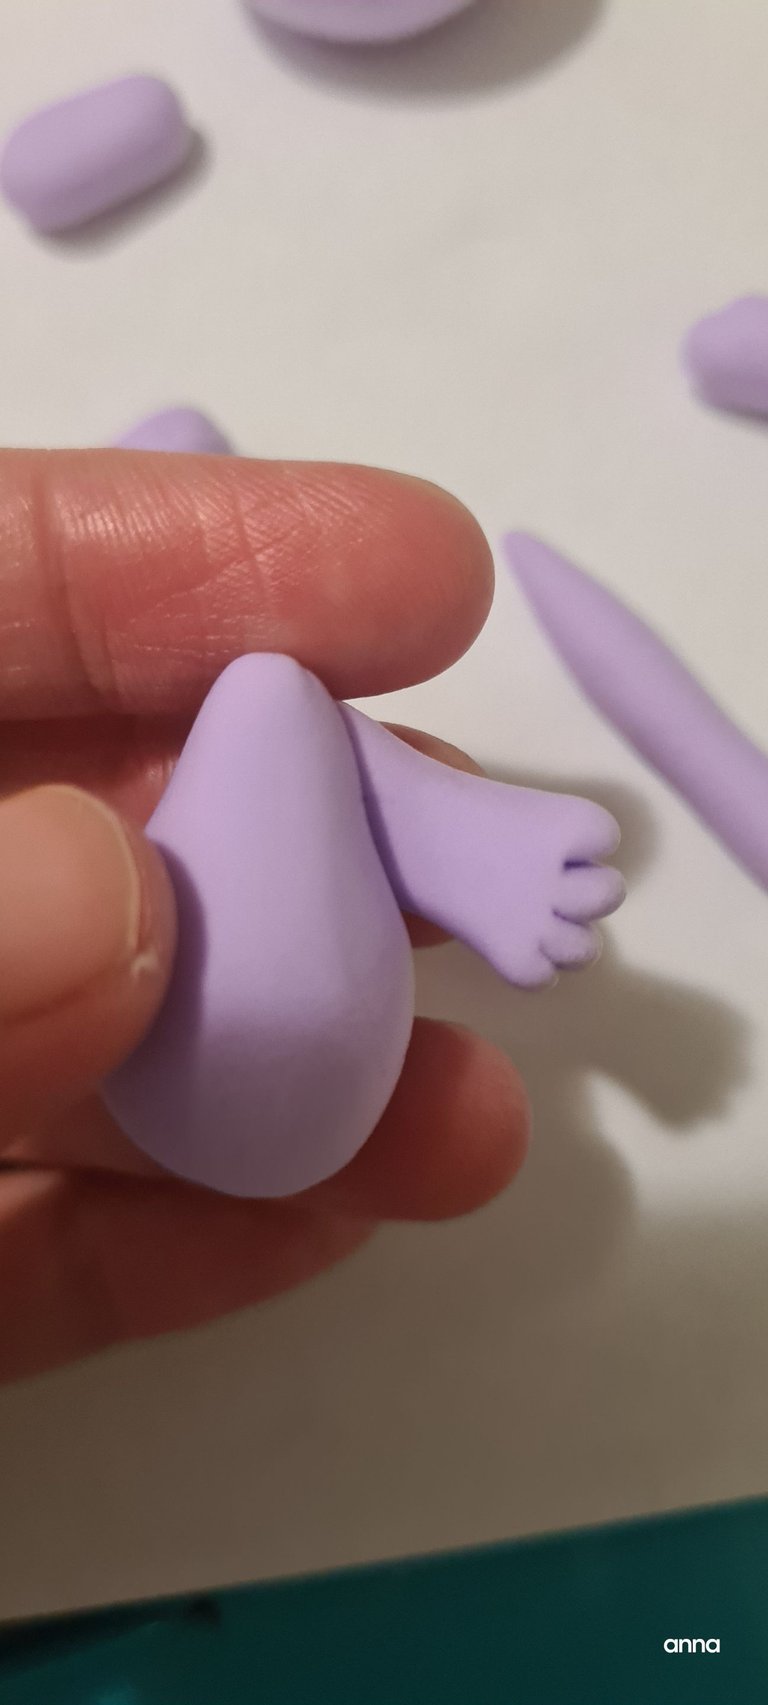
Side view.
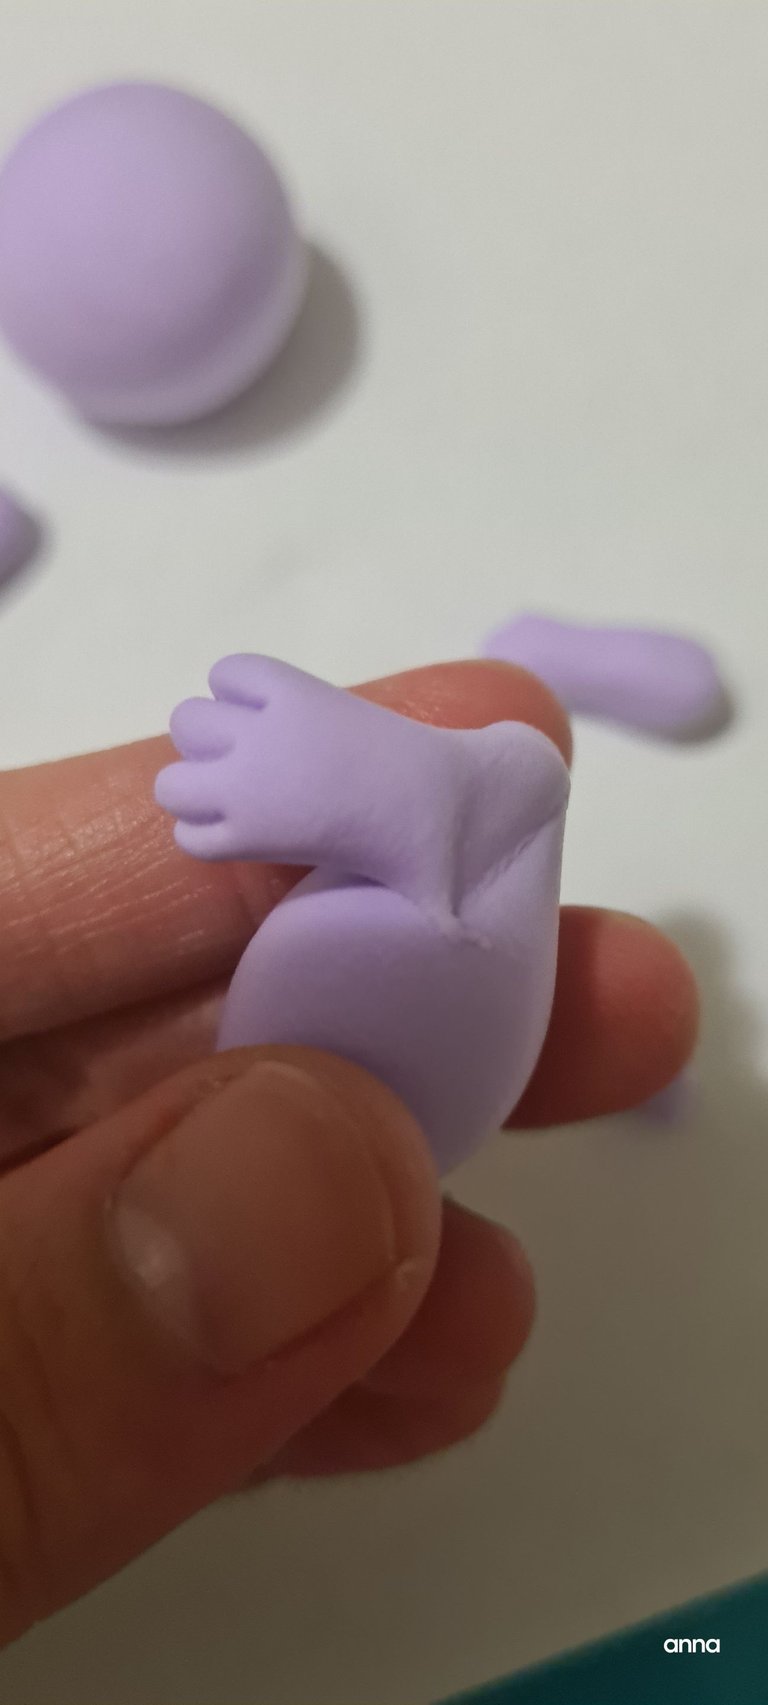
I added details on the inside by attaching round clay to act as foot pads.
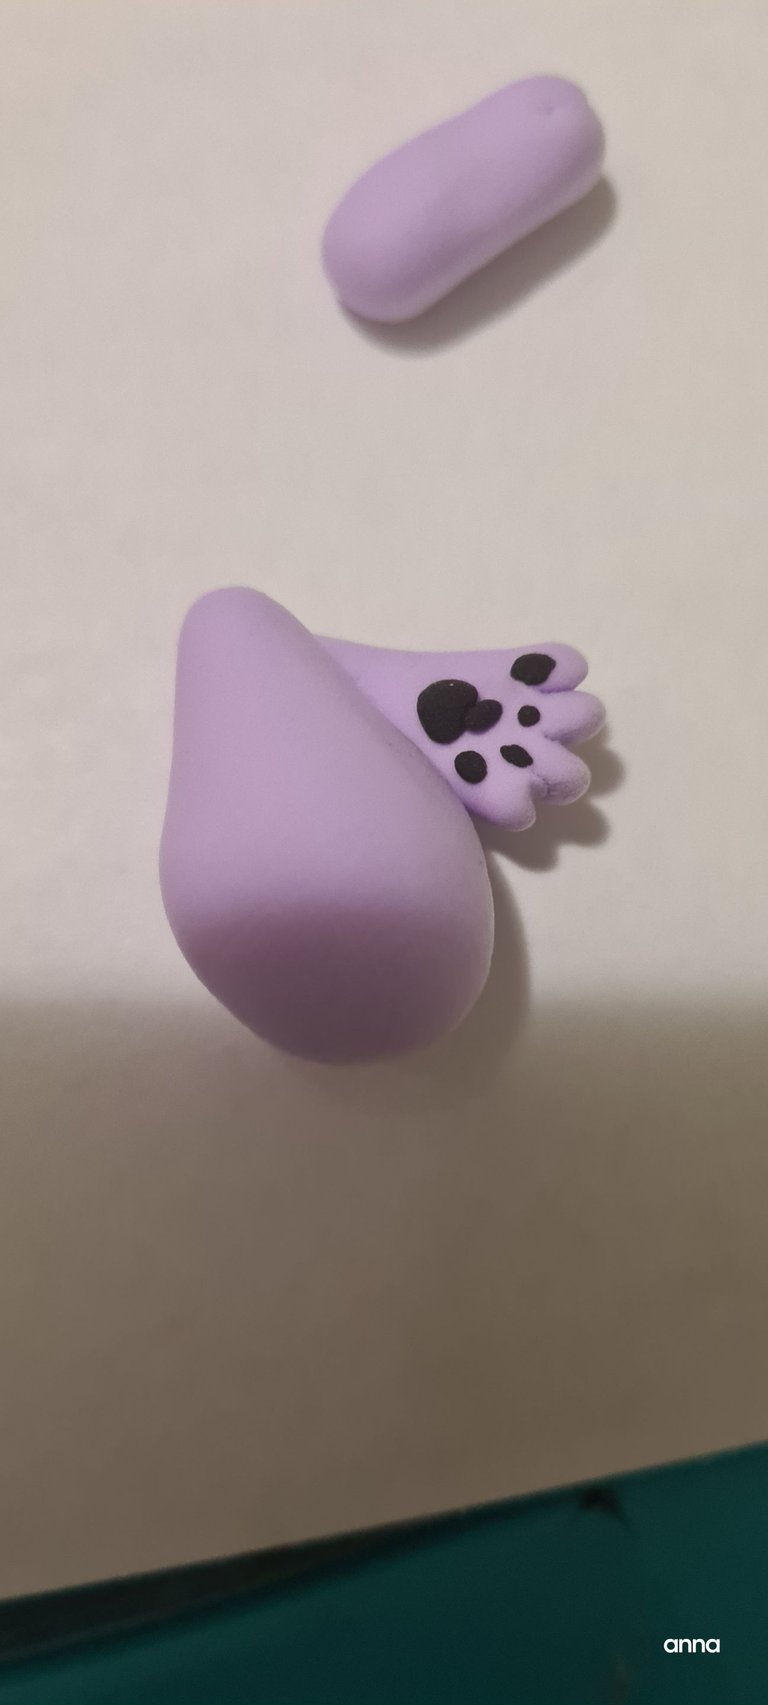
Attach the pieces together to have something that looks like this.
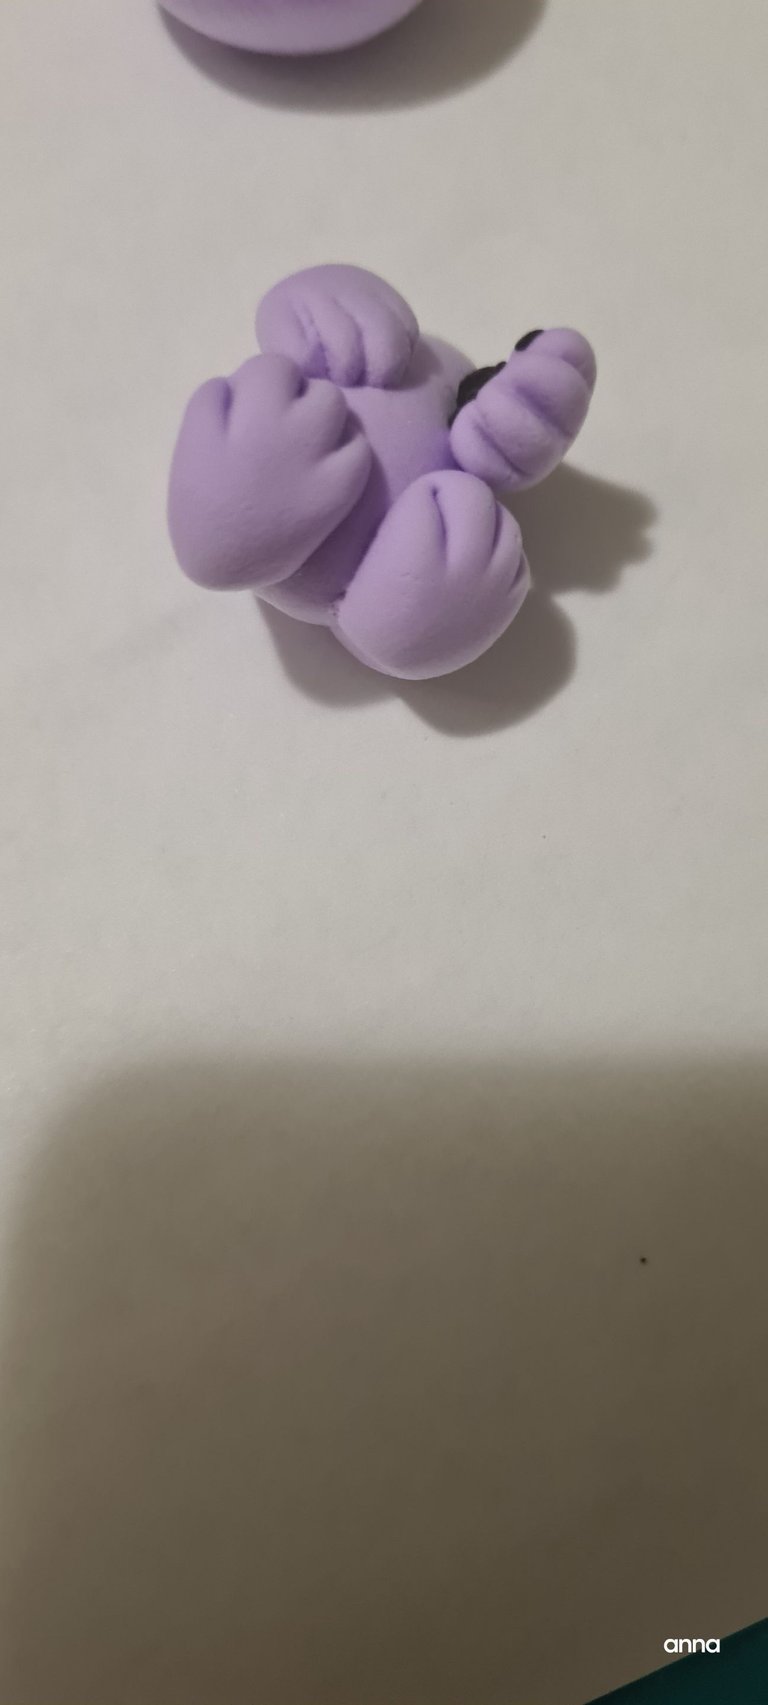
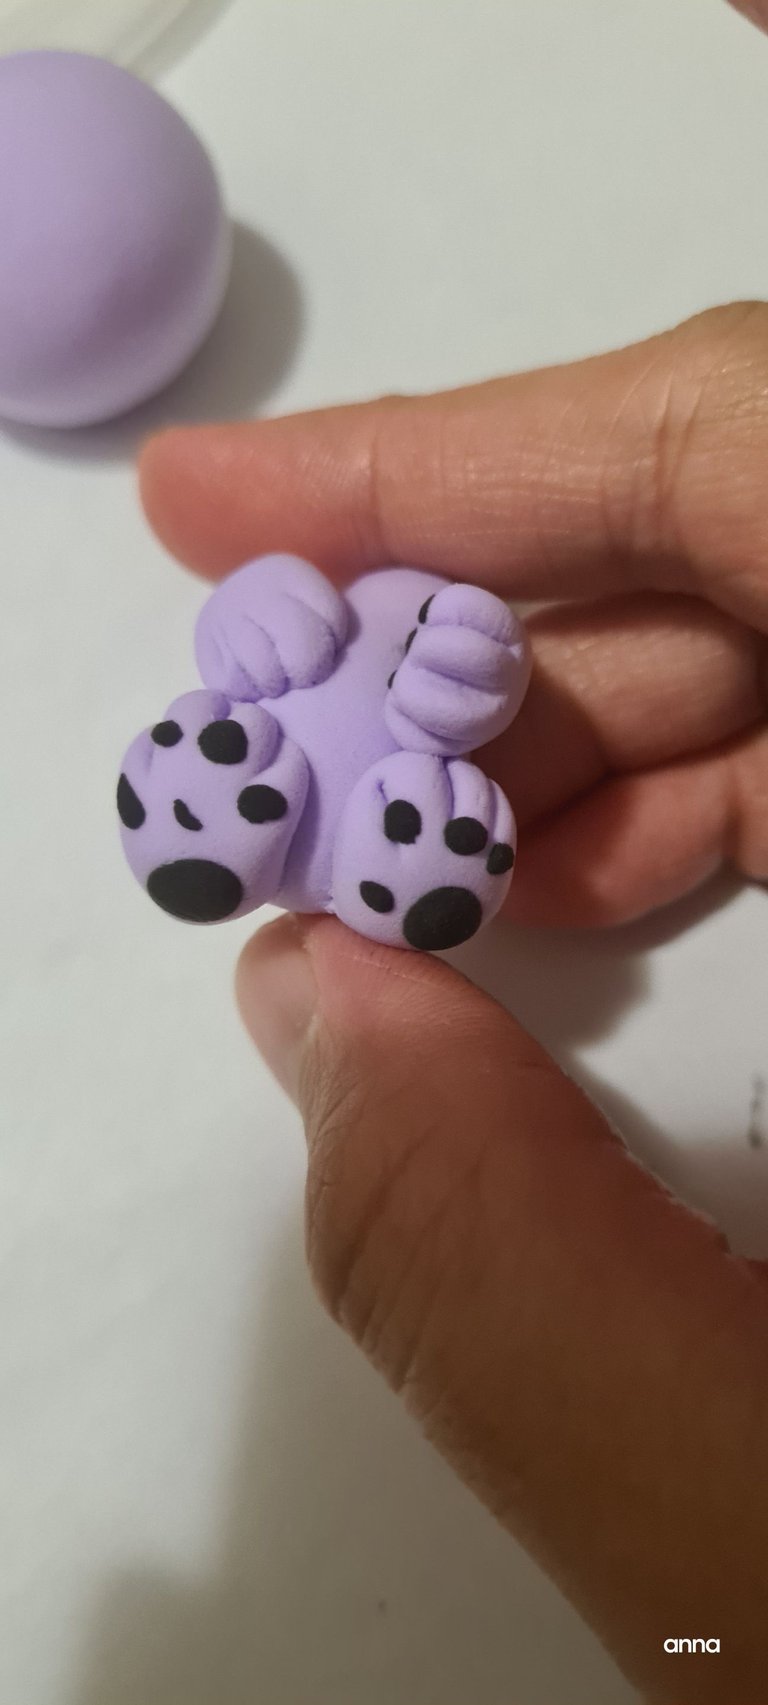
I added some footpads on the "feet."
And here is the tail.
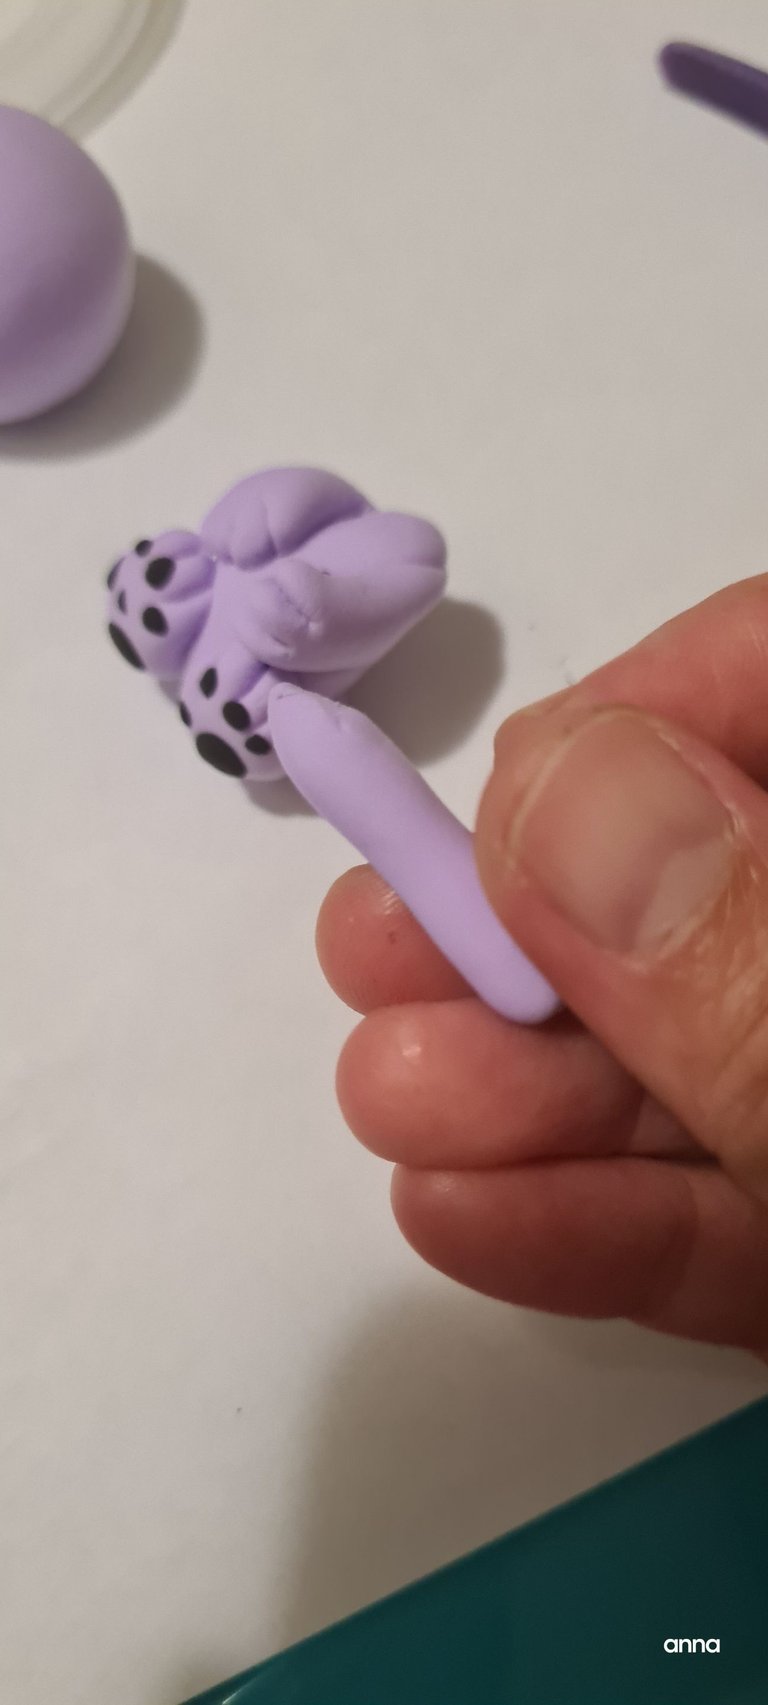
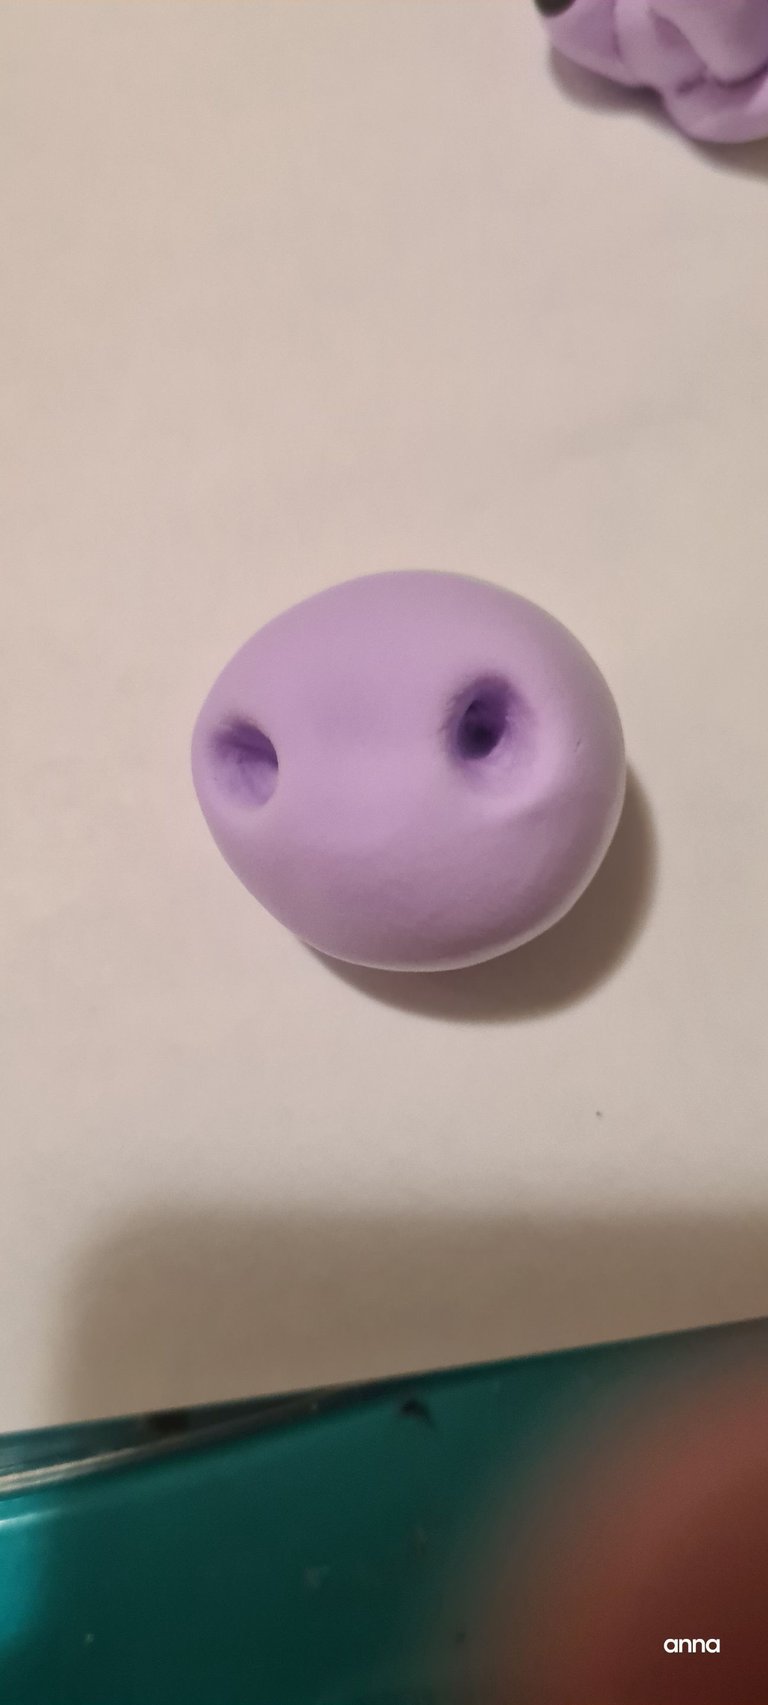
- details for the head
I started by using my tool to create holes on the head- as large as you wanted to get that kawaii look.
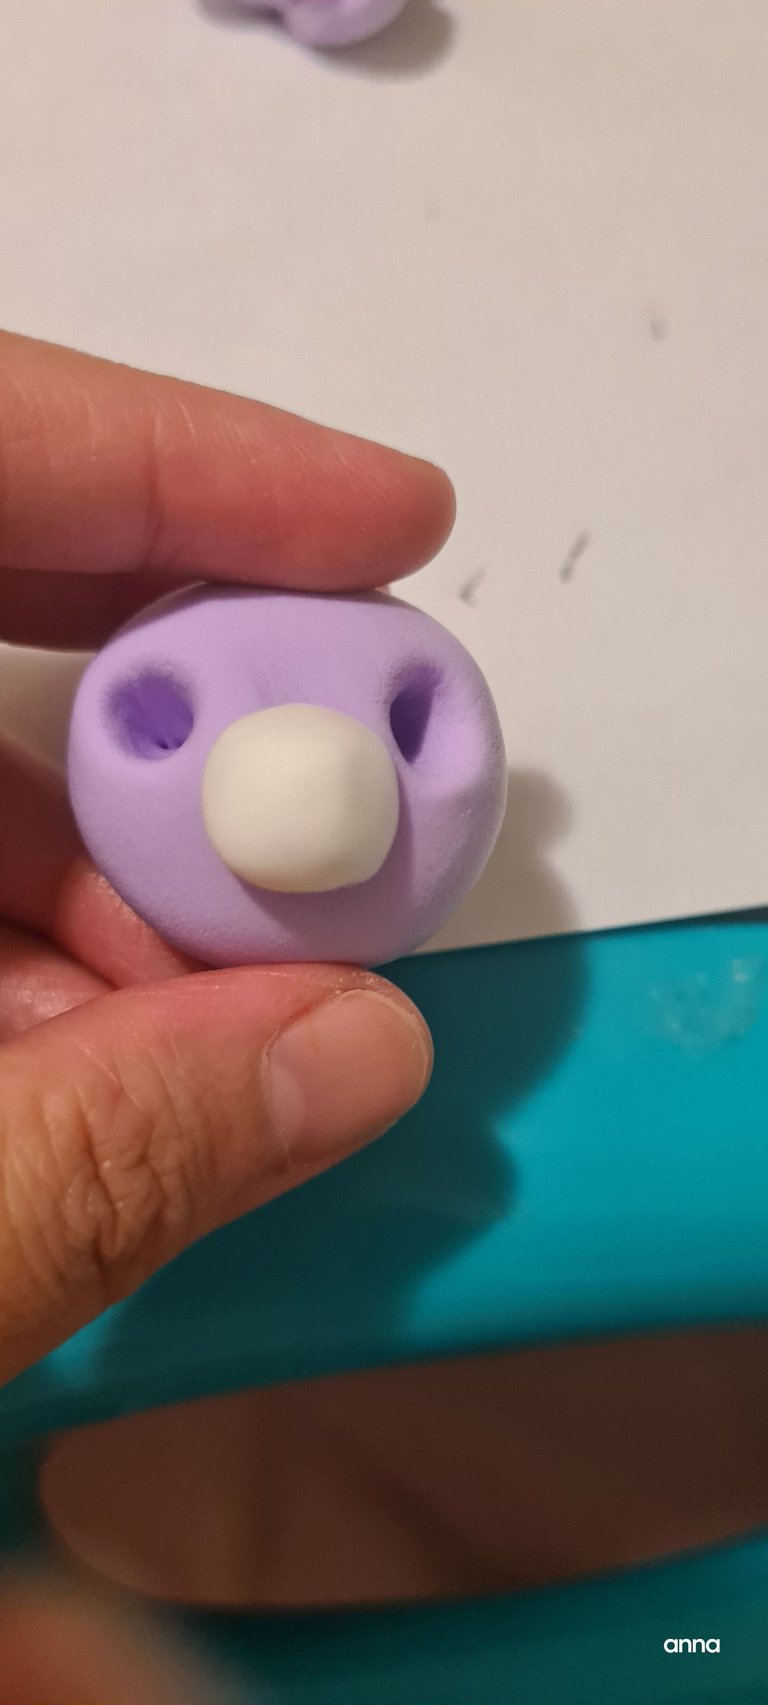
round clay on the bottom to be the mouth/ nose part.
Here I am adding details to the eyes.
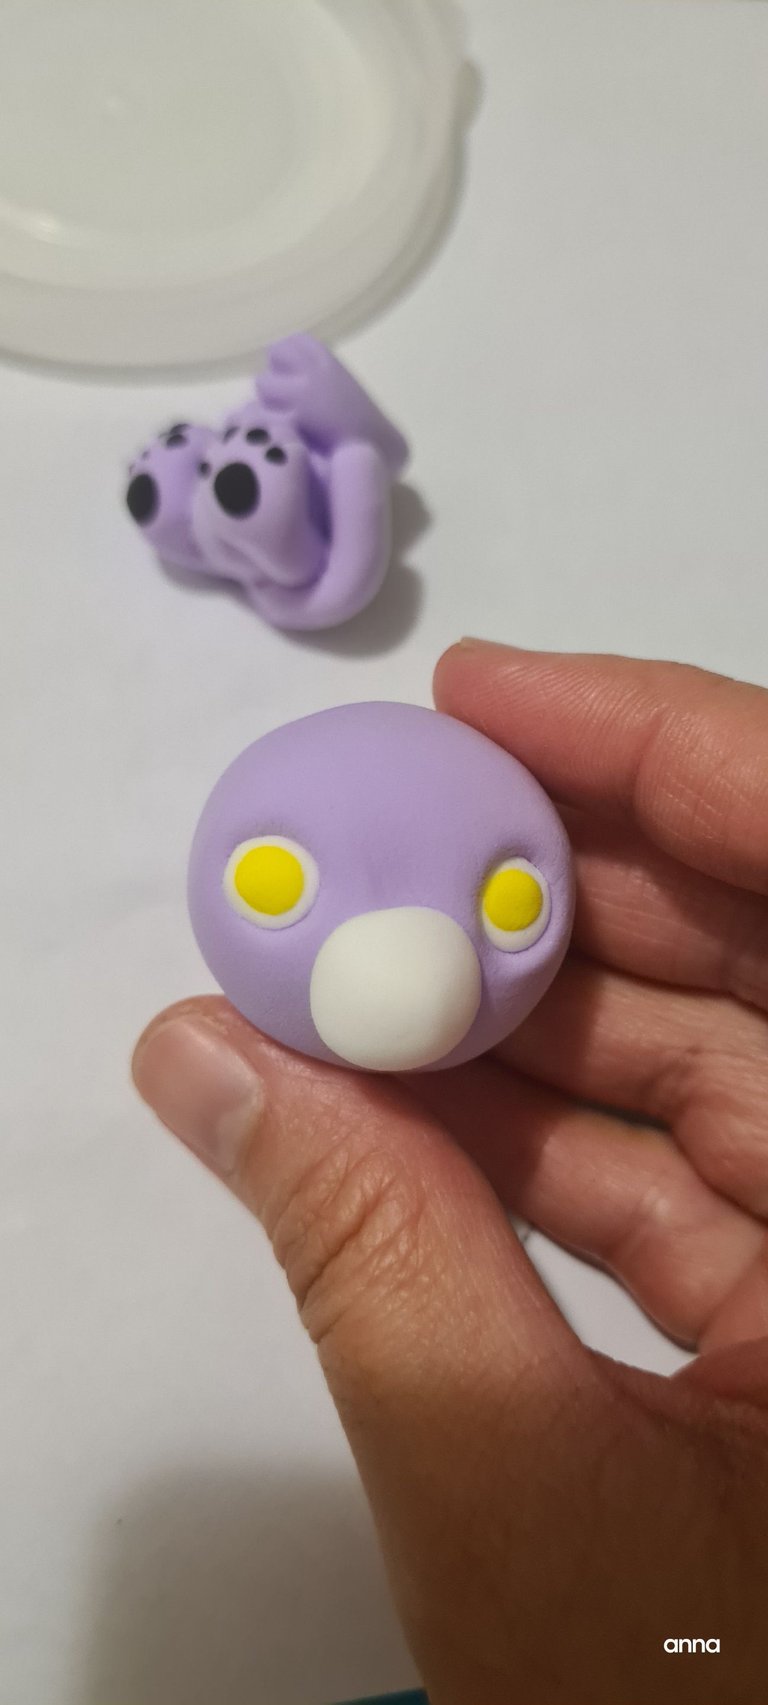
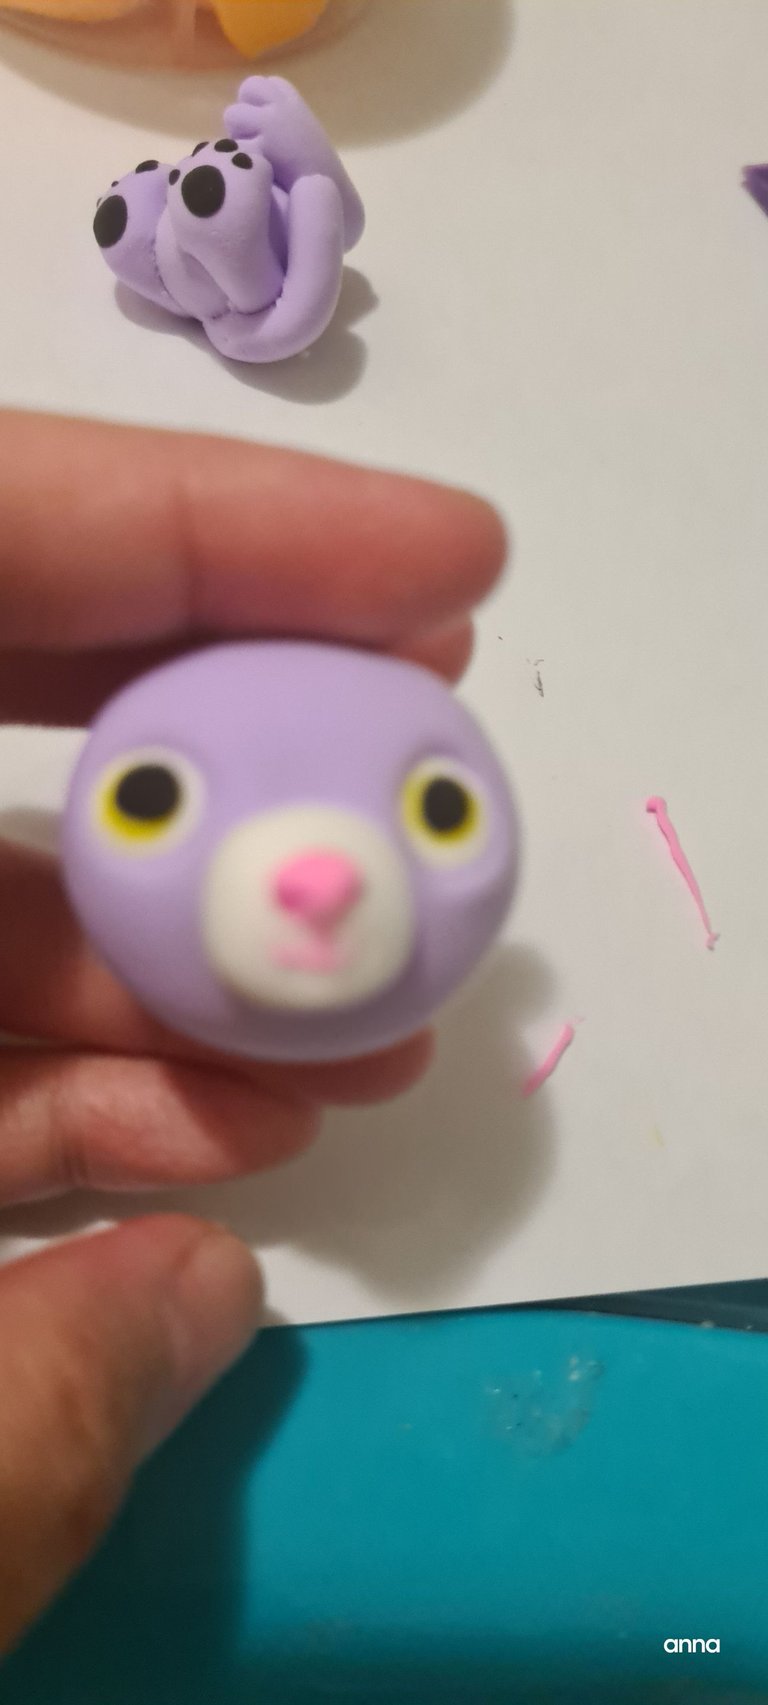
And here is the complete details. I just added some pink clay to make the mouth and nose detail.
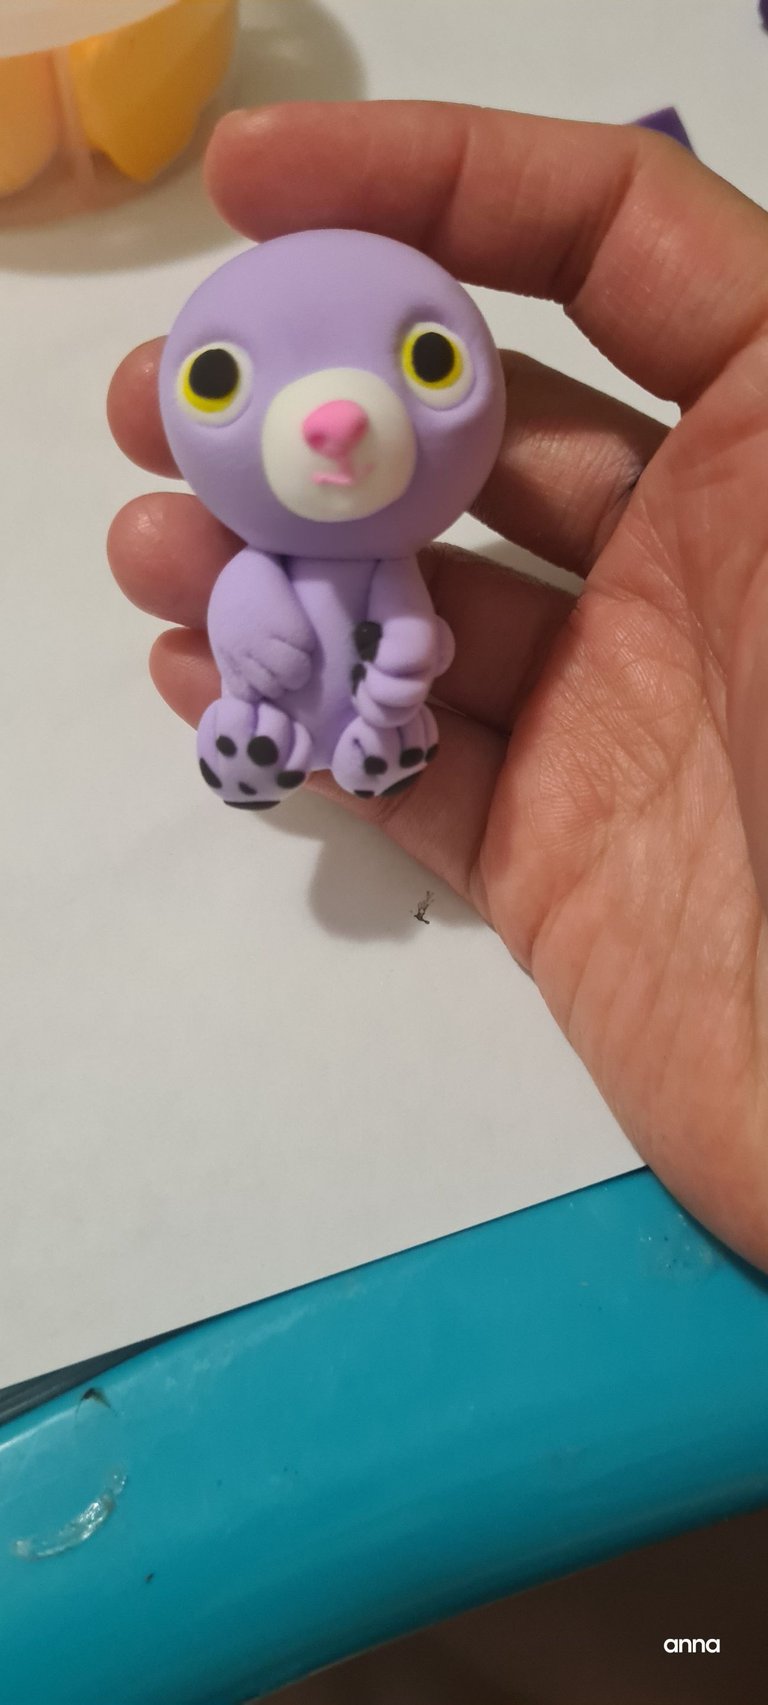
Ears.
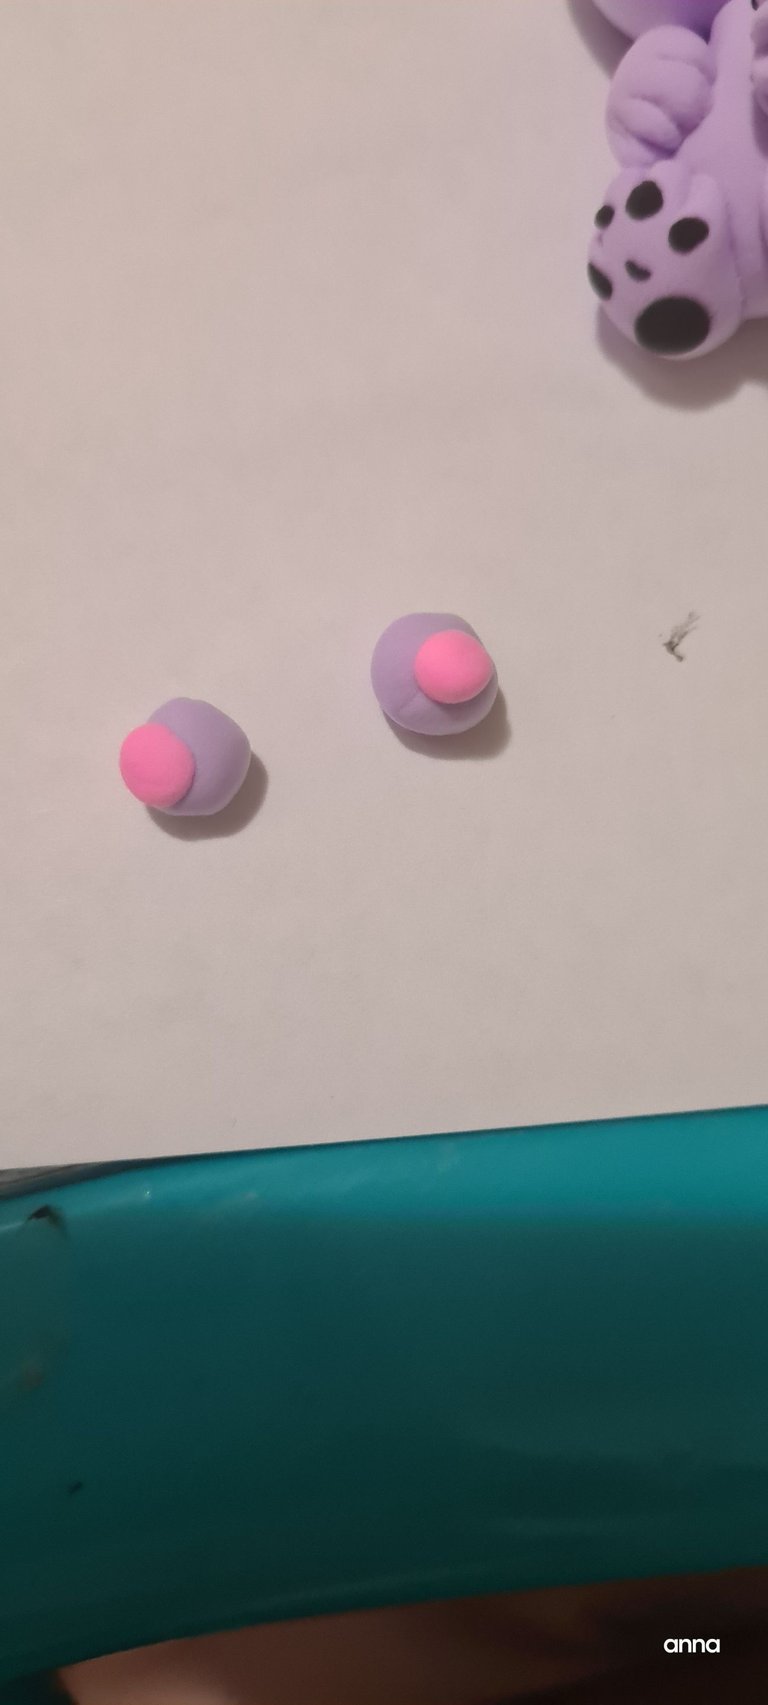
Attach it to the head.
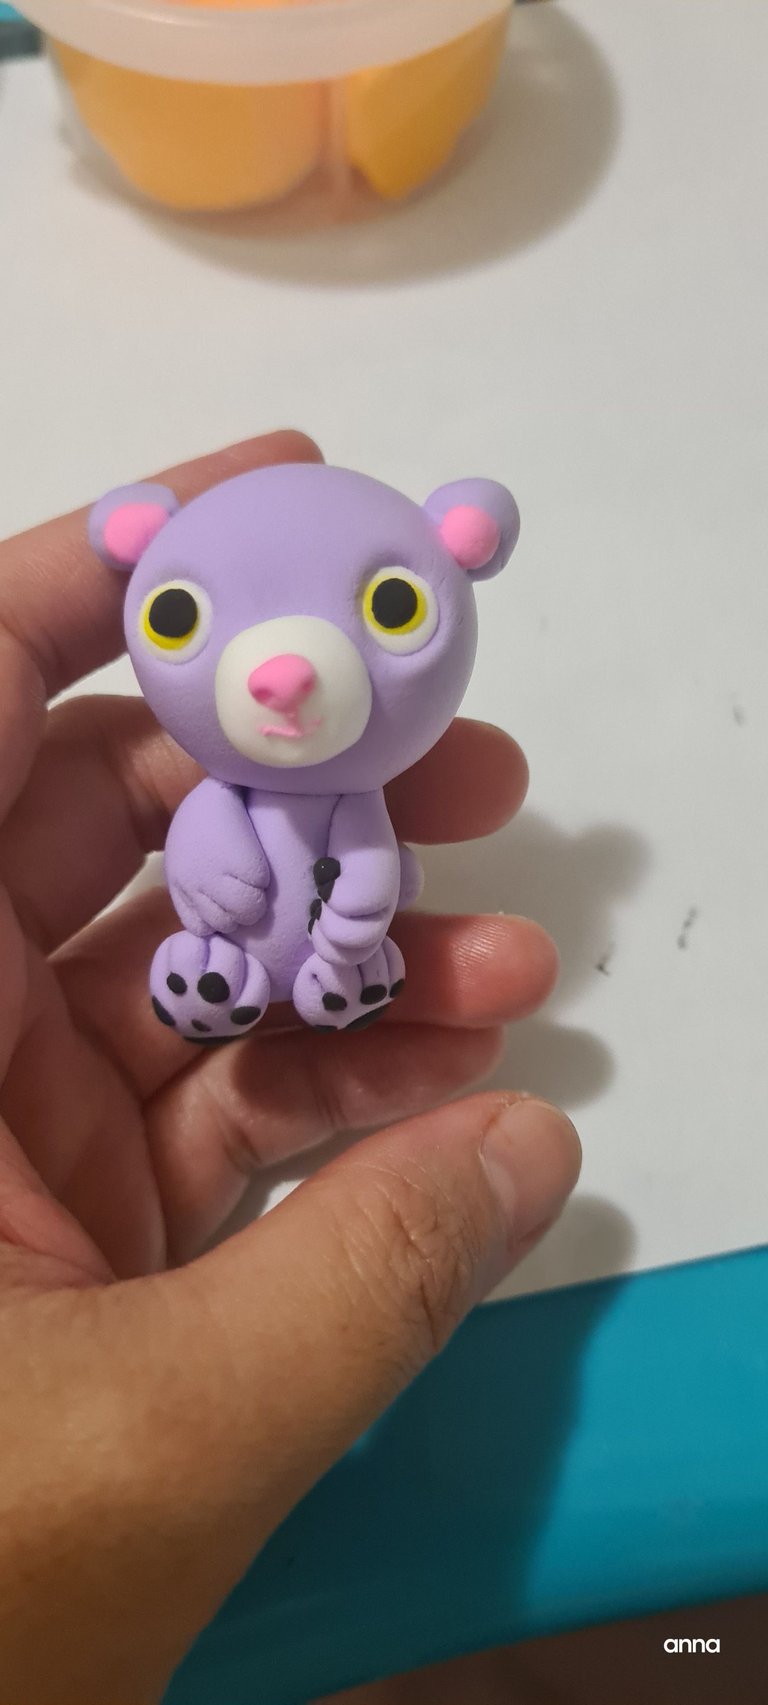
Close up.
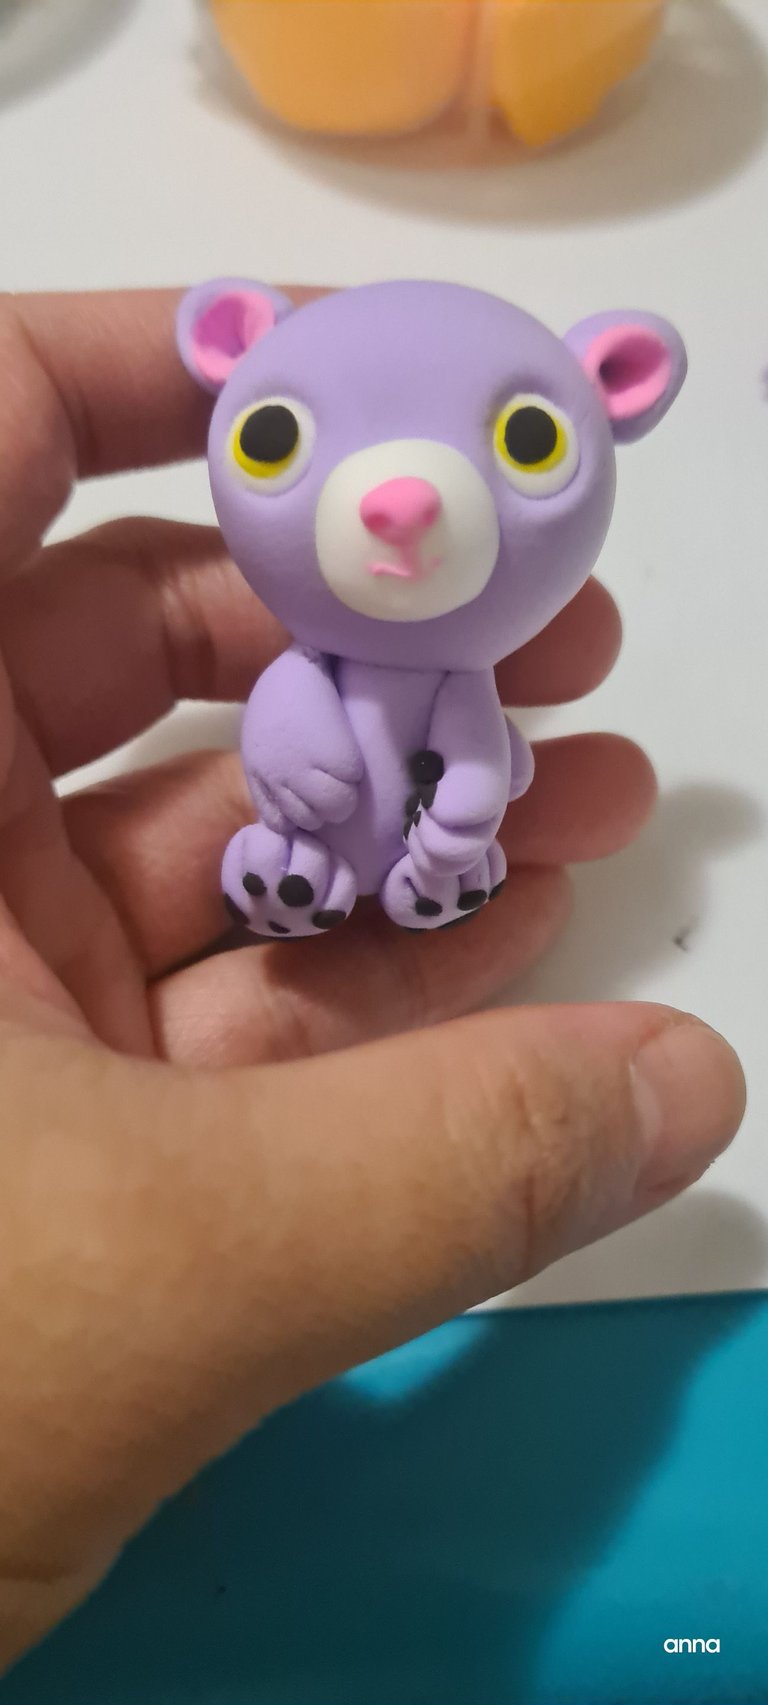
Use the dotting tool to create holes on the clay- and make the final ear detail. Then use some round clay to finish the eye detail.
Done.

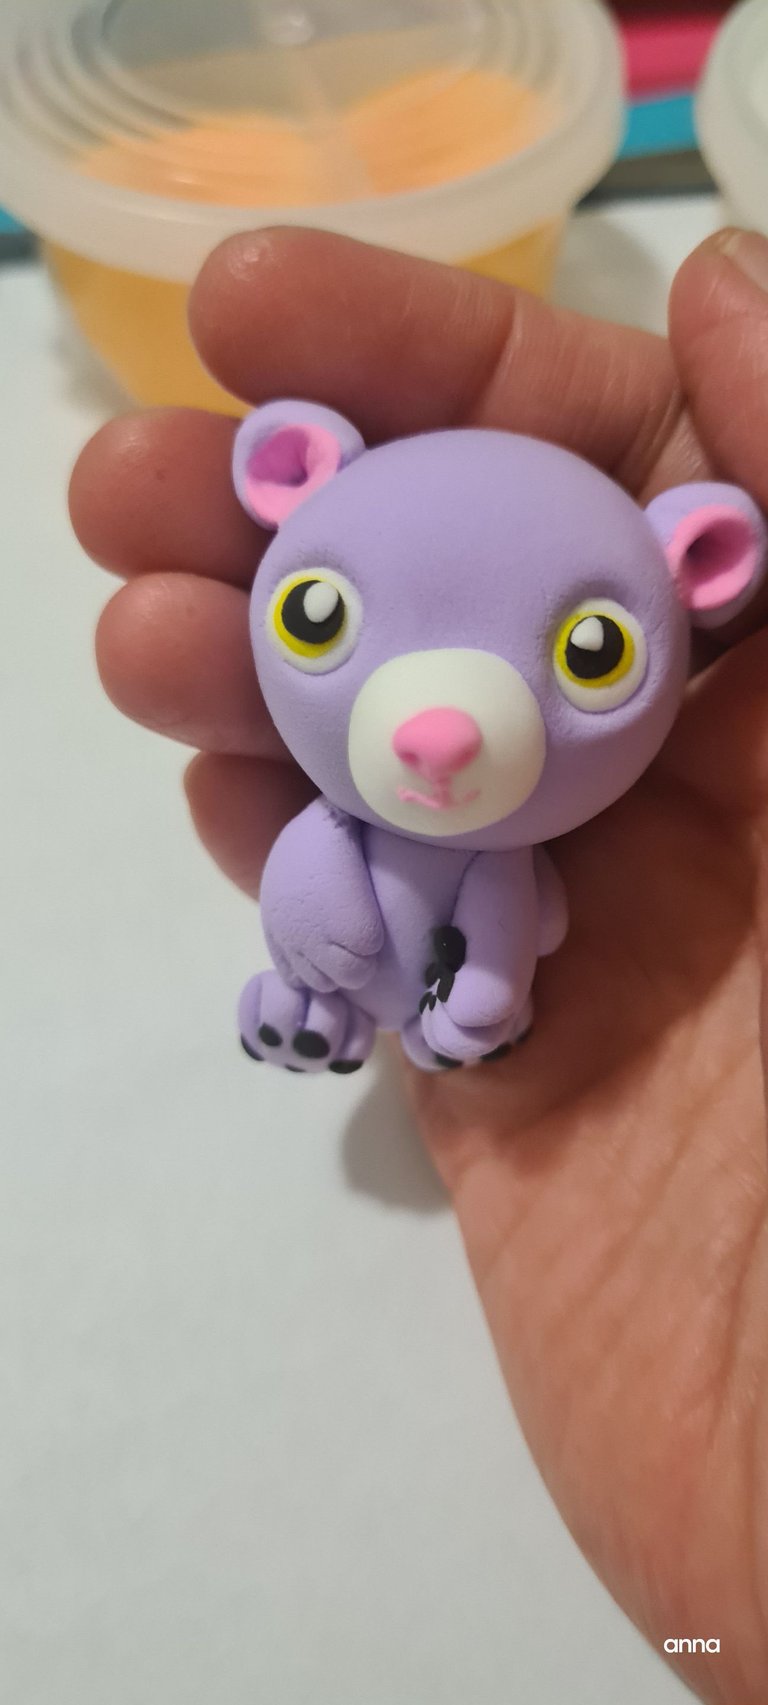
A little look on the final piece.
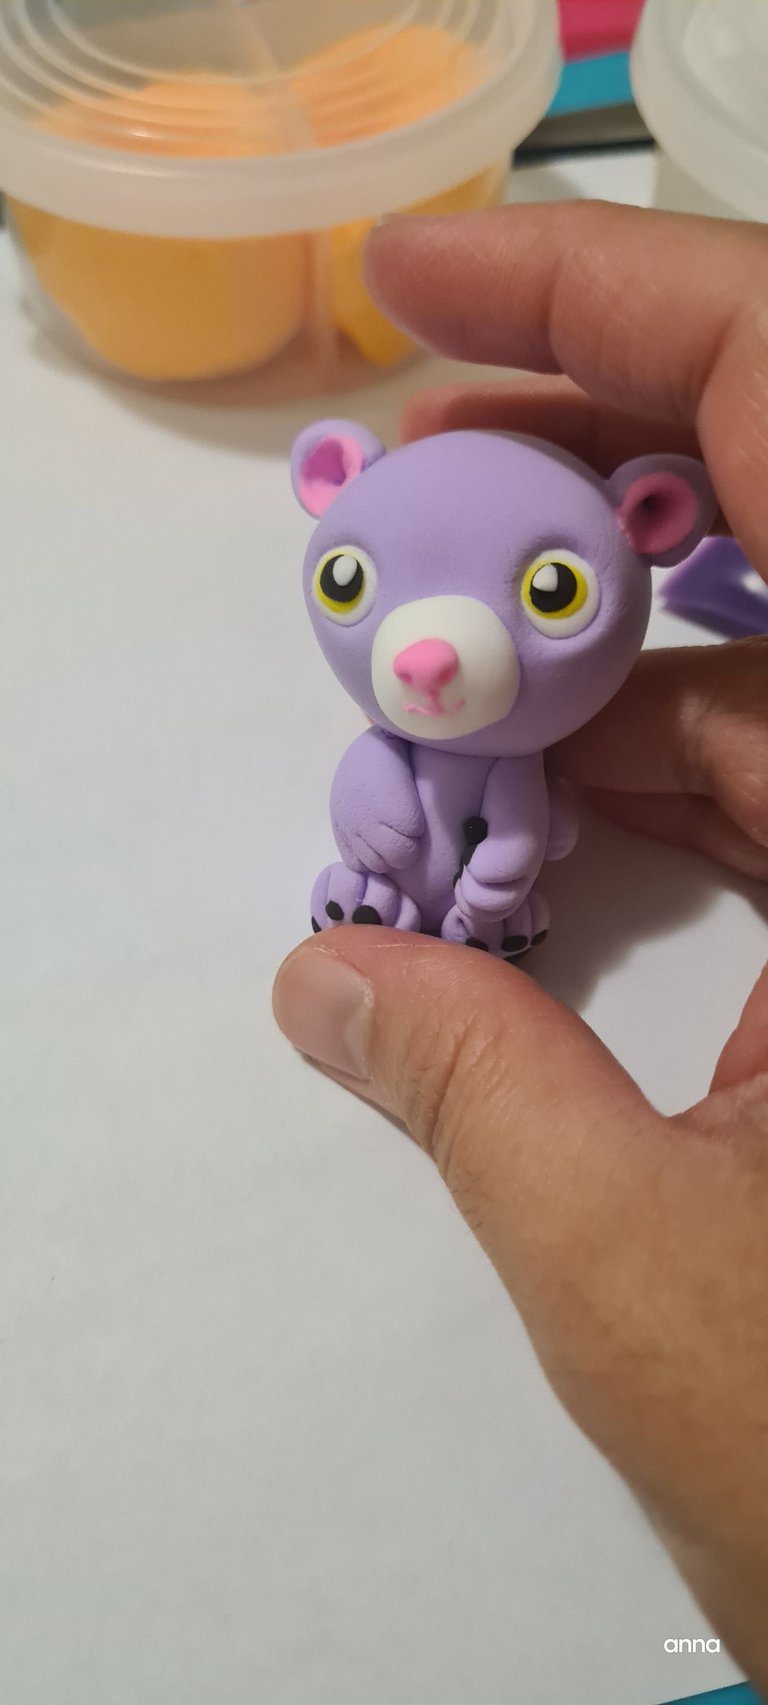
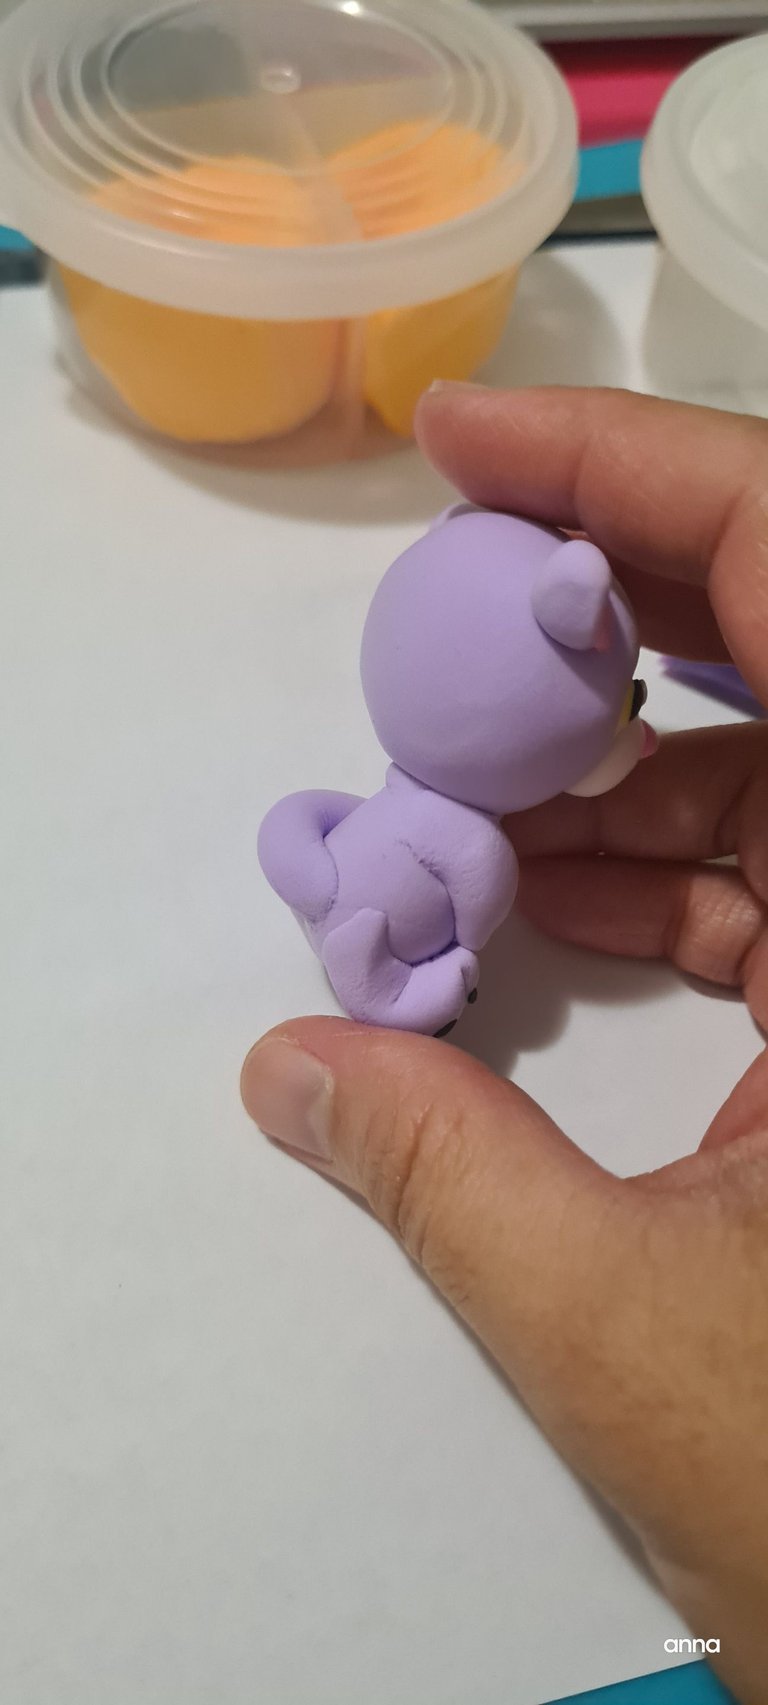
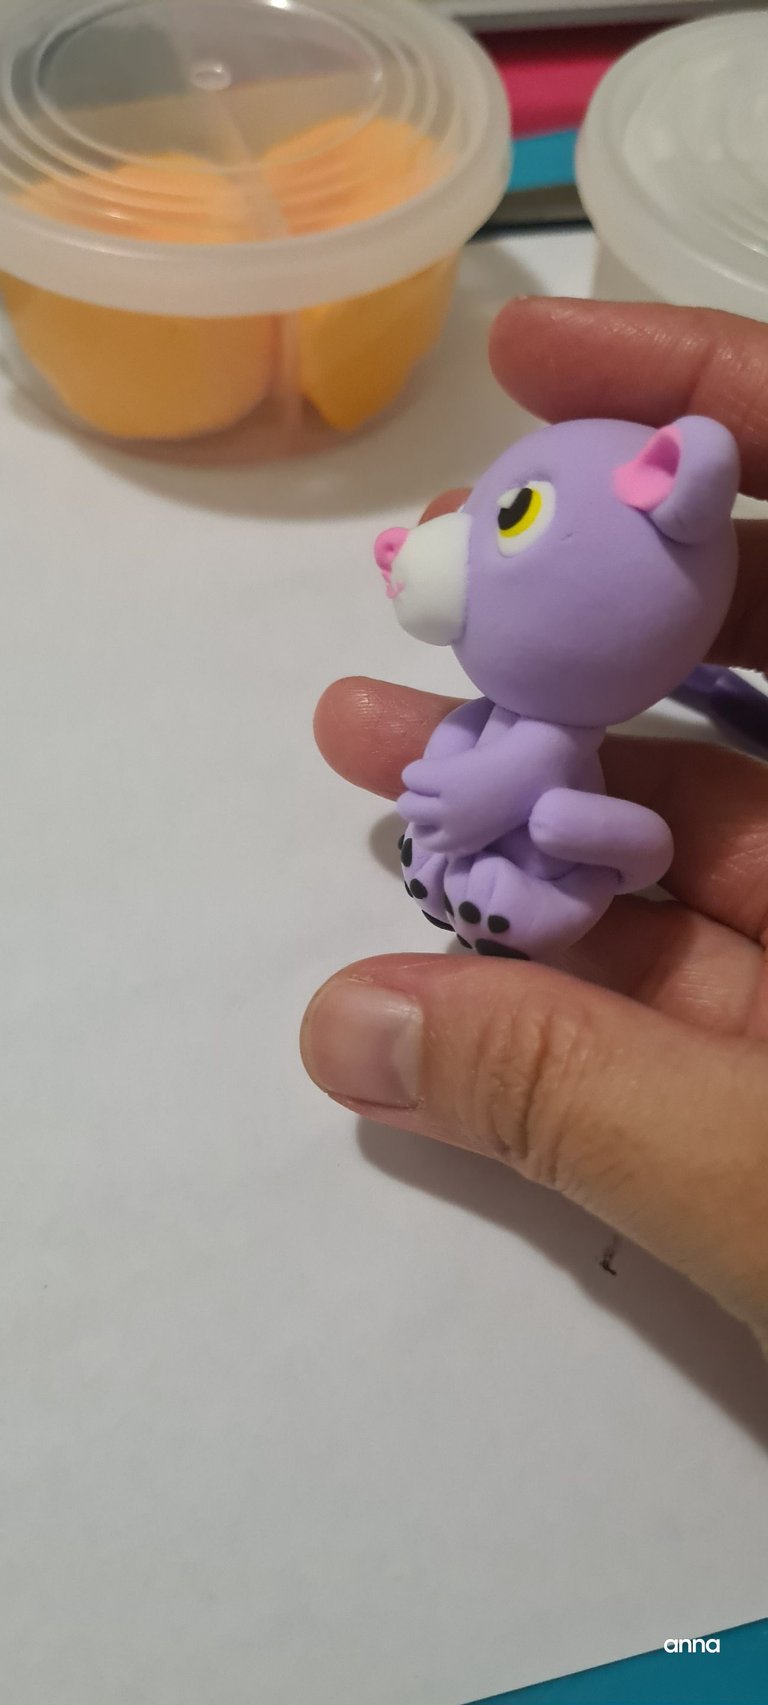
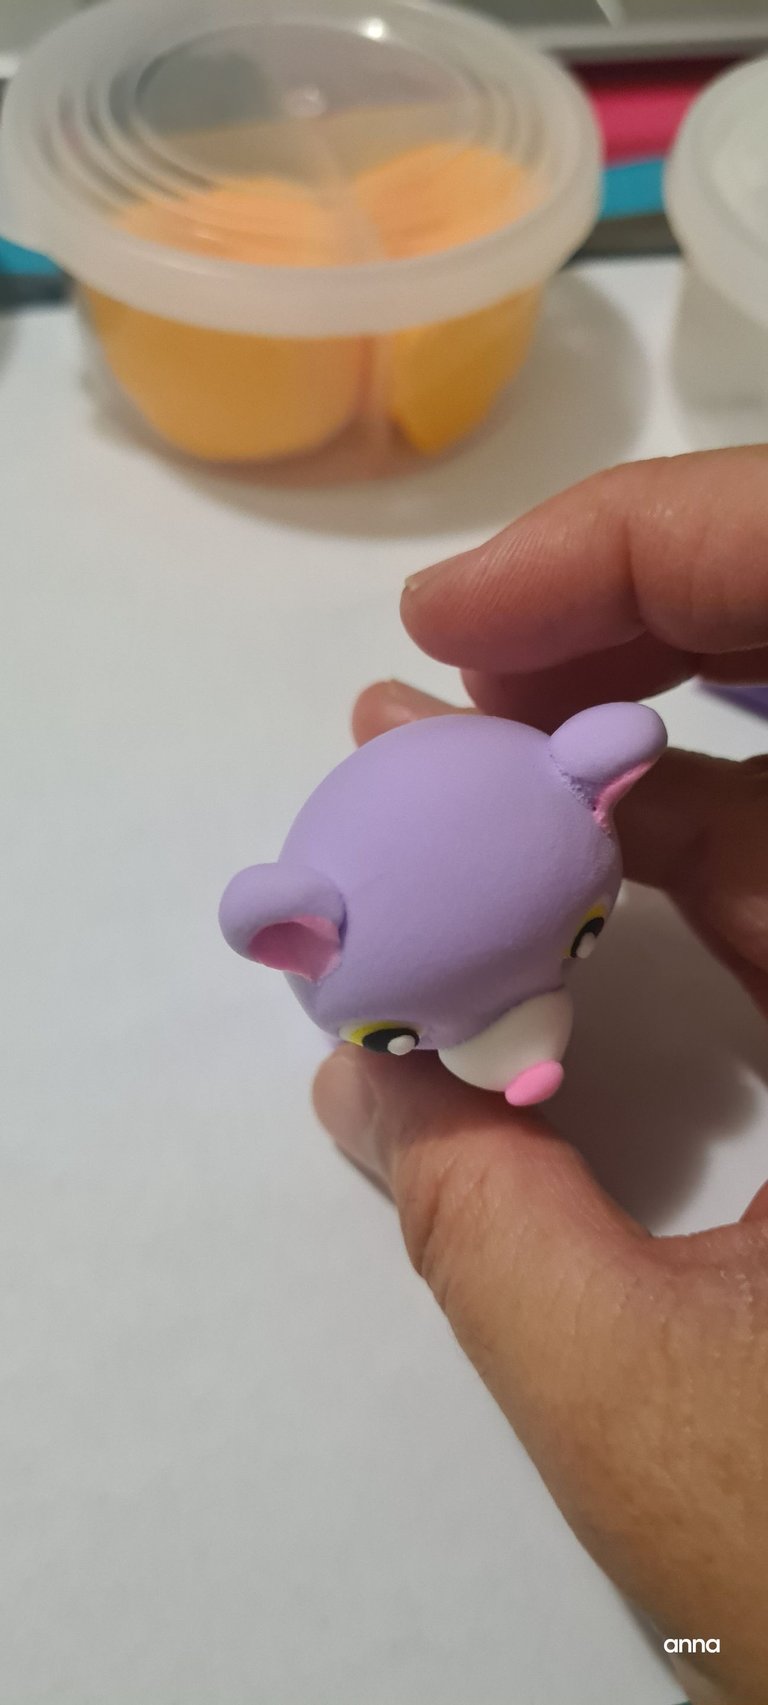
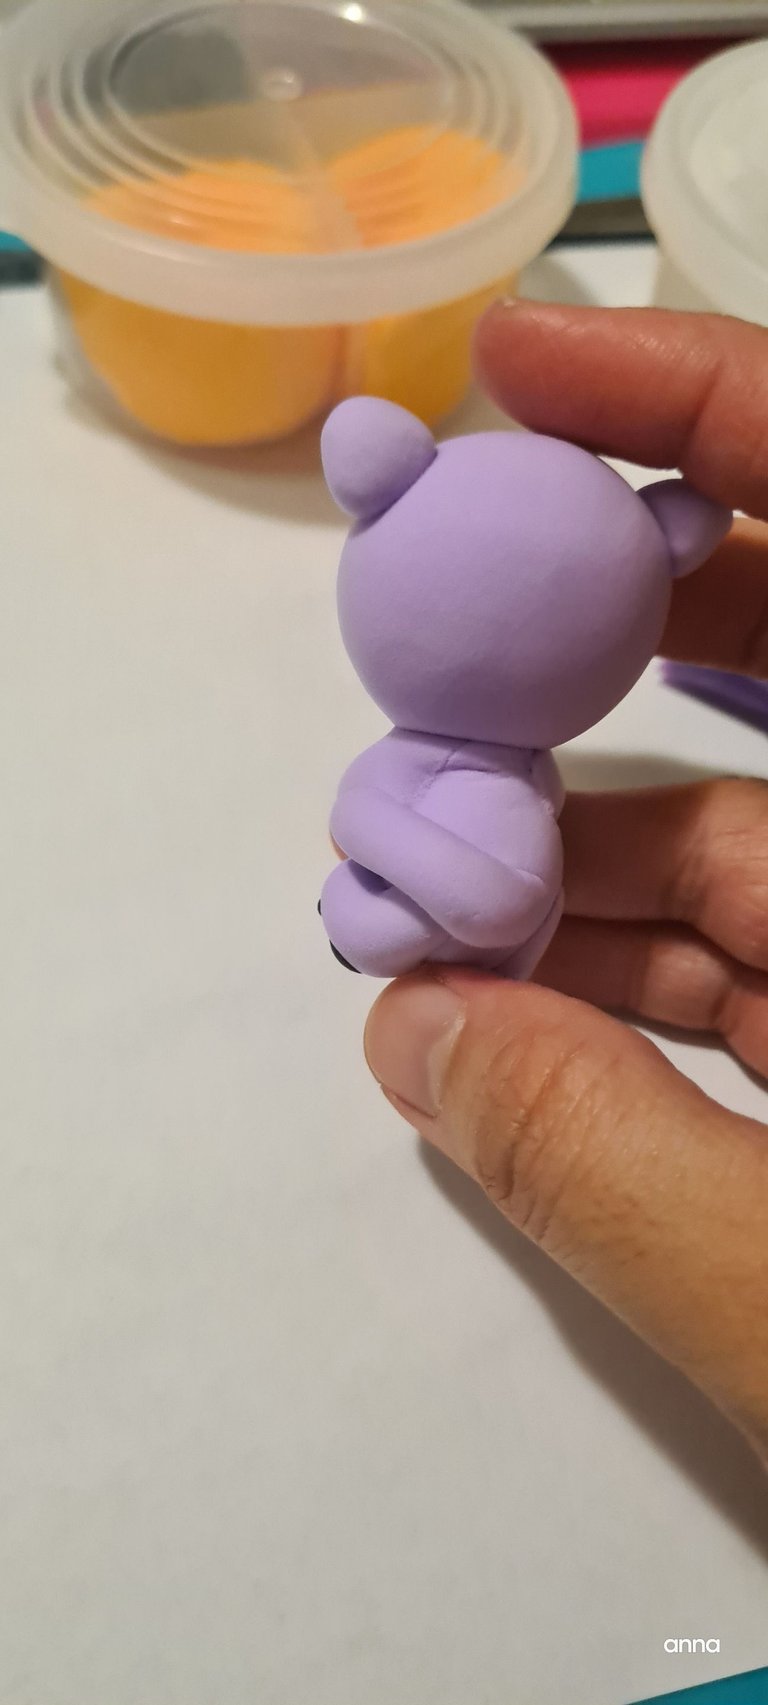
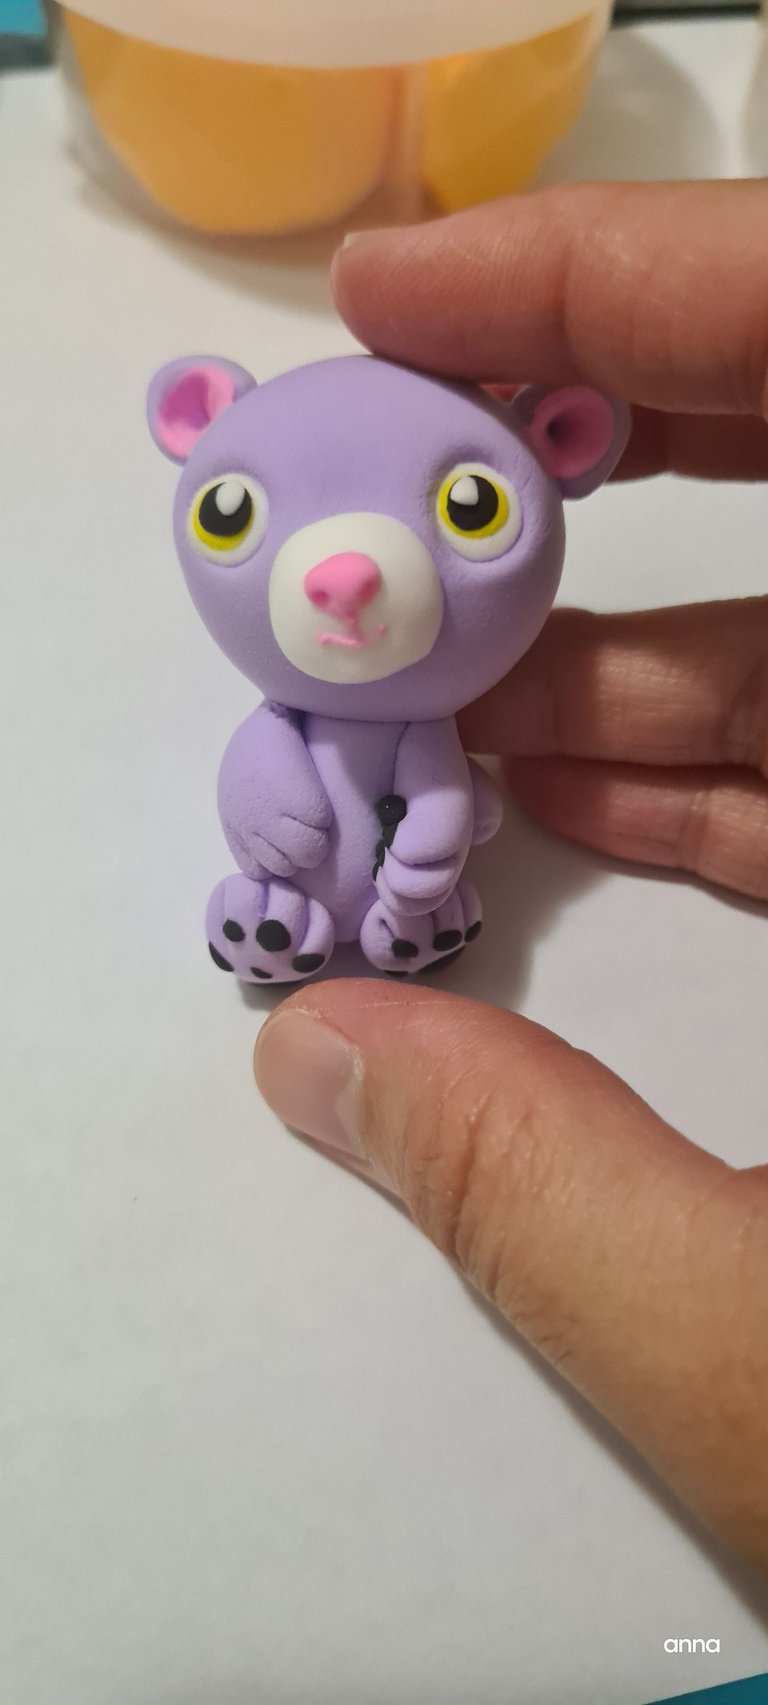
that looks so cute, thanks for sharing.
you're welcome.i intend to make a simple method to get a kawaii character as i want kids to learn
está muy lindo, un bonito trabajo!
it's very nice, nice work!
thank you!
Esta muy lindo el osito con esa carita tan tierna un gran trabajo.
thanks for stopping by
👏 Keep Up the good work on Hive ♦️ 👏
❤️ @bhattg suggested sagarkothari88 to upvote your post ❤️
🙏 Don't forget to Support Back 🙏
thank you!
Wow! This is so cute and very creative.
thank you very much!
Congratulations @nurseanne84! You have completed the following achievement on the Hive blockchain And have been rewarded with New badge(s)
Your next target is to reach 3500 comments.
You can view your badges on your board and compare yourself to others in the Ranking
If you no longer want to receive notifications, reply to this comment with the word
STOP