EN / ES Excelente Detalle Para El Día Del Padre / Excellent Detail For Father's Day
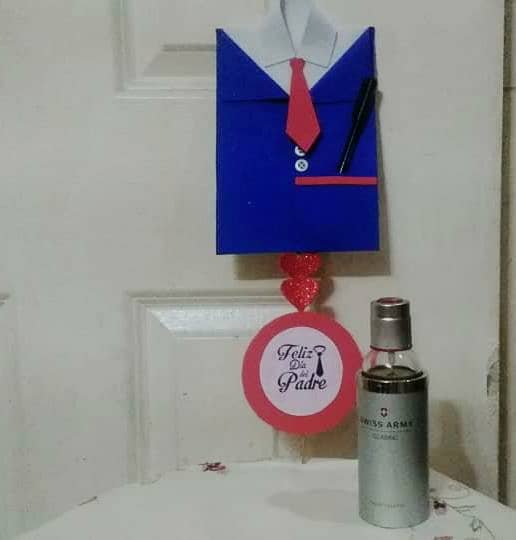
Hello, Hive Community, today, I will present you with an Excellent Detail for Father's Day, what better gift for a father, than his own son, to elaborate a detail for him, so beautiful and what satisfaction, if his mothers, help them, to carry out, this detail, with much affection, for that exemplary father.
It is very easy to make and with few materials and we will obtain this wonderful detail that parents will keep with great affection, because it represents a sentimental memory, because it was made especially for him.
Next, I will present the materials and steps for its elaboration:
Hola, Comunidad de Hive, el día de hoy, les presentare un Excelente Detalle Para El Día Del Padre, que mejor regalo para un padre, que su propio hijo (a), le elabore un detalle, tan hermoso y que satisfacción, si sus madres, los ayudan, a realizar, esta detalle, con mucho cariño, para ese padre ejemplar.
Es muy fácil de elaborar y con pocos materiales y obtendremos, esta maravilla, de detalle, que los padres o papás, guardarán con mucho cariño, debido a que representa, un recuerdo sentimental, porque fue elaborado, especialmente para él.
A continuación, les presentaré los materiales y pasos para su elaboración:

Materials:
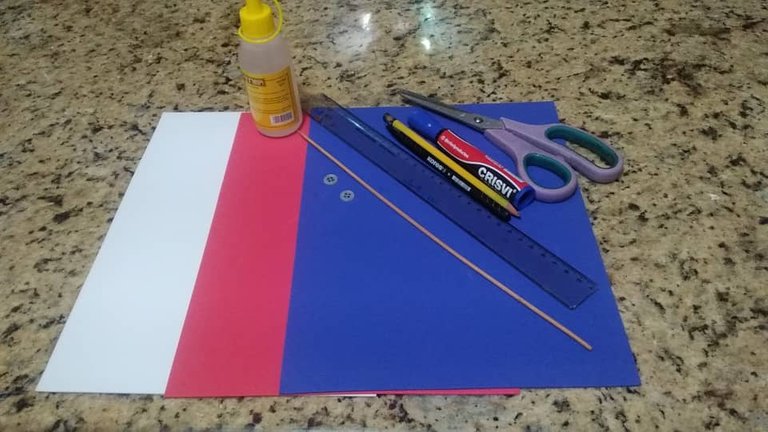
• 3 sheets of foami (Blue or black, white, red)
• Silicone
• Rule
• Pen or pencil
• Two buttons
• 1 skewer stick
• 1 bookmark
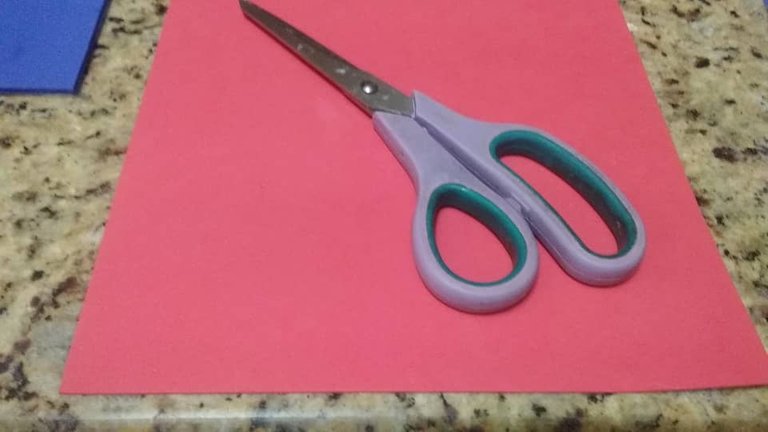
• Scissor
Materiales:
• 3 láminas de foami (Azul o negro, blanco, rojo)
• Silicón
• Regla
• Bolígrafo o lápiz
• Dos botones
• 1 palillo de pinchos
• 1 marcador
• Tijera

Step 1:
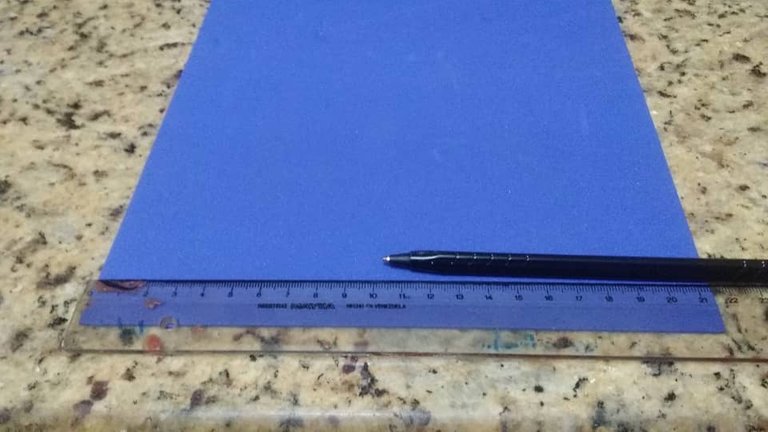
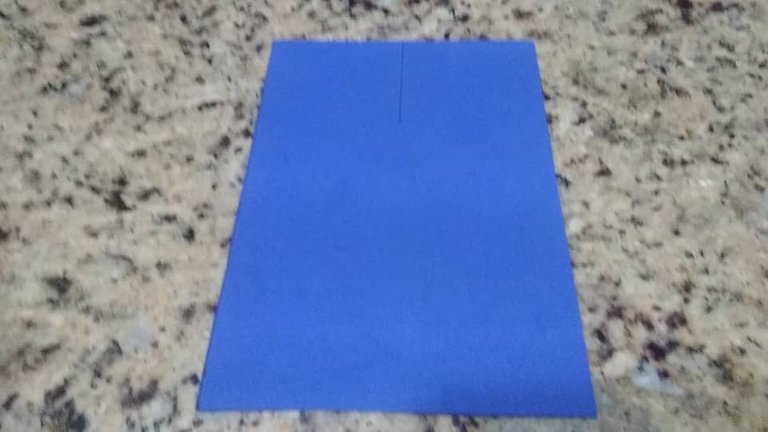
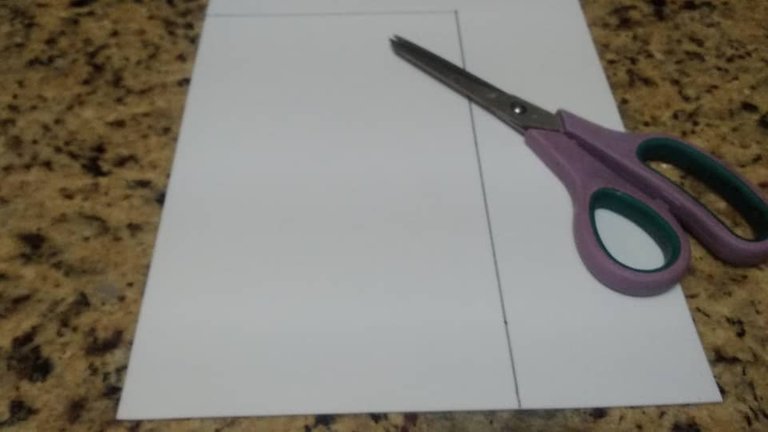
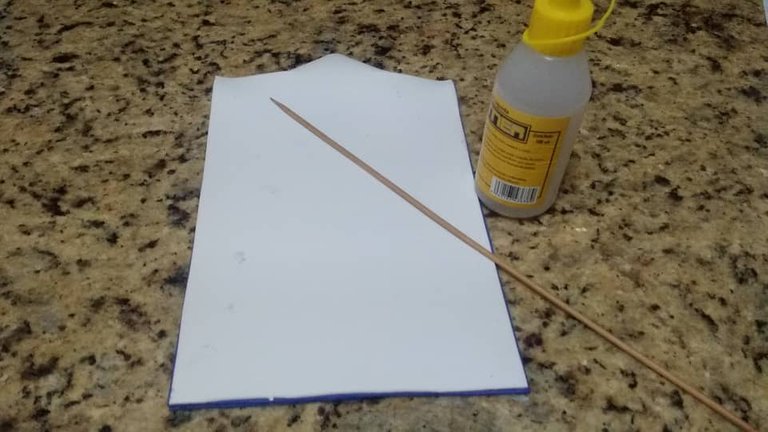
Measure, in the blue foami with a ruler and pen, with a measure of 20 cm in height and 14 cm in width, to cut out and reserve, to assemble the design of the suit. Take the center of the width (7cm) and make a 6cm cut, in the upper part, to make the cut for the neck (see photo).
Paso 1:
Medir, en el foami azul con regla y bolígrafo, con una medida de 20 cm de altura y 14 cm de ancho, para recortar y reservar, para armar el diseño del traje. Tomar el centro del ancho (7cm) y hacer un corte de 6 cm, en la parte superior, para hacer el corte del cuello (ver foto).


Step 2:
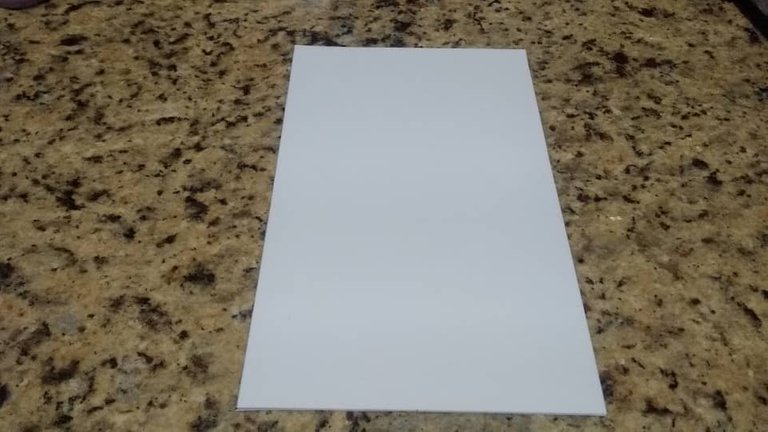
Measure on the white foami, with a ruler and pen (or pencil), with a measure, 23 cm high and 14 cm wide, cut and reserve, to assemble the design, (see photos)
Paso 2:
Medir en el foami blanco, con regla y bolígrafo (o lápiz), con una medida, de 23 cm de altura y 14 cm de ancho, recortar y reservar, para armar el diseño, (ver fotos)

Step 3:
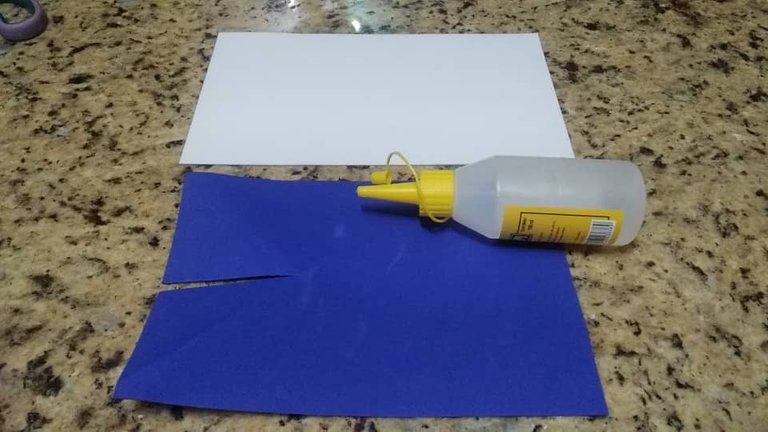
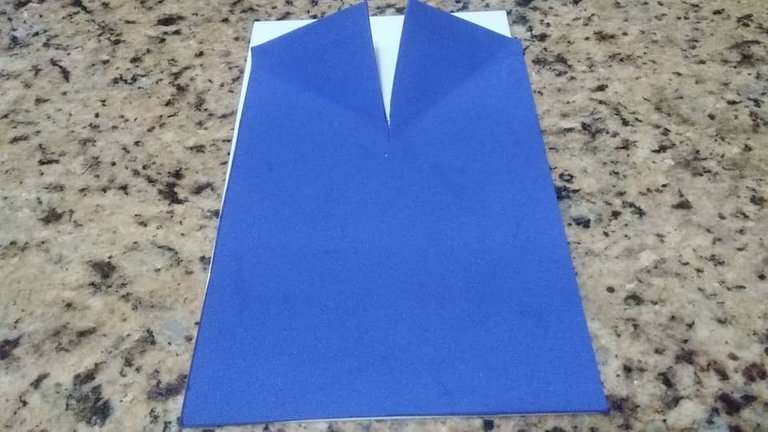
Then, cut both sheets (blue and white), paste the blue sheet on the white one, pouring the silicone around the sheet, respecting the central part and leaving the 4 cm, of the remaining white sheet, in the upper part. . (To see photos)
Paso 3:
Luego, de recortar ambas láminas (azul y blanca), pegar la lámina azul sobre la blanca, echándole, el silicón, alrededor de la lámina, respetando la parte central y dejando los 4 cm, de la lámina blanca sobrante, en la parte superior. (Ver fotos)

Step 4:
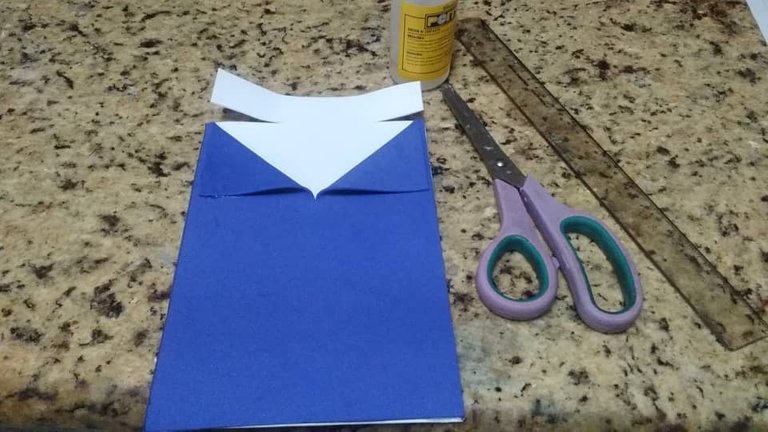
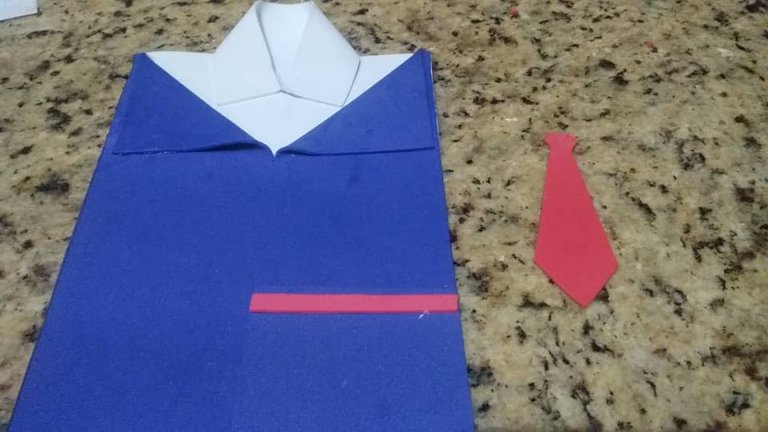
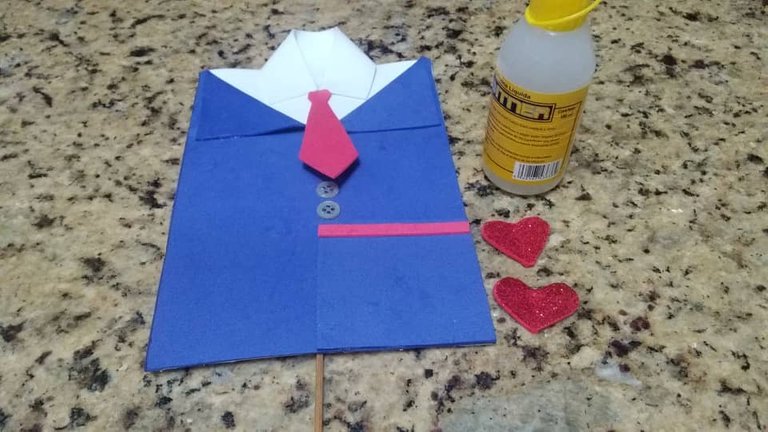
Fold, in the form of a triangle, the cut part of the blue sheet, to make the neck of the suit, glue it with silicone, then cut the white sheet flush with the suit, with a cut of 4.5 cm on both sides, to elaborate, the collar of the shirt, glue the ends with silicone (see photos)
Paso 4:
Doblar, en forma de triángulo, la parte cortada de la lámina azul, para elaborar el cuello del traje, pegarlo con silicón, luego, recortar al ras con el traje la lamina blanca, con un corte de 4,5 cm de ambos lados, para elaborar, el cuello de la camisa, pegar las puntas con silicón (ver fotos)

Step 5:
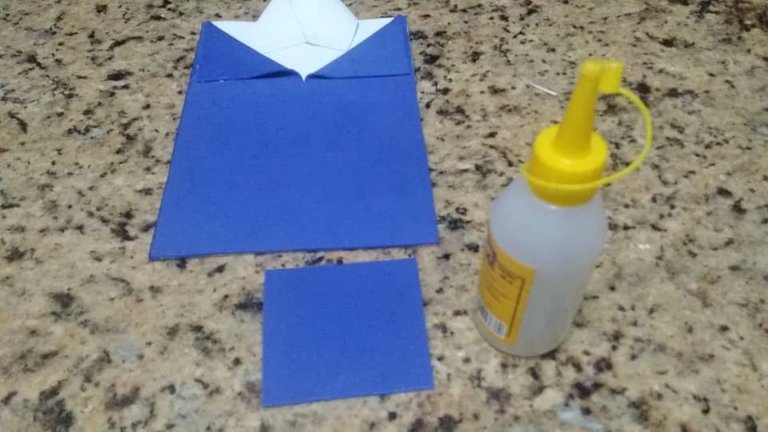
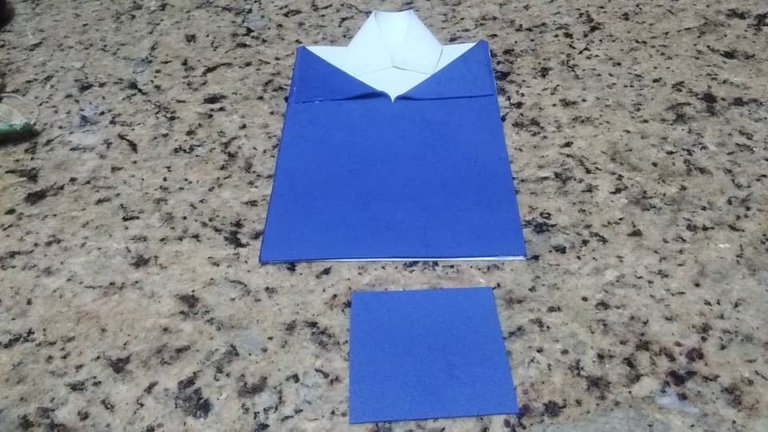
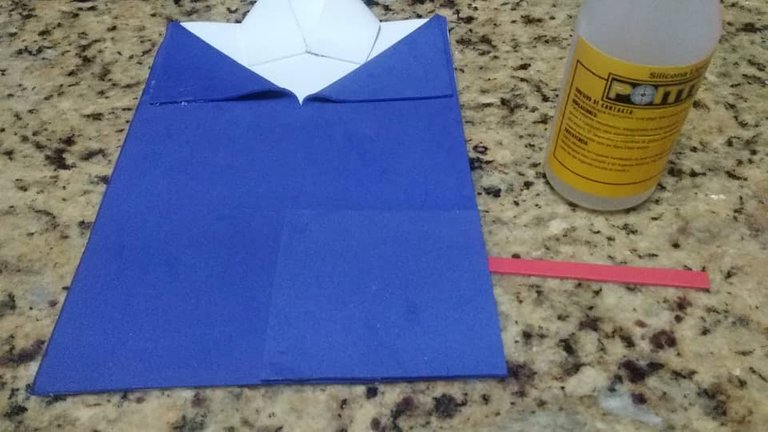
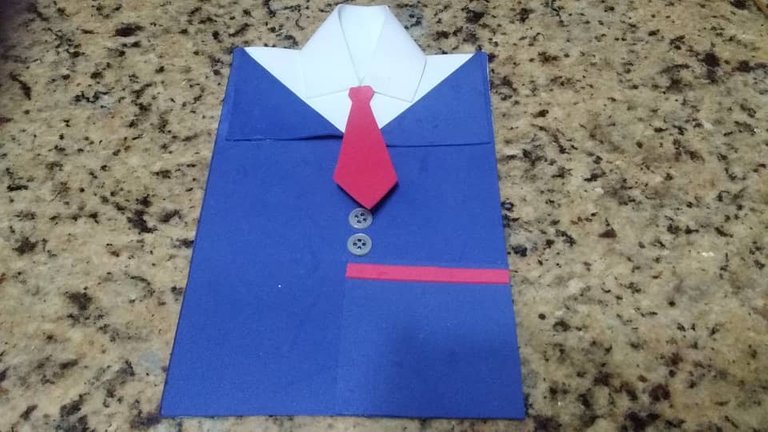
For the culmination of the suit, make an 8 cm square in blue, for the pocket of the suit, cut a red ribbon with the foami, to stick it, at the top of the pocket, and with the red foami, make a tie and glue these accessories, plus two buttons, with silicone (see photos).
Paso 5:
Para la culminación del traje, elaborar en azul, un cuadrado de 8 cm, para el bolsillo del traje, recortar una cinta roja con el foami, para pegarla, en la parte superior del bolsillo, y con el foami rojo, elaborar una corbata y pegar estos accesorios, mas dos botones, con silicón ( ver fotos).

Step 6:
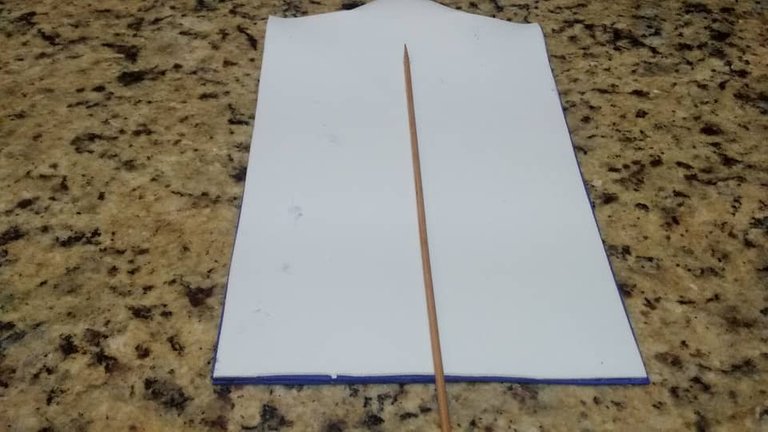
Then, with a toothpick, paste it on the back of the design, and decorate with hearts made with red foami and a sign that says, Happy Father's Day.
Paso 6:
Luego, con un palillo de pinchos, pegarlo por la parte de atrás del diseño, y decorar, con corazones elaborados con foami rojo y un letrero que diga, Feliz Día Del Padre.

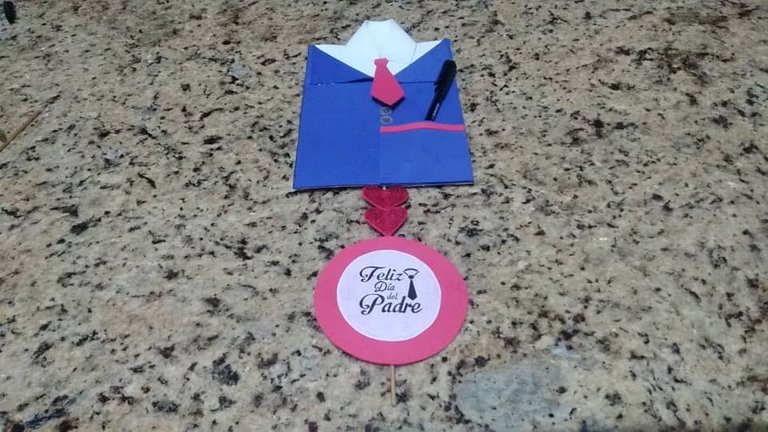
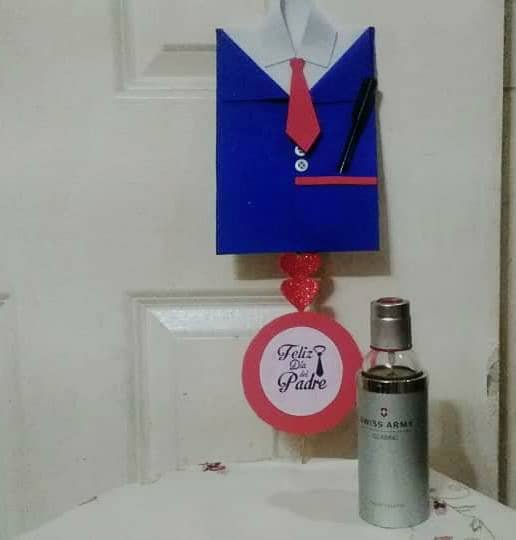
This is how this beautiful detail would be ready, ideal for Father's Day, made, with love and dedication, this beautiful craft, serves as a souvenir or to introduce a gift, such as: A pen, a watch, a keychain, etc.
Así estaría listo este hermoso detalle ideal, para el día del padre, realizado, con amor y dedicación, esta hermosa manualidad, sirve como recuerdo o para introducir algún regalo, como: Un bolígrafo, un reloj, un llavero, etc.


Hoping, you like this beautiful craft, ideal for Father's Day, it would be a significant gift, if you, together with your child, in a sharing, make it, the detail being more important for the father or dad, because they will made with love and dedication.
Thank you for taking your time to read my post. Greetings
Esperando, les guste esta linda manualidad, ideal, para el Día Del Padre, sería un regalo significativo, si usted, junto a su hijo, en un compartir, lo elaboran, siendo más importante el detalle para el padre o papá, porque se lo elaboraron, con amor y dedicación.
Gracias, por tomar de su tiempo, en leer mi post. Saludos

Until next time/ Hasta la Próxima

All photos are my property taken with my Redmi Go smartphone
.All separators are my property, free to use.
.English it is not my native language, I help myself with translators to make these posts
............................................
. Todas las fotos son de mi propiedad tomadas con mi celular inteligente Redmi Go
. Todos los separadores son de mi propiedad, libres de uso
. El inglés no es mi idioma natal, me ayudo de traductor

Te quedó genial! Gracias por compartir tu trabajo
🎇🎆💐❤️🌹🥀🌺🌷💛🌸💮🏵️🌻🌼🍂🍁🍄🌾🌱🌿🌿🍃💙☘️🍀💜🪴🌵🌵🤍🌴🌳🌲☀️⭐🌟💫✨🌙🌠🌌🌍🐞🦋🎇🎆
Hola, muchas gracias, me alegro que le haya gustado. Saludos @chacald.dcymt
Thank you for sharing this amazing post on HIVE!
Your content got selected by our fellow curator @rezoanulvibes & you just received a little thank you via an upvote from our non-profit curation initiative!
You will be featured in one of our recurring curation compilations and on our pinterest boards! Both are aiming to offer you a stage to widen your audience within and outside of the DIY scene of hive.
Join the official DIYHub community on HIVE and show us more of your amazing work and feel free to connect with us and other DIYers via our discord server: https://discord.gg/mY5uCfQ !
If you want to support our goal to motivate other DIY/art/music/homesteading/... creators just delegate to us and earn 100% of your curation rewards!
Stay creative & hive on!
Hello, thank you for your unconditional support. Greetings @diyhub