Diy process on how to see a car back seat hand rest
Greetings everyone
Happy new week, how are you all doing? I hope you all are doing amazing. Today i am very happy to share a post here but first i want to apologize for not being active. This is because my phone get corrupted and i loose all files on my phone. It take me time before i was able to fixed it.

Today i am sharing a little diy process on how to sew a back seat hand rest. This is really simple and its something you can do by your self if you choose to do. I will be using image to make my steps my clearly.
Here was the hand rest before
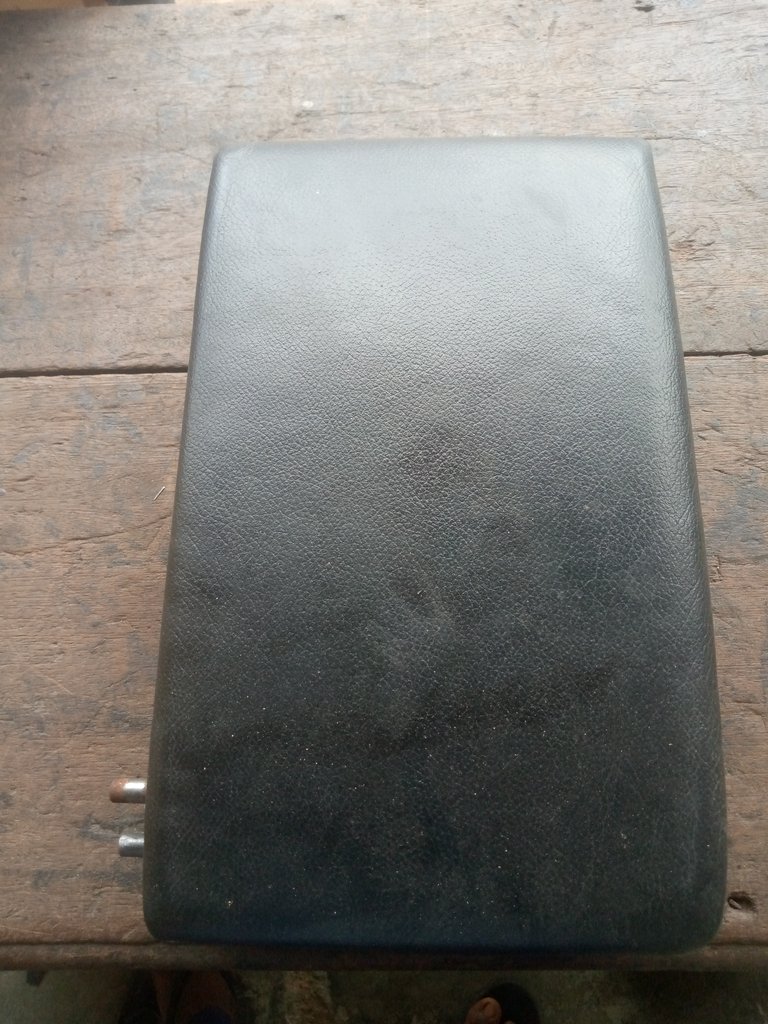
To get it done
Step 1
Take the vertical and the horizontal measurements of the old hand rest with the help of sewing tape and then write it down on the hand rest.
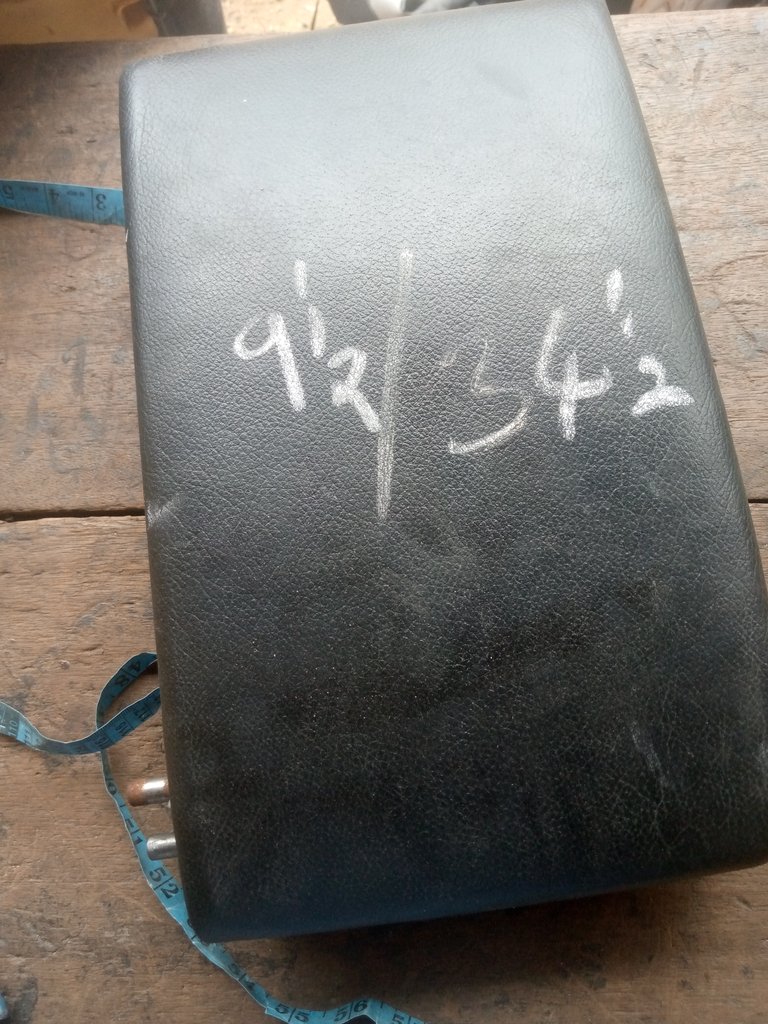
Step 2
Transfer the measurements to the new leather and then cut it out with the help of scissors.
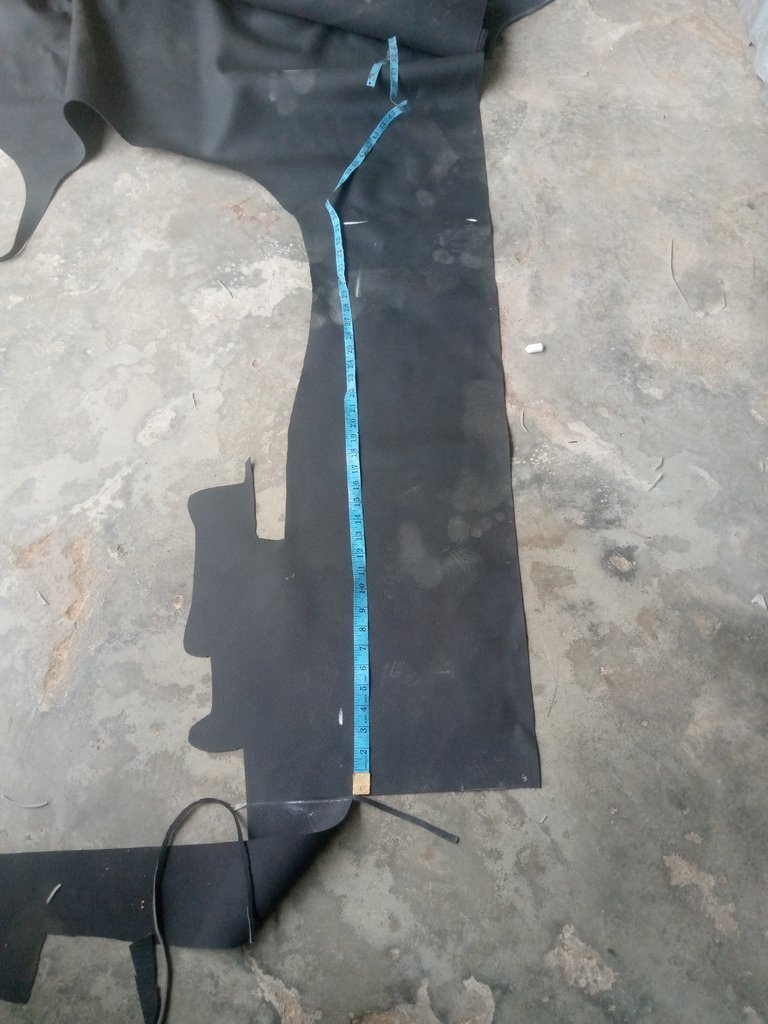
Step 3
Forming the sewing pattern, to make it simple and easy to understand and also for the benefit of you, i am using a simple method the you can fine it simple to understand. Just loose the old leather on the hand rest.
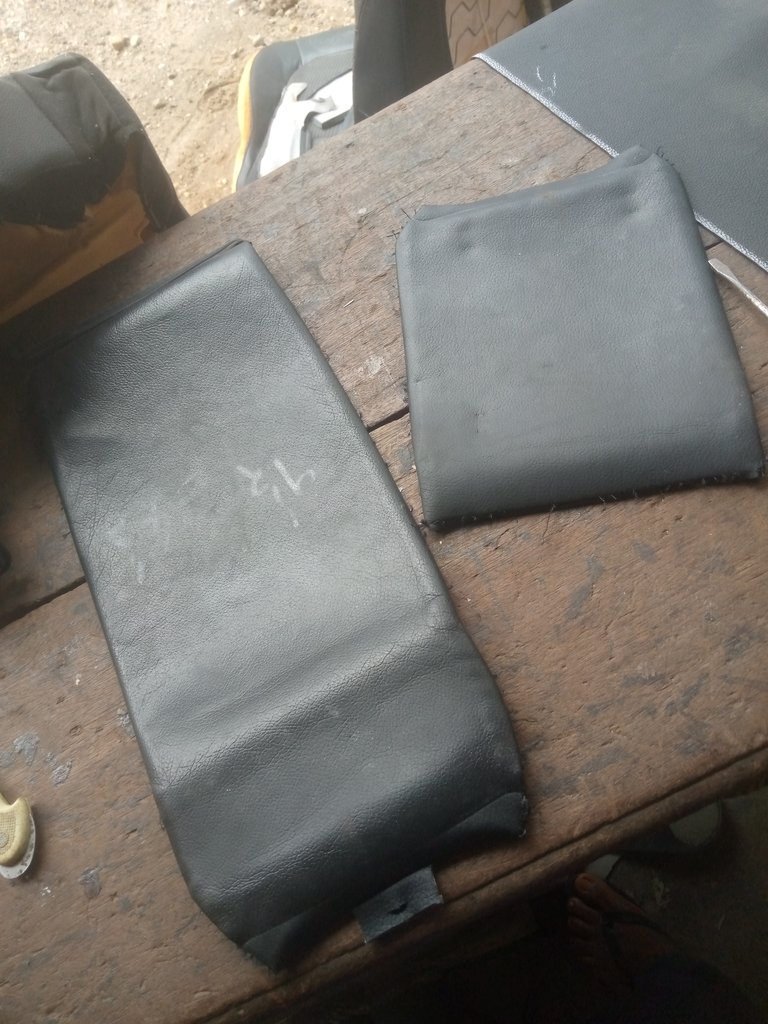
After getting the old pattern, i then place it on the new leather and draw the shape exactly

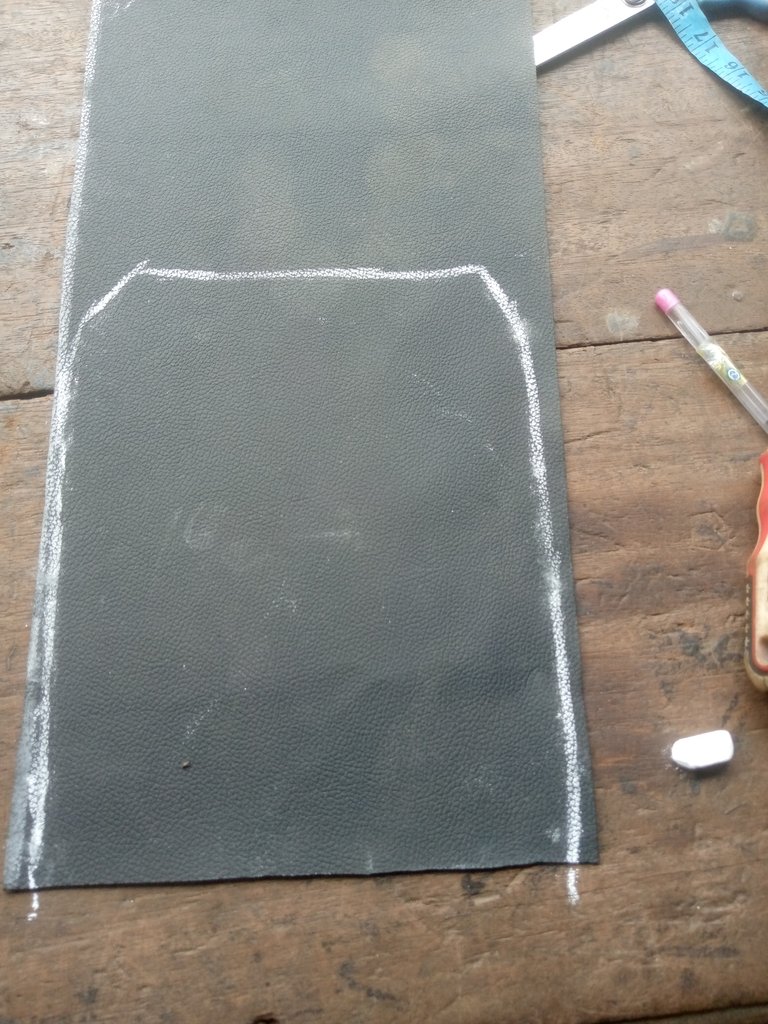
After drawing it, i then cut them out.
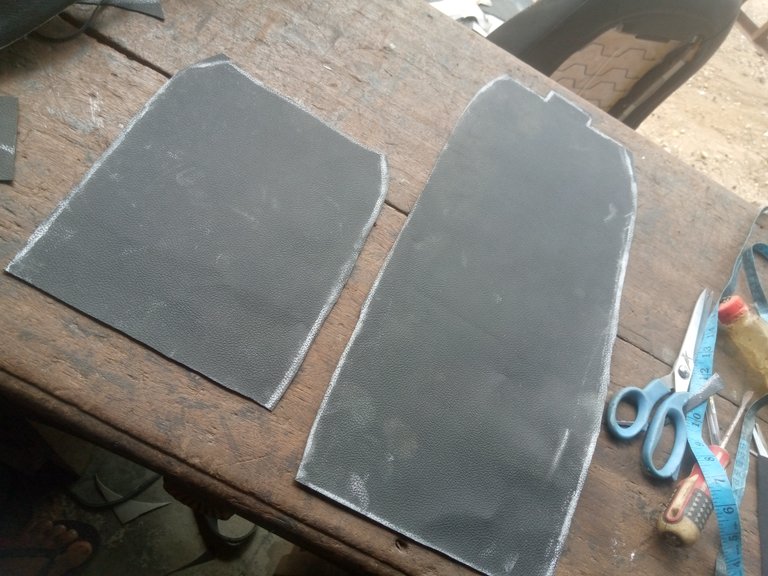
Step 4
I the use my sewing machine to sew those pattern together has it was. And this is done very simple . That means you have to take note of the way it was when loosing it.


Finally, i have complete sewing the new cover of the hand rest.


Step 5
Here is the final steps, the final thing to do is to wear the new sew material see photos below
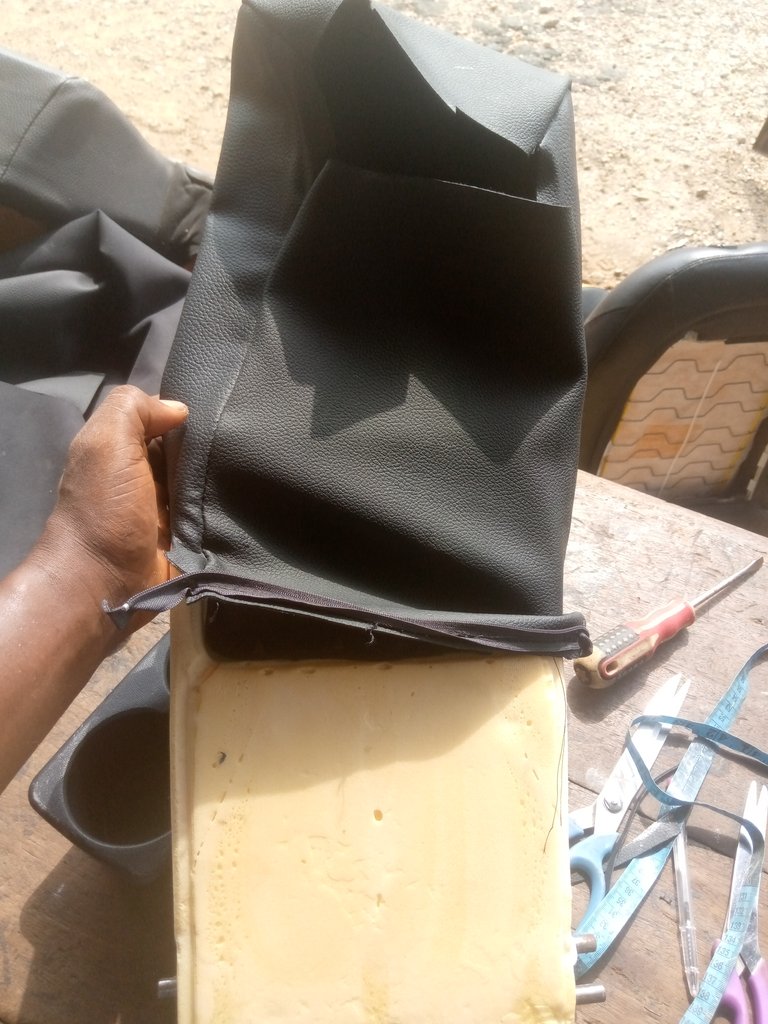
After covering it, i then clip the cover of the hand rest

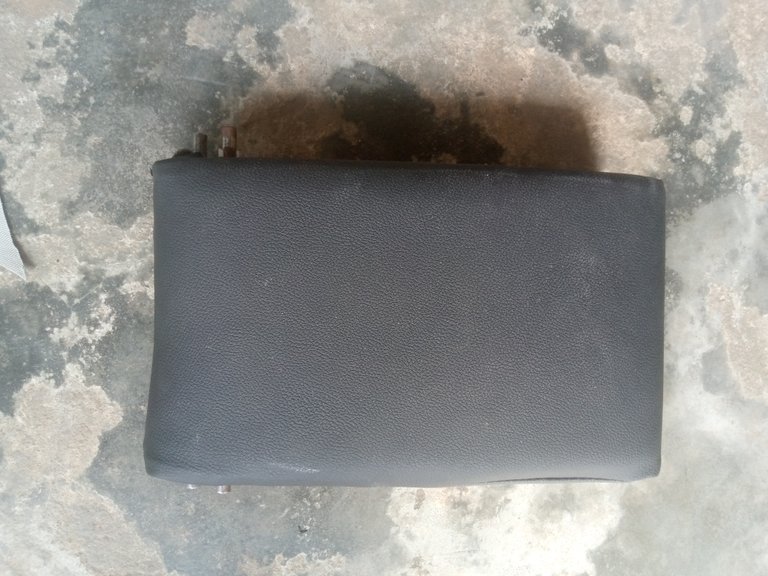
Finally finally the hand rest turn new again. See photos below.

Hope you fine this useful. Please do well to ask anything in the comments section and please do well to comment and support my post.
Thanks everyone for your time
That was awsome,looks great and is a big change for the car